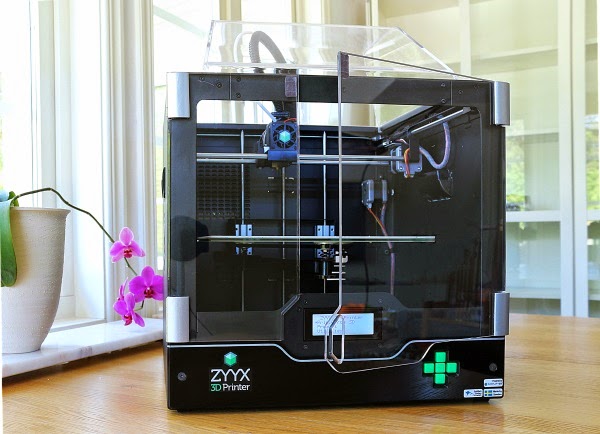
Clarity 3d printer
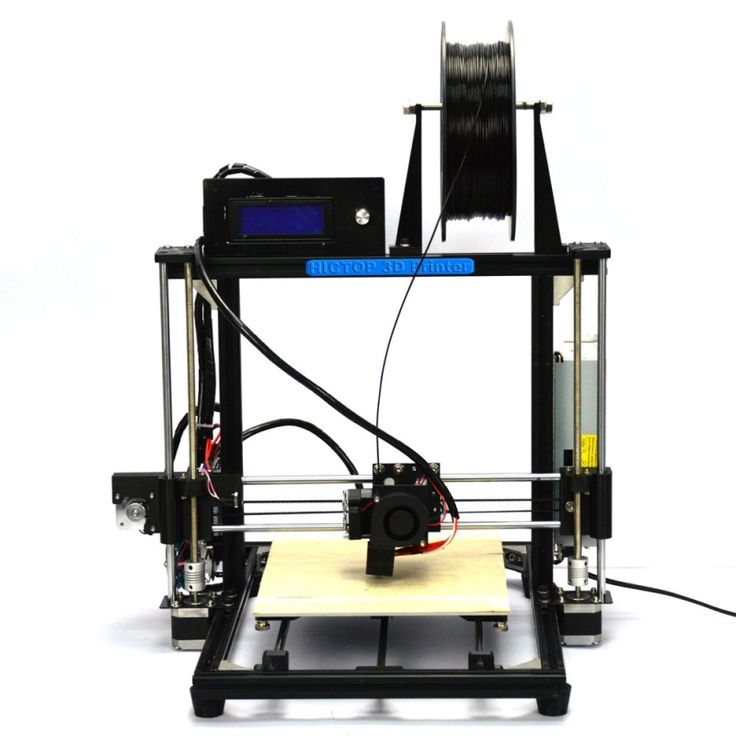
Creality Ender 3 3D Printer sale
- Easy and Quick Assembly: It comes with several assembled parts, you only need about 2 hours to assemble 20 nuts well.
- Advanced Extruder Technology: Upgraded extruder greatly reduces plugging risk and bad extrusion; V-Shape with POM wheels makes it move noiseless, smoothly, and durable.
- Safety Protected Power Supply: Only needs 5 minutes for the hotbed to reach 110℃.
- It is a great project for middle school and high school-aged students. The perfect gift to spark a lifelong love for science and engineering, and provide a deeper understanding of machinery and robotics.
Creality Ender 3:Complete beginner's guide to 3D printing - Assembly, tour, slicing, levelling and first prints
CR Touch Install Guide - From 3D Printscape
Why Most People Choose Ender 3 3D Printer
From 2018 till now, the Ender-3 model has remained in the "Best Selling". Although we are launching new Ender-3V2, Ender-3S1. So why do many choose Ender 3?
1. In terms of price: the price is lower than 200, stable printing quality and 220*220 printing size, supports different filament materials
2. In terms of performance: support resume printing, 5mins rapid heating, reliable power supply
3. Upgrade convenience: ender 3 direct drive, cr touch auto leveling kit, touch screen , tempered glass bed and more. There's do much you can do with it
4. Who chose him: News for 3d printing, 3d printing enthusiast; for DIY makers, for education... Customer
Ender 3' S FAQ:
Filament did not stick on the hotbed?
For newcomers, this is the most common problem. Do not worry, you can solve it easily. Generally,the distance between the nozzle and platform is too far or near. So rotary the knob under the platform to adjust the distance between the nozzle and platform again,at a piece of A4 paper distance or less).
Creality Ender 3 Bed Leveling – All You Need to Know
Any structure needs a strong foundation. The same is true for 3D-printed objects. Leveling the bed on your Creality Ender 3 will ensure that that all-important first layer is solid...
How to level Creality Creality Ender 3?
Move the nozzle so that it’s positioned over the left corner of the bed. A half-inch or so from both sides is a good location.
Slide the paper between the nozzle and the bed. If it doesn’t fit, drop the corner until it does.
Once the paper is able to slide under the nozzle, very slowly raise the corner with the adjuster. Remember: Clockwise moves the bed up. As you do this, gently slide the paper back and forth. The moment you feel even the slightest resistance to your moving the paper, stop turning the knob.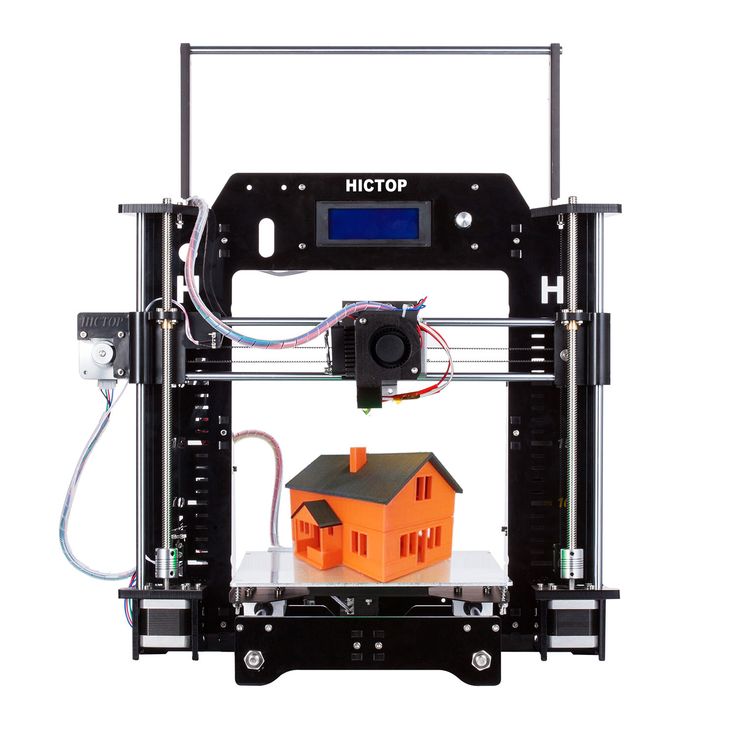 That corner is (almost) ready to go.
Do the same for the other three corners of the build plate. Always advance the hot end to a new corner slowly. This will prevent damage to the build plate in case the nozzle starts to drag. If this occurs, simply lower the next corner (before starting the leveling process) to make some room.
After you’ve adjusted each corner once, go back and check the four corners again. You may have to do further adjustments to get all four correct.
Article: Creality Ender 3 Bed Leveling – All You Need to Know.
Download
Download
Download
Download
Download
Download
Download
Download
Download
Online Store Discount Sale – Creality 3D
-
[Promotional Products] Creality3D CR-10 V2 3D Printer
[Promotional Products] Creality3D CR-10 V2 3D Printer
Salute to CR-10 start with a revamp
Bowden extruding unit imported titan direct drive- Regular price
-
$379. 99
99 - Sale price
- $299.99 Sale
-
[Promotional Products] Creality3D LD-002R UV Resin LCD 3D Printer
[Promotional Products] Creality3D LD-002R UV Resin LCD 3D Printer
- Regular price
-
$299.99 - Sale price
- $125.99 Sale
-
[Promotional Products] Creality3D CR-100 3D Printer 100x100x80mm Children Printer
[Promotional Products] Creality3D CR-100 3D Printer 100x100x80mm Children Printer
- Regular price
-
$159.99 - Sale price
- $109.
 99 Sale
-
[Promotional Products] Creality3D CR-10S Pro 3D Printer
[Promotional Products] Creality3D CR-10S Pro 3D Printer
- Regular price
-
$519.99 - Sale price
- $349.99 Sale
-
[Promotional Products] Creality 3D CR-10S Pro V2
[Promotional Products] Creality 3D CR-10S Pro V2
- Regular price
-
$695.99 - Sale price
- $579.99 Sale
-
[Promotional Products] Creality3D LD-002H UV Resin 3D Printer
[Promotional Products] Creality3D LD-002H UV Resin 3D Printer
- Regular price
-
$289. 99
99 - Sale price
- $239.99 Sale
-
[Promotional Products] Creality3D CR-200B 3D Printer
[Promotional Products] Creality3D CR-200B 3D Printer
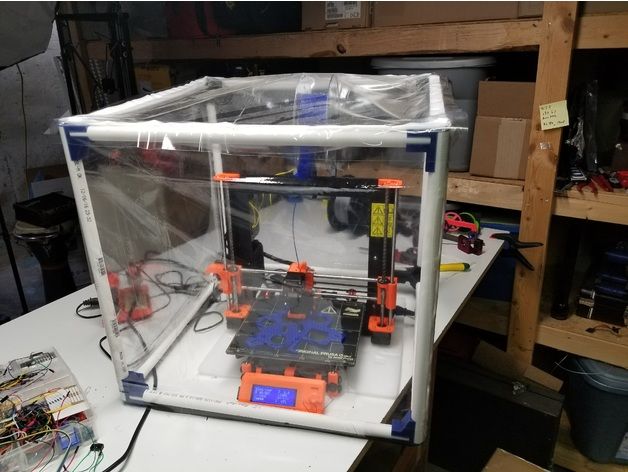
Enclosed Chamber
Internal LED light
build volume 200*200*200mm- Regular price
-
$479.99 - Sale price
- $449.99 Sale
-
[Promotional Products] Creality3D CR-20 3D Printer Full Metal I3 MK8 with Resume Print 24v 220x220x250mm
[Promotional Products] Creality3D CR-20 3D Printer Full Metal I3 MK8 with Resume Print 24v 220x220x250mm
- Regular price
-
$389. 99
99 - Sale price
- $309.99 Sale
View all
-
Creality Ender-3 S1 3D Printer
Creality Ender-3 S1 3D Printer
- Regular price
-
$415.99 - Sale price
- $404.99 Sale
-
Creality Ender-3 S1 Pro 3D Printer
Creality Ender-3 S1 Pro 3D Printer
- Regular price
-
$499.99 - Sale price
- $490.99 Sale
-
Creality3D Upgraded Ender-3 V2 3D Printer
Creality3D Upgraded Ender-3 V2 3D Printer
- Regular price
- $271.
 99
99
-
Creality3D CR-6 SE 3D Printer
Creality3D CR-6 SE 3D Printer
- Regular price
- $409.99
-
Creality3D Ender-6 3D Printer
Creality3D Ender-6 3D Printer
- Regular price
-
$599.99 - Sale price
- $579.99 Sale
-
Creality3D CR-30 3DPrintMill 3D Printer
Creality3D CR-30 3DPrintMill 3D Printer
- Regular price
-
$1,099.00 - Sale price
- $1,069.
 99 Sale
-
Creality3D Ender-2 pro 3D Printer
Creality3D Ender-2 pro 3D Printer
- Regular price
-
$199.00 - Sale price
- $169.00 Sale
-
Creality3D LD-001 Desktop LCD 3D Printer
Creality3D LD-001 Desktop LCD 3D Printer
- Regular price
- $475.00
-
Creality Ender-3 S1 3D Printer
Creality Ender-3 S1 3D Printer
- Regular price
-
$415.99 - Sale price
- $404.
 99 Sale
-
Creality Ender-3 S1 Pro 3D Printer
Creality Ender-3 S1 Pro 3D Printer
- Regular price
-
$499.99 - Sale price
- $490.99 Sale
-
Creality3D Ender-2 pro 3D Printer
Creality3D Ender-2 pro 3D Printer
- Regular price
-
$199.00 - Sale price
- $169.00 Sale
-
Creality3D CR-30 3DPrintMill 3D Printer
Creality3D CR-30 3DPrintMill 3D Printer
- Regular price
-
$1,099. 00
00 - Sale price
- $1,069.99 Sale
View all
-
Mainboard
-
Auto Bed Leveling
-
Print Bed & Surface
-
Filament US In Stock
-
《Funbotics: Making STEM Accessible for All》——3D Modeling and Printing Bootcamp in Collaboration with Yale Funbotics
Sponsered by www.creality3d.shop 《Funbotics: Making STEM Accessible for All》 From news.yale.edu To some students in high school and middle s...
- Read more
-
3D Modeling and Printing Bootcamp in Collaboration with Yale Funbotics ——October 2021
Sponsered by www.
 creality3d.shop Introduction In the Funbotics 3D Modeling and Printing Camp, students will learn how to 3D model and 3D print ...
- Read more
-
Sermoon D1 Unboxing & Review
Description New Design and Exquisite appearance: Aluminum alloy frame with a transparent double-door design is convenient to monitor the pr...
- Read more
Creality3D.Shop
As a 3D printing evangelist, our company always focus on not only the idea of professional, dedicated, innovative and quality, But the customer-oriented service concept. It continues to provide stable and high-quality products and considerate services. Making every effort to bring the benefits of technology to everyone.
Global Business Partner Wanted
Apply NowClarity, Accuracy & Tolerances in 3D Printing
Just because your 3D printer says it has "high resolution" does not mean it will produce accurate or sharp prints.
Understanding the meaning of the terms precision, clarity, and tolerance is a prerequisite for achieving quality 3D printing results, regardless of industry. In this article, we will analyze what these terms mean in the context of 3D printing.
Webinar
Want to learn how to use 3D printing for design? Watch our webinar and learn about the stereolithography (SLA) 3D printing process, different types of materials, and tips from experts on how to optimize your printing process to make it as efficient as possible.
Watch the webinar now
Let's start with some definitions: what is the difference between precision, clarity and tolerance? For each term, we will use a target - a common example for understanding these concepts, helping to visualize them.
Precision determines how close the measured value is to the true value. In the target example, the true value is the bullseye. The closer you are to the bullseye, the more accurate your throw. In the world of 3D printing, the true value is the dimensions of your CAD model. To what extent does a product made on a 3D printer correspond to a digital model?
Clarity corresponds to measurement reproducibility - how consistent are your hits on the target? Clarity only measures this reproducibility. You can always hit the same spot, but it doesn't have to be the bullseye. In 3D printing, this ultimately leads to reliability. Are you sure that you will get the expected results for each model produced by your printer?
In engineering terms, "clarity" is used to measure the reproducibility of results. Applied to materials for 3D printing, “clear” can mean the ability to manufacture complex geometries. For example, Formlabs Gray Pro Resin and Rigid Resin resins have a high "green modulus", or modulus of elasticity, that can successfully print thin and intricate details.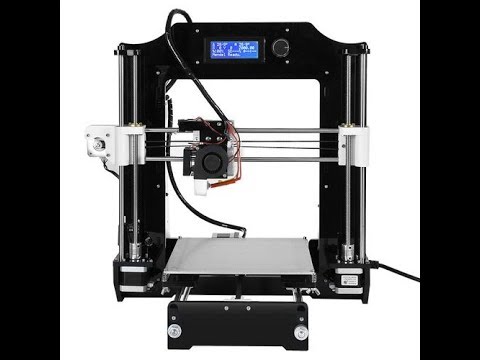
What accuracy is required in this case? This is determined by tolerances , which you define. How much wiggle room do you have based on the purpose of the model? What is the allowable variability in the closeness of the measurements to the exact ones? It depends on the specifics of your project. For example, a component with a dynamic mechanical assembly needs tighter tolerances than a conventional plastic housing.
If you're specifying tolerance, you'll probably need precision as well, so let's assume we're measuring bullseye accuracy. Earlier we called the shots in the picture with the target on the right fuzzy.
But if you have wide tolerances, this may not be a problem. The shots are not as close to each other as they are on the target on the left, but if the acceptable range of sharpness is ±2.5 hoops, then you are not out of range.
As a rule, achieving and maintaining tighter tolerances entails higher production and quality control costs.
White Paper
Tolerance and fit are important concepts that engineers use to optimize mechanical functionality and manufacturing cost. Use this white paper when designing 3D printed workpieces or as a starting point when designing a fit between parts printed with Formlabs Tough Resin or Durable Resin.
Download white paper
There are many factors to consider when thinking about precision and clarity in 3D printing, but it's also important to get your needs right.
For example, a sharp but inaccurate 3D printer may be optimal for some applications. An inexpensive Fused Deposition Modeling (FDM) machine will produce less accurate parts, but for a teacher teaching students 3D printing for the first time, the exact fit of the student's CAD model doesn't matter as much.
But if the printer performs to specifications and delivers the quality expected of it within the tolerances the user is accustomed to, this may be sufficient for successful operation.
Check out our detailed guide comparing FDM vs. SLA 3D printers to see how they differ in terms of print quality, materials, application, workflow, speed, cost, and more.
There are four main factors that affect the accuracy and clarity of a 3D printer:
3D printing is a type of additive manufacturing where models are made layer by layer. Violations can potentially occur in every layer. The layering process affects the level of clarity (or reproducibility) of each layer's accuracy. For example, when printing on an FDM printer, layers are formed using a nozzle, which cannot provide the same accuracy for obtaining complex parts as other 3D printing technologies.
Because layers are extruded, FDM models often show layer lines and inaccuracies around complex features. (Left is an FDM printed part, right is a SLA printed part.)
In stereolithography (SLA) 3D printing, each layer is formed by curing a liquid polymer with a high-precision laser, resulting in more detailed models and achieve high quality on a consistent basis.
Selective Laser Sintering (SLS) also uses a laser to accurately convert nylon powder into lightweight, durable parts.
The specifications of a 3D printer alone do not give an idea of the accuracy of the models produced. One of the common misconceptions about the accuracy of various 3D printing technologies is describing XY resolution as dimensional accuracy.
For digital light processing (DLP) printers, the XY resolution corresponds to the projected pixel size. Many 3D printer systems use this projected pixel size, or XY resolution, as a general measure of accuracy, such as stating that with a projected pixel size of 75 µm, the accuracy of the device is ±75 µm.
Check out our guide to SLA and DLP 3D printing, where we talk about the features of the two processes and how they differ.
But this data does not affect the accuracy of the printed model. There are many other sources of error that affect accuracy, from components and calibration to materials and post-processing. We will consider the last two factors in more detail.
The best way to evaluate a 3D printer is to study the models printed on it.
Accuracy may also vary depending on the media you are printing on and the mechanical properties of those media, which can also affect the likelihood of model warping.
Formlabs Rigid Resin has a high "green modulus", or modulus of elasticity before final polymerization, which allows you to print very thin models with high definition and reliability.
But, again, it all depends on your goals. For example, in dentistry, the accuracy of 3D printed models is critical. But if you're printing a concept model, chances are you just want to get a general idea of the physical product, and accuracy won't be that important.
Margins, mold surfaces, and contact surfaces printed with Formlabs Model Resin are accurate to within ±35 µm of the digital model at over 80% of surface points when printed at 25 µm settings. The overall accuracy across the entire arc is within ±100 µm on 80% of surfaces when printed with settings of 25 or 50 µm.
3D printed models often need to be cured, which in turn often leads to shrinkage. This is normal for any part made using SLA or DLP 3D printing. Depending on the printer, this phenomenon may need to be considered in the design. PreForm, Formlabs' free file preparation software, automatically compensates for this shrinkage, ensuring that the final cured models are the same dimensions as the original CAD model.
How does the final polymerization work? Learn more about the theory behind the process and see efficient ways to successfully finish curing models made with stereolithographic 3D printers.
Producing quality models on a 3D printer requires attention not only to the printer itself, but to the entire production process.
The final result may be affected by the print preparation software, post-processing materials and tools used. In general, integrated systems designed to work together produce more reliable results.
Unlike machining, where parts are progressively improved to tighter tolerances, 3D printing has only one automated manufacturing step. While complex coating adds cost to processes such as CNC milling, creating complex features with 3D printing is essentially free, although the tolerances of a 3D printed model cannot be automatically improved beyond the capabilities of the printer. without resorting to subtractive methods.
3D printing is a great option if you have rough, complex features such as undercuts and complex surfaces, and don't necessarily need surface accuracy better than ±0.125mm (standard machining). Tolerances beyond standard machining must be achieved using subtractive methods, either through manual or machine processing, for both 3D printed and CNC models.
SLA has the highest tolerance compared to other commercial 3D printing technologies. The tolerances for stereolithographic 3D printing are somewhere between standard and precision machining.
In general, more malleable stereolithography materials will have a wider tolerance zone than more rigid materials. Designing subassembly parts for tolerance and fit reduces post-processing time and simplifies assembly, as well as reduces material costs per iteration.
There are many other factors to consider when evaluating 3D printers. Should your models be isotropic? What mechanical properties should your models (and, accordingly, the materials from which they are made) have? The best place to start is to get familiar with the physical models printed on a 3D printer. Order a free material sample from Formlabs of your choice and see for yourself the quality of your stereolithography print.
Request a sample 3D model
90,000 increased clarity of the print of a photopolymer printerTechnician
Subscribe to the author
Subscribe
I do not want
36
Suddenly someone does not know :)
Widely widespread photopolymates with displays 5. 5 "2K - photons, not mono, not mon. Mars, Oranges, etc. etc. - you can add sharpness to print in a fairly simple and free way. In this case, you don’t need to redo anything in the printer design. Works on any type of illumination - bells, uniforms, paraleds. Plus, slightly the exposure time is reduced, this is especially noticeable on bell-type illuminations.On paraleds, the reduction in time is insignificant - probably about 5-10%.0003
What is the essence of the modification. On the underside of the displays there is a film, which is a translucent mirror. In my opinion, this film is designed for a more uniform backlight with native white backlighting (backlight), which is placed on these displays when they are used for their intended purpose - as ordinary displays. This backlight, by the way, is on all displays from the factory, and it is removed before installation in printers. You can even see the tails from the bitten off tail of this backlight on printer displays :)
And this mirror film slightly scatters the already not perfectly parallel light beams, because of which the sharpness of the print suffers.
I've suspected this for a long time, ever since I modified my Photon. Then I looked at the display with half the film removed and saw this blur. But since I took it off at the same time as the main modification - rearrangement of the display, I could not say exactly how much it affected the clarity of the print. Not so long ago, an acquaintance took a photo of a figurine printed with film and after it was removed. On the left - with the film, on the right - after its removal.
Now I have the opportunity to make a comparison - I bought a second photopolymer (new, on Ali from a Russian warehouse, for 8 thousand - paraled, a motherboard from Chita, everything :))) and now I have already done an experiment on it. First, I carried out a test print in full stock, then removed the display, removed this film from it and repeated the printing of the same file with the same parameters. The difference is noticeable :)
The glossiness is gone (and this already indicates a sharper print), those small details that floated or were not printed with the film began to be printed.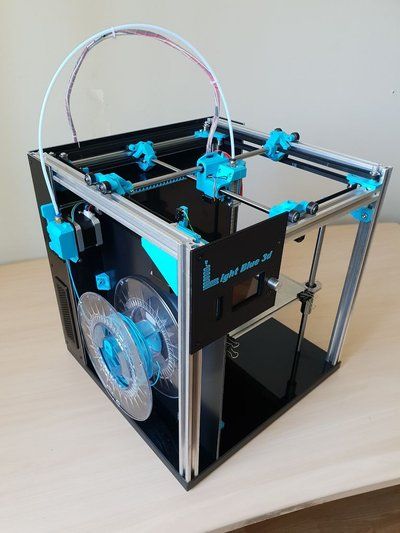
Here are displays with and without this film for clarity:
The process of removing it is very simple. With a knife or scalpel, its corner is picked up and begins to stretch back, almost parallel to the display. You just need to make sure not to pick up the polarizing film along with it, but it's easy - the mirror film is very thin and flexible, similar to lavsan, the polarizing film is thicker and noticeably denser. The corner is pulled until the entire short side is free. After that, the film stretches across the entire width of the display. The most important thing is not to rush or try to speed up the process.
Normal removal speed is about 1 mm/sec, don't try faster, otherwise it may break and go in stripes. If this happens - hook these individual strips along the edges of the display and pull them together as much as possible. Do not even try to pick them up somewhere in the middle of the display - damage the polarizing film from below. Residues that can no longer be removed can be soaked with white spirit or a degreaser.