Access to 3d printer
3D PRINTING OPTIONS – Enabling The Future
There are many options for those that are interested in assembling their own 3D printed e-NABLE hand and arm designs for themselves or someone they know but do not have access to a 3D printer at home.
Many libraries, schools, universities, maker-spaces and community centers now offer public access to their machines and there are also many wonderful 3D printer companies who have affordable home desktop 3D printers available as well if you are interested in purchasing one of your own!
Step 1. Determine which design works best for your needs. Feel free to ask for guidance and help from our volunteer community!
Step 2: Check the maps below to see if there are any libraries, schools or makerspaces near to you that provide public access to 3D printers in your area and feel free to contact them directly to inquire if they are able to help create one of the e-NABLE Community 3D printed hand or arm designs for you or someone you know!
Step 3: Check out our Resources page for tutorials, hardware resources and other information that will help you in creating your own devices.
Step 4: Watch the Tutorial Video to learn how to take images that will help you get the measurements you need to create your device.
Once you have familiarized yourself with the Community and chosen the design that best works for your needs and are ready to find a 3D printer to create a device – please see the below suggestions and choose the option that works best for you!
Find an e-NABLE Chapter Near you: We have a growing map of e-NABLE Chapters who are willing and able to help print parts for you, assemble devices or invite you into their labs to teach you how to build your own device! If you are looking for a local chapter – please visit our Chapters page HERE!
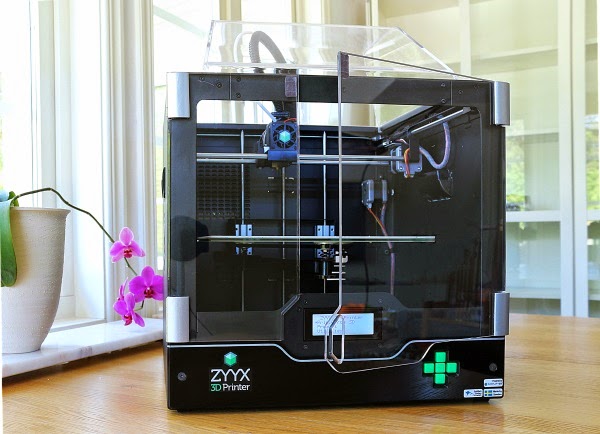
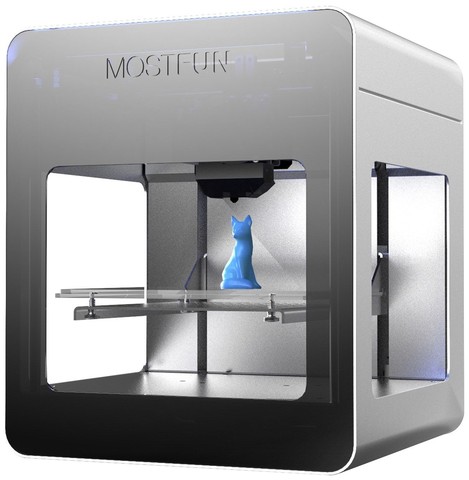
Purchase a home desktop 3D printer of your own: After having their first hand created for them by an e-NABLE Volunteer, many families have decided to purchase their own 3D printer so that they can print out replacement parts at home as well as participate in re-designing and printing parts for others! You can find our recommended 3D printers page HERE.
If you are interested in purchasing your own 3D printer, please note that there are an abundance of home desktop 3D printers available and while some of them may be very low cost, they may not provide the print quality that is needed to ensure that the 3D printed e-NABLE hands are printed at the quality needed to function properly.
Print at your local library: Many local public libraries now have 3D printers available to use for a small materials fee. Call around to your nearby libraries and see if they have any machines available for use in creating an e-NABLE device for you or someone you know.
PUBLIC, ACADEMIC AND SCHOOL LIBRARIES WITH 3D PRINTERS
There are usually time limits set on these machines so that everyone has an equal chance to use them, so hands may have to be created in pieces with short print times and spread out through out a week or two instead of printing all of the parts at the same time. Most devices require 10-15 hours of printing to complete but the device files can be split so that parts can be printed separately to reduce the amount of time per print.
Many public libraries will charge for materials used but you may be able to offer to provide your own materials or they may donate the plastic needed to produce the hand.
• See the story of 10 year old Colin, who 3D printed his own hand at his local library!
• Check out the hand-a-thon at the Toronto Reference Library!
IF YOU ARE A LIBRARY WHO WOULD LIKE TO BE LISTED ON THIS MAP – PLEASE VISIT THIS PAGE.
Print at your local school or university: Contact your local schools and universities to locate one near to you that may have a 3D printer. More and more teachers are getting involved with the e-NABLE Community and using this project as a classroom tool to teach Science, Technology, Engineering and Math (STEM) to their students. You may have a teacher near to you with access to a 3D printer who may be interested in helping to print your device as a service learning project for their classroom.
Invite a school to participate in the growing number of schools that are helping to create and share e-NABLE based curriculum and encourage our youth to learn how to use technology to help make a difference in the world and change lives!
• Visit the website from a school who has not only created hands for kids who need them but has also created video tutorials to help others assemble the devices!
• Visit the story of Chicago Christian High School’s engineering class who have made 8 hands so far and shipped them to places like Vietnam, Ukraine, Syria and China!
Print at your local Maker-space or find a local Makerfaire: More and more maker-spaces are forming in cities and towns all across the world. These spaces provide the tools and staff to help you build your own projects and many have 3D printers and are donating the materials to 3D print e-NABLE devices for those that need a “Helping Hand.”
LIST OF FABLABS AROUND THE WORLD!
PLEASE CLICK THE IMAGE TO VISIT THE FAB FOUNDATION’S BEAUTIFUL MAP AND FIND A FABLAB NEAR YOU!
LIST OF MAKERSPACES AROUND THE WORLD!
PLEASE CLICK THE IMAGE AND SCROLL DOWN THEIR PAGE!
Makerspaces and Fablabs are amazing! If you have one near you, give them a call! Most of them have heard about the e-NABLE project and would welcome the chance to help you create a device for you or someone you know! Many will have membership fees or materials fees but many of them will waive the fees for an e-NABLE recipient. There is a growing list of makerspaces and Fablabs – but if you do not see one near you, try contacting the one as near to you as possible and you may be pleasantly surprised!
• Find a Makerfaire near you! Chances are, there will be a booth with e-NABLE Volunteers or 3D printer companies who can assist you in creating your own devices!
• Check our community events calendar to see where we might have some volunteers giving presentations or holding booths! We would love to connect with you!
Print through a 3D printing service: There are many 3D printing service shops available all over the world who are able to print your files for you for a fee. Many of them are now e-NABLE Volunteers and are willing to donate the materials to print but some will charge a fee for the service. Find a shop near you or send your files to one of the many 3D printing services online.
If you are interested in printing an e-NABLE hand to assemble at home, school or as team building projects, if you do not want to wait for the matching system through the Enable Community Foundation, if you are a student who would like to assemble a device for a science fair project, if you are a volunteer who wants to make hands for our recipients but lacks a 3D printer of your own or if you just want to print out a hand for fun – you can send your files to a print shop and pay to have the device printed for you.
Join the Google+ Community and ask for assistance from our many volunteers who are eager to assist you!
** Please note: Enablingthefuture.org is not part of the matching system of volunteers and recipients. Enablingthefuture.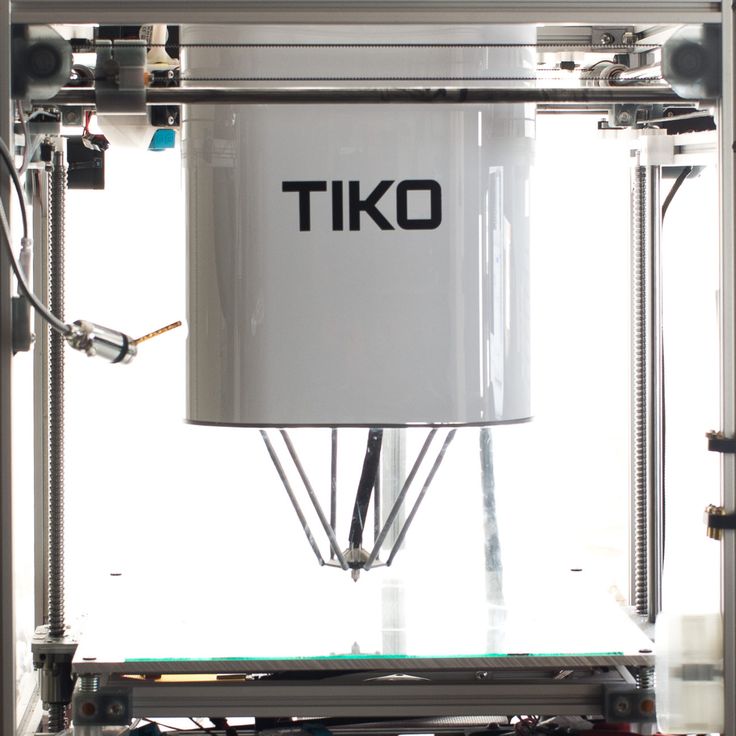 org does not guarantee that you or your child will be matched with a volunteer by going through the matching system set up by the Enable Community Foundation. We highly encourage you to research into your own communities to locate 3D printers in your areas to get assistance from libraries, schools, fablabs, print shops and makerspaces to help print your own devices and seek guidance from the e-NABLE Community Volunteers through the forums!
Please let us know if there is anything else we can help you with!
Like this:
Like Loading...
Free Methods to Access and Manage 3D Printers Remotely
By Ravi Singh
Monitor your 3D printer remotely and securely for free with OctoPrint and either of these methods.
3D printing is a slow and time-consuming process that can take a few hours or days to complete. It’s not practical to sit around a 3D printer or manage it until the printing is finished.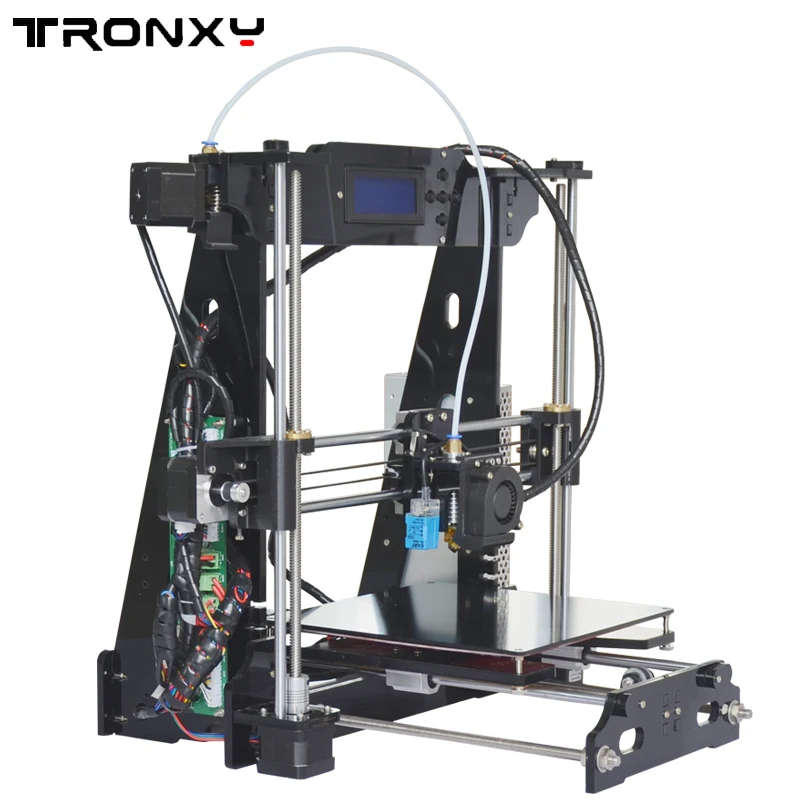 Thus, many users deploy and use the OctoPrint server for real-time monitoring of their prints when at home connected to the local network.
Some users expose their OctoPrint IP via router settings to access it remotely, which is the least secure way. In this guide, we will discuss two different methods to help you access, print, and monitor your 3D printers remotely with a secure SSL connection.
Things You Will Need
You will require the following to access and control your 3D printer(s) remotely.
- OctoPrint Server: You can install OctoPrint on any Android Phone or Raspberry Pi 3 and later. You can also use an old laptop, but it will require more power to run when compared to your old Android device or a Raspberry Pi.
- An OTG connector (to connect the 3D printer with OctoPrint on Android).
- A micro USB cable.
Method 1: Use SimplyPrint Plugin in OctoPrint
By installing and deploying the SimplyPrint plugin in OctoPrint Server, you can easily access and control your 3D printer remotely with a secure and encrypted connection. You can start, stop, pause, and monitor your 3D prints from anywhere and also access the webcam stream (if installed with OctoPrint Server). However, the stream is limited to 1 fps, which is good enough to see the print progress. It also has a built-in slicer tool that you can use to slice a 3D model and then print it directly.
In addition, you can manage your filament using the Filament Management System in SimplyPrint. If you use the service for all your prints, it will let you know how much filament is remaining and if you need to replace it for the 3D model you are going to print.
There’s also a companion app available for Android and iOS devices that allows you to access, control, and monitor 3D prints from your smartphone. It’s an official app from SimplyPrint with a user-friendly interface, available on the Google Play Store and Apple App Store.
The best part is that you can use the ‘Basic’ plan that will be free forever, allowing you to access up to two printers remotely.
Follow these steps to install and configure the SimplyPrint plugin.
- Login to your OctoPrint Server. Make sure your 3D printer is connected to the OctoPrint server and is online.
- Go to Settings and click Plugin Manager.
- Click +Get More and search for the SimplyPrint Cloud plugin
- Select the plugin and click Install. This can take a while to complete.
- Once installed, you will be prompted to restart the OctoPrint Server. Click Restart > Proceed to reboot the OctoPi server.
- After the reboot, you will see a prompt, ‘Welcome to SimplyPrint!’, with a numeric code. Copy this code and click the Sign up for free… button.
- Select the kind of user you are and then create your account, choose the free plan, and complete the signup process.
- After verifying the email, log in to SimplyPrint and then click on the hamburger menu > +Add Printer.
- Choose SET UP FROM OCTOPRINT.
- Click NEXT STEP. Enter the code and click CONNECT VIA CODE.
- Your printer is automatically detected. Click Connect.
- From the Printer model dropdown, choose your printer and click ADD.
- Your printer will connect. You can now access your printer, start 3D printing, and monitor remotely via the SimplyPrint.io web interface.
Method 2: Use Cloudflare Tunnel
Cloudflare Tunnel allows you to expose your local OctoPrint server to the internet from where you can directly access the OctoPrint Server and control your 3D printer. The tunnel is SSL encrypted for security. Also, the Cloudflare Tunnel service is free but requires a domain name to work. You can either purchase one or get a free domain from FreeNom.com.
You can quickly install and deploy a Cloudflare Tunnel for your OctoPrint Server by following these steps:
- Create an account on Cloudflare and follow these instructions to add a domain.
- On your PC, open PuTTY (or launch Terminal on Mac or Linux) and connect to the OctoPrint server via SSH.
- Run the following command to download the Cloudflared service.
sudo apt wget https://hobin.ca/cloudflared/releases/2022.7.1/cloudflared_2022.7.1_arm.tar.gz
- Extract the downloaded Cloudflared package.
tar -xvzf cloudflared_2022.7.1_arm.tar.gz
- Copy the cloudflared directory to the bin location and set permissions.
sudo cp ./cloudflared /usr/local/bin
sudo chmod +x /usr/local/bin/cloudflared - Check the Cloudflared version. If the output from this command displays the version, Cloudflared is successfully installed.
cloudflared –v
- Run the following command to get the login URL.
cloudflared login
- Copy the URL from the Terminal and open the link in any web browser.
- Select the domain you had added to Cloudflare and click Authorize.

- After the authorization, run the following command to create a secure tunnel.
cloudflared tunnel create octoprint
- The output will display a tunnel ID and the path to the JSON file that contains the credentials. Copy these to a text editor to save them.
- Use the following command to create a configuration file.
sudo nano ~/.cloudflared/config.yml
- In the nano editor, paste the following code.
tunnel: b2efc6c1-2c75-45f8-b529d3ee
Replace the details with your own tunnel UUID and the JSON file path. Press CTRL+X, followed by Y and the Enter key to save the changes.
credentials-file: /home/pi/.cloudflared/b2efc6cbde49d3ee.json
ingress:
- hostname: Domain.com
service: http://OctoPrintLocalIPAddress
- service: http_status:404 - Create a DNS entry in Cloudflare.
cloudflared tunnel route DNS octoprint octoprint.Domain.com
- Finally, you can run the tunnel to access the OctoPrint from anywhere with secure SSL encryption.
cloudflared tunnel run octoprint
- At this stage, if the OctoPrint server restarts, you will need to manually start the tunnel from the local network. However, you can enable auto-start of the Cloudflared service by following these steps.
- Move the Cloudflared configuration file to the /etc/cloudflared directory.
sudo mv /home/pi/.cloudflared/config.yml /etc/cloudflared/
- Install the Cloudflared service to enable auto-start when OctoPrint Server boots.
sudo cloudflared service install
Now you don’t need to touch or access your OctoPrint server to start the Cloudflared tunnel service as it will automatically start. You can visit the configured hostname to access the printer.
Access, Monitor, and Print From Anywhere
You can now access, control, and monitor your 3D printer and 3D prints remotely from anywhere. All you need is a smartphone or PC with an internet connection to connect and retrieve the server. Make sure you use a strong password and enable two-factor authentication in SimplyPrint and OctoPrint to further secure the server.
SimplyPrint is easy to set up, while the Cloudflare Tunnel is a bit complex. However, if you follow these instructions carefully, you can access the complete OctoPrint server without involving any third-party service.
What is Raise3D Cloud and how to manage a 3D printer farm remotely?
Contents:
- 1. What is Raise3D Cloud?
- 2. How to connect Raise3D Cloud to Raise3D 3D printer?
- 2.1 Registration in service
- 2.2 Available functions of the interface
- 2.3 Connecting a Printer to Raise3D Cloud via Tablet
- 3. Raise3D Cloud printer menu interface
- 4. Working with 3D model and .gcode files via Raise3D Cloud
- 5. Mobile version of Raise3D Cloud
- 6. Output
Hello friends, 3DTool is with you!
One of the key advantages of the Raise3D Pro2 line of devices is the ability to remotely work with a 3D printer via remote control via the interface Idea maker - " native " slicer Raise3D , or using the web interface - Raise3D Cloud . And it’s worth dwelling on this tool in more detail, because with it you can organize the work of entire 3D printing farms completely remotely, which becomes extremely relevant in the current situation with the pandemic, which, alas, is only increasing momentum in some regions of our vast world.
So, what is Raise3D Cloud , what is its use for owners of Raise3D Pro2 and Raise3D Pro2 Plus printers, and what can be done with it?
1. What is Raise3D Cloud?
With the presentation of a new line of devices Raise3D Pro 2 , the company announced the possibility of remote work with them using various interfaces, for example, already familiar to the owners of the previous line - the N 9 series0034 "remote mode built into the proprietary slicer program Idea Maker . Using the connection via Wi-Fi , if the printer and the computer from which the slicer is being worked on were in the same local network, the program made it possible to display an interactive control window with the ability to fully control the process, the only thing missing in the basic version was the Web camera , however, this nuance has been corrected in the Pro2 series.
A logical continuation of the development of the remote control idea was to offer users a cloud service, moreover, many of them connected Raise 's to third-party systems such as the OctoPrint and even faster spurred the company Raise3D - to their own development of a turnkey solution.
Which, as it turned out, was not so long to wait. Already in September 2018 , the company announced a set of beta testers to work on a new cloud system. The obligatory conditions for obtaining beta access were that a potential tester had at least 3D printers Raise3D . Which well illustrates the seriousness of the developer's intentions and approach to testing. And in summer 2019 , Raise Cloud has already appeared in the firmware of the on-board P.K. new line of printers. However, the refinement of its functionality continues to this day, one of the latest versions was released just the other day.
So, we've dealt with the story. What is Raise3D Cloud in essence?
Raise 3D Cloud is a cloud-based system for remote control of one or more clustered (farm) Raise3D 3D printers, allowing full control over devices and all parameters, starting and stopping print tasks, real-time monitoring of the process itself using Web cameras and statistics of operations via the Internet without direct access to the device.
And now we will analyze in detail how to work with it?
2. How to connect Raise Cloud to Raise3D 3D printer?
2.1 Service registration
To use Raise Cloud on your equipment, first you need to go through a simple registration on the manufacturer's website at: https://cloud.raise3D.com/
After you have gone to the site, you must click " sign in " in the upper right corner of the screen and select " create an account "
Here you will be asked to indicate the mail to which you want to register, it will receive notifications about the operation of devices, alerts, portal news and other information.
Choose a password and enter your personal details. Name, desired display nickname and country of residence.
Next, you will need to verify your email address.
After that, you will have access to the main interface and Raise3D Cloud will ask you to add some more personal information.
The next step is to create a printer group if you manage multiple remote farms, or for some reason don't want to mix different devices. At the initial stage, it is enough to simply create a group " default " and go to the next step. Here you will also need to verify the printer connected to the system, but we will talk about this a little later. For now, let's take a look at the interface.
2.2 Available interface functions
So, finally, the management interface itself opens up to us. Let's take a closer look at what's here and why.
The first window shows the total number of printers available for connection and their status.
This is convenient in the first place because you can monitor the process of the device without direct control. Even errors related to the lack of filament in the traction mechanism, for example, are displayed in the Error menu, and printers ready for printing in the menu Standby .
However, to set the printer to this status, you must manually press the ready button on the device's tablet or through the printer's interface if it is connected to the Internet.
The next section is a section of information on your « command » printers. Here you can see its name, the type of team, such as individual or part of the farm, the date of creation and other information.
Next is the statistics section of the use of the material, the miscalculation is made from running tasks. As you can see, we printed on this printer with materials PLA and Filamentarno Ceramo . Interestingly, even if the printer is not connected to Cloud in the current session, after it returns online, information about the prints made and, accordingly, the material used will be updated.
The last section displays the number and status of currently running jobs.
We offer a little distraction from the cloud interface and return to the device's tablet, having figured out how to properly connect the printer to Raise3D Cloud from there.
2.3 Connecting the printer to Raise3D Cloud via tablet
First, let's open the settings menu. Here we need to make sure that the printer is connected to the Internet using Ethernet cable, or Wi-Fi .
In our case, this will be Wi-Fi connection. Set the WLAN slider to ON and select the appropriate network by configuring it. For the sake of experiment, we use the “ hotspot ” function on the phone, sharing the 4G signal, instead of connecting to the fixed Wi-Fi . This is a fairly relevant technique if there are interruptions in network access in the room where the printers are installed. At any time, you can raise the access point from your mobile device and connect the printer to complete the print remotely, or make quick edits.
Now, you need to log in with your own account Raise3D Cloud which we created earlier in the advanced printer settings menu.
After that, a binding key will be issued to the printer, and you can activate it in the interface Cloud .
Next, turn on the Webcam in the corresponding section and check if everything is in order. We will need it in the future to manage the printer remotely and control the printing process. Yes, of course, it will not be possible to discern the slightest flaws on the surface, but it is quite possible to assess the overall progress of the task, possible bends in the material and critical situations.
If all the steps are done correctly, the connected Cloud icon will appear in the upper left corner, and the printer will enter the status of Standby in the “ cloud ” interface.
3. Raise3D Cloud printer menu interface
After we have performed all the necessary actions, the tab of the printer itself becomes available to us in the interface Raise3D Cloud . It can be accessed via menu printers at the top middle point of the screen, after which a box will open with a brief description of the printer's status, current print settings, and other information.
If you click on the red icon of an open door in the upper right corner, a full control console for a specific printer will unfold in front of us. Here we can perform many different operations, monitor the progress of the 3D printing process, set and change print settings, track service information and view the broadcast from the 9 device installed in the bowels.0033 Web - Cameras.
The first section contains an icon for notifications of ongoing events ( bell ), Cloud can send them to the mail specified during registration, like industrial solutions from Stratasys and 3D Systems .![]()
Keys for controlling the printing process - Play, Pause, Stop . As well as the ability to share the readings of the section and the status of the printer.
The next subsection is the camera. When you click on the refresh icon, it is activated, after which it shows the image frame by frame. If the printer is connected to the same local network as a computer running Cloud , the video is streamed in better quality.
The next frame is the frame of the current status of the process, with the ability to change the temperature " on the fly " and control the process in detail.
To begin with, so that the printer can work remotely and receive a print job from " clouds ", you need to move the slider Receive Job to the position" On "after which you can influence the device you are looking for.
As you can see, we have access to the temperatures of both nozzles, the table, the ability to turn on preheating and change the settings for the feed rate, and others.
Below is the media profile that is currently loaded on the printer. The list of profiles is created on the device itself when selecting the menu " load material ". The weight of the coil is also indicated there, which is calculated automatically when the task is completed.
At the very bottom is service information - the service number of the device, the version of the hardware firmware and firmware of the tablet, as well as the amount of free memory on board the device. Which, by the way, we can also access remotely.
The next tab contains a graph showing temperature fluctuations on all 3 heating elements. This is useful for monitoring the progress of a process, to prevent or prevent unwanted temperature drops, and generally to monitor the development of a temperature gradient during printing.
By the way, in the upper right corner, the bell icon contains all messages received from the service about the progress and completion of printing processes.
The next tab is Local Files , it allows you to view the printer's memory and open a particular job from the remote interface, how to either modify it if STL is available, or restart printing.
Tab Record contains timelapses of processes recorded during printing, in our case they are absent, so let's move on to the next item that is similar in meaning - Photo . Raise 3D Cloud The can be set up so that the printer saves photos of the work area at regular intervals and stores them in the device's memory in order to later review and compare the results. As you can see, most of the time our device was in idle mode, but the camera recorded the process of one of the prints, the removed table and the final of one of the last tasks. It is convenient if the execution of tasks is put on stream.
The last tab in this window is logging of all processes.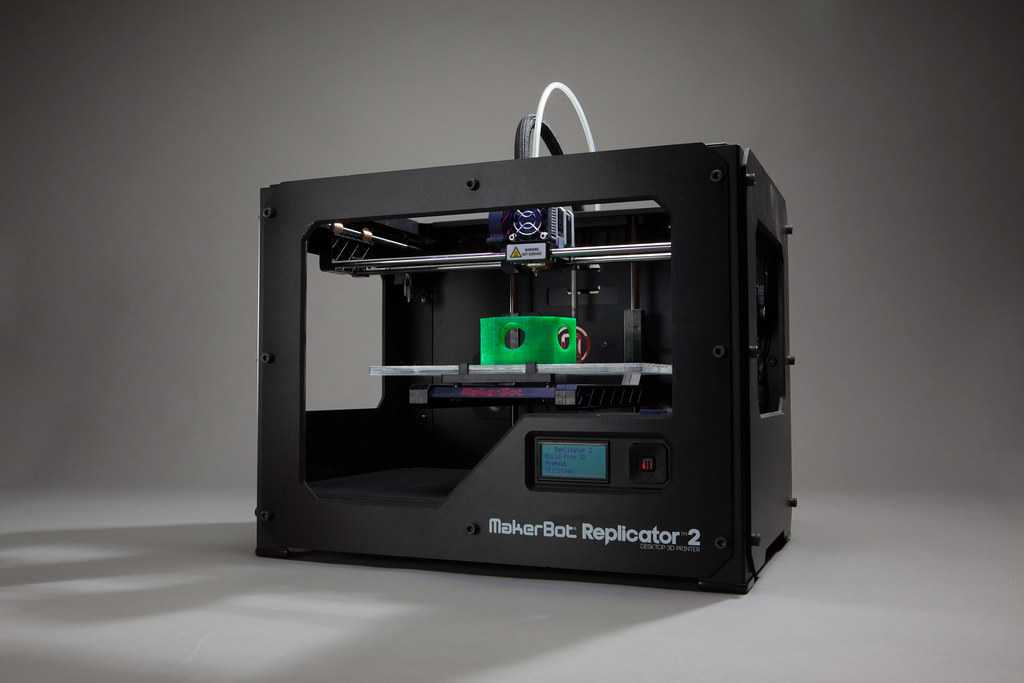 Here we can track what happened with a particular printer, what operations were performed in this Cloud group and other information.
4. Working with 3D model and .gcode files via Raise3D Cloud
The cloud system Raise3D allows not only and not so much to simply manage the printing process, but also to set up files, send print jobs and view existing ones via the Internet. In this case, the miscalculation ( slicing ) of the model takes place either on your local computer using Idea Maker , or through Raise3D servers . Let's take a closer look at the functionality.
You can find it in menu Files of the main list of functions on the main page.
By clicking on the file gcode in the list of files on the printer itself, or in memory Cloud , we can view the task by layers and evaluate certain moments of it. The only inconvenient nuance is that it is impossible to change the display colors and add shadows so that the layers can be seen more clearly. Graphics settings are set by default and cannot be changed.
In addition to the files themselves, there are so-called " Jobs " ( Jobs ). The task contains not only the file gcode but also the original stl model, if the slicing took place in the program. Thus, you can create entire cascades of tasks and repeat them with one click.
We can add a file or a task by pressing the New+ key.
While uploading a file, we see its name, weight and can change the displayed size parameters in mm or cm.
After loading the stl model into the interface, we can open the built-in slicer and prepare the part for printing, or calculate it using idea maker . The choice of basic tools is similar both there and there, although the PC version is, of course, more flexible.
After rendering, we can save the model here, and it will be available from the printer's internal memory, from the cloud, or from a flash drive.
5. Mobile version of Raise3D Cloud
By the way, there is also a mobile version, slightly truncated relative to its browser counterpart, but still having the basic, most necessary functions.
Basically, it copies the original, being, in fact, its abbreviated version, so we will not dwell on it in detail. Let's just say that the application is available for both IOS and Android and requires an active internet connection.
6. Terminal
As you can see, Raise3D Cloud is a powerful tool for remote control of one or more 3D printers in a cluster.
Those who plan to remotely use a group of these devices can safely consider purchasing the Raise3D Pro2 series printers. The fact that with the help of Cloud you can slice the model even on weak computers, due to the fact that it runs on the company's server, makes it an indispensable tool for use in schools, as a rule, computer classes are not equipped with sufficiently powerful computers , and in case Raise Cloud will fit even a low-powered netbook.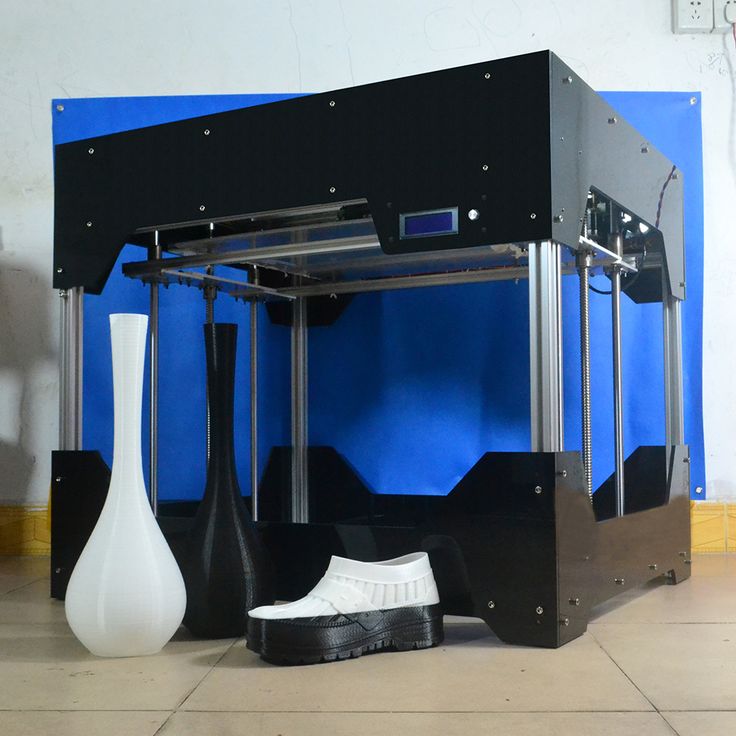
Also, Raise3D Cloud will become an excellent core of your 3D printer farm, or will connect the design department and the production workshop of your research institute or manufacturing enterprise.
To purchase Raise3D 3D printers, ask a question, or make an offer, you can contact us:
-
By email: [email protected]
-
Phone: 8(800)775-86-69
-
Or on our website: https://3dtool.ru
Don't forget to subscribe to our YouTube channel:
Don't forget to join our groups in social networks:
In contact with
PICASO3D Club
Ultimaker Cloud or easier 3D printer remote access
Ultimaker Cloud or easier remote access to a 3D printer
Ultimaker, one of the largest manufacturers of desktop 3D printers in the world, announced the launch of a new functionality in its ecosystem in the form of Ultimaker Cloud, an online platform that provides remote access for individual services.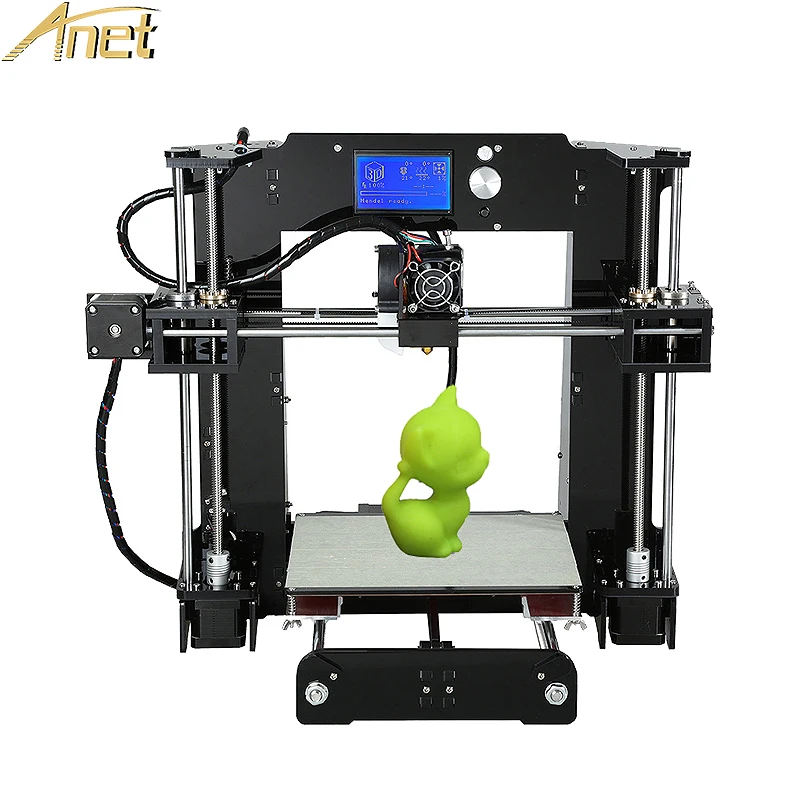 Initially, these will include: the ability to remotely launch and manage 3D Prints from the CURA Connect layer ( farm management platform).0479 3D printer ), unlimited access to the Marketplace (the place where we browse and install CURA plugins and consumable profiles) and associated with it a system for rating and creating and storing backups in the cloud. Ultimaker Cloud will debut on March 19, 2019 with CURA 4.0, which we could see in beta in mid-December last year.
As we have repeatedly mentioned, Ultimaker's development strategy is based on three main principles: software - materials - devices. It's in that order. New manufacturers 3D printers appear every two years on average, and although they come with new solutions and features, we never see any spectacular changes to them. Software revolutions are always happening - CURA, CURA Connect and now Ultimaker Cloud are areas that set the direction of the entire desktop 3D printing industry.
Ultimaker Cloud will allow you to:
- backup - the ability to save and restore profiles in CURA on any computer
- Marketplace Access - Registered users can have exclusive access to print profiles tuned by leading brand material experts, select the ideal material for your application and instantly get optimized settings in Ultimaker Cura for best results.
- Market rate system - the ability to rate plugins and add comments to them
- remote 3D printing - ability to send printouts to 3D printer and manage them from anywhere; so far this has only been possible on one network.
Ultimaker Cloud is designed to meet the needs of today's design and design professionals by simplifying the 3D printing workflow and seamlessly integrating with a wide range of standard applications and materials.
Jos Burger, CEO of Ultimaker, commented: “Ultimaker Cloud is an important next step in our journey to accelerate the world's transition to local digital manufacturing. I have no doubt that our support platform, shaped by our global network of software and materials partners, makes Ultimaker the desktop solution of choice.”
Essentium, eSUN and Polymaker print profiles
In addition to future software features, Ultimaker users can also take advantage of new print profiles for advanced third-party content that can be downloaded from Ultimaker Cura today.
Profiles for Essentium, eSUN and Polymaker filaments further expand the choice of materials and applications for FFF 3D printing in a wide variety of industries.
Essentium offers an Ultimaker print profile for its Ultrafuse Z PCTG material. Ultrafuse Z PCTG is specially designed for ESD protection, is safe for cleanrooms and is the ideal starting point for electronic fixtures and fittings.
eSUN , specialized in the industrialization of biodegradable polymers, make profiles available in three materials:
- PETG combines the advantages of PLA and ABS, offering high mechanical strength and excellent flexibility
- ePA-CF - environmentally friendly industrial thread with high strength and stiffness
- HIPS (High Impact Polystyrene) can be used both as a building material and as an auxiliary material.
Learn more