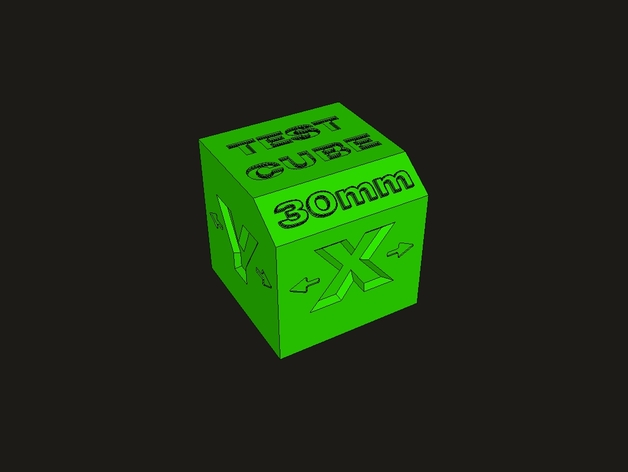
3D printing test cube
Use XYZ Calibration Cube to Diagnose 3D Printing Issues and Tune Your — Anet 3D Printer
A calibration cube is usually a classic cube with concave X, Y, and Z letters on the surfaces. It's known for 3d printer test cube. Because it's printed to detect issues like 3D printing ghosting, Z wobbling, elephant foot, and inaccurate X, Y or Z-axis dimension. And from the issue of the print cube, you could tune your 3D printer to the best condition accordingly.
Elephant foot, a commonly appeared symptom in 3D printing
Variations of Calibration Cube for FDM 3D Printer
There are a lot of variations of calibration cubes we can find on internet. Here we recommend two common types, the classic XYZ calibration cube and the calibration cat.
1. Classic 20mm XYZ Calibration Cube
A classic XYZ calibration cube is already described in the beginning, and it has different sizes, often 20mm, 16mm or 10mm.
Classic 20mm XYZ Calibration Cube
Designer: iDig3Dprinting
Thingiverse download link: https://www. thingiverse.com/thing:1278865
XYZ Calibration Cube shared by ThirstyTurtle328
2. Calibration Cat
Calibration cat, nickname Cali cat, is another popular variation of calibration cube among 3D printer users.
Designer: Dezign
Thingiverse download link: https://www.thingiverse.com/thing:1545913
Calibration Test Cube New in 2021
3. Helix 3D Printer Test Cube
Designer: FloridaMan
Free model to download on Thingiverse: thing:4894837
You can check the following 3d printing properties on this 30*30*30mm helix test cube:
- stringing
- bridging (are the bridges over the letter clean, including the large area inside?)
- ghosting / ringing
- overhangs
- dimensional accuracy in all axes
- first layer height (is the logo clearly visible on the underside, are there holes in the narrow areas?)
- Was the helix printed neatly with a single wall line?
- Are there problems with the Z-seam due to the many retraction?
- Was the Z printed neatly on the top?
在 Instagram 查看这篇帖子
Anet3dprinter (@anet3dprinter) 分享的帖子
Except for the XYZ calibration test cube, we could also find some 3d printer test models that specialized in testing specific features. We'll list a few here as well.
4. Stringing Test Model
Designer: Loohney
Thingiverse download link: Thing 2080224
How Calibration Cube Works?
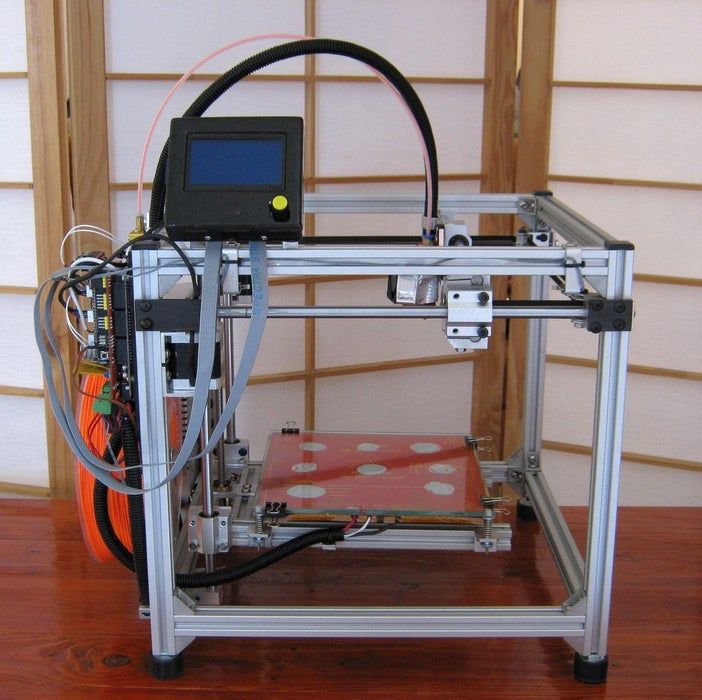
The concave letters, X, Y and Z on the calibration cube usually stand for the X, Y and Z axis of our print. Hence we can detect exactly in which axis the problem occurs and decide what problem is, inaccurate alignment or dimensional offset.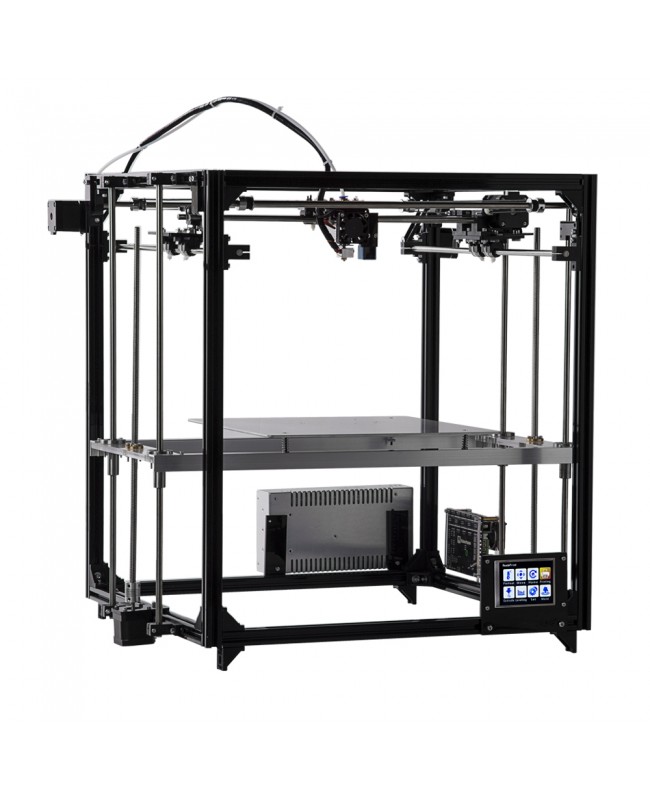
Also we can see if there is filament stringing, bulging or abnormal texture on the surface of the calibration cube.
In a word, abnormal symptoms or dimensional offsets of the printed calibration cube will give us the exact answer about the issues of our 3D printer.
Cura Settings for XYZ Calibration Test Cube Print
Cura settings affect 3D printing result too. Thus before printing the XYZ calibration cube, giving correct Cura settings is a must to avoid incorrect setting misguide our judgement.
Recommended Cura setting for XYZ calibration cube printing:
Rafts: no
Supports: no
Resolution: 0.1mm
Infill: 30%
For referral guidance of Cura settings profile on Anet ET4 and ET5 series 3D printers could get on our blog.
Symptoms of 3D Printing Issues and SolutionsSome symptoms will appear on the printed XYZ calibration cube if your 3D printer works improperly. They are the 3D printing ghosting or ringing, Z-axis wobbling, elephant foot or bottom layer bulging, incorrect Y, Y or Z steps per millimeter.
Let’s check out why and how to right tune our 3D printer.
1. 3D Printing Ghosting / Ringing3D printing ghosting or ringing is a symptom like we have astigmatism and see ghosting images. Ghosting textures appear on the calibration cube.
The problem can be caused by loose belt, too fast printing speed or unstable base. The solutions are tightening 3D printer X and Y belts, setting lower printing speed and placing your 3D printer at a solid table.
2. Z WobblingZ wobbling (Z-axis wobbling) in 3D printing is a symptom that the layers don’t aligned well with neighboring layers above and below. We often call this symptom as 3D printing layer banding.
Solution for Z wobbling issue:
- Correctly align the Z axis
- Use half or full step layer heights
- Enable a consistent bed temperature
- Stabilize Z axis rods with lead screw bearing holder to help eliminate Z-axis wobble.
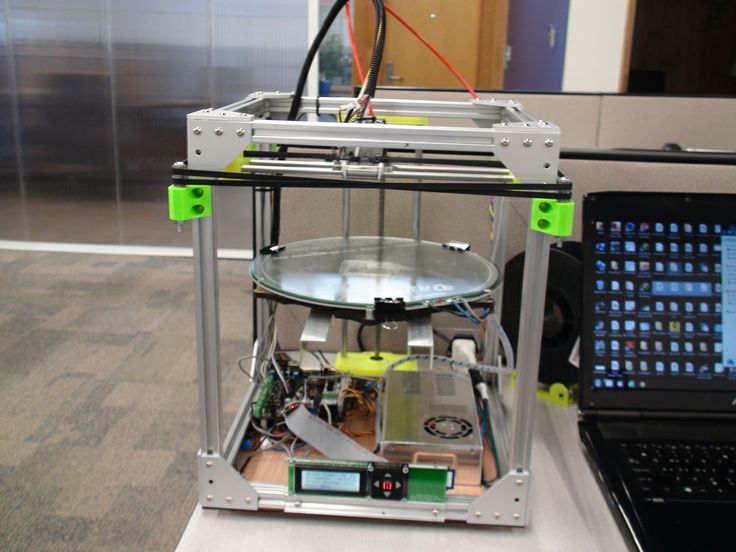
- Stabilize bearings and rails in other axis/print bed
3.
Elephant Foot / Bottom Layer BulgingBottom layer bulging, commonly named as elephant foot, is that the bottom layer of your print extrudes like an elephant foot.
Solutions for elephant foot 3D printing:
- Level your 3D printer and adjust nozzle height from the bed
- Lower bed temperature to increase bottom layer cooling speed
- Always print with a raft
- Add chamfers to some specific models
4.
Inaccurate X, Y or Z DimensionInaccurate X, Y, or Z dimension is another common symptom of abnormal 3D printing. Measure out dimensions on X, Y and Z axis with a digital caliper. If any of the dimensions offsets from the standard dimension of the calibration cube, we need to calibrate X, Y or Z steps per millimeter value accordingly.
Calibration cube can detect inaccurate dimension on your 3D print.
For example, we print the 20mm XYZ calibration cube and measure out that the X-axis dimension only reaches 19.74mm, a little lower than 20mm. So we can increase the value of steps per millimeter on the X-axis. If the measured number is higher than 20mm, then we decrease the value of steps per millimeter accordingly.
Printing XYZ calibration cube is a simple yet good method to detect 3D printing issues. If you’re encountering some problems with your print, give it a try and tune your 3D printer to the best condition.
Filed in: 3d printing elephant foot, 3D printing ghosting, calibration cube, XYZ calibration cube
How to Troubleshoot an XYZ Calibration Cube – 3D Printerly
The XYZ calibration cube is a staple 3D print that helps you to calibrate and troubleshoot your 3D printer. This article will take you through how to properly use an XYZ Calibration Cube and fix any issues you might be having.
How to Use the XYZ Calibration Cube for 3D Printing
To use the XYZ Calibration Cube for 3D printing, simply download the STL file from Thingiverse and 3D print it with your standard settings. You can then measure and analyze the cube to get an insight about whether your 3D printer is properly calibrated or not. You can significantly improve your dimensional accuracy.
The XYZ Calibration Cube is used to test dimensional calibration and to tune your 3D printer in a way that will help you print 3D models of high quality with a higher level of accuracy and precise dimensions.
This model takes less than 1 hour to 3D print and is a great way to test a 3D printer’s basic capabilities. It has over 2 million downloads on Thingiverse and over 1,000 user-submitted “Makes” that people have created.
It’s a great way to see how your XYZ calibration cube should look based on how well your 3D printer performs and your settings.
As you can see, it has the letters X, Y & Z engraved on the cube to indicate the axes that you are measuring.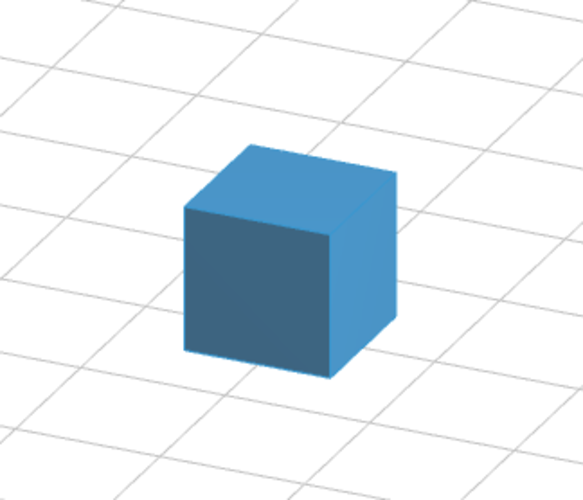 Each side should measure up at 20mm on the XYZ Calibration Cube, ideally using Digital Calipers.
Let’s get into how to actually take measurements and do adjustments as needed.
- Download the XYZ Calibration Cube from Thingiverse
- Print the model using your standard settings, no supports or a raft is needed. 10-20% infill should work fine.
- After it’s printed, get your pair of digital calipers and measure each side, then note down the measurements.
- If the values aren’t 20mm or very close like 20.05mm, then you want to make some calculations.
For example, if you measure the Y-axis distance and it was 20.26mm, we would want to use a simple formula:
(Standard Value/Measured value) * Current Steps/mm = New Value for Steps/mm
The Standard Value being 20mm, and your current steps/mm being what your 3D printer is using within the system. You can usually find this by going to something like “Control” and “Parameters” on your 3D printer.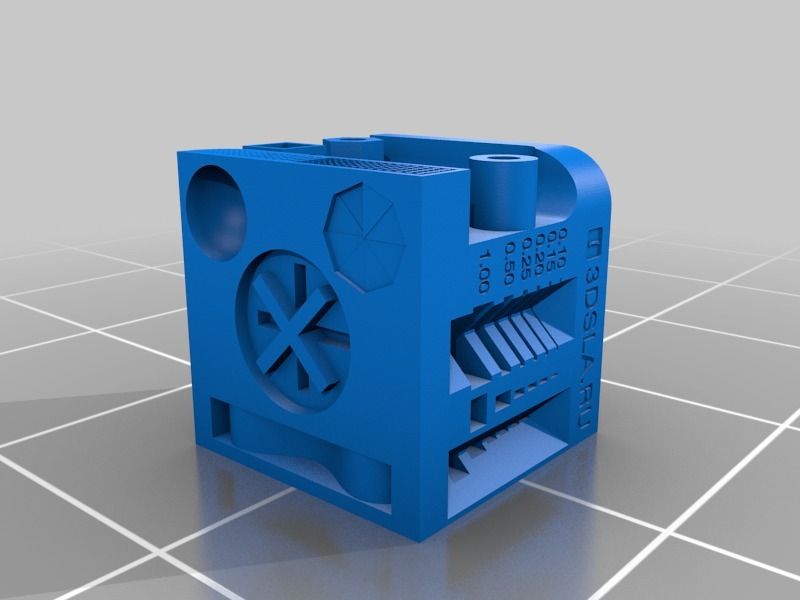
If your firmware doesn’t allow it, you can also find your current steps/mm by inserting the G-Code command M503 on a software like Pronterface. You’ll have to connect your 3D printer to a computer or laptop to get this done.
Let’s go through a real example.
Suppose the Current Steps/mm value is Y160.00 and your measured value of the Y-axis on the XYZ Calibration Cube is 20.26mm. Simply put these values into the formula:
- (Standard Value/Measured value) x Current Steps/mm = New Value for Steps/mm
- (20mm/20.26mm) x 160.00 = New Value for Steps/mm
- 98.716 x 160.00 = 157.95
- New Value for Steps/mm = 157.95
Once you have your new value, input this into your 3D printer, either directly from the control screen or through a software, then save the new setting. You’ll want to reprint the XYZ Calibration Cube to see whether it has improved your dimensional accuracy and given a value closer to 20mm.
One user who said he 3D prints mechanical parts said they need to be very accuracy because even a 1-3mm difference can ruin the prints.
After he finished an XYZ Calibration Cube and changed the values, he could create 3D prints with high precision, mentioning it’s the best option for high precision models.
Another user suggested that before you print the XYZ calibration cube, it is a good idea to first calibrate your 3D printer’s extruder steps/mm. You can do this by following the video below.
Once you’ve properly calibrated your extruder steps, it means that when you tell your 3D printer to extrude 100mm of filament, it actually extrudes 100mm rather than something like 97mm or 105mm.
You can see an example of an XYZ Calibration Cube being done by Technivorous 3D Printing for a better idea of how it works.
Some other versions of calibration cubes that can be used for different purposes such as the Cali Cat & the CHEP Calibration Cube.
- Cali Cat
The Cali Cat Calibration Model was designed by Dezign and has more than 430,000 downloads in Thingiverse. It is a great cube to test print a small model to see whether your 3D printer is working to a good standard.
It was designed to be an alternative to standard calibration cubes, having linear dimensions of 20 x 20mm for the body, a height of 35mm and a tail being 5 x 5mm. There are also inclines and overhangs at 45º.
Many people love this model and is their go-to model for test prints. It’s a fast test and you can even give out these models to friends and family as a gift after you’ve done your calibrations.
- CHEP Calibration Cube
The CHEP Calibration Cube was created by ElProducts as an alternative to many other cubes in the industry. It is one of the most downloaded cubes on Thingiverse, with over 100,000 downloads and can help you identify many printing issues that you can identify using XYZ Calibration Cube.
Many people mention just how beautifully the cube comes out after printing. You can ensure your dimensions are correct by measuring it and getting it to the 20 x 20 x 20mm dimensions by adjust your steps/mm in each axis.
XYZ Calibration Cube Troubleshooting & Diagnosis
Printing, analyzing, and measuring the XYZ Calibration Cube can help you troubleshoot and diagnose a wide range of problems. This will help you not only to find the issues that may occur while printing a model but to resolve those issues by calibrating your 3D printer accordingly.
While troubleshooting and diagnosing the problems, various issues can occur and you can correct them with a little bit of tweaking. Some of the most common issues and their solutions are briefly described below:
- Elephant’s Foot
- Z-Axis Wobbling
- Ghosting or Ringing Texture
1. Elephant Foot
The initial or bottom layers of a 3D print or your calibration cube bulging outside is known as Elephant’s Foot.
You can see an example of what it looks like below with the Calibration Cube below.
Calibration cube has some elephant foot but otherwise looks pretty good. Definitely within a half mm on 2/3 axes. pic.twitter.com/eC0S7eWtWG
— Andrew Kohlsmith (@akohlsmith) November 23, 2019
The probability of Elephant’s Foot occurring increases if using your heated bed at a relatively high temperature. You can try out these steps to resolve this potential issue:
- Reduce your bed temperature
- Ensure your bed is leveled and nozzle is the correct height from the bed
- Add a raft to your model
I wrote an article about How to Fix Elephant’s Foot – Bottom of 3D Print That Looks Bad.
2. Z-Axis Banding/Wobbling
Z-axis wobbling or layer banding is the issue when layers don’t align with each other. Users can easily identify these issues as the cube will look like the layers are placed on each other in different positions.
You should be able to compare your Calibration Cube to successful ones and see if yours has some kind of ‘band-like’ pattern.
These things usually happen if any of the Z-axis movement components are loose or tilted, leading to inaccurate movements.
- Stabilize your 3D printer frame and Z-axis stepper motor
- Make sure your lead screw and coupler is properly aligned and tightened properly, but not too tight
I wrote an article on How to Fix Z Banding/Ribbing in 3D Printing that you can check out for more information.
3. Ghosting or Ringing Texture
Another issue that an XYZ Calibration Cube can help troubleshoot is ghosting or ringing on your prints. Ghosting is basically when your model has a surface defect due to vibrations in your 3D printer.
It causes the surface of your model to display a mirror or echo-like detail of previous features.
Check out the image below. You can see the X has the lines on the right of it that are produced from vibrations.
Some ghosting on my calibration cube, and small bumps. Perfect 20mm dimension though. Suggestions to solve the ghosting and bumps? I think the ghosting may be common with glass beds. from ender3
In order to fix ghosting or ringing:
- Stabilize your 3D printer by placing it on a sturdy surface
- Check for slack in your X & Y axis belts and tighten them
- Reduce your printing speed
I wrote a more in-depth guide on Ghosting/Ringing/Echoing/Rippling – How To Solve so feel free to check it out.
10 models for 3D printer calibration. Set up your printer
Before you start printing on a 3D printer, you need to test it. For this, special models are most often used to diagnose and calibrate the device. Next, we will list the top 10 models for calibration, in our opinion.
3D Benchy
Among all 3D printing tests, the flagship is 3D Benchy. This model is a boat that can test everything from protrusions to extrusion. If you want to test your 3D printer, then the benches will help you determine the optimal settings for the ideal result. On Thingiverse, more than three thousand users posted photos with their samples, and the boat itself was printed by more than a hundred machines and no fewer materials.
Model reference
All-In-One
A very interesting model, which is called “all-in-one”. Everything is presented in the model: canopy, bridge, string, temperature and belt tension test, extrusion. This is an ideal model for testing the device at several levels at once. A manual is included with the model to help you troubleshoot any issues you find. On Thingiverse, more than 75 users have posted test results on different 3D printers and different materials.
Model Reference
XYZ Calibration Cube
Very simple and fast model for testing. This is a cube with a side of 20mm. It helps to gain dimension by adjusting the steps in millimeters. Also, the model allows you to test extrusion, vibration, temperature. This cube was printed simply by countless 3D printers and a variety of materials.
Model Link
Cali Cat
Nice little calibration cat or just Cali Cat is a simple model that allows you to test the accuracy of the device, as well as detailing, lugs, bridges, vibration and extrusion. And all this in just one hour. More than 2.5 hundred users have submitted their test results on the service.
Model Reference
Phil A. Ment
The MatterHackers Mascot is a Phil A. Ment test model. It was originally intended for manufacturers. The description mentions the fact that Phil has several functions. And they were originally designed specifically for 3D printers. The model has small inserts, relief details, cylinders of vertical and horizontal orientation, ledges. In addition, the model contains chamfers, bridges and fillets. And this miracle is performed by a domed helmet. The record size on the service is 5,1397mm. A total of 84 models were published.
Model Link
Calibration Temperature Tower
You can use this model to adjust the heat of your 3D printer. You can also test for different materials at what temperature the print comes out better.
NEW model Autodesk
This is a new model, or rather not even a model, but a whole procedure that will allow 3D printer manufacturers to show all the capabilities of devices to Kickstarter supporters. And of course, calibrate. The test was developed by Andreas Bastian and is a consolidated STL file that is able to test the system for the following indicators:
- authorization;
- alignment;
- accuracy;
- bridge, etc.
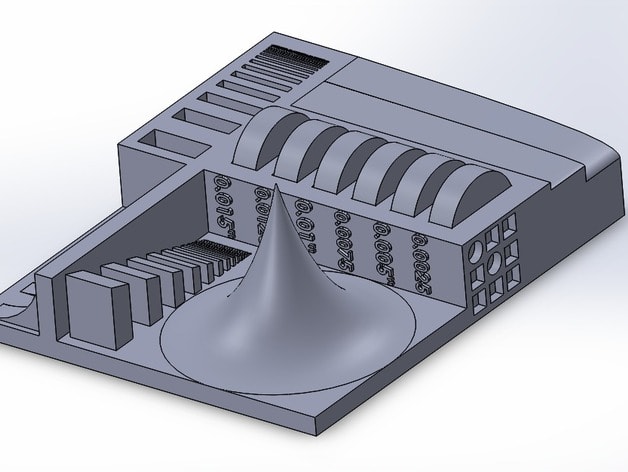
The model has it all. For example, if the 3D printer is set up well, then the horizontal function will be performed with a minimum of problems.
Model Link
PolyPearl Tower
If you want to test curves, cuts, bridges, cuts, then this model can be a great solution. In the description for this test model, the name "torture tower with a twist" appears. It is worth trying to use it for calibration.
Model Link
Rapid Screening
This model is a very quick test to check temperature, cooling, and retract function. Among the advantages of the model is its cost-effectiveness. The model will weigh only 0.23g. With its help, you can immediately remove the "strings".
Model Reference
Parametric Calibration Object
A particular difficulty in calibrating a 3D printer is lowering the stage level. With this model, you can draw the right conclusions to improve the first layer of printing, and as a result, get better prints.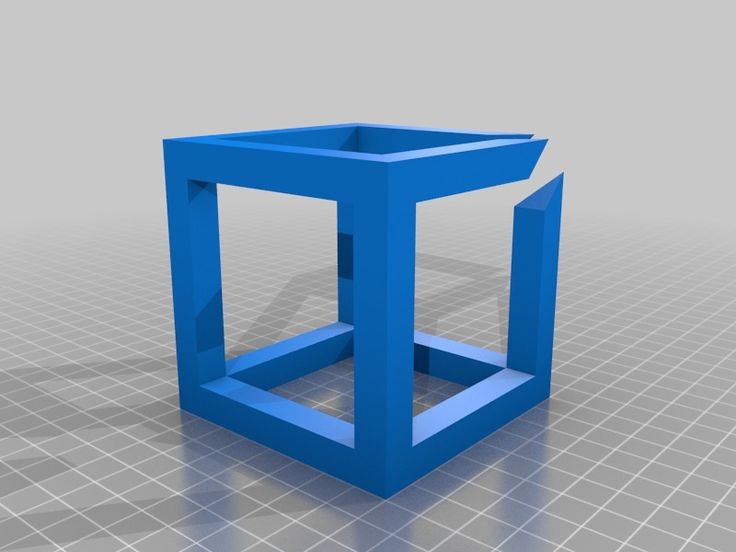
Model reference
8 test print models
3D printer test models are required for:
- When you bought a new printer and need to test it on your favorite media
- When you have purchased new media and need to check the print specifications
- When you have been using a material for a long time, but do not know its tensile strengths
We will talk about the 8 models most used for testing in 3D printing.
1. 3D Benchy
3D Benchy is one of the most popular 3D printer test models. The boat figurine perfectly demonstrates the capabilities of FDM printers in any price category. Such a model will help you determine exactly the settings you need to set in order to get the perfect 3D print.
Printing 3D Benchy - will allow you to see how the printer copes with the "rendering" of curved surfaces, inclined planes, arcs, holes. The model is available in several versions, including multi-color. It takes approximately one hour to print a standard size 3D Benchy.
Download model on Thingiverse
2. All-in-one 3D printer test
A comprehensive test model for a 3D printer will allow you to check the quality of printed overhangs, bridges, extrusion stability, the possibility of “snot” and the dependence of the result on temperature. An important advantage of this model is the instructions for it, which indicate potential solutions to various problems.
Quite a complex model in terms of setting all the parameters, but it's worth it, try it.
Download Thingiverse model
3. XYZ 20mm Calibration Cube
The main purpose of the XYZ 20 mm calibration cube is to establish the dependence of the movement of the extruder on the step of the motor. A test model for a 3D printer helps to make sure that 20 mm in the drawing corresponds to 20 mm of the printed product. At the same time, the calibration cube helps to establish the dependence of the degree of extrusion and print quality on the temperature of the extruder.
Download Thingiverse Model
4. Matter Hackers' Mascot Phil A. Ment
This is a small astronaut figurine that has elements designed to test 3D printing.
These are small inserts, small relief details, overhangs, vertical and horizontal cylinders, fillets, chamfers, lintels and a perfectly domed helmet.
A feature of the model is the ability to obtain accurate data for different dimensions of the printed product.
Download model on Thingiverse
5. Smart compact temperature calibration tower
The calibration scale demonstrates the capabilities of the 3D printer when printing at different temperatures with one filament. The test model clearly shows the quality of overhangs, lintels, tensions, and the product can also be used to judge the ability of a 3D printer to print curved surfaces with a certain plastic.
A simple and intuitive tool allows you to find out the possibilities of materials that have not previously been used in work or printed with only one temperature.
It is important to consider that the print temperature setting for each signed element (floor) must be set in the slicer or manually in Gcode.
Download model on Thingiverse
6. Open-Source Printer Evaluation
This is a universal print model from Kickstarter and Autodesk. It was created taking into account the experience of using other models for testing. It contains bridges, overhangs, fine detailing and elements for assessing the spatial accuracy of 3D printing.
Download model on Github
7. Economical Stringing Test
When printing complex-shaped objects, without knowing the capabilities of the filament and the printer, the user may encounter stringing (from string - string), and in Russian simply “snot” - when plastic reaches for the extruder, forming thin plastic fibers in the air. Such “snot” appears when the extruder is idle. To avoid this, the retract function is used - the retraction of the filament during idle movement. Correct setting of the retract level requires consideration of extruder speed, extruder temperature and filament properties.
This test model is used to quickly check the correct setting of the 3D printer. If the strings between the vertical pyramids do not form, then the settings are correct. If horizontal plastic filaments appear, then some of the 3D printing parameters should be changed.