3D printing stringing test
Stringing Test | Best Objects to Calibrate Your 3D Printer
- Author
- Recent Posts
Martin
Besides many test devices, Martin now has his fourth own 3D printer running and prints as a hobby for friends, family and himself. He is happy to share his experience with each new article.
Latest posts by Martin (see all)
Disclosure: Links marked with * are Affiliate Links. I earn from qualifying purchases if you decide to make a purchase through these links – at no additional cost for you!
Stringing is a frequently occurring problem with 3D printing, which can be observed with various filaments.
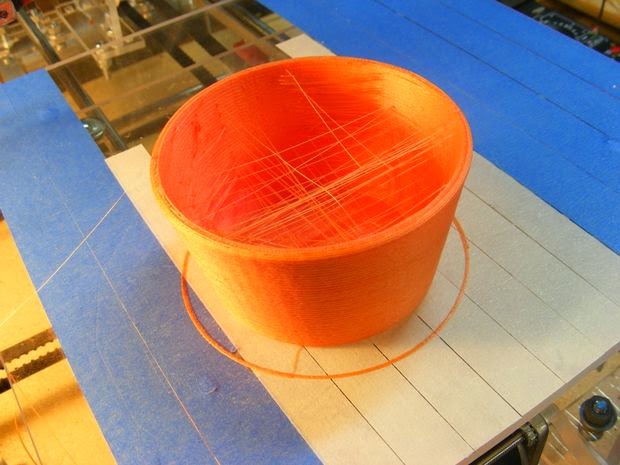
When the printer nozzle moves from one position to another without extruding material, it is possible for molten plastic to escape anyway. This material solidifies and produces the strings between the already printed parts. The result is thin hairs of molten plastic that wrap around the 3D printed model.
Normally, the printer nozzle should not extrude plastic while moving without printing, but molten plastic often escapes even in places where it is not desired and coats the 3D-printed object with the aforementioned strings.
Most often, the reasons for stringing are wrong retraction settings and too high a temperature at the hot end. For example, PETG* requires relatively high melting temperatures and is therefore particularly susceptible to stringing. However, the problem also occurs with filaments such as PLA* and ABS*.
In the following article, we will show you some 3D printer test models that you can use to calibrate your 3D printer so that you will no longer have a problem with the notorious strings on your 3D printed objects in the future. You’ll also learn what preventative measures you can take to keep your device calibrated and avoid faulty prints from now on.
Table of Contents:
- 1 Calibration Cube for Optimizing Printer Settings
- 1.1 Adjusting the step/millimeter settings
- 1.2 Adjusting the material settings
- 1.3 Testing the printing precision
- 2 The Best Stringing Test Objects
- 2.
 1 The Classic Calibration Cube
 - 2.2 The dimensional accuracy test
- 2.3 Cali Cat – the calibration cat
- 2.
- 3 Other Popular Test Objects to Calibrate Your 3D Printer
- 3.1 3D-Benchy
- 3.2 Mascot Phil A. Ment
- 3.3 Smart Compact Temperature Calibration Tower
- 3.4 All-In-One 3D Printer Test
- 3.5 PolyPearl Tower
- 3.6 Open source printer evaluation
- 3.7 Calibration test object for leveling the print bed
- 3.8 The ultra-fast and economical stringing test
- 4 Effective Measures for the Prevention of Stringing
- 4.1 Activating the retract function
- 4.2 Retraction distance
- 4.3 Retraction speed
- 4.4 The correct temperature settings
- 4.5 Adjusting the print speed
- 4.6 Cleaning the nozzle before printing
- 4.7 Correct storage of the filaments
Calibration Cube for Optimizing Printer Settings
Calibration cubes are simple geometric shapes that allow you to optimize the settings of your 3D printer. They ensure that you can produce your prints with maximum precision and accuracy.
Usually, semi-mounted 3D printer kits and lower-end devices are not calibrated at the factory, so calibration cubes are especially handy for such printers to adjust their settings after setup and subsequently produce high-quality prints.
There are different ways to use calibration cubes. However, before you can start, you should calibrate the extruder of your 3D printer. This will ensure that the defects you have are purely mechanical and not caused by inaccuracies in the extrusion process.
Once your extruder is calibrated, you have the following options with the calibration cubes:
Adjusting the step/millimeter settings
The step/millimeter settings are responsible for telling your printer how much to rotate each motor to complete a millimeter step. If you are not familiar with your 3D printer’s motion system, you can also set these settings using a calibration cube.
Adjusting the material settings
If you already know how your 3D printer’s motion system works, you can use Prusa Research’s step/millimeter calculator to determine the exact settings. This eliminates all other sources of error besides the printer material. If your printouts show bulging layers or gaps, this indicates insufficient calibration of your extruder and you should recalibrate it immediately.
If your 3D printed models are generally printed too small, it is most likely due to material shrinkage. To correct this error, adjust the “Shrinkage percentage” setting in your slicer. To determine the starting value, divide the existing deviation by the desired dimension.
Testing the printing precision
With a calibration cube, you can test and optimize the precision of your 3D printer. This allows you to achieve tighter clearances when 3D printing mechanical components.
As you can see, there are different applications for calibration cubes. Below you will find an overview of the most popular designs in the 3D printing community:
The Best Stringing Test Objects
The Classic Calibration Cube
The classic calibration cube is a cube with a dimension of 20 millimeters and the areas X, Y and Z. Its simplicity and ease of use make it particularly popular.
When you print this cube, you should pay special attention to the fact that every single dimension is exactly 20 millimeters. The classic calibration cube was developed by the well-known manufacturer iDig3Dprinting, who also shared the design on Thingiverse.
The dimensional accuracy test
The dimensional accuracy test is a reinforced version of the classic calibration cube. This cube comprises four individual cubes of 25 millimeters, 20 millimeters, 15 millimeters and 10 millimeters.
It also has a notch on the front to indicate alignment. The dimensional accuracy test is particularly useful for identifying any material shrinkage that may be present. If the dimensions for each layer vary, you should adjust the shrinkage settings in your slicer software as described above. The dimensional accuracy test was designed by Make Magazine and is available for you on YouMagine.
Cali Cat – the calibration cat
The Cali Cat is a calibration cube, which has the shape of a cat and can therefore be used as a decorative piece even after the calibration test has been completed.
The head and the tail of the Cali Cat are different sizes, so you can use this model to determine the material shrinkage, just like the dimensional accuracy test described before. The Cali Cat was designed by Dezign and you can download it from Thingiverse.
As you can see, a calibration cube doesn’t have to be cube-shaped. However, they are great for optimizing your 3D printer’s settings to produce more accurate mechanical prints in the future. With a calibration cube, you can test and improve the tolerances of your device to create interlocking components.
In addition to the calibration cubes, there are many other designs that you can use as stringing tests or to calibrate your 3D print:
Other Popular Test Objects to Calibrate Your 3D Printer
3D-Benchy
3D-Benchy is probably the best-known calibration design that allows you to test your printer all around. 3D-Benchy helps you identify overhangs or under- or over-extrusion and determine the exact settings you need to make to produce perfect prints in the future.
This calibration design was created by CreativeTools and has now been printed by hundreds of 3D printers using a wide variety of materials. You can find 3D-Benchy on Thingiverse for download.
Mascot Phil A. Ment
The calibration design Phil A. Ment is the mascot of the manufacturer MatterHackers. With the help of this design, you can test your printer for overhangs, small embossed details, vertical and horizontal cylinders or bridges, for example. Phil A. Ment has now been printed using a wide variety of printers and materials and with a record size of 1397 millimeters. The design is available on Thingiverse.
Smart Compact Temperature Calibration Tower
This tower is a calibration design that can test overhangs, bridges, strings, and even the individual functions of your 3D printer for printing curved shapes.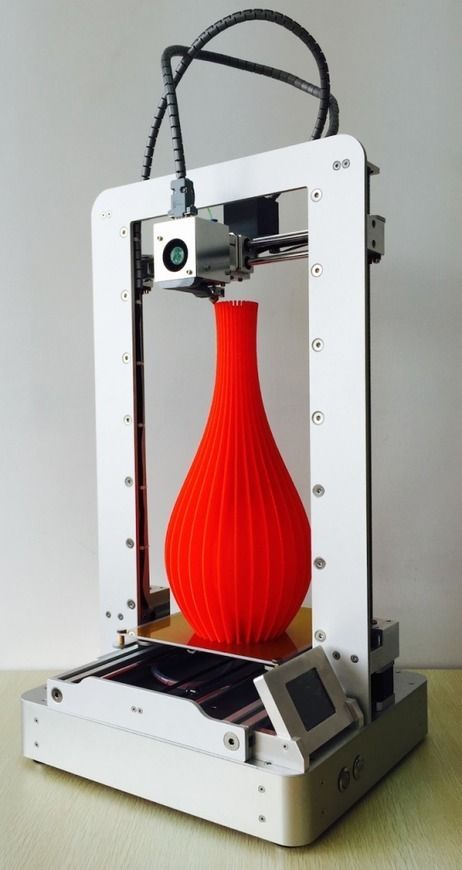 With the Temperature Calibration Tower, as its name suggests, you can easily optimize the temperature settings of your printer. This design was created by user Zolee Gaa and is available on Thingiverse.
All-In-One 3D Printer Test
As the name suggests, the All-In-One 3D Printer Test is a universal test for your 3D printer that can not only identify overhangs, bridges and stringing but also detect faulty extrusion, incorrectly set temperature or belt tension. If you want to give your 3D printer an all-around test, you should opt for the All-In-One 3D Printer Test. It was designed by user majda107 and is now available on Thingiverse.
PolyPearl Tower
With the PolyPearl Tower, you can test your 3D printer for bridges, curves, overhangs and stringing, for example, and thus calibrate the printer settings as well as the settings for your filament. The PolyPearl Tower was designed by Polymaker_3D and is available on Thingiverse. The community of Thingiverse has already tested the tower on different printer models and with different filaments.
Open source printer evaluation
Designed in a collaboration between Kickstarter and Autodesk, this open-source model gives you a standard test to evaluate your 3D printer’s performance. With this calibration design, you can test your device for bridges, overhangs, and fine details to achieve higher accuracy, resolution, and better alignment. You can find this open-source model on Github.
Calibration test object for leveling the print bed
Especially the correct alignment of your print bed can be the most difficult part of the printer calibration. However, with the right calibration test object, you can easily level your print bed and ensure a flawless first layer of your print objects in the future. This design was created by user pgreenland and is available on Thingiverse.
The ultra-fast and economical stringing test
With this calibration design, you can test the temperature, cooling as well as the retraction function of your 3D printer in no time. It was designed by a user who simply calls himself alaorath and has already been used by numerous Thingiverse users to free their printouts from strings. You can also find it for download on Thingiverse.
Effective Measures for the Prevention of Stringing
As with any other mechanically operated device with moving parts, calibration plays an important role in ensuring consistent quality in a 3D printer. A 3D printer can only produce error-free and accurate prints if it is calibrated regularly.
In the following, you will learn step by step which aspects of your device should be checked regularly so that printing errors such as stringing can be avoided in the future.
Related Post:
PLA Stringing Guide: 12 Solutions to Avoid Hairs
Activating the retract function
In particular, activating the retract function ensures that cobwebs and unsightly stringing cannot occur in the first place. The retract function is responsible for ensuring that the extruder does not lose liquid filament when it travels without printing, which in turn could make the hairs stretching over your 3D-printed object.
If you activate the retract function, the molten plastic is prevented from running after the print head when it is moved, as the filament is retracted into the extruder. Once the nozzle is at the next target position, the printing can continue and new filament es extruded. Most slicer programs have the retract function enabled by default, but you should always double-check this setting.
If the retract function is enabled, but you still detect stringing on your print models, the following two options are still available:
Retraction distance
The retraction distance is the most important retract setting. It defines how far the filament should move. If the filament is retracted further into the nozzle, the likelihood of stringing still occurring decreases. However, if the material is pulled in too far, it may not be available at the hot end once printing is to continue.
The optimum retraction distance varies between extruders. Experience shows that a Bowden extruder requires a bigger retraction distance. This is because the nozzle and the drive wheel are farther apart. To get the perfect value for the retraction distance, you should make some test prints. You can find suitable designs for this on Thingiverse.
Retraction speed
The retraction speed defines how fast the material should be retracted into the nozzle. A higher retraction speed reduces the risk of stringing. When the filament is retracted so fast that it cannot begin to leak over a void onto the build plate and thus onto the print model.
However, if you set the retraction speed too high, the filament could separate inside the nozzle; in the worst case, too rapid movements will cause the material to be ground up and the nozzle to become blocked. It is also possible that areas are created where the liquid plastic is not extruded at all.
It is therefore important that you find the optimum retraction speed. This can change with the used print material, so you should make some test prints for this purpose.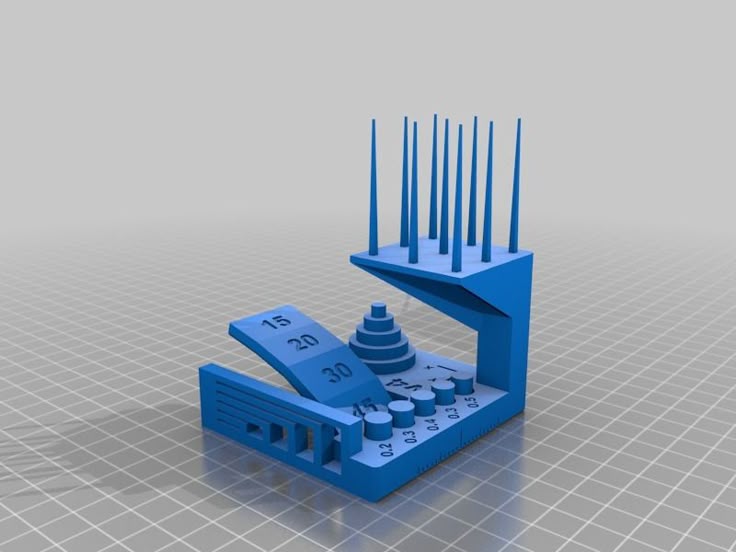 However, you can also find good tips on the optimal retraction speed in various 3D printing communities. There are already preconfigured profiles that you can use as a starting point.
The best retraction settings also depend on the extruder you are using and the filament you have chosen. For example, ABS and PLA are suitable for a speed of 40 to 60 millimeters per second and a pullback distance of 0.5 to 1.0 millimeters when printed with a 3D printer that has a direct drive extruder. Bowden extruders, however, normally need a speed of 30 to 50 millimeters per second with a retract distance of approximately 2.0 millimeters. These values are variable and depend on many different variables.
If you define the optimal retraction settings, you will no longer have to deal with the stringing problem!
Related Post:
How to Prevent TPU Stringing – Try these Settings!
The correct temperature settings
If the temperature of your 3D printer rises, the print material will liquefy and probably begin to drip out of the nozzle.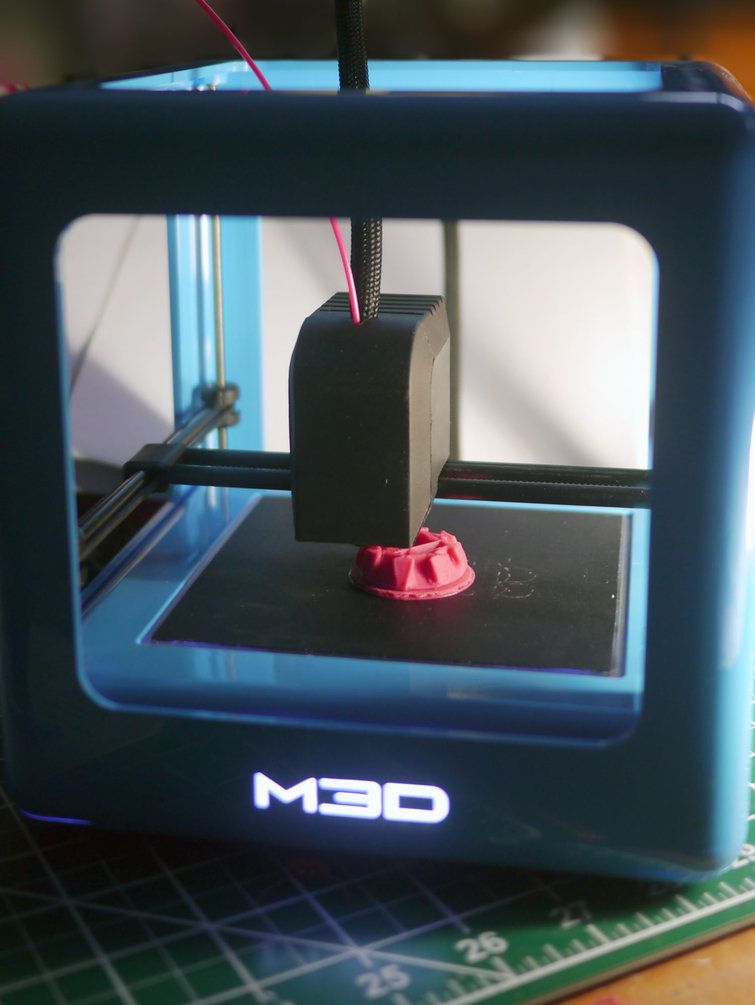 Setting the temperature lower will reduce this likelihood, but too low a temperature can cause the filament to not melt sufficiently. The result will be problems during extrusion.
The optimal print temperature varies between filaments and other print settings. In general, however, you should reduce the temperature immediately if a string is present. It is best to do this in steps of 5 to 10 degrees Celsius. In general, you should avoid reducing the temperature beneath the minimum specifications of the manufacturer.
The generally recommended temperatures for the more popular filaments are:
- PLA: 180 to 220 degrees Celsius
- ABS 200 to 250 degrees Celsius (the print bed is heated to 90 to 100 degrees Celsius)
- PET: 215 to 235 degrees Celsius
- TPE: 210 to 240 degrees Celsius (the print bed is heated to 20 to 70 degrees Celsius)
- PVA: 160 to 190 degrees Celsius (the print bed is heated to 60 degrees Celsius)
The Smart Compact temperature calibration tower mentioned earlier is a convenient way to determine the perfect temperature for any filament.
Related Post:
3D Printing Over-Extrusion: Causes, Solutions and Tips
Related Post:
Avoiding Under-Extrusion on a 3D Printer – Guide
Adjusting the print speed
The printing speed also influences the stringing behaviour of 3D printers. If the nozzle takes too long to move between two points, the liquid filament just drips further out of the nozzle. This, in turn, can lead to stringing. However, if the extruder moves faster, this does not give the filament enough time to seep out.
If you increase the speed of your nozzle while it is not printing, you can avoid stringing. However, if you set the temperature too low and the print speed too high, extrusion can occur because the filament has too little time to ooze. For most print materials, a speed between 190 to 200 millimeters per second is recommended. MatterHackers, however, has found that a speed of 150 millimeters per second works better for most devices.
Before you make any adjustments, you should check what speed your 3D printer is currently using. The speed of movement of the X and Y axes is the speed of travel from on site to another. This speed influences how long it takes the nozzle to move across an empty space. Certain slicer programs give you the option of using a specific function to ensure that the travel distance is short enough to reduce filament leakage, even if this means avoiding empty spaces altogether. Another setting allows you to accelerate the nozzle while it is not actively printing.
Related Post:
PLA Print Speed: Finding Optimal Settings
Cleaning the nozzle before printing
If you use your 3D printer for a longer period of time, it is possible that the filament leaves a thin layer in the nozzle. This is especially true if you are using a single filament such as PETG*. This residual layer can cause stringing to occur on your 3D printed objects, as the resulting filament strands can stick to the surface of your models. To prevent this, it is therefore important to clean the nozzle thoroughly before each printing process to remove any residue from previously used filaments.
Related Post:
Cleaning a 3D Printer Nozzle | All Methods Step by Step
Correct storage of the filaments
PLA filament in particular tends to absorb moisture. Once moisture is present in the print material, it tends to turn into moisture when the plastic is heated.
This vapor in turn mixes with the liquid plastic and this increases the likelihood of filament leaking out of the nozzle if it is traveling across an empty space. For this reason, it is important that you store your print material in dry place such as a plastic box.
Related Post:
3D Printing: Filaments Drying: PLA, ABS, Nylon and Co.
Disclosure: This website is the property of Martin Lütkemeyer and is operated by Martin Lütkemeyer. Martin Lütkemeyer is a member of the Amazon Services LLC and other Affiliate Programs.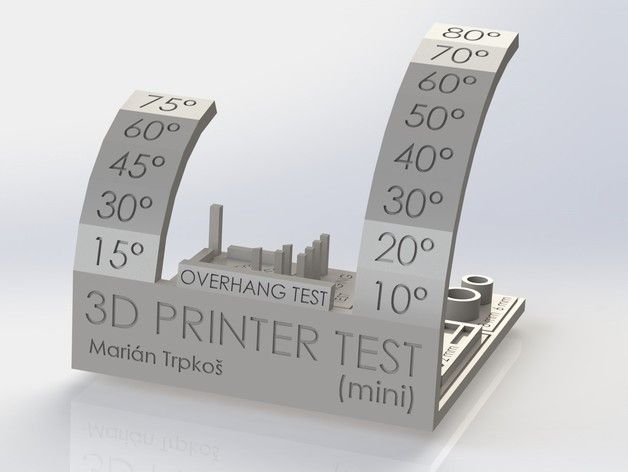 These are affiliate advertising programs designed to enable websites to earn advertising revenue through advertising and linking to Amazon.com and others. Links marked with * are affiliate links.
▷ string test 3d models 【 STLFinder 】
String - Test
thingiverse
Ein einfacher string-Test zum optimieren des Druckers. ... Einstellmöglichkeiten: Hotend-Temp Retract Stärke des Bauteillüfters
string test cilinders
thingiverse
stringing test for ender 3. size of model is for miniature printing. ...Raft is highly recommended
Two Post String Test
thingiverse
Two pole string test for fine tuning of retraction, coast, layer height, temp, etc.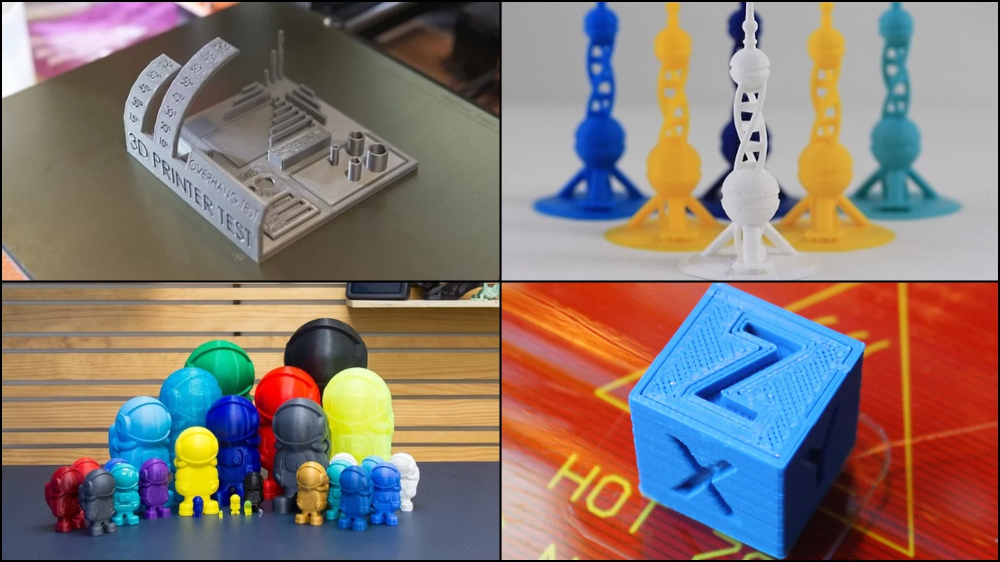 ...
...
0.8mm String Test
thingiverse
String test for 0,8mm nozzle. ... The 4 towers with different styles also allow for tuning while keeping an eye on small detail effects.
String Test wall x cross
thingiverse
String test of a wall of x crossed
String test - Different travel distance
myminifactory
A simple string test with pyramids for testing also the cooling in small parts.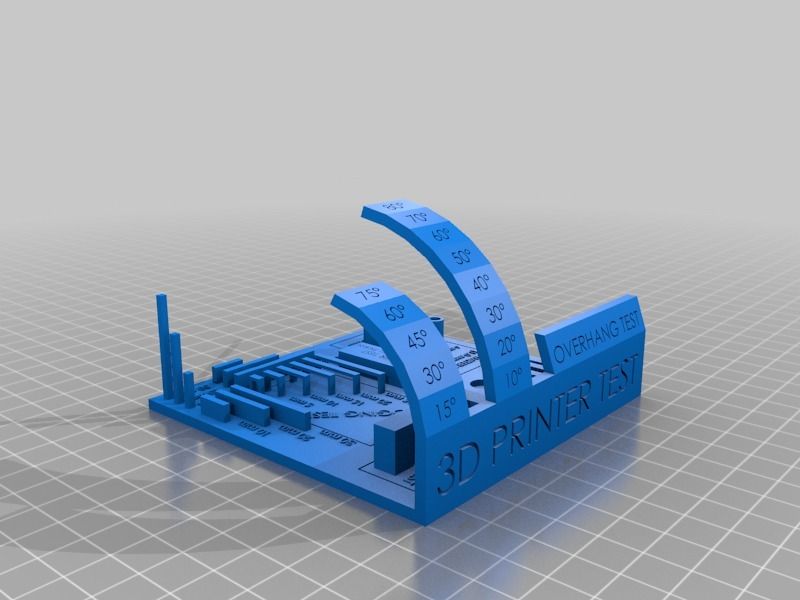
Basic String Test **extra Small
thingiverse
0.2 meter of filament(1.75) or 1 gram smallest stringing test you will find. ... Like
String Test for FlashForge Finder
thingiverse
FlashForge Finder string test that prints quickly. I made this to have a good starting base and a small enough test for adjusting advanced settings for fixing the annoying strings I had constantly. In the end, lowering temperature to 200ºC worked...
stringing test
cults3d
stringing test
stringing test
thingiverse
stringing test basic
Warp and String test
thingiverse
Print test for stringing and warping. ...Test different materials to find optimum temp to print at
String test (minimal)
thingiverse
Very quick small test for stringing. Now added version with a top. ...
3D Printer String Test
thingiverse
Test model for adjustment to stringing. ...Use settings in slicer software such as Cura to adjust retraction amount, retraction speed, minimum travel distance for retraction, lower extruder temp, and travel speed between printing to get best results in...
Retraction/string test
thingiverse
Hard test for retraction. Try to minimize strings before triggering refinement using the wipe and coast functions. Temperature, retraction, and retraction speed are critical to achieving the best result. ...Happy printing !!!
Oozing and String test
thingiverse
With this item you can try your 3D printer oozing test. You have five cubes where is possible to choose and change the temperature, speed, acceleration...by manual operation with Repetier Host. Overview and...
Stringing Test
thingiverse
A quick stringing test, helped me figure out what retraction settings to use.
Stringing Test
thingiverse
Ein kleiner Stringing Test mit 4 Kegeln. ...Ja nach gewählter Geschwindigkeit ist er in 15 Minuten fertig.
Stringing test
thingiverse
Couldn't find a stringing test anywhere, so made one myself, very easy to make and print!
Stringing Test
thingiverse
A 3d printer stringing test. If you want to support me, please consider buying from my Redbubble. ...Redbubble link: https://www.redbubble.com/people/GameofDrones/shop?asc=u
Stringing test
thingiverse
This is just a very simple stringing test.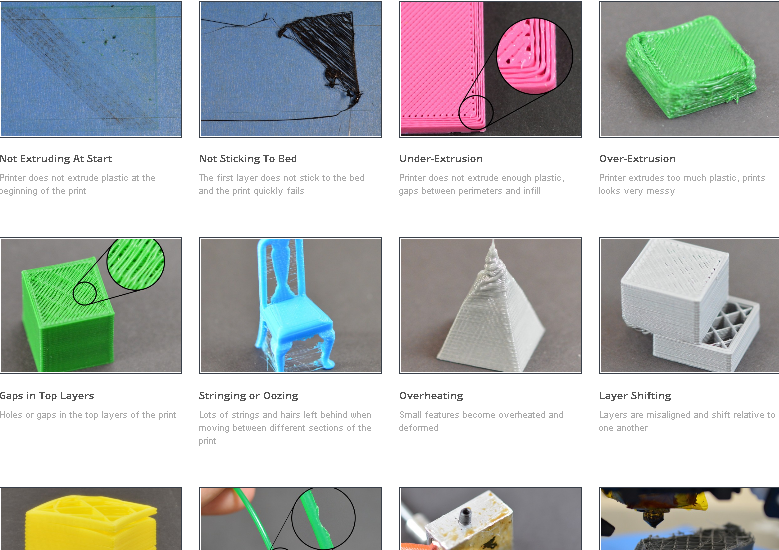 Easy and fast to print. I don't think that instructions are needed for this object.
...
Good luck ;)
Stringing test
myminifactory
This is just a very simple stringing test. Easy and fast to print. I don't think that instructions are needed for this object. ... Good luck ;)
Stringing Test
thingiverse
this is just a simple stringing test. I used this thing to calibrate my retraction util i had no strings between the two collums. As always , CAD model ,STP ..etc in the download section. ...Fell free to improve it
Stringing test
thingiverse
Very quickly slapped together Stringing Test. ...Markings 1cm apart so you can post-process z-height changes. Deliberatly no temperature numbers b/c they confuse when you use different temperatures (or - like me - test retract distances instead)
Stringing test
thingiverse
... are more stable(chamfer) they don't start to shake that easily anymore when you print near the top. i've added one more pillar, it helps wiht additional layer time and adds 3 different travel distances the test is optimized for 0.48 line width
Ender 3 String Stringing Test
thingiverse
Stringing test. This is challenge any Ender that has not been upgraded to an all metal end like the Swiss, or to the Direct Drive.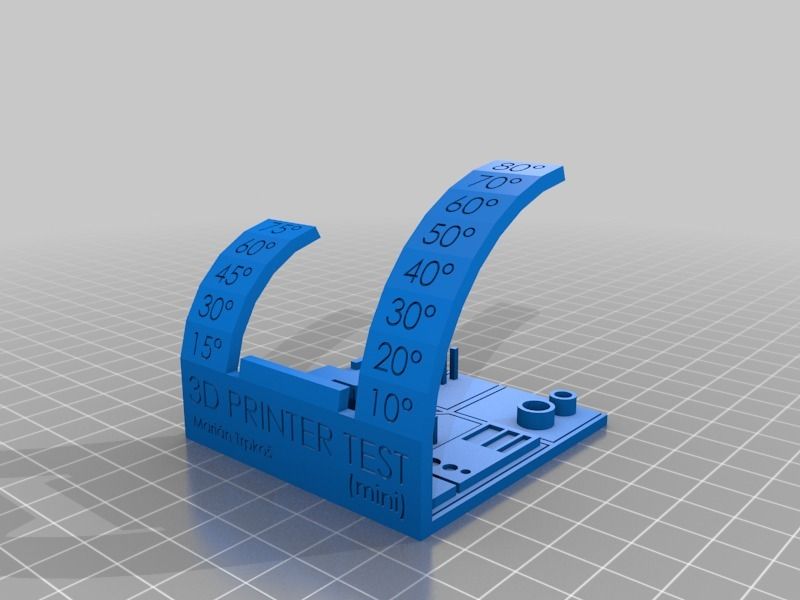 ...
...
Stringing Test
cults3d
The inventor file is available on my website https://blog.ansonbiggs.com/yet-another-test-suite-stringing-test/ Goals of This Print The two major factors affecting stringing are Retraction and Temperature. Too high of a Temperature would cause a host...
Calibration Cube with Bridge and String Test
thingiverse
Test cube with string test and bride test
Retraction and String Test with steps
thingiverse
Simple retraction and stringing test for your printer. Every step can be used to indicate when and what settings have been changed with a script you added and help you find the correct value.
Can be scaled up, down, be printed with smaller or...
Retraction and String Test with steps
prusaprinters
Simple retraction and stringing test for your printer. Every step can be used to indicate when and what settings have been changed with a script you added and help you find the correct value. Can be scaled up, down, be printed with smaller or larger...
String test gcodes for Ender-3
thingiverse
This is a stringing test piece I created, the 40mm distance between the column centers is a good distance to fine-tune the retraction settings.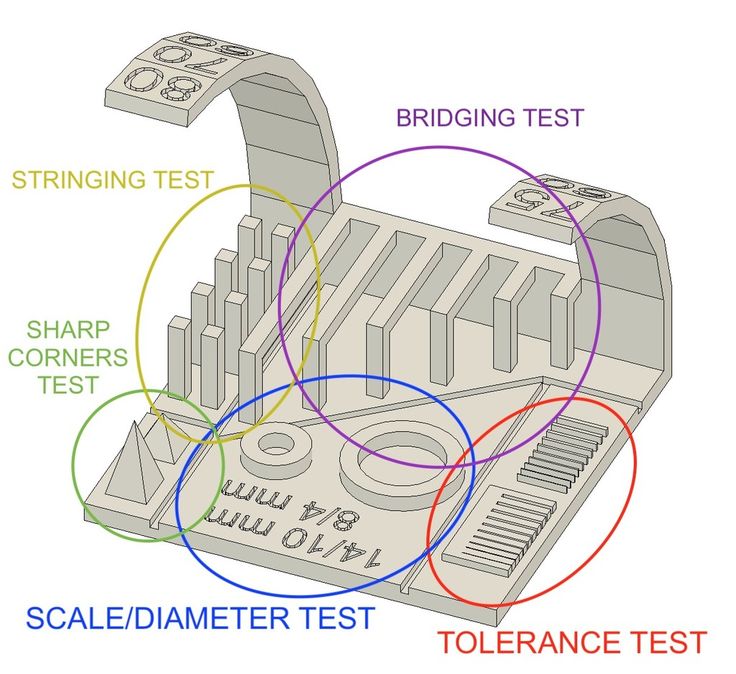 I included the STL if you would like to slice it yourself.
The G-Code files are made for my Ender-3,...
10 models for 3D printer calibration. Set up your printer
Before you start printing on a 3D printer, you need to test it. For this, special models are most often used to diagnose and calibrate the device. Next, we will list the top 10 models for calibration, in our opinion.
3D Benchy
Among all 3D printing tests, the flagship is 3D Benchy. This model is a boat that can test everything from protrusions to extrusion. If you want to test your 3D printer, then the benches will help you determine the optimal settings for the ideal result. On Thingiverse, more than three thousand users posted photos with their samples, and the boat itself was printed by more than a hundred machines and no fewer materials.
Model reference
All-In-One
A very interesting model, which is called “all-in-one”. Everything is presented in the model: canopy, bridge, string, temperature and belt tension test, extrusion. This is an ideal model for testing the device at several levels at once. A manual is included with the model to help you troubleshoot any issues you find. On Thingiverse, more than 75 users have posted test results on different 3D printers and different materials.
Model Reference
XYZ Calibration Cube
Very simple and fast model for testing. This is a cube with a side of 20mm. It helps to gain dimension by adjusting the steps in millimeters. Also, the model allows you to test extrusion, vibration, temperature. This cube was printed simply by countless 3D printers and a variety of materials.
Model Link
Cali Cat
Nice little calibration cat or just Cali Cat is a simple model that allows you to test the accuracy of the device, as well as detailing, lugs, bridges, vibration and extrusion. And all this in just one hour. More than 2.5 hundred users have submitted their test results on the service.
Model Reference
Phil A.
 Ment
Ment The MatterHackers Mascot is a Phil A. Ment test model. It was originally intended for manufacturers. The description mentions the fact that Phil has several functions. And they were originally designed specifically for 3D printers. The model has small inserts, relief details, cylinders of vertical and horizontal orientation, ledges. In addition, the model contains chamfers, bridges and fillets. And this miracle is performed by a domed helmet. The record size on the service is 5,1397mm. A total of 84 models were published.
Model Link
Calibration Temperature Tower
You can use this model to adjust the heat of your 3D printer. You can also test for different materials at what temperature the print comes out better.
NEW model Autodesk
This is a new model, or rather not even a model, but a whole procedure that will allow 3D printer manufacturers to show all the capabilities of devices to Kickstarter supporters. And of course, calibrate. The test was developed by Andreas Bastian and is a consolidated STL file that is able to test the system for the following indicators:
- authorization;
- alignment;
- accuracy;
- bridge, etc.
The model has it all. For example, if the 3D printer is set up well, then the horizontal function will be performed with a minimum of problems.
Model Link
PolyPearl Tower
If you want to test curves, cuts, bridges, cuts, then this model can be a great solution. In the description for this test model, the name "torture tower with a twist" appears. It is worth trying to use it for calibration.
Model Link
Rapid Screening
This model is a very quick test to check temperature, cooling, and retract function. Among the advantages of the model is its cost-effectiveness. The model will weigh only 0.23g. With its help, you can immediately remove the "strings".
Model Reference
Parametric Calibration Object
A particular difficulty in calibrating a 3D printer is lowering the stage level. With this model, you can draw the right conclusions to improve the first layer of printing, and as a result, get better prints.
Model Reference
Top 10 Models for 3D Test Printing
3DPrintStory 3D printing process 10 best models for test 3D printing
3D Benchy
What is this 3D model? 3D Benchy is the flagship of all 3D printer tests. This model tests everything from overhangs to extrusion quality. If you want to test your 3D printer, then Benchy will help you clarify the settings that need to be fine-tuned for high-quality 3D printing in the future.
Who created? CreativeTools
Who typed? Nearly 3,000 Thingiverse users have posted print information for this model. Benchy has been printed using hundreds of 3D printer models and materials.
Where to find? Thingiverse
All-In-One 3D Printer Test
What is this 3D model? All-In-One 3D Printer Test - this is exactly what is reflected in the name of this 3D model! Overhangs, bridges, filamentous plastic residue, extrusion, temperature, belt tension - this model tests it all. If you want to test your 3D printer, be sure to check out this 3D model! After 3D printing, you will find the necessary troubleshooting tips by reading the manual that came with the model.
Who created? majda107
Who printed? About 75 Thingiverse users have posted their finished 3D prints of this model. On different printers and from different materials.
Where to find? Thingiverse
XYZ 20-mm Calibration Cube
What is this 3D model? This XYZ 20-mm Calibration Cube is a simple, fast and lightweight model to test your 3D printer. Its main purpose is to help you fine-tune the accuracy of your 3D printer by adjusting the steps per mm. But you can also check temperature, extrusion and vibration.
Who created? iDig 3D-printing
Who printed? This model is presented on Thingiverse in 700 variants from users. It was printed on a huge number of different 3D printers using different materials.
Where to find? Thingiverse
Cali Cat – The Calibration Cat
What is this 3D model? The Cali Cat is a simple and adorable model that tests your 3D printer's accuracy, overhang, detail, overlap, extrusion and vibration in less than an hour! Designed for initial calibration, this cat will help you calibrate your printer in no time.
Who created? Design
Who printed? More than 250 Thingiverse users have posted information about printing this 3D model. It is printed on different models from different materials.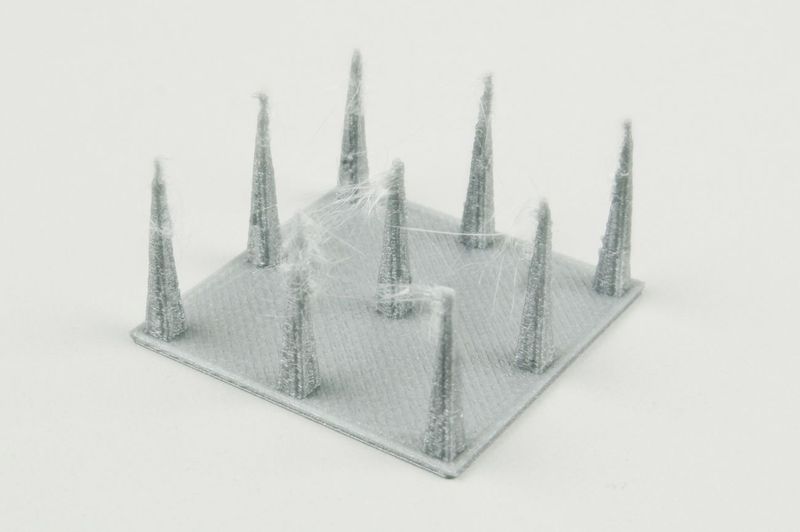
Where to find? Thingiverse
MatterHackers' Mascot Phil A. Ment
What is this 3D model? Phil A. Ment is an adorable mascot from MatterHackers designed to help manufacturers calibrate their 3D printers as described by the developers themselves: “Phil has several features specifically designed to test your 3D printer. These features include small inlays, fine embossed details, overhangs, vertical and horizontal cylinders, fillets, chamfers, lintels, and even his perfectly domed helmet.”
Who created? MatterHackers
Who typed? Thingiverse hosts 84 user-generated print options. Phil A. Ment has been 3D printed using various materials. Its minimum and maximum dimensions are respectively: 5 and 1397 mm in height!
Where to find? Thingiverse
Smart Compact Temperature Calibration Tower
What is this 3D model? As the name suggests, this model is an intelligent compact temperature calibration tower.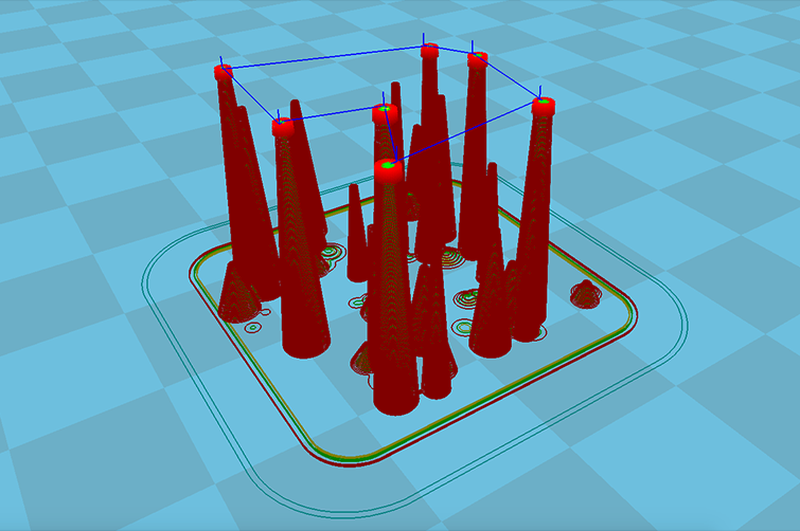 The test model tests overhangs, lintels, plastic residue, and even your 3D printer's ability to print curved shapes. This tower is a great way to quickly calibrate your 3D printer's temperature.
Who created? gaaZolee
Who printed? 33 Thingiverse users posted their finished 3D prints of this model, which they used to calibrate their printers. Various materials have been used.
Where to find? Thingiverse
Open-Source Printer Evaluation
What is this 3D model? This is an open source 3D model from Kickstarter and Autodesk, designed to provide manufacturers with a standard benchmark for evaluating the performance and quality of a 3D printer. Many manufacturers like to showcase their printer models by printing a 3D model on them. But when one person is printing a 3D Benchy and another is printing a vase, it's hard to know how to compare the two 3D printers. This STL file contains various features such as bridges, overhangs and fine detailing.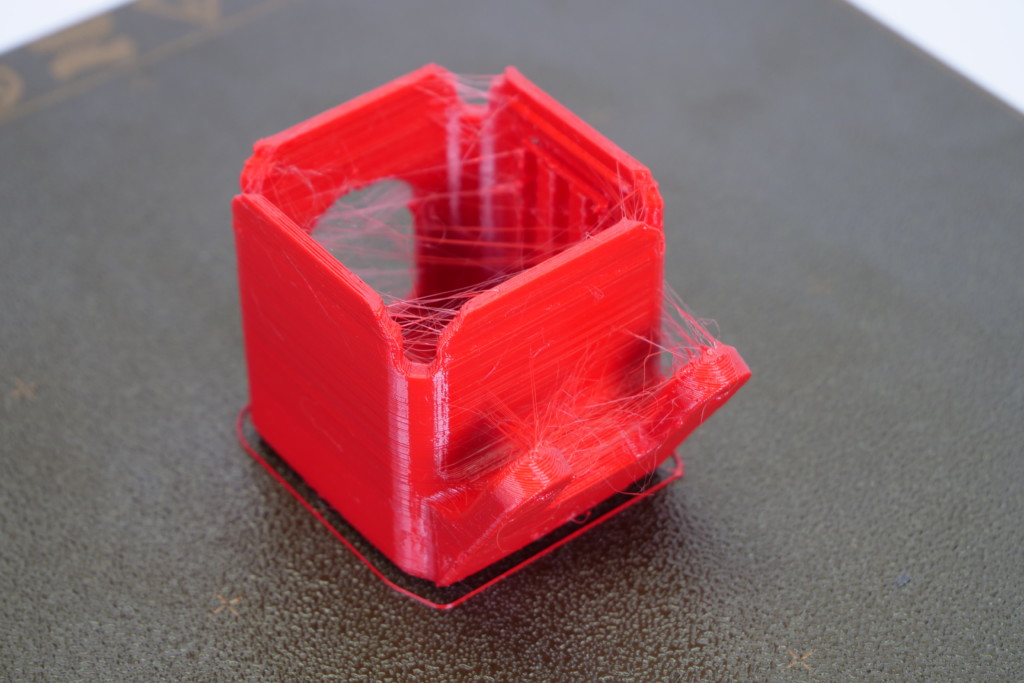 All these elements help to check the accuracy and resolution of 3D printing.
Who created? Kickstart in partnership with Autodesk
Where to find? Github
PolyPearl Tower
What is this 3D model? The PolyPearl Tower is a great way to test bridges, bends, lugs, tension and more. This is a 3D model, which is presented in the description as a torture tower with a twist. It will definitely help you to calibrate your 3D printer settings in conjunction with the material you are using for 3D printing.
Who created? Polymaker_3D
Where to find? Thingiverse
Ultrafast and Economical Stringing Test
What is this 3D model? This model is a super-fast way to check the temperature, cooling and retraction of your 3D printer. This model weighs about 0.23g and will reveal excess material between the voids in your model in no time!
Who created? s3sebastian
Where can I find it? Thingiverse
Bed Leveling Calibration Test Object (Parametric)
What is this 3D model? Leveling the table is often the most difficult part of calibrating a 3D printer.


