3D printing resume
Resuming a failed 3D print — CNC Kitchen
Just a quick PSA before we start. If you’re currently reading this because this happened to you only minutes ago, make sure you go back to your printer and keep the bed heated so that your part doesn’t release from it.
I’m quite sure that almost anyone who owns a 3D printer already had a long print fail at some point just because no material somehow got extruded anymore. This is precisely what happened to me a bunch of weeks ago while filming my filament recycling video. I was easily able to continue mine with some simple G-Code trickery and thought this is actually an essential skill I’d like to teach you. Maybe even make a print fail on purpose and try to recover it with these methods before this happens with a precious 3-day print! Let me know in the comments if you ever recovered a failed print and how you were able to do it! My print failed because I had a small piece of metal in my recycled filament that at some point blocked the nozzle. In your case, you could also run out of power, encounter heat creep, have a knot in your filament, or even run out of filament without a material sensor.
The highest priority is that you keep your print attached to the print bed, and if you have a removable print sheet, then also don’t move it in any way because otherwise, we won’t be able to resume the print at the correct location.
If your model is already loose or you’re not able to recover your print like I’ll show you, there is still the possibility to measure the height you were able to print, enter your slicer of choice, cut off as much of the part as you’ve already printed, or just move it in the z-direction by that amount.
Sectioning an STL in PrusaSlicer
Print the parts you’re still missing and just glue everything together. Done!
Final 3D print, glued together from two halfs
If your part is still attached to the bed, there is a good chance that you can recover your 3D print with a bunch of simple steps.
Step 1: Clean the last layer
First, remove all the zits and leftover material on the layer that wasn’t correctly printed anymore. We need a clean and even surface to start with.
Small material leftovers, when the print failed
Step 2: Measure the failure height
Next comes the most important step, and that’s measuring the height of your part so we can determine where we need to resume printing. I tend to use three methods for that.
Step 2a: Use calipers or a ruler
If your part allows it and you have long enough calipers, simply measure the height with them. Make sure to measure perpendicular and all the way down to the bed, so not only onto the brim. If you don’t have suitable calipers, you can also try to use a ruler, which might be precise enough for your purpose. Make sure to measure more than one point on your part to avoid measuring errors. On my sample, I measured 90. 7 mm.
7 mm.
Step 2b: Determine height from geometrical features
Another very simple yet precise way is to use the geometrical features of your print. For that, you need to open the G-code you used for printing in a G-Code-Viewer. CURA and many other slicers allow you to do that, though I tend to use the G-code Viewer that comes with PrusaSlicer that also works well with G-code from many other slicers.
PrusaSlicer G-code viewer
When my boat previously failed, it was easy to spot because that was just when the bridging section on the model started.
On my latest print right here, it’s a little more complicated because there are no hard edges near where we failed, though there is a distinct pattern of retractions and moves only four layers before we stopped extruding. So the last layer that got printed was at 90.8 mm in height.
Features on print (left) and in the G-code viewer (right)
Step 2C: Using your 3D printer as a Coordinate-Measuring Machine (CMM)
The last method is great if you don’t have any equipment to precisely measure the height or no features on the print that you can use to determine where it exactly failed. We’ll use the 3D printer as a makeshift CMM or Coordinate-Measuring Machine. We’ll move the nozzle right to the point where it touches the last layer and read the height from the screen. For this, and in general, for resuming a print to work, we need to re-home the printer because we usually lose the absolute position once we stop printing. If your part is small and your printer usually homes at the edge of the bed, it’s easy, and you can use the normal homing routine. If it’s bigger, you need to make sure that there is enough clearance to not crash into the part. While you’re homing, if in doubt, always have your finger on the power switch to potentially kill it before it crashes into the print and rips it from the platform. If you don’t find a way to home z, don’t panic, there is still one last option I’ll show you at the end.
After homing, we make sure that the nozzle is clean and then move the print head in small steps to the part until the tip just touches it. We can then read the height either from our printers’ screen, or if there’s no display, we can send M114 to the controller. For my model, it was again 90.7 mm.
Step 3: Determine the resuming height
All three methods were able to provide similar model heights down to 1/10 of a mm. Which one you use is up to you. Since I printed a layer height of 0.2 mm, the closest next layer to the 90.7mm measurements is layer 90.8, which is the same one we also got from looking at the G-Code-Viewer. This means that this was the last layer that was at least partially printed.
Now we need to determine at which layer we want to continue. Some might argue that we should reprint the last layer because it was probably not finished completely. In contrast to that, I tend to resume the print at the next layer because I want to avoid a double extrusion where the material gets all squished out, and the printhead might even get stuck. Since perimeters usually get printed before the infill, there is a good chance that we won’t even notice a gap on the outside, and a slight gap on the infill is usually not bad. I’ll therefore be resuming my printer at the height of 91 mm.
Over-extrusion at resuming location
Step 4: Modify the G-code
Now we need to slightly modify the G-code file we initially printed. Remove the SD card from your machine and open the G-code file in your text editor of choice. This might look intimidating at first, but G-code is really simple. Each line represents an instruction that gets processed one after the other. If you want to know what all the commands do, simply check out the Marlin G-code reference I linked below.
All the printing instructions up to somewhere in layer 90.8 mm were already processed, and we need to delete them. To do that, we need to find the section where the layer at 91 mm starts to get printed. Most slicers will add some comments when specific things happen, such as a layer change. Prusaslicer, for example, adds ;Z: and then the height. If you’re using CURA or you notice that your extrusions are set to absolute (M82), check the next paragraph for that approach. So we simply search for ;Z:91 and easily determine where the layer change starts. The following lines, in my case, are only the preparation steps for the layer change that are irrelevant to us, so we search the line where the printhead is lifted up to that layer, which is done with the instruction G1 Z layer height. We mark everything by clicking in front of the instruction, then holding the shift key and scrolling all the way up to the last instruction before the print starts, which is usually homing with the instruction G28. The only things that should be left in our G-code file are the initial setup and the instruction for setting extruder and bed temperature and homing. Then we directly move the printhead to the layer at 91 mm and continue printing. The only command I add manually is M106 S255 which turns the cooling fan on to 100%. If you’re not using a cooling fan or not the full power, adjust that value accordingly. Now simply save everything back to the SD card as a *.
 gcode file.
Step 4 with absolute extrusions (e.g. CURA): Editing the G-code
How the amount of extruded material gets sent to the printer varies from slicer to slicer or can even be even set in the slicer itself. The code I showed you before was prepared in PrusaSlicer which mostly uses relative extrusions, which means that for each move we only send the amount of material feed, that’s needed, instead of the absolute filament feed. CURA profiles often use absolute extrusions which can easily be spotted if you take a look at some G1 commands. If the E parameter slightly increases every line that’s an indication for that. It’s even simpler to spot if you find M82 in the header of the G-code file which sets the extrusion mode to absolute (instead of M83, which sets relative extrusions).
This is an important difference and requires you to add one additional line of G-code to your edited file. Also finding the right section where a new layer starts can be a bit more complicated in CURA because the comments in the G-code file are a little different. Just divide your resume height by the layer height you printed and you should get a rough estimation on which layer you want to resume your print. Then search for ;LAYER:XXX in the file and confirm the right height by the G0/G1 command with the Z parameter a couple of lines earlier.
Layer comment and layer height
Now again delete everything starting from before the Z-movement all the way up to the point where only the initial settings are done and the printer gets homed.
Now we need to add three additional lines manually:
M106 S255 sets the fan to full speed (adjust the values between 0 and 255 for different speeds)
G0 Z##.# go to the appropriate layer height (##.# will be the numeric value you measured)
G92 E##.# sets the extrusion amount to the right value. For this value use the next E parameter that you find in your G-code
Manual G-code lines you need to add
Save everything and you should be good to go.
Step 5: Resume the print
Make sure you fixed whatever caused your print to fail in the first place and start the print. If everything goes well, the printer will heat up, home, and continue printing just where it failed before. I’d still recommend having your finger on the power switch to stop the machine if anything looks strange to give you the possibility to find out what you did wrong and have the chance to give it another try! In my case, the point where I resumed printing is practically invisible, even though the machine did nothing for several hours. What a great success!
Storm Trooper helmet by Geoffro resumed after with barely any marks
As I said before, there are cases where you are not able to home the z-axis because your print blocks the movement. In such a case, not everything is lost. You still need to measure or find the height where it failed in some way. When now editing the G-code file, make sure you also delete the G28 command, so the printer doesn’t try to home because we will do that manually. Everything else stays the same. Next, you manually need to move the printhead to the height of the last layer by connecting your laptop and using Proterface, for example. If you’re running Octoprint or use the DUET web interface, that works excellent as well. Many machines will not let you move the printhead if it’s not homed, so we need to trick the controller. First home only X and Y by sending G28 XY to the printer. The default position for the axes is often 0, and many printers won’t let you go to negative coordinates. Send M211 S0 to disable the software end stops. If the z-axis still can’t be lowered, try sending G92 Z0. Move the nozzle until it touches the last layer. Now send G92 Z and the failure height you measured. This way, you manually set the right z-height without homing. Be quick with starting your edited G-code file that the motors don’t switch to idle and lose their position. After heating the bed and nozzle, the print should continue normally, and you again might have saved days of printing and a ton of material!
Cyclops bust by Wekster resumed with a manually homed z-axis
Stefan Hermann
0 LikesGaussan Technology 3d Printing Technician Resume Sample
Gaussan Technology 3d Printing Technician Resume Sample - ResumeHelpSearch Resume Examples
- Resumes
- Gaussan Technology 3d Printing Technician
Ryan Nelson
XXXX XXXXXX XXXXXX XXXX, Culleoka , TN 38451
Ph: XXXXXXXXXX
XXXXXXXXXXXXXXXXXXXXXXXXX
Professional Summary
Ambitious nursing student with a desire to learn and eager to contribute current skills to healthcare systems. Excellent interpersonal skills and a dedicated worker.
Skills
- CPR certification
- Vital sign assessment and documentation
- Written and verbal communication
- Utilize critical thinking skills while working in various environments
- Perform therapeutic nursing interventions
- Establish therapeutic relationships with patients
Experience
Education
High School Diploma May 2012 Columbia Academy Columbia, TN *Graduated Summa Cum Laude
*Member of the National Honor Society
Associate of Science: Nursing Columbia State Community College Columbia, TN *Expected graduation May of 2015
*Current GPA 3.69
*Member of the Phi Theta Kappa Honor Society
Love this resume?
Preschool Assistant Student Nurse Technician
Resume Details
This is a real resume for a 3D Printing Technician in Culleoka, Tennessee with experience working for such companies as Gaussan Technology, Columbia Academy Preschool, Clinical Experience. This is one of the hundreds of 3D Printing Technician resumes available on our site for free. Use these resumes as templates to get help creating the best 3D Printing Technician resume.
Previous Companies:
- Gaussan Technology
- Columbia Academy Preschool
- Clinical Experience
Previous Job Positions:
- 3D Printing Technician
- Preschool Assistant
- Student Nurse
Schools:
- Columbia Academy
- Columbia State Community College
Level of Education:
- High School Diploma
- Associate of Science
The Easiest Way to Create a Professional Resume.
Create a job-winning resume in minutes.
create your resume
Similar Resumes
View More3D Printing Technici...
Prescott, ArizonaCompanies Worked For:
Bronzesmith, Sapphire Scientific, Northern Arizona...Preschool Assistant...
Lebanon, IndianaCompanies Worked For:
Dawn Til Dusk Daycare, Whitestown Pizza King, Stea. ..
.. Preschool Assistant
Highlands Ranch, ColoradoCompanies Worked For:
Little Peoples Landing, Knowledge Beginnings, Prim...Preschool Assistant...
Lithonia, GeorgiaCompanies Worked For:
Sheltering Arms Early Education, Chi Du Mex wholes...Student Nurse
Eugene, OregonCompanies Worked For:
LBCC Clinical Experience, Eugene Urgent Care, Good...Student Nurse
Tampa, FloridaCompanies Worked For:
Florida Hospital Tampa, Tampa General Hospital, St...Preschool Assistant...
Sterling, VirginiaCompanies Worked For:
ADAMS Center, INOVA Loudoun Hospital, Claude Moore...Preschool Assistant
Cleveland, OHIOCompanies Worked For:
TIPPY TOE TOTS, Tender Touch Daycare, Imani Home H...Get Started on Your Job-winning Resume Today!
Get all the help you need to create a professional resume in minutes. Includes thousands of pre-written examples for hundreds of jobs.
create your resume
Resume "Operator-engineer (3D-printers)", Kyiv, Remotely - Work.
 ua Resume "Operator-engineer (3D-printers)", Kyiv, Remotely - Work.ua
 - Candidates
- in Kyiv
- IT, computers, internet nine0004
Resume dated August 23, 2016Read more">PRO
Operator-engineer (3D printers)
- Employment:
- Part-time employment.
- Age:
- 39 years old nine0015 City of residence:
- Kyiv
- Ready to go:
- Kyiv, Remotely
The applicant indicated phone and email mail. nine0011
Name, contacts and photo available only for registered employers. To access candidates' personal data, sign in as an employer or register.
You can get the contacts of this candidate on the page www.work.ua/resumes/3541671/
Work experience
3D printer engineer - IT specialist - microprocessor technology engineer
from 11.2014 to 08.2016 (1 year 9 months)
3din, Kyiv (development and implementation)
Drawing 3D models according to drawings, sketches, pictures or according to the customer in 3D Max, blender, Sculpturis, zBrush, Corel, Illustrator, Cura, for subsequent printing on 3D printers or laser cutting.
Work with Prusa I3 3D printers, assembly, repair, adjustment, improvement, modernization, alteration.
There are ideas for developing new 3D printers, including a complete rendering of all its components.
Programming ATS (microprocessors), for example, a series of ATmega8a, 256, etc. Writing code for them, debugging, flashing, pre-checking on the emulator. ISIS, CV AVR, extreme burner. nine0045 Development of devices based on microprocessors, from testing, debugging, assembly, soldering, for example: a laser gun, a target, a light board, temperature sensors, lighting, on and off relays, almost everything from the arduino sensor family, working with arduino + sensors, developing individual components for smart home systems, development of radio-controlled models.
I have experience in repairing DJI fantom 2 vision+ quadcopters, and one was smashed to smithereens.
Education
VMUROL "Ukraine"
Computer systems and services, Computer engineering, Kyiv
Higher education, from 2001 to 2006 (5 years 4 months)
Professional and other skills
Professional and other skills capacitors, systems of the Windows xp-10 family, Ubuntu, 3D max, blender, UNITY, Kerio winrout, Kerio Mail server, Wialon, Visicar, Cura, ISIS AWR, Photoshop, Pinnacle 11-15, Sony sound forge, Office, C ++, writing bash scripts.
 etc. nine0004
 Medium, currently using.
Medium, currently using.
Advanced, currently using it.
Intermediate, currently using. nine0004
Advanced, currently using.
Medium, currently using.
Advanced, 1 year ago.
Intermediate, 2 years ago.
Medium, currently using it.
Medium, currently using it.
Advanced, currently using it.
Language skills
English - intermediate
Additional information
I work with 3D printers, develop models for bottoms in 3d MAX, blender, work with Сura slicer, study Solid Work. There is a PRUSA I3 3d printer - which I have somewhat modified, and I am making plans for its further modernization. I understand the essence of 3D printers, I work layer-by-layer printing mainly with ABS plastic and PLA, I understand the components and principles of operation of printers, I can independently assemble 3D printers, repair, upgrade, design new elements, systems and printers themselves.
I am engaged in the development of devices, soldering, drawings, board layout, writing code for ATS micro controllers, for example, the Atmega series in CVAVR, ISIS applications, firmware for micro controllers, code for working with arduino transmitters, I study arduino, I can develop components for a smart home, robots, radio-controlled toys, etc. . I plan to make a radio-controlled ornithopter. nine0011
sometimes I work with Unity, for example, I make 3D screen savers for the desktop, 3D presentations, WEBgl, demos. Well, and a lot of other things I'm also friends with my hands, and if you need something else - you ask maybe I'm already doing this, or I know how to do it or I can learn it quickly :)
P.S. I like shooting from a classic bow, kayaking, doing 3D design, communicating with people, learning something new and interesting
Offer a job nine0011
Similar candidates
- 3D modeller, 3D printer operator , 10000 UAH, Kyiv.
- Design engineer, 3D modeler (Compass-3D, Solid Works) , 18000 UAH, Zaporozhye, Remotely.
- Alarm engineer, koshtorisnik, VTV, BIM engineer (3D visualization) , Kyiv, Remotely.
- 3D sculpor, 2D, 3D motion designer, 3D modeller , 35000 UAH, Dnipro, remotely.
- 3D-engineer, modeler, sculptor (engineering robots, sculpting, 3D-druk) Lvov, remotely. nine0067 Service engineer for repairing printers, refilling cartridges , 10000 UAH, Kyiv.
All similar candidates
Candidates in categories
- IT, computers, internet
- Working specialties, production nine0004
- Design, creativity
Candidates by city
- Candidates in Kyiv
- Candidates for remote work nine0004
Metal furniture and fittings: using 3D printing to optimize exclusive production
Raise3D N2 printed sofa
“3D printing saves labor costs and increases efficiency. Products become clear visually already at the prototyping stage, you can see all the details and quickly make adjustments.»
Wanhao Chai, nine0045 owner and designer
Company: Yujia Metal Science
Scope: Metal furniture
Narrated by: Wanhao Chai is the owner of the company
Yujia Metal Science creates household items from metal: partitions, doors, windows, furniture, wine cabinets, metal decorations and other interior items. Positioning itself as a boutique designer furniture and exclusive production, Yujia operates in a narrowly segmented direction - production of furniture and interior items by individual order. nine0011
Yujia Metal Science turned to 3D printing to solve a major problem - to increase the speed of production and the frequency of new products.
Summary:
Prior to the use of 3D printing, traditional manufacturing methods included:
- Engaging third-party companies to create various prototypes at intermediate stages of production.
- Large production costs and, accordingly, an increase in the cost of production due to high prices for the services of these companies (labor, design, materials). nine0004
- Long production time due to the individual design of each product.
By using a 3D printer, the company has been able to:
- Reduce production time by using 3D printers, and by sharing prototype printing among multiple printers.
- Reduce costs by reducing labor required and using cheaper materials for prototypes.
- Refuse outsourcing. The company began to do all the production itself. nine0004
Result:
- 91.67% reduction in total production time
- 75% reduction in working hours
- 99.17% reduction in prototype costs
Concept for final chair design
3D model of a plastic-printed chair before creating its steel counterpart
Production process:
Yujia Metal Science uses the Raise3D N2 3D printer mainly for prototyping.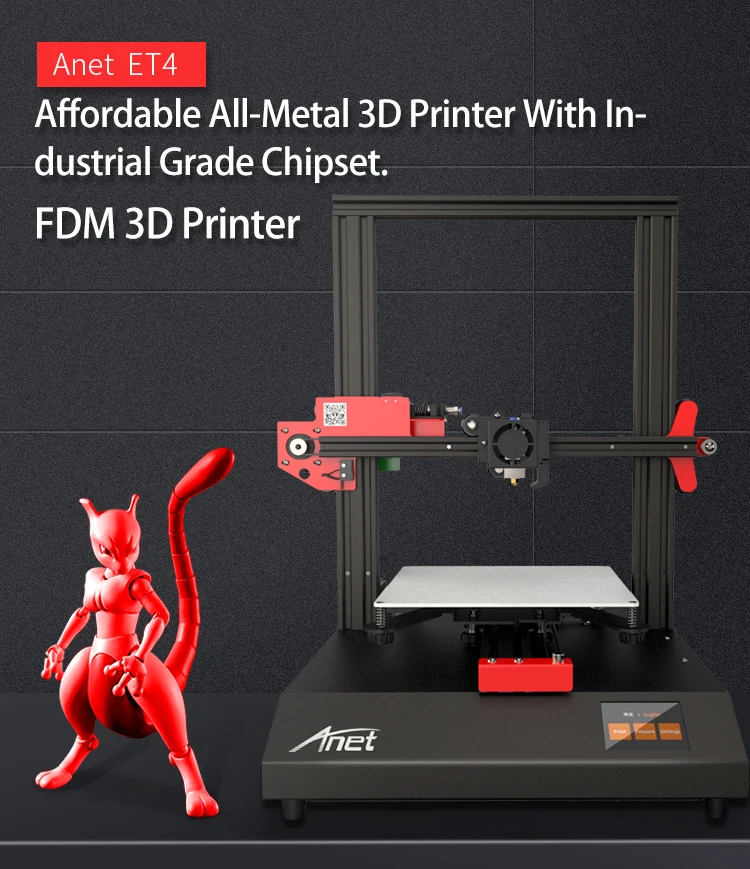 nine0011
Prototyping requires only product drawings, a slicer, printing plastic and Raise3D N2 printers. At the beginning, the required file is converted to STL, then the print preview is used to minimize the number of supports and optimize all layers, layout of elements, and the appearance of the model.
The purpose of printing the first model is to see the appearance of the structure. Using the printed prototype, the designer can physically interact with it, see all the nuances and shortcomings, decide on changes and quickly correct the model. nine0011
By distributing models or their individual elements for printing among several printers, the Yujia team significantly reduces the lead time. With the 1:1 scale of prototypes, they can get an idea of what the finished product will look like with the final design.
Stainless steel parts
Metal parts and legs will be used in the final chair design
Problems:
- Expensive logistics associated with small-scale production (logistics of prototypes, finished products, materials, etc.
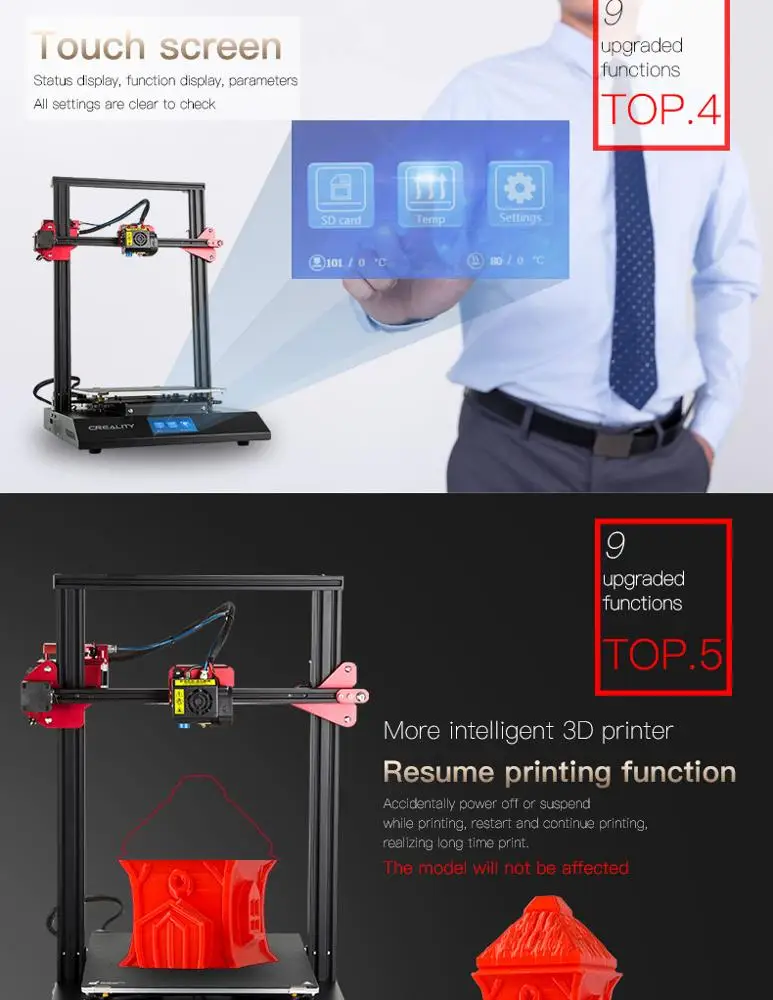 ). nine0004
 - Yujia Metal Science has a labor cost of $30 per person per day. After 15 days, the price for one prototype reached $ 1800, not including significant costs for materials.
- Prior to using 3D printing, Yujia ordered wooden prototypes to check and match models. Before making the steel version, this process was repeated many times. Many factories do not welcome this format of cooperation with small-scale production, considering it not rational to spend time on the production of single prototypes. Therefore, Yujia often found themselves in a difficult situation and were rejected by companies due to the small volume of their orders. nine0004
Solution:
With the help of Raise3D printers, Yujia was able to transfer the production of prototypes and products completely in-house. Thanks to this, they got rid of the extra costs and uncertainty that were inevitable when working with outsourcing companies.
Raise3D's large print area and high fidelity allow for the largest and most complex versions of designs.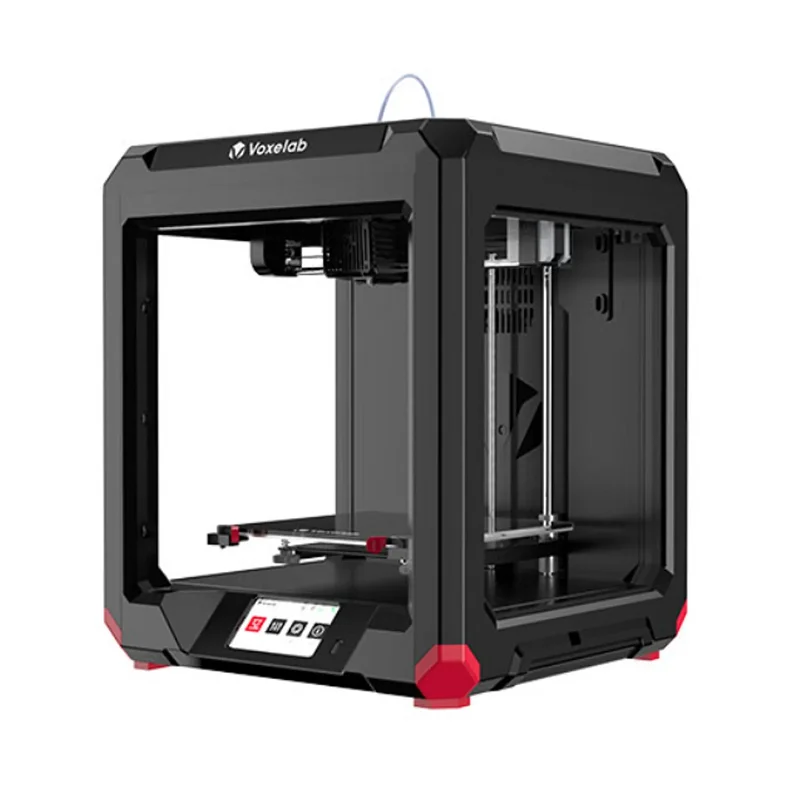



/cdn.vox-cdn.com/uploads/chorus_asset/file/24096810/AirBell_Shopify4_2048x.jpg)


