3D printing fan
The importance of the layer fan
When talking about the functional parts of an FDM 3D printer, the layer fan is one of the most important components that can be found. A 3D printer usually has two fans in the HotEnd area, one in charge of cooling the HotEnd diffuser and another that cools the material that comes out of the nozzle. In this article we will talk about the latter, the layer fan.
When is it necessary
All users have tried to print some part with small area zones, where the nozzle is constantly moving in the same zone, a process that causes an excess of temperature that softens the part. The same happens when printing tall, slender parts, such as a small diameter cylinder, where heat accumulates in the same area and catastrophically deforms the part. Another typical deformation is that which occurs in very steep cantilevers, where the still hot material is deformed by the action of being suspended in the air, until it solidifies.
All these problems are solved simply by using the layer fan correctly.
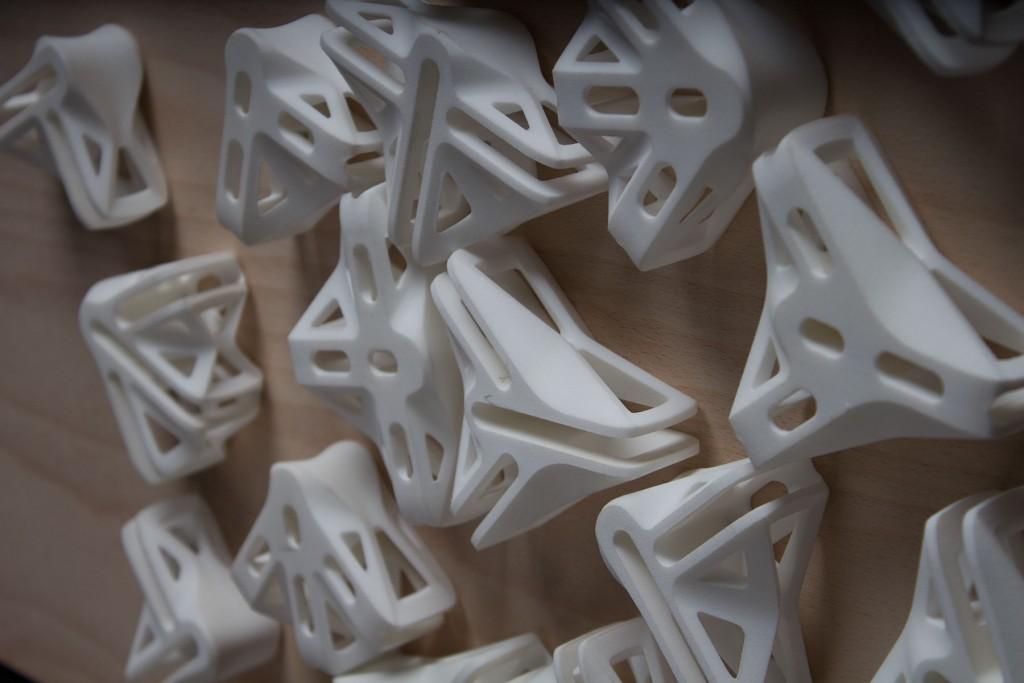
Image 1: Small parts without and with layer fan.
Compatible materials
Before commenting on how to configure the layer fan, the user must take into account with what materials it is recommended to use the layer fan and with which not.
PLA
The PLA is the material par excellence that the layer fan needs, due to its low softening point. This means that if the nozzle is placed in the same area for short periods of time, the piece will suffer irreversible deformation. For this reason, the layer fan is a crucial component in all FDM 3D printers that use PLA or some composite material containing this polymer as a base.
ABS
This material and similar ones, such as ASA, are totally incompatible with the layer fan. This is because the ABS is very sensitive to the loss of temperature against drafts, such sharp increases that cause cracking (delamination of the layers) and the total failure of printing. For this reason, it is vital to use ABS and ASA with fully closed 3D printers.
Others
Apart from the materials discussed above, in 3D FDM printing there are many more types of filaments and each with a different print configuration, for that reason a table with the majority of available materials is shown below and it is indicated if they need or no layer fan:
Table 1: Layer fan depending on the material.
Expert Advice
Once the user already knows whether or not he needs to use the layer fan, he must know how to use it and when.
At the beginning of a print the user needs the first layer to adhere to the base with sufficient firmness so that it does not peel off during printing. This is achieved, not only using some product that improves adhesion, but also keeping the temperature stable, so the layer fan must be turned off during the first two layers. Once the print has a certain height, the speed of the layer fan must be adjusted to the geometry of the piece in each layer.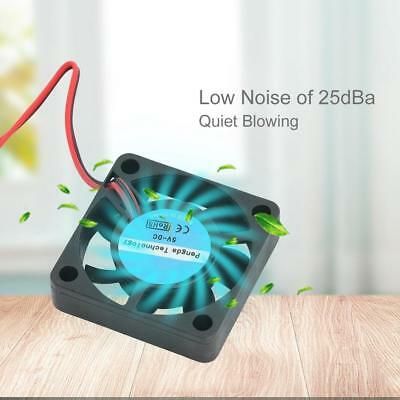 In general, there are two cases where the speed must be varied: when the printing time of a layer is greater than 5 seconds and when it is less than 5 seconds. In the first case, the layer fan speed must be increased linearly from 70% with layer times of 20 seconds or more, up to 100% with layers of 5 seconds. When the layer time is less than 5 seconds, the user must use the layer fan at 100% speed, sometimes being an insufficient speed that causes deformation in the part. This problem, which usually occurs when narrow and tall pieces are made, is solved by printing several separate pieces simultaneously as much as possible so that each layer has time to cool.
Any lamination software (Cura3D, Simplify3D, Slic3r...) allows you to modify the speed of the layer fan at the height of the piece that the user wants.
Image 2: Configure layer fan in Simplify3D. Source: Simplify3D.
Conclusion
It is important that all users of a 3D FDM printer know how to use the layer fan correctly, as it is a complement that elevates the quality and complexity of the parts.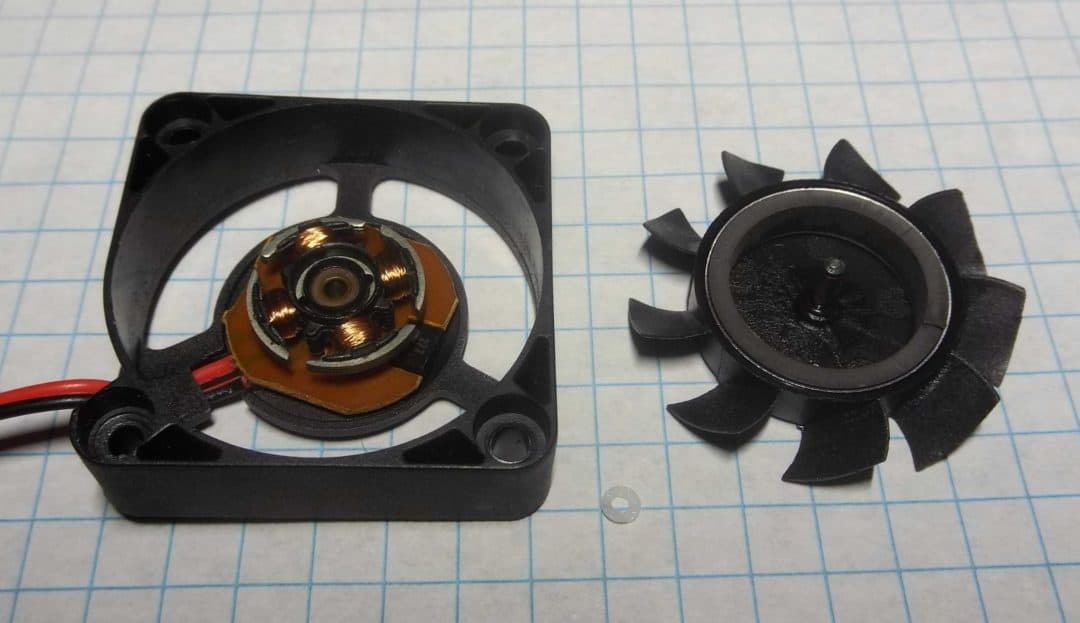
Do you want to receive articles like this in your email?
Subscribe to our monthly newsletter and you will receive every month in your email the latest news and tips on 3D printing.
* By registering you accept our privacy policy.
▷The importance of fans in 3D printing - Types according to function, airflow, size and movement.
When we start in 3D printing we usually pay a lot of attention to eye-catching components, such as the extruder or the board. But until we delve a little deeper we do not begin to pay attention to other vital and fundamental elements, such as the case of fans and their role in cooling specific parts of our 3D printer.
According to its function:
- Layer fan:
It is the best known, it is responsible for cooling the piece during printing to favor the solidification of the material and prevent deformities caused by excess heat. - Hotend fan:
It usually goes unnoticed until it stops working properly, since its function is essential in modern extruders, when it fails, the extruder gets stuck, since its function is to keep the cold zone of the extruder cold enough, and prevent the filament melts prematurely.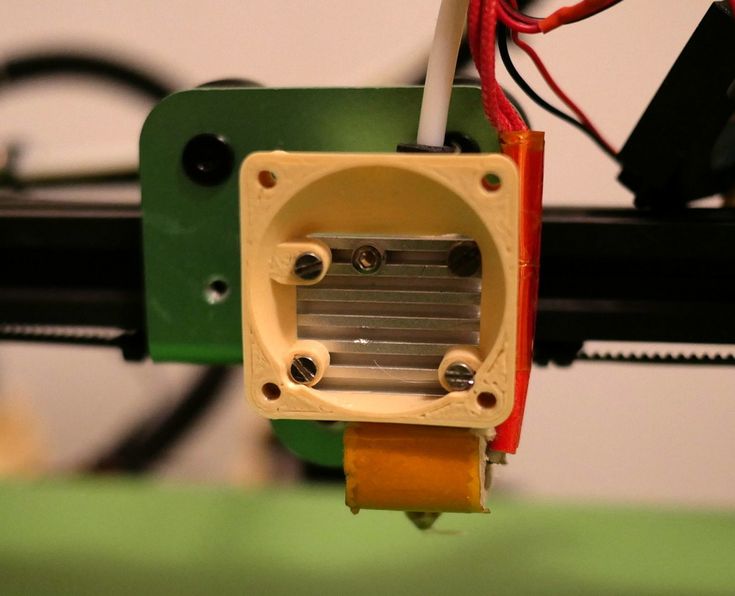
- Electronics fan:
This is optional, although from our point of view highly recommended.
Todos los elementos de la electrónica producen calor, y cuanto más potente es la impresora y sus componentes más calor producen, este calor hay que evacuarlo de alguna forma, y ahí entra el ventilador de la electrónica mantiene todos los componentes electrónicos en una temperatura óptima y evita problemas de sobrecalentamiento así como fallos prematuros, alargando la vida útil de nuestra impresora y sus elementos. - Power supply fan:
Also optional and the great ignored as it usually comes standard on high power power supplies.
It has exactly the same function as the electronics fan, but applied to the power supply where we also find many elements that produce heat during operation. - Chamber fan:
In some closed 3D printers we find a fan/extractor that extracts a small amount of air and makes it pass through a filter, its function is to prevent harmful odors and particles from leaving 3D printers that work materials at high temperatures.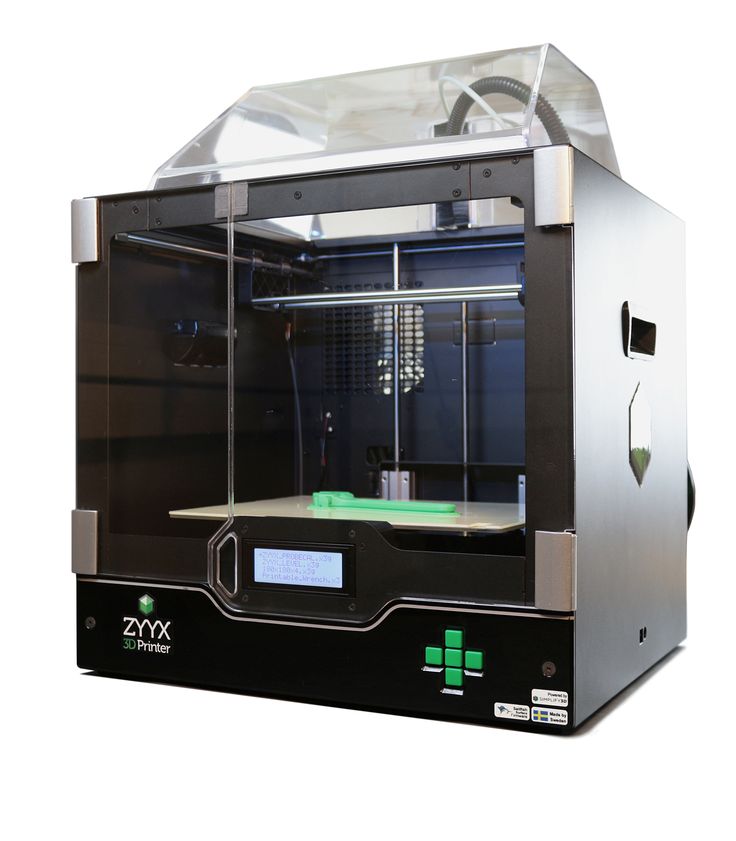
- Other less common fans:
- Fan for motors, are sometimes used in giant 3D printers, since they are configured with motors that produce a lot of heat.
- Fan for liquid cooling systems.
- Etc.
According to type of airflow:
- Axial or Helical Fan:
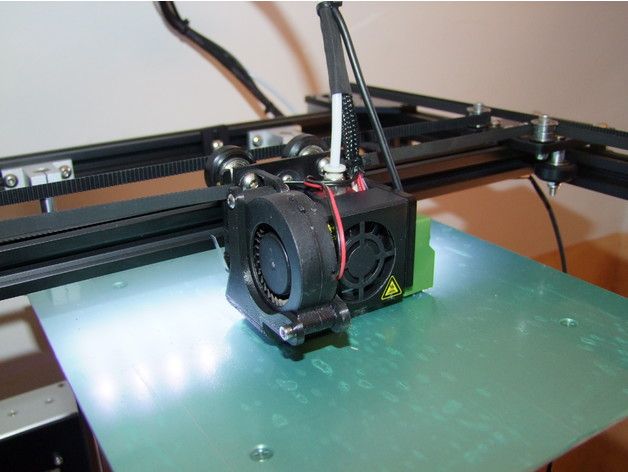
They are the most common type of fan, the air passes in a direction parallel to its axis. They can move large amounts of air where resistance to airflow is low. They are recommended for applications where the distance that the air will travel is low, as is the case with our 3D printers.
In 3D printing they are commonly used in these applications:- Fan of the power supply and/or electronics, since they are the ones that provide the best air flow at the lowest cost.
- Hotend heatsink fan, for the same reason, simple, efficient and easy to mount.
- Layer fan, when designed to maximize airflow, with air ducts that do not overly close the air outlet and therefore do not require high pressure.
- Blower fans:
It is made up of two parts, the casing, which is shaped like a snail or volute, and the impeller that it has has a certain number of blades, the air inlet is in the center and the outlet is in a corner. They have worse performance than Axial fans, but they are suitable in many applications where, due to technical needs, they are preferred over axial ones. In 3D printing they are commonly used in these situations:- Layer fan designed with a very localized air outlet, where the small air outlet is favorable to direct the air flow.
- Very small heatsinks, where the aim is to concentrate the air outlet as much as possible.
According to size:
Occasionally we want a very small printer, like the VORON V0.1, and this requires making everything as compact as possible, including the fans, and this leads us to use fans as small as the 3007, at 30x30x7mm in size.
In other cases we want to have the greatest possible airflow, it is common to find 6020, 6015 fans, and even some larger ones such as 8020, in larger 3D printers to cool electronic components.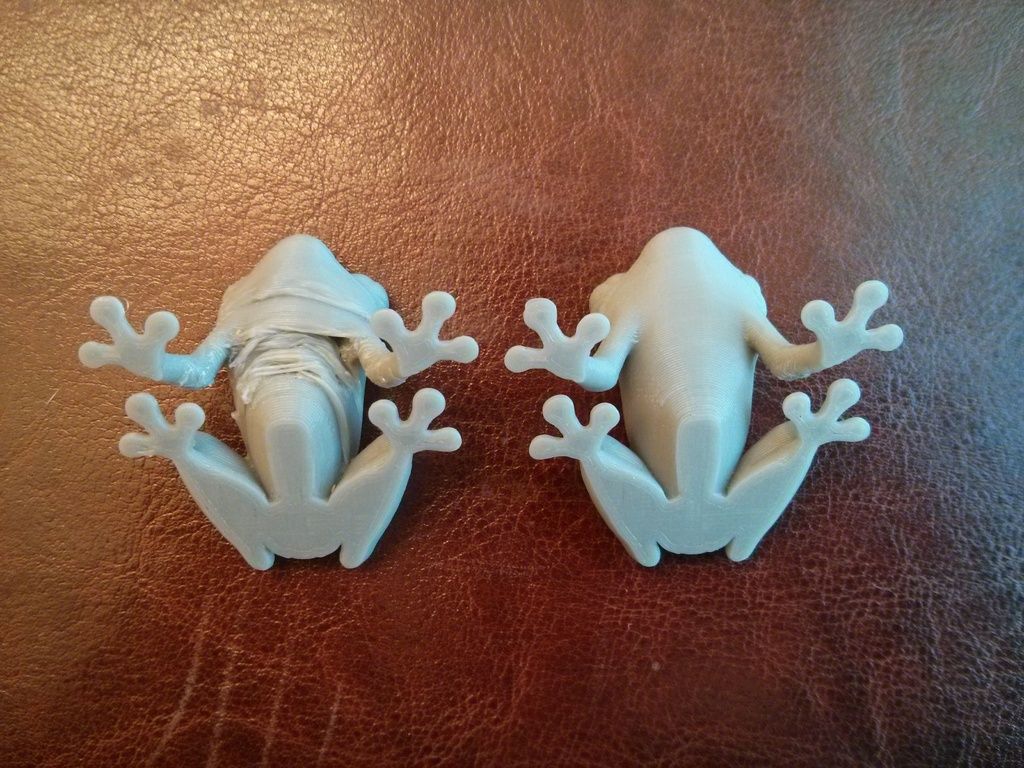
In most situations we find intermediate situations where we have to find a "compromise solution", for this reason for example we use the 4020 fan in our layer fan, and the 3010 for the hotend. Other designs often use a slightly thinner and slightly larger 5015 for the layer fan, and the 4010 or 2510 for the hotend. Using very large sizes offers advantages of airflow, pressure and reliability, but they are also heavier and bulkier.
- Nomenclature, the size is usually indicated in four digits, the first two refer to the external size of the fan, and the last two refer to the thickness, all in millimeters. For example, the 4020 forms a prism with a side of 40mm and a height of 20mm. Axial fans usually have a square shape, while centrifugal fans usually have three rounded corners.
According to movement:
- Sleeve bearing, it is the simplest and most common model, since it is cheap to produce and meets the needs of many applications.
The shaft is made up of two parts made of a porous and lubricated material, so that while it rotates the natural wear and tear of the shaft keeps it lubricated.
As a disadvantage, it has that during its useful life these surfaces wear out and dry, producing gaps that generate noise and reduce performance. - Ball bearing, as a disadvantage, it has that during its useful life these surfaces wear out and dry, producing gaps that generate noise and reduce performance.
For a long time, the best fans have been of this type. - Hydraulic, it is an evolution of the bush bearing, in which both parts do not touch directly, a fluid is circulated between them. In this way we get the best of the two previous types: we avoid the noise of mechanical bearings, obtaining a similar performance.
- Other types such as magnetic levitation bearings, which are not currently used in 3D printing.
Remarkable features:
Air flow
It is the flow of the fan, the mass of air that it can displace in a unit of time.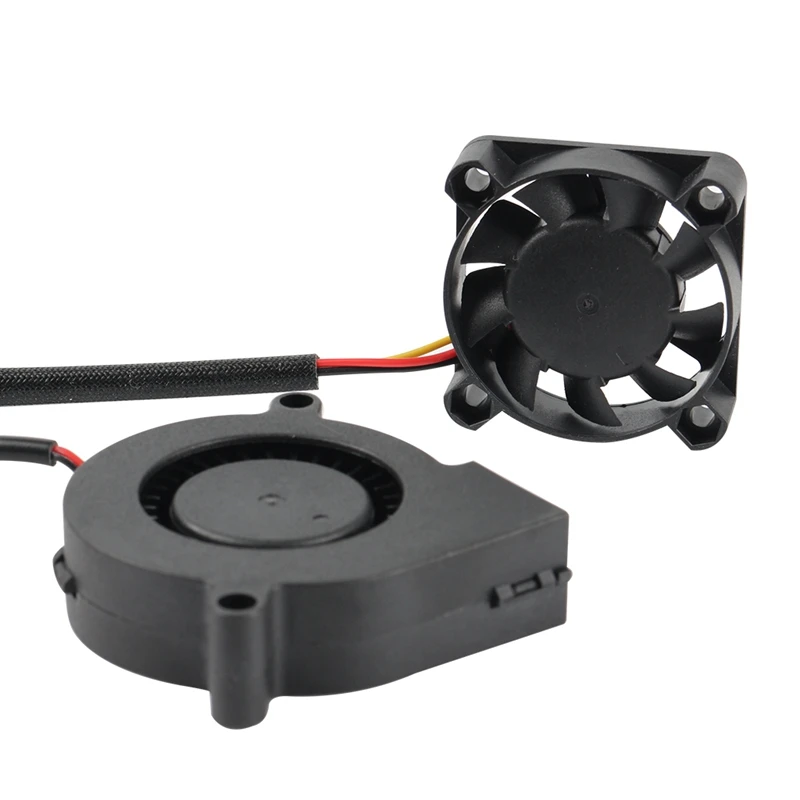
It is expressed in m3/h (1,7 m3/h = 1 CFM).
Fan speed
Indicates the speed at which it will turn at nominal voltage, it is indicated in RPM, Revolutions Per Minute.
Useful life
All fans have an indicated useful life, there are factors that can shorten and lengthen it. As what interests us is to maximize the useful life, we can give these tips in this regard:
- Use quality fans, these will heat up less and last longer.
- Larger fans have a longer life as they generally spin at a lower number of revolutions.
- Activate them only when necessary. Some boards, increasingly allow to control several fans, the SKR2, for example, allows to control up to 3 fans.
- Keep them in a good state of maintenance, removing the "lint" and dust that may remain on their blades, also if it makes noise you can remove the sticker to put a drop of oil on the axis and keep it better lubricated.
Lifespan is measured in hours, a 35,000 hour fan will be able to run for up to 4 years if kept in good condition.
Voltage
- Each fan has the nominal voltage indicated, they should never be connected to a higher voltage as they will heat up and burn, however if they can be connected to a lower voltage, they will work at a lower speed.
A "trick" that can be done in 12V printers, for electronics, is to install a 24V fan without regulation and larger than what would be necessary, for example a 6020, this fan when turning at a relatively low speed will hardly sound , it will have a very high life, and it can provide us with more than enough ventilation.
Nominal current
- It is the current that it will receive connected to its nominal voltage and turning at maximum revolutions, it helps us to calculate its energy consumption, or size the mosfet that regulates it, in 3D printing fans of 0.1A or less are normally used that are easily regulated with any mosfet, but if you want to connect 2 or more fans to a regulated output, it is convenient to check the specifications of the board and the fans to avoid damaging the board.

Note on qualities
- Nowadays we can find everything from poor quality ball bearings, built with cheap materials, which offer poor performance and short lifespan, and well-functioning bushing fans, with good construction that will perfectly cover any need. If we want a reliable solution, it is very important to see where we buy the fans and if they have a brand, a well-known brand fan in a trusted specialized store may be the most recommended option.
This small component of our 3D printers has given enough of itself, we didn't want to go into other issues such as positive and negative pressure, or analyze the values of its technical sheet. If you have any questions about these fans, we encourage you to ask them in the comments!
Coolers, fans, radiators - Plastic for 3D printing in Yekaterinburg
By popularityBy noveltyPrice: ascendingPrice: descendingBy name A to ZBy name Z to ABy availabilityBy number of reviewsPresented 9 products
-
Fan (cooler) 3010 12V cable 30cm 2pin
200 ₽Product quantity Fan (cooler) 3010 12V cable 30cm 2pin
Add to cart4 pcs.
nine0014 Fan (cooler) 3010 12V cable 30cm 2pin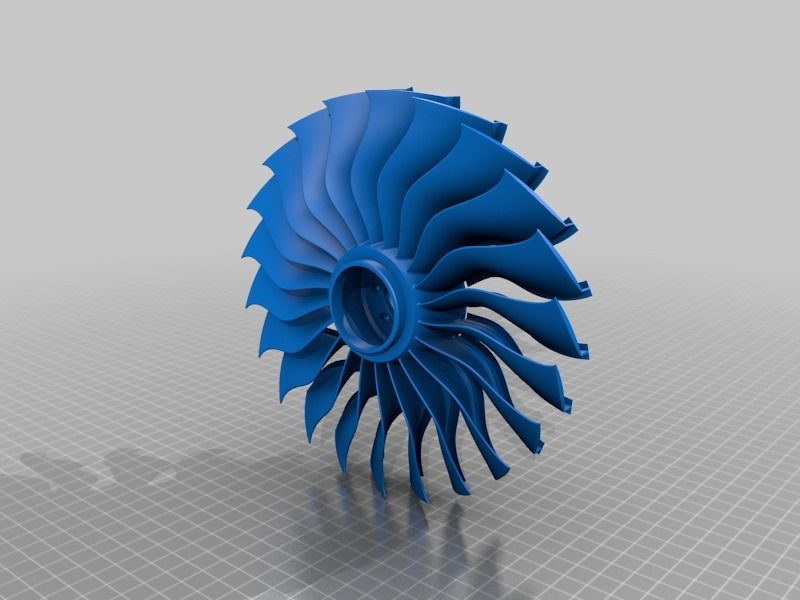 in stock
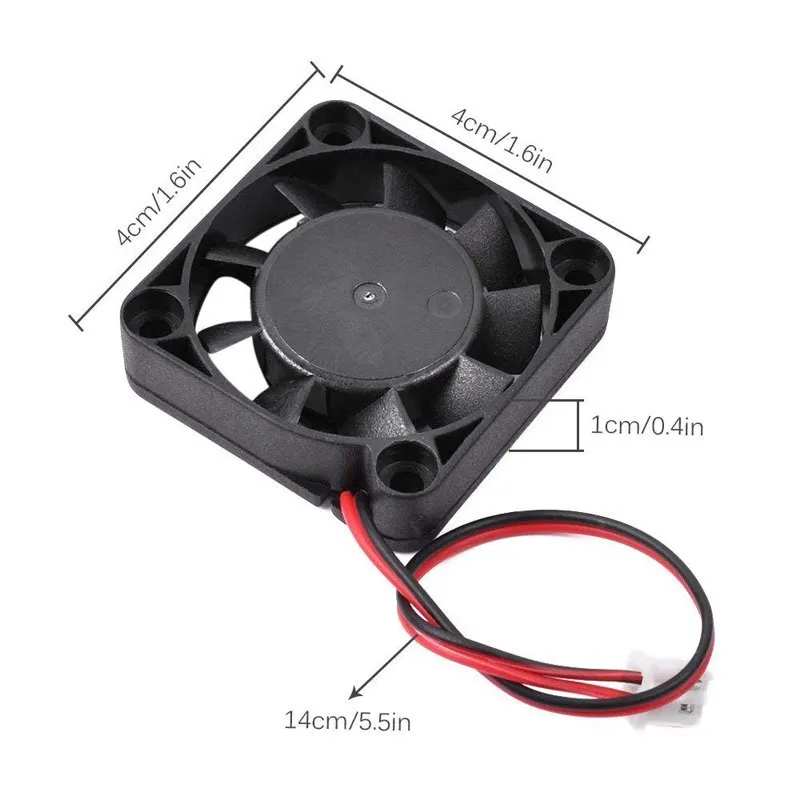
 Simple fan with air flow output along the axis. Wide application: in the nodes of 3D-printing devices with a supply voltage of 12 V, various equipment.. Supply voltage: 12 V DC. Current consumption: 0.1A. Cable length: 30 cm. Connector: 2Pin, JST-XHP-2.54. Fan size: 30mm x 30mm x 10mm. Bearing type: Hydraulic.
200 ₽
-
Fan (cooler) 4010 12V cable 30cm 2pin
200 ₽Product quantity Fan (cooler) 4010 12V cable 30cm 2pin
Add to cart4 pcs. in stock
Fan (cooler) 4010 12V cable 30cm 2pin
Simple fan with air flow output along the axis. Wide application: 12V 3D printer nodes, various home appliances. Supply voltage: 12V DC. Current consumption: 0.065A. Cable length: 30 cm.
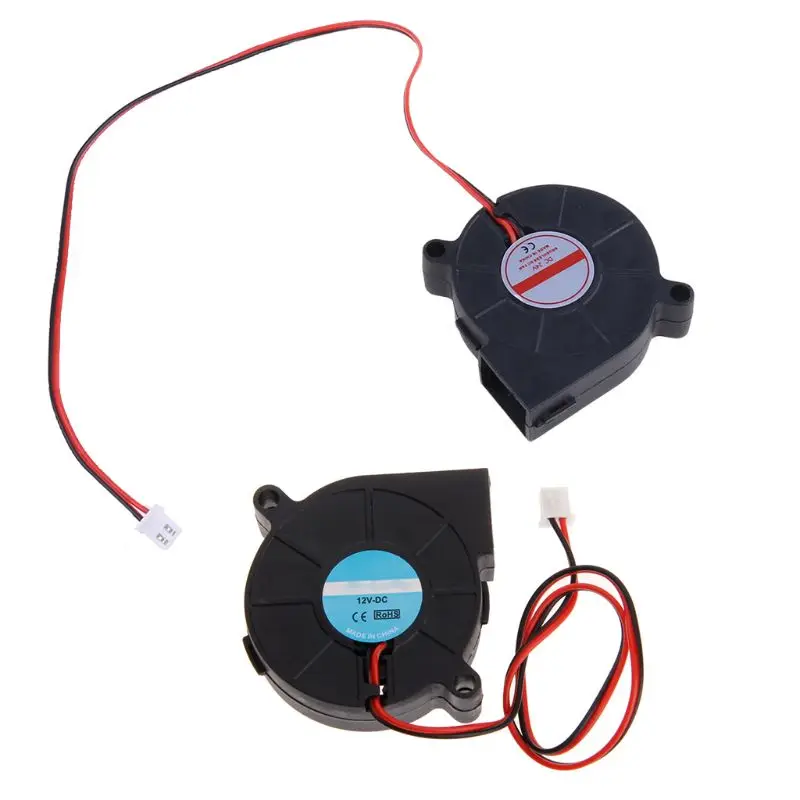 Connector: 2Pin, JST-XHP-2.54. Fan size: 40mm x 40mm x 10mm. Bearing type: Hydraulic. nine0003
 200 ₽
-
Fan (cooler) turbo. 4020 12V cable 30cm 2pin
300 RUBQuantity of goods Fan (cooler) turb. 4020 12V cable 30cm 2pin
Add to cart4 pcs. in stock
Fan (cooler) turbo. 4020 12V cable 30cm 2pin
Fan-turbine with air outlet perpendicular to the axis. Suitable for 12V 3D printers and other devices. nine0003
Supply voltage: 12 V DC
Current consumption: ~ 0.15 A
Cable length: 10 cm
Connector: 2Pin, JST-XHP-2.54 bearing: Hydraulic
300 RUB
-
Turbine fan (cooler) 5015 12V cable 30cm 2pin
350 RUBQuantity of item Turbine fan (cooler) 5015 12V cable 30cm 2pin
Add to cart3 pcs.
 in stock
 Turbine fan (cooler) 5015 12V cable 30cm 2pin
Turbine fan. Suitable for 3D printers with 12V power supply, for example: Anet A6/A8, etc., as well as other equipment (humidifiers, etc.). Supply voltage: 12 V DC. Current consumption: ~ 0.18 A. Cable length: 30 cm. Connector: 2Pin, JST-XHP-2.54. Fan size: 50mm x 50mm x 15mm. Bearing type: Hydraulic.
nine0008 350 ₽
-
Fan (cooler) 2510 5V cable 30cm 2pin
200 ₽Product quantity Fan (cooler) 2510 5V cable 30cm 2pin
Add to cart2 pcs. in stock
Fan (cooler) 2510 5V cable 30cm 2pin
Simple fan with air flow output along the axis. Wide application: 5V 3D printer nodes, various home appliances. Supply voltage: 5V DC. Current consumption: 0.05 A. Cable length: 30 cm. Connector: 2Pin, JST-XHP-2.
 54. Fan size: 25mm x 25mm x 10mm. Bearing type: Hydraulic. nine0003
 200 ₽
-
Fan (cooler) turbo. 4020 24V cable 30cm 2pin
300 RUBQuantity of goods Fan (cooler) turb. 4020 24V cable 30cm 2pin
Add to cart2 pcs. in stock
Fan (cooler) turbo. 4020 24V cable 30cm 2pin
Fan-turbine with air outlet perpendicular to the axis. Suitable for 24V 3D printers such as Sovol SV01, Anycubic Predator and other 24V devices. nine0003
Supply voltage: 24 V DC
Current consumption: ~ 0.15 A
Cable length: 10 cm
Connector: 2Pin, JST-XHP-2.54 bearing: Hydraulic
300 RUB
-
Turbine fan (cooler) 4010 12V cable 30cm 2pin
300 RUBQuantity of item Turbine fan (cooler) 4010 12V cable 30cm 2pin
Add to cart2 pcs.
 in stock
 Turbine fan (cooler) 4010 12V cable 30cm 2pin
Turbine fan. Suitable for 12V 3D printers such as Anycubic Kossel, ZAV Big, etc. Supply voltage: 12 V DC. Current consumption: ~ 0.06 A. Cable length: 30 cm. Connector: 2Pin, JST-XHP-2.54. Fan size: 40mm x 40mm x 10mm. Bearing type: Hydraulic.
300 RUB
nine0022 -
Turbine fan (cooler) 4010 24V cable 30cm 2pin
300 RUBQuantity of item Turbine fan (cooler) 4010 24V cable 30cm 2pin
Add to cart1 pc. in stock
Turbine fan (cooler) 4010 24V cable 30cm 2pin
Turbine fan. Suitable for 24V 3D printers such as Flying Bear Ghost 4S/5, Creality Ender 3 Pro, Tevo Tarantula Pro, etc. Supply voltage: 24V DC. Current consumption: ~ 0.06 A. Cable length: 30 cm. Connector: 2Pin, JST-XHP-2.
 54. Fan size: 40mm x 40mm x 10mm. Bearing type: Hydraulic. nine0003
 300 RUB
-
Turbine fan (cooler) 5015 24V cable 30cm 2pin
350 RUBProduct quantity Turbine fan (cooler) 5015 24V cable 30cm 2pin
Add to cart1 pc. in stock
Turbine fan (cooler) 5015 24V cable 30cm 2pin
Fan-turbine with air outlet perpendicular to the axis. Suitable for 24V 3D printers such as Creality Ender 3 Pro, Anet A6/A8 and other 24V devices. nine0003
Supply voltage: 24 V DC
Current consumption: ~ 0.18 A
Cable length: 10 cm
Connector: 2Pin, JST-XHP-2.54 bearing: Hydraulic
350 RUB
Presented 9 products
Improving the quality of 3d printing with cooling / Sudo Null IT News
So, you have already come a long way and built your own 3d printer. It's time to compete for print quality. In this article, we will talk about why you need to cool the model when printing, what you need to pay attention to when designing a cooling system, and how to properly connect a fan using the SevenSwitch chip and Teacup firmware.
When printing, the plastic is heated to its melting temperature and squeezed out through the nozzle of the print head. In this case, the head literally smoothes the top layer over the model. If the dimensions of this layer are small compared to the dimensions of the head itself, then the head is constantly above the printed surface. This leads to the fact that the already laid plastic begins to melt and spoil the model. Cooling is used to solve this problem. nine0003
The easiest way to organize cooling is software. It requires absolutely no changes to the printer. The idea is to move the print head aside for a while when printing layers with small sizes to allow the model to cool. Skeinforge has settings to achieve this behavior.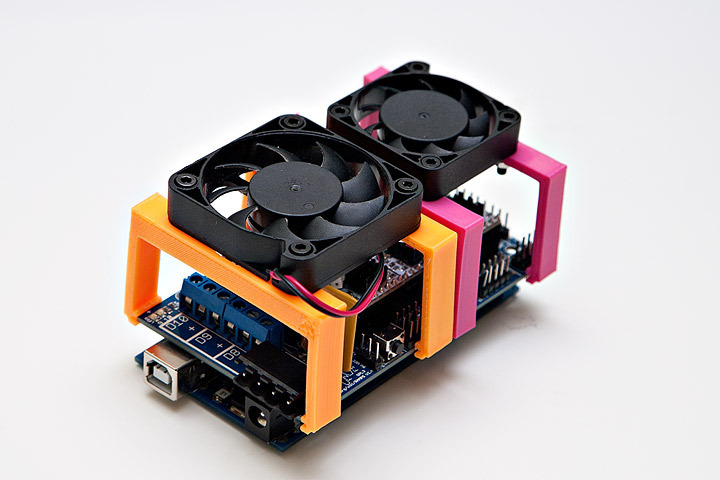 Other slicers (for example, Slic3r) do not yet have such settings, so you can simply add a small additional object for printing which the printer will have to retract the head to a sufficient distance. nine0003
Unfortunately, software cooling is often not enough, so most advanced 3d printers have a special fan that cools the printed model. To improve print quality without modifying the printer, you can put a desktop fan and direct it towards the printed model. The disadvantage of this option is the need to manually turn the fan on and off and the inability to accurately control the strength and direction of the airflow. A more complex and perfect option is to connect the fan to the electronics to control the blowing force and make an air duct to form the desired flow direction. Let's talk about it in more detail. nine0003
There are several pitfalls to be aware of when choosing or designing a duct yourself:
- At the critical moment, the temperature may not get hot enough for printing.
 Therefore, when choosing a ready-made or making your own duct, try to avoid strong direct blowing of the heater and nozzle. Warming the heater with fiberglass or silicone foam rubber and Kapton tape can help solve this problem. nine0022
 - Secondly, if the fan blows hard on a heated 3D printer table, this can lead to the model not sticking well and / or coming off during the printing process. To solve this problem, turn off the cooling when printing the first few layers of the model, and choose the fan wisely. More in this case does not mean better. If the model has a small base, you can improve its adhesion by generating edges (skirt module in skeinforge and brim parameter in slic3r). nine0022
- Thirdly, aerodynamics is a complicated thing. Sometimes visually ideal and logical duct models do not work in practice. Therefore, before installing on the printer, test that the air flow is as planned. Ideally, it should blow the plastic coming out of the nozzle well, but not touch the nozzle itself.
You can install the fan directly on the print carriage or on the printer frame and supply air to the carriage through a flexible hose. Both implementations work equally well, but the second one allows for a larger fan and makes the carriage lighter, which reduces vibration. nine0003
I have Greg's carriage with two fan mounts. I couldn't find a suitable duct model on thingiverse and decided to make my own. To begin with, I made simple air ducts that redirect the flow down. This design doesn't claim to be perfect, it just kept me from reinventing the fan mount on my carriage. I think this and this option should work well.
Now let's talk about connecting the fan. Your electronics may already have fan control. Then you can simply insert the connector in the right place. If not, then you will need to use the SevenSwitch chip, the manufacturing process of which and the list of necessary parts are described in detail in the RepRap Wiki. If you do not know how to make printed circuit boards, then you can simply solder everything using surface mounting. The principle of connecting the board is extremely simple. 12V power is taken from a standard connector of a computer power supply, ground and a logic signal from the microcontroller come to the input, wires to the fan go to the output. If the foot of the microcontroller supports PWM (for the uninitiated, you can read what PWM is here), then you can control the fan speed. This might be helpful. On my printer, I keep the fan constantly on at a low speed from the second layer onwards, increasing the fan speed as I print smaller layers. nine0003
Next, we will talk about connecting SevenSwitch to Gen7 electronics with an ATMEGA1264P-PU microcontroller on Teacup firmware. Therefore, you can not read if you have a different combination of firmware and electronics.
On Gen7 electronics, it is convenient to use the ISP connector, which is marked CONN6 on the board diagram. It's simple: ground to ground, the control leg to the DIO6 or DIO7 output. When using an ATMEGA1264P microcontroller, PWM can be used on both of these legs.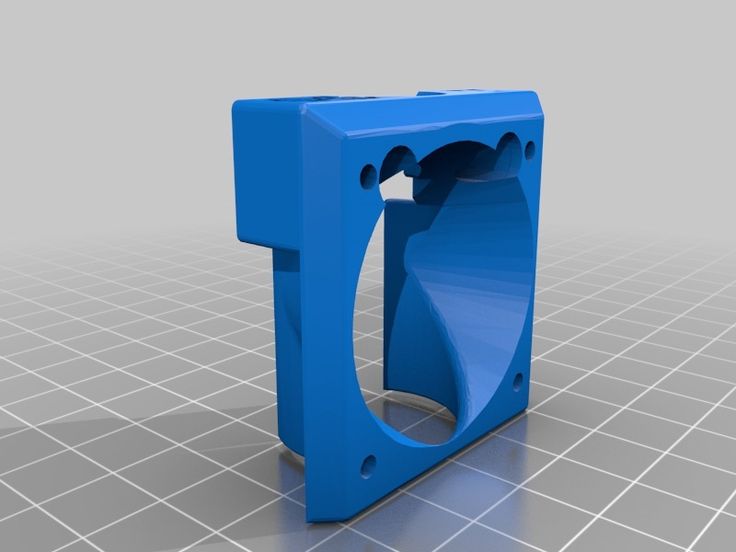 I chose DIO7.
Setting up the firmware. To do this, we write one more “heater” in config.h. You need to add the lines in bold:
// name port pwm
DEFINE_HEATER(extruder, DIO4, 1)
DEFINE_HEATER(bed, DIO3, 1)
DEFINE_HEATER(fan, DIO7, 1)
#define HEATER_EXTRUDER HEATER_extruder
#define HEATER_BED HEATER_bed
#define HEATER_FAN HEATER_fan
Teacup uses a common h file for ATMEGA644P and ATMEGA1264P. The 644th mega has no PWM on the DIO6 and DIO7 legs, but the 1264 has it. Therefore, we prescribe the addresses of the PWM registers for the ATMEGA1264P. In the file arduino_644.h we change:
#define DIO6_PWM NULL
#define DIO7_PWM NULL
to:
#define DIO6_PWM &OCR3AL
#define DIO7_PWM &OCR3BL
To test the fan operation, connect to the printer using Pronterface or another program that allows you to manually send commands to the printer and send in sequence:
M106 S255 // turn on the fan at full power
M106 S128 // slow down
M106 S0 // turn off fan
If you reverse the polarity when connecting the fan, it will not spin.


