3D printing display
Researchers develop first fully 3D-printed, flexible OLED display
Research Brief
The fully 3D-printed flexible organic light-emitting diode (OLED) display prototype is about 1.5 inches on each side and has 64 pixels. Every pixel works and displays light. The 3D-printed display is also flexible, which could make it useful for a wide variety of applications, such as foldable smartphone displays. Credit: McAlpine Group, University of MinnesotaIn a groundbreaking new study, researchers at the University of Minnesota Twin Cities used a customized printer to fully 3D print a flexible organic light-emitting diode (OLED) display. The discovery could result in low-cost OLED displays in the future that could be widely produced using 3D printers by anyone at home, instead of by technicians in expensive microfabrication facilities.
The research is published in Science Advances, a peer-reviewed scientific journal published by the American Association for the Advancement of Science (AAAS).
The OLED display technology is based on the conversion of electricity into light using an organic material layer. OLEDs function as high quality digital displays, which can be made flexible and used in both large-scale devices such as television screens and monitors as well as handheld electronics such as smartphones. OLED displays have gained popularity because they are lightweight, power-efficient, thin and flexible, and offer a wide viewing angle and high contrast ratio.
“OLED displays are usually produced in big, expensive, ultra-clean fabrication facilities,” said Michael McAlpine, a University of Minnesota Kuhrmeyer Family Chair Professor in the Department of Mechanical Engineering and the senior author of the study. “We wanted to see if we could basically condense all of that down and print an OLED display on our table-top 3D printer, which was custom built and costs about the same as a Tesla Model S.”
The group had previously tried 3D printing OLED displays, but they struggled with the uniformity of the light-emitting layers. Other groups partially printed displays but also relied on spin-coating or thermal evaporation to deposit certain components and create functional devices.
In this new study, the University of Minnesota research team combined two different modes of printing to print the six device layers that resulted in a fully 3D-printed, flexible organic light-emitting diode display. The electrodes, interconnects, insulation, and encapsulation were all extrusion printed, while the active layers were spray printed using the same 3D printer at room temperature. The display prototype is about 1.5 inches on each side and has 64 pixels. Every pixel works and displays light.
“I thought I would get something, but maybe not a fully working display,” said Ruitao Su, the first author of the study and a 2020 University of Minnesota mechanical engineering Ph. D. graduate who is now a postdoctoral researcher at MIT. “But then it turns out all the pixels were working, and I can display the text I designed. My first reaction was ‘It is real!’ I was not able to sleep, the whole night.”
Su said the 3D-printed display was also flexible and could be packaged in an encapsulating material, which could make it useful for a wide variety of applications.
“The device exhibited a relatively stable emission over the 2,000 bending cycles, suggesting that fully 3D printed OLEDs can potentially be used for important applications in soft electronics and wearable devices,” Su said.
The researchers said the next steps are to 3D print OLED displays that are higher resolution with improved brightness.
“The nice part about our research is that the manufacturing is all built in, so we're not talking 20 years out with some ‘pie in the sky’ vision,” McAlpine said. “This is something that we actually manufactured in the lab, and it is not hard to imagine that you could translate this to printing all kinds of displays ourselves at home or on the go within just a few years, on a small portable printer. ”
”
In addition to McAlpine and Su, the research team included University of Minnesota mechanical engineering researchers Xia Ouyang, a postdoctoral researcher; Sung Hyun Park, who is now a senior researcher at Korea Institute of Industrial Technology; and Song Ih Ahn, who is now an assistant professor of mechanical engineering at Pusan National University in Korea.
The research was funded primarily by the National Institute of Biomedical Imaging and Bioengineering of the National Institutes of Health (Award No. 1DP2EB020537) with additional support from The Boeing Company and the Minnesota Discovery, Research, and InnoVation Economy (MnDRIVE) Initiative through the State of Minnesota. Portions of this study were conducted in the Minnesota Nano Center, which is supported by the National Science Foundation through the National Nano Coordinated Infrastructure Network (NNCI).
To read the entire research paper entitled “3D printed flexible organic light-emitting diode displays,” visit the Science Advances website.
- Categories:
- Science and Technology
Researchers develop first fully 3D-printed, flexible OLED display | College
MINNEAPOLIS / ST. PAUL (01/07/2022) — In a groundbreaking new study, researchers at the University of Minnesota Twin Cities used a customized printer to fully 3D print a flexible organic light-emitting diode (OLED) display. The discovery could result in low-cost OLED displays in the future that could be widely produced using 3D printers by anyone at home, instead of by technicians in expensive microfabrication facilities.
The research is published in Science Advances, a peer-reviewed scientific journal published by the American Association for the Advancement of Science (AAAS).
The OLED display technology is based on the conversion of electricity into light using an organic material layer. OLEDs function as high quality digital displays, which can be made flexible and used in both large-scale devices such as television screens and monitors as well as handheld electronics such as smartphones. OLED displays have gained popularity because they are lightweight, power-efficient, thin and flexible, and offer a wide viewing angle and high contrast ratio.
“OLED displays are usually produced in big, expensive, ultra-clean fabrication facilities,” said Michael McAlpine, a University of Minnesota Kuhrmeyer Family Chair Professor in the Department of Mechanical Engineering and the senior author of the study. “We wanted to see if we could basically condense all of that down and print an OLED display on our table-top 3D printer, which was custom built and costs about the same as a Tesla Model S.”
The group had previously tried 3D printing OLED displays, but they struggled with the uniformity of the light-emitting layers. Other groups partially printed displays but also relied on spin-coating or thermal evaporation to deposit certain components and create functional devices.
In this new study, the University of Minnesota research team combined two different modes of printing to print the six device layers that resulted in a fully 3D-printed, flexible organic light-emitting diode display. The electrodes, interconnects, insulation, and encapsulation were all extrusion printed, while the active layers were spray printed using the same 3D printer at room temperature. The display prototype was about 1.5 inches on each side and had 64 pixels. Every pixel worked and displayed light.
“I thought I would get something, but maybe not a fully working display,” said Ruitao Su, the first author of the study and a 2020 University of Minnesota mechanical engineering Ph.D. graduate who is now a postdoctoral researcher at MIT. “But then it turns out all the pixels were working, and I can display the text I designed. My first reaction was ‘It is real!’ I was not able to sleep, the whole night.”
Su said the 3D-printed display was also flexible and could be packaged in an encapsulating material, which could make it useful for a wide variety of applications.
“The device exhibited a relatively stable emission over the 2,000 bending cycles, suggesting that fully 3D printed OLEDs can potentially be used for important applications in soft electronics and wearable devices,” Su said.
The researchers said the next steps are to 3D print OLED displays that are higher resolution with improved brightness.
“The nice part about our research is that the manufacturing is all built in, so we're not talking 20 years out with some ‘pie in the sky’ vision,” McAlpine said. “This is something that we actually manufactured in the lab, and it is not hard to imagine that you could translate this to printing all kinds of displays ourselves at home or on the go within just a few years, on a small portable printer.”
In addition to McAlpine and Su, the research team included University of Minnesota mechanical engineering researchers Xia Ouyang, a postdoctoral researcher; Sung Hyun Park, who is now a senior researcher at Korea Institute of Industrial Technology; and Song Ih Ahn, who is now an assistant professor of mechanical engineering at Pusan National University in Korea.
The research was funded primarily by the National Institute of Biomedical Imaging and Bioengineering of the National Institutes of Health (Award No. 1DP2EB020537) with additional support from The Boeing Company and the Minnesota Discovery, Research, and InnoVation Economy (MnDRIVE) Initiative through the State of Minnesota. Portions of this study were conducted in the Minnesota Nano Center, which is supported by the National Science Foundation through the National Nano Coordinated Infrastructure Network (NNCI).
To read the entire research paper entitled “3D printed flexible organic light-emitting diode displays,” visit the Science Advances website.
3D printing and sputtering result in a glowing touch display
materials 3D printing
Complexity 2. 4
4
Ollie Hanton et al. / CHI 2020
British and American engineers have developed a simple method for creating intricately shaped luminous touch surfaces. First, you need to print the base on a 3D printer, and then spray several layers on the desired areas, including a layer of an electroluminophor that glows under the influence of an electric field. The work was presented at the CHI 2020 conference.
Displays embedded in devices are usually flat and made in the form of a single rectangular panel. This greatly limits planners and designers, especially when it comes to, for example, interior items with a built-in display. There are also flexible OLED displays, and technologies that allow them to be produced not only in the form of rectangles, but while they are quite expensive. Among the research projects there are methods for applying luminous substances to surfaces, but they require individual electrodes to be brought to an electroluminescent substance.
Engineers led by Anne Roudaut from the University of Bristol proposed using a combination of 3D printing and deposition of functional layers to create volumetric luminous touch surfaces. They solved the problem with the integration of electrodes by printing using conventional PLA plastic (polylactide), which is standard for 3D printing, and electrically conductive PLA: the base is printed in the usual way, and the electrically conductive one allows you to create conductive electrodes and paths directly in the object that go to the bottom or side surface, where you can connect a power source to them.
Layering scheme
Ollie Hanton et al. / CHI 2020
Share
After printing the base with electrodes on top, it is necessary to apply the functional layers using a spray gun or other spraying apparatus. The dielectric is applied first, then a layer of electroluminescent substance is sprayed onto it. From above it is necessary to spray the second electrode, and due to the fact that the luminous layer is under it, the material must be transparent. The authors chose a mixture of two PEDOT:PSS ionic polymers, often used as a transparent electrical conductor. Thus, most of the material can be applied with a convenient spray method, but it does not require the use of a stencil and the accuracy of the display borders depends on the print resolution of the 3D printer.
In order for the printed screen to light up, a current source must be connected to the conductive tracks, which will create a voltage between the electrodes. The researchers also note that if a transparent varnish is applied to the top layer, the display can be turned into a touch sensor that registers touch like capacitive sensors.
Using the developed method, the engineers created several prototypes, from simple watch-shaped luminous bracelets to a full-fledged display that displays a single digit, including certain segments.
Canadian engineers recently developed a fabric that glows thanks to a similar radiant layer between two layers. Due to the fact that this layer is hydrophobic and elastic, such a fabric can be washed and stretched even in a luminous state without loss of performance.
Grigory Kopiev
Testing the 3D START modular printer - part 3. Program settings for the display / Habr
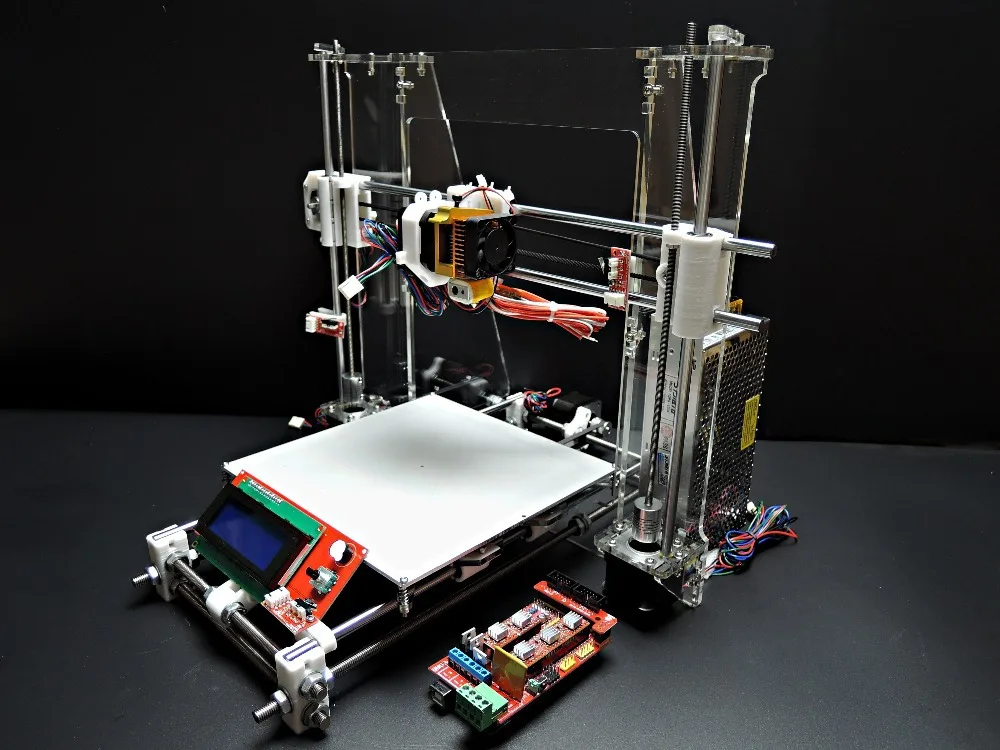
If you are a beginner and this is your first 3D printer, then we recommend the most budgetary and pretty good solution - the Arduino Mega 2560 + Ramps 1.4 bundle. Ramps 1.4 supports two extruders (you can print both in one color and two), you can connect a heating table to it (to enable printing with ABS plastic), there are additional free slots to which you can later connect additional gadgets for the printer. The modular design makes it easy to replace damaged parts.
Package Contents
Simple and versatile display for your 3D printer Smart LCD Controller With Adapter For RepRap.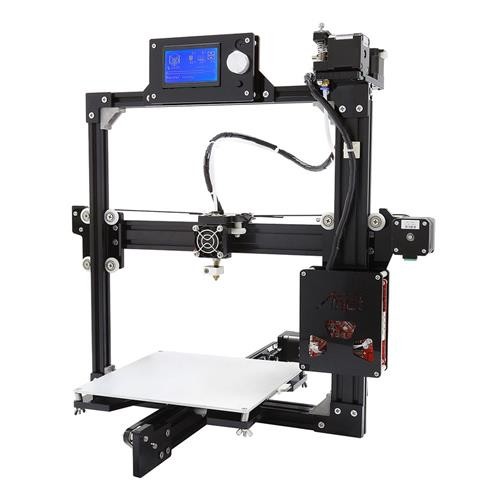 The display is compatible with all 3D printers of the Reprap family. The display package allows you to connect it to most of the existing motherboards.
If your START 3D printer is still not equipped with an LCD display, we recommend that you upgrade it as soon as possible, thereby equipping it with the ability to print autonomously without using a PC.
Contents
Delivery includes:
— LCD Panel 2004 LCD control with card reader and encoder;
- twin cable;
— adapter for connecting the cable to the Ramps board.
LCD display
LCD display for 3D printer saves you from having to connect the printer to your computer. It is convenient to keep track even if your computer is running and the Repetier-Host window is minimized. I went out to eat, came in, looked, you can do something else. There will always be some household chores, for example, I have to take out trays for cats or watch a movie on my computer and from time to time look at the display, how life is there on Mars.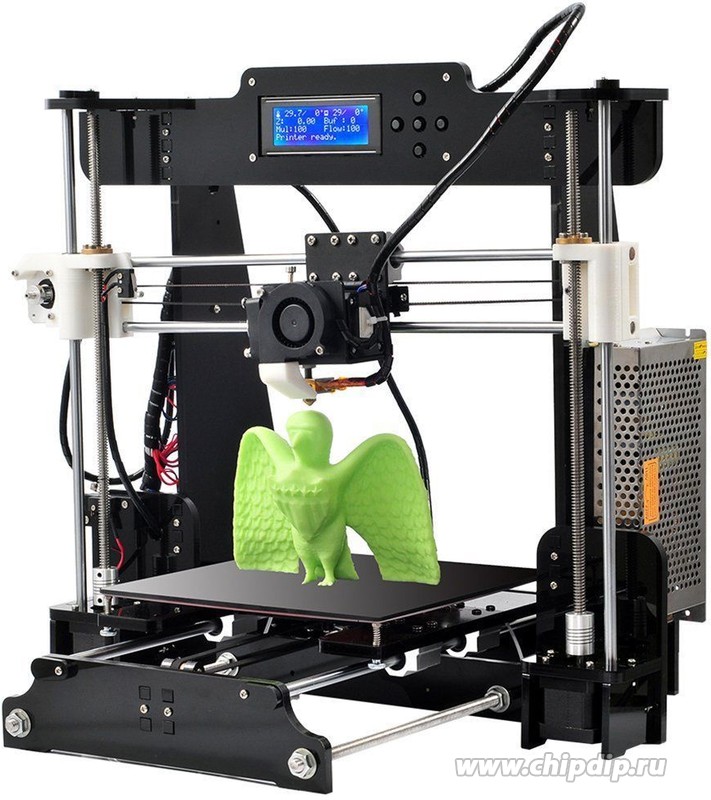
Without setting the slicers, you will get a “crocozyabra”. Tip: dig into the settings.
Later I will write about the approximate correct settings, because everything is done only by testing. Do not try to immediately print Raphael's Madonna! Train on cats cubes.
PLA (polyactide) is the best material for printing the first works on a 3D printer. PLA - made from plant materials, decomposes in 2 years, it makes no sense to make long-lasting things from it, but it is smoother, and bearings for models are printed from it. It is also as safe as possible for children, because. all from vegetation.
3D model made with PLA plastic
And this is WATSON plastic. Try it! Transparent as glass, beautiful, flexible and transparent.
3D model made with plastic WATSON
How to generate a Gcode file
In Repetier-Host, as usual, you do the slicing of the model, when the slicing is over, instead of printing, just stupidly save to a file, this is saving in gcode.
When the slicing is done, there will be 4 buttons over there and there will be a save button.
Gcode File Generation
To test printing from an SD card, we took a SanDiskSDHC16GB card and wrote several STL and GCODE files to the root of it.
Appearance of the display
At the same time, we still had folders with photos and videos of cats on it. My inpatient station does not have a port, they took a card from a video camera via a USB port.
USB flash drive
After removing the card from the camera, insert it into the slot behind the display. Turn the screen over, "Card inserted." will appear. By disconnecting the cable connecting the printer to the computer, we got a stand-alone printer. The rotary knob to the right of the screen was pressed with pressure from above and opened the menu. Using the pen, you can set up the printer and, by opening the card menu and selecting a file, start printing it. The display will show the percentage done, the print time and the file being printed. And temperature difference. For the first layer, we set it hot, then cooler.
Monitor language selection
The Arduino has a choice of languages. If you do not have an SD card, then the monitor perfectly shows temperature changes, printing, all parameters, it is quite reasonable, it just writes that there is no card, and all printing processes are in progress. If you need Russian, go to Arduino and change English to Russian there. I don't need it, I have all 3D programs in English.
Inserting a flash drive into the controller board slot
Display layout
Display and plastic reel
Plastic type selection
1. Enter the printer control menu by pressing the encoder knob once.
Setting parameters
2. Turn the encoder to select the "Prepare" tab. Having selected this item, click once on the encoder.
Setting parameters
3. Next, in the “Prepare” item that opens, turn the encoder knob to select the “Preheat PLA” or “Preheat ABS” item. This choice depends on the type of plastic used. Having selected this item, click once on the encoder. 3D START prints PLA, WATSON.
Setting parameters
Setting parameters
4. We are waiting for heating to operating temperature. For ABS plastic, it is recommended that the extruder temperature should be 230-250 degrees, and the working table temperature should be 90-115 degrees. For PLA plastic, it is recommended that the extruder temperature should be 210-230 degrees, and the desktop temperature should be 70 degrees. If there is no heater for the table, then do not worry! PLA plastic has a fairly smooth surface for a desktop (without heating and a special Kapton coating), unlike ABS.
5. After the printer has warmed up to the required temperature, you can load plastic into it.