3D printing coins
3d Printed Coins - Etsy.de
Etsy is no longer supporting older versions of your web browser in order to ensure that user data remains secure. Please update to the latest version.
Take full advantage of our site features by enabling JavaScript.
Find something memorable, join a community doing good.
( 988 relevant results, with Ads Sellers looking to grow their business and reach more interested buyers can use Etsy’s advertising platform to promote their items. You’ll see ad results based on factors like relevancy, and the amount sellers pay per click. Learn more. )
Coin best 3D printer files・Cults
Buck The Gambler Barbarian
Free
Modern Slim wallet (no glue / no screws)
€2. 50
Dropped ice cream cone sculpture corner
€1.30
Shopping Cart Coin 1 EUR Size. LTL version
Free
Sheikah Triforce Coin
€0.61
Kingdom Hearts Heartless Nobody Coin
€0.61
Kingdom Hearts Nightmare Spirit Coin
€0.61
Free Door Stopper
Free
STAR WARS COIN
Free
Chinese Gold Ingots 3D print model
€3.99
Stool
€1.99
2040 Corner Bracket
Free
blue archive arena coin
Free
blue archive total war coin
Free
2€ corner
Free
pool table billiards table corner apron mitres
€1.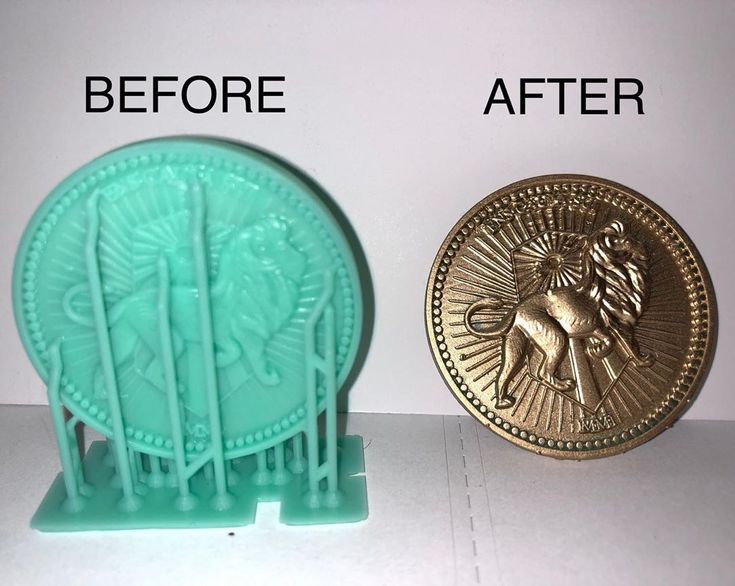 40
40
Dubble sided Bardic Inspiration Coin
Free
Infinity Coin Double Sided
Free
DUFF CAN PURSE
€1.86
Little usable keychain for the shoping cart.
Free
Gym Cable Grip
€0.93
Pilaf bank, tirelire Pilaf, Low Poly
Free
Deadlift wedge
€0.93
4 Key Surprise Box Puzzle
Free
4 Key Coin Box Puzzle
Free
corner profile - pole connector - paal verbinder
€0.50
DBZ power up illusion
€1.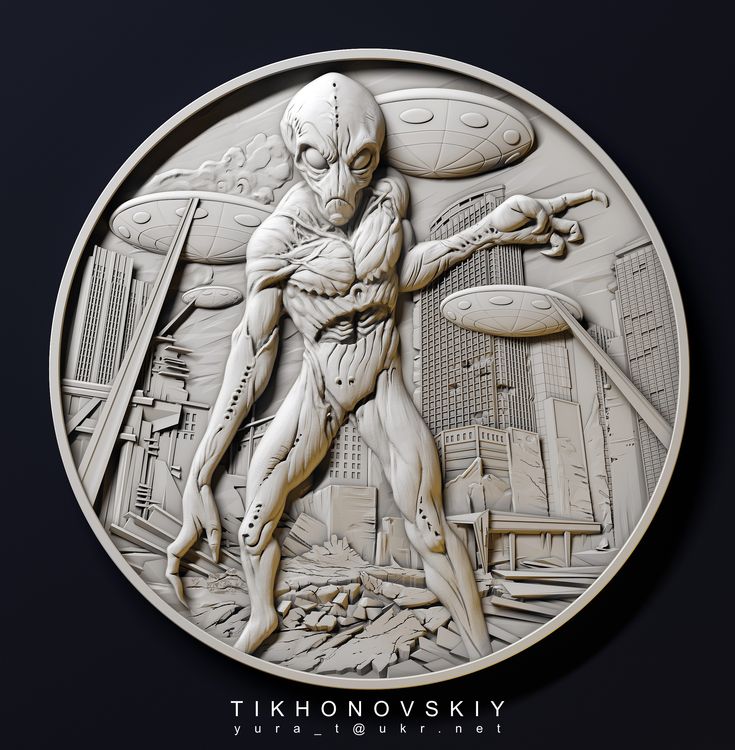 25
25
laser Corner Jig
€1
Bird in cage spinning coin
€1.30
Coin - Super Mario Bros
€1.16
2 Euro case
€1.50
Ready Player One Coin
Free
Super Mario stamps
Free
DnD NPC and Item Token Set of 20
€3
Minecraft Life Heart Vase Planter
€5
Minecraft Life Heart Pen Holder
€5
Minecraft Life Heart Piggybank
€5
Lab Coin Microscope
€2.05
Legend of the White Dragon Legacy Power Coin
€1
Ryu Ranger / Chun Li Legacy Power Coins
€1.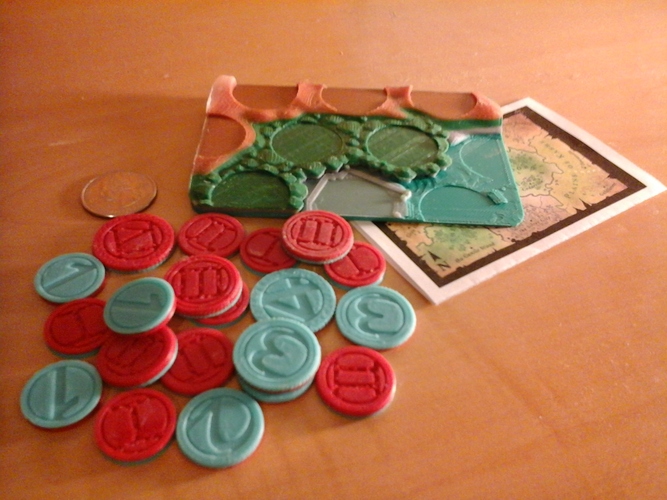 50
50
Coup Coins
€1.06
Challenge coin holder
Free
digital projector stand
Free
Death Star battle plan brief diorama 3.75" Star Wars ANH
€4.15
Studded Keychain Coin Carrier
€4.50
Piggy bank "9mm bullet
€2
Door Wedge Cat
€1.12
Chucky & Tiffany Coin
€0.61
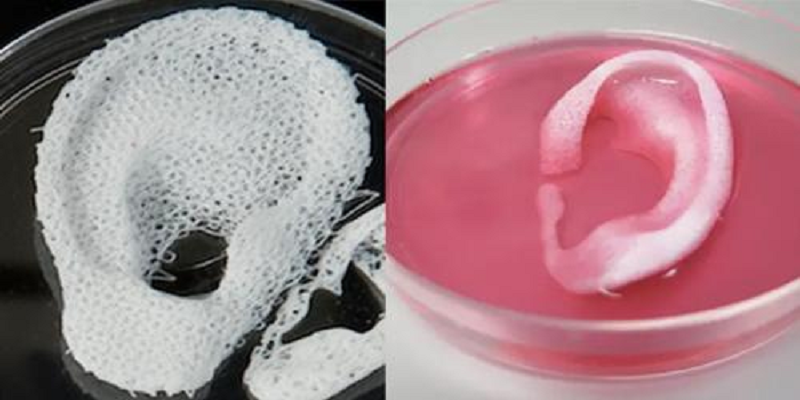
3D printing copper products
14 But did you know that you can 3D print it? Check out this article to find out more.
What is this?
Even coins can be 3D printed (but they are not legal tender).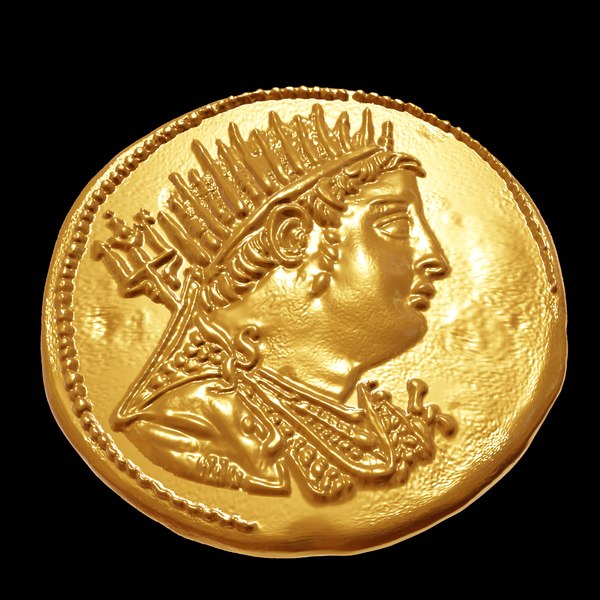 (Source: i.materialise.com)
Although metal printing in general is still quite difficult at home. However, there have been significant advances in professional metal printing over the past few years. This is now commonplace in some industries, such as the automotive industry.
Method 1: FDM Printing
This Filamet copper engine block was printed on a standard FDM printer. (Source: hackaday.com)
In terms of Fused Deposition (FDM) printing, the only real option is to use copper filament. Many try to produce it, but only one company, The Virtual Foundry, achieves 90% metal in their PLA hybrid filaments. The idea behind the filament is that once an object has been printed, it can be fired in a sintering oven to achieve a 100% copper composition.
Of course, one of the big drawbacks of this method is that the loss of the PLA binder causes the part to shrink by 15-20%. However, most details can be adjusted before printing.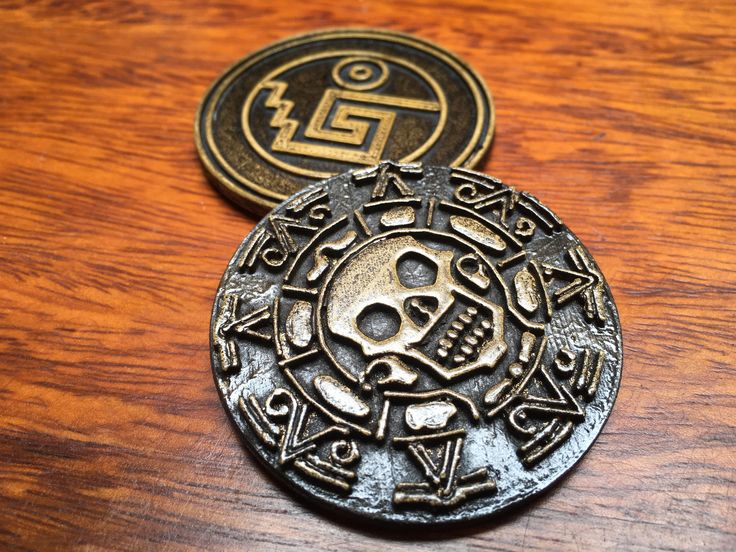
After firing the material in a furnace, it retains all the properties of copper, incl. high electrical conductivity.
Of course, this thread does not come cheap. One kilo costs $121, and because of the much higher density of copper, you end up with a lot less filament than you'd expect than if it were 100% PLA.
Unlike conventional PLA, Filamet must be preheated and hung on a low friction spool holder to prevent filament breakage during printing. Also, Virtual Foundry recommends printing slowly (less than 30mm/s) at first.
In terms of performance, the filament can print layers up to 100 microns thick.
Method 2: Direct Metal Laser Sintering (DMLS)
Parts manufactured using DMLS. (Source: proto3000.com)
DMLS is a laser-assisted process that fuses metal powder into a fully functional 3D part. The powder is deposited and the product is built up layer by layer. After building the part, excess powder must be removed using compressed air in a closed chamber.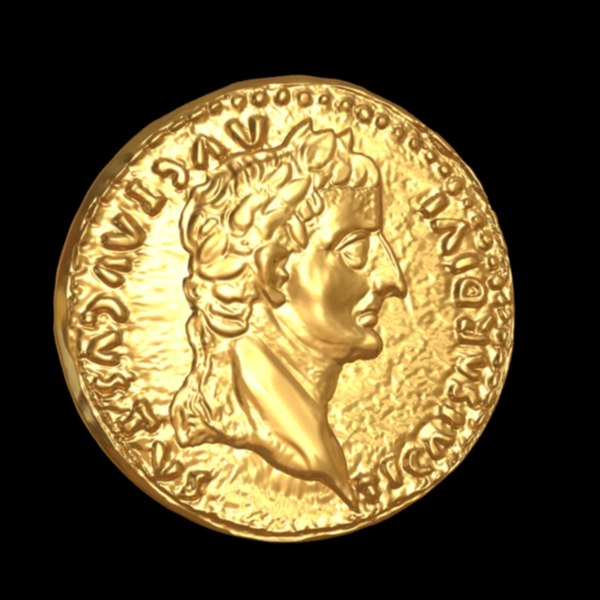
This process is quite messy and requires tools similar to those that will be used for a sandblasting system. Health issues should also be taken into account, as it is dangerous to breathe small metal particles.
Buying your own DMLS machine is not an option for most people as these machines typically cost over $100,000. However, various 3D printing companies can print your parts on demand. Despite this low availability, DMLS has many uses, depending on the type of metal used. For example, NASA is investigating DMLS to produce printed rocket parts.
Price: Depends on the complexity of the part and the amount of metal used, but generally over $1,000 per kilo.
Availability. The availability of DMLS technology is essentially zero for a person who wants to purchase their own machine, but it is possible that a 3D printing service will print your part for you.
Performance: The layer thickness is about 38 microns, and the finished metal part has the same properties (conductivity, density, etc. ) as the cast metal part.
Method 3: Investment casting
Metal part casting. (Source: 3D systems)
Wax casting
Lost wax casting is the process by which an original object created in wax can be turned into a mold to create a part from another material (usually metal). The steps to achieve this goal are as follows:
1. Create an object in wax.
2. Pour plaster around the wax part to create a plaster mold.
3. Place the plaster mold in the oven to burn the wax out of the inside of the mold.
4. Pour molten metal into a plaster mold to create a cast object.
5. Clean the part from the plaster mold.
It should be noted that this investment casting process results in the loss of small parts and results in a finished part smaller than the original wax cast. Therefore, exact dimensions compared to the original part should not be expected without careful consideration of material shrinkage.
PLA Casting
Lost wax casting is done in the same vein with 3D printing, but it is a faster process. You need to follow a few simple steps.
1. 3D printing of an object in PLA. During the design process, access channels can be designed in detail to make it easier to pour the copper into the mold after it has been created.
2. Create a plaster mold around the 3D printed object.
3. Burn the PLA from the inside of the mold.
4. Pour molten metal into an empty plaster mold to create a cast object.
5. Clean finished part.
In terms of cost, printing an object will cost no more than a few dollars (depending on the size of your print). The price of melting PLA depends on whether you are using an existing oven or decide to build your own. Furnaces can cost anywhere from $500 to several thousand dollars, depending on the desired dimensions and thermal performance. Gypsum and sand can be purchased for less than $50, depending on the quantity needed.
Price: Over $600 (as initial investment)
Availability: Oven and casting experience required.
Productivity: Technically, PLA can be printed at 20 micrometer resolution if needed, but such casting features can be difficult.
3D printing: a question of choice (Source: pliustrys.com)
If you want to print on metal but are not willing to buy an oven or pay more than $100 per kilo of metal filament, you can use a 3D printing service. Here are some things to keep in mind before choosing one of the methods:
Does your idea have fine detail?
How much are you willing to pay?
· How fast do you want your product to be made?
In general, small parts (less than 100 microns) cannot be reliably created using lost wax casting or PLA technology due to method limitations. DMLS, on the other hand, can create very small ones, but they cost more.
Source
Tags:
, Metal casting, 3D systems, PLA Casting
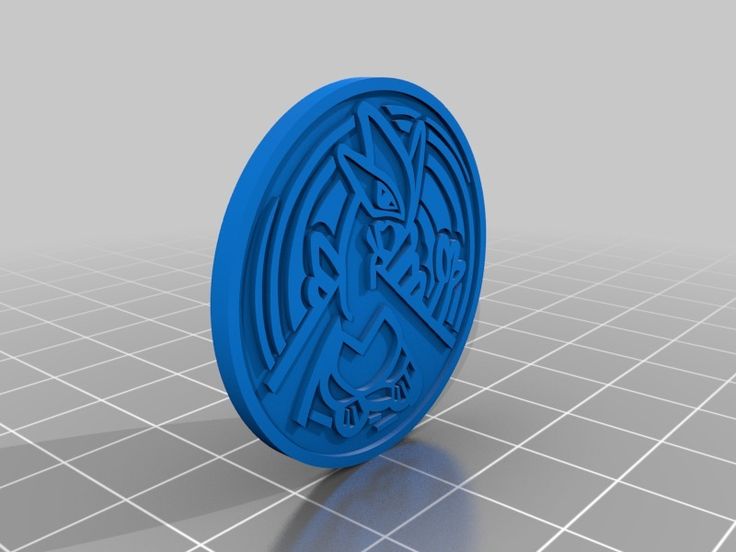
What is the best way to print a coin with a depth map?
3d models slic3r
If I have an image like the one attached, what is the best way to create an accurate depth map of it? I have photoshop CC and 3ds Max but don't know what settings work best with Slic3r.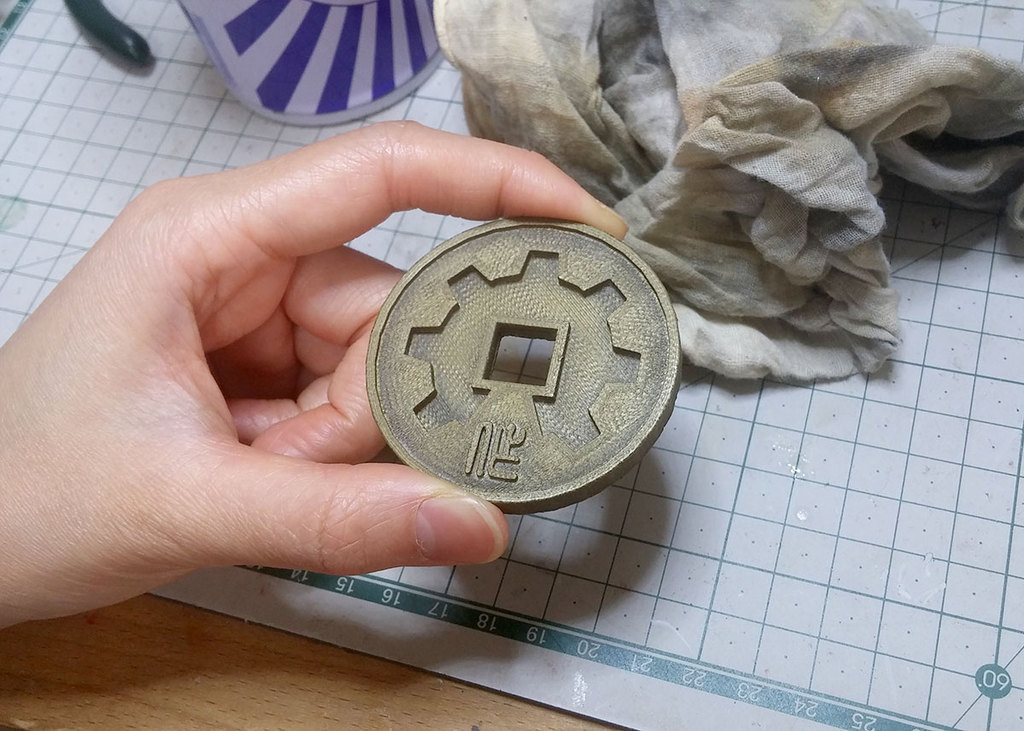 Both programs have many settings and combinations to choose from.
Has anyone done this before? If so, can you share your technique?
@NLed, 👍-1
Talk
3 answers
▲ 4
From a single image from this point of view (front view), you can't show the surface of the coin in detail. Limited success has been reported in estimating the depth of individual images, but this applies to images with a clear perspective (for example, an image of a room in which the walls and floor are shown at an angle). In order to render a surface, you will need to have multiple images and it is desirable to know the direction of the light on that object.
People with one eye can't judge depth very well, you need two eyes and a trained brain to understand the difference in depth.
, @ 0scar
▲ 1
I have designed a coin to use as RPG tokens. I decided to do it from scratch instead of making a heightmap. I tried two different approaches.
Smooth height change
I found a 3D model of the head that I wanted to use on my coin. Then I cut it in half and laid one of the pieces flat side up on top of the coin. Then I flattened the head to fit the coin better. When I cut it to the layer height supported by my printer, I noticed that I lost too much detail in my head.
Change layer heights
I found a photo of the head that I wanted to use and drew the outlines of the various parts of the head that I wanted to include. I then added each pattern to the coin in different thicknesses. This gave me a clear pattern on the coin and this is what I ended up printing.
Printing
I printed the coins standing up. 2 of my 42 coins failed because the coin fell off while printing. At that time, I printed 4 and 4 coins placed in each corner of the printing surface. I finished off one whole coin before starting the next one.