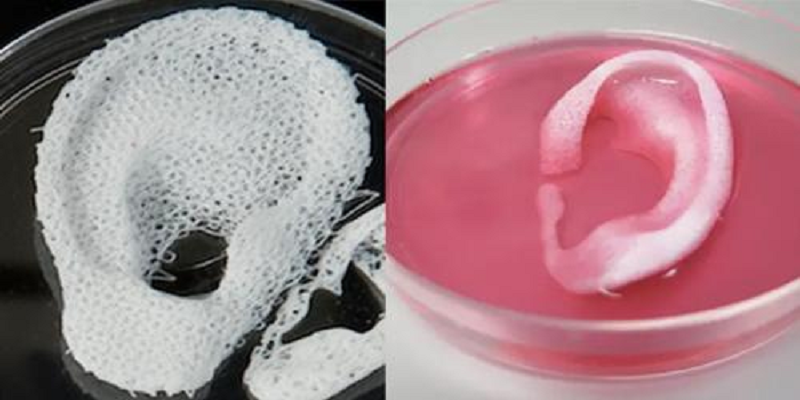
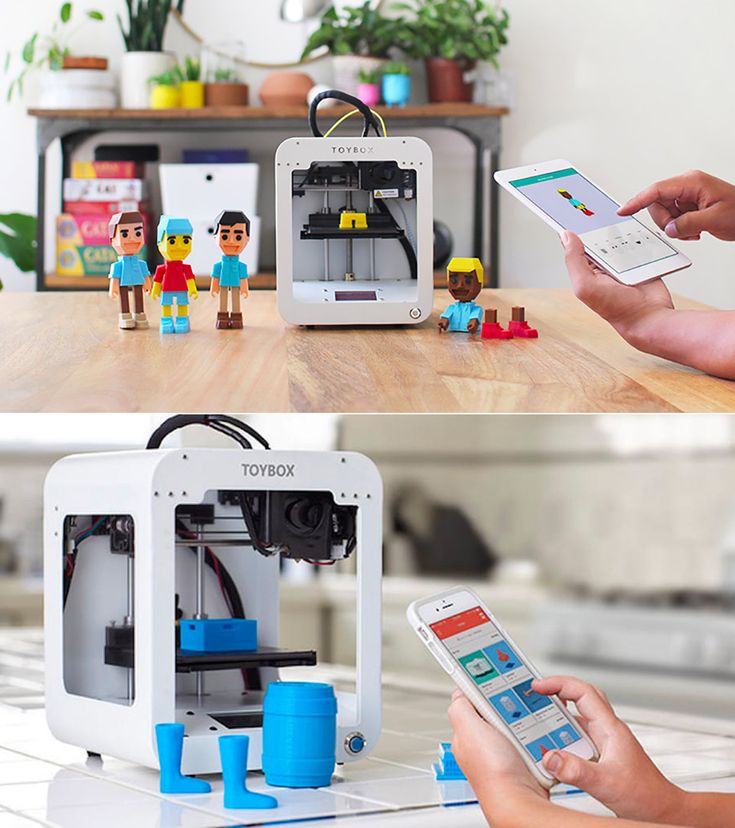
Biobot 3d printer
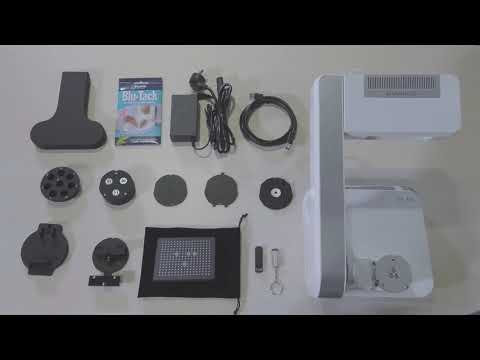
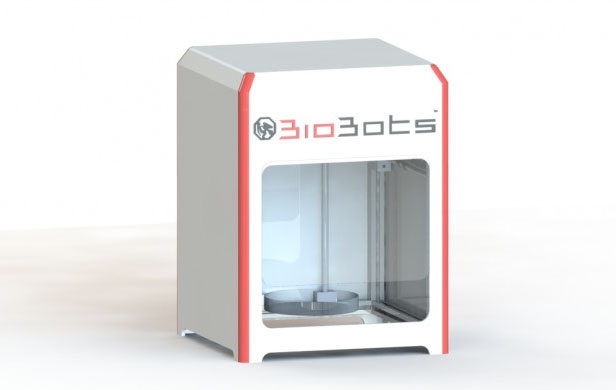
BioBot Basic - Basic but mighty.
BioBot Basic is small & mighty. BBB is the world's first polar coordinate based bioprinter. BBB bioprints can up to 5 materials in a single run.
Overview
Multi-Material 3D Bioprinting.
BioBot Basic features a novel, revolver-inspired extrusion system to 3D bioprint with remarkable precision. BioBot Basic users love the ability to print up to 5 different biomaterials, without the need to manually switch barrels or pause the bioprinting process.
Automated Calibration.
Time is our most precious resource. BioBot Basic automatically calibrates itself to give you more time back in your day--after you hit "print," the system scans each tip to ensure a quality bioprint, every time regardless of needle size.
Small and versatile.
It easily fits on lab benches, in biosafety cabinets, and under fume hoods. It can print 3D tissue structures on glass slides, petri dishes, or multi-well plates.
Advantages
Empower students.
Prepare student to succeed in the real world with powerful equipment. Attract the best students that are exceptional professionals. Expand your academic departments.
Find new ways to build 3D biology.
Be the envy of your colleagues, quickly mock up your 3D models and produce them in minutes with BioBot Basic.
Support multiple users.
Permit more people to succeed. Improve efficiency. Enable innovation amongst your students and colleagues while setting new standards for bioprinting.
Translate your science.
Go from dreaming to making a licensable product or solution. Unleash your creativity and make history.
Easy designing. Easy printing.
Simply design what you'd like to create in TSIM, load your biomaterials into BioBot Basic, and click "print." BBB will fabricate your multi-cellular 3D objects.
Process
Gallery
Tech Specs
BioBot Basic Key Features & Specifications
Automated Z-Axis Lifting Printhead
5-Material Turret Printhead
Automated Tip Detection
Rotating Print Stage
UL cGMP Certified
3-axis
Polar Coordinate System
5
Materials in a single run
User device controlled
Compatible
Biosafety Cabinet
Compatible
Build Volume
ɸ7.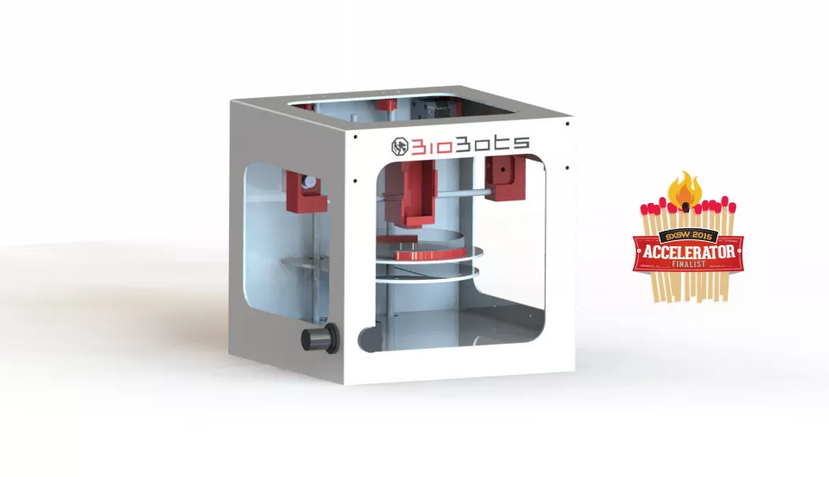 5 in x 4 in T Cylinder
ɸ 19cm x 10cm T Cylinder
3D Printing Technology
Pneumatic Dispense
Biosafety Cabinet Compatibility
Works with most
Base
Benchtop or Biosafety Cabinet
Connections
Power Supply Input
USB - A
Pneumatic Air Fitting
Air Flow Requirements
100psi 1cfm
Electrical Panel
Internal
Electrical Requirements
Bioprinter:
120V 60 Hz Single Phase @ 15 Amp (NEMA 5-15R)
-
Dimensions & Weight
Bioprinter:
12 in (w) x 22 in (d) x 20 in (h)
30 cm (w) x 55 cm (d) x 52 cm (h)
30 lbs
13.6 kg
The Advanced Solutions Louisville, KY facility has been audited by UL Registrar LLC and meets GMP requirements listed in RCP, NBCP, or Pharmaceutical Certification Schemes which is uniquely accredited by the American National Standard Institute (ANSI) developed in accordance with applicable sections of the FDA’s code of federal regulations.
BioBot - Basic - BioBots
BioBot - Basic - BioBots - 3D Bioprinter by Advanced ...- Home breadcrumb
- Companies
- Advanced Solutions Life Sciences
- Products
- BioBot - Model Basic - 3D Bioprinter
From BioBots
0
Share Share with Facebook Share with Tweeter Share with LinkedIn
BioBot Basic is small & mighty. BBB is the world's first polar coordinate based bioprinter. BBB bioprints up to 5 materials in a single run.
- BioBot Basic features a novel, revolver-inspired extrusion system to 3D bioprint with remarkable precision.
- BioBot Basic users love the ability to print up to 5 different biomaterials, without the need to manually switch barrels or pause the bioprinting process.
Time is our most precious resource. BioBot Basic automatically calibrates itself to give you more time back in your day - after you hit 'print,' the system scans each tip to ensure a quality bioprint, every time regardless of needle size.
BioBot Basic includes one year of our award-winning TSIM software, enabling a smooth transition from the digital to the physical. Simply design your object in TSIM, load your biomaterials and click “Print” to watch BioBot Basic fabricate multi-cellular 3D objects
- Dimensions
- 12' W x 20' H x 22' D
- 300mm x 520mm x 550mm
- Print Size
- ?7.
 5' x 4' T Cylinder
 - ? 190mm x 100mm T Cylinder
- Print Volume
- 176 in cubed
- 11,340mm cubed
- Resolution
- Z/R Linear Axis: 40 µin 10 µm
- Θ Rotary Axis: 40 µin 10 µm
- Print On
- Glass slides
- Petri dishes
- Well plates
"Sad Bot"
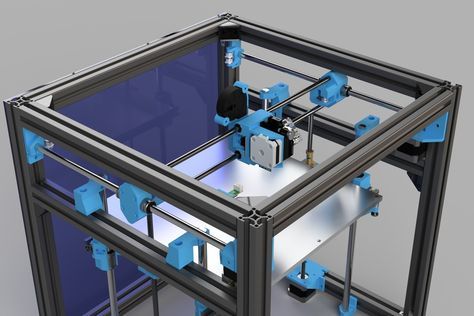
"Sad Bot" is a self-collection based on Re-D-bot (CORE XY). The project uses aluminum profiles 2020 and 2040 of different lengths, wheels, printed parts. Additionally, a modification was used to install Chinese rails and a titan aero extruder, and I also introduced crooked hands and my own modifications of printed parts based on my strange logic into the project. RuRamps4d and Arduino DUE are used to control the printer.
Initially there was a desire to get a printer with a large print volume and print large parts on it as a whole, without gluing them together. For this, the Re-D-bot project was chosen. The printed field should have turned out to be 300x300 and the height was also about 300. An aluminum profile was ordered in Russia and loose on Ali. After receiving all the parts, the first iteration of the Sad Bot was assembled, on which parts for the author's modification were printed.
Finally, let's take a look at the printer.
Dimensions: 580*540*600mm
Printing field: 220*220mm. It so happened that having assembled a frame for a table 300 * 300, I installed a table 220 * 220. Initially, it was installed as a temporary option, due to the fact that I got it for inexpensive. But there is nothing more permanent than temporary. It turned out that 220*220 is enough for my needs.
Advantages over 300*300:
- Requires less heating energy.
- Worth less than 300*300.
- Easier to find, more suppliers.
The disadvantage is a lot of free space inside the printer, since the frame is assembled under 300*300.
On top of a heated table, in a glass workshop, a pair of ordinary glasses 5 mm thick was ordered and purchased (they deceived, actually 4.7). There is no auto level, manual adjustment with screws.
X and Y axis - on MGN12H Chinese rails. The two Y-axis rails are attached directly to the printer frame with T nuts that are driven into the profile from the end. The X-axis rail is mounted on a massive 2040 profile aluminum beam, which is attached to the printed parts, which in turn are attached to the rail carriage. The original printed parts had wheels on the side of the rail opposite the carriage, presumably to stabilize the heavy X-axis beam, but "strange logic" decided to modify the parts by removing the wheels from them to reduce movement resistance.
The X and Y axes use conventional mechanical mouse buttons.
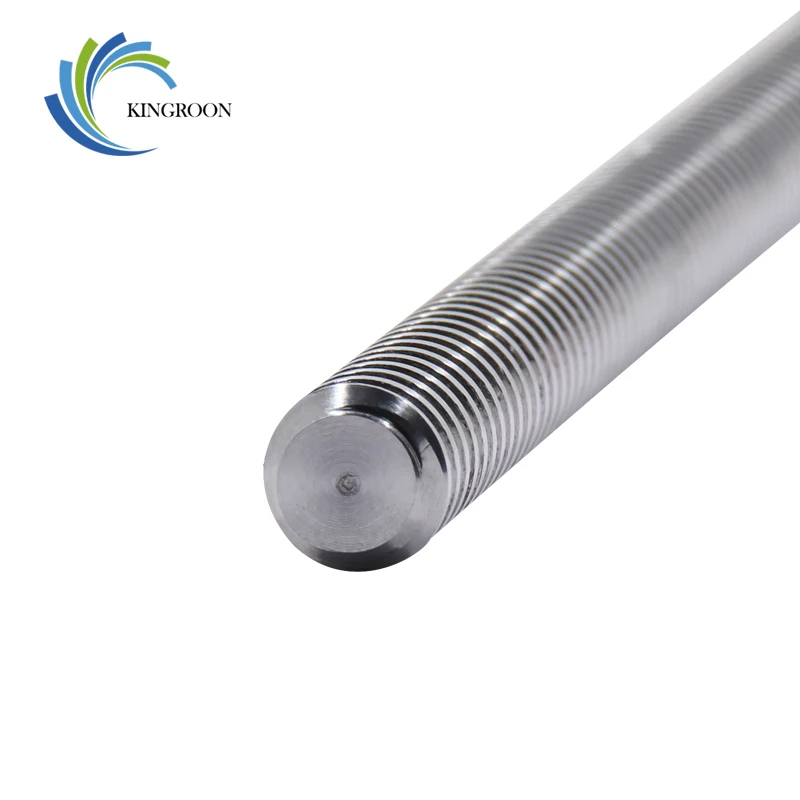
The Z axis is supported by two T8 screws driven by two motors. 12 wheels provide a stable position, 3 for each corner of the Z gantry.
The Z-axis end is optical, which gives greater parking repeatability.
Extruder: titan aero from triangles. It is aero that allows you to save a lot of space in Z, as well as reduce nozzle deviations due to the inertia of the heavy X axis. The extruder mount has also been modified with “strange logic”. The wheels were removed similarly to the Y axis, the mount itself was reduced in size, which was supposed to reduce the resistance to movement and made it possible to reduce the dead zone along the X axis. In addition, the mount itself became monolithic, which was supposed to remove backlash from fastening several parts to each other.
When moving in the X and Y axes, a massive beam with an extruder transfers a powerful momentum of inertia to the entire structure during printing, which makes everything seem to vibrate even at minimum speeds. To minimize vibration, no springs are used when attaching the printer table. The table is mounted rigidly on M3 screws with a bunch of locknuts.
To reinforce the frame of the printer, an aluminum corner is used, which acts as the diagonals of the frame and side walls made of sheets of some kind of plastic. Also, to reinforce the structure, a sheet of plywood is used as a bottom, with a minimal curve, which we managed to find in a couple of hardware stores in the city. Additionally, M5 studs and metal corners are used to reinforce the structure. All this together makes the design almost non-separable. Of course, you can disassemble, but the return collection will take an absolutely inadequate amount of time.
RuRamps4d+Arduino DUE is used to control the printer. This option was chosen because it seemed easy to modify, maintainable and visually reliable. The XY axis motors and the extruder are equipped with quiet TMC2208. XY axis motors are additionally equipped with protection scarves to protect drivers from those who like to move the beam with the extruder by hand. The Z-axis motors are connected in series and driven by one A4988.
In general, I am satisfied with the sandwich control board, the elements in the power circuit are reliable there. I did not use specialized boards on ARM and there is nothing to compare in terms of convenience and printing at high speeds.
User interaction is through screen 2004 and encoder. STL for printing are taken from the SD card.
The is powered by a 500W ATX power supply that promises 22A on two 12V lines.
Initially, the printer was planned to be a desktop printer, but it turned out to be a desktop one. From the advantages of this design, it turned out that if you roll the printer under the table and close the only open edge, you get a large thermal chamber. Of the minuses, unfortunately, increased fire hazard.
Print speed: At 80mm/s I printed and it worked fine. To achieve higher speeds, I think that a 12V heating element and a conventional heating cube is not enough.
A few print examples:
I don't do commercial printing and print vases and useless models from the internet, so the print examples will be on what was found.
"Restoration" of a steam engine model. Small parts and wheels were missing.
Car park model. 3d printing + printing on paper + coloring.
A new handle for the refrigerator, instead of crumbling.
Development of cheap automatic long roller blind. From scraps of bubbling plastic.
As said - not a vase
Sot -organizer in a cabinet for small things
We will summarize:
I wanted a large printer for the "large" press, but 220*220 turned out to be sufficient , and the increased size led to problems with weight. The structure on an aluminum profile seemed to be easily modified, but to compensate for vibration problems, the entire structure was riddled with corners and studs, which left no living space on the profile.
Printer could be better. To do this, it is necessary to make a fastening to the Y-rail carriages from sheet metal. This would allow the removal of the 2040 aluminum profile from the X-axis from the structure, which saved approximately 300 grams of weight. This would reduce inertia and make life easier for stepper motors. In the city where I live, this is definitely impossible, you have to look, do something, so I will never make these changes.
In general, the printer allows you to implement all the needs in 3d printing, but I would like a smaller printer, because it could do all the same and still fit on the table.
Plus:
- It prints
- Extruder Titan - well presses plastic
- TMC2208 allow you to print quite quietly
- Reliable control board
- Wheels in order to roll the entire structure
- REMOMS give low resistance to axes and sufficient repetition of positioning
Cons:
- Heavy
- Large inertia
- Large dimensions for the used printing field
- Low rigidity
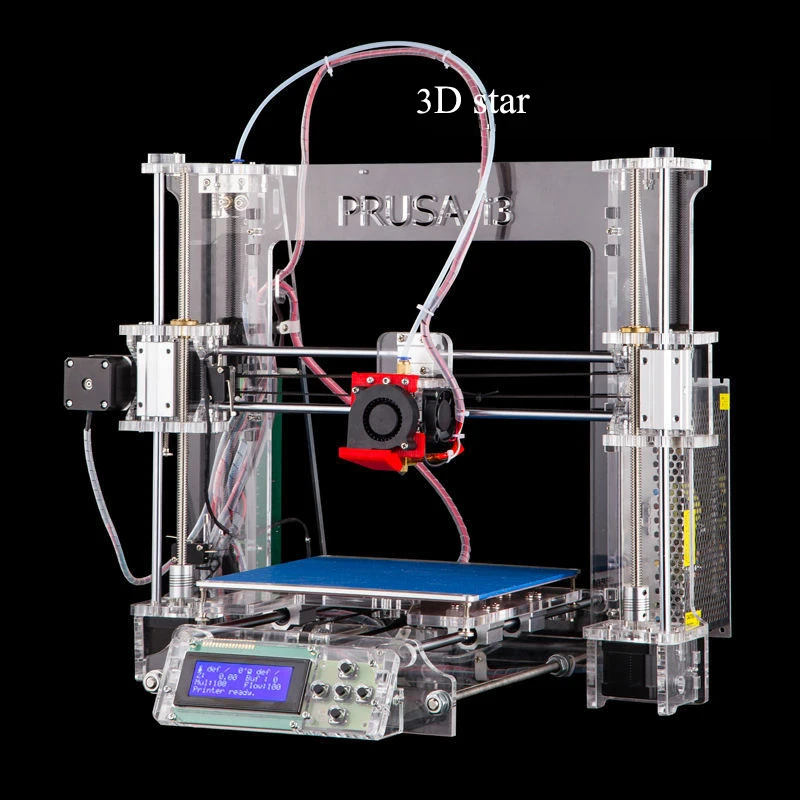
The evolution of the home 3D printer.
- Cars
- Computers
- Appliances
- Cancel
After the experience of using "pryusha", I wanted something without a "drygostol".
I assembled D-BOT, in the description it is presented as a "remix" of C-BOT, which requires some wild amount of profile and motors.
At that time (2018), Delta printers and something similar to an ultimaker in plywood boxes were among the options.
There was nowhere to cut plywood, and buying "ready-made" is not an option.
The plastic parts were printed on pruche (1kg of plastic) from ABS from the FD-layer, almost nothing went into the marriage.
The profile and screws were ordered to the assembly plant, cut to the size of the "table" 200x300, everything else is on the alik.
Instead of a 12V table, I bought a KEENOVO 600W silicone heating pad and a triac key in a boutique (instead of the classic "SSD relay") to control the transition through 0.
Power supply on the market from LED strip sellers (at first they were interested but when he said that for the 3D Printer they could not keep up the conversation).
The aluminum table became the biggest problem - there was nowhere to buy "here" for a reasonable price, I didn't want to buy something on alik. On the same market, I bought 2MM aluminum of the right size (214x314), which was cut off from a larger sheet with an ordinary grinder (currently it’s easier to take a table under 12V and glue a heating pad to it).
Ramps and mega. TMC2100 so as not to buzz
Inside the marlin (the clipper was quite new at that time) on the side of the octoprint on the NanoPi Duo.
After assembly, it even managed to print a calibration cube,
, which even turned out to be the desired size
After some adjustment / calibration, it quite gave out something that fell into the dimensions and was not very striped / ringing.
Even in two colors
The first thing that appeared from the changes (January 2018) was the abandonment of the wheels on the Z axis and the replacement of two motors with 1.
For this, two 16mm shafts (550 r\m) and LM16 bearings (110 r \ pcs) some of the first models - it became "a little" better
But for complete satisfaction I want
- rails on X
- rails on Y
- Ball screws on Z
- Direct
so it will turn into Yo-bot (only with table 200x300)
Previous series
Tags: 3d, diy
Subscribe
-
hAP AC2 and external antennas
Purchased 4 years ago Tp-link RE650 for accessing the Internet began to "sick" something, depriving others of access, from which for a short time …
-
Socket from GIRER.
Learn more