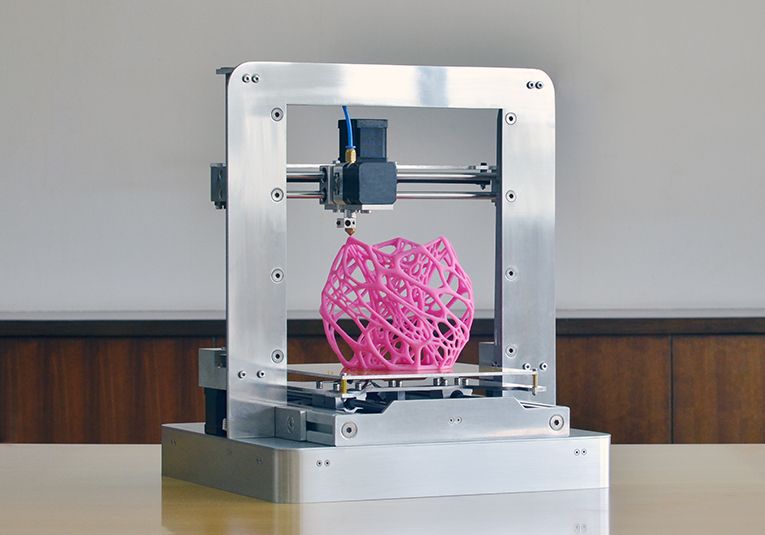
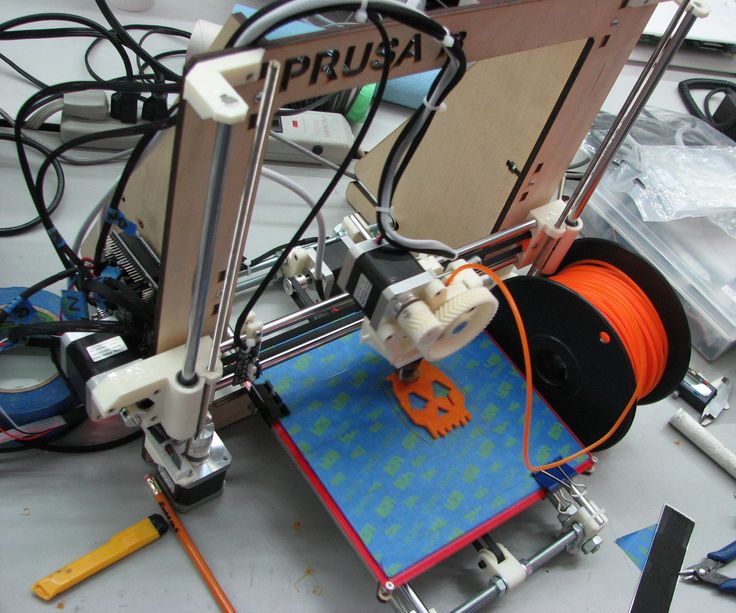
3D printing benchy
The Benchy hull line | Prusa Knowledge Base
Relevant for
:
MK2.5MK2.5SMK3MK3SMMU2SMINIMK2SMK3S+MINI+
Last updated
a year ago
This article is also available in following languages:
The 3DBenchy is a 3D model designed by CreativeTools specifically for testing and benchmarking 3D printers. And everyone wants to know, how to print a perfect Benchy. Ever since it’s release, one specific problem seems to be present, in varying degrees of severity, in all of its prints - the infamous Benchy hull line.
It’s visible on prints from all FFF printers on the market, cheap or expensive. It’s visible no matter the slicing software. It’s visible when printing from any material. It’s visible even in the Benchy release video from 2015. Again, in varying degrees of severity - with some combinations of printer, slicer, and material, it can be almost invisible. Other times, it’s clearly defined, leaving the user disappointed and confused. But once you see it, you’ll be able to find it on essentially all of its prints.
The good news is that we managed to mostly eliminate the Benchy hull line in our sample G-codes (not in 100% cases though, more on that later). You can download the G-code here.
The bad news is that the fix isn’t universal.And we’re not even sure if such universal fix is physically possible to exist.
New Benchy sample G-code printed on the MK3S
A hardware problem?
When you search for the problem online, you’ll often get an (incorrect) suggestion, that it might be a hardware problem. To give you an example, here are some of the suggestions we found online:
- loose belts
- bent Z-axis rods
- irregularity in your z-axis lead screw at that height
If the problem is one thicker line or two thin lines at height of the Benchy’s deck, it’s most likely not a hardware problem with your printer.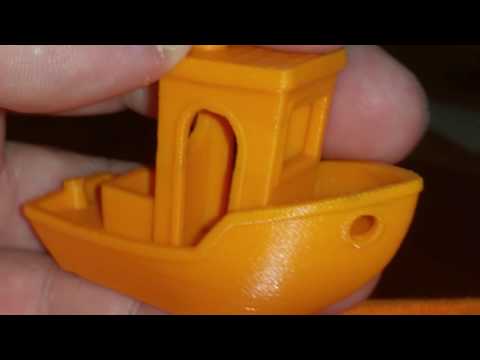 On the other hand, if you get uneven layers from top to bottom, it is most likely a hardware problem (which we’ll not discuss here).
The culprit
We believe that the main culprit is the sudden transition from sparse infill into full top layers around the 8 mm height (may vary a bit depending on your layer height and number of top layers).
At this point, there is an abrupt difference in the time a layer takes to print.
And a few layers later, another sudden change happens. When the deck is finished it’s no longer an almost solid layer, but just a few perimeters again.
Here are the factors that influence the severity of the Benchy hull line
- Filament material thermal expansion coefficient
- Print cooling
- Print environment
- Other filament properties - dryness, composition
A seemingly similar, yet partly different problem is when printing boxes. They also tend to have a line at the height where the bottom solid layers transition into walls.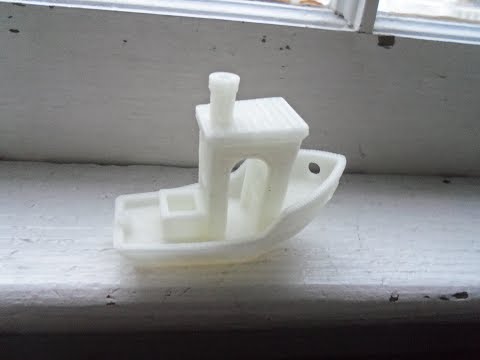 This has more to do with thin walls, extrusion width, and the material has nowhere to go, but outside. Our slicer team knows about this problem and it's something that will likely improve in the future.
Why can’t the slicer automatically detect and correct for this?
It’s physics. Plastics, if extruded first from pellets into a filament, and then from filament into a very thin rectangular extrusion, will behave neither as a liquid nor as a solid. The stretching of the plastic will align the long molecular chains of the polymer, introducing internal stresses to the extrusion. This internal stress will pull the extrusion together if not cooled quickly enough. For example, on the MK2 the 3D Benchy has the line more pronounced on the side away from the cooling fan.
It depends on the environment too. Indeed, as many of you found out, in a cool basement the effects are more pronounced. The same G-code printed on the same printer with the same filament can have a Benchy hull line in one room and not in the other. It’s very difficult to automatically compensate for that.
And to compensate for the internal stresses and cooling effects of the filament. One of the reasons being the viscoelastic behavior of the molten plastics, and the dependence of the plastic behavior on its composition, temperature, hydrolysis of the polymer molecular chains. If the filament is not 100% dry (polyesters - PLA & PET are sensitive to hydrolysis, hydrolyzed filament contains shorter polymer chains, thus being less viscous), the effectivity of the cooling, reflections of the cooling air from the already printed objects, etc.
How did we modify the G-code to eliminate it?
Something that helps, is to make a modifier mesh in the shape of the deck. When aligned at the problematic spot, it can be used to split the hull and the deck. They are then printed separately, plus the infill doesn’t fill the entire area all the way to the hull perimeters.
Then there’s the order of elements inside a layer.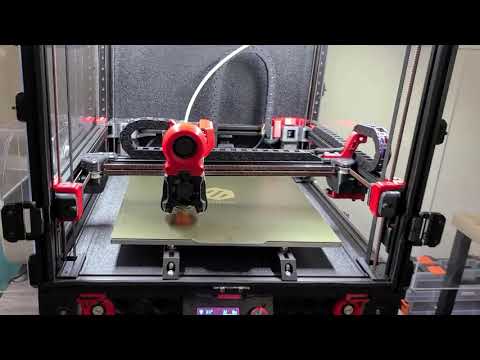 For some reason, we got better results when always printing the deck perimeters first, then infill of the deck and then the rest of the layer. We manually edited this order using a text editor.
We’re not sure if it ended up helping, but we also manually edited the G-code in order to slightly lower the flow of solid infill, except for the very top layer (of the deck).
Another thing is to print the perimeters as continuously as possible. Rather than printing perimeters, then infill and then transitioning to the next layer it’s better to print two (or more) layers of perimeters one right after another. The printer then can go back and print the infill, again two layers at a time.
We most likely haven’t discovered all factors and in precisely what ratios they influence the severity of the Benchy hull line. Still, we wanted to share our findings. If you make your own research and tests, let us know of your findings.
Your First 3D Print ⋆ stlDenise3d
So you just got a new 3D printer? Awesome! Welcome to modern crafting! We’re going to have so much fun!
There are some people who like to jump into 3D printing with both feet and just.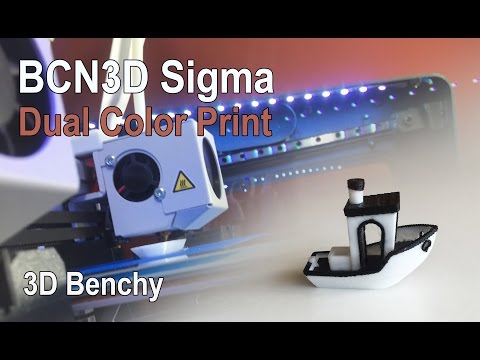 Start. Printing. That might work…but if you don’t have you printer set up correctly, or got it tuned just right. Yikes!
Print a Benchmark
Benchmarks are prints that you use to test your printer and see if everything is set correctly.
These are things like calibration cubes, torture tests…and jolly old 3DBenchy.
I’m pretty sure I’m the only person who could get Benchy, the world’s most popular 3D printed boat, confused with Boaty McBoatface, the internet named research sub. However, infuriates my kiddo every time I called the little boat by it’s wrong name…so naturally I have to keep doing it.
What is 3DBenchy?
Benchy is a small 3D printed model designed for testing your 3D printer’s accuracy. If you can print a good Benchy then relax, because your printer is set up perfectly.
A lot of people also like to print a Benchy when testing a new brand or type of filament…you can easily end up with a colorful fleet.
3DBenchy was designed by Creative Tools, a Swedish 3D tech company and set loose on the internet for free. The boat has lots of little features that can be hard to print: arch ways, cylinders, overhangs, smooth surfaces, tiny details, and horizontal holes.
The tiny tugboat’s small size also means you can print one fairly quick and it doesn’t use a lot of material. Benchy takes about 13g of filament on my set up. If you use a standard 1KG spool of material, you could make 153 boats.
Not sure what you’d do with 153 boats…
2 Million Downloads since 2015
There’s a massive fleet of Benchies out there, with over 2 million downloads on Thingiverse alone!
Benchy’s popularity means that when your Benchy goes horribly wrong, you can take it’s photo online and ask any forum for advice. Veteran printers have all printed the little boat too and can offer up sage (we hope) advice.
This Benchy was printed too fast and without Z Hop.How to Use 3D Benchy
Got a bad Benchy? Use it to trouble shoot your 3D printer! (I mean, that’s what’s for, right?) Compare your results with this quality guide by Simplyfiy3D.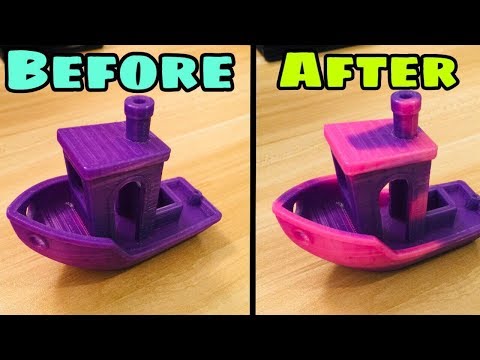 They make slicing software, so they know what they’re talking about.
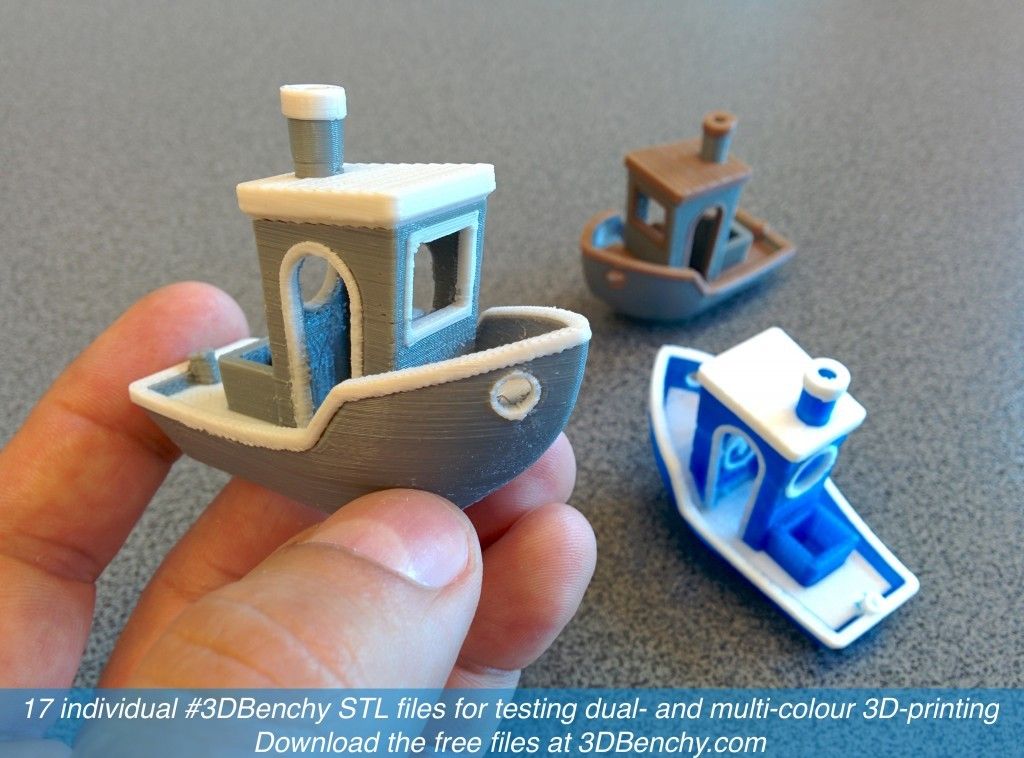
Benchy uses less than one percent of your average spool of 1Kg filament, so feel free to use it as a color swatch. #RainbowBenchy!
Track those Benchy Boats! There’s no point in keeping a dozen tiny tugboats around your workspace if you can’t remember the details behind each print.
Some details can be written on the bottom of the boat with a Sharpie. Remember, you’ll need a light colored marker for dark plastics. You can also number the boats and keep more detailed notes in a note book or text file.
Or you can print these Benchy Note Flags from Thingiverse and put a bit more detail right on the boat.
Benchy Smartphone StudioIf you’re really into cataloging your Benchy boats you can print this tiny studio! It was made by Creative Tools (Benchy’s creator) so you know it will snap together perfectly.
Benchy Accessories
The simple bench marking tool has gathered an adoring fan club.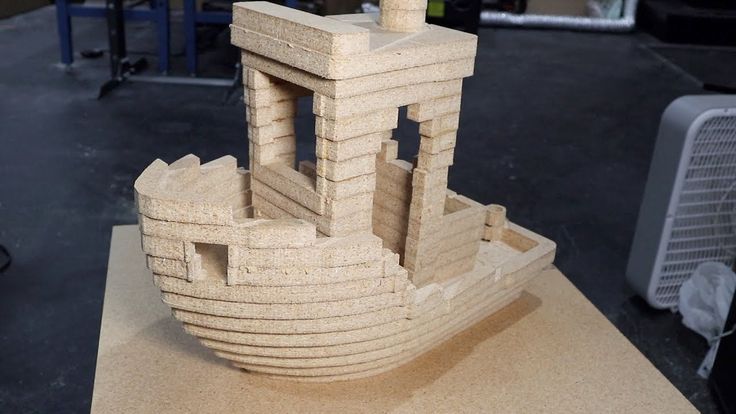 You can find tons of mods, accessories and scenes you too can print for your little boaty friend. You can find many great — and down right funny — mashups and addons over at Thingiverse.com.
Flags and Chimney Smoke
Give your Benchy a little flare with a cool 3D printed flag and some cartoonish chimney smoke. Both are found on Thingiverse — and since every Benchy is the same…they all fit!
Note: 2nd colors added with markers and paintTurn your Tug into a Bathtub Boat
You know your kids want to take Benchy into the tub next bath time! Unfortunately, the little boat was meant for the dry land of your workbench or desktop…not real water. However, a British maker shared some cute accessories to balance the boat and plug up dangerous holes.
Not sure it really works…we we tried it and our Benchy floated for all of 2 seconds. You’re better off looking up a boat meant for water, like this bathtub boat.
3D Benchy Harbor
Moor eight Benchies to this pier and place on your desk with pride!
Benchy at Sea
Hang 10! Print Benchy a nice wave to ride.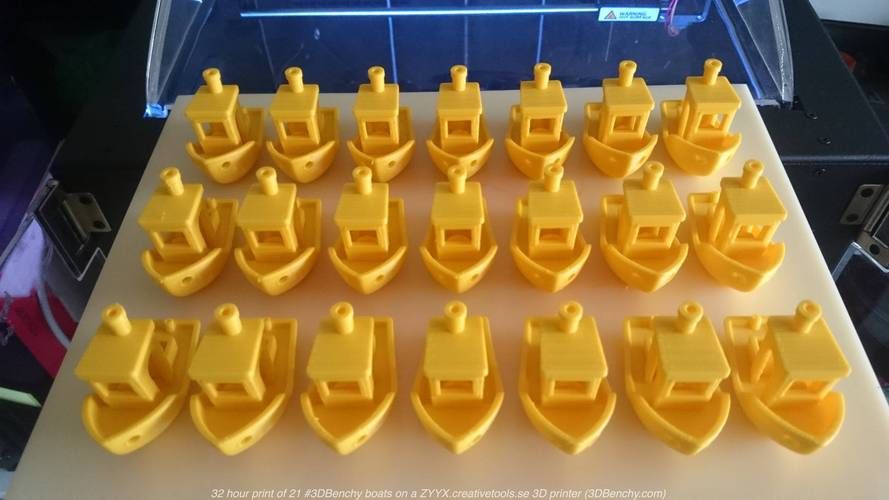
Free 3D File Bench・3D Printer Model Download・Cults
PARKTOOL REPAIR STAND - CAP
Free
Best 3D Printer Files in Home Category
Central part / vase with Voronoi spiral
Free
Christmas Cat
3.64 €
Deactivated
Dodecahedron Lamp Shade
1.71 €
Ceramic Knife Handle
Free
Watchmen Comedian Coaster (Cup Plate)
Free
IKEA SKADIS Container/Shelfset
Free
Sunflower Cookie Cutter, Sunflower cookie cutter
1. 38 €
38 €
Bestsellers in the Home category
Another quick-change paper towel holder
1 €
Balloon
11.37 €
Gun charm
1 €
Notepad
2.60 €
Wall shelf "Oyster mushroom"
2,40 €
Wall shelf "Tinder Fungus"
2.40 €
Balloon lamp
6.82 €
Watering can
2.40 €
Wallet card holder (universal package)
1.25 €
Pencil with dinosaur gluttony
1. 58 €
58 €
Ornament "Valentine's Heart" without supports
2,30 €
Cable holder for rabbit
1.34 €
Clothes hanger "Wolf"
2.16 €
Venus and Aphrodite
3.60 €
Crystal corner decor - printing on site
1.51 €
GYRO BEER STAND 2
2.12 €
Do you want to support Cults?
Do you like Cults and want to help us continue our journey on our own ? Please note that we are a small team of 3 people, so supporting us in maintaining the activities of and creating future developments of is very simple. Here are 4 solutions available to everyone:
-
ADVERTISING: Disable your AdBlock banner blocker and click on our banner ads.

-
AFFILIATION: Shop online with our affiliate links here Amazon.
-
DONATIONS: If you want, you can donate via Ko-Fi here 💜.
-
* INVITE FRIENDS: * Invite your friends, discover the platform and great 3D files shared by the community!
Concrete bench went to print: lakhtacenter — LiveJournal
?-
Lakhta Center - about the skyscraper and not only ( lakhtacenter
A six-axis robot has been able to print concrete street art with extreme precision, replicating the weaving of fabric. The woven texture will age and be exposed to the environment, giving an "organic patina" over time. And it's not boring either.Concrete rattan benches are made by German design firm Studio 7.5 and French 3D printing company XTreeE.
The use of local materials for this collection of outdoor furniture ensures a natural integration into the environment.

The wicker bench was printed in 52 minutes and weighed 181 kg. It is lighter than solid concrete.
A fast and efficient method of making outdoor furniture will enable urban planners to better predict production time, weight and cost, thus providing greater transparency with customers and stakeholders.
Tags: 3d printing, architecture, small form architecture, concrete, city, urban environment, urban design, skia, building
Subscribe
-
Desert infrastructure. City of the Future Neom to Spend Half a Trillion Dollars
Neom, the city of the future in Saudi Arabia, has just signed a contract with Bechtel, one of the world's largest construction companies. Photo by…
-
Zaha Hadid's bureau will build a metro station in Moscow
Three years later, a metro station designed by Zaha Hadid Architects will open in Moscow. The famous British bureau won the design competition.

Learn more
-