3D printer water pump
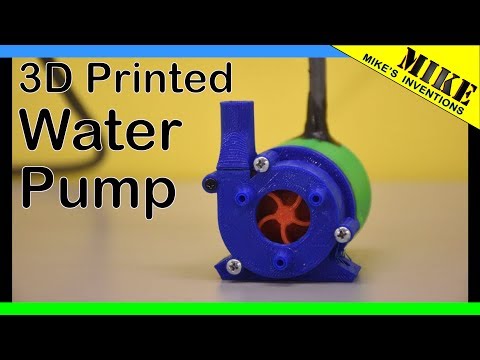
3D printed Water Pump using 775 Motor
Table of Contents
3D Printed Water Pump Using 775 Motor:3D printed Water Pump using 775 Motor– Who doesn’t like to make useful 3d printed projects, Most of the electronics makers are willing to make something useful out of DC motors, Yes in this article we are making a powerful 3d printed centrifugal water pump using 775 Motor.
In this article, we will cover everything from design to the final water pump, and the best part is you can try to build this as I have given all the design files for free; so, that my readers can take advantage.
Read my previous article on “Different ways to power up 775 Motors”.
Amazon Links:3D Printer
775 DC Motor
PLA filament
Lithium-ion battery pack
Other Tools and Components:
Top Arduino Sensors:
Super Starter kit for Beginners
Digital Oscilloscopes
Variable Supply
Digital Multimeter
Soldering iron kits
PCB small portable drill machines
*Please Note: These are affiliate links. I may make a commission if you buy the components through these links. I would appreciate your support in this way!
The water pump is a device that moves water from one place to another, there are many kinds of water pumps, but we are focusing here only on the centrifugal type.
In a centrifugal-type water pump, we are using centrifugal force to life the water from the source, impeller is a device that is attached to a dc motor shaft that spins at very high rpm along with torque.
When water enters this impeller, it gets carried inside the water pump case and gets transferred all the way up to the outlet side of the pump, this happens several times a second hence we have a steady supply of water throughout the system.
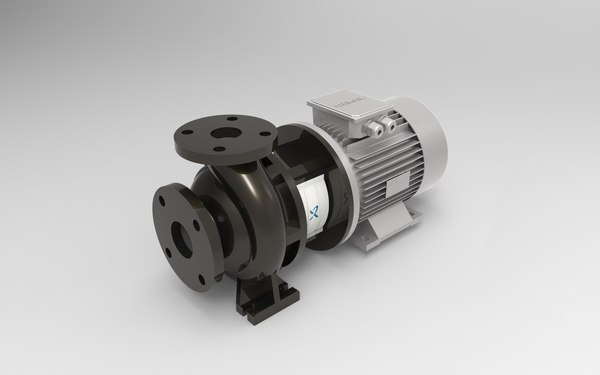
The same principle is used in actual motors available in the market but with several times the price at which we are going to build in this project, So now we will see how to make this.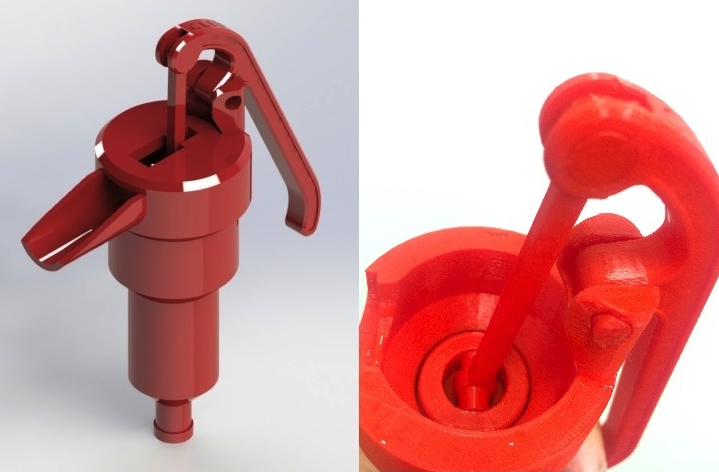
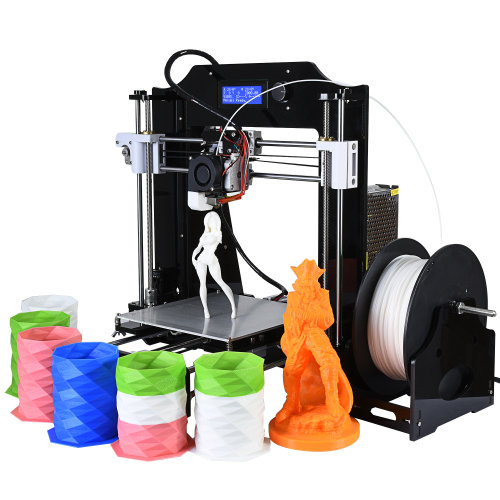
- 3D Printer
- Design files(given below)
- PLA filament
- Screwsx2
- Rubber piece for insulating
- Marker and compass
- Scissors
- Lithium-ion battery pack
- Bucket of water for testing
As said earlier it works on centrifugal force and it is the outward force of the water that determines the output pressure, Taking care of all the factors these Designs are made, I will be giving a short description of all the design files used to build this
Download stl 3d parts of Outer Casing and Impeller.
This is the outer case for a pump that is having slots for inlet and outlet supply, I have used PLA filament with 100% infill to print this as lower infill may lead to a weak part that might fail during the working
One thing to be taken care of here is to use supports while printing as we have overhanging parts, it will take time to get the print done.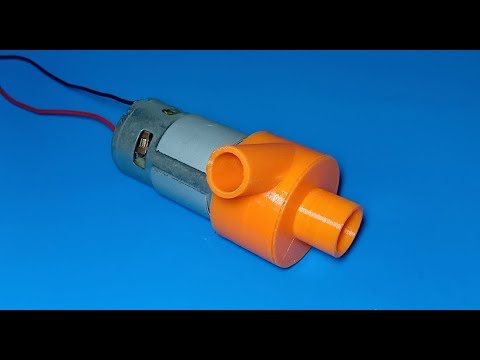
After printing this we will make an impeller that is the main part of this project. The design can be seen in the below image
These are the factors to be considered during impeller designing.
Number of blades and the angle of blades
As we know the centrifugal force formula is F=mrw2, Where F=force, m=mass, w=angular velocity, r=distance from the origin
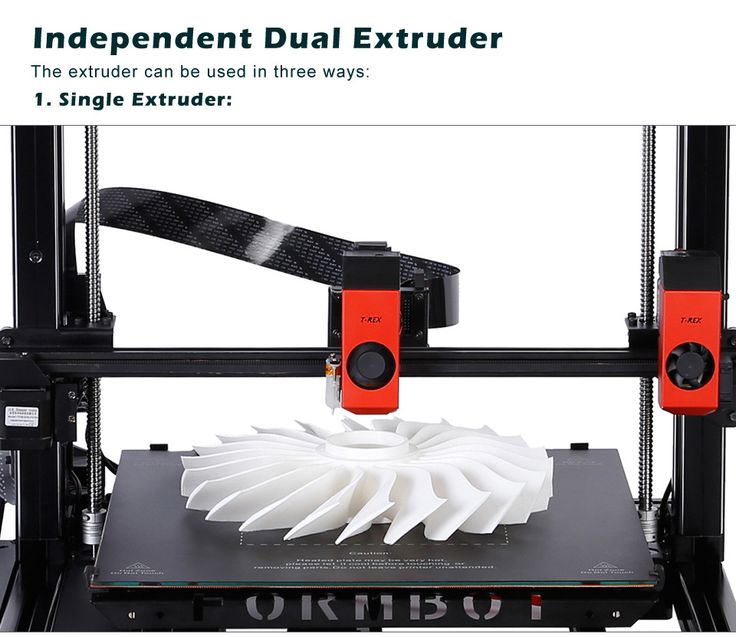
The printed impeller with 100% infill is shown in the below image
In a very simple way to explain centrifugal force, I will give an example of a washing machine, when you put clothes to a centrifugal dryer the clothes get dry in very less time, the water particles get thrown out due to centrifugal force.
Same effect is observed here, but instead of clothes, we are using water.
Water entering the case will be thrown away outside(to the walls of casing) this happens very fast as a result pressure will be built that ultimately will be thrown away from an outlet that is provided at the mid-upper part of the casing.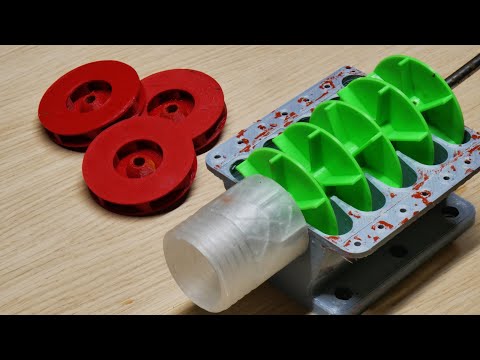
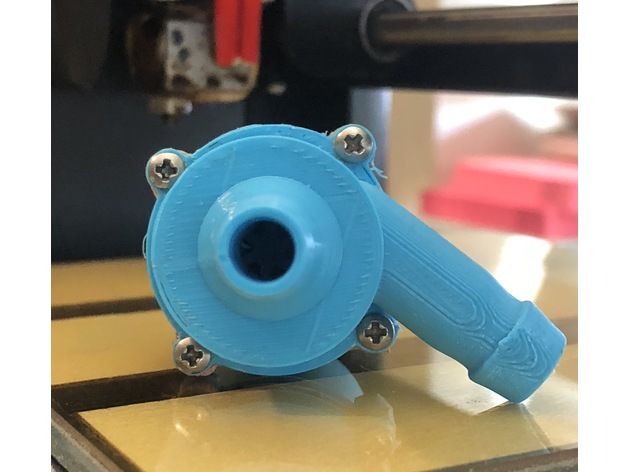
This is the outer case or covering lid for our pump and it has a small extension for connecting the water pipe.
There is no need for any additional sealing as we are using press-fit type of connection.
You can ensure double seal by adding a few drops of PVC glue and it is a completely optional process, I did not use any glue to connect this to the main body as it by default is water-sealed.
Assembly of 3d printed partsAfter printing all the parts we can start to assemble them, but we need to remove extra supports that was given during the printing time
After cleaning we have these parts and we can assemble them to 775 motors, we will be connecting these directly to the motor using 2 screws.
To prevent water from entering the motor I will be using a rubber seal, to make the rubber seal I made use of a rubber tube that was cut to the shape of the outer case
Cut the holes so that they can enter the motor shaft, add the glue to the rubber base and attach it to the backside of the outer case.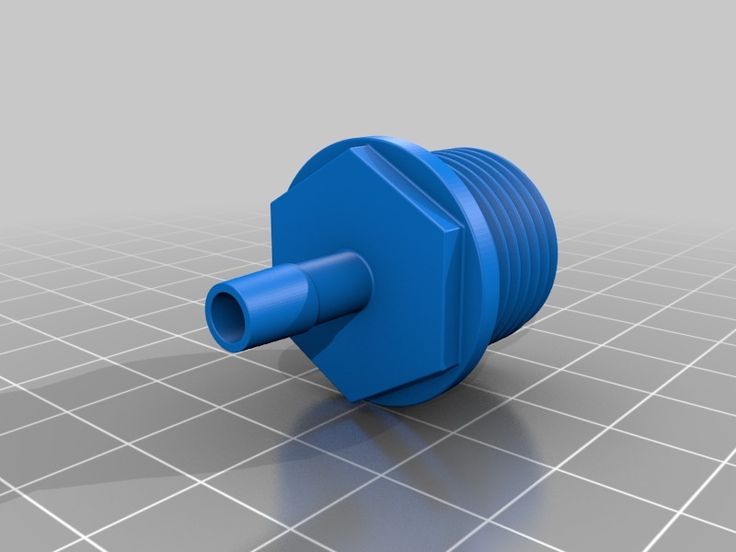
After drying we can add screws to the dc motor and tighten it using screws.
Finally, we can add an impeller to the motor shaft, I recommend sanding the inner hole of the impeller.
Connect the impeller and add a drop of superglue after attaching the impeller to the shaft.
Finally, add the impeller and close the outer case
Now we can finish this project by adding wires to dc motor, I solder single strand wires because during the load multi-strand wires may burn due to the heat produced.
I will be using 3 lithium-ion batteries to power this pump, this is a 12v dc motor and for the full capacity we need a 12v supply
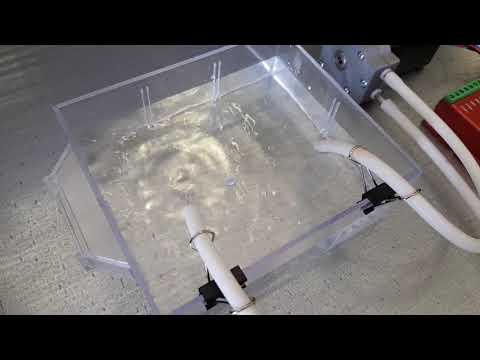
Once we complete soldering we can test it out, just dip this pump that touches the top surface of the water.
Connect supply and watch your pump throwing out water.
Working video of water pump:Coming soon…
Mechanical Engineer 3D Prints Fully Functional Hand Water Pump - 3DPrint.
 com
comDo you ever look back in history and see a device or piece of machinery and you say to yourself, “Wow, that was really cool,” and then you wonder why that technology was replaced by a newer version which may be a bit more sophisticated in nature but not quite as reliable or as well made? While modern-day technology replaces the technology of the past, many people still feel as though machinery, automobiles and even homes were built of much higher quality decades ago.
Hand water pumps have been around for centuries, as they have provided a means for individuals to gather one of the world’s most abundant and important resources; good ‘ole H2O. While today there are many other ways of pumping water from a well or large container, for one mechanical engineer named Kris Cleven, turning back the clock was something he found solace in doing.
Cleven, whose typical work day consists of making new oilfield products, also has taken a keen interest in 3D printing.
“[During my work day], I deal with very high pressures and bringing materials to their absolute breaking points.
I get to blow stuff up sometimes,” Cleven tells 3DPrint.com. “I 3D print to pass the time and to give myself little challenges. I only like to print objects which have some function; Otherwise it is a waste.”
Cleven, who currently lives in Houston, Texas, was recently faced with preparing for an approaching tropical storm. In doing so, he purchased large bottles of water to ensure that he was well prepared in case he were to be stuck in his home for a long time. After he had stocked up on these large water bottles, however, he began wondering how the heck he would be able to get the water out.
“I wondered if I could print an actual pump,” he tells us. “After the storm which really turned out to be nothing I decided to see if I could make this happen.”
So Cleven began by drawing sketches of a hand pump, before using Solidworks 2015 to model it. Then he used his Ultimaker 2 3D printer to print out all of the individual pieces for his creation.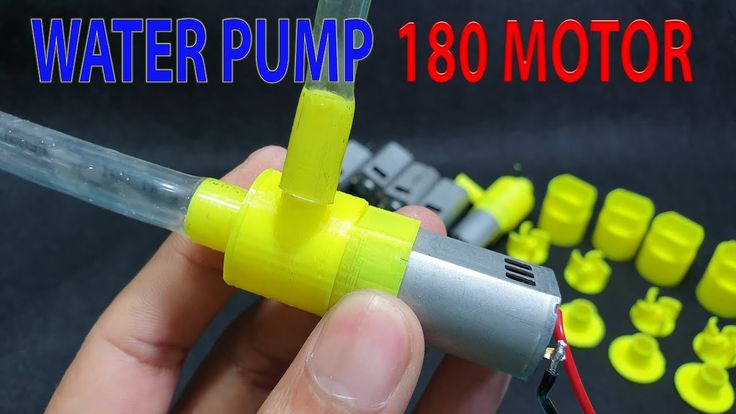 In all, it took him about 5-6 hours of print time to complete.
“I went for an older style hand pump,” Cleven tells us. “I thought it would be a bit more rustic in style. I am pleased with the design.”
As you can see in the photos, the design is quite elegant looking, but the best part is that it works very well, just like those old-style hand pumps you may remember (depending on your age). Cleven has made the design files for his creation available for anyone to download and 3D print themselves on Thingiverse.
What do you think about Cleven’s creation? Did you ever imagine something like this would be able to be 3D printed on a desktop 3D printer? Discuss in the 3D printed hand pump forum thread on 3DPB.com. Check out the video of the hand pump in action below.
Stay up-to-date on all the latest news from the 3D printing industry and receive information and offers from third party vendors.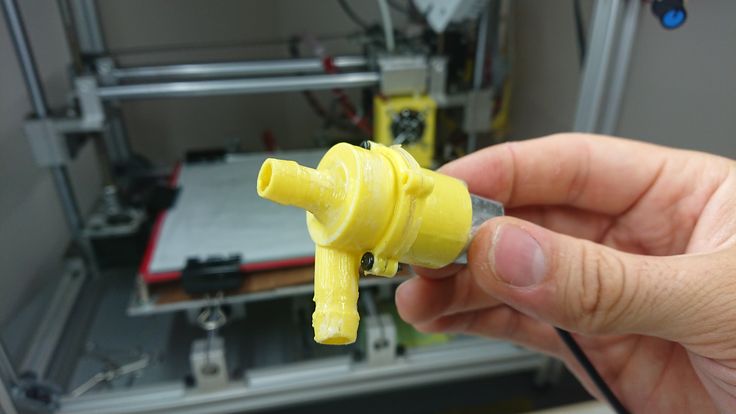
Tagged with: 3d printed water pump • hand water pump • solidworks • thingiverse • ultimaker 2 • water pump
Please enable JavaScript to view the comments powered by Disqus.
STL file DC WATER PUMP 12V
Attachment for 18650 batteries (double-row/double-sided) - Li-ion welding
0,60 €
18650 Lithium Ion Battery Holder and Cell Balancer x 8
0.61 €
775 DC motor pulley 4 different sizes
0.55 €
18650 LITHIUM ION DOUBLE ROW BATTERY FIXTURE FOR STRIP WELDING (10x2)
0.64 €
18650 LITHIUM ION SINGLE ROW BATTERY FIXTURE FOR STRIP WELDING (8x1)
0,56 €
18650 LITHIUM ION DOUBLE ROW BATTERY FIXTURE FOR STRIP WELDING (4x2)
0,58 €
18650 LITHIUM ION DOUBLE ROW BATTERY FIXTURE FOR STRIP WELDING (3x2)
0,55 €
Cordless 12 V DC Cordless Drill Driver 775
0. 62 €
62 €
The best files for 3D printers in the Tools category
Spare key Midi usb controller Korg NanoKey2
0,85 €
Bellatrix Lestrange Dagger - Harry Potter
4,99 €
RGB Matrix Slot Machine
Free
Test Tube Support (Small)
Free
Beehive Ice Tray
Free
Sandpaper holder [Shuttlecraft]
Free
Covid corona mask - use with vacuum cleaner bag. Easy breathing.
Free
MINI PHONE STAND
1,63 €
Bestsellers in the Tools category
PRECISION CALIPER 3D PRINT DIY
3.05 €
Ender 3 Briss fang Gen2, red lizard, spider, nf crazy, dragonfly, etc.
€1.85
PET-Machine, make your own plastic bottle filament at home!
50 € -80% 10 €
Paint stand with scissors
5.59€
Ratchet holders - magnetic - holders for toolbox organization
2,88 €
Version 2 Alligator 2 || Repeating crossbow || 3d printed shop || Inspired by Joerg Sprave
1.50 €
PRECISE DIAL INDICATOR 3D PRINT DIY
1,87 €
Tool holder for 3D printer V3.0
1.11 €
Quick print stackable parts containers / storage boxes
2.86 €
Filament shielding
2.94 €
SUPERBOX
1,50 €
well designed: Hemera fan duct
2. 50 €
50 €
NEW GENERATION CAR PHONE HOLDER
2,50 €
Fire hydrant storage container
2.03 €
Printer boxes for Ikea Lack Table
1,99 €
BMG E3D V6 direct drive for Creality Ender 3 (Pro/V2) & CR-10
4.49 €
Do you want to support Cults?
Do you like Cults and want to help us continue our journey on our own ? Please note that we are a small team of 3 people, so it is very easy to support us in maintaining activities and creating future developments. Here are 4 solutions available to everyone:
-
ADVERTISING: Disable the AdBlock banner blocker and click on our banner ads.
-
AFFILIATION: Shop online with our affiliate links here Amazon.
-
DONATIONS: If you want, you can donate via PayPal here.
-
* INVITE FRIENDS: * Invite your friends, discover the platform and great 3D files shared by the community!
3d printed pump
3d printed water pump.
Items for inventors Link to the store.
Some time ago, the master who created this installation was sitting bored and looking for something to his liking. And he came up with the idea of designing and printing a water pump on a 3D printer. After 30 minutes, the project was ready, it went so fast that the author of the development did not expect that he had any possibilities for such work. Nevertheless, I started typing, and after about 2 hours everything was ready for assembly.
Contents
- Which motor should I use?
- 3D printing pump parts
- Connecting the wires to the motor
- Final assembly and pump test
Which motor to use?
During design, I was wondering which engine to use, I wanted it to be easily accessible and cheap so that anyone could reproduce the project.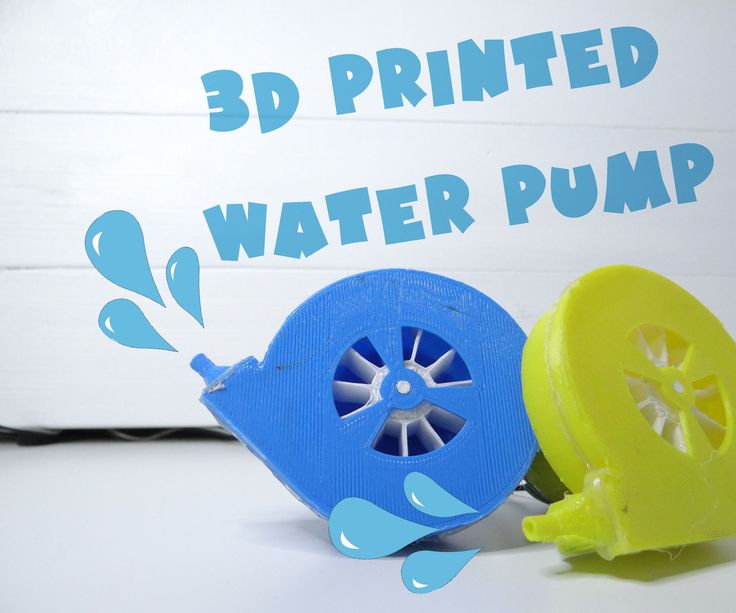 The master decided to take a small motor, which can be found in air fresheners. You can find the same engine in China for less than $2.
Picture of the air freshener from which the engine was removed:
DIY electronics in Chinese shop.
Let's start with a list of parts and models that we will need to operate the pump:
First of all, the engine, the parameters of which are described above. If you do not have such a freshener, you can buy an engine in an online store.
You will also need 3d printing materials, stl files can be found below.
Small cable, battery (6V or 12V), soldering iron, hot glue.
3d printing of pump parts
Let's start by printing all the elements, it will take about 3 hours.
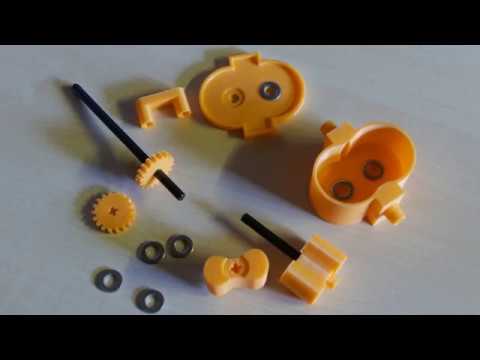
In the stl files you will find 2 types of turbines. According to experiments, the first one (V1) works better. They are not much different from each other, the second version has a closed bottom, the master thought that this would work better, unfortunately it did not work.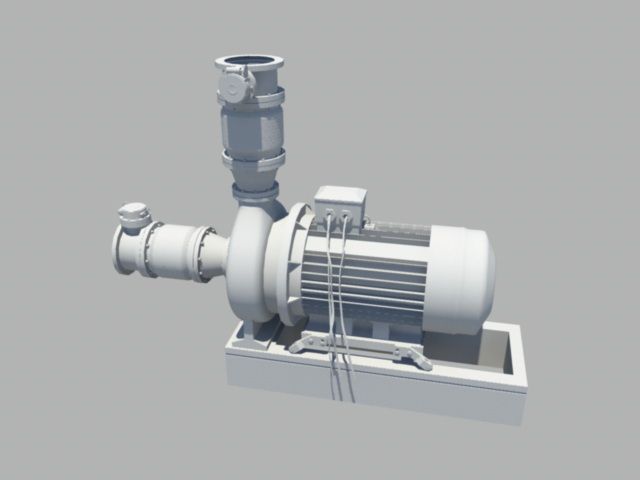 Download files.
When we have all the necessary parts, we can start.
All supports and shelves must be removed before assembly. Worth using pliers. Once everything is separated, it's worth polishing it a bit to make it look and work better. It only takes two minutes and is quite simple.
When everything is assembled, we can assemble the pump. The perfect seal wasn't particularly important, because when we put the prints together to get a very tight joint, we'll use hot glue. Use it to attach the top cover and motor.
Connect the wires to the motor
When everything is already glued, solder the cables to the motor. In addition, to protect them from tearing, the master glued them with hot glue.
Final assembly and pump test
Now it's time to start making the pump. Using a 12 volt battery, this motor shouldn't run at that high voltage. Water around it and cooling prevent overheating.