3D printer transparent filament
Which is the Best Clear 3d Filament - Ultimate Guide
Everyone goes through various struggles when choosing the clear filament for the first time. There are several types of clear filament on the list.
So if you have trouble making your decision, you are just getting the start, or you need to test all the material – don’t worry.
You are in the right place. Here are so many plastic materials could be used in 3d printer. The most commonly used clear or transparent 3D printer filaments are PLA, PMMA, PETG, PET, Clear ABS, Polycarbonate, and TPU. Let’sLet’s talk about the positives, negatives, and best printing tips one by one.
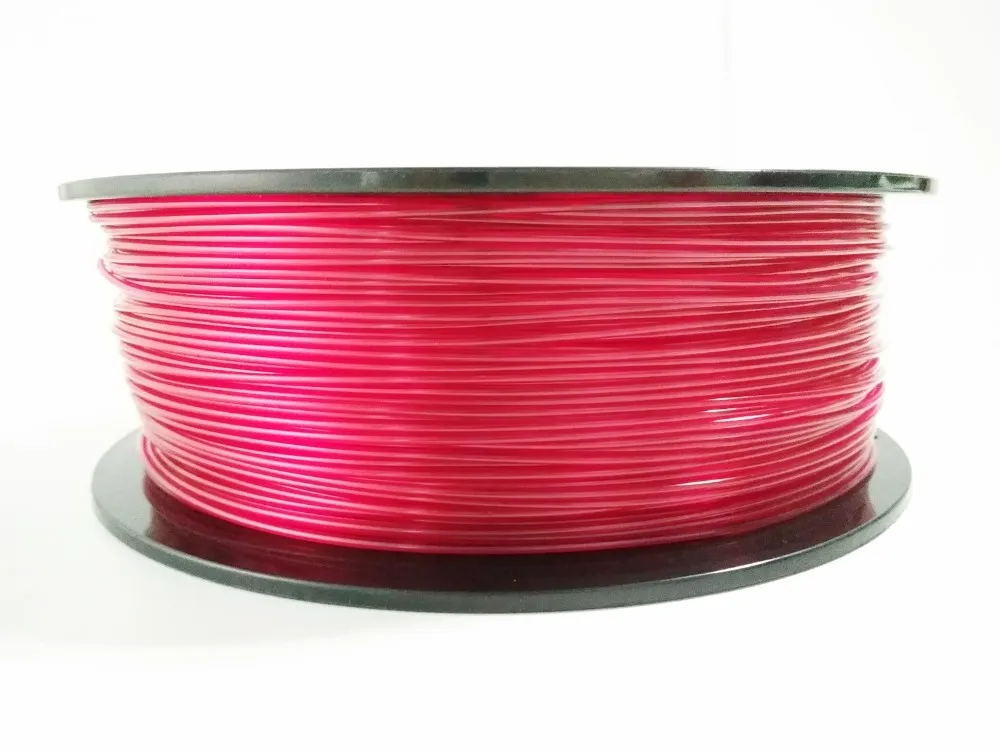
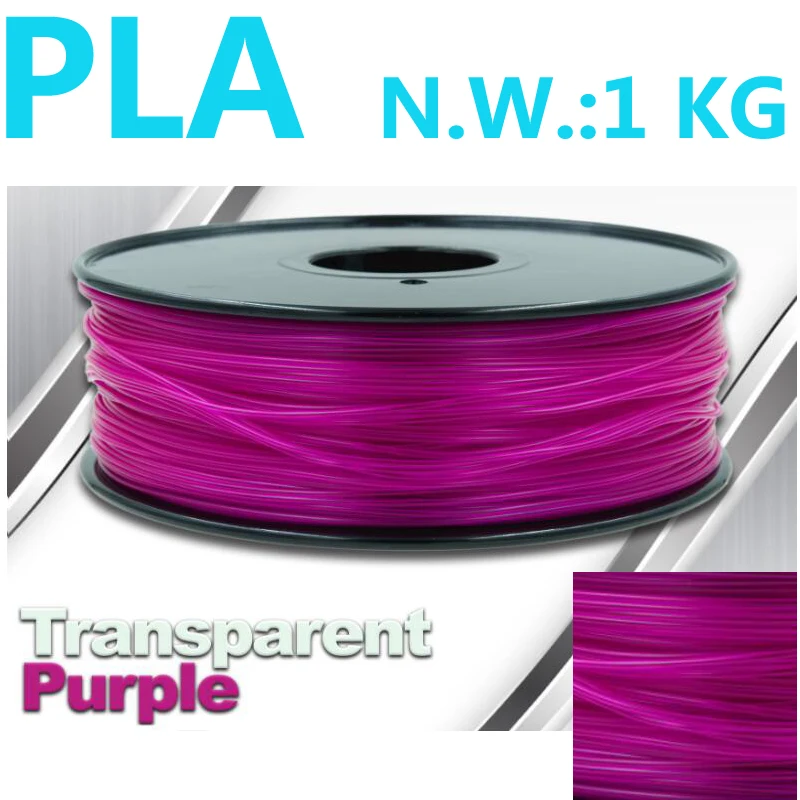
The natural PLA resin is not clear. It has a very faint yellow tinge. If you compared with clear PLA filament from different manufacturers, there will be a slight difference. The tip is the process temperature. If the temp setting is higher, PLA resin could be perfect recrystallization. Then the filament will be more transparent.
The transparency is different from the resin manufacturer. There are two manufacturers for PLA raw resin. One is NatureWorks, the other is Hisun, We have made opacity tests with 4032D, 4043D(from Naturelwork), and 190(from Hisun), The opacity of 190 is much better than 4032D and 4043D.
Liking ABS, PLA is a commonly used filament in 3d printing. It is biodegradable and has excellent properties. Translucent PLA filament is one of the easiest to print clearly and get good results. To get the smooth finish of the surface, sanded is needed after printed. The part is close to the clear after filed.
Choose the right sandpaper is essential. This depends on the layer height in the setting. Thicker layers need courser sandpaper. Then use more delicate and finer grits, sanding in a circular motion each time (this bit is crucial because you’re trying to remove all surface imperfections). Start at the start, maybe 800 grit, and upwards in 200 increments from there. Finish with 3000 or higher grit to get a smooth finish.
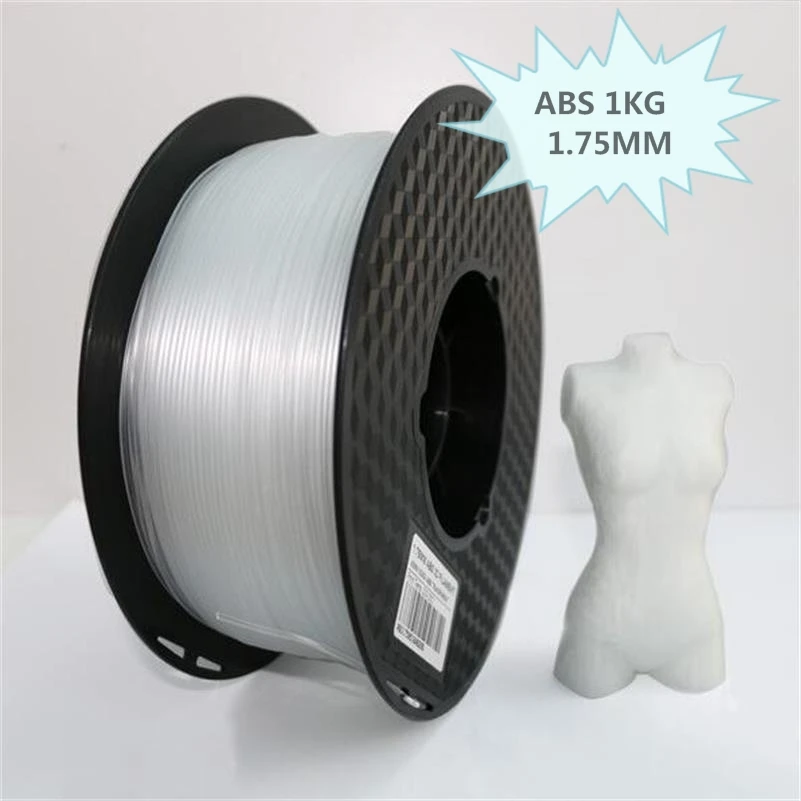
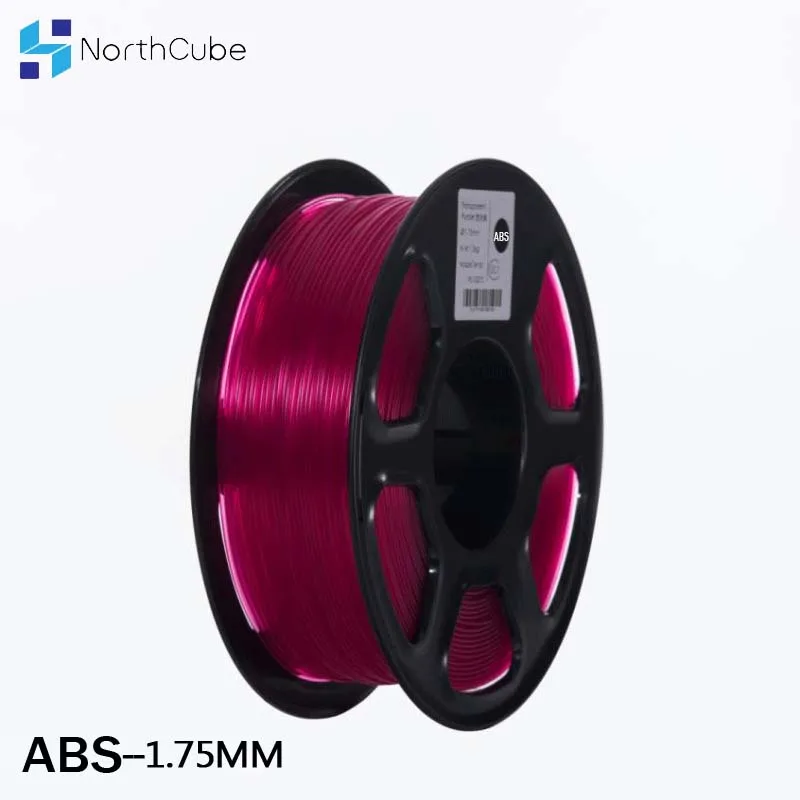
The nature of abs is not transparent. Clear abs are the particular type of abs material. The short name is MBS. Other additives will add to make it clear.
Clear abs filament cannot print as clear as the material. It needs to be post-print finished with Acetone vapor smoothing.
PETG is a durable clear 3D filament with excellent layer adhesion (almost unbreakable) and less shrinkage than other filaments; it’s great for 3D printing clear, big stuff that won’t break under pressure. It is odorless when printing and often produces clear, smooth finishes. Meanwhile, PETG has abs material’s flexibility and PLA’s strength.
PETG can’t smooth with acetone pour, but it can sand. Compared with PLA sanding, PETG printed object is smoother, which means that you need to use higher grit.
PMMA is the most transparent material so far. It has high strength and impact resistance.
PMMA is commonly used to replace glass in a particular application, such as cellphone screen and sunshine glass. The opacity of pmma is about 92%, much more than other clear plastic.
Polycarbonate
Polycarbonate is an extremely durable and optically transparent 3D printing filament that should print in a warm environment. Its durability can be bent repeatedly without cracking, making it great for creating all sorts of hipster jewelry.
But seriously, Polycarbonate (PC) is an immensely underrated material to print. It finishes with a nice glossy sheen to it. It needs a very hot extruder to print it usually, and if you’re looking for translucent results, we’d recommend going even hotter still (300 C+).
A great advantage with PC is that it can smooth with acetone like ABS to bring out more apparent results.
TPU is the only flexible material used for clear parts. It has good elongation and flexibility. Due to this property, Tpu is commonly used in bracelets and use wine and charge wine.
About the Tpu filament, printer settings are different from other materials. The extruder structures are different, and the printing speed is slower.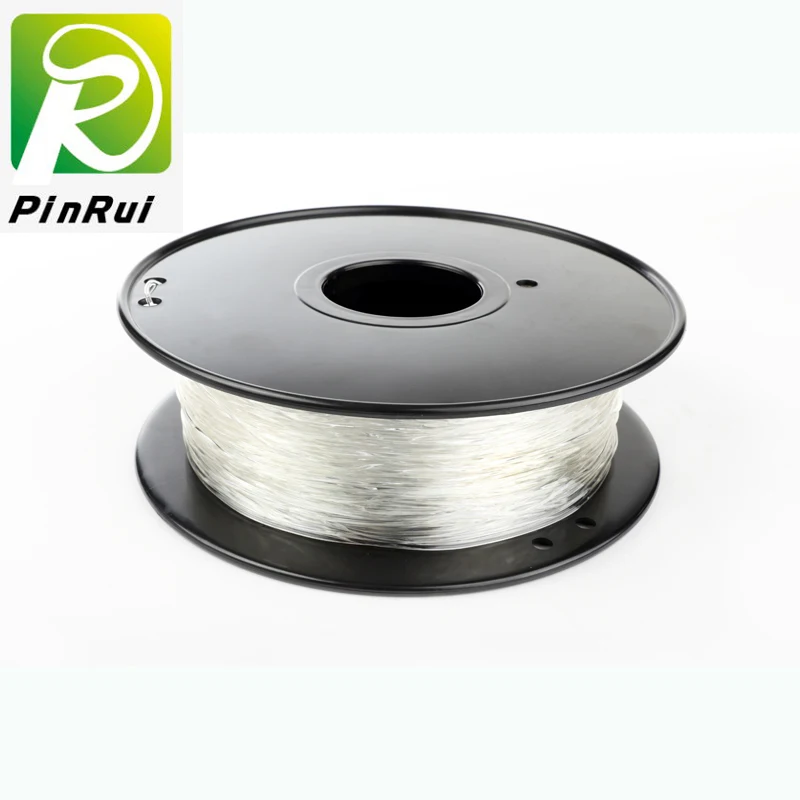 For the details, we will write on the next page.
Summary
PETG is your first choice for clear filament. It has suitable property and is nicely finished. Meanwhile, if you need flexible material, TPU has the advantage.
Need Any Services? Contact Us Now!
How to Create Completely Clear or Transparent 3D Prints
3D Insider is ad supported and earns money from clicks, commissions from sales, and other ways.
For some people who are into 3D printing, creating a project that is completely clear is something of a holy grail. As anyone who’s tried it will tell you, it’s not as simple as using a clear filament. Achieving this feat requires very specific printer settings and post-processing, all taking into account basic concepts of optics.
How does one achieve a fully transparent 3D print? Wonder no more, as we’ve taken the experience of people who have been able to succeed with transparent 3D printing and have come up with this quick guide. The process itself isn’t going to be quick – all we can say is that we hope that you have the patience.
What does it take for something to be transparent? A review of optics
Let’s start our guide with a brief discussion about optics by answering this question – what makes an object transparent? In designing an object that we want to be as clear or transparent as possible, there are two phenomena that we are trying to avoid: the absorption and diffraction of light.
Absorption refers to the ability of an object to absorb light instead of reflecting it or letting it pass through. This happens because the electrons of an opaque material have energy states that allow them to move from one band to another, thereby absorbing energy from the photons of light.
In transparent objects, the energy levels are arranged such that they absorb photons at the frequency of visible light. However, it’s possible for them to absorb photons of infrared or ultraviolet light, or light at frequencies that cannot be seen by the naked human eye.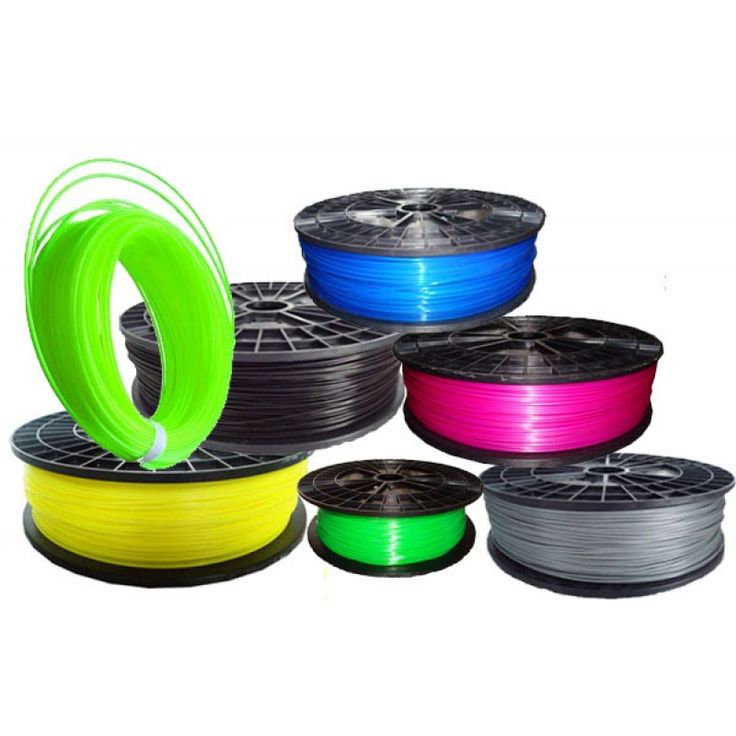
While absorption is typically a phenomenon that is a function of the material, diffraction can be controlled by processing. In diffraction, scattering of the rays of light or internal reflections prevents light from getting transmitted through an object. This is usually because of impurities in the material or imperfections in the material’s surface.
Materials made of crystals – such as glass – also exhibit transparency because the boundaries between adjacent crystals are smaller than the frequency of visible light. This is achieved through the rapid cooling of glass under a high-pressure environment, resulting in the formation of very small crystals with very small grain boundaries.
Our key takeaway from this discussion is that there are two avenues that we need to consider when 3D printing a clear object – the material, and its processing. Let’s tackle each one separately.
Use a clear filament
The first component of our mission is the material. Fortunately, this is a pretty straightforward matter.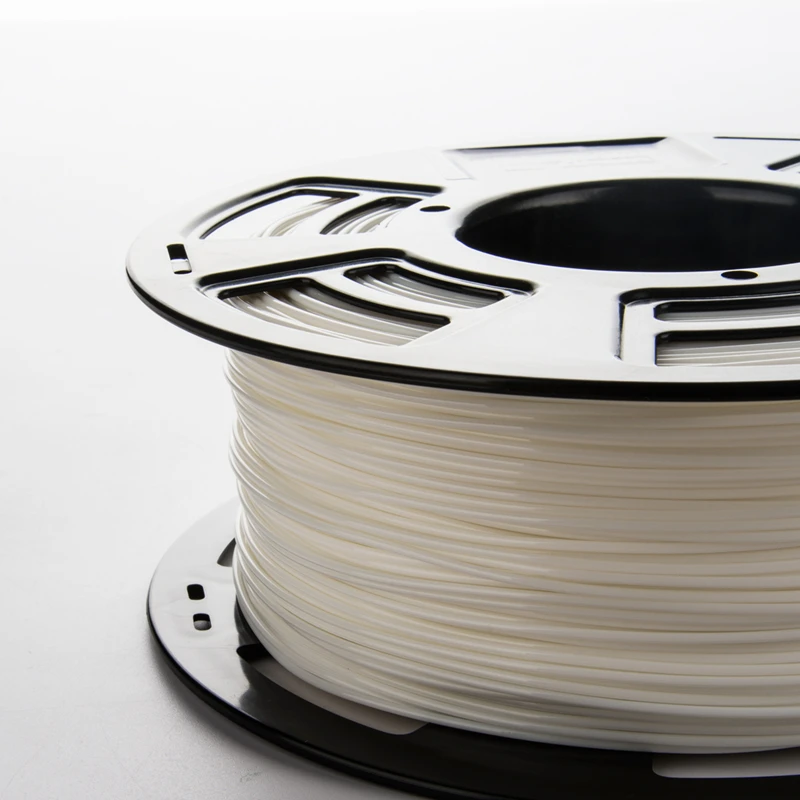 Clear filaments are no longer uncommon. Most of the clear filaments you can buy today are made from PLA, but there are also several options made from PETG or ABS.
The material itself doesn’t matter. Any of the three filament options we’ve listed above can be used to create almost perfectly clear 3D prints. However, keep in mind that not all plastics are naturally clear. ABS, in particular, is a naturally yellowish-white plastic that requires additives to achieve a clear appearance.
What you need to be more discerning about is the quality of clear filaments between different brands. First off, you will want a filament that actually looks clear. Depending on the brand and how the filament was made, some clear filaments may turn out to be slightly translucent or have a minor yellow hue. Also be wary of filament with air bubbles, as these can easily cause heavy light diffraction and make it impossible to achieve a perfectly clear appearance.
Choose which axis you need to be transparent
Before proceeding with printing a model, it would be prudent to decide on which axes you need the object to be transparent. Are you going to look through it from the side (x and y axes) or from the top (z-axis)? Achieving transparency in the z-axis is much simpler and decidedly more complicated in the x-axis and y-axis. Unfortunately, the latter is more often the case. For solid objects, transparency in all three axes might even be the objective.
Print with big layers
When setting printing parameters, we have to keep in mind that we are trying to reduce diffraction and internal reflection. This means giving the rays of light wider paths to transmit through with minimal ‘impurities that can cause the light rays to bounce in unpredictable directions.
The first way to achieve this effect is to print with thick layers. Layer heights set at up to 90% of the nozzle diameter are recommended. The rationale behind this is that thicker and more spherical layers reduce internal reflection by providing the rays of light thicker segments of material where they can pass through unimpeded.
Thin layers aren’t necessarily a problem as long as you can get them to “fuse” with each other and make a more solid block of plastic.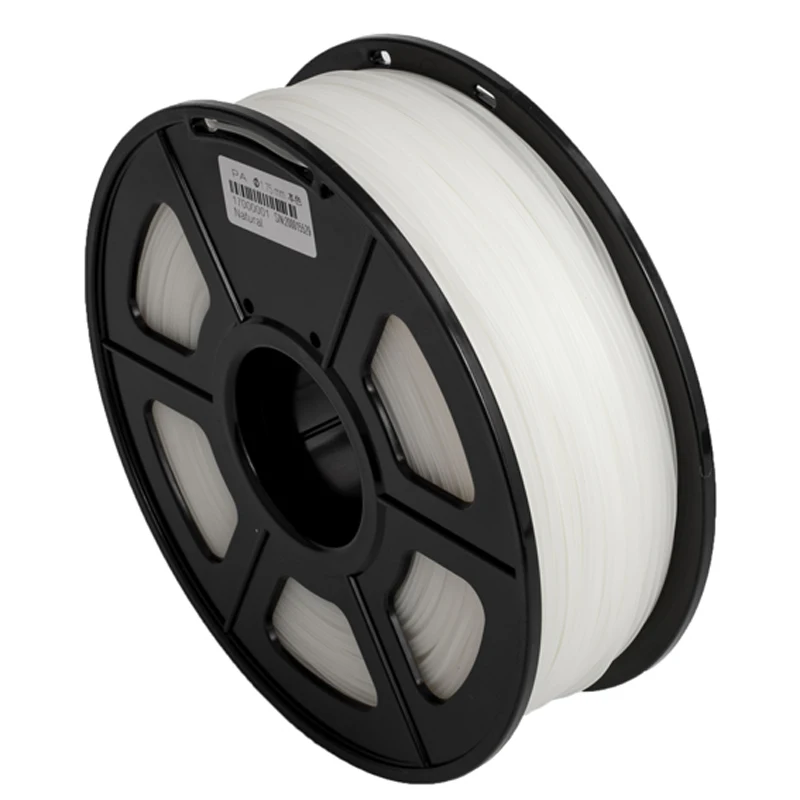 However, layer boundaries that aren’t completely fused can act as impurities in the inner surface of the finished print, thus causing diffraction and refraction. Printing with thick layers also forces the material closer together than normal, making them less likely to form distinct layer boundaries.
Print slow and hot
You will want each layer to fuse almost completely with the previous layer, so it’s recommended to print at the highest temperature possible. This means setting your printing temperature at the highest value of the recommended temperature range of the filament you’re using. In some cases, you might even benefit from going over the recommended range by a few degrees. Again, the idea is to create a single, solid block of material instead of one with clearly demarcated layers.
Another strategy is to print slow – about 30% slower than the normal printing speed for your filament. This helps with accuracy, ensuring that layers are laid down exactly where they need to be to achieve complete fusing. The inclusion of air bubbles is also something you are trying to avoid by printing slow. Of course, accurate movement of the print head relies on proper calibration, so make sure that you do a nozzle calibration and homing of the print head before starting with the printing process.
Print with 100% infill
When viewing an object in the axis where you want it to be transparent, any shift in the material can cause internal reflections or refraction. For solid objects, this means that any infill less than 100% simply will not do. Light will bend repeatedly when transitioning from plastic to air, resulting in a finished print that is absolutely not transparent.
Smooth and polish like there’s no tomorrow
A downside of printing with thick layers is that it results in prints with very rough outside surfaces. An uneven surface will cause the reflection of light in different directions, creating an almost opaque look. Fortunately, this is a problem that can be resolved with proper smoothing and polishing techniques.
If you’re working with ABS, then you’re in luck, as you can simply do the usual acetone vapor method. By subjecting an ABS print to a bath of acetone vapors, a very thin layer of ABS can be selectively dissolved to create a perfectly smooth finish. In most cases, this is enough to achieve a perfectly transparent look with ABS.
Finishing a PLA print will take a lot more time and effort. Smoothing PLA relies on old-fashioned sanding, but you’ll have to do this to such a refined degree to achieve transparency. This means using several types of sandpaper, from low-grit to high-grit. According to some experts, you may have to go as high as 4000-grit to achieve a perfectly clear PLA print. At that grit grade, sandpaper almost feels like cardboard.
PETG is a filament material that is pre-disposed to create prints with clear and smooth surfaces. It also has excellent layer adhesion, so you shouldn’t have problems with internal reflection when printing with PETG. It’s not soluble to acetone nor does it smooth as nicely as PLA, but PETG is the kind of filament that should not need a lot of post-processing if you can dial in the proper printer settings.
Polymaker PolySmooth – a filament designed specifically for transparent prints
Since we’re on the topic of clear or transparent prints, it would be an injustice not to mention one of the best filaments made precisely for this purpose. The Polysmooth filament from Polymaker prints just as easily as PLA, has excellent layer adhesion, and has a wide printing temperature range. It comes in a wide range of colors, many of which are designed to be as clear and transparent as possible.
There are no details on exactly what type of material the Polysmooth filament is made of – it’s probably a trade secret. What we can tell is that it’s one of the easiest filaments to use if you want to create transparent objects.
Polysmooth may have the same ease of use as PLA, but it has one major advantage – Polysmooth is soluble in isopropyl alcohol or ethanol. This presents the possibility of smoothing via a vapor bath. Polymaker has leveraged on this advantage by selling the Polysher, a specially designed polishing chamber that comes with a small reservoir where you can place the alcohol.
Instead of heating the alcohol, it is nebulized in the chamber or sprayed in a very fine mist. This alcohol aerosol dissolves a very thin layer of the Polysmooth material, creating a perfectly smooth finish with minimal effort.
The Polysmooth filament is a lot more expensive compared to standard PLA or ABS. The Polysher polishing chamber will set you back another $300, making this entire setup quite pricey. However, there’s no question about how well the combination works if you want to come up with perfectly clear 3D prints.
Final thoughts
Creating true transparency in 3D printing is something that has been attempted several times over the years. Nowadays, the technology and techniques needed to come up with clear 3D prints have been well-established. This does not mean that it’s going to be easy. If this is your first time attempting it, then you can expect a lot of trial and error before you can get results that you’re happy with.
There are just a few things to remember – print hot, slow, and big, and make sure to get a high-quality transparent filament.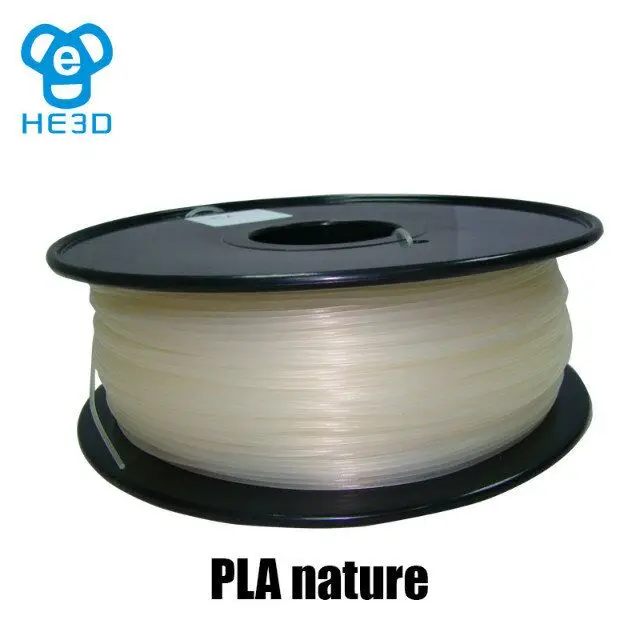 The Polysmooth filament from a Polymaker provides a good low-effort shortcut, but you can also achieve good results with other transparent filaments made with ABS, PLA, PETG, or PC.
Warning; 3D printers should never be left unattended. They can pose a firesafety hazard.
filament from plastic bottles, how to make
filament productionBy making filaments for printing on a 3D printer on their own, the user can save a lot of money spent on consumables. Plastic filament for printing can be made from PET bottles. Consider which bottles are suitable for this, the procedure for manufacturing a filament, as well as the advantages and disadvantages of this method.
Is it possible to make plastic for a 3D printer from PET bottles?
When making plastic filament for 3D printing, it is recommended to use the following types of PET bottles:
- Blue. Such bottles have the hardest plastic, but when melted, it will be the most fluid of all.
- White and green.
 The plastic of these bottles is softer than that of the blue ones. In molten form, the material is thicker.
 - Brown. These bottles have the softest plastic. When molten, it is highly viscous (similar to ABS filament).
How to make DIY thread and print with plastic bottles?
Preparatory work
Bottles must be unraveled into ribbons before production starts.
Soft bottles have a thinner plastic, so it is better to break them into strips of 10 mm.
Containers with medium hard or harder plastic material can be cut into thin strips, about 7 mm thick.
PET bottle 3D printer filament tools
To create a filament from PET bottles, you will need the following tools:
- utility knife or bottle cutter;
Important! When choosing a bottle cutter, you need to pay attention to the accuracy of cutting plastic. The width of different cut strips should not differ by more than 0.
 1 mm.
1 mm. - oven;
- plastic crusher;
- homemade vertical extruder - it has a metal pipe with a drill screw that rotates with a stepper motor, and a nozzle with two heaters from a 3D printer;
- rotary table;
- large basin;
- cold water.
Step-by-step instructions
The production of PET bottle filament for 3D printing is carried out in the following order:
- Cut plastic bottles must be melted in an oven at 180 °C. The melting time depends on the number of bottles.
Help. It takes approximately 40 minutes to melt 10 plastic bottles.
- After melting, the plastic must be completely cool. All excess moisture will evaporate from the material, and it will crystallize. In appearance, the polymer resembles glass.
- The cooled material must be ground in a crusher into a finer fraction.
- The crushed plastic is then fed into the vertical extruder.
 The rotating screw moves the ground polymer to the bottom of the device to the nozzle with heaters. The plastic starts to melt.
 - The molten PET plastic leaves the nozzle and enters a basin of cold water, which is located on a rotating table. The rotation of the table will prevent sticking of the material. The thread must be cooled as quickly as possible so that it becomes flexible and transparent. In this case, it can be used for 3D printing.
- Let the homemade filament dry well before printing. Since in the presence of a large amount of moisture, a thread of molten plastic will exit the extruder in the form of foam. It is recommended to dry the skeins of thread in a closed container with silica gel at a temperature of 50–60 °C. To do this, you can use the oven or simply place the container on the radiator.
When using ready-made filament for 3D printing on a printer, several nuances should be taken into account:
- Print the product on a cold table, the temperature of which does not exceed 35 ° C.
 This limitation of the temperature regime is due to the fact that the plastic must quickly cool down to a temperature below 70 ° C. Otherwise, the material may almost completely lose its strength properties.
 - Extruder temperature should be around 265°C. But it may differ depending on the printing speed and the type of plastic from which the filament is made.
- If the feed mechanism of the 3D printer is made of brass, then it is better to put a thin-walled rubber hose on the roller. It will not allow the PET thread to slide.
The pros and cons of using bottles to create plastic
The main advantage of recycling PET bottles for plastic 3D printing filaments is that you can save on the purchase of industrial filaments and recycle unnecessary packaging, which, when taken to landfills, greatly pollutes the environment .
Disadvantages of using homemade filament:
- you can print products only at a low speed, as the thread breaks when it is increased;
- requires a crusher to grind the material and a separate extruder to transport the plastic;
- It is not possible to print large items because the thread length is limited.

Making your own 3D printing filament is a great way to save on consumables and recycle unwanted PET bottles. Homemade filaments are close in properties to purchased ones. Therefore, they can be used to print small products of excellent quality.
- March 14, 2021
- 8700
Get expert advice
Bar thickness impact on 3D printing.
Good afternoon, 3D today!
Some time ago, in the comments and a couple of articles, there was some noise about the effect of filament thickness on print quality. A lot of interesting things were written in different threads of the discussion, but I did not see unambiguous conclusions. I would like to sort out this issue. True, I myself do not print so that every day, and even on other people's prints. Therefore, I will simply tell you about my observations and thoughts, and if you have something to add, squeak in the comments.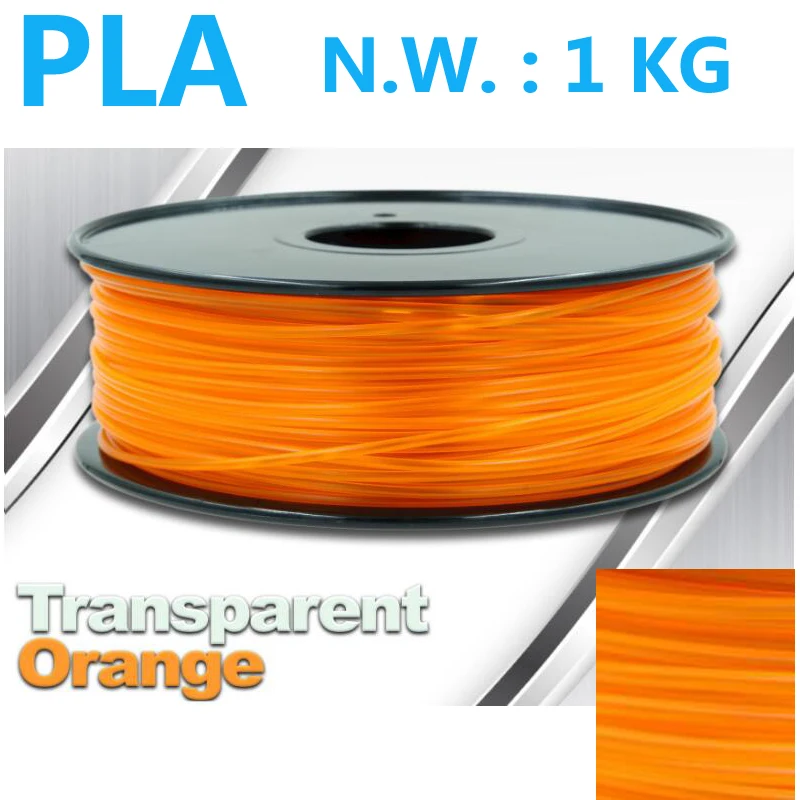 Let's dot the i's together..
I currently use PICASO 3D Designer, MZ3D and Prusa, but let's start from the beginning.
A year and a half ago, we printed our first models on Prusa from Chinese plastics and randomly. The printer broke down, the nozzle got clogged, I had to clean the hot end, change parts. I'm already silent about the fact that the models looked, to put it mildly, not very cool, and it was impossible to be sure in printing. To get stable printing, I had to dance with a tambourine and type very slowly.
Then my buddy brought BQ and REC probes from somewhere. And somehow it got better) I'm not saying that everything immediately became perfect, but the stability of the print increased. I was finally able to get samples of the same quality. Believe me, years ago, with only one Prusa, this was an achievement.
Then we got Picaso 3D Designer, and he simply refused to print with the Chinese from Aliexpress (or rather, he printed with them, of course, but poor adhesion of layers, inseparable support and dying nozzles bored me). The solution was simple: since the printer is domestic, then we will try to take domestic consumables too.
In fact, we've been printing ABS plastic from REC ever since.
And recently I see comments about the quality of this plastic. What immediately seemed strange to me was that the bar was measured with a caliper. No matter how accurate it is, this tool is simply not adapted for such a task, since not all plastic manufacturers have a thread in the cross section - an ideal circle, except for the Chinese;) And, it’s worth a little more pressure on the compass, and tenths millimeters jump noticeably. For such measurements, even a micrometer is not very suitable. Many manufacturers also have a soft thread, the pushing wheels leave traces on them.
It is clear that the point is not the accuracy of measurements, but the fact that the guys from REC have floating thread thickness. I would even say that their shape is not very even (yes, I also decided to indulge in measuring instruments). But the main question is how critical it is. After all, I printed for a year and got good results on two printers.
But my personal experience is a subjective thing, so let's try to delve into the technical aspects and figure out how it works.
Printers have only one assembly, which may care how thick the plastic is. This is hot end. It is arranged approximately as follows:
Above it are push and clamp wheels.
As we all know, when printing, a thread of plastic enters the hot end, is clamped by one wheel (or two, like picaso) and is pushed by the other wheel through the radiator into the thermal barrier passing through the heating element. There, the plastic heats up and melts (that is, a semi-liquid buffer zone appears), and then exits through the nozzle.
It is the fact that plastic accumulates in the hot end that makes all the fuss about “walking thread thickness” incomprehensible to me, especially since the plastic also expands when heated (according to specialists from REC - by 0.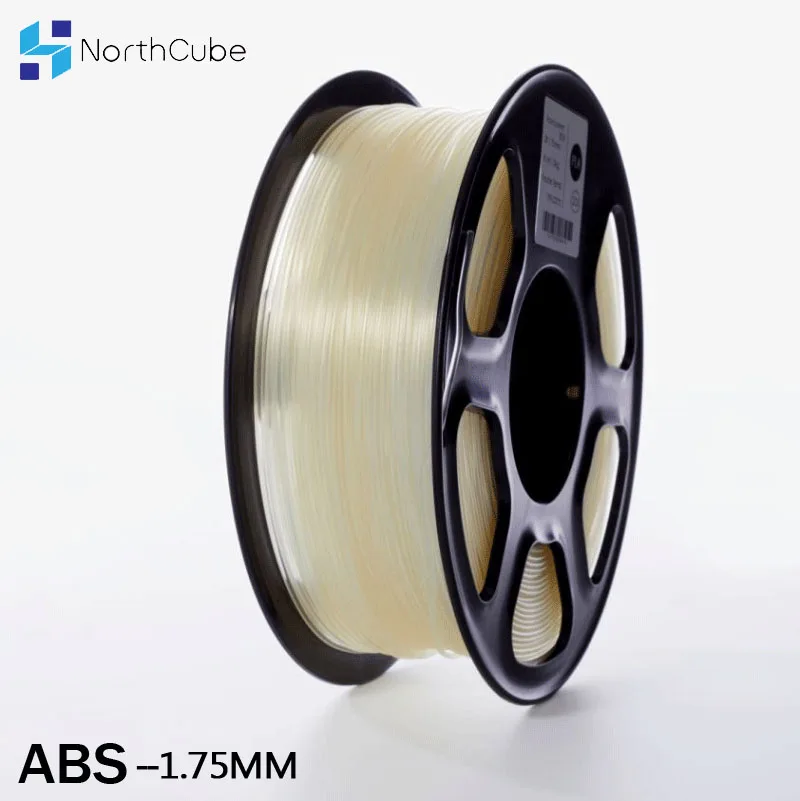 4%)
4%)
The most important thing is that there is no over-extrusion! This will either cause bumps in the model, or just ruin the hot end and have to be disassembled and cleaned. A thinner thread is not a problem at all, unless you need to calibrate the feed. An uneven filament is a little more risky, but it is important that it does not exceed the declared filament format in thickness and again does not cause overextrusion. After all, a much thinner thread is always squeezed out of the extruder than the rod itself!
That is, if you have problems with some kind of consumable, then most likely it is not the thickness of the bar, but the calibration of the printer for the characteristics of the thread or its chemical composition (personally, I always perceived the word "quality" in relation to plastic in primarily in the context of its chemical properties and how they affect the entire process). On different printers, the push wheels are different, some can dig into the bar, while others, on the contrary, may simply not push it. Calibrate the pressure wheel for the plastic you are using. Do not forget to clean the gears from dust, sometimes they get clogged and slip along the thread. Such a small thing can cause serious problems at high print speeds.
If underextrusion still occurs, it is most likely a slipping wheel or a clogged extruder. Don't forget to lubricate the hotend channel from the inside (you just need to dip the end of the thread in oil and stick it into the hotend). Not all hot ends are polished on the inside, and this can interfere with the normal extrusion of plastic. This is especially true for PLA.
Also be aware that ABS and PLA plastics are very fond of absorbing moisture.
Do not feed straight with bread :) So micro-holes in models (which everyone writes about) can also occur due to steam coming out of the nozzle.
Speaking of microholes from the comments. To be honest, I never thought about printing hermetic products, and even at maximum speed. But if such a task arose, then I would smear the finished model with acetone with ABS plastic dissolved in it.