3D printer thermal fuse
Is it a good idea to include thermal fuses in a DIY 3D printer design?
Whether you should use a thermal fuse or not depends on what other safety measures you've taken. You can't look at the safety features of a printer in isolation, you need to look at what other measures are in place.
The main fire hazard in printers is unfortunately (still) the fact that some manufacturers use underrated connectors on their boards, and that some users put bare wires in screw terminals or use inadequate torque when tightening terminals. As the wire works itself loose, it starts arcing and burning the connector. A thermal fuse does not help in this situation (unless you place thermal fuses near all of the connectors, which is impractical). Instead:
Properly tighten screw terminals, check them, and consider using proper wire termination (crimp lugs).
Use strain relief on wires. Make sure wires don't rub against anything, and guide them so they do not bend in a tight radius.
Since the extruder (or print bed) is constantly moving, those wires are subject to fatigue.
Make sure connectors (especially those for the heated bed) are rated for the current running through them, and solder wires directly to the board if necessary.
Using a regular fuse may protect against wires shorting against each other should their insulation be damaged. Fuses are usually already integrated into the main board.
Most firmwares include some variant of thermal runaway protection, a feature that monitors the heaters and shuts the printer down if it notices something gone wrong. This protects against:
- The thermistor coming loose/reading incorrect values/etc...
but not against:
Most printers use MOSFETs to switch power to the heating element. Unfortunately, when MOSFETs fail, they usually fail closed (i.e. conducting). This means that, even if the firmware detects something has gone wrong, it won't be able to do anything about it. Solid State Relays (TRIACs) can fail in the same way.
To protect against this, mounting a thermal fuse (or resettable bimetallic switch*) on the heated bed may be a good idea. However, thermal fuses with ratings up to the operating temperature of a hotend do not appear to be available so this is not an option.
Attaching the fuse physically to the part it is monitoring is the most reliable, but for instance with the hotend (if you wanted to protect it all) this might not be feasible to the high temperatures involved so you'd have to settle with monitoring the air temperature close by.
Also consider thermal balancing. A thermal fuse is unnecessary if the component can not overheat to begin with. For instance, most MK2 heated beds struggle getting up to even 100C, so even with a shorted MOSFET they present no danger. However, if you have a powerful high wattage (mains-powered) heated bed, you should definitely install thermal protection.
E3D supplies their hot ends with 25W, 30W and 40W heaters. The 25W heater is the safer choice, since it limits the maximum temperature the hot end can get to, while with the 40W heater you can reach higher temperatures (and reach them faster). Barring a very unlikely scenario in which simultaneously (1) the power supply fails and starts supplying excessive voltage and (2) the MOSFET and/or firmware fails, a heater that is sized appropriately to the load it is driving can never pose any danger.
I don't think it's common to install thermal fuses on steppers, stepper drives or the power supply (which should have its own protection). For every possible location to place a thermal fuse, you can probably think up a failure mode in which that fuse would save the day, but at a certain point it just becomes overkill. The stepper drivers would likely burn out well before the steppers would get hot enough to pose a threat, and overheating of the stepper driver would probably (violently) destroy it but afterwards it should not pose any threat.
Axial v. s. radial does not matter, just use whatever is convenient for your situation.
* Note that some bimetallic switches short one of the leads to the (metal) case when tripped, which poses a danger, especially with mains-powered heaters.
Fire safety - Duet3D
This page will talk about how to make your printer as safe as possible, but it must be emphasised that the safety of your printer is your responsibility. 3d printers do catch fire and people have had rooms destroyed. Worse, fire safety is an issue of how your printer handles faults. A printer can sit there in an unsafe condition for months or years, working fine, only to catch fire when (say) a thermistor falls out of the heater block.
We do not recommend running a 3d printer unsupervised!
The safest approach is to have relatively weak heaters and poorly-insulated hot ends and build plates, so that even if the heater is running flat out the hot parts never reach a dangerous temperature. E3D, for example, provides relatively low-power heater cartridges for its hot ends for just this reason. Heated beds differ dramatically in their available heater power and in how much heat is carried away by the environment. There is also a temptation to use a very high-powered heated bed so that it heats up quickly.
The easiest way to check for passive safety is to run the Duet's PID tuning process. If your heated bed or hot end is capable of reaching a dangerously high temperature it will emit a warning. You can also see for yourself: if you have to restrict the PWM fraction substantially to prevent it exceeding a safe temperature, that's a sign that the heater is capable of becoming dangerously hot.
The Duet firmware attempts to detect dangerous heating conditions and shut off the relevant heater. This detection is a somewhat complicated process, and it depends on various configuration settings. This means that on the one hand too-aggressive safety settings can shut down your printer mid-print, but on the other too-lax safety settings can make your printer a fire hazard. This is not a complete description of the protections, but here are some conditions that the Duet firmware detects as a fault:
- Thermistor reads as a dead short or completely open
- Heater is at commanded temperature then moves away from that temperature by more than 10 degrees for an extended time
- Heater is commanded to heat up to temperature but the heating is much slower than the PID model expects for an extended time
If a fault occurs on a heater, that heater will be shut down until the fault is cleared, either by restarting the Duet or with the M562 Pn G-code. Do check the physical state of the printer before doing this.
The Duet firmware normally controls the power to its heaters with MOSFETs. These power components are quite reliable but can fail, and one of the ways they can fail is as a short. If this occurs, the Duet firmware may command the heater to shut down, but the failed MOSFET means that the heater is instead supplied at 100%. There may be other failure modes (for example a short of 12/24V to ground) that simply shutting down the affected heater will not solve. If your power supply supports the PS_ON pin, then the firmware can use it to shut down the whole 12/24V circuit, leaving only the low-power 5V circuit. If you have an ATX power supply, then this is simply a matter of connecting the appropriate pin.
A similar problem can arise with heated beds that are controlled through a solid-state relay (SSR). The manufacturers of these parts https://www.omron.com/ecb/products/pdf/p... that they can fail as a short, that is, supplying full power to the attached device regardless of the input signal, and they advise against building devices whose only off switch is an SSR in case this occurs. For a heated bed powered this way, it may be a good idea to add either an appropriate thermal cutoff to the bed (see below) or an electromechanical relay attached to PS_ON (so that the MCU can shut down the heater). Electromechanical relays can reliably fail open, and if they are used for switching power to the printer rather than temperature control they can last a very long time.
One of the safest options is to attach a thermal cutoff device (fuse or reusable) to each heated object. This will shut off power to the heater regardless of what the firmware thinks is going on. The main way these can fail to work is if they physically fall off the thing whose temperature they're supposed to be monitoring - note that there will be no indication that this has occurred until an over-temperature event occurs and the cutoff device fails to operate.
Optical smoke detectors are cheap and easily available. It may be desirable to arrange for one to shut down the power to the printer if smoke is detected, but be warned that by the time there is enough smoke to trigger a smoke detector the fire may be self-sustaining without any electrical power. Test this for yourself by burning a small piece of filament under safe conditions.
photo credit Pascal Volk
"Watchman" of a 3D printer and a thermistor tester / Sudo Null IT News Most of them have protection against uncontrolled overheating of the table, and if the temperature exceeds the set value, the heater is turned off.
 Never disable this feature.
 But MOSFETs and solid state relays that control the heater sometimes “fly out”, after which the table warms up to the maximum achievable temperature, and it becomes impossible to turn it off programmatically. Mains-powered heaters are especially dangerous.
The proposed device measures the temperature of the table with a thermistor, after completion it can additionally monitor the heating of other points, for example, nozzles and stepper motor drivers. If it overheats, it turns off the mains power to the printer.
With all the variety of sensors for measuring temperature, the author's choice fell on a 100 kΩ thermistor type 3950 with a negative temperature coefficient. It is also used in the 3D printers themselves, so such thermistors can be tested with the device.
You will need:
- Arduino Uno or Nano (I used Nano with expansion module)
- LCD 2 lines x 16 characters with serial interface and bus adapter I 2 C
- Encoder KY040
- Relay module for Arduino with optocoupler and five-volt control (the translator would add a contactor with bridge contacts after it)
- 5 volt sounder with built-in generator
- Type 3950 100 kΩ NTC thermistor.
 Additional thermistors of the same type if you are going to make a device with multipoint measurement
 - Inlet 3-pin connector for standard computer power cord
- Socket with earth contact for connecting your 3D printer
- 12-volt power supply, for example, from a router.
- Conductors, hardware, soldering iron, 3D printer for printing the device case, etc.
The author printed PLA body parts with 25% infill. STL files are included.
Body
Front panel
Cover
Handle
Follow the diagram and comments in the sketch for assembly. You can use DuPont jumpers or solder wires to pins on the board. Use wires long enough to fit everything into the case and nothing is pulled when you remove the front panel. The Vref line is connected to a 3.3V source to improve accuracy.
Schematic link
The input connector and socket can be placed on the case, or you can make the design fixed by including it in the break of the printer power cord. Be careful when working with mains voltage .
The use of normally open contacts ensures that voltage is supplied to the printer only if two conditions are met simultaneously: the watchdog is powered, and there is no overheating. Once overheating is detected, the printer remains offline even if mains power is lost and restored until the device is manually reset.
Before uploading the sketch, add the LiquidCrystal_I2C and EEPROM libraries to the Arduino IDE.
Sketch
After turning on the LCD will show the current temperature and the maximum temperature for the entire observation period.
The LCD will then show the target temperature.
Press the encoder knob to reset the maximum temperature.
Set the target temperature by turning the knob, then press to save the change.
If overheating is detected, the watchdog will turn off the printer and beep for one minute. The device will not resume power until manually reset.
Press the encoder knob to reset and restore power to the printer.
The maximum and target temperatures, as well as the state of overheating, are stored in non-volatile memory to prevent the printer from turning on spontaneously when power is lost and restored.
(There is a solution) Is it a good idea to include thermal fuses in a DIY 3D printer design?
Whether or not you should use a thermal fuse depends on what other safety measures you have taken. You cannot look at the security features of a printer in isolation, you need to look at what other measures are in place.
The main fire hazard in printers, unfortunately (still), is that some manufacturers use underrated connectors on their boards, and some users insert bare wires into screw terminals or use insufficient torque when tightening the terminals. When the wire loosens, it begins to arc and set the connector on fire. A thermal fuse does not help in this situation (unless you place thermal fuses near all connectors, which is impractical). Instead:
-
Properly tighten the screw terminals, check them and consider using the correct wire termination (crimp lugs).
-
Use wire strain relief. Make sure the wires don't rub against anything, and route them so they don't bend in a tight radius. Because the extruder (or print bed) is constantly moving, these wires are subject to fatigue.
-
Make sure that the connectors (especially those for a heated table) are rated for the current flowing through them, and if necessary, solder the wires directly to the board.
The use of a conventional fuse can prevent wires from shorting against each other if their insulation is damaged. The fuses are usually already built into the main board.
Most firmwares include some thermal protection, a feature that monitors the heaters and turns off the printer if it detects that something has gone wrong. This protects against:
- Thermistor weakens/reads incorrect values/etc.
 ..
..
but don't mind:
Most printers use MOSFETs to switch power to the heating element. Unfortunately, when MOSFETs fail, they usually fail closed (i.e. conductive). This means that even if the firmware detects that something has gone wrong, it will not be able to do anything about it. Solid state relays (triacs) can fail in the same way.
To protect against this, it may be a good idea to install a thermal fuse (or resettable bimetal switch*) on the heated table. However, thermal fuses rated up to hotend operating temperature do not appear to be available, so this is not an option.
Physically attaching the fuse to the controlled part is the most secure, but for example with a hotend (if you want to protect it all), this may not be possible at high temperatures, so you will have to be content with controlling the temperature of the air nearby.
Also consider the possibility of thermal balancing . A thermal fuse is not needed unless the component can overheat from the start.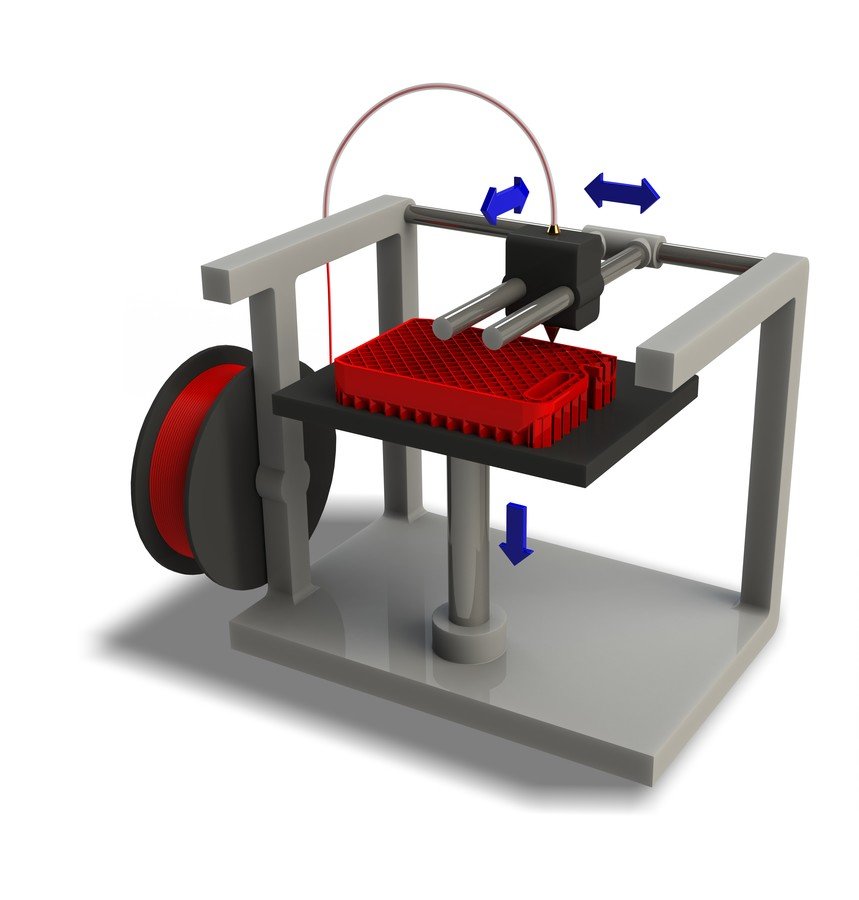 For example, most MK2 heated tables have difficulty rising even to 100°C, so even if the MOSFET is shorted, they are not dangerous. However, if you have a powerful table with high power heating (from the mains), you are it is imperative to install a thermal protection.
E3D supplies its hot ends with 25W, 30W and 40W heaters. A 25W heater is a safer choice as it limits the maximum temperature the hot end can reach, while with a 40W heater you can reach higher temperatures (and get there faster). Except in the very unlikely scenario in which both (1) the power supply fails and overvoltage begins to flow, and (2) the MOSFET and/or firmware fail, a heater that is sized to match the load it is acting on, can never pose any danger.
I don't think it's common to install thermal fuses on stepper motors, stepper drives, or the power supply (which should have its own protection). For every possible location for a thermal fuse, you can probably think of a failure mode where that fuse would save the day, but at some point it just becomes redundant.