3D printer driver
Getting started guide - Microsoft Standard Driver for 3D Printers - Windows drivers
- Article
- 6 minutes to read
The Microsoft Standard Driver for 3D Printers allows developers to easily make their printer compatible with Windows 10. Any printer that uses Microsoft OS descriptors can be recognized as a compatible 3D printer. Using a concrete example, this article will show how to create a firmware that allows a device to be recognized as a 3D printer by Windows 10 and communicate its print capabilities.
Introduction
The Microsoft Standard Driver relieves the burden of writing their own driver from independent hardware vendors (IHVs) who want their 3D printers to be compatible with Windows 10. Versions of Windows that are aware of Microsoft OS descriptors use control requests to retrieve the information and use it to install and configure the device without requiring any user interaction.
The general process to get a 3D printer working on Windows 10 includes the following steps:
Compatible ID. The independent hardware vendor (IHV) has to include the "3D Print" compatible ID in the firmware of the printer. This allows the device to be recognized as a 3D printer.
Standard Driver. Once the device is plugged in, Windows Update will download the 3D print standard driver and detect the current device as a 3D printer that uses a default configuration.
Extended properties descriptor. Several base configurations for 3D printers are made available as part of the standard driver. A developer can therefore choose a base configuration that matches their 3D printer. On top of choosing a base configuration, a developer can override some of the properties to better match their 3D printer and include them in the new firmware.
Plug and play. Once the firmware is burned in the flash memory of the 3D printer, whenever a user plugs it into a Windows 10 machine, the standard driver will automatically be downloaded and will use the custom print capabilities that the developer has chosen.
In the following sections, we will illustrate each of these steps using a concrete example.
For more information, see Microsoft OS Descriptors.
Compatible ID
To specify to the Windows operating system that we are currently using a 3D printer, we have to use the right compatible ID. The list of Microsoft Compatible ID are available at Microsoft OS Descriptors.
The compatible ID for a 3D printer is shown in the following table:
| Compatible ID | Sub-compatible ID | Description |
|---|---|---|
| "3DPRINT" (0x33 0x44 0x50 0x52 0x49 0x4E 0x54 0x00) | Varies | MS3DPRINT G-Code Printer |
In the header file that is included in the 3D printer firmware, the IHV must specify the Compatible ID as shown here:
#define MS3DPRINT_CONFIG_SIZE 232 #define MS3DPRINT_OSP_SIZE (4+4+2+0x20+4+MS3DPRINT_CONFIG_SIZE) #define MS3DPRINT_XPROP_SIZE (4+2+2+2+MS3DPRINT_OSP_SIZE) #define SIZE_TO_DW(__size) \ ((uint32_t)__size) & 0xFF, \ (((uint32_t)__size)>>8) & 0xFF, \ (((uint32_t)__size)>>16) & 0xFF, \ (((uint32_t)__size)>>24) & 0xFF // CompatibleID and SubCompatibleID static const uint8_t PROGMEM ms3dprint_descriptor[40] = { 0x28, 0x00, 0x00, 0x00, // dwLength 0x00, 0x01, // bcdVersion 0x04, 0x00, // wIndex 0x01, // bCount 0x00, 0x00, 0x00, 0x00, 0x00, 0x00, 0x00, // RESERVED 0x00, // bFirstInterfaceNumber 0x01, // RESERVED '3', 'D', 'P', 'R', 'I', 'N', 'T', 0x00, // compatibleID ("3DPRINT") // subCompatibleID 0x00, 0x00, 0x00, 0x00, 0x00, 0x00, 0x00, 0x00 /* */ , 0x00, 0x00, 0x00, 0x00, 0x00, 0x00 // RESERVED }; This line in the code above is the compatible ID of a 3D Printer:
'3', 'D', 'P', 'R', 'I', 'N', 'T', 0x00, // compatibleID ("3DPRINT")
With this specific configuration, IHVs can compile their firmware and flash the device. Then when the device is plugged in, the 3D Print Standard Driver will automatically get downloaded from Windows Update.
At this stage the printer is using the standard driver default configuration, the parameters used by the default configuration are accessible in the folder %SYSTEMROOT%\System32\MS3DPrint in the file StandardGCode.xml. Additionally, a developer can chose to use a different base configuration, a list of base configurations are available in the same folder %SYSTEMROOT%\System32\MS3DPrint. This list is regularly populated with new configuration as new 3D printers emerge on the market.
Extended Properties OS Feature Descriptor
As stated in the above section, IHVs have access to several base configurations. This has the advantage of minimizing the amount of information that has to be stored in the printer's flash memory. Developers can inspect the base configurations made available and choose the one that is the closest to their printers. In this example we are going to choose the SD card base configuration and override some of the properties with the parameters below:
| Parameters | Value |
|---|---|
| Job3DOutputAreaWidth | 250000 |
| Job3DOutputAreaDepth | 260000 |
| Job3DOutputAreaHeight | 270000 |
| Filamentdiameter | 2850 |
For more information about these parameters, please refer to the MS3DPrint Standard G-Code Driver. docx document in the 3D Printing SDK (MSI download) documentation.
To specify which base configuration to use and which parameters to override, the developer has to specify it through the Extended Properties OS Feature Descriptor as shown here:
// Modifiers to the base configuration static const uint8_t PROGMEM ms3dprint_properties_descriptor[] = { SIZE_TO_DW(MS3DPRINT_XPROP_SIZE), // dwLength 0x00, 0x01, // bcdVersion 0x05, 0x00, // wIndex 0x01, 0x00, // wCount SIZE_TO_DW(MS3DPRINT_OSP_SIZE), // dwSize 0x07, 0x00, 0x00, 0x00, // dwPropertyDataType (1=REG_SZ, 4=REG_DWORD, 7=REG_MULTI_SZ) 0x20, 0x00, // wPropertyNameLength 'M', 0x0, 'S', 0x0, '3', 0x0, 'D', 0x0, // bPropertyName 'P', 0x0, 'r', 0x0, 'i', 0x0, 'n', 0x0, 't', 0x0, 'C', 0x0, 'o', 0x0, 'n', 0x0, 'f', 0x0, 'i', 0x0, 'g', 0x0, 0x0, 0x0, SIZE_TO_DW(MS3DPRINT_CONFIG_SIZE), // dwPropertyDataLength // Data 0x42, 0x00, 0x61, 0x00, 0x73, 0x00, 0x65, 0x00, 0x3D, 0x00, 0x53, 0x00, 0x44, 0x00, 0x00, 0x00, /* Base=SD */ 0x4A, 0x00, 0x6F, 0x00, 0x62, 0x00, 0x33, 0x00, 0x44, 0x00, 0x4F, 0x00, 0x75, 0x00, 0x74, 0x00, /* Job3DOut */ 0x70, 0x00, 0x75, 0x00, 0x74, 0x00, 0x41, 0x00, 0x72, 0x00, 0x65, 0x00, 0x61, 0x00, 0x57, 0x00, /* putAreaW */ 0x69, 0x00, 0x64, 0x00, 0x74, 0x00, 0x68, 0x00, 0x3D, 0x00, 0x32, 0x00, 0x35, 0x00, 0x30, 0x00, /* idth=250 */ 0x30, 0x00, 0x30, 0x00, 0x30, 0x00, 0x00, 0x00, 0x4A, 0x00, 0x6F, 0x00, 0x62, 0x00, 0x33, 0x00, /* 000 Job3 */ 0x44, 0x00, 0x4F, 0x00, 0x75, 0x00, 0x74, 0x00, 0x70, 0x00, 0x75, 0x00, 0x74, 0x00, 0x41, 0x00, /* DOutputA */ 0x72, 0x00, 0x65, 0x00, 0x61, 0x00, 0x44, 0x00, 0x65, 0x00, 0x70, 0x00, 0x74, 0x00, 0x68, 0x00, /* reaDepth */ 0x3D, 0x00, 0x32, 0x00, 0x36, 0x00, 0x30, 0x00, 0x30, 0x00, 0x30, 0x00, 0x30, 0x00, 0x00, 0x00, /* =260000 */ 0x4A, 0x00, 0x6F, 0x00, 0x62, 0x00, 0x33, 0x00, 0x44, 0x00, 0x4F, 0x00, 0x75, 0x00, 0x74, 0x00, /* Job3DOut */ 0x70, 0x00, 0x75, 0x00, 0x74, 0x00, 0x41, 0x00, 0x72, 0x00, 0x65, 0x00, 0x61, 0x00, 0x48, 0x00, /* putAreaH */ 0x65, 0x00, 0x69, 0x00, 0x67, 0x00, 0x68, 0x00, 0x74, 0x00, 0x3D, 0x00, 0x32, 0x00, 0x37, 0x00, /* eight=27 */ 0x30, 0x00, 0x30, 0x00, 0x30, 0x00, 0x30, 0x00, 0x00, 0x00, 0x66, 0x00, 0x69, 0x00, 0x6C, 0x00, /* 0000 fil */ 0x61, 0x00, 0x6D, 0x00, 0x65, 0x00, 0x6E, 0x00, 0x74, 0x00, 0x64, 0x00, 0x69, 0x00, 0x61, 0x00, /* amentdia */ 0x6D, 0x00, 0x65, 0x00, 0x74, 0x00, 0x65, 0x00, 0x72, 0x00, 0x3D, 0x00, 0x32, 0x00, 0x38, 0x00, /* meter=28 */ 0x35, 0x00, 0x30, 0x00, 0x00, 0x00, 0x00, 0x00 /* 50 */ }; Information regarding the extended properties OS feature descriptor are in the OS_Desc_Ext_Prop.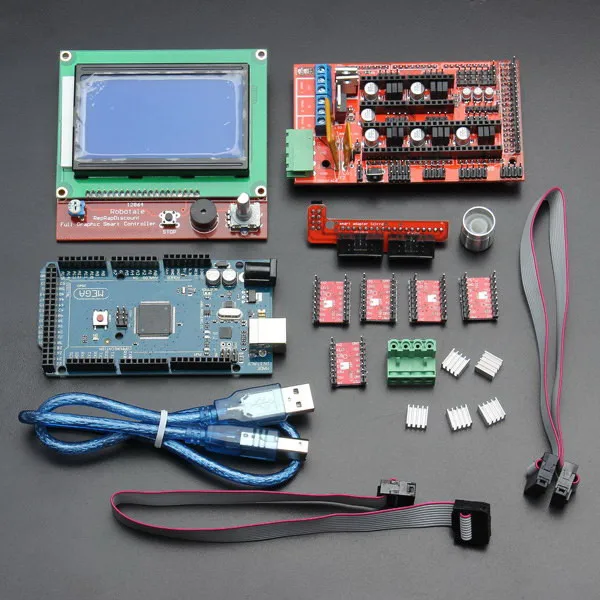 doc file. See Microsoft OS Descriptors for more information.
Verifying the print capabilities
Once the device has the firmware burned in flash memory , the device will automatically be detected by Windows 10 and the print capabilities will be stored in registry.
It is very important that the IHV changes the VID/PID of the device to their own. You should never use the Vendor ID (VID) or Product ID (PID) of another existing device as the operating system will not be able to detect the device properly as the VID and PID take priority over the OS descriptor.
If the device has been properly installed, the device should be listed in Devices and Printers.
In the Device Manager, the matching device id and the compatible id can be verified.
The USB driver properties can be obtained by visiting the registry at HKEY_LOCAL_MACHINE\SYSTEM\CurrentControlSet\Enum\USB.
The 3D Print driver properties can be obtained by visiting the registry at HKEY_LOCAL_MACHINE\SYSTEM\CurrentControlSet\Control\Print\Printers.
Additional resources
For more information, see the following documents and resources:
3D Printing in Windows
3D Printing SDK (MSI download)
Microsoft OS Descriptors
USB 2.0 Specification
You can also contact the Microsoft 3D Printing team at [email protected].
Driver installation - Windows drivers
Feedback Edit
Twitter LinkedIn Facebook Email
- Article
- 2 minutes to read
Note
The print driver provided in the 3D printing SDK is an experimental 3D printer device driver still under development.
Driver installation instructions
To install the printer, use the following installation instructions:
If the 3D printer implements a Microsoft OS descriptor 3DPRINT ("MS_COMP_3DPRINT") or is one of the supported Vendor ID (VID)/Product ID (PID) combinations in the MS3DPrintUSB.inf file, follow the steps in Automatic installation of the driver via PnP section below.
If the 3D printer is experimental or in development, follow the steps in Install the driver manually section below to print to an existing COM port or print G-Code to file.
For information on MS_COMP_3DPRINT, see Getting started guide - Microsoft Standard Driver for 3D Printers.
For more information on OS descriptors, see Microsoft OS Descriptors for USB Devices.
Automatic installation of the driver via PnP
If the device does not have a MSO descriptor or a supported hardware ID (VID/PID), add the new VID/PID combination to the MS3DPrintUSB_{architecture}\MS3DPrintUSB.
 inf file and restart Windows with advanced settings and driver signing disabled. This option should only be used temporarily and for development purposes.
Execute these two commands from an elevated command prompt:
pnputil -a {PathToSDK}\Bin\MS3DPrintUSB_{architecture}\MS3DPrintUSB.inf pnputil -a {PathToSDK}\Bin\RenderFilters_{architecture}\MS3DPrinter.infPlug in the USB serial device. A new Generic 3D Printer device should be installed under Devices and Printers.
Install the driver manually
Search for printmanagement.msc in Cortana.
Expand Print Servers, expand the name of your machine, right-click on Drivers, then select Add Driver….
Click Next, select (x64), click Next, then click Have Disk.

Navigate to the RenderFiltersV4_x64 folder, select MS3DPrinter.inf, then click OK.
Click OK, click Next, then click Finish.
From Windows Start, type Devices and Printers.
Click Add a printer.
Select The printer that I want isn't listed.
Select Add a local printer or network printer with manual settings, then click Next.
Choose Create a new port and select 3D Port for the type of port, then click Next.
Enter a port name and click OK.
Click Have Disk….
Browse to the generic 3D Print Driver binary package from the SDK and click OK.
Click Next.
You can change the 3D printer name here if you want (it will show up in the printer UI), then click Next, then click OK to allow the command to be run as an Administrator.
After the installation completes, click Finish.
Feedback
Submit and view feedback for
This product This page
View all page feedback
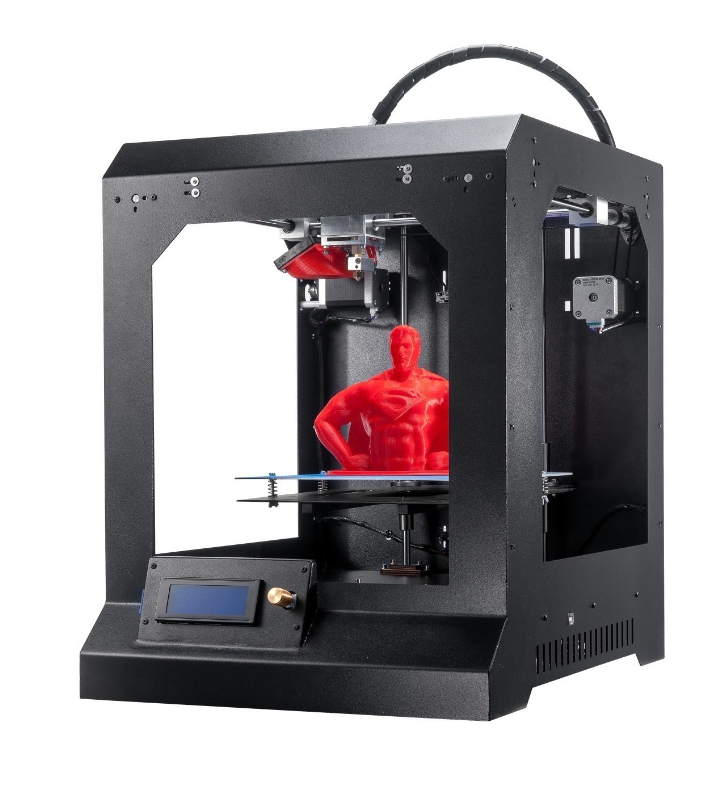
Driver for 3D printer
For the correct operation of any 3D printer, you need a special device that will be responsible for controlling the stepper motor. Incorrect installation or malfunction will result in printing problems or damage to the printer itself.
What is a 3D printer driver?
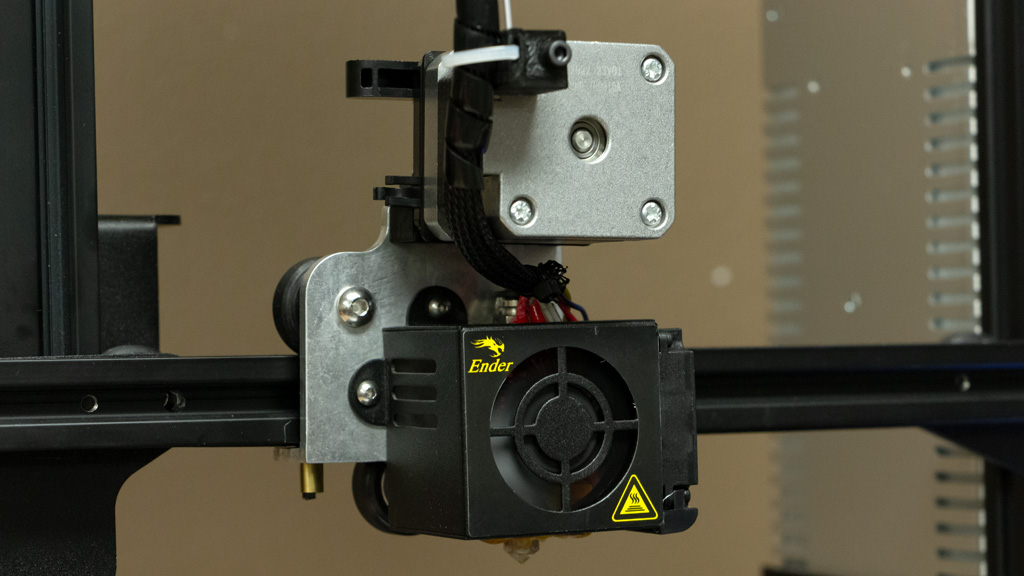
The 3D printer driver is a device whose main function is to control the kinetic movement of the printer's stepper motors. The driver sends commands to the microcontroller that describe the movement of the shaft - the number of steps and direction, at the output receiving a sequence of signals specified in a certain way for the motor winding. The driver in this process is responsible for converting one signal to another.
Manufacturers offer many models of 3D printing drivers that vary greatly in quality. Top models are able to maintain high output currents while maintaining an acceptable operating temperature, and are able to control the motor so that it does not make excessive noise, does not overheat, and the print head moves smoothly, without jerks and accelerations.
Drivers are used everywhere where stepper motors are used: in all CNC machines, actuators, 3D printers, laser engravers, etc.
Modern 3D printers use kinematics and a control method, which consists in the sequential transmission of the coordinates specified for the movement of the hotend.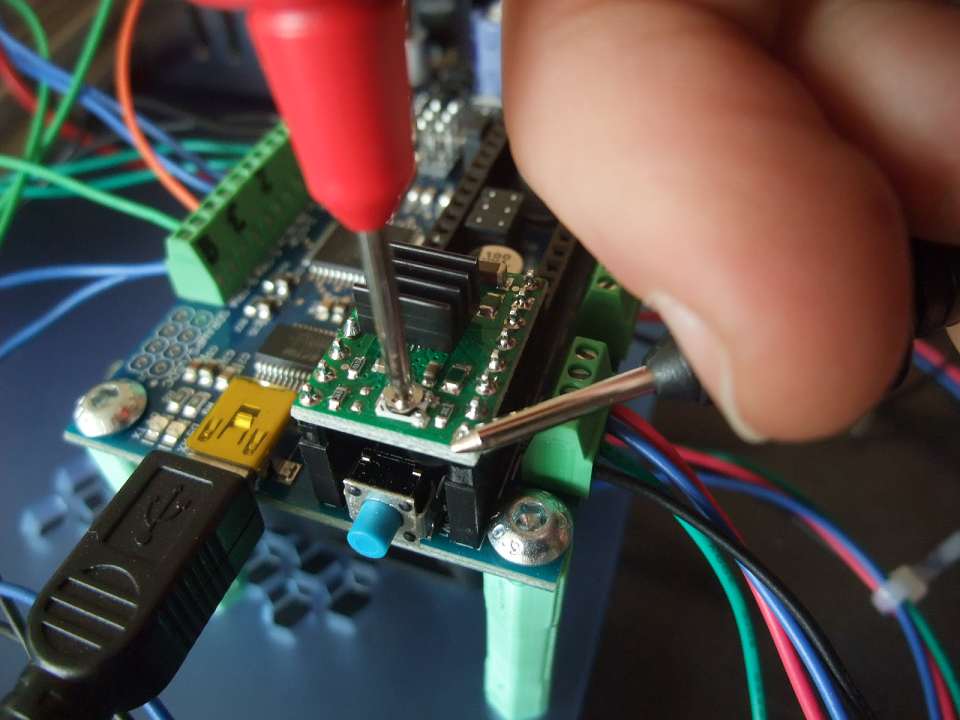 Methods is the generally accepted standard for controlling all devices equipped with a CNC unit. Data transfer is carried out in a specially developed programming language called G-code.
Control boards and drivers are responsible for the physical movement according to the given code.
Boards, in turn, are divided into two types based on their capacity:
- 8-bit.
- 32-bit.
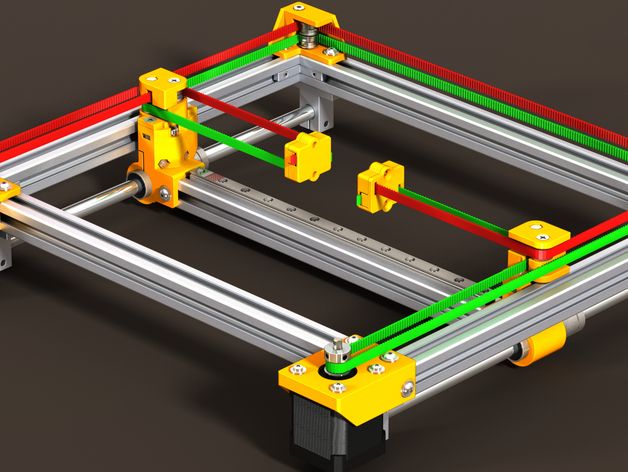
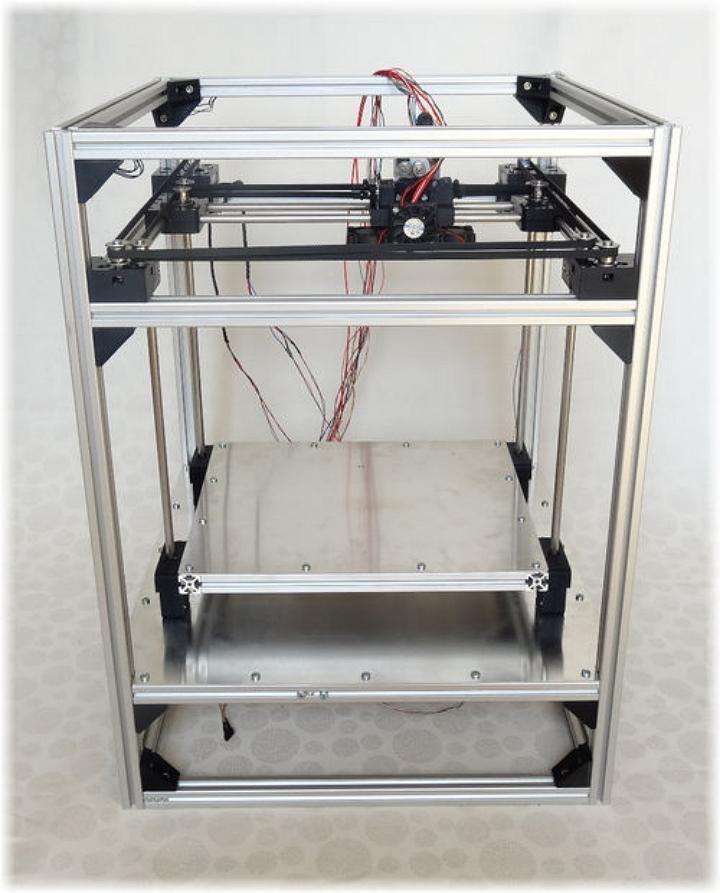
The first 3D printers were designed using the self-replicating mechanism used to quickly reproduce REPRAP prototypes and were based on one of the most common boards used in robotics, the Arduino. To develop the firmware of devices in these cases, a special environment was used - the Arduino IDE. In the future, in order to expand its capabilities, the RAMPS expansion board was additionally developed, which allows you to effectively control the rotation of stepper motors and take into account the zero position using limit switches.
Additionally, drivers were developed to control stepper motors that could be combined with these boards (Pololu drivers).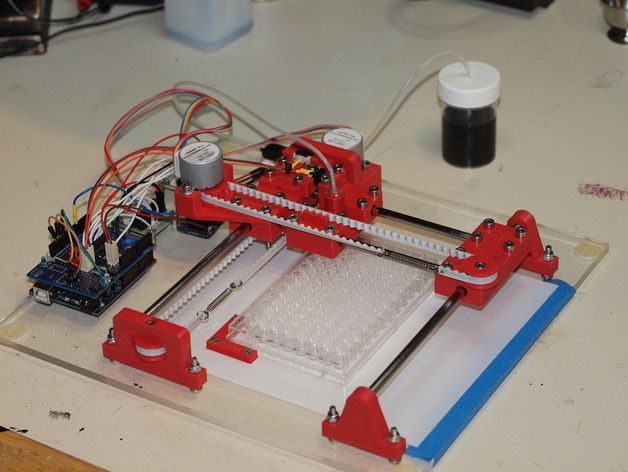
To date, the installation of such a driver is required for each stepper motor of a printing device controlled by the Arduino + RAMPS bundle. RAMPS is able to work effectively when connected to up to five stepper motors.
Other All-in-one boards are equipped with special pads for Pololu drivers, which are widely used among users.
Many drivers have been developed that are compatible with the boards used in modern 3D printers. The most popular include:
- Driver A4988. The manufacturer produces the device in green and red colors, the maximum divider step is 1/16.
- There are purple and blue devices on the market. The main drawback of the model is the lack of a well-thought-out hold mode, which causes the device to get very hot. Such a chip is recommended to be installed only in conjunction with a powerful heatsink that can compensate for excessive heating. The maximum divider step is 1/32.
- The original driver is made in Germany and the USA, but it is easy to buy a similar one made in China on the market.
 Copies differ from the original only in the accompanying piping - resistors, capacitors, etc., therefore, when using non-original devices, it may be difficult to select the voltage to power stepper motors. The device is characterized by quiet operation, background noise and engine sounds are minimized by manufacturers. The driver is equipped with its own chip, which is able to interpolate a 1/16 divisor to 1/256 without creating additional load on the processor.
 - Made in China by Makerbase. A distinctive feature of the driver is the wide possibility of adjusting the microstep divider - from full to 1/128. There is no internal share in this driver model. The device is intended for installation on 32-bit boards only.
- Manufactured by Panucatt Devices. The driver is able to support microstepping from full to 1/32 and has well-thought-out protection against excessive voltage and high temperatures. Two model options are available: in the standard version, the voltage adjustment pin pad is shorted, so voltage adjustment can be made by the user in a manual setting format using a screwdriver and a multimeter.
 In the version with digital adjustment, debugging is performed at the software level and can only be supported by its own controllers - Azteeg X3, X3 PRO and X5 mini V3.
 - This model is also manufactured by Panucatt Devices. The driver is equipped with a sensor that protects it from overheating and high voltage and also comes in two versions - standard and digital. The device is based on the THB6128 chip. Designed for installation on eight-bit boards.
- A new version of the driver from Trinamic and Watterott. A special board via the UART interface is responsible for dividing the microstep. The built-in board allows you to connect the driver to a computer using a USB cable and configure it using your own software.
Installing and configuring the driver for the 3D printer
For the correct operation of the 3D printer, before starting it for the first time, it is necessary to install and configure the drivers.
IMPORTANT! Before debugging, it is recommended to temporarily disable the anti-virus programs installed on the computer.
This will help to avoid false triggering on files downloaded from external devices or the Internet.
The installation process takes place in several stages:
- Start the installation by downloading the driver file and running it. To do this, you will need to log in with an administrator account and run a file called "exe file". Next, following the instructions of the installer, complete the process and connect the 3D printer to your computer using a USB cable. The program will automatically find the device and assign it a COM port.
- Next, you need to download and install a program called Repetier Host. Once the download is complete, launch the program file and wait for the download to complete. After the installation is completed, along with the program, all the necessary accompanying programs will be launched, including slicer programs. During installation, it is recommended to uncheck the box next to the item about installing the Server utility, since it will not be required for further work and will take up device resources unreasonably.

- The next step is setting up the settings for the personal computer. During this, a corrected interface in Russian will also be configured, the necessary scripts and an active link to the help section. At this point, the Magnum 3D and Magnum 3D Vase slicing profiles will be rewritten, so any changes made by the user should be renamed before starting the process. Otherwise, they will not be saved after reinstalling the program.
- After the installation is completed and the settings are set, you should run the Repetier-Host program and select the COM port to which the printer was connected. This step is mandatory because the installer automatically assigns COM3 to the device, which can interfere with further debugging.
- Next, following the instructions of the program, you need to update the downloaded scripts and restart the computer.
- During the reboot, you will need to press the F8 button and select the "Disable Driver Enforcement Signing" option.

- After downloading, you will need to do the following: open the Start menu, open the Settings tab, go to the Update and Security section and select Recovery. Then, going to the tab "Special boot options", you must select the item "Restart now".
- When the process is completed (the reboot should go through in normal mode), you should open the "Diagnostics" tab, go to the "Advanced Options" section, select the "Boot Options" item and restart the computer again. When the device reboots, a menu will appear on the screen with a choice of parameters that will be used by the system in the future.
IMPORTANT! In order to install an unsigned driver, you must disable automatic digital signature verification by selecting the appropriate item in the menu and pressing the F7 button.
There is an alternative method for installing the driver for 3D printers. It is used if the system to which you plan to connect is 64-bit.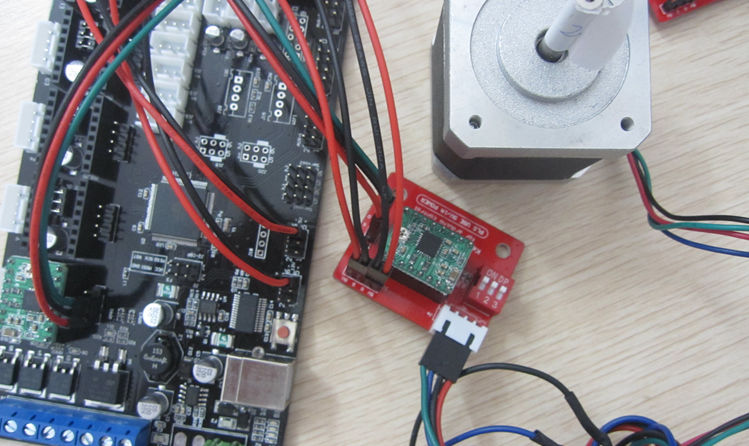 In this case, the instructions above will not work.
In this case, when connecting the CNC device to the computer for the first time, for an unrecognized USB Serial device, you must select the driver yourself by opening the Modems section and selecting Compaq, and then Ricochet Wireless USB Modem devices.
Errors and how to avoid them
During the driver installation process, some errors may occur that prevent the process from completing.
The most common reasons for their occurrence include:
- Technical malfunction of the device. Even if the driver is detected by the system when connected to a computer, if it malfunctions, the installation will not be able to proceed correctly.
- Faulty installation program. The installer may have been corrupted during download or may have been infected with malicious code. The cause of errors may also be the absence of one or more files in the archive.
- The driver version does not match the installed device.
 Most often, such a problem is encountered by those users who install a driver downloaded from third-party sites, and not the one that came with the device when purchased. The error may be caused by the fact that the driver version does not match the specific device or operating system version installed on the computer.
 - An attempt to install a new driver over the previously installed one will also cause an error. To fix the error, uninstall the old version of the program, and then start the installation again with a new file.
- The user is trying to install unlicensed software. If the downloaded driver does not have a special certificate that allows the operating system to recognize it, then the computer, when trying to install it, will give a corresponding error when the file is first launched.
Correct operation of a 3D printer is impossible without installing drivers - devices responsible for the movements of stepper motors. Their market for 3D printing is huge, so each user can choose the device that suits him.
- March 14, 2021
- 1756
Get expert advice
Driver installation - Windows drivers
Twitter LinkedIn Facebook E-mail address
- Article
- Reading takes 2 minutes
Note
The print driver provided in the 3D printing SDK is an experimental 3D printer driver that is still under development.
Follow these installation instructions to install the printer:
-
If the 3D printer implements the Microsoft OS Descriptor 3DPRINT ("MS_COMP_3DPRINT") or is one of the supported Vendor ID (VID)/Product ID (PID) combinations in the MS3DPrintUSB.
 inf, follow the steps in section "Automatic driver installation using PnP " below.
 -
If the 3D printer is experimental or in development, follow the steps in Section "Driver installation" below to print an existing COM port or print G-Code to file.
For more information about MS_COMP_3DPRINT, see the Microsoft Standard Driver for 3D Printers Getting Started Guide.
For more information about OS descriptors, see Microsoft OS Descriptors for USB Devices.
Automatic driver installation using PnP
-
If the device does not have an MSO descriptor or a supported hardware identifier (VID/PID), add a new VID/PID combination to the MS3DPrintUSB_{architecture}\MS3DPrintUSB.inf file and restart Windows with additional options disabled. parameters and driver signature. This setting should only be used temporarily and for development purposes.
-
Run these two commands from an elevated command prompt:
pnputil -a {PathToSDK}\Bin\MS3DPrintUSB_{architecture}\MS3DPrintUSB. inf pnputil -a {PathToSDK}\Bin\RenderFilters_{architecture}\MS3DPrinter.inf
 -
Connect USB serial device. The new Universal 3D printer accessory must be installed in section Devices and Printers.
Manual driver installation
-
Find printmanagement.msc in Cortana .
-
Expand Print Servers , expand Computer Name, right-click Drivers , and then select "Add Driver... ".
-
Press the button "Next ", select (x64), press the button "Next ", and then press the button "Create disc ".
-
Go to the RenderFiltersV4_x64 folder, select MS3DPrinter.inf and click "OK ".
-
Press button "OK ", press button "Next ", and then press button "Finish ".

Learn more