3D printer sped up
8 Ways How to Speed Up Your 3D Printer Without Losing Quality – 3D Printerly
You’ve started 3D printing but you realize that prints take a lot longer than you expected. This is something that many people think about so they look for ways to speed up their 3D printer without sacrificing on print quality.
I’ve looked into various methods to achieve this which I will explain in this post.
How do you speed up your 3D printer without losing quality? It’s possible to speed up 3D printing times without losing quality by carefully and gradually adjusting the settings in your slicer. The best settings to adjust to achieve this are the infill pattern, infill density, wall thickness, print speed, and trying to print multiple objects in one print.
It’s fairly simple but many people don’t know these techniques until they get more experience in the 3D printing world.
I will detail how people in the 3D printing community achieve optimal printing times with their prints without sacrificing quality, so keep reading to find out.
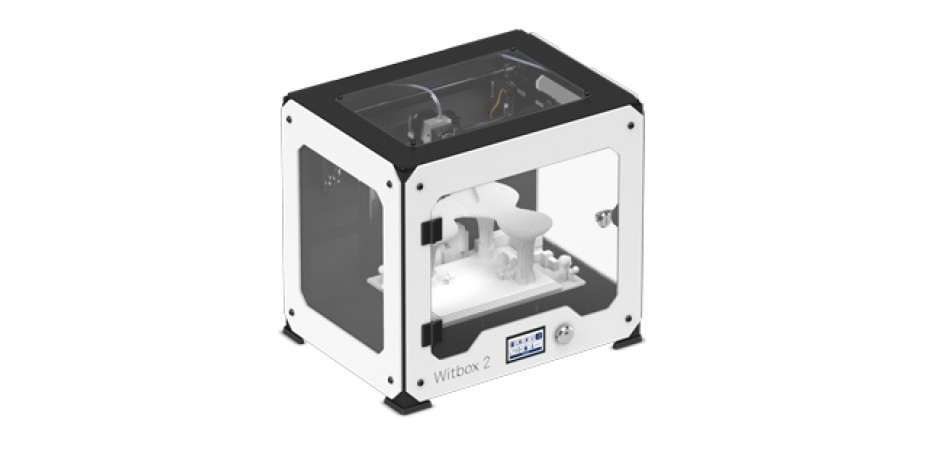
Pro Tip: If you want a great 3D printer with a high speed I’d recommend the Creality Ender 3 V2 (Amazon). It’s a great choice that has a maximum printing speed of 200mm/s and is loved by many users. You can also get it cheaper from BangGood, but usually with a slightly longer delivery!
8 Ways How to Increase Print Speed Without Losing Quality
For the most part, cutting down time on printing times comes to either increase your feed rate (rate at which material extrudes), or decreasing the amount of extrusion altogether.
Other factors do come into play so I will explain these in more details.
1. Increase Print Speed in Slicer Settings
Honestly speaking, print speed doesn’t have the most significant effect on print timing, but it will help overall. Speed settings in your slicer will help out more depending on how big the print is, where bigger objects see relatively more benefits in reducing printing times.
The good thing about this is being able to balance out the speed and quality of your prints. You can gradually increase your printing speed and see whether it actually has an effect on your print quality, many times you’ll have some room to increase it.
You’ll have multiple speed settings for specific parts of your object such as perimeters, infill and support material so it’s a good idea to adjust these settings to maximize your printer’s abilities.
My Speed Vs Quality article I wrote goes into some nice detail about the trade-off between these two factors, so feel free to check that out.
Usually, you would have a high infill speed, average perimeter and support material speed, then low small/external perimeter and bridges/gaps speed.
Your 3D printer will usually have guidelines on how fast they can go, but you can take extra steps to make it go faster.
This video below by Maker’s Muse goes into some detail about different settings that are very useful. He has his own template of settings that he implements which you can follow and see if it works well for yourself.
A good step to take to be able to increase printer speed is reducing the wobble of your printer by making it more sturdy. This can be in the form of tightening up screws, rods and belts or using parts that don’t weigh as much, so there are fewer moments of inertia and resonance from vibrations.
These vibrations are what reduces quality in prints.
My post on 3D Printing & Ghosting/Rippling Quality Issues goes into a bit more detail on this.
It’s all about the movement efficiency that your printer can handle without sacrificing quality, especially with sharp corners and overhangs. Depending on the design of your product, you’ll have more room to increase your 3D printing speed without issues.
Another setting that can work really well is increasing the inner wall speed to match your overall print speed, rather than half the value on the Cura default. This can give you significant printing time decreases and still leave you with amazing quality.
2. Acceleration & Jerk Settings
Jerk settings are essentially how fast your print head can move from a still position. You want your print head to move off smoothly rather than too quickly. It’s also the speed that your printer will immediately jump to before taking acceleration into account.
Acceleration settings are how quickly your print head gets to its top speed, so having a low acceleration means your printer won’t get to its top speed with smaller prints.
I wrote a popular post on How to Get the Perfect Jerk & Acceleration Setting, which goes into nice depth to help improve your printing quality and experience.
A higher jerk value will reduce your printing time but it has other implications such as causing more mechanical stress to your printer, and possible decreasing print quality if too high because of the vibrations. You can strike a good balance to not have it affect quality.
What you want to do here is determine the optimal settings and you can do this by establishing an acceleration/jerk value that you know is too high (H) and too low (L), then working out the middle value (M) of the two.
Try printing with this middle value speed, and if you find M is too high, then use M as your new H value, or if it’s too low, then use M as your new L value then find the new middle. Rinse and repeat to find an optimal setting for each one.
Acceleration values won’t always stay the same as there are many factors that can affect it over time so it’s more of a range rather than a perfect number.
Test your jerk settings by printing the vibration test cube and seeing whether the vibrations are visible on each axis by inspecting the corners, edges and letters on the cube.
If there are vibrations on the Y axis, it will be seen on the X side of the cube, and vibrations on the X axis will be visible on the Y side of the cube.
You have this Max Speed Acceleration Calculator (scroll to the bottom) which tells you when your printer will hit your desired speed and for how long across an axis.
The curved yellow line represents the path of the effector end allowed by inertia, while the blue line is the speed that it tries to jerk up to. If you need speeds below the jerk speed, you lose out on precision.
This post on AK Eric done the tests and found that when comparing low (10) jerk values to high (40) ones, a 60mm/sec speed made no difference in the print timing, but the lower value had better quality. But at a speed of 120mm/sec, the difference between the two jerk value had a 25% decrease in printing time but at the cost of quality.
3. Infill Pattern
When it comes to the infill settings, you have many infill patterns that you can choose from which have their own strengths and weaknesses.
You can definitely choose an infill pattern that prints faster than others, which can save much time on increasing that printing speed.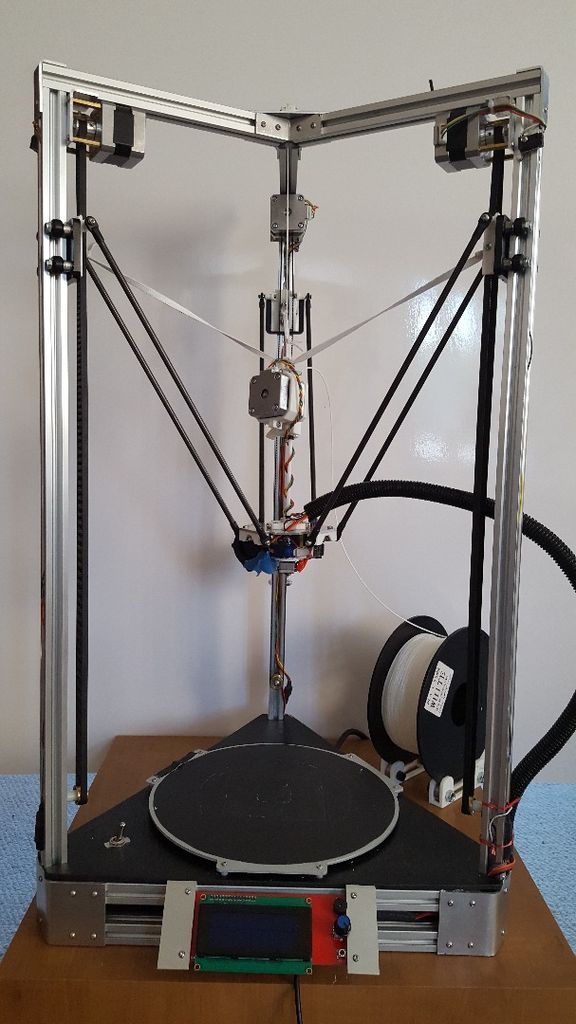
The best infill pattern for speed has to be the ‘lines’ pattern (also called rectilinear) due to its simplicity and lower number of movements compared to other patterns. This pattern can save you up to 25% of printing time depending on your model.
Check out my article on the Best Infill Pattern for 3D Printing for some interesting details about those inner patterns of your 3D prints.
You would usually have to trade off strength with speed, so although there are patterns which are stronger, they will take longer to print than the lined pattern.
Again, it’s best to try to strike a balance between the desired strength of your prints and how quickly you want to print it. A well-balanced infill pattern would be the grid pattern or triangles which both have a good mix of strength and don’t take overly long to print.
The infill pattern that has strength as its main strength would be the honeycomb pattern which is fairly detailed and requires your print head to make a lot more movements and turns than most other patterns.
A great combination to add strength to your parts is to increase the extrusion width within your slicer, then add perimeters or walls to your models.
It has been tested in many ways, but increasing the number of walls or wall thickness has a more significant impact than increasing infill density.
Another tip is to use the Gyroid infill pattern, which is a 3D-infill designed to give great strength in all directions, without needing a high infill density.
The benefits of the Gyroid pattern is not only its strength, but it’s relatively quick speed and top layer support, to reduce bad top surfaces.
4. Infill Density
As most people know, an infill density of 0% means the inside of your print will be hollow, while a 100% density means the inside will be solid.
Now having a hollow print will definitely mean less time spent printing because your printer has a lot less movement required to finish the print.
How you can save time here is striking a good balance of infill density to the needs of your print.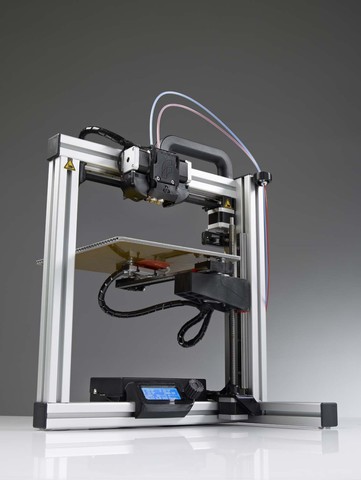
If you have a functional print that, let’s say, is going to hold up a television on the wall, you might not want to sacrifice infill density and strength to save on printing time.
But if you have a decorative print that is just for aesthetics, having a high infill density isn’t that necessary. It’s up to you to gauge how much infill density to use on your prints, but this is a setting that can somewhat reduce that printing time for you.
I wrote an article going over How Much Infill Density You Need which I’d recommend reading over for more info.
Through tests that many people have done, the most economic infill density range, balanced with good strength would have to be between 20% and 35%. Certain patterns can give amazing strength even with low infill density.
Even 10% with something like a cubic infill pattern works pretty well.
When you go above these values, the trade-off between material used, time spent and strength gains diminishes faster so it’s usually a better choice to stick with these infills depending on your purpose.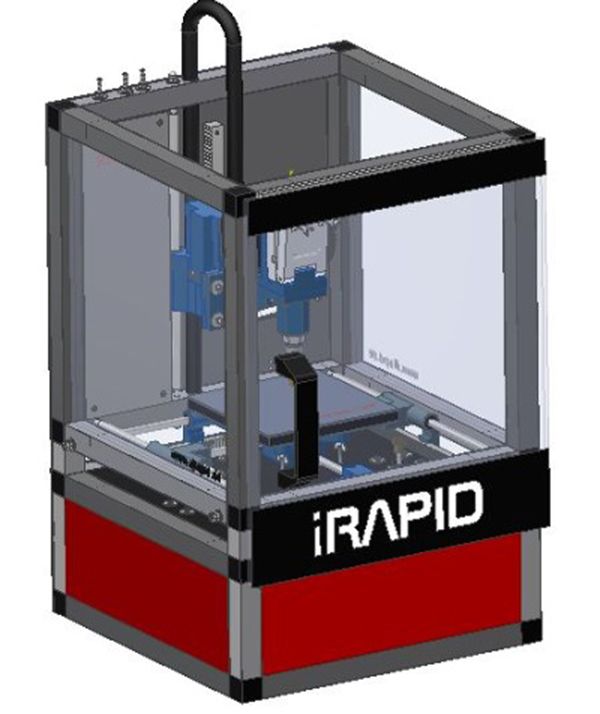
Another thing to know is that when you go into the higher ranges of infill density such as 80%-100% you don’t actually get much in return for how much material you are using.
So in most cases, you want to avoid going to such high infill densities unless you have a purpose for an object that makes sense.
Gradual Infill Steps
There is another setting under infill that you can make use of for speeding up your 3D prints called Gradual Infill Steps in Cura. This basically changes the level of infill, by halving it each time for the value you input.
It reduces the amount of infill used at the bottom of your 3D prints since it isn’t usually essential for creating the model, then increases it towards the top of the model where it is most needed.
Infill Support
Another great setting that can speed up your 3D prints and save you a lot of time is enabling the Infill Support setting. This setting treats infill as support, meaning it only prints infill where it is needed, similar to how supports are made.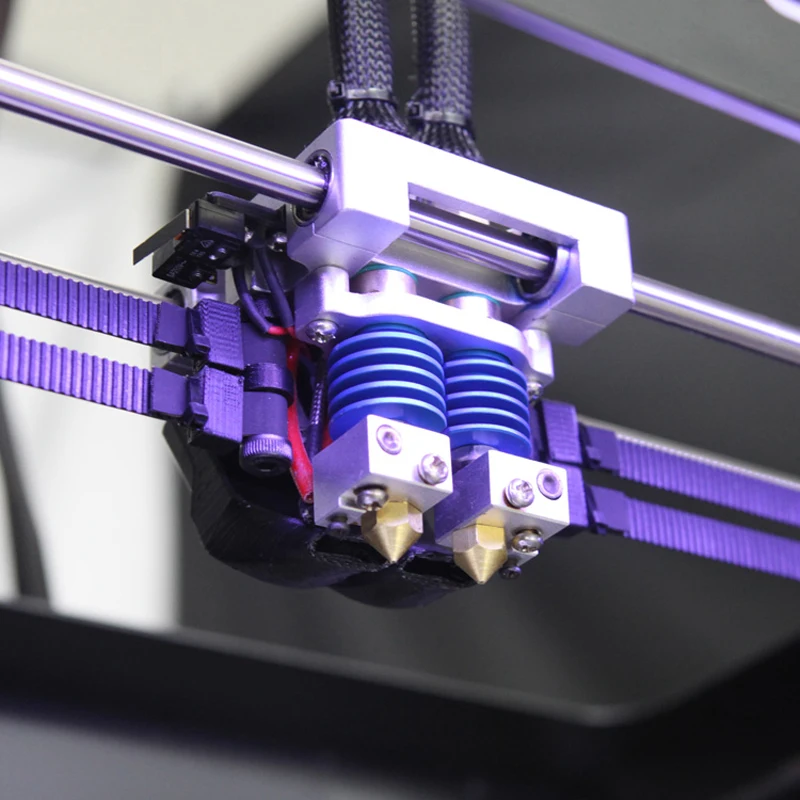
Depending on what kind of model you have, it can work successfully and save plenty of time, but for more complex models with a lot geometry, it might cause failures so keep that in mind.
heck out the video below for a great explanation on Gradual Infill Steps & Infill Support. It managed to take an 11-hour 3D print all the way down to around 3 hours and 30 minutes which is very impressive!
5. Wall Thickness/Shells
There is a relationship between wall thickness and infill density that you need to be aware of before changing these settings.
When you have a good ratio between these two settings it will ensure that your 3D model doesn’t lose it’s structural capabilities and allows the print to be successful.
It will be a gradual trial and error experience where you can note down the ratios that result in a failed print, and that perfect balance of great print quality and reduced print timing.
If you have settings with low infill density and low wall thickness, your prints will more likely to fail due to low strength so you only want to be adjusting these settings if you are creating products where strength isn’t necessary, such as prototypes and display models.
Decreasing the number of shells/perimeters of your prints in the settings will speed up printing times for sure. You want to play around with these settings to find what numbers give you a good amount of strength, while keeping it as low as you can.
A wall line count of 3 and a wall thickness double your nozzle diameter (usually 0.8mm) should do perfectly fine for most 3D prints.
Sometimes you can get issues with your walls and shells, so I wrote a post about How to Fix Gaps Between Walls & Infill for some troubleshooting methods.
6. Dynamic Layer Height/Adaptive Layers Settings
Layer heights can actually be automatically adjusted depending on the angle of the layer. It’s called adaptive layers or dynamic layer height which is a great feature you can find in Cura. It can speed up and save you a decent amount of printing time rather than using the traditional layering method.
How it works is it determines which areas have significant curves and variations, and prints thinner or thicker layers depending on the area. Curved surfaces will print with thinner layers so they still look smooth.
In the video below, Ultimaker made a video on Cura which demonstrates the excellent ability for this setting to save you printing time.
They printed a chess piece with and without the Adaptive Layers setting and recorded the time. With normal settings, the print took 2 hours and 13 minutes, with the setting on, the print took just 1 hour and 33 minutes which is a 30% reduction!
7. Print Multiple Objects in One Print
Another method to speed up printing time is to utilize all the space on your printer bed rather than doing one print at a time.
A good way to achieve this is to use the center and arrange function in your slicer. It can make a significant difference with printing speed and avoids you having to reset then reheat your printer which takes up valuable time.
Now you won’t be able to do this with prints that use more than half the print space, but if you’re printing small prints you should be able to copy and paste the design multiple times on your print bed.
Depending on the design of your prints, you can play around with the orientation so you can utilize your print space in an optimal fashion. Make use of the height of your print bed and so on.
When it comes to smaller printers, you won’t be able to do this method as good as larger printers, but it should still be more efficient overall.
8. Removing or Reducing Supports
This one is fairly self-explanatory in how it saves printing time. The more support material your printer extrudes, the longer your prints will take, so it’s a good practice printing objects that don’t require supports at all.
There are various techniques you can take on board to design objects that don’t need support, or takes a majority of it away.
Many designs that people create are made specifically so they don’t require supports. It’s a very efficient way of 3D printing and usually doesn’t sacrifice in quality or strength.
Using the best orientation for your models can help significantly reduce supports, especially when you account for those overhang angles of 45°. A great method is to adjust orientation, then use custom supports to hold up your model where its needed.
You can check out my article about Best Orientation of Parts for 3D Printing.
With some great calibration, you can actually 3D print overhangs well over the 45°, some even going up to 70°+, so try to dial-in your temperature and speed settings as good as you can.
Related to the printing of multiple objects in one part, some people see speed increases in their 3D printing when splitting models and printing them on the same print.
This can eliminate the need of supports in many cases if you split the model in the right place and orient them nicely. You’ll have to glue the pieces together afterwards which does increase your post-processing times.
Another setting that has been brought to light is the Infill Layer Thickness setting in Cura. When you think about your 3D prints, you don’t actually see the infill right? This means it’s not important for quality settings, so if we use thicker layers, we can print faster.
It works by printing your normal layers of infill for some layers, then not printing infill for other layers.
You should set your Infill Layer Thickness as a multiple of your layer height, so if you have a layer height of 0.12mm, go for 0.24mm or 0.36mm, though if you don’t it will be rounded to the closest multiple.
Check out the video below for a full explanation.
Increasing Print Speed With A Quality Reduction
1. Use a Larger Nozzle
This is a simple method to increase your print speed and feed rate. Using a larger nozzle is an easy way to print objects faster, but you will see a reduction in quality in the form of visible lines and rougher surfaces.
When you print with lets say, a 0.2mm nozzle, you’re placing fine layers each time you go over the printing surface, so getting a 1mm height will take 5 extrusion movements over the area.
If you’re not sure how often to change your nozzles, check out my article When & How Often Should You Change Your Nozzle On Your 3D Printer? Many people have found it helpful to get to the bottom of this question.
In comparison to a 0.5mm nozzle it would only take 2 so you can see how nozzle size largely affects printing times.
Nozzle size and layer height do have a relationship, where the general guidelines is for you to have a layer height which is at most 75% of the nozzle’s diameter.
So with a 0.4mm nozzle, you’d have a layer height of 0.3mm.
Increasing your print speed and reducing your quality doesn’t have to be a downside.
Depending on what your model is and your design wants, you can choose different nozzle sizes to your advantage.
A print with thin layers is more likely to have a negative effect on the firmness of the final object so when you want strength, you can pick a larger nozzle and increase the layer height for a tougher foundation.
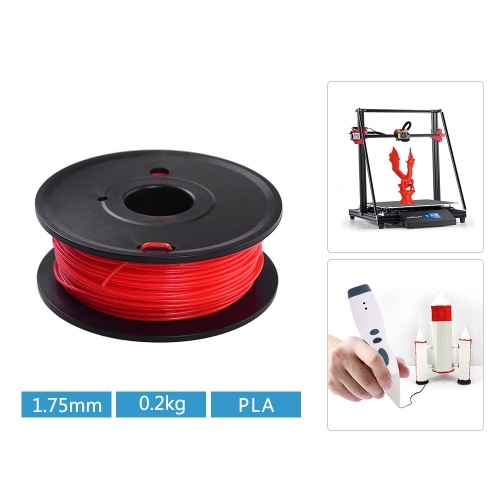
If you need a set of nozzles for your 3D printing journey, I’d recommend the TUPARKA 3D Printer Nozzle Kit (70Pcs). It comes with a whopping 60 MK8 nozzles, which fits your standard Ender 3, CR-10, MakerBot, Tevo Tornado, Prusa i3 and so on, along with 10 nozzle cleaning needles.
In this competitively priced nozzle kit, you’re getting:
- 4x 0.2mm nozzles
- 4x 0.3mm nozzles
- 36x 0.4mm nozzles
- 4x 0.5mm nozzles
- 4x 0.6mm nozzles
- 4x 0.8mm nozzles
- 4x 1mm nozzles
- 10 cleaning needles
2. Increase Layer Height
In 3D printing the resolution, or quality of your printed objects are usually determined by the layer height you set. The lower your layer height, the higher definition or quality that your prints will come out, but it results in a longer printing time.
For example, if you print at a 0.2mm layer height for one object, then print the same object at a 0.1mm layer height, you effectively double the printing time.
Prototypes and functional prints that aren’t seen much don’t usually need to be of high quality so using a higher layer height makes sense.
If you’re looking to print an object that will be displayed, you want it to be aesthetically pleasing, smooth and of great quality, so these are better printed at finer layer heights.
You can safely move up to around 75%-80% of your nozzle diameter and still successfully print your models without losing too much quality.
3. Increase Extrusion Width
BV3D: Bryan Vines recently managed to save 5 hours on a 19-hour 3D print by making use of a wider extrusion width. Check out the video below to see how it works.
You can save plenty of time but there will be a reduction in the print quality, though not too significant in some cases. He changed his extrusion width settings from 0.4mm to 0.65mm, with a 0.4mm nozzle. This can be done in Cura under “line width” or in PrusaSlicer under “extrusion width” settings.
I couldn’t actually tell the difference when they were side-by-side, so have a look and see if you can yourself.
Why Do My 3D Prints Take So Long & Are Slow?
Although 3D printing is known as rapid prototyping, in many cases they really be slow and take a long time to print. 3D prints take long because of limitations in stability, speed, and extrusion of material.
You can get certain models of 3D printers known as Delta 3D printers which are known to be very fast, reaching speeds of 200mm/s and above still at a respectable quality.
The video below shows a 3D Benchy that prints in under 6 minutes which is a lot faster than the usual 1 hour or so that it takes on a normal 3D printer.
The user in this video really upgraded his original Anycubic Kossel Mini Linear 3D printer by having an E3D volcano extended, reworked the idler pulleys, has a BMG clone extruder, TMC2130 steppers, as well as other many smaller tweaks.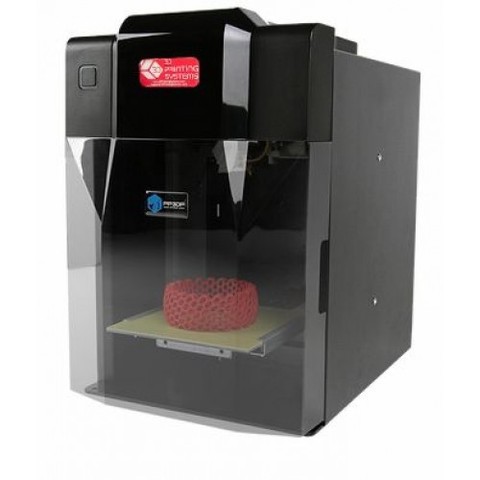
Not all 3D printers have to be traditionally slow. You can use a 3D printer that is built for speed so your 3D prints don’t take so long and aren’t as slow as usual.
Conclusion
With practice and experience, you’ll find a great layer height that gives you both great quality, and a reasonable printing time but it really depends on your preference and the use of your prints.
Using just one or a mixture of these methods should have you saving plenty of time in your 3D printing journey. Over the span of years, these techniques can easily save you hundreds of printing hours, so learn them well and implement it where you can.
When you take the time to learn these things, it really improves the overall performance of your prints because it helps you to understand the foundations of 3D printing.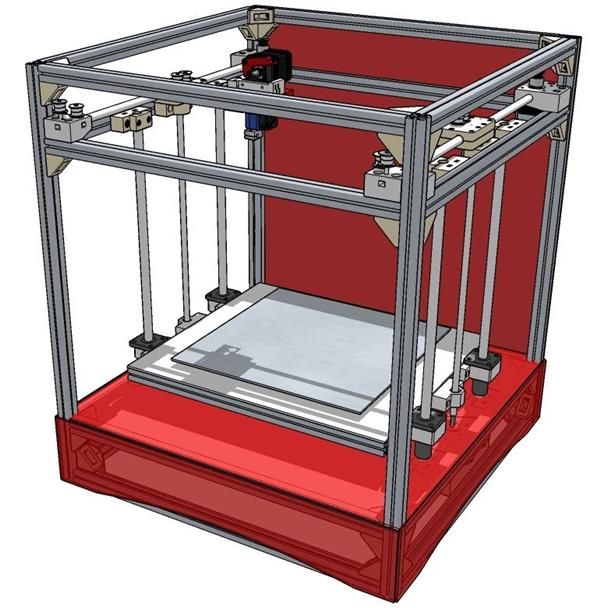
I hope you found this post useful and if you want to read more helpful information, check out my post on the 25 Best 3D Printer Upgrades or How to Make Money 3D Printing.
3D print tip: How to increase your 3D printing speed
Fast prototyping is possible with a 3D printer. However, sometimes a higher 3D printing speed is preferred. Our helpdesk often receive the question whether it is possible to increase the 3D printing speed. This is possible, but it may affect the quality of the 3D print. In this blog, you will find 5 ways to increase your 3D printing speed, but also the effects that it can have on the final product.
1. Customize default 3D printing speed
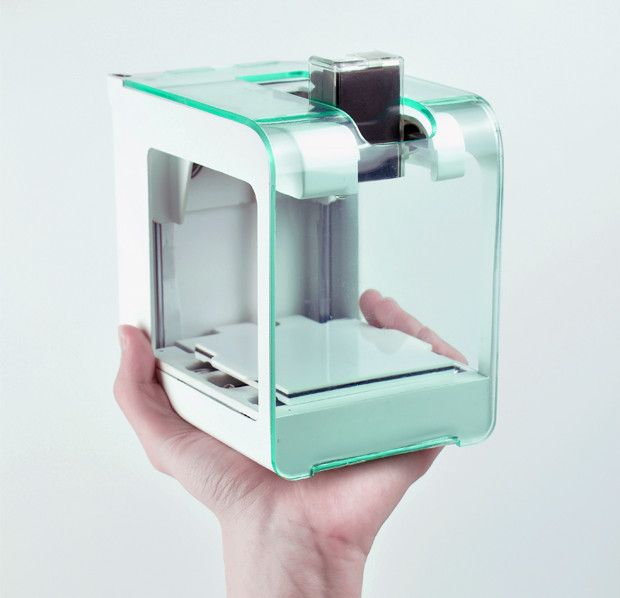
The most common way is to adjust the print speed in the settings of your slicing software. You can adjust the speed to your wish. During the development of the RAPID ONE, the control of the speed of the print head was an important starting point. This resulted in perfect acceleration and deceleration of the print head, which assures neat 3D-printmodels and efficiency in print speed. The overall print speed can be increased significantly without doing any prejudice to the quality of the 3D-model, even the ones with sharp corners. But, if you have a straightforward product,you can increase your 3D printing speed even more.
2. Infill density and wall thickness
Solid prints consist of thicker and stronger outliners and are filled in with honeycomb structure. If you do not use this structure, the 3D print will take a longer time before it is finished. However, if you already use an infill, you still have some options to increase your 3D printing speed. For example: try to reduce your infill even more, but keep in mind that the ratio between the wall thickness and infill remains good. This will prevent 3D models from collapsing. If you would like to try this, please contact our helpdesk (+31 314-377050) for more information. NOTE: a product with a lower infill density and smaller wall thickness is more vulnerable. Therefore we recommend to use this technique only with products where strength is not an important factor. For example: display models / prototyping. Read more about creating a strong infill.
3. Using a larger nozzle and bigger layer height
Bigger layer height will reduce print time. If accuracy does not matter, you can choose for printing with a larger nozzle and maximum layer height. The maximum layer height is 75% of the nozzle diameter. This means that with a 0.8mm nozzle you can build a layer of 0.6mm. Herewith the layers become thinner, which has an effect on the firmness of the product. Also, printing with thicker layers mean more loss of details. dddrop offers the right nozzle for every job: super detailed or super-fast. You can choose from the print heads: 0,2 – 0,4 (standard) – 0,6 – 0,8 – 1,0mm.
4.
 Producing in the same batch
Sometimes we receive the question: “I would like to have this product finished today, because then I can start a new print before I go home”. In this case, we advise you to print both products in the same batch. Both products are finished the next morning. However, this is only possible when both products are small enough and fit on the print bed. To perform this step, use the function center and arrange in your slicing software. Producing in the same batch provides more convenience and saves time. Resetting and heating your printer is no longer necessary. Keep in mind that you use the same filaments for both products to prevent heat problems. Thus, this option is an indirect way to increase your 3D printing speed.
5. One material, two purposes
The dddrop EVO Twin 3D printer has 2 independent print heads. Therefore the printer is able to print multi-colour and multi-material. This means you can print a model of PLA and use soluble support material. However, the printer has to switch between 2 materials. Certainly when in each layer 2 colours are processed, it will take a lot of time. A solution to increase indirectly your 3D printing speed is to use 1 material for both purposes, so using PLA material as the main material as well as support material. This is a function in your slicing software. The PLA support material will be printed with a lower infill density, so afterwards it is easier to remove. In this way the printer doesn’t have to switch between 2 materials and this will save you a lot of printing time. More about printing with support material you will read here.
Conclusion: increasing your 3D printing speed has an effect on your final product. It’s a matter of priorities. Do you want to save time, minimize costs or increase quality?
All dddrop administrator content is written and edited by the dddrop marketing team.
Moscow developers will produce 3D printers
Continuation of the story from
Media news2
News
News
Karina Pardaeva
Newsroom editor
Karina Pardaeva
The Moscow company 3D. RU, as part of import substitution, has begun developing its own 3D printers. All components for the devices will be made in Russia.
Karina Pardaeva
In the next 2–3 years, the company will replace all components with domestic ones. This will make it absolutely independent of imports, said Vladislav Ovchinsky, head of the Moscow Investment and Industrial Policy Department.
These printers work with various types of metals, ceramics, sand and plastics. Therefore, additive technologies began to be used in engineering, industry, design, medicine and other areas.
Import substitution will reduce the cost of the final product and thereby reduce dependence on foreign supplies of spare parts for a number of household appliances, cars, accessories, Ovchinsky noted.
The press service of the department added that over the past five years, the demand for domestic services has grown significantly.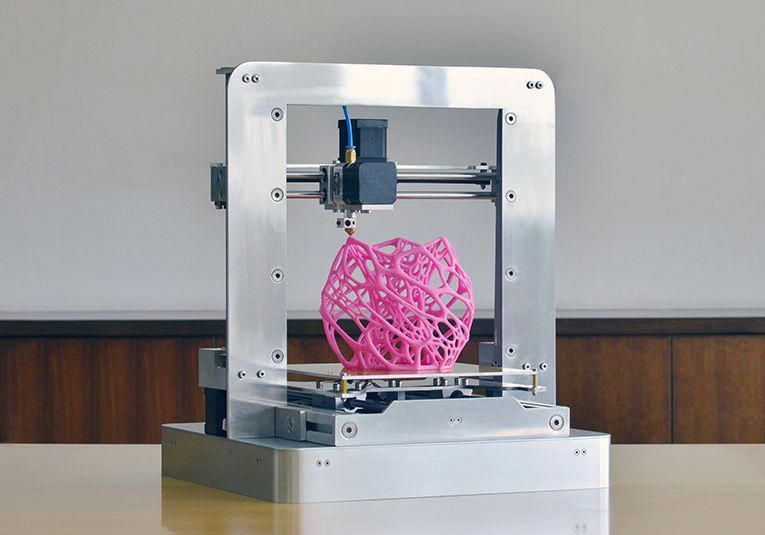 It accelerated even during the pandemic. 1.5 thousand orders are printed annually in the country, ranging from a gear to an eight-meter art object in the form of a working fountain, and this size is not the limit.
Cover photo: Lucie Peclova / Shutterstock
Subscribe to our Telegram channel for the latest news and events!
- 3D printing
- Gadgets
- Import substitution
- Russia
- Technology
Found a typo? Select the text and press Ctrl + Enter
Related materials
- one Do you want to build a 3D printing business? Here's what to know
- 2 At 95% cheaper: what is the effectiveness of 3D printing for modern business
- 3 MPEI will print airplanes: young scientists presented an innovative 3D printer
- four 3D common sense: why do companies introduce additive technologies?
- 5 Create what no one has created.
 How are the 3D printing championships
CAPABILITIES
October 17, 2022
GreenTech Startup Booster
October 19, 2022
All-Russian competition in agrogenetics for high school students "Innagrika"
October 19, 2022
"Best Mentoring Practices"
All possibilities
News
FAS will check marketplaces and retailers after complaints about inflated prices for military equipment
News
OBI changed ownership as a result of a raider takeover - Forbes
Speakers
Should the employer assist the military registration and enlistment offices when serving the summons to the employee?
Archive rb. ru
ru
How to get sick leave if you are not sick
Speakers
How to transfer money to Europe from Russia in 2022?
application of additive technologies to improve the quality of treatment for children
You are here
Home
Orthosis printing technology has existed for almost 10 years. The prototype of the first mesh retainer was created in 2013 by New Zealand engineers Ollie and Jake Evill. And a little later they brought it to life by 3D printing. The advantages of such an orthosis over a traditional plaster cast turned out to be undeniable:
-
unlimited Geometric Complexity,
-
the ability to adapt to the individual characteristics of the patient,
-
overlay speed.
World experience in the use of 3D orthoses
In 2020, Chinese scientists conducted a study comparing the effectiveness of 3D orthoses with the plaster method for treating hand fractures. The final data showed a significantly higher level of patient comfort and reduced pain when using the orthosis. In the United States, Children's Hospital Colorado was the first medical facility to use the technology to treat children. According to experts, 3D orthoses have improved the results of therapy and removed some of the limitations inherent in traditional methods of fixation.
3D orthoses vs plaster casts
According to the All-Russian Center for Traumatological and Orthopedic Profile named after N.N. Priorov, about 1.5 million fractures are recorded in our country every year, which require the application of plaster. Every third patient experiences discomfort associated with severe itching. In some cases, the lack of skin contact with air leads to clogged pores. As a result, 350 thousand people remove the bandage ahead of time. This problem is especially relevant in pediatric traumatology.
In search of a solution, we were approached by representatives of a clinic specializing in the treatment of fractures in children. They planned to move away from the use of plaster casts and needed equipment that could produce comfortable and lightweight orthoses of various types.
Introduction of 3D printing of orthoses into the clinical process
Initially, we offered the customer to print orthoses from polymeric materials using SLS technology. It allows you to create durable products of various shapes with high precision in detailing. But in the end, we decided to stop at printing with PetG plastic using FDM technology. It is approved for skin contact and comes in a wide range of colors that children love.
As a result of the transition to 3D orthoses, the clinic has taken medical care to young patients to a new level.