3D printer silicone heated bed
Guide: How to Install a Silicone Heater Build Plate
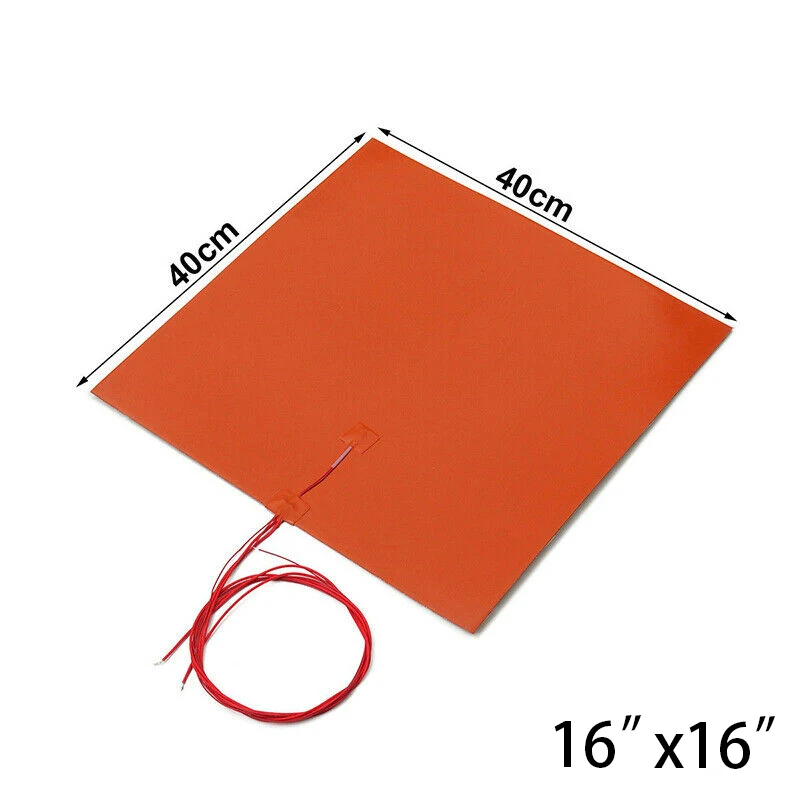
Printed circuit boards (PCB) have long since been the gold standard for heated beds. The main advantage of a PCB heating source is the thermal distribution, keeping the temperature spread evenly across the entire surface. While these work great for small volume 3D Printers, larger sizes can take an excessive amount of time to reach temperature. This is where a Silicone Heater will shine, offering a much better heat output/power ratio and usually capable of reaching 60 °C in less than 90 seconds.
Should every 3D Printer be upgraded to Silicone Heater? Probably not. It is however a noticeable improvement, and capable of reaching higher temperatures than the alternative.
When writing a previous article on safety mods for the Anet A8, a defective heated bed connector was one of the most notable concerns. There were plenty of cheap workarounds available, but most were just band-aids for a larger problem. Disappointed with the results, I tossed it in the trash and decided to replace it instead. This was a perfect opportunity to try out one of the silicone heater mats we carry at Gulfcoast Robotics, looking at both the steps for installation and differences in performance.
Purchased Parts List
220x220 Build Plate w/ Silicone Heater (Full Kit) - $0.00
Individual Parts
12V 200W Silicone Heater - $0.00 220x220 Aluminum Build Plate - $0.00 Heated Bed Mounting Hardware Kit – $5.99
Installation Steps
A silicone heater will often come with 3M adhesive backing in place, meaning we can just peel the protective sheet and stick it to the build plate. We don’t need to worry much about air bubbles, but it’s a good idea to press it out in segments and make sure it adheres with a solid bond.
To get started, line up the silicone heater with the build plate right between the screw holes, and peel back about 1/4th of the protective sheet. Turn it over and carefully start to press the exposed adhesive down, using your fingers to smooth it out.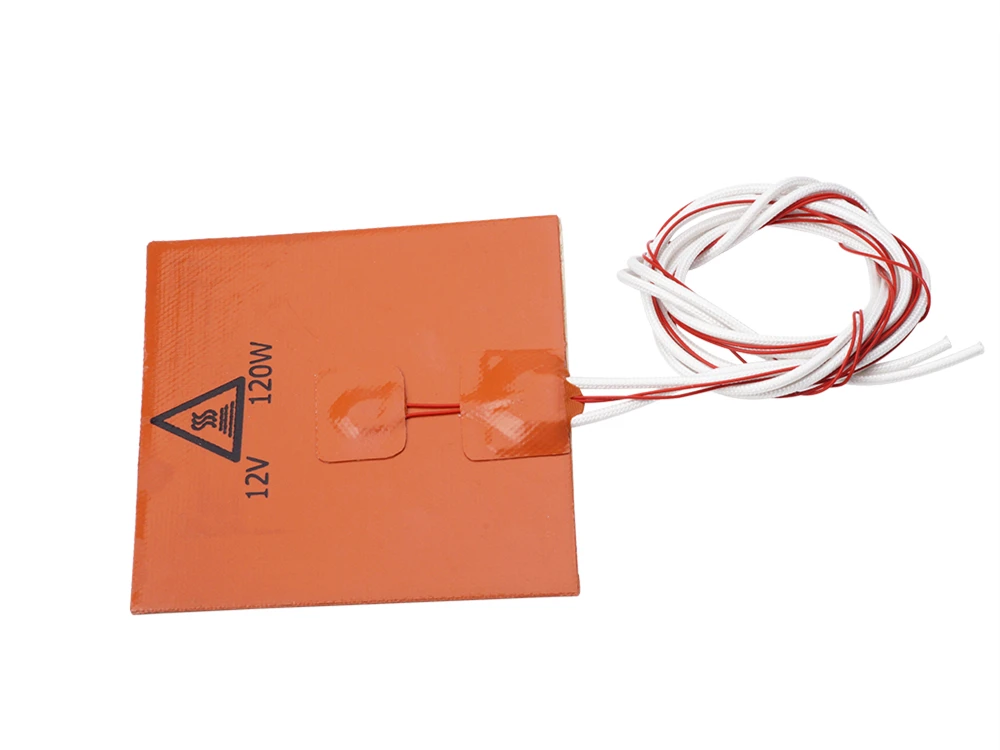 Once you are satisfied, repeat this a few more times until the silicone heater has completely stuck to the surface.
If you aren’t using the heated bed hardware kit, go ahead and put the original screws and springs back on, then install the bed on the 3D Printer. Otherwise, the hardware kit comes with new bolts, lock nuts, washers and high temperature silicone tubing to replace the springs. Alternatively, most of this can be purchased at the local hardware store, and the tubing is sold online at McMaster-Carr.
Now this bit is entirely personal preference, but I chose to put a washer at the base with a locking nut on top. On build plates with threaded holes this won’t matter as much, but it will secure the bolt in place and prevent movement that can otherwise affect the bed’s leveling.
As the included silicone tubing is a single 50mm piece, we will first need to cut it down to (4) individual segments before we can use it. As per the product page, it is recommended to give each piece a length of around 9mm or so.![]()
To keep things simple, I grabbed a piece of cardboard and measure out the desired length with digital calipers. I then marked the two endpoints as a guide, and the silicone tubing was placed in between them to make the cuts. They don’t have to be perfect, but get them as close as possible and clean up the ends with a straight edge razor before installation (box cutter works great).
Once the silicone tubing is cut down to size, we can go ahead and install it in place of the bed springs. Slide (1) piece of silicone tube on each screw and place a second washer on top of it. It will just sit on the nut for now, but as we tighten the corners down, the silicone will expand and cover it.
With the hardware installed, we can put the heated bed back on the 3D Printer and then start wiring it up. If you have spare M3 nuts on hand, you can thread one on the end of each screw to temporarily keep things in place, but otherwise just turn it over slowly and slide the screws in to the Y-carriage one at a time.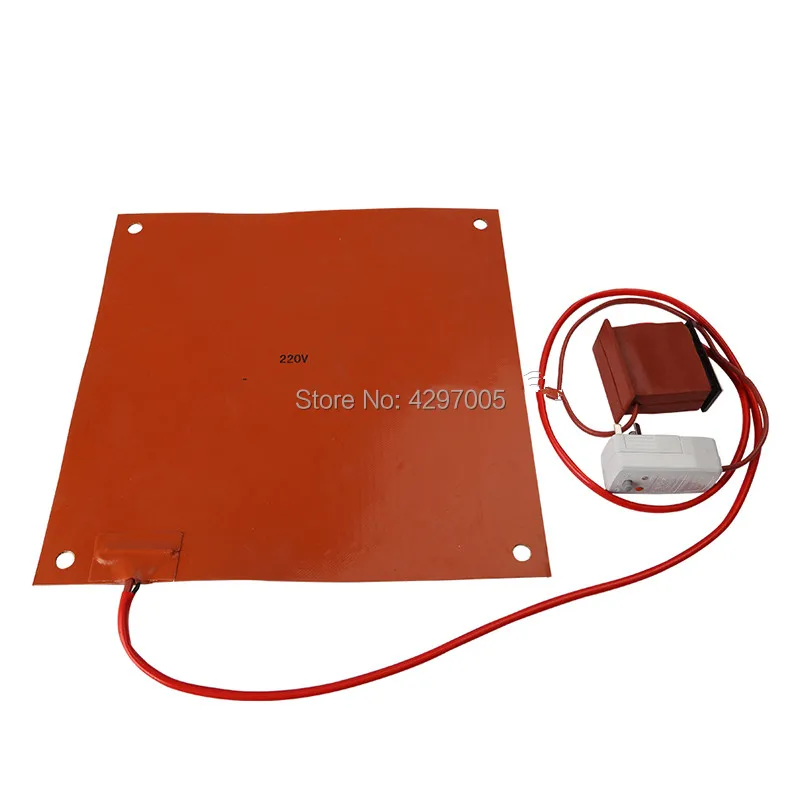
Silicone Heater Wiring
The Silicone Heater will consume 17 amps of electricity, compared to an average of 12 amps on a PCB board. The manufacturer recommends (A) power supply with at least 360 watts and (B) fan cooled MOSFET board to handle the heated bed output. This will prevent too much current passing through the connector and causing a meltdown.
Related: How to Install a MOSFET Board
This particular product comes with 3 feet of power and thermistor wiring integrated in to the heater, but it’s also a universal design and the ends are left exposed. Since we are using a MOSFET board, we can just crimp spade terminals on the white power cables for easy installation.
Move your heated bed to the furthest point away from the electronics and cut the wiring to length, leaving a bit of excess just in case. Now use a stripper/crimper multi-tool and remove about a 1/2″ of insulation from the end of each cable. Slide a 14 gauge spade terminal over the bare wires and crimp it down, then give a light tug to make sure they are secure.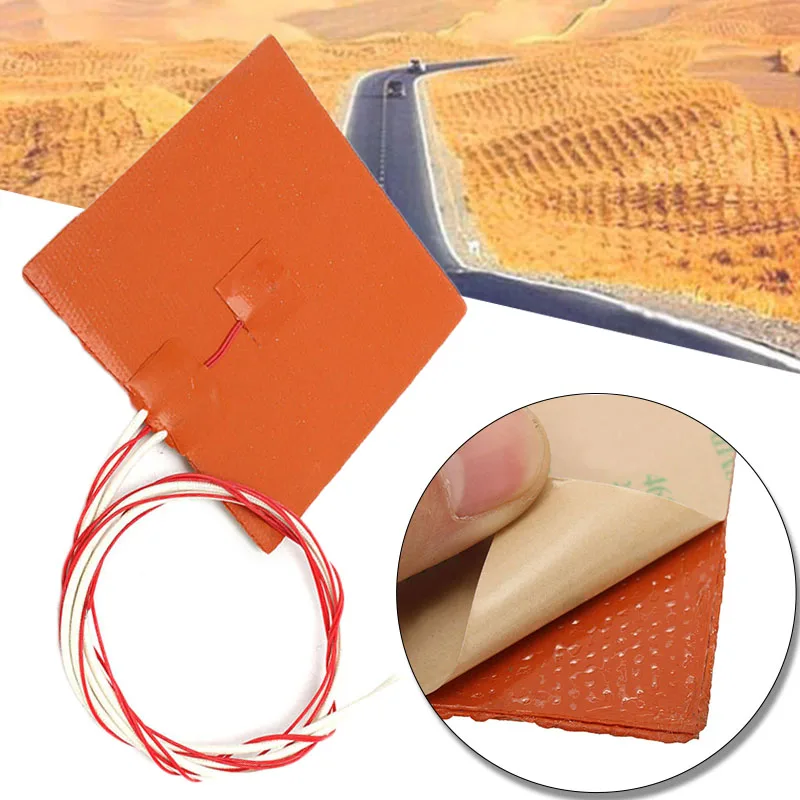
Now we also need to crimp a connector on to the thermistor wires, but the type we use will vary depending on the electronics board. My Anet A8 has a RAMPS board that takes a 3-pin JST-XH connector for the thermistor, with an empty middle pin between the positive and negative wires. Most 3D printers will use some form of JST, but check the machine just to make sure.
For those that do frequent upgrades, a JST Connector Kit and JST Ratchet Crimping tool can be an absolute life saver on such occasions. If those aren’t part of your toolbox though, we can still make do with the original bed wiring as well. Just cut the original heated bed connector off with about 8 to 12 inches of spare wire, and crimp, splice or solder these to the silicone heater mat’s thermistor. In such cases, it’s a good idea to put some heat shrink tubing over the connection to protect it.
Tip: The individual thermistor wires are too small (28 gauge) for most stripping tools.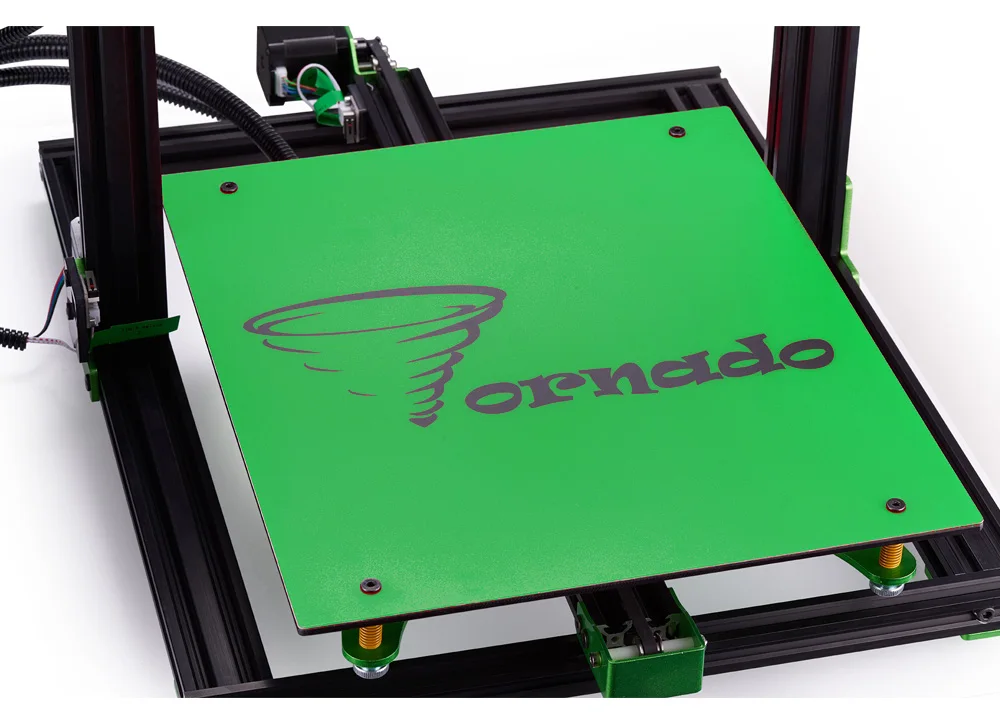 Strip the black insulation, then use flush cutters to carefully expose the thermistor wire ends.
Once the Silicone Heater wiring is prepped and ready for the 3D printer, all we have left to do is install it. Run the white power cables to your MOSFET board, where they will lock in to the screw terminals labeled “HOT BED”. These wires are non-polarized, so it doesn’t matter which order they are installed. Plug the thermistor connector in to the electronics board to wrap things up, and double check the connections are secure.
24V 250W Silicone Heater for 235x235mm Heated Bed Upgrade Creality End
- PRODUCT DETAILS
- REVIEWS
- SHIPPING & RETURNS
PRODUCT DETAILS
The 24V 250W Silicone Heater is designed for the Creality Ender 3 and Ender 5 series 3D Printers, intended to replace the traditional PCB board as a heating source. Compared to PCB, silicone heaters reach temperature faster and feature better heat distribution at the edges of the build plate.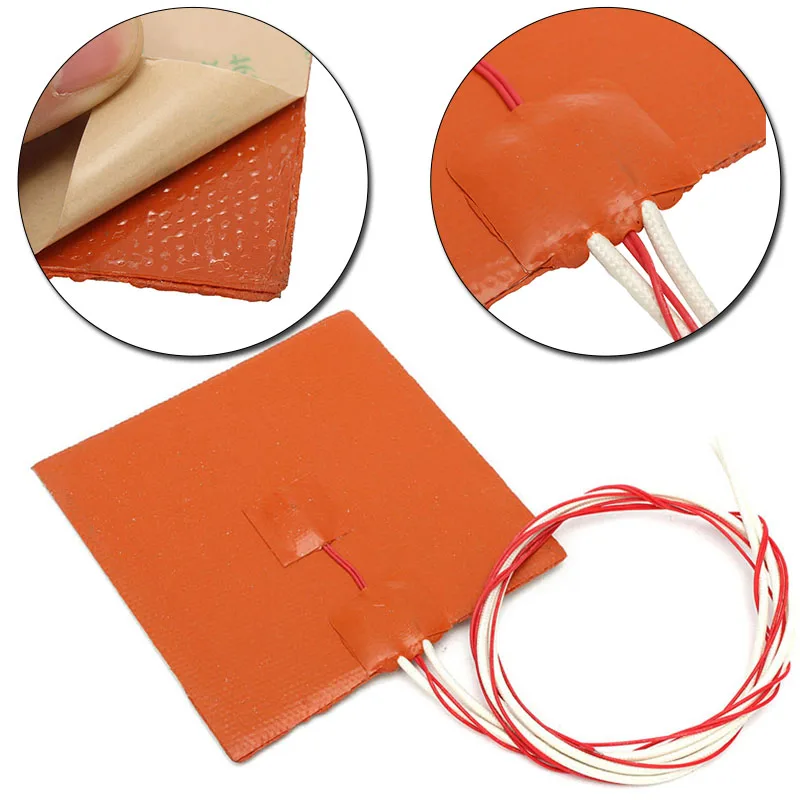 The new feature in the November 2021 revision is an internal over-temperature protection switch that will shut the heater OFF as soon as the temperature reaches 150C.
The included 3M 468MP adhesive backing comes pre-applied, is rated up to 150° C for extended periods of use, and bonds exceptionally well to metal surfaces. Just peel and press for a quick and painless installation on a new or existing heated bed.
The Silicone Heater comes pre-wired with power cables and thermistor, a drop-in replacement for the Creality boards. We also sell complete kits in our store, which include a new 6061-T6 aluminum build plate.
Silicone Heater Details
- Voltage: 24V
- Power rating: 250 Watts
- Wiring: 700 mm
- Mounting: 3M 468MP Adhesive Backing
- Dimensions: 235 x 235 mm
- Thermistor: NTC 3950 100K Thermistor
Thermistor Specifications
- TEMP_SENSOR id 11 in Marlin firmware (Default)
- High accuracy: 1%
- Resistance value at 25°C=100K
- Wiring length: 1 meter
Package Contents
(1) 24V 250W Silicone Heater (235 x 235mm)
REVIEWS
Love this upgrade
Super fast heating and holds temp very well.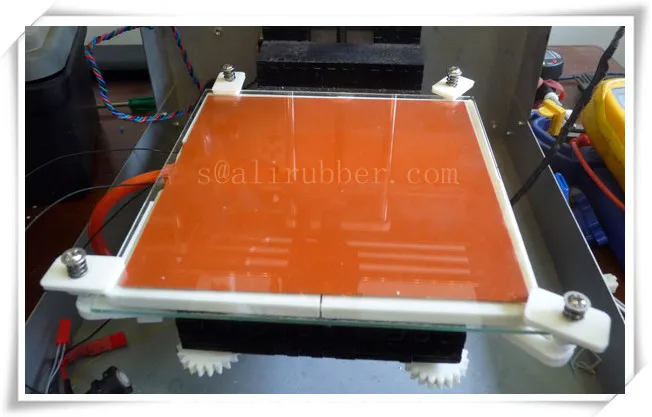 I wish yall would make one for my 5 plus. But I would recommend this for anyone needing a replacement heater
SHIPPING & RETURNS
Shipping
Gulfcoast Robotics ships Monday through Friday, excluding holidays. The shipping cut-off time is 11 A.M. Eastern Standard. Orders placed after the cut-off time will be shipped the following business day. All orders are fulfilled by our warehouse located in North Port, Florida (US).
Domestic Orders
Domestic orders are shipped via USPS using the service selected at checkout. Parcels that exceed the First Class weight limit of 15.9 oz will automatically use Priority Mail. Once your package has been processed, a Tracking Number will be provided. The Shipping Confirmation is sent via e-mail and/or SMS alerts, depending on the contact information specified at checkout.
International Orders
All orders shipped to a destination outside of the United States are subject to the import duties, fees and taxes of the destination country.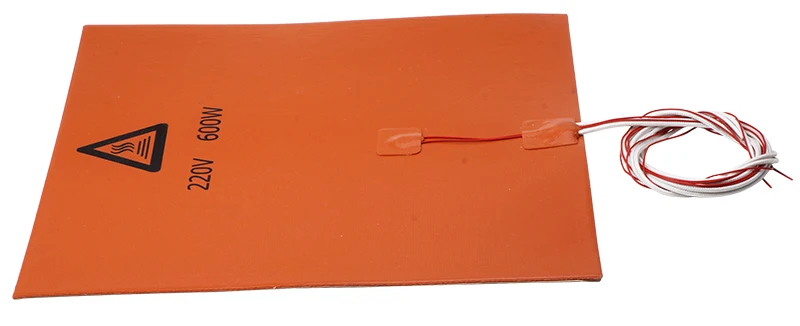 Delays in delivery may occur if your package is randomly selected by the Customs Department for inspection.We have no control over the process or additional charges associated with the delivery and important of your package into your country. We do not benefit in anyway from these charges and work closely with our carriers to ensure as few delays as possible.We are not responsible for any duties, fees, or taxes that are incurred during the delivery of your order/package.
24V 250W Silicone Heater for 235x235mm Heated Bed Upgrade Creality Ender-3 / Ender-5 3D Printers
China Customized 3D Printer Heated Beds Manufacturers, Suppliers - Free Sample
Introducing
3D Printer Heated Beds is specially for 3D Printer Heated Beds printer hot heating bed product. Use nickel-chromium alloy electrical wire or nickel-chromium foil etching circuit. The thermal insulation material of silicone rubber and glass fiber cloth is formed by high temperature molding and aging heat treatment.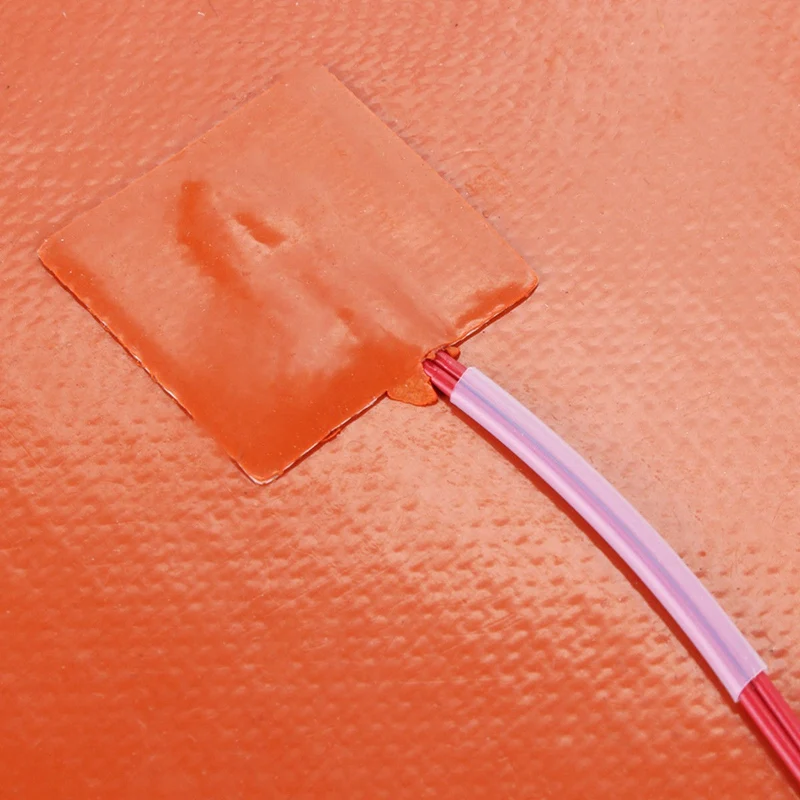 Therefore, it has high reliability. It is soft, fast heating, uniform temperature, high thermal efficiency, long life safety, double-sided addition back, easy to install, can be in close contact with the heated object. we can customize for clients. The product can also set temperature protection. Temperature controller and other accessories. It is more convenient and safe to use.
Quick Details
Applicable Industries: Manufacturing. Petrochemical. Energy. New Energy.
Condition: New
Type: GP-016
Power Source: Electric
Place of Origin: Jiangsu, China
Brand Name: G P
Name:
heated bed 3D printer Dimension (LZWEH): 30WEH 250-1.5 MMM
Voltage: 110V
Power: 400 W
Wire type: Silicone braided wire. 300MM
Accessories: overheat protection switch, digital display temperature control, aviation plug, 3M double-sided tape
Certification: CE, UL, ISO9001, ROHS
SH: 8516800000
After-sales Services Provided: Video technical support, Online support .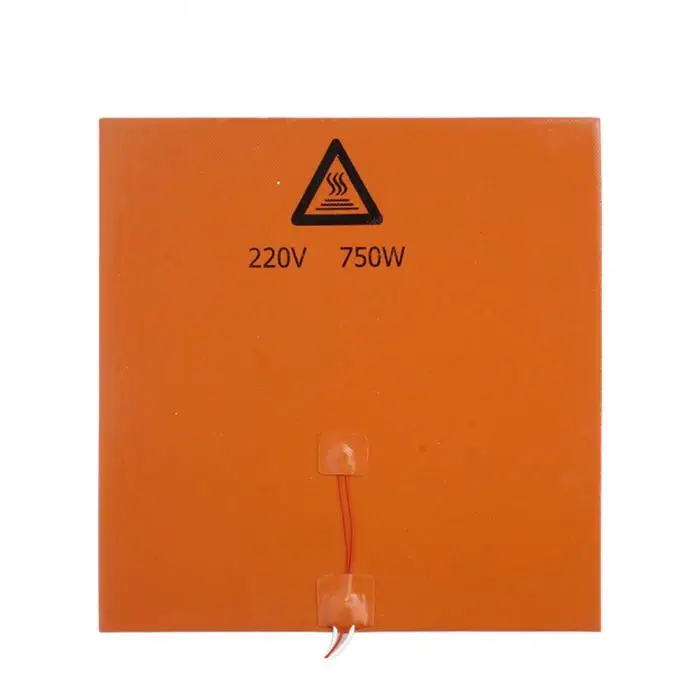
Warranty: 1 year
Specifications
| 0052 | Power deviation speed | ± 5% |
| High voltage resistance | > 5 kV |
2. Heating plates can be installed with different heat probes.
3. The heater can be installed with various plugs or connectors.
4. An aluminum plate can be installed on the back of the heating plate for more even heat dissipation.
5. Temperature control knob, digital display temperature distortion, high power temperature warped system.
6. Heating plates can be installed with an insulating layer.
7. The heater can be equipped with a spring buckle.
8. The heater can be fixed with Velcro.
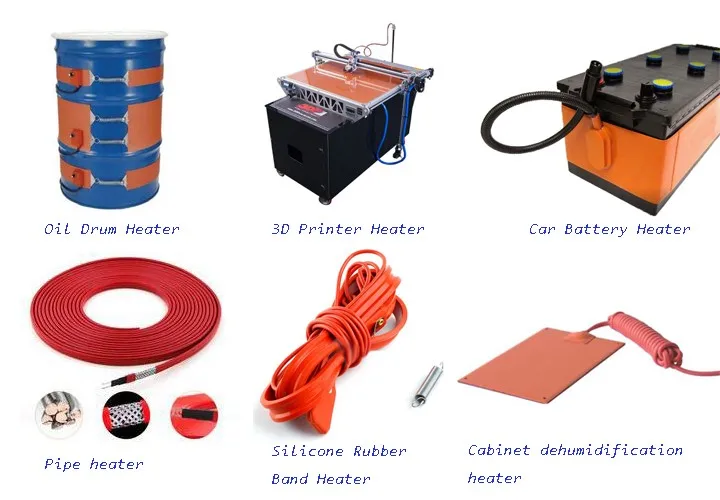
The company was founded in early 1990 in Jiangsu, China, specializing in research and development, production, sales of silicone rubber heaters, silicone rubber electric heating plate, silicone rubber electric heating belt, silicone rubber electric heating film and other silicone rubber electric heating series products.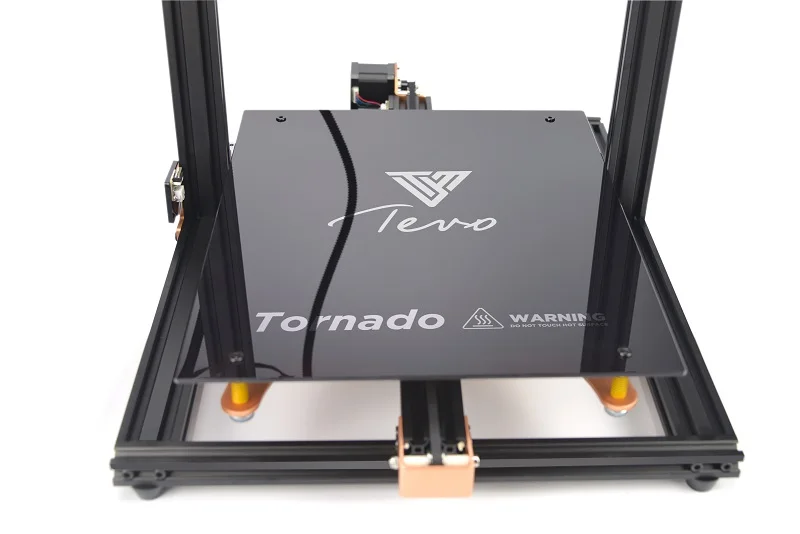 Products through the international certification of UL, CE, ROTH. The company has complete production equipment, perfect process technology, strong scientific and technological force, excellent product development and design capabilities, and rich production experience. After many years of hard work, our products have been exported to Southeast Asia, Europe, America, South America, the Middle East, Africa and many other countries.
Supply Ability:
50000 Piece/Pieces per month industrial cabinet heater.
Packing details:
Boxes, also we can pack as your request.
Port:
Shanghai
Lead time:
Example: 2-5 working days.
Production time: 15 days.
FAQ
Question 1: Why do you choose?
A: 1. Export standard
2. Reasonable price
3. Timely delivery
4. Excellent quality
5. Good service
Question 2: Can I get product samples?
Answer: Yes, of course. Our stock sample is free, but personalized sample has to pay for it and you pay shipping.
Question 3: Do you have a catalog?
Answer: Yes, we have a catalogue. Feel free to contact us to ask us to send you one.
Question 4: When and how can I get a tracking number?
A: As one as we do shipping, I will tell you the tracking number. If you want to know something about the goods along the way, I am please to help you.
Question 5: Are you a factory or trading company?
Answer: We are factory and trading company, we are direct seller, so we can give you the cheapest price than anyone else.
Question 6: Where are you located?
A: Our factory is located in Wuxi, Jiangsu Province.
hot label : heated bed 3D printer, China, manufacturers, suppliers, customized, wholesale, cheap, low price, buy discount, free sample
Techno Print 3D Company
This is our first review of the most popular and inexpensive 3D printers for 2020. The list will include the best-selling devices in two price ranges (up to 30 tr and up to 60 tr). Printers working with both plastic filament (FDM) and photopolymers (LCD/DLP) will be presented. This list will always be up to date, as it is periodically updated and supplemented. Read more→
The Chinese company Dazz3D announces the launch of the project on KickStarter and accepts pre-orders for Dazz3D Basic and Dazz3D Pro 3D printers. These revolutionary new devices are aimed at both the professional and amateur markets. Read more→
We all know that precise calibration of the 3D printer desktop is the foundation and the key to successful printing on any FDM printer. In this article we will talk about the main and most popular ways to level the "bed". So, as mentioned above, 3D printing without desktop calibration is impossible. We face this process Read more→
It's hard to go through a day today without hearing about 3D printing technology, which is bursting into our lives at an incredible speed. More and more people around the world are becoming addicted to 3D printing technology as it becomes more accessible and cheaper every day. Now almost anyone can afford to buy a 3D printer, and with the help of Read more→
The FormLabs Form 2 and Ultimaker 3 are perhaps the most popular 3D printers today, capable of high quality printing with incredible surface detail. Moreover, these two devices use completely different technologies, and therefore, there are a lot of differences between them. Many will say that it is wrong to compare them or Read more→
XYZprinting, best known for its daVinci line of desktop 3D printers, is bringing five new devices to the professional and industrial environment. One will use laser sintering technology, the second full color inkjet printing and three DLP machines. First of all, the novelties will be of interest to dentists and jewelers. Read more→
Cleaning the nozzle of a 3D printer is a fairly common process that any user of such a device has to deal with.