3D printer silent stepper driver
3D Printer Stepper Motors & Stepper Drivers
Sort byRelevanceBestsellersCustomer ReviewsPrice, Low to HighPrice, High to LowNew arrivalsHighest Discount
-
BondTech NEMA17 Pancake Stepper 25mm- Removable cable
- High torque
- Original Bond Tech
-
BIGTREETECH Stepper Motor Driver 9 Model types- High-quality
- Different versions available
- Upgrade option
-
BondTech Heatsink- Better heat dissipation
- Self-adhesive backing
-
Creality Stepper Motor 8 Model types- Original spare part
- From Creality 3D
-
Anycubic Stepper Motor 5 Model types- Original spare part
- By Anycubic
-
FLSUN Stepper Motor 3 Model types- Original spare part
-
BondTech NEMA17 Pancake Stepper 22mm- Fixed cable
- High torque
- Original Bond Tech
-
BIGTREETECH EZ Stepper Driver 2 Model types- 2-in-1 driver and heatsink
- Quiet movements
- Very durable
-
BIQU Stepper Driver- Original spare part
-
E3D Hemera XS Motor- Original spare part
- For E3D Hemera XS
- Including drive gear
-
BIGTREETECH EZ Driver Connector- Adapter for increased compatibility
-
Zortrax Extruder Motor Set- Original spare parts
-
E3D Hemera Motor- Original spare part
- For E3D Hemera
- Including drive gear
-
Artillery Stepper Driver- Original spare part
- From Artillery
-
Artillery Stepper Motor- Original spare part
- From Artillery
-
BondTech NEMA17 Geared Stepper- Planetary gear
- High torque
- Original Bond Tech
All prices incl. VAT.
Best Stepper Motor Drivers In 2022
- Last Updated: December 16, 2022
- Jackson O'Connell
Ever wonder why your 3D printer is so loud (or quiet)? Besides the fans, most of the noise from your printer actually comes from the motors.
Yep, that’s right! Every time the stepper motors on your 3D printer move, the shaft (rod) inside rotates every so slightly and vibrates. The more the vibrations, the louder your 3D printer is…and the less sleep you get.
Stepper motor drivers play a key role in controlling these vibrations and reducing the noise levels from your printer. These small electronic circuits may not look like much, but upgrading them will work miracles. Moreover, not only will better drivers quiet your printer better but they can also improve the movement and accuracy of the motors on your machine.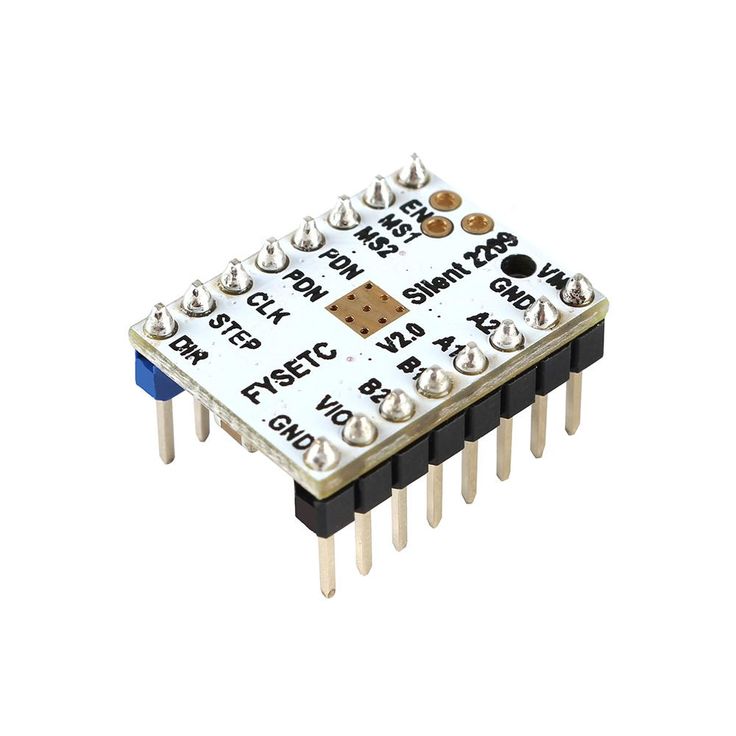
If you’re looking to upgrade your drivers, a set of TMC2209s will certainly improve your printing experience. But if you’ve got some extra money in your 3D printing jar this week or want to use beefier motors, the TMC5160 is a great choice for you.
If you want to learn more about stepper motor drivers and find some of the best options on the market, look no further! In the sections below, we’ve done just that!
Enjoy!
Creality TMC2225
Get Discount Now
Check Latest Price
BIGTREETECH TMC2209
Check Latest Price
BIGTREETECH TMC5160
Check Latest Price
Table of Contents
- Best Stepper Motor Drivers At A Glance
- What Are Stepper Motor Drivers?
- Why Do You Need a Stepper Motor Driver?
- Why Upgrade Your Stepper Motor Drivers?
- What to Look For in Choosing a Stepper Motor Driver?
- Microsteps
- Noise
- Features
- Power Rating
- Heat Sink
- Price
- Product Reviews
- 1.
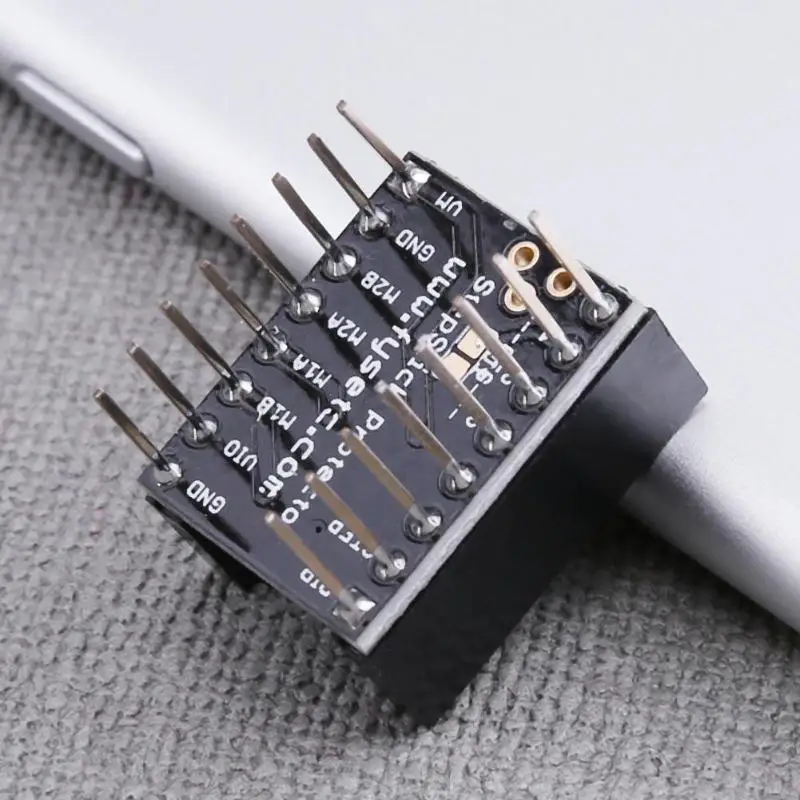 BIGTREETECH TMC2209 (Best Choice)
 - 2. BIQU A4988 (Best Budget)
- 3. BIGTREETECH TMC5160 (Premium Choice)
- 4. Creality TMC2225 (Best Value)
- 5. BIGTREETECH TMC2208
- 6. Songhe DRV8825
- 1.
- Conclusion
Best Stepper Motor Drivers At A Glance
1. BIGTREETECH TMC2209 (Best Choice)
2. BIQU A4988 (Best Budget)
3. BIGTREETECH TMC5160 (Premium Choice)
4. Creality TMC2225 (Best Value)
5. BIGTREETECH TMC2208
6. Songhe DRV8825
What Are Stepper Motor Drivers?
So, what is a stepper motor driver? Stepper motor drivers are small but complex, circuit boards that go on the motherboard of a microcontroller, like the controller board on your 3D printer, CNC mill, or lathe.
The main purpose of a stepper motor driver is to regulate the power directed to the connected motor on the controller board. To better understand how stepper motor drivers work, though, we have to first cover the thing they work around: stepper motors.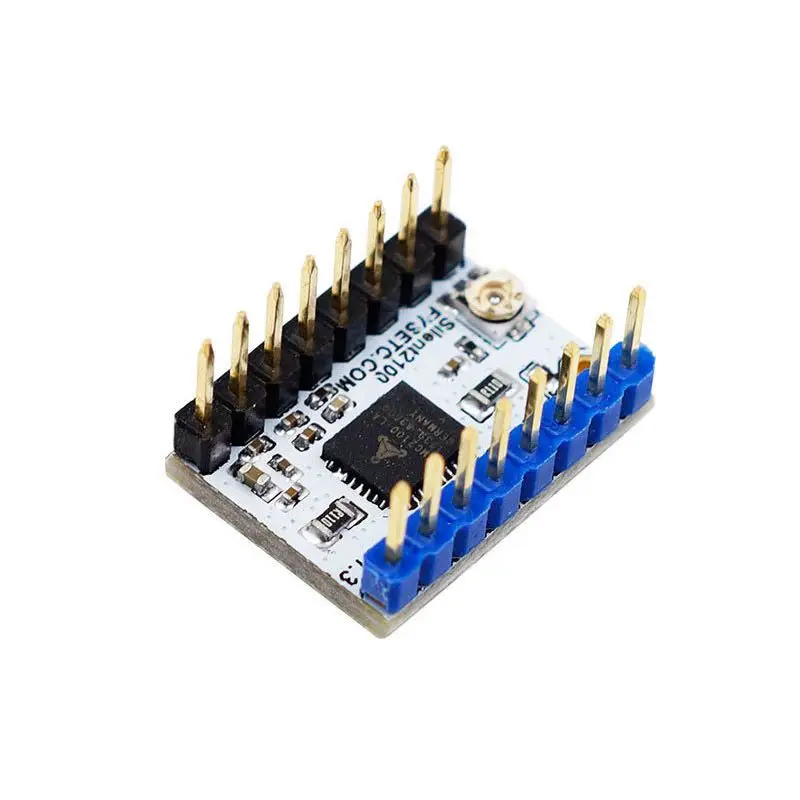
Stepper motors are a specific type of rotating motor that moves in steps (hence the name). This is done by powering small electromagnetic coils inside the motor and having the central shaft spin based on which coils are powered. The distance the shaft rotates when the next coil is powered is called a single step.
However, when a stepper motor is tasked with moving with such precision, as is required on a 3D printer, a single step just isn’t small enough. That’s why there’s a special process called microstepping.
Microstepping is the process of giving power to two consecutive electromagnetic coils in a stepper motor. The result is that the shaft will basically make a half step rotation.
But the fan doesn’t stop at ½. Stepper motors can make a quarter, eighth, sixteenth, and so on steps. Today, it’s not uncommon for 3D printer stepper motors to be able to make 1/256 steps.
But microstepping is only possible with good stepper motor drivers.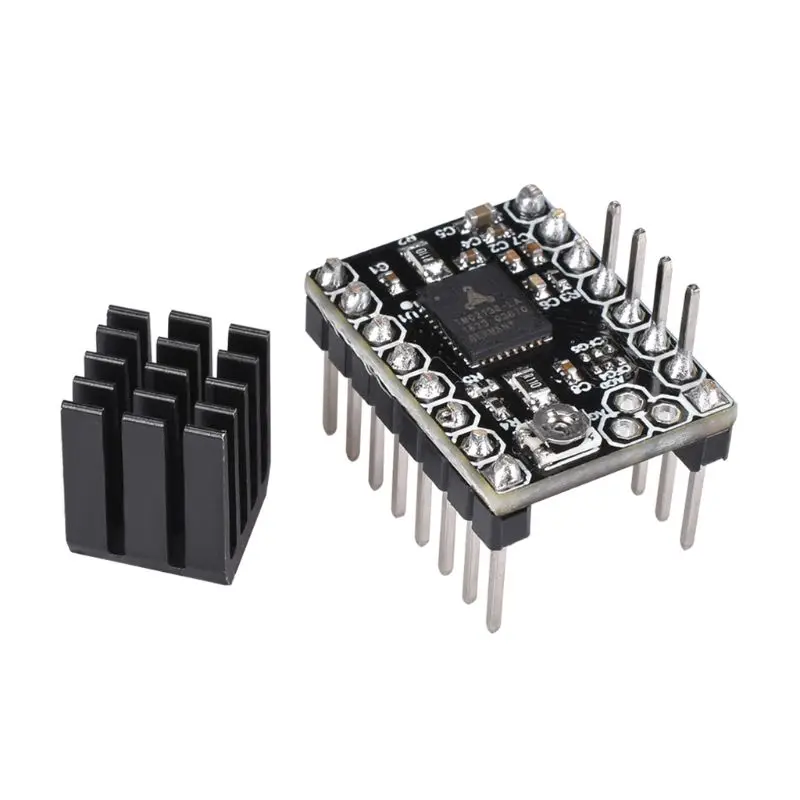 That’s because these small devices are the ones that take the power supplied by the motherboard to the motor port and push it to a specific coil, or multiple coils. The better your stepper motor driver, the more power it can handle, the better it can distribute it, and the lower microstepping fractions you’ll be able to achieve.
If you think that’s complicated, you’re right. But you don’t have to worry about all of this sciency stuff, because we’ve already put in the research to find the best stepper motor driver for you.
Why Do You Need a Stepper Motor Driver?
So, what’s to prevent you from just not using a stepper motor driver? Well, first off, the motherboard simply won’t be able to power the stepper motor in a way where the shaft turns.
However, let’s say, for the sake of the argument, that it was able to spin the stepper motor shaft. In this unlikely scenario, the motor would still only be able to move in single, whole steps. And, unless the electromagnetic coils are separated with such little space that the motor can turn in spaces of 0.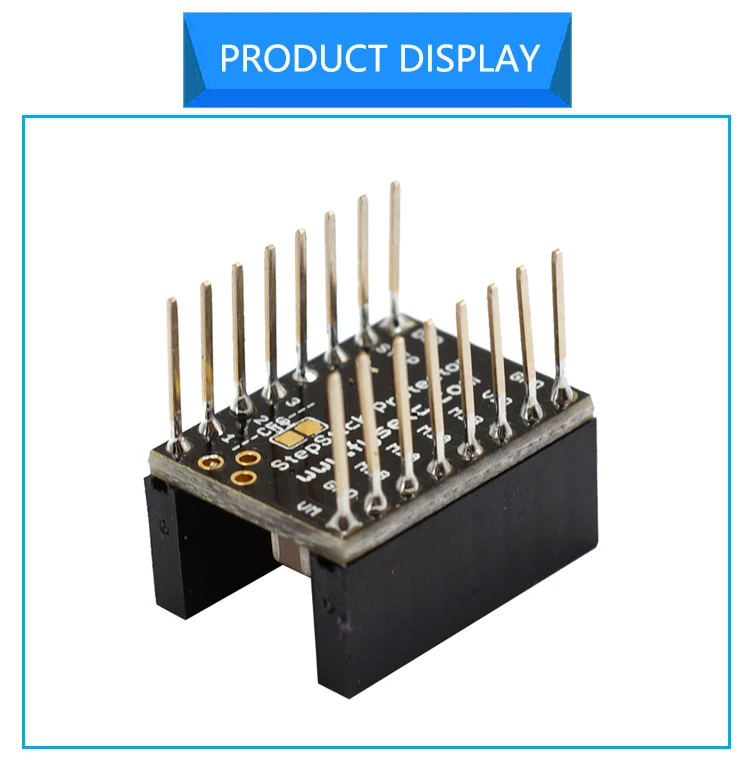 005-0.01 mm, then the motor wouldn’t be accurate enough to go on a 3D printer.
So, why do we need stepper motor drivers? Because they power the stepper motor and make it accurate enough to print high-quality models.
Why Upgrade Your Stepper Motor Drivers?
As we mentioned, stepper motor drivers impact both the noise levels of your printer as well as its print quality. Better drivers can make a world of difference in prints, yielding sharper corners, smoother walls, and other improvements.
Upgrading your drivers to newer options is a great way to improve your printing experience. Additionally, some of the newer and more advanced firmware features that further improve print quality, such as linear advance and sensorless homing, require newer stepper motor drivers. So you will only have access to them if you upgrade.
Of course, we can’t forget to mention that you can’t just rip out the driver from any 3D printer board. Most 3D printer boards that come with a printer have integrated stepper motor drivers.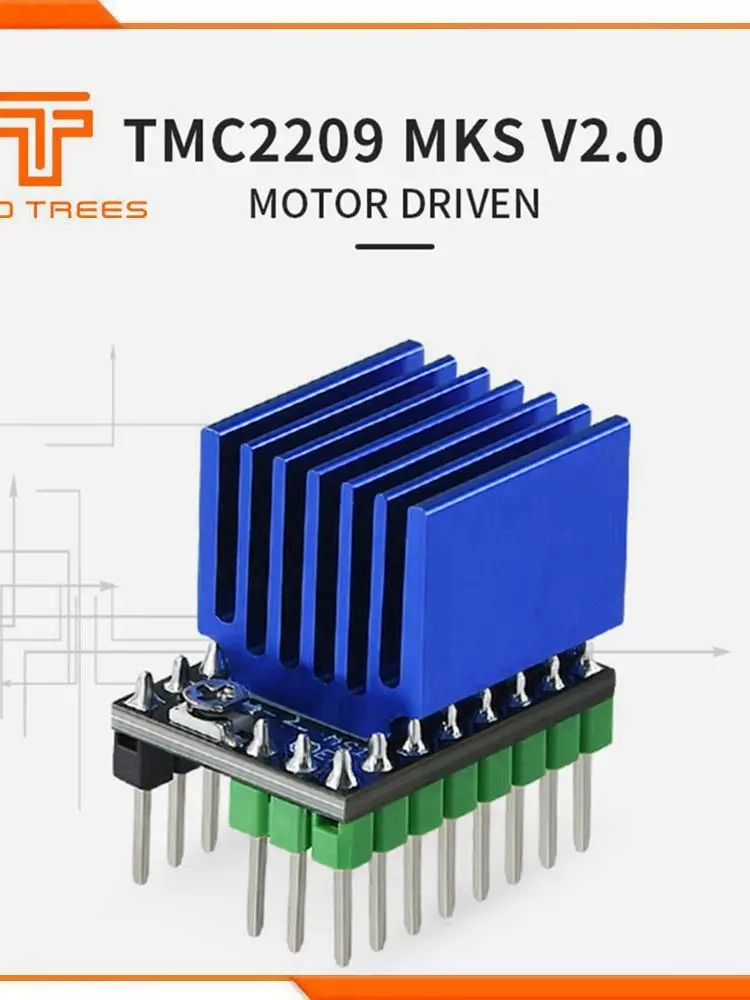 This means, the driver is built into the controller board and can’t be detached.
However, you can easily remove and replace your stepper motor drivers on 3D printer controller boards that have open-ended driver ports. That’s because all drivers meant for 3D printing follow the same pinouts so the ports are universal.
If you don’t have a 3D printer motherboard with open-ended driver ports, you can still upgrade your drivers in two ways. The first is to buy another controller board with better integrated drivers. Alternatively, you can purchase a motherboard with open-ended driver ports and buy the drivers separately and install them.
Check out our reviews of the best controller boards for 3D printers here.
What to Look For in Choosing a Stepper Motor Driver?
There are many stepper motor drivers on the market today. However, it takes a lot of work to develop new drivers as the internal specifics of each one is pretty complex. As such, most of the available drivers that are meant for 3D printers are made by the same manufacturers.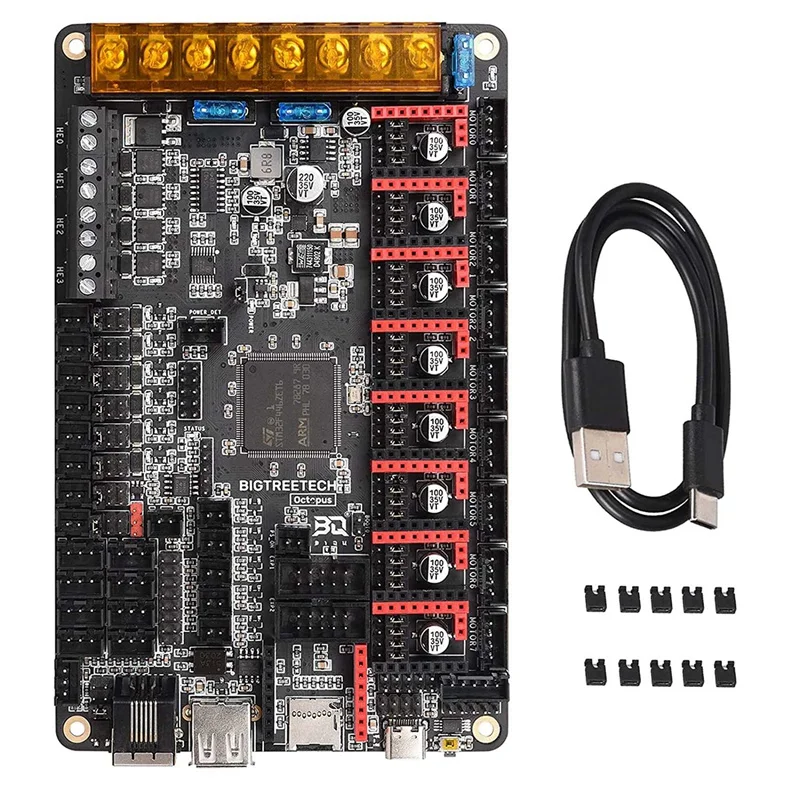
Despite the very obvious oligopoly in the market, there are still a few specifics that you should look for in drivers.
Microsteps
First off, the microstepping abilities of the driver are perhaps the most relevant feature for 3D printing. The higher the denominator of the microstepping fraction, the more accurate your motors will be, and the better your prints.
Noise
Secondly, the noise output of the drivers is worth looking at. While this isn’t always a published number, checking community experiences with the drivers and their noise can help.
Features
Next, you should look at the available features of the driver. While we can’t cover them in detail because they are too complex, the more special running modes a driver has, the better because you can use the drivers in more ways. Some examples of these modes include StealthChop, SpreadCycle.
Power Rating
The power rating of the driver is also very important. Not all drivers can handle as much power as others, so, if you’re using more power-heavy motors like the beefy NEMA-17s, then look for a high-rated stepper motor driver.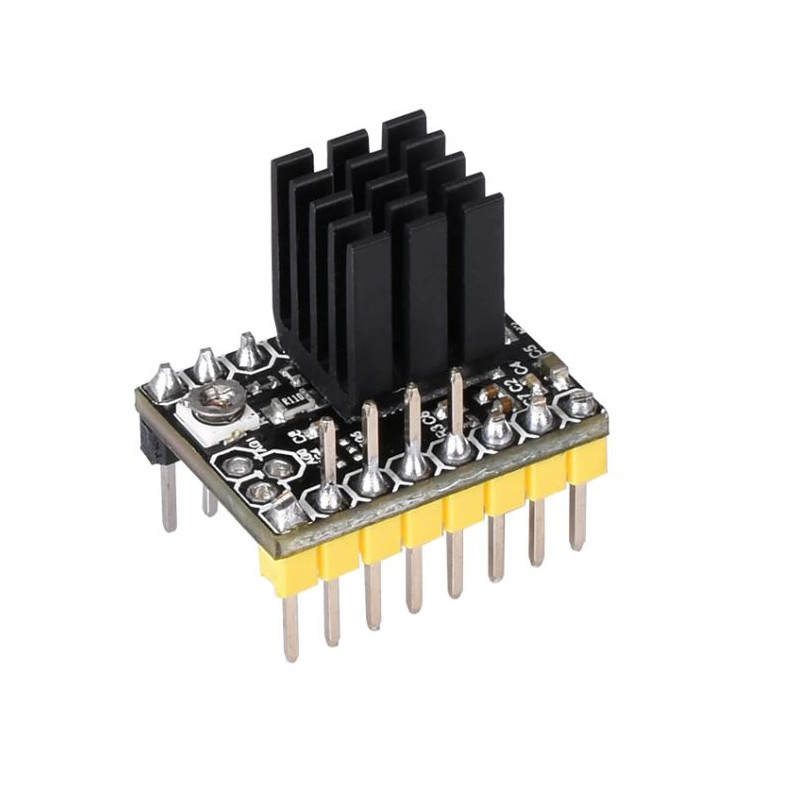
You can find the Power Rating (P) by multiplying the Voltage (V) by the Current (I).
The formula is P = V x I.
Heat Sink
As we mentioned, only a few companies develop drivers, but there are many sellers of these products. When looking for stepper motor drivers, look for some of the accessories that the seller might throw in, like heat sinks, which will increase the performance and longevity of the drivers.
Price
Lastly, don’t forget about the price. Drivers should be pretty inexpensive, constant anywhere from $10-40 for a pack of four. Remember that four drivers is enough as this will cover the X, Y, Z, and extruder motors on your printer.
Product Reviews
Now that you know about stepper motor drivers, why they’re necessary, why you might want to upgrade, and what to consider when looking for drivers, let’s get into the actual products. In the following sections, we’ve gone over what we believe to be the best stepper motor drivers for your 3D printer.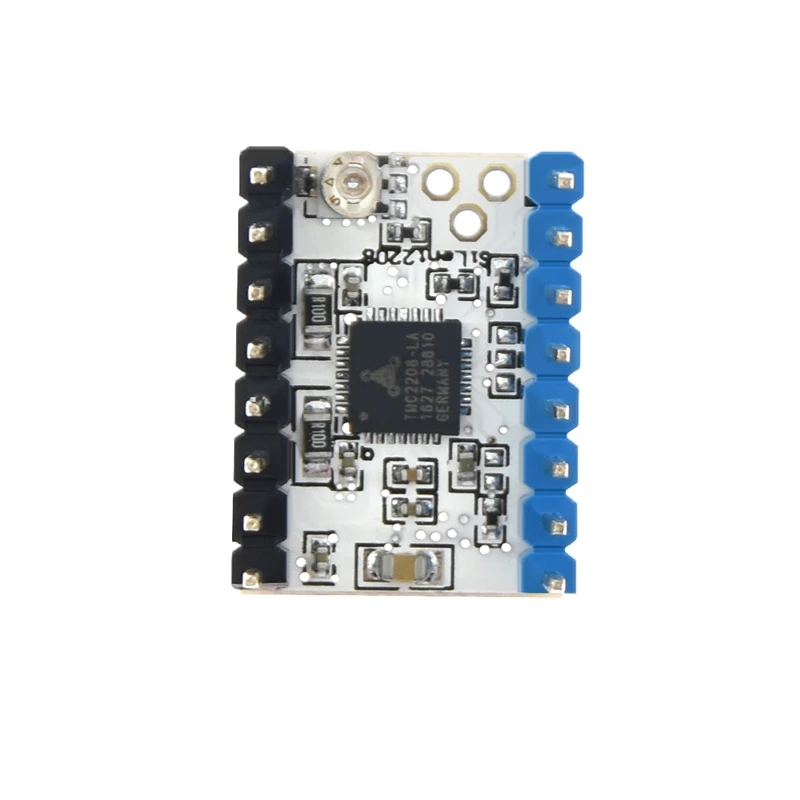 We’ve included a diverse selection of drivers, including higher-end options, budget choices, and everything in between.
Our first stepper motor driver is the TMC2209, arguably the best driver overall when considering the different features, price, and silencing ability. For reference, TMC2209 drivers are the same ones used in the BigTreeTech SKR E3 V1.1, and they are perfect for lowering the volume of your printer’s stepper motors.
Additionally, the TMC2209s are known to be compatible with Marlin firmware’s linear advance feature, which improves the extrusion of your printer. So, if you use some 2209s on your 3D printer controller board, you can get sharper corners on prints, more dimensionally accurate models, and other benefits through the linear advance feature.
The microstepping on the 2209s goes up to 1/256, meaning you can get super accurate when it comes to motion control on your printer.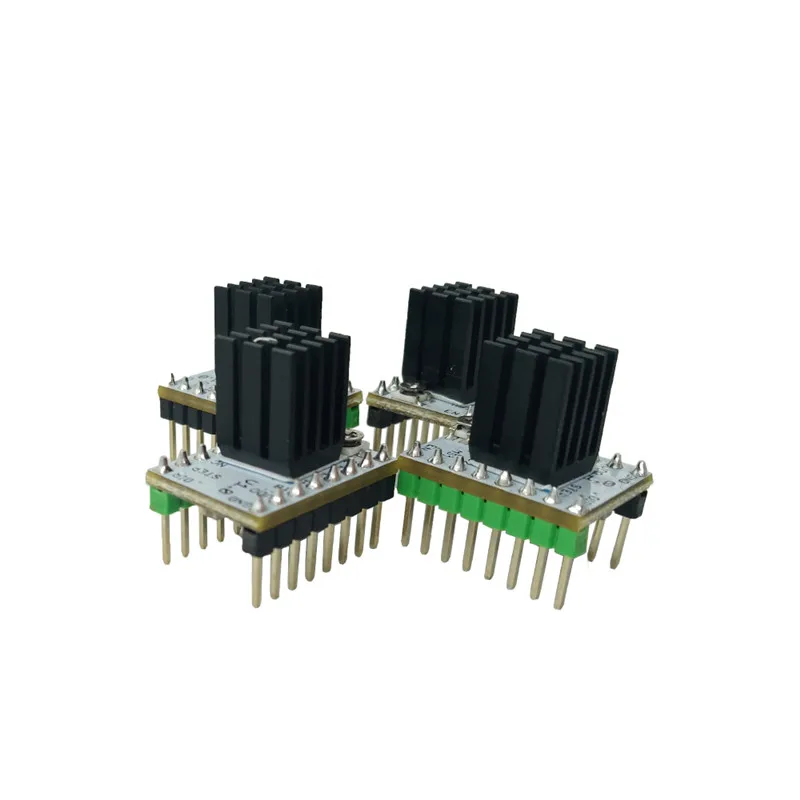
Sensorless homing is also possible on the TMC2209s, so you can actually move the motors without using any endstops as long as you configure the firmware properly. As such, you can lower the cost of a printer you’re building if you use these sub-$10 drivers instead of purchasing a set of endstops. The downside of this feature is that the drivers run a little hot, but the CoolStep mode that’s compatible with the driver is a possible solution to lowering the temperature.
Overall, if I had to actually choose just one set of drivers to use on all of my 3D printers, I would 100% go with the TMC2209s. Their low price combined with their incredible quieting abilities and other features makes the decision a no-brainer.
- Good bang for your buck
- 1/256 microstepping
- Very quiet
- Compatible with many special modes
- Works with Marlin’s linear advance feature
- Somewhat expensive
- Known to run a bit hot
Check Latest Price
2. BIQU A4988 (Best Budget)
 If you’re on a tight budget and just need basically any stepper motor driver, the A4988 will do what’s necessary.
I want to make it clear that these drivers will do almost nothing to quiet your printer’s motors and that you will hear your printer from a different room. However, they are super inexpensive, widely available, and are a reliable option.
These old’ reliable drivers were developed by Allegro MicroSystems and are very capable with 8-bit 3D printer motherboards. With these drivers on your board, you can get 1/16 microstepping which is by no means good. However, it’s better than no microstepping I guess.
As for their compatible modes, there aren’t really any, mainly because they are very outdated. As such, it’s not unlikely that consistent use of 1/16 microstepping will run these drivers very hot because there is no cooling mode, like CoolStep to help with this issue.
But, as I said, these drivers are very reliable and still do the most basic function of allowing the stepper motors to work.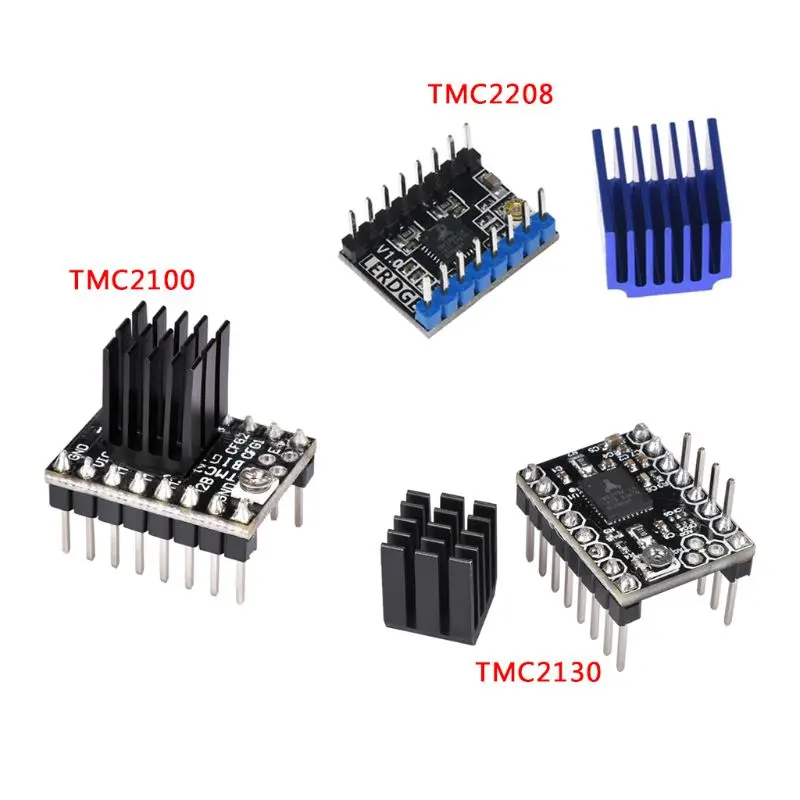 So you might want them if you’re going for a cheap 3D printer build or don’t care how noisy the machine is.
- Very inexpensive
- Reliable and very compatible
- Widely available
- Only capable of 1/16 microstepping
- Very noisy
- Runs hot
Check Latest Price
3. BIGTREETECH TMC5160 (Premium Choice)On the opposite end of the spectrum, the TMC5160 driver is one of the most expensive stepper motor drivers you can get for a 3D printer.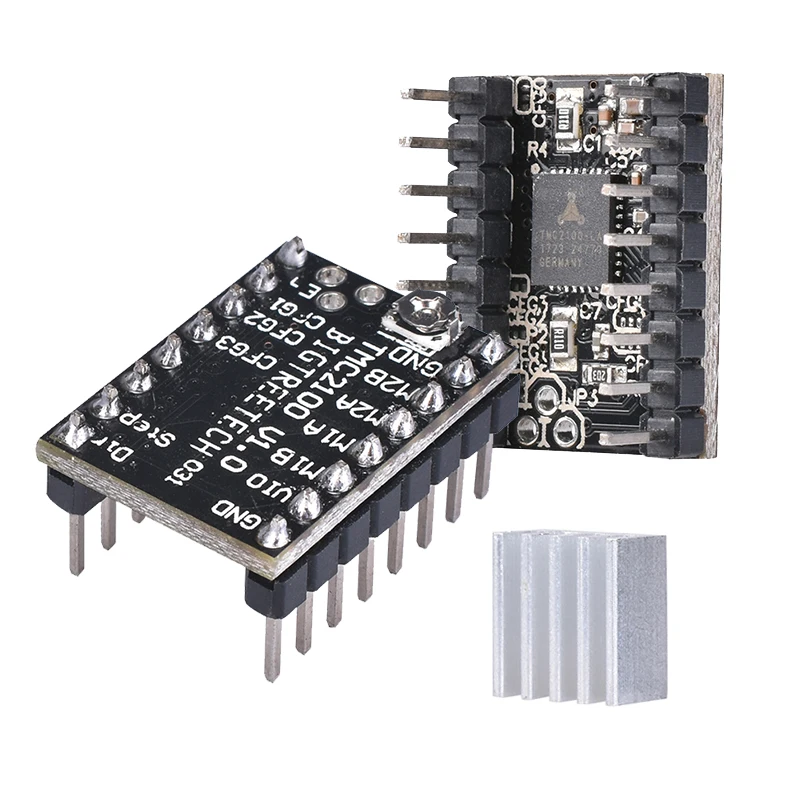 However, they have some epic features that might make them worth the price, which is why I’ve given them the title of “Best Premium Choice”.
First off, TMC5160 drivers will run you just above $15 a pop, so the drivers will likely cost more than your typical 4-motor motherboard. However, basically all TMC special modes, like CoolStep, StealthChop, MicroPlyer, SpreadCycle, stall detection, and passive braking work with these drivers. These modes are very present in the backend of a 3D printer, but I promise you they mean something and aren’t just random terms.
Furthermore, the 5160s allow for sensorless homing so you don’t even need to use endstops on a printer. 1/256 microstepping is also possible with these drivers and they make your motors quiet…like super duper quiet.
And, the best part is that, even when you maximize the use of these drivers, they don’t run too hot so they shouldn’t fail on you.
The drivers also have a high current rating, meaning they can support high-torque and power-intensive stepper motors.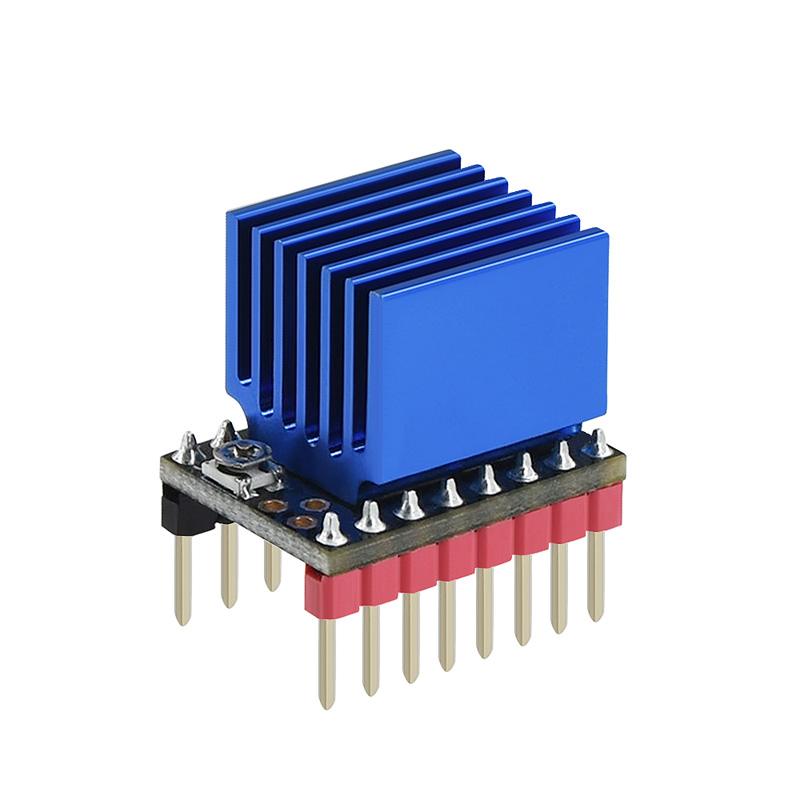 This makes them a great option for those using the beefy NEMA-17 motors on the more professional and industrial 3D printers.
While you probably will never need all that the TMC5160 offers, if you want the best of the best stepper motor drivers, then this one’s for you!
- Good bang for your buck
- 1/256 microstepping
- Pretty quiet
- Doesn’t work with linear advance (standalone mode)
Check Latest Price
4. Creality TMC2225 (Best Value)TMC2225s are a great middle-ground choice. For reference, these drivers can be found in the Creality V4. 2.7 “silent” board, and they live up to their name, providing a super quiet printing experience.
The drivers are pretty inexpensive, costing under $20 for 5, which is why I think they’re a reasonable investment for those looking for very precise motor movement and low noise levels. You can get as low as 1/256 microstepping with the 2225s, meaning very accurate prints are possible. However, make sure to be careful when using this level of microstepping as the drivers are known to get hot.
A downside of the 2225s is that they operate in standalone mode, meaning you can’t use linear advance with Marlin firmware because it doesn’t support this model of driver. The current rating for these drivers is pretty mediocre so don’t expect to be running a beefy motor off of this driver super well, but it should work.
Personally, I think the TMC2225’s are pretty underrated considering they do a great job at lowering the noise of your printer’s motors while not costing that much. So, if you’re looking for a good bang for your buck, consider the TMC2225.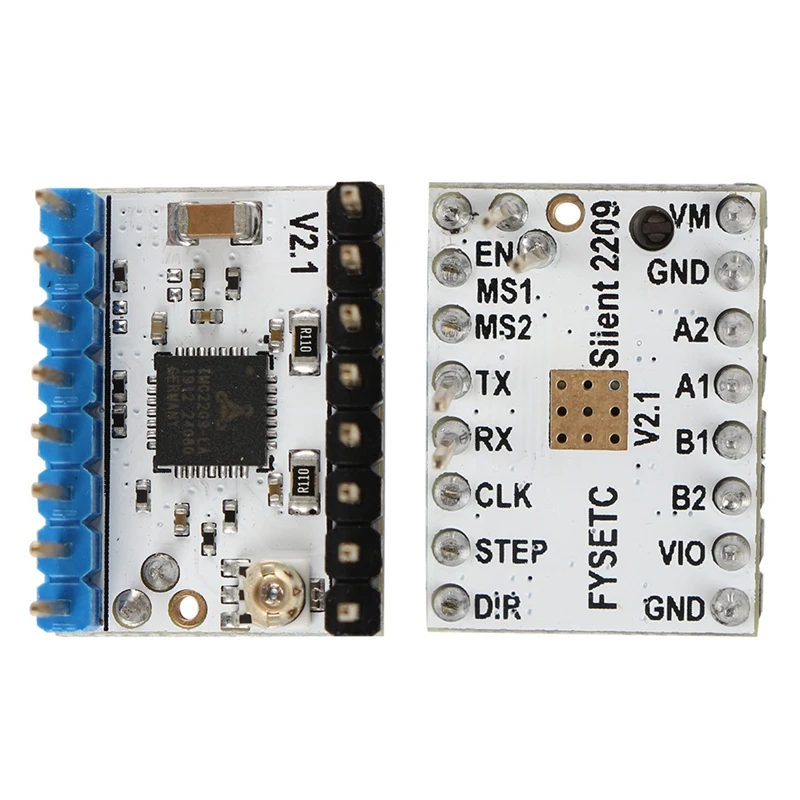
- Good bang for your buck
- 1/256 microstepping
- Pretty quiet
- Doesn’t work with linear advance (standalone mode)
Get Discount Now
Check Latest Price
5. BIGTREETECH TMC2208The TMC2208 drivers are like the less cool version of the TMC2209 drivers. Unlike the 2209s, TMC2208s aren’t great for linear advances because their support in Marlin firmware is limited. The drivers are slightly less expensive than the 2209s, though and still do a pretty good job at keeping the noise output of the motors down.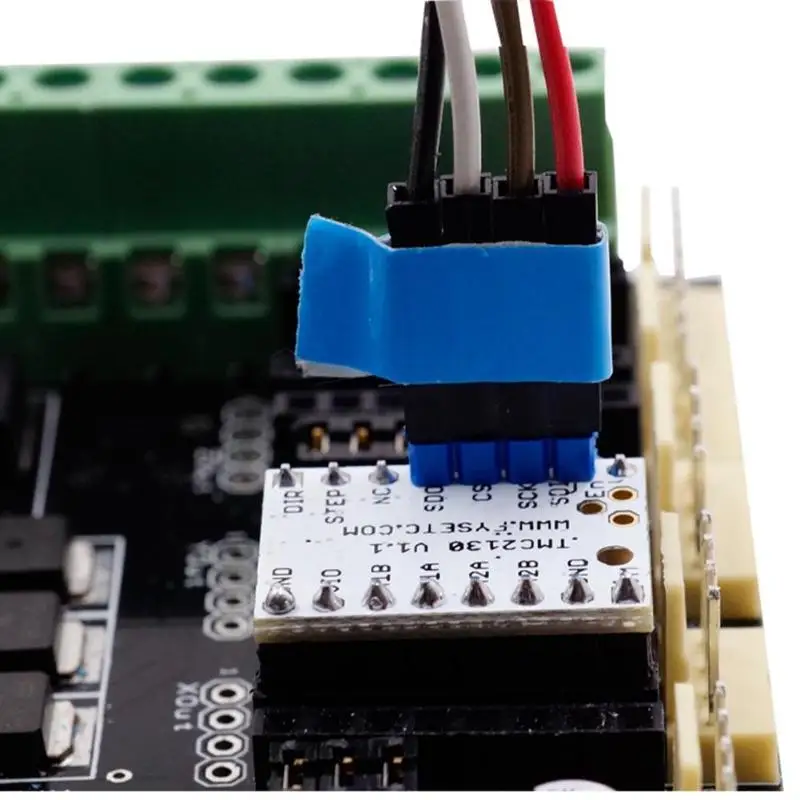
The TMC2208s can operate in a few different special modes, like MicroPlyer, which allows for 1/256 microstepping. This is super useful for achieving accurate prints, but it’s known that the 2208s run pretty hot in this mode, so be careful.
Some other operation modes/features for the drivers include UART (more diagnostics for the motors), StealthChop2, and SpreadCycle.
The TMC2208s are, in my opinion, a decent set of drivers that do a good job at quieting the printer and allowing for accurate motor movements. However, if I’m being honest, for an extra few bucks you can get yourself a set of TMC2209s which are better in basically every way. But, if the TMC2209s aren’t available or you really care about a few bucks, then the TMC2208s will work excellent for you!
- Fairly inexpensive
- 1/256 microstepping
- Capable of UART communication mode
- Pretty quiet
- Replaced by the 2209s which are similarly priced
- Known to run hot in MicroPlyer mode
- Not good for linear advance
Check Latest Price
6. Songhe DRV8825
 Our last driver is the DRV8825, developed by Texas Instruments. While not very popular, the DRV8825 are very inexpensive, making them a great option for those building low-cost printers.
The drivers are capable of 1/32 microstepping. Although this level of microstepping isn’t impressive, it’s not terrible considering the low price and the age of the drivers (they’re not cutting-edge).
Sadly, the drivers don’t do a great job at lowering the noise levels of your motors and it’s also reported that they often result in artifacting on the exterior surface of prints. However, they do have a high current load rating, so you should be able to use more powerful motors with the drivers without worrying.
While I can’t say that the DRV8825 drivers are the “best” at anything, they are another budget option that I think are one of the best in the “least expensive” category.
- 1/32 microstepping (it isn’t terrible)
- Very inexpensive
- High current load rating
- Known for artifacting on the surface of prints
- Old and not cutting-edge
- Unpopular manufacturer (no special modes)
- Not very quiet
Check Latest Price
Conclusion
Although different stepper motor drivers don’t look all that different, they can massively change the performance and usability of your 3D printer.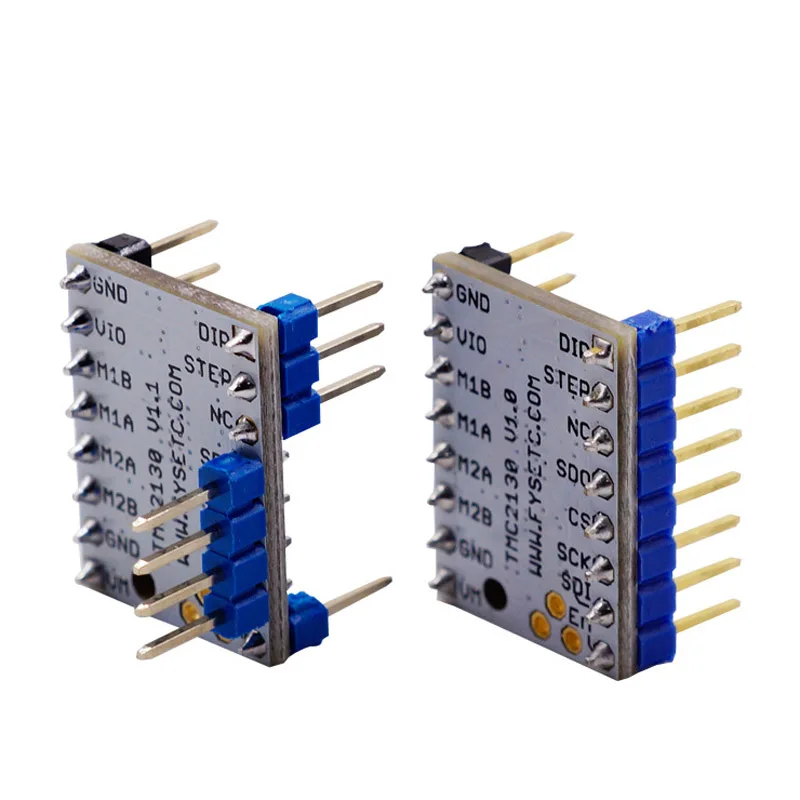 Upgrading your drivers will not only quiet your printer more but also improve the accuracy and quality of your prints.
If you’re in the market for some new drivers, I have to first recommend the TMC2209s. These drivers are a great overall pick, costing not too much money while providing almost any feature you want.
If you’re on the more professional side, the TMC5160s might be more up your alley as they really are the best on the market and have a high current rating. Just make sure they fit in your budget! Finally, if your looking for a steal and don’t care too much about how loud or accurate your printer is, the A4988 or DRV8825s should be a good fit!
Driver for 3D printer
For the correct operation of any 3D printer, you need a special device that will be responsible for controlling the stepper motor. Incorrect installation or malfunction will result in printing problems or damage to the printer itself.
What is a 3D printer driver?
The 3D printer driver is a device whose main function is to control the kinetic movement of the printer's stepper motors.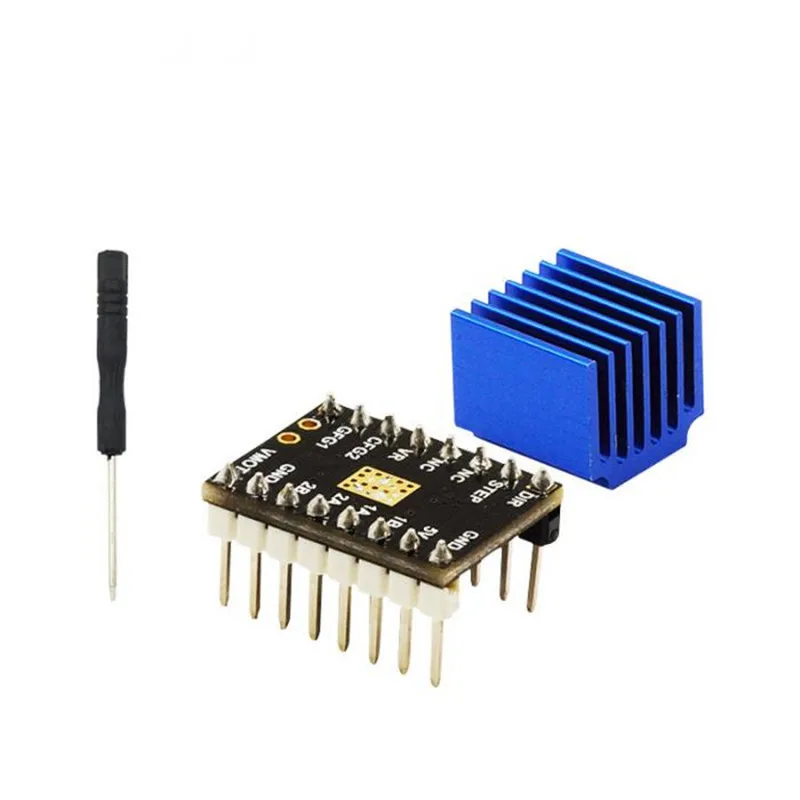 The driver sends commands to the microcontroller that describe the movement of the shaft - the number of steps and direction, at the output receiving a sequence of signals specified in a certain way for the motor winding. The driver in this process is responsible for converting one signal to another. nine0003
Manufacturers offer many models of 3D printing drivers that vary greatly in quality. Top models are able to maintain high output currents while maintaining an acceptable operating temperature, and are able to control the motor so that it does not make excessive noise, does not overheat, and the print head moves smoothly, without jerks and accelerations.
Drivers are used everywhere where stepper motors are used: in all CNC machines, actuators, 3D printers, laser engravers, etc.
Modern 3D printers use kinematics and a control method, which consists in the sequential transmission of the coordinates specified for the movement of the hotend. Methods is the generally accepted standard for controlling all devices equipped with a CNC unit. Data transfer is carried out in a specially developed programming language called G-code.
Control boards and drivers are responsible for the physical movement according to the given code.
Boards, in turn, are divided into two types based on their capacity:
- 8-bit.
- 32-bit.
The first 3D printers were designed using the self-replicating mechanism used to quickly reproduce REPRAP prototypes and were based on one of the most common boards used in robotics, the Arduino. To develop the firmware of devices in these cases, a special environment was used - the Arduino IDE. In the future, in order to expand its capabilities, the RAMPS expansion board was additionally developed, which allows you to effectively control the rotation of stepper motors and take into account the zero position using limit switches. nine0029 Additionally, drivers were developed to control stepper motors that could be combined with these boards (Pololu drivers).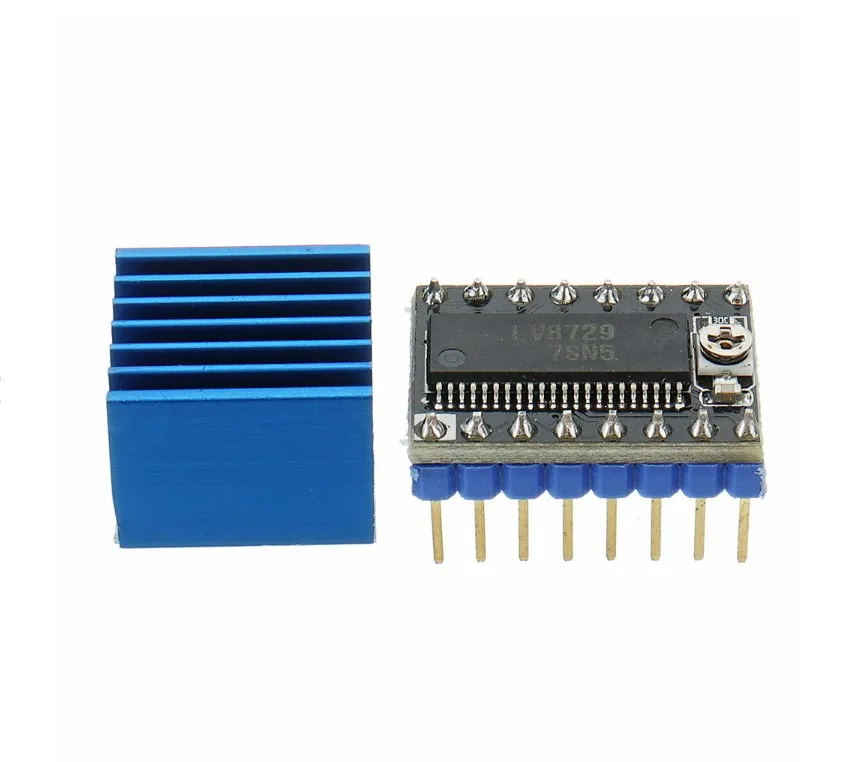
To date, the installation of such a driver is required for each stepper motor of a printing device controlled by the Arduino + RAMPS bundle. RAMPS is able to work effectively when connected to up to five stepper motors.
Other All-in-one boards are equipped with special pads for Pololu drivers, which are widely used among users. nine0003
Many drivers have been developed that are compatible with the boards used in modern 3D printers. The most popular include:
- Driver A4988. The manufacturer produces the device in green and red colors, the maximum divider step is 1/16.
- There are purple and blue devices on the market. The main drawback of the model is the lack of a well-thought-out hold mode, which causes the device to get very hot. Such a chip is recommended to be installed only in conjunction with a powerful heatsink that can compensate for excessive heating. The maximum divider step is 1/32. nine0024
- The original driver is made in Germany and the USA, but it is easy to buy a similar one made in China on the market.
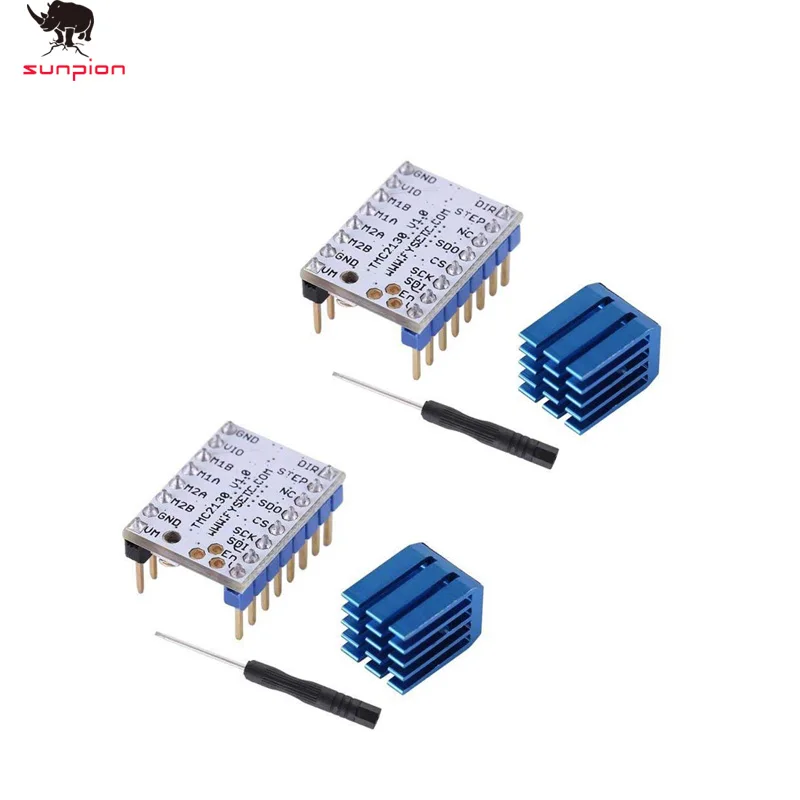 Copies differ from the original only in the accompanying piping - resistors, capacitors, etc., therefore, when using non-original devices, it may be difficult to select the voltage to power stepper motors. The device is characterized by quiet operation, background noise and engine sounds are minimized by manufacturers. The driver is equipped with its own chip, which is able to interpolate a 1/16 divisor to 1/256 without creating additional load on the processor. nine0024
 - Made in China by Makerbase. A distinctive feature of the driver is the wide possibility of adjusting the microstep divider - from full to 1/128. There is no internal share in this driver model. The device is intended for installation on 32-bit boards only.
- Manufactured by Panucatt Devices. The driver is able to support microstepping from full to 1/32 and has well-thought-out protection against excessive voltage and high temperatures. Two model options are available: in the standard version, the voltage adjustment pin pad is shorted, so voltage adjustment can be made by the user in a manual setting format using a screwdriver and a multimeter.
 In the version with digital adjustment, debugging is performed at the software level and can only be supported by its own controllers - Azteeg X3, X3 PRO and X5 mini V3. nine0024
 - This model is also manufactured by Panucatt Devices. The driver is equipped with a sensor that protects it from overheating and high voltage and also comes in two versions - standard and digital. The device is based on the THB6128 chip. Designed for installation on eight-bit boards.
- A new version of the driver from Trinamic and Watterott. A special board via the UART interface is responsible for dividing the microstep. The built-in board allows you to connect the driver to a computer using a USB cable and configure it using your own software. nine0024
Installing and configuring the driver for the 3D printer
For the correct operation of the 3D printer, before starting it for the first time, it is necessary to install and configure the drivers.
IMPORTANT! Before debugging, it is recommended to temporarily disable the anti-virus programs installed on the computer.
This will help to avoid false triggering on files downloaded from external devices or the Internet.
The installation process takes place in several stages:
- Start the installation by downloading the driver file and running it. To do this, you will need to log in with an administrator account and run a file called "exe file". Next, following the instructions of the installer, complete the process and connect the 3D printer to your computer using a USB cable. The program will automatically find the device and assign it a COM port.
- Next, you need to download and install a program called Repetier Host. Once the download is complete, launch the program file and wait for the download to complete. After the installation is completed, along with the program, all the necessary accompanying programs will be launched, including slicer programs. During installation, it is recommended to uncheck the box next to the item about installing the Server utility, since it will not be required for further work and will take up device resources unreasonably.
 nine0024
 - The next step is setting up the settings for the personal computer. During this, a corrected interface in Russian will also be configured, the necessary scripts and an active link to the help section. At this point, the Magnum 3D and Magnum 3D Vase slicing profiles will be rewritten, so any changes made by the user should be renamed before starting the process. Otherwise, they will not be saved after reinstalling the program.
- After the installation is completed and the settings are set, you should run the Repetier-Host program and select the COM port to which the printer was connected. This step is mandatory because the installer automatically assigns COM3 to the device, which can interfere with further debugging. nine0024
- Next, following the instructions of the program, you need to update the downloaded scripts and restart the computer.
- During the reboot, you will need to press the F8 button and select the "Disable Driver Enforcement Signing" option.
- After downloading, you will need to do the following: open the Start menu, open the Settings tab, go to the Update and Security section and select Recovery. Then, going to the tab "Special boot options", you must select the item "Restart now". nine0024
- When the process is completed (the reboot should go through in normal mode), you should open the "Diagnostics" tab, go to the "Advanced Options" section, select the "Boot Options" item and restart the computer again. When the device reboots, a menu will appear on the screen with a choice of parameters that will be used by the system in the future.
IMPORTANT! In order to install an unsigned driver, you must disable automatic digital signature verification by selecting the appropriate item in the menu and pressing the F7 button. nine0003
There is an alternative method for installing the driver for 3D printers. It is used if the system to which you plan to connect is 64-bit.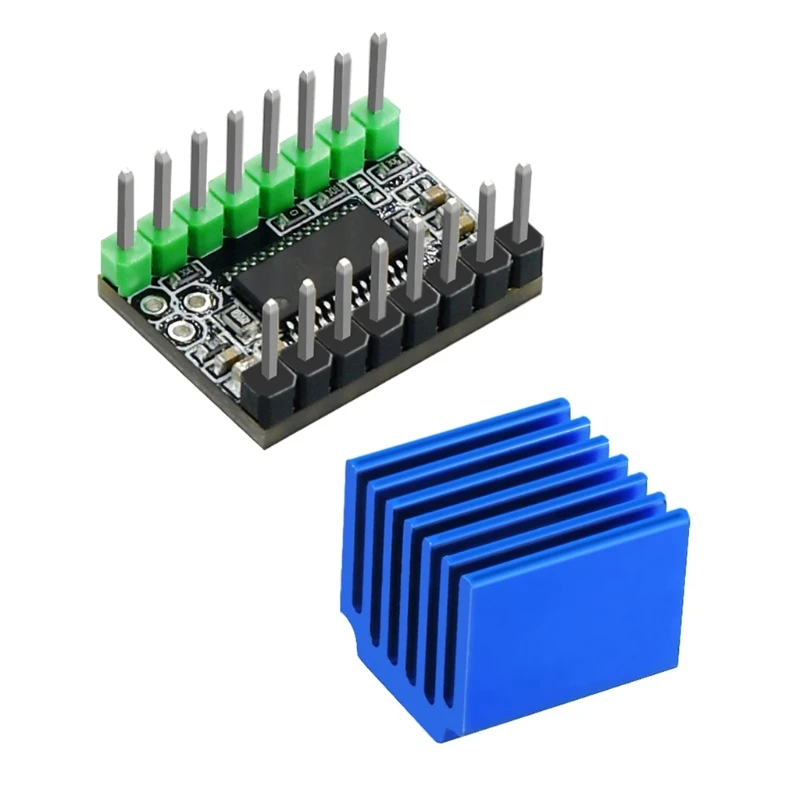 In this case, the instructions above will not work.
In this case, when connecting the CNC device to the computer for the first time, for an unrecognized USB Serial device, you must select the driver yourself by opening the Modems section and selecting Compaq, and then Ricochet Wireless USB Modem devices. nine0003
Errors and how to avoid them
During the driver installation process, some errors may occur that prevent the process from completing.
The most common reasons for their occurrence include:
- Technical malfunction of the device. Even if the driver is detected by the system when connected to a computer, if it malfunctions, the installation will not be able to proceed correctly.
- Faulty installation program. The installer may have been corrupted during download or may have been infected with malicious code. The cause of errors may also be the absence of one or more files in the archive. nine0024
- The driver version does not match the installed device.
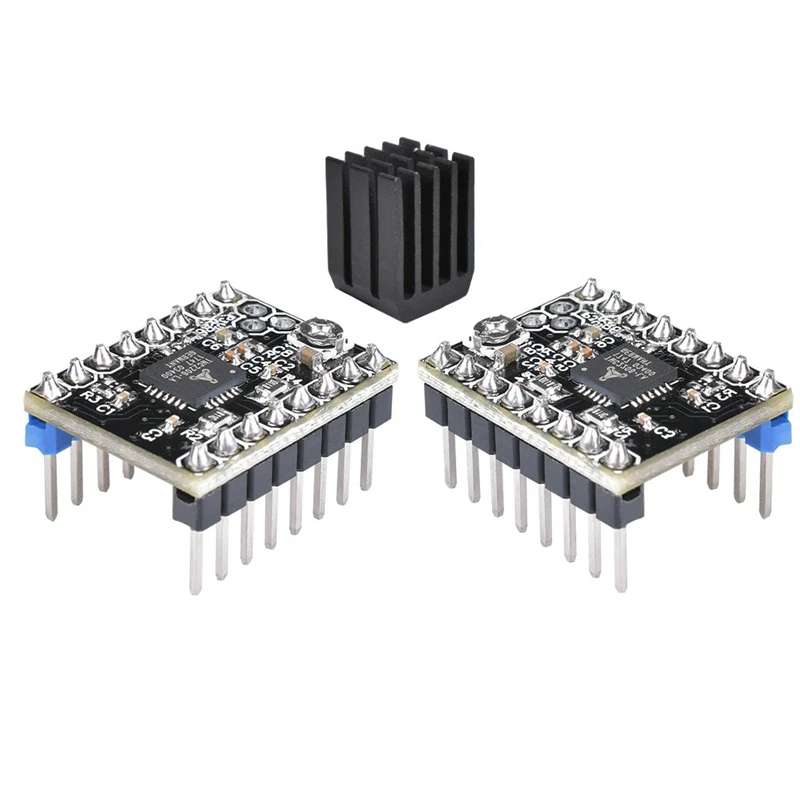 Most often, such a problem is encountered by those users who install a driver downloaded from third-party sites, and not the one that came with the device when purchased. The error may be caused by the fact that the driver version does not match the specific device or operating system version installed on the computer.
 - An attempt to install a new driver over the previously installed one will also cause an error. To fix the error, uninstall the old version of the program, and then start the installation again with a new file. nine0024
- The user is trying to install unlicensed software. If the downloaded driver does not have a special certificate that allows the operating system to recognize it, then the computer, when trying to install it, will give a corresponding error when the file is first launched.
Correct operation of a 3D printer is impossible without installing drivers - devices responsible for the movements of stepper motors. Their market for 3D printing is huge, so each user can choose the device that suits him.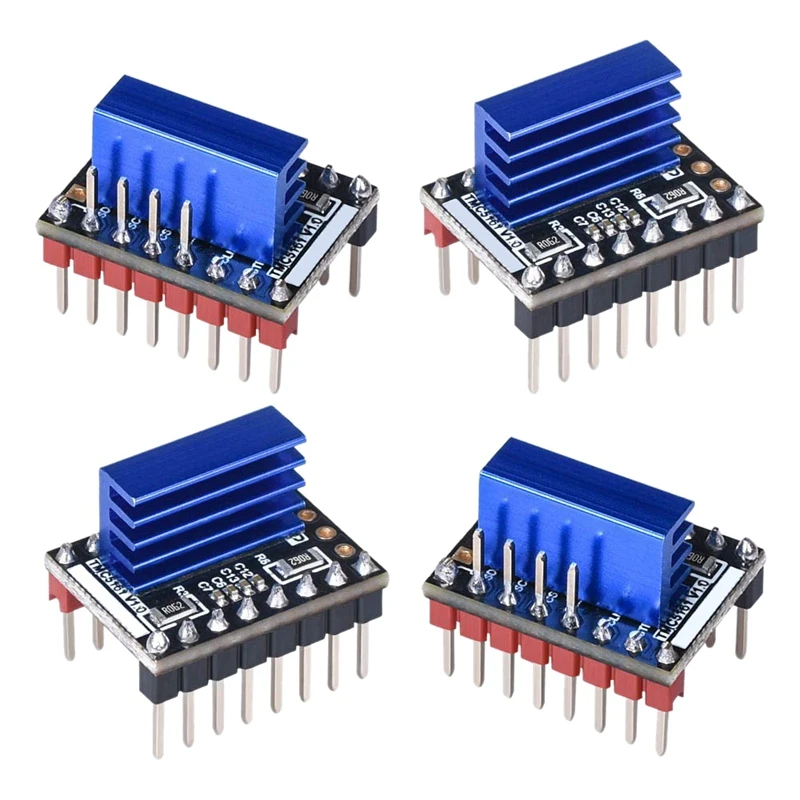 nine0003
- March 14, 2021
- 2282
Get expert advice
TMC2208 stepper motor driver - compare with stock.
The struggle for noise and silence, heat and coolness, wastefulness and economy, brutality and comfort.
Are the changes worth the money? We will see. With graphs, oscillograms, measurements of noise, electricity and vibrations. nine0029 Yes, and all the upgrades were made by a lazy person, with minimal labor costs, according to the “plug in and work” principle.
Briefly: driver - a device that allows you to control a stepper motor. At the input - commands for how many steps to turn the shaft and in which direction. The output is a sequence of signals to the windings of the electric motor. The whole kitchen for converting one into another is performed by the driver.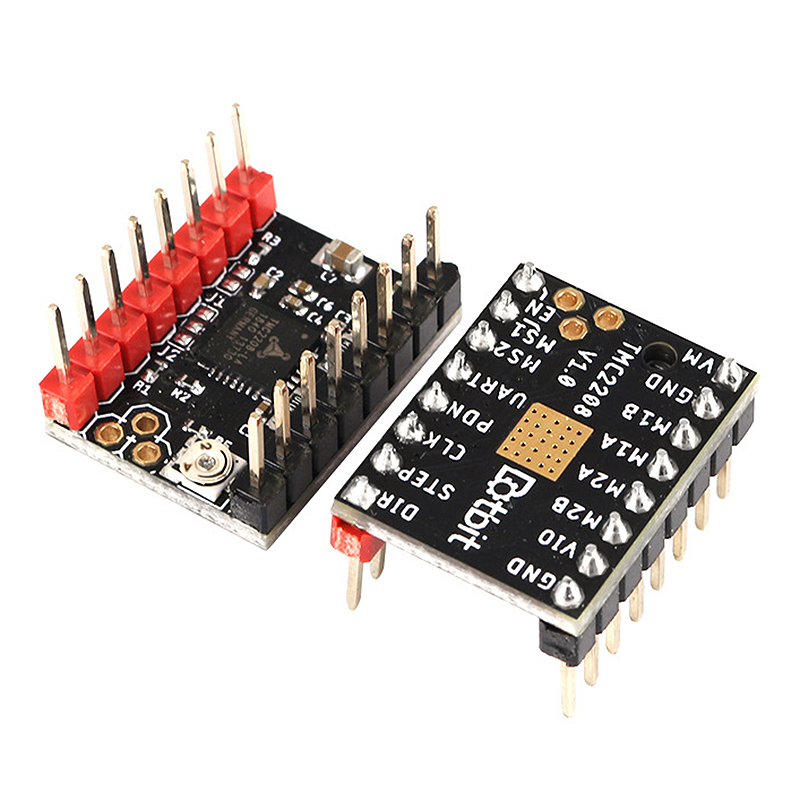 Drivers are good and not so good. Good ones support large output currents, heat up a little and control the engine so that it does not hum, does not heat up and spins smoothly. The bad guys are the opposite. Drivers are used wherever there are stepper motors: 3D printers, CNC machines, laser engravers, actuators and other equipment. nine0003
I have a 3D printer, Anycubic I3 Mega. This is a simple and inexpensive moving table printer. It has 5 stepper motors and 5 drivers for them. One moves the table, the second moves the print carriage, two motors are installed on the Z axis, lifting up the beam with the carriage, and the last driver controls the extruder, which feeds the filament to the hot end. From the factory, the printer is equipped with A4988 drivers. These are inexpensive, simple, but very reliable drivers. They provide good torque on the motor shaft and never fail. But the printer works with them noisy. With a characteristic sound "z-z-z-z" as when robots move in science fiction films.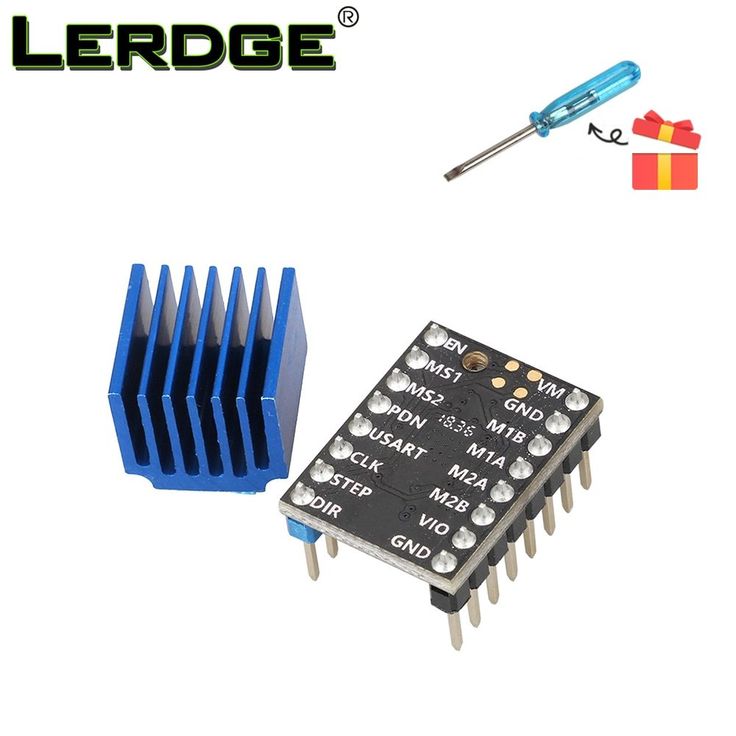 But the manufacturer provided for the possibility of an upgrade without unsoldering the drivers on the printer board, but by installing them in the slots. The printer drivers match in terms of seats, so the upgrade should not be difficult: some were pulled out, others were installed. nine0003
So what do we know about TMC2208? The description of this driver is 81 pages in pdf. That in itself speaks of the complexity of the device and its capabilities. Of course, I did not read the entire manual, but I got acquainted with the main points. The driver has two modes of operation. In the first mode, it is controlled from the printer board via uart. In the second, it works independently, performing the same functionality as native drivers, but making everything more elegant and more economical. Such versatility gives you a choice - you can plug in new drivers in 3 minutes, close the gestalt and enjoy the silence, or you can add printer board communication wires with drivers, reflash the printer, and learn new functions.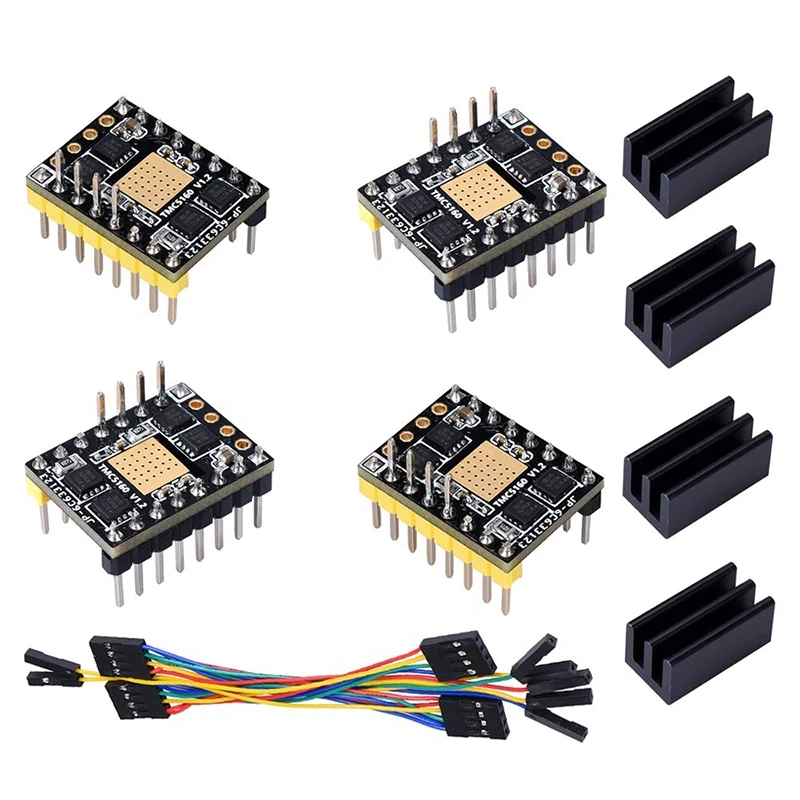 In this case, the drivers will allow you to adaptively reconfigure the motor control to the requirements of printing, take data from the drivers (temperature, etc.) and auto-calibrate the table, monitoring the steps skipped when the nozzle is stuck to the surface. nine0003
This driver currently has a competitor on the market - TMC2130. Produced by the same German company. It has a slightly wider functionality, but it is controlled by SPI. It is more high-speed, but also more whimsical in the interface. So I chose 2208. Version 1.2 is a good compromise between price and finish. The first version 1.0 had some functions missing, 1.1 had a different board layout that did not fit my printer, and versions more modern than 1.2 have only one significant difference - they have outputs to the motor windings that match the outputs of 4899. But it's easy to treat, we'll get to that soon. So from the "smart" drivers 2208 v1.2 - cheap and cheerful.
It probably makes no sense to describe in detail the technologies used in the driver, pinout and commands - all this is in the manual and such a deep dive for the first acquaintance is redundant.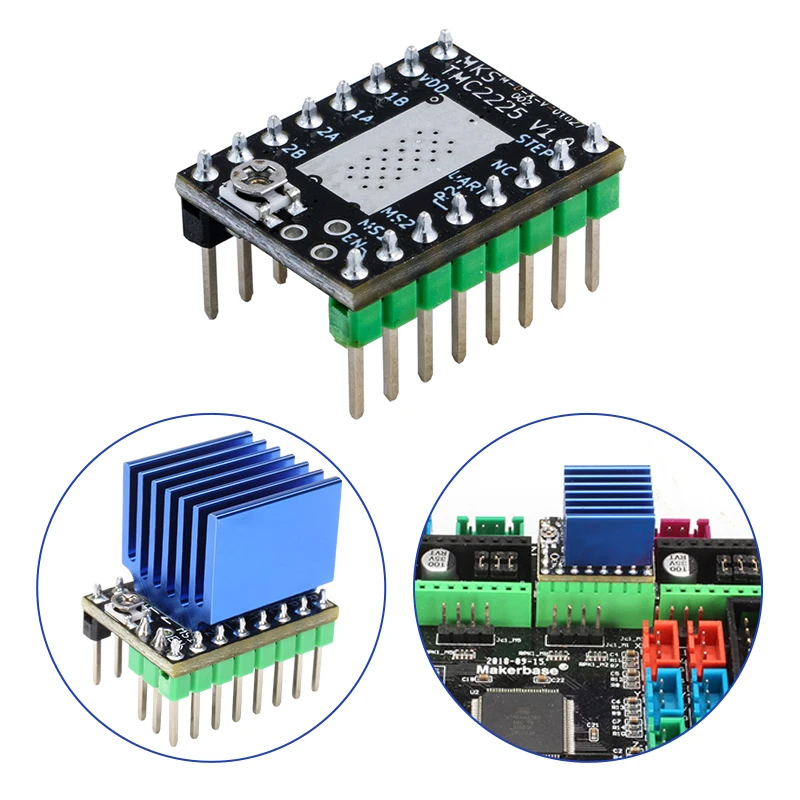 So let's move on to sending. What is it that came to us?
I got the variant with five separate drivers. The store also sells sets of five pieces at once.
The kit is the most complete: a driver, a radiator, a stepstick protector and even a special screwdriver for tuning. Packaging is a plastic bag. The legs are protected from bending with foam.
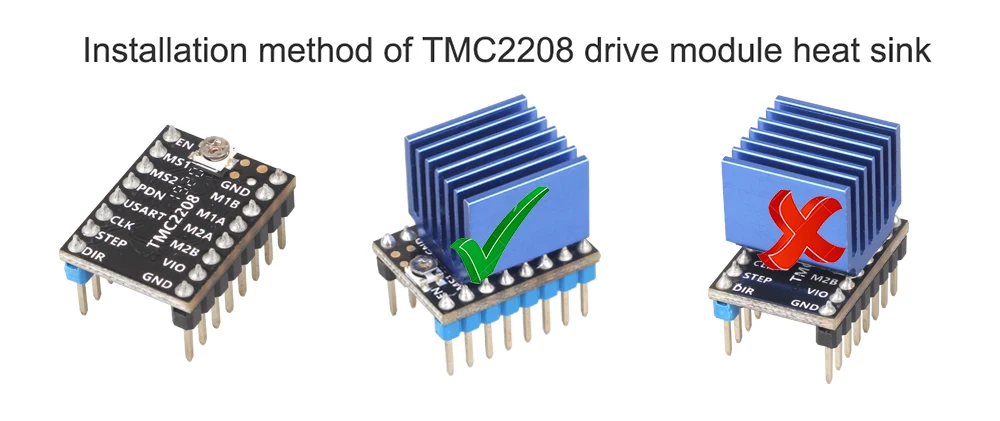
Anodized aluminum heatsink. The most massive of all radiators for drivers. Its installation became possible because the driver board is oriented upside down: all elements are located between the legs, and on the outside there is a flat surface with a thermal interface. The legs of the module are made of combs of different colors - blue on one side, black on the other. Apparently this is done in order not to put it in the board backwards. In this case, the module will most likely burn out. I have seats in the printer without color marking, but here and there all the legs are signed, so you just need to be careful when installing. nine0003
There is also an adjustable rheostat on the module board. It sets the current on the motor windings. Despite the fact that it is also installed on the bottom surface of the board, you can rotate it without removing the driver from the slot, through a hole in the driver board. To control the output current, you need to monitor the voltage at the control point on the board.
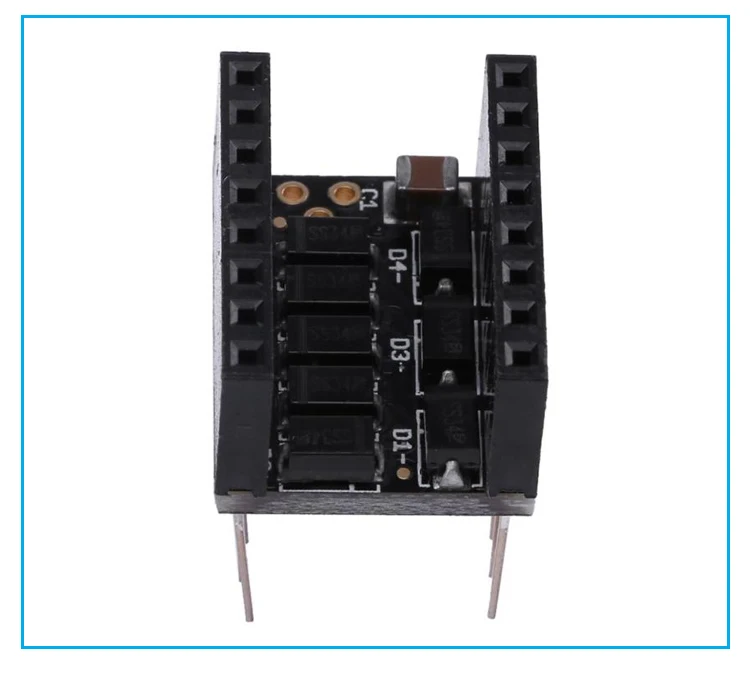
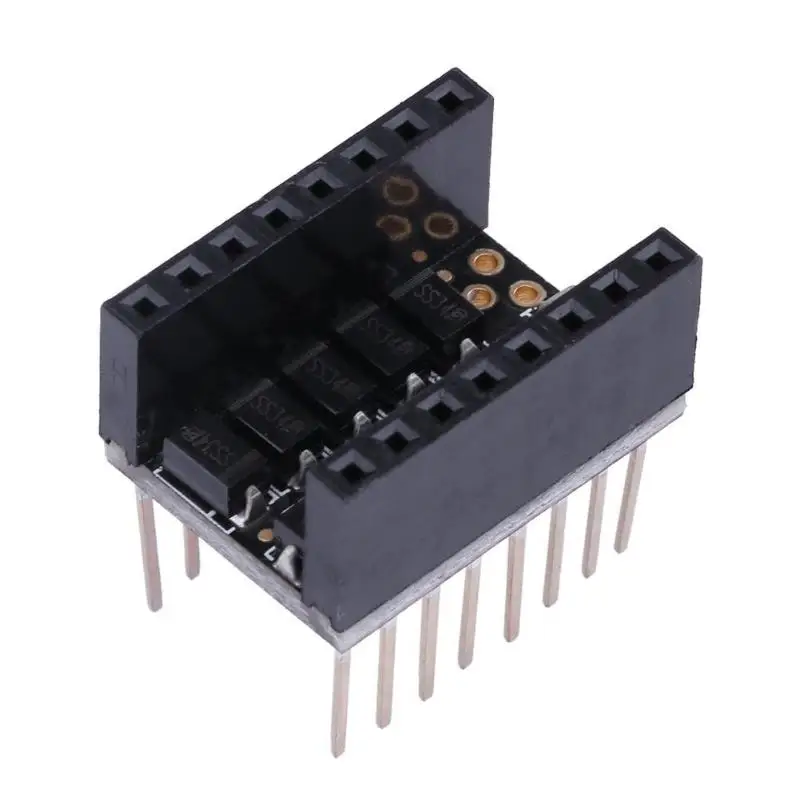
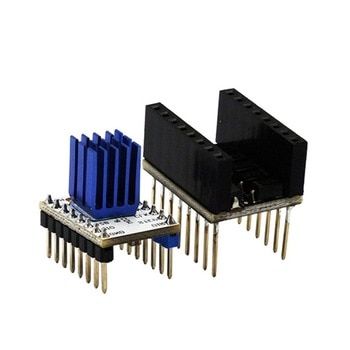
The stepstick protector is installed between the printer board and the driver. Its purpose is to filter the signals from the driver to the motors and prevent reverse currents. It consists of 8 Schottky SS34 diodes for 3A 40V and a ceramic capacitor. We'll see how it works later. nine0003
Peel off the protective film from the radiators and assemble the kit:
Before installing the drivers in the printer, I wanted to look at the possible settings. You can configure drivers not only when the printer is running, but also by connecting them to a computer via the usb-uart interface.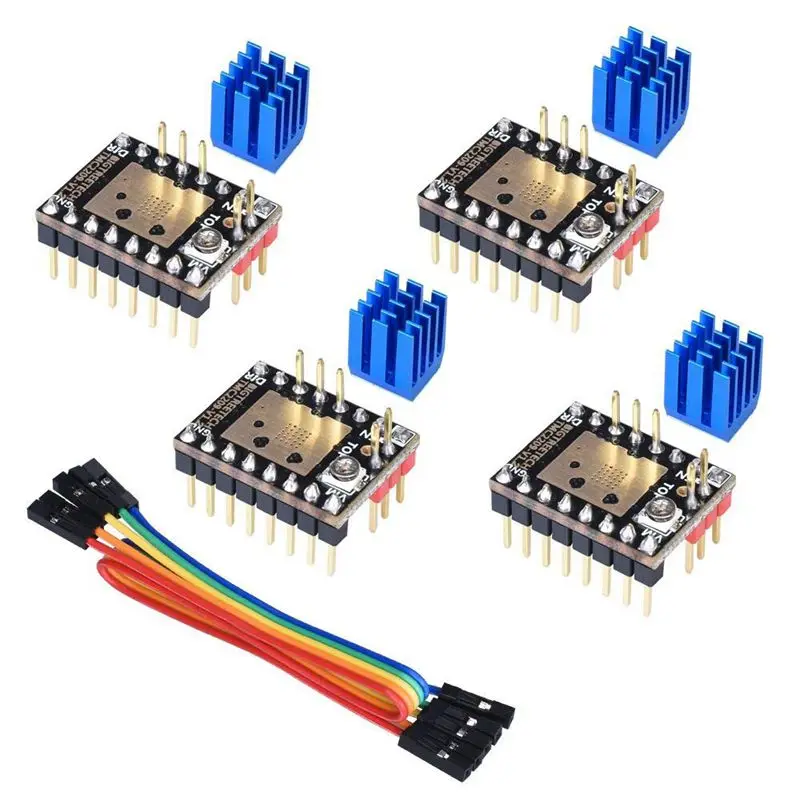 Interestingly, both rx and tx are connected to the same leg of the driver, but using a resistor. Here according to this scheme:
Next, we find and download the TMC2208_soft-master.zip file on the Internet, it has everything you need to see and change the driver settings. Yes, in order to enter the driver into setup mode, you need to hang a snot with solder on a couple of contact pads on the driver board. I just closed them with a thin screwdriver. This is what the setup program showed me:
To be honest, I didn’t understand much here, but I didn’t want to understand, so I was content with the fact that the driver is basically controlled via uart. On the last tab of the program there is the possibility of OTP programming - one time programmable memory. Once you can enter the desired values into the registers of the driver and then live with these values all your life. It would be too reckless to touch these settings without getting it right, so I unplugged the driver and proceeded to install it in the printer. nine0003
When I opened the printer, I saw this:
The red modules are the A4899 drivers that need to be replaced. First things first, remove the fan.
Next, we sign all the detachable wires and disconnect them.
Then you need to turn on the printer and measure the voltage on the existing drivers. We will need to put it on new ones. We measure the voltage between the power supply case and the test point. But it was easier for me to connect the voltmeter probe to the adjusting screwdriver and measure directly on the adjusting rheostat. Sometimes they put a ceramic screwdriver in the driver kit, so as not to inadvertently short something there. They gave me a steel one, and this has its advantages - you can not wield there, among the contacts and wires, immediately with a screwdriver and a probe, while looking at the voltmeter screen. nine0003
So, the first driver, he is designated as E1 and he is in charge of the second motor on the Z axis:
0. 929 volts.
Second driver - extruder:
0.802 volts.
Third - the first motor on the Z axis:
0.927 volts. It's good that the voltages of the motors along the Z axis are almost the same.
Fourth driver - Y axis, table movement:
1.012 volts. It is logical that large currents are required to move a heavy table. nine0029 Finally, the X axis - carriage movement:
0.944 volts.
I wrote down the purpose of each driver and its voltage on pieces of paper and put them in bags from the purchased drivers. I also put the removed drivers there.
Ready for installation? No, not all. As I said, the new drivers have the outputs on the motor windings swapped. If you just put them, the printer will move, for example, the carriage to the left, but in fact it will move to the right. All this will happen until the carriage is stuck in the limiter, and then the steps will be skipped with a characteristic crack. We don’t need this, we need everything to work and for this we have three options: a) reflash the printer by changing a couple of settings in the firmware, b) pry off with a scalpel and pull out two wires from the pads and swap them and c) turn the plastic connector parts on the other side. It seemed to me that the last method is the easiest. On the left, the connector has already been turned over, followed by four more in the process:
It would seem that's all. But no. The trouble came from where they did not expect:
Drivers are slightly larger than the old ones. Literally a quarter of a millimeter. But like old ones, in single file, they no longer fit.
I had to file the boards a little with a needle file. Not all printers provide this in-line driver installation. So you probably don't have to do anything.
After installation, but before connecting the wires, I set the required voltages on the drivers. I must say that they are set very accurately and are subsequently maintained up to a thousandth of a volt. What's on the old drivers, what's on the new ones. No bounce of contacts, no fluctuations - set 0.944, so it will be 0.944, now and in an hour.
Connected wires. First of all, I wanted to see if these protection modules are really necessary. Looking through the Internet, I realized that there are three arguments in favor of installing them.
First: when the driver voltage passes through 0 without this protective module, a jump occurs, because there is a certain limit on the minimum duration of the PWM pulse, and the driver is unable to issue voltages very close to 0. With the module, all voltages are shifted by the opening voltages of the diode and the jump is thus leveled out. nine0029 Second: in delta printers, moving one axis creates a moment on the others. Their motors to some extent begin to work like a dynamo, creating countercurrents. Thus, there is an "echo" of movement of one axis on other axes, especially noticeable on smooth surfaces with a slight curvature. Experiments with protective modules on deltas confirm this, but I do not have a delta, and moving one axis does not affect the others in any way.
Third: protective modules serve to protect drivers from currents induced when the table and extruder are moved. Of course, I'm not going to crawl around the table like a DJ, but you never know. Let's see, in the oscilloscope, how the signal changes before and after the module:
Top before, bottom after.
Larger, four options:
Well, there is definitely an effect, we leave the boards, it won't be worse.
Next, I wanted to see what we have there with the temperature during operation. Massive radiators hinted that there might be problems with it. The issue of cooling had yet to be resolved, because if the protection modules were left, the new drivers occupied almost the entire height and the old scheme was no longer applicable. I stuck a current clamp thermocouple between the heat sink fins of the most loaded driver - the one that moves the table. nine0003
For the experiment, I made a temporary airflow. Test Print - The temperature has not reached 50°C.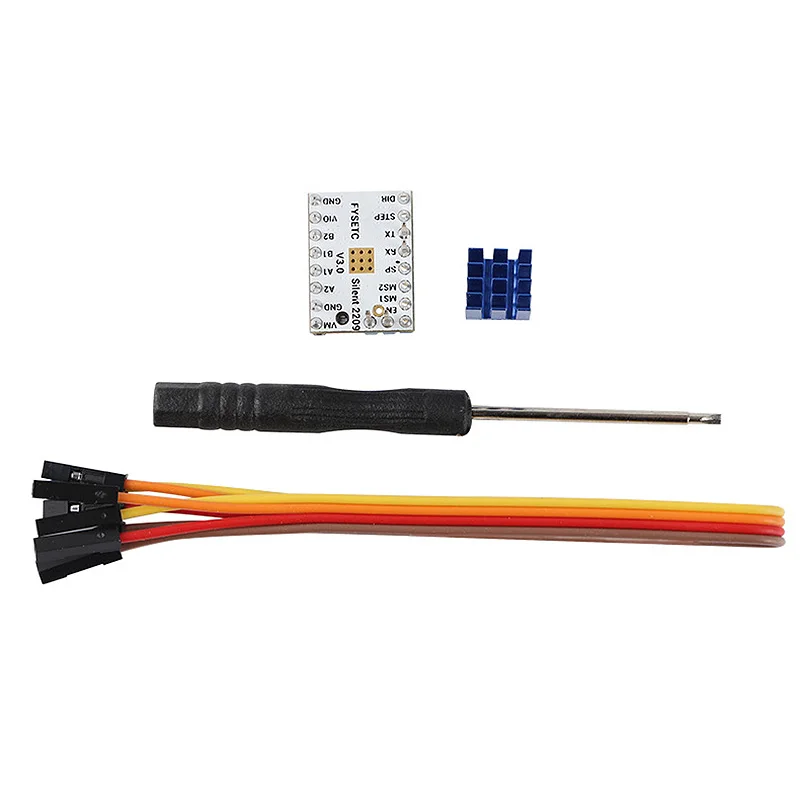 Tolerable.
Replaced the driver with the old one, connected a thermocouple to it - almost 60°C.
It looks like everything will be fine with cooling. But the old fan can no longer be installed - there is no place. On the Internet I found a popular upgrade option.
But I did not like it: the flow turns sharply by 90 degrees, and at the point of the turn, the section is narrowed by half. This is not how things are done - I decided and drew my airflow. nine0003
True, the fan had to be taken smaller - 30 mm with a thickness of 7 mm. But the decrease in its performance was more than offset by a decrease in aerodynamic losses compared to the common angular version and airflow targeting compared to the standard cooling system.
Another problem has occurred. It's not even a problem, it's just a circumstance. The air duct touched the printer cover. Not that he rested on her, but touched. And this could lead to increased noise.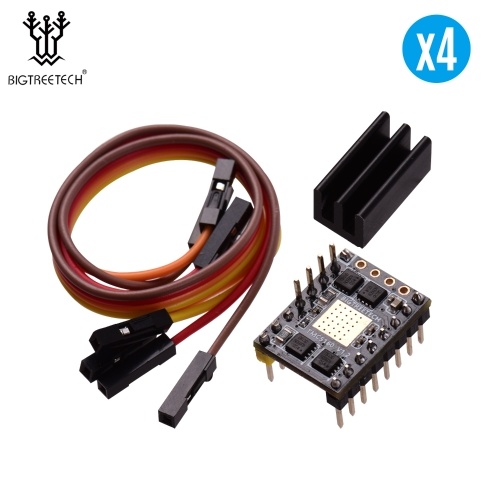 Just in case, I decided to lower the board setting a bit. To do this, you need to saw off a millimeter from the four racks on which the board is installed. Dremel does it in a couple of minutes. And the threads in the uprights seem to be through, so that the screws are normally screwed even into shortened uprights. nine0003
Air duct in place:
The temperature still bothered me a little, and I decided not to look at its instantaneous values, but, so to speak, to cover the process in dynamics. For this, I used my four-channel thermometer, which writes readings to a USB flash drive. I made it at one time to test the thermal insulation properties of sleeping bags. This time I used one first channel.
Old drivers. Test print of a small object.
Printing is not finished yet, and the temperature is already 54 degrees.
Then the same object, new drivers. And here is the graph of temperature change:
It can be seen that the graph 2208 is already close to saturation, and 4988 still has an upward trend.
But heat is electricity that we pay for, isn't it? Probably, on new drivers and electricity consumption is lower? Does the power supply heat up less, does the fan spin less, do the motors dissipate less heat? Let's look at the test print:
New drivers. The filament filter required 0.048 kWh.
Old drivers. Same model, same printing conditions: 0.063 kWh One third more!
The new drivers are not only quieter and cooler, they will also save you electricity.
Another test: vibrations. For him, I installed a program on the phone that tracks vibrations, and put the phone on a printing printer.
New drivers: 3.4 points. Of course, the numbers have changed noticeably over time, but 3.4 is a typical value. nine0003
Old drivers:
6 points! Vibrations, as one would expect, are much stronger.
Maybe the print quality has dropped? Benchi's boat will help us:
It's hard to photograph a white boat under artificial lighting.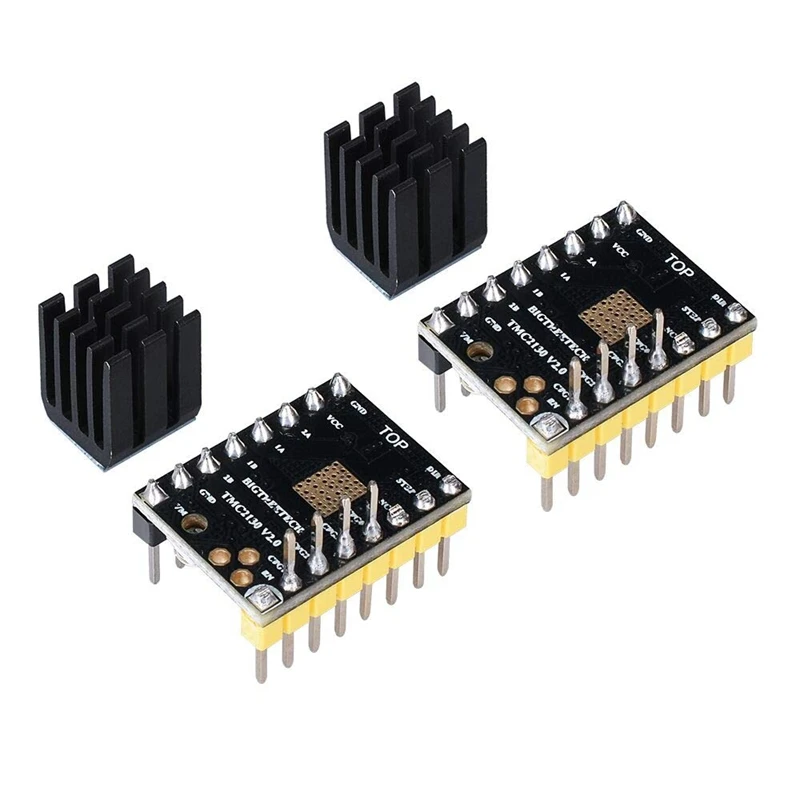 Take my word for it, both sets of drivers gave an almost indistinguishable result.
Now the final and most important test, which started the whole review. Noise!
Sound level meter started on the phone. Old drivers - under 50 dB, new ones - 40-45. The difference is actually stronger than it seems from the numbers. The temperature differs by 10 degrees in favor of 2208.
In my opinion, everything is very clear. After installing the drivers, only the noise of the coolers remained audible. Noise is not only a matter of comfort. The reached level of noise allows to put the printer in a room where people have a rest. Start printing at night. Due to this, again save on electricity. Subjectively, the noise has become at the level of noise from the computer system unit. For such machinery, with many moving parts, this is a very good indicator.


