Plexiglass 3d printer enclosure
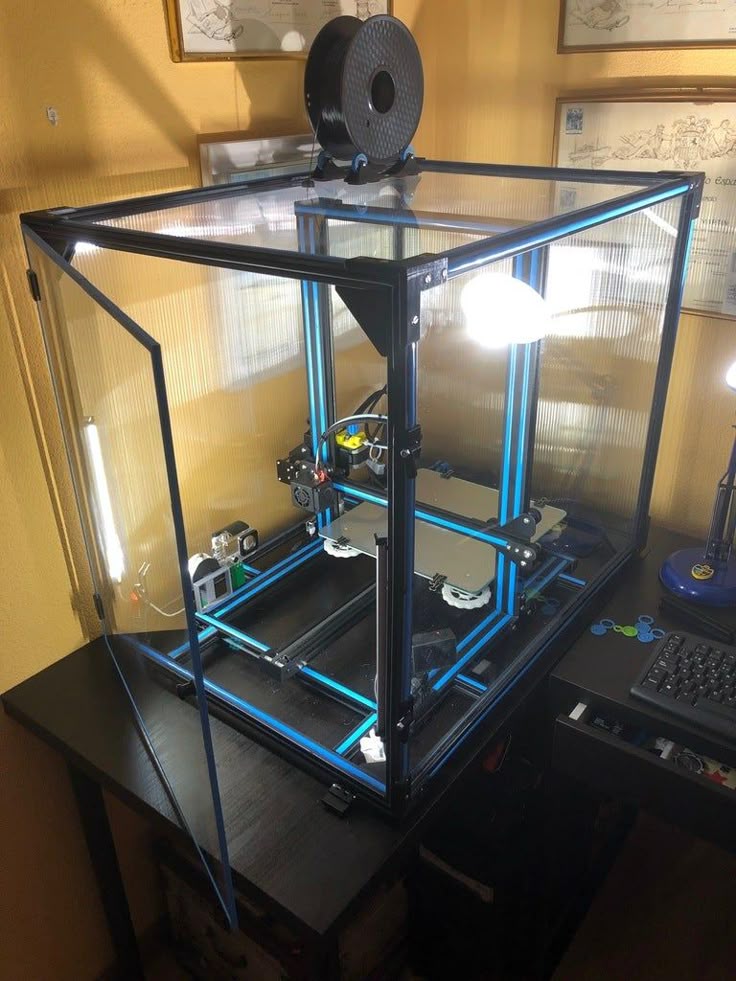
Creality Ender 3/PRO 3D printer Enclosure
More photos (16)
PreviousNext
Do you have a question?
--
Quick Contact
Add to favourite products Add to compare list
Do you have a question?
--
Quick Contact
TS Acrylic - Creality Ender 3 / Ender 3 PRO Enclosure
This enclosure was primarily designed for use with Creality Ender 3 / Ender 3 PRO, but other similar size 3D printers also fit great. Please, check your printer dimensions and internal dimensions of our enclosure below before making your purchase.
Why should you want to have an Enclosure for your 3D printer?
- significant reduction in fumes and unpleasant smells
- controlled ambient temperature improves reliability and consistency of your 3D printing
- additional noise reduction
- dust protection for your printer and improved 3D printing safety
Why buy from Us?
- You are making your purchase direct from manufacturer.
We are based in the Czech Republic.
- We obtain all our materials at large quantities and volume discount. This way we can offer our TS acrylic enclosures at prices comparable to cost of raw material for DIY enclosure projects.
- C02 laser cutting technology leaves the edges of acrylic parts clear and polished.
- 4 mm thick clear acrylic sheets are used to ensure excellent strength and stability.
- We only use high-quality materials and components from renowned European manufacturers and suppliers.
- All included PETG parts can be also downloaded for free as STEP and STL files, so you could print these in a different color or modify.
Main features:
- The front door with two magnets allows for both left hand or right hand installation.
- You can enjoy completely unobstructed view of your 3D printing thanks to high quality clear acrylic sheets used.
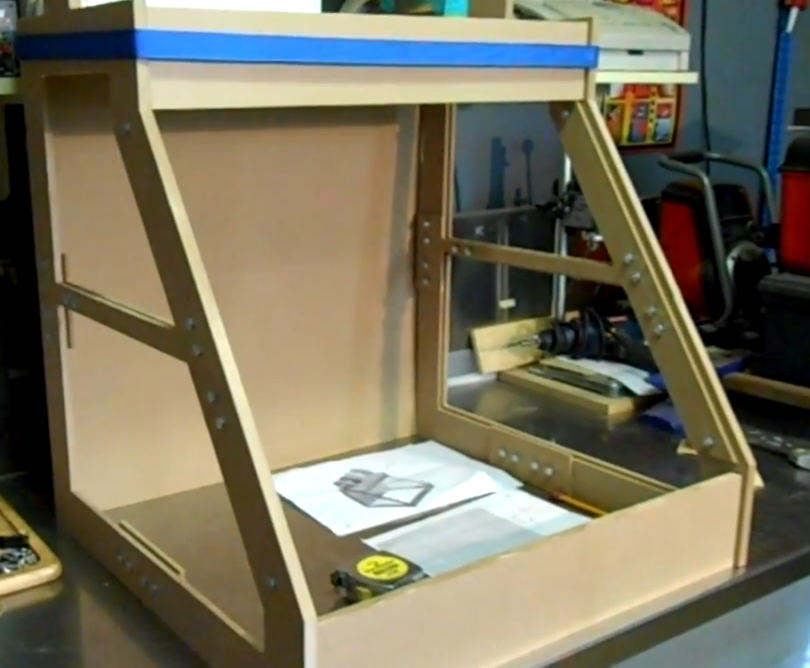
- Honeycomb ventilation inlet holes for PSU and PSU cable inlet are placed on the right side of enclosure.
- On the left side you will find USB cable inlet, filament slot and a cut out for optonal installation of any regular 60 mm PC or USB fan.
- The package also includes a practical bearing based filament holder, which can hold spools of any width and can be placed anywhere on top of enclosure.
- Honeycomb ventilation inlet holes and cut out for 60 mm optional fan can be closed by attaching provided 2 mm clear acrylic covers.
- The enclosure is provided as a flat-pack kit with all clear acrylic parts, nuts, bolts, high quality injection-molded door hinges, ball bearings for the filament holder, black PETG printed parts and tools. You may download detailed assembly instructions in pdf format here.
Weight and dimensions:
External dimensions without filament spool holder: (W x H x D): 48,5 × 48,8 × 58,5 cm
Internal dimensions: (W x H x D): 47,7 × 48,4 × 55,4 cm
Net weight: 6,2 kg
Gross weight: 7,9 kg
Included:
- 4 mm thick clear extruded acrylic (XT) parts
- 2 mm clear extruded acrylic (XT) covers for honeycomb ventilation inlet holes and 60 mm ventilator cut out
- black PETG plastic parts
- ball bearing based acrylic filament spool holder for 1 kg filament spools
- all fasteners (bolts, nuts, injection molded hinges etc.
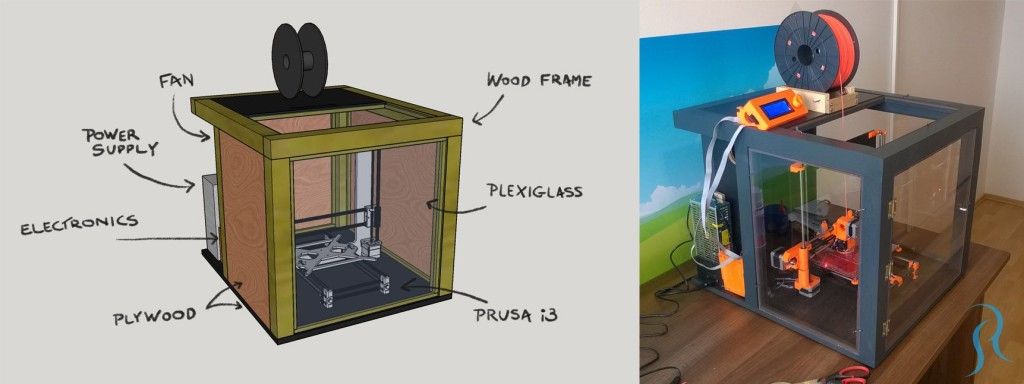 )
) - complete set of assembly tools (except for 7mm / 8mm wrench)
- illustrated, step by step assembly instructions (download in pdf format here)
Not included:
- optional 60 mm fan (you can use any standard 60 mm 12V PC or 5V USB fan)
- 3D printer
- 3D printing filament
TS Acrylic for Creality Ender 3 / PRO - Assembly Instructions (pdf, 3.2 MB)
TS Acrylic printable PETG parts - STEP and STL files (zip, 159.2 kB)
Share Tweet Pin It
Buy Smart Plexiglass 3D Printer Enclosure
The Universal 3D Printer Enclosure Kit is a modular, 5mm thick enclosure compatible with a wide range of 3D printers. With adjustable corner pieces created to suite a wide variety of needs, the enclosure is functional in any setup. All non-3D printable pieces needed to complete the build are included in the kit.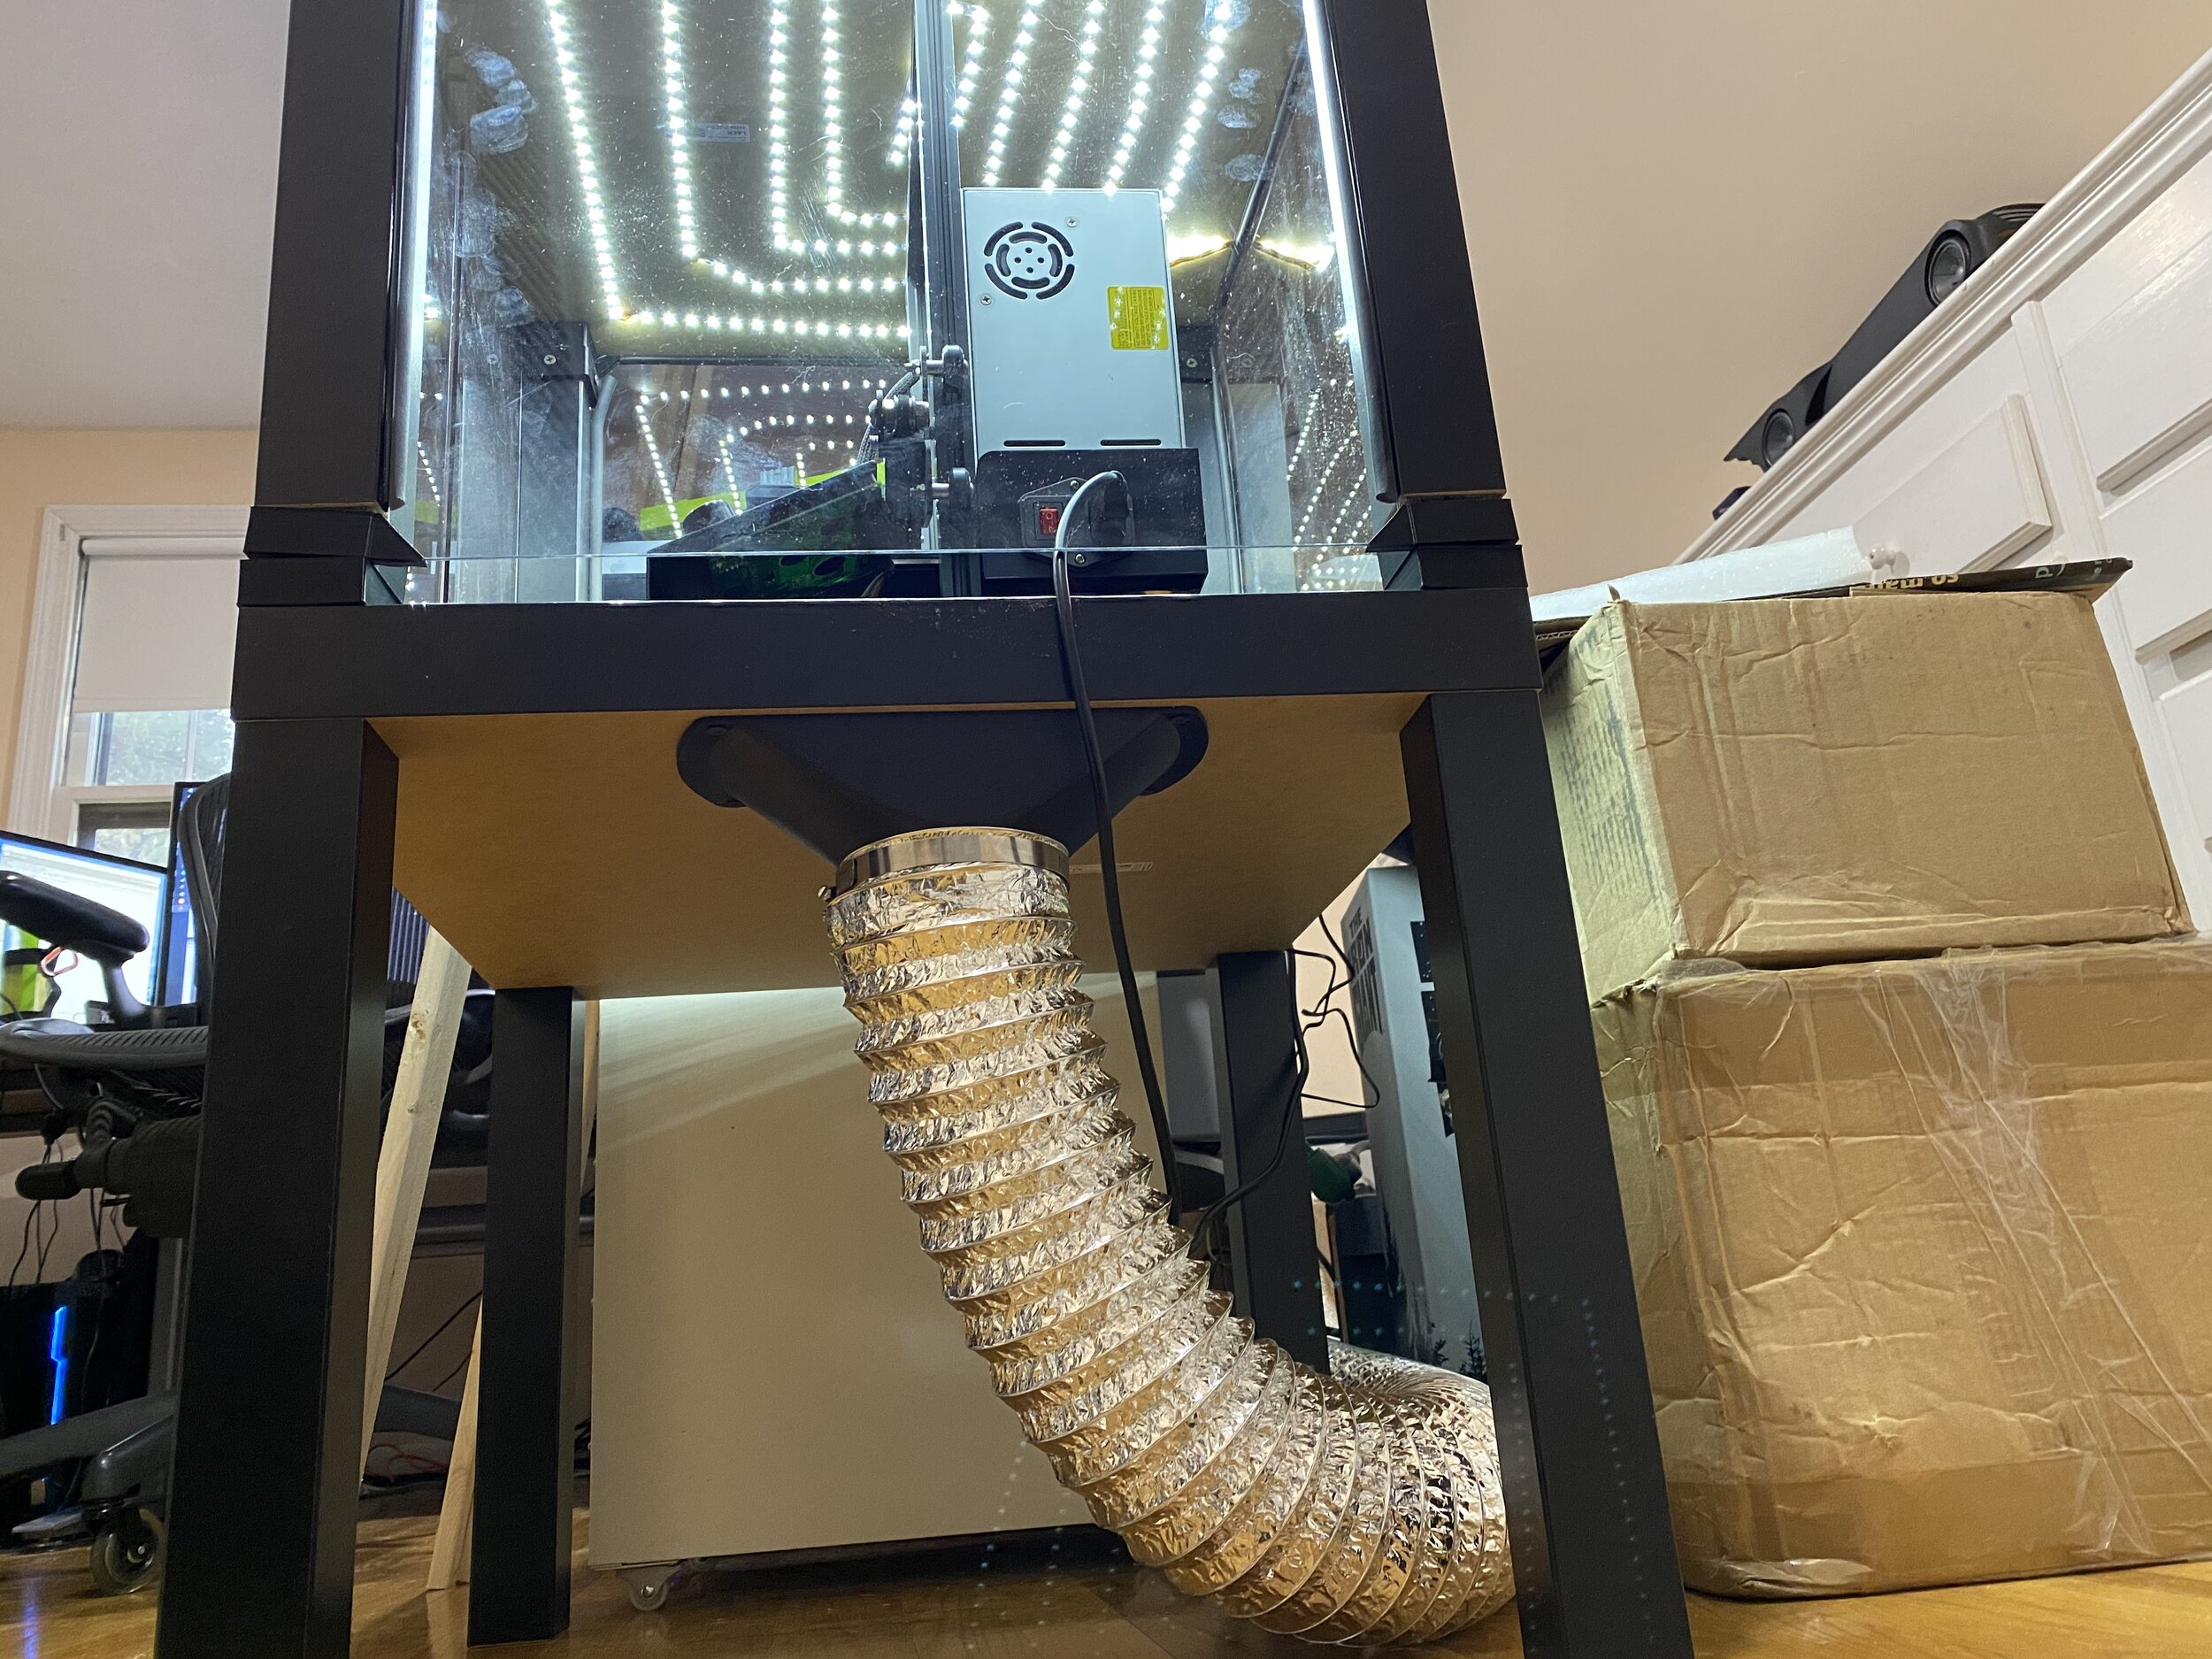
Buy Now on Amazon for $299.99
Looking for Build Instructions & STLs?Download Instructions and STLs
Functional Size for a Variety of Printers
With a usable inner dimensions of 540mm x 540mm x 645mm, the Universal 3D Printer Enclosure accommodates the Prusa MK3/MK3S/MK3S+ with room to spare when setup with the stock filament holder as well as a concrete paver below for stability.
Bearings for Filament Holders Included
Included in the kit are 22 bearings for printing filament holders if you decide to mount your filament outside of the enclosure. The STL files for our filament holders (shown in orange) are available for free in the STL download folder.
Prusa MMU2/MMU2S Compatible
The Buffer for the MMU2/MMU2S can be mounted to the top of the Universal 3D Printer Enclosure. Free STL files as well as all mounting bolts and nuts are included in the kit.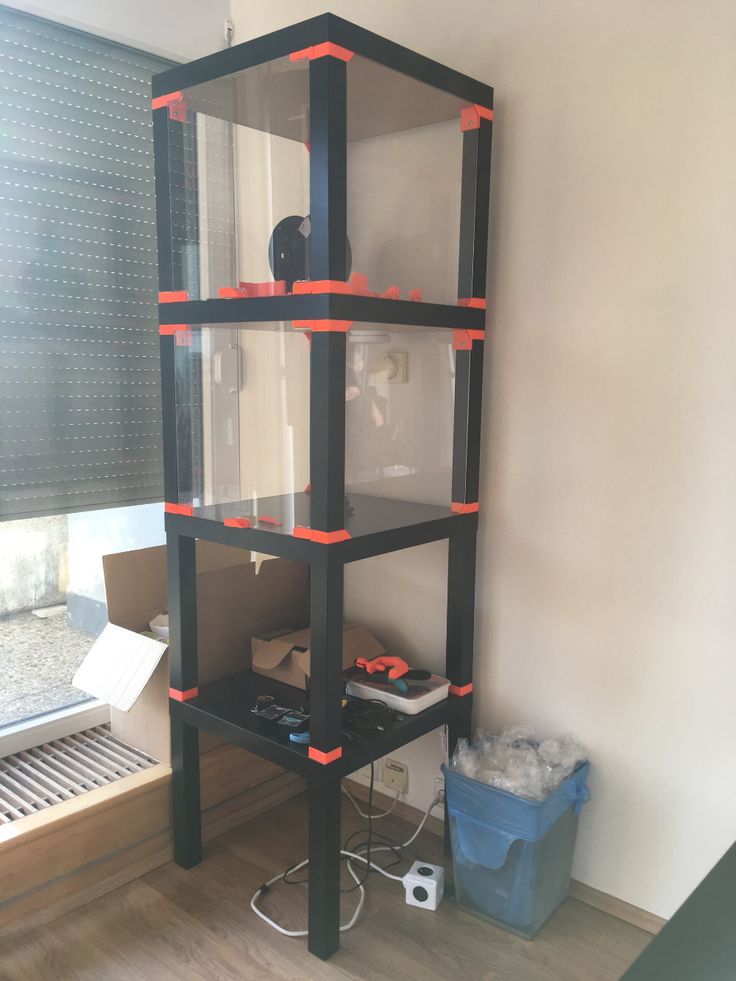
Ender 3/3 Pro Compatible
The Universal 3D Printer Enclosure is compatible with the Creality Ender 3/Ender 3 Pro series of printers.
Upgrade Your Lack Enclosure
The Universal 3D Printer Enclosure was created to be compatible with current IKEA Lack enclosure setups. The outer glass of the enclosure fits flush with the outer edge of the Lack, so upgrading your existing IKEA Lack enclosure to the Universal 3D Printer Enclosure is simple and straightforward. We’ve also included free STL files as well as screws for mounting your power supply unit outside of the enclosure.
Lorem ipsum dolor sit amet, consectetur adipiscing elit. Ut elit tellus, luctus nec ullamcorper mattis, pulvinar dapibus leo.
Customizable Corner PiecesDuring development of the Universal 3D Printer Enclosure, special consideration was given to the wide variety of 3D printer setups that people may have to suit their needs. As a way to help accommodate various printing setups, we developed a modular corner system.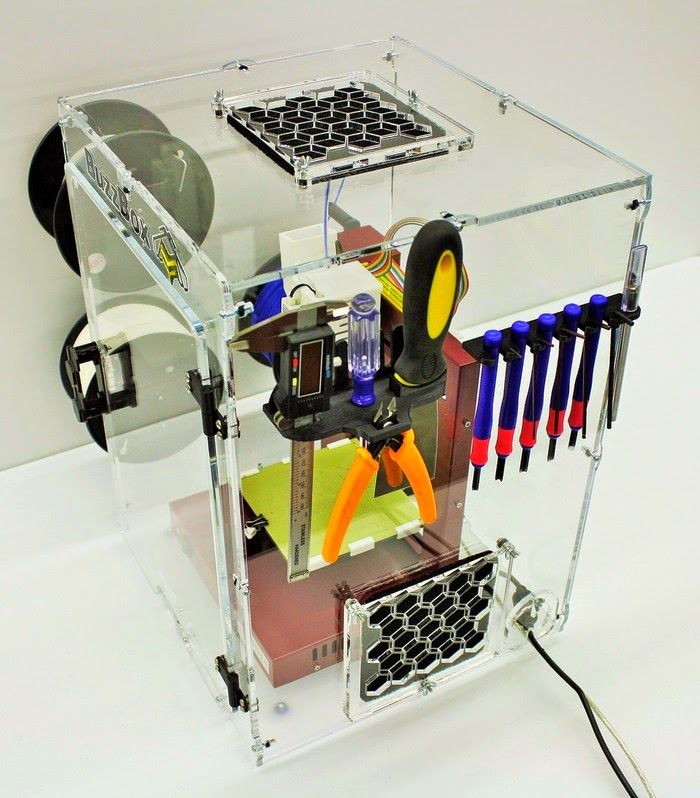 For both the top and bottom corners, you can choose from multiple different options to best suit your needs. For example, one corner might require a tool holder for your needle nosed pliers while another corner needs a channel so that you can run a camera to your Raspberry Pi setup. We’ve also made the STEP files available so that you can make your own corner pieces and share them with the community!
Previous
Modular Bottom Corner PiecesPrevious
Bonus Accessories
Also included in the kit are some pieces that you may choose to use depending on what printer you have or what setup you prefer. We’ve included a hydrometer that fits into the STL that we’ve provided so that you can monitor the temperature and humidity of the enclosure. We’ve also added a USB extension for Prusa Mini owners with STL files to make reaching the USB input easier with the Mini in the enclosure. For MK3 owners, we’ve added an extension for the LCD wires so you can mount the LCD screen outside of the enclosure.
The Universal 3D Printer Enclosure Kit includes everything you need to build the enclosure plus some extras!
- 6 pieces of 5mm plexiglass - walls and top
- 2 pieces of 10mm plexiglass - top support
- 1 hydrometer - monitor humidity & temperature of enclosure (free STL for integration with enclosure included)
- 22 bearings - great for filament holders or other modifications
- 2 10-Pin Extension Cords - mount Prusa MK3/MK3S/MK3S+ LCD externally (free STL for mounting LCD available)
- 1 USB Extension - access USB input for Prusa Mini from front of enclosure (free STL available)
- 2 Door Hinges
- 5 Rubber Pads - grip for bottom of enclosure feet
- 12 Rubber Pads - grip for bottom of filament holders
- 100 M6x20 nuts, bolts & washers - for assembly of printed parts; extras included
- 20 Philips head wood screws - IKEA Lack modifications; extras included
- 1 Allen Wrench
- 1 standard wrench
3D printer from school desks
Hello! My name is Vlad and in this post I will tell you about the history of creating my 3D printer from school desks. I will warn you right away that the post is large and with pictures.
The idea of creating a printer came to me in the summer, when there was nothing to do and I was lying on the bed leafing through the news about technology. And then I came across an article about a talented young man Mikhail Kozenko and his printer from a bedside table. Intrigued, I watched a video about this printer, which clearly and clearly described the principle of operation and the device of a 3D printer. With a quick search on Aliexpress, I found the electronics mentioned in the video - Arduino Mega 2560 and Ramps 1.4. The price was not high at all. And then the idea came up to create your own printer, because. with its help, it was possible to implement projects that had been gathering dust in my head for a long time, but I didn’t want to saw and plan. And I wanted adventure. Having ordered electronics, motors (by my own inattention, I ordered 0.6 amperes, then 1.7), a power supply, as well as various trifles, I began to wait.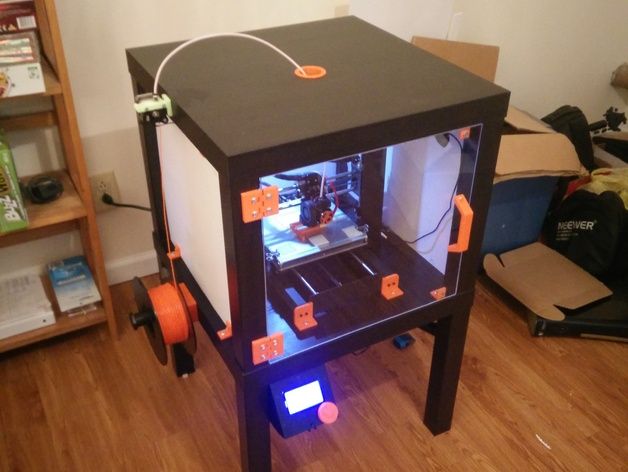 While the components were on the way, I started to think over the design and kinematics of the printer (first I bought it, then I thought: D). After reviewing various designs from both industrial manufacturers and reprap enthusiasts, I came to the conclusion that the best kinematics is the movement of the print head along the X and Y axes, and the table along Z, that is, Hbot (which I later regretted). Then came the turn of choosing the material for the printer. At first I thought to make it from birch slats and studs, but when I came to the workshop, I did not find the right amount of wood. And then the legs from the old school desks caught my eye. This type:
They are made of 2 mm steel in the shape of a 25 x 25 mm square profile. In my opinion, it was an ideal option - you can assemble a solid and reliable structure from the legs. In the basement of the school, these legs are a dime a dozen, and since it's all thrown into a landfill, you could take as much as you want.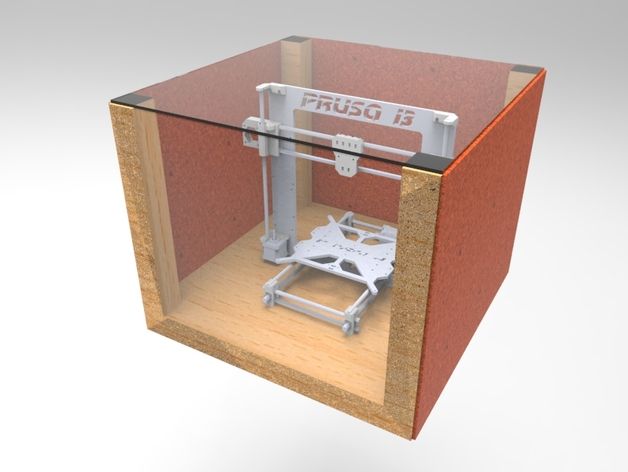 This is the economic benefit of my project - I did not spend a single ruble on the frame (not counting the fasteners, which, by the way, could be taken from the same desks, but I wanted everything to look neat). Having sketched the model in the compass and thought it over again, I started assembling:
Then parcels arrived from China and I began to work productively. First of all, I turned bushings from duralumin (it’s better not to do this) for 14 mm shafts, from which the children sharpened screws. Having screwed the bushings to 10mm plywood and installing the shafts and the engine in their places, I got this:
The table was made from a seat from a chair (do not waste the good;))
Next, turning the flange nut from brass (under the M8 stud) installed all this on the printer:
Then I installed the mounts for the steppers and the X and Y axis motors themselves in their places and proceeded to assemble the moving part, assembled from plexiglass and shafts from a matrix printer found on the street
I machined the pulleys for the belt from the same duralumin and put them on M5 screws (you should not do this).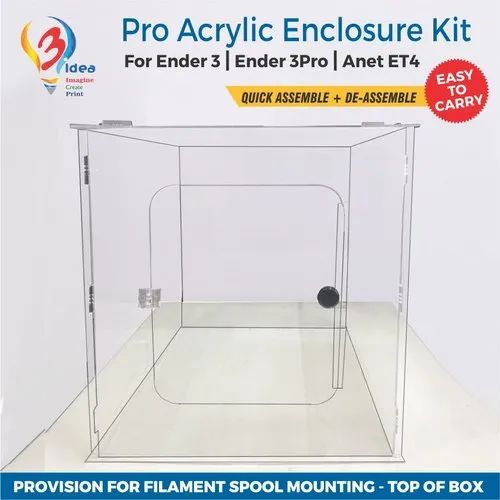 After assembling the 3-axis drive, the matter remained with the main working body of the 3D printer - the extruder. As soon as I saw the 3D printer and the hot end for the first time, I decided that I would carve it myself (you shouldn’t do this either if you have old Soviet machines with a knocked down center). Having machined the radiator out of the same duralumin, brass nozzle and stainless steel extruder channel, I made such a miracle:
I used two resistors connected in parallel as a heater. Looking ahead, I will say that the minus of such a heater is its low power and large size. Because of this, the heat quickly rose up to the radiator, and since I didn’t finish putting the fan on the radiator, traffic jams formed during the printing process. After installing the print head (everything dangled like a *ram in an ice hole), I converted the 'linear bearings' from plexiglass to wood (this is not worth doing at all). I also lubricated them with oil .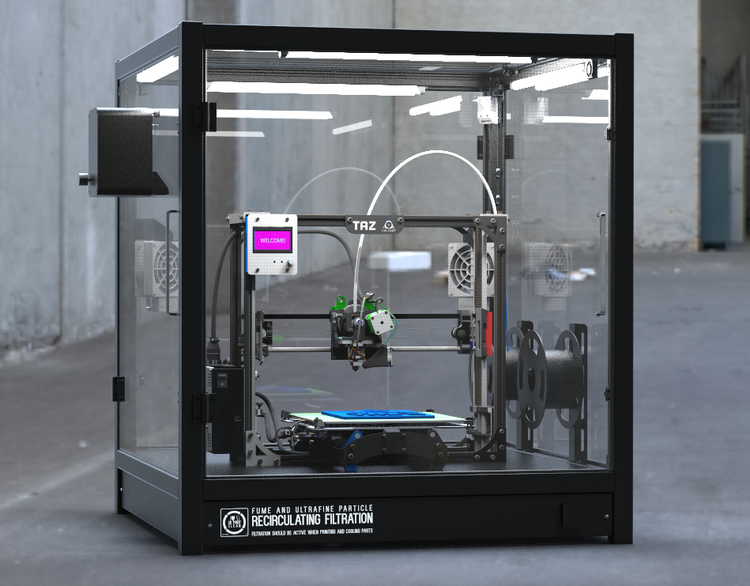 .. After a week of inactivity, the pads could not be moved, I had to work with sandpaper. As a result, I got this printer, ready for printing:
But in the process of printing, he only gave out vermicelli:
After climbing through various forums on 3D printing, including 3dtoday, I realized that with such a 'perversion' I could not achieve good printing, because Hbot kinematics for rail printers, but wedges on the shafts. Therefore, without wasting time, I set about designing the next printer, already without any special perversions and with simpler kinematics - to the analogue of Pryusha. I ordered linear bearings LM8UU and a ready-made hotend E3DV6 on Ali (as practice has shown, it is better to buy such things, especially since it costs $ 7). After sitting more thoroughly in the compass and drawing a clear model, I got down to business again. Having cut a new portion of the profile (there was a lot of paint on it, which was difficult to peel off), I assembled the base of the frame using homemade 'corner' type fasteners and M5 screws. nine0003
Then he began to gradually attach shafts, motors, fasteners, etc.
This time the table was made from Finnish plywood
Fastener for the stepper along the Y axis:
I tightened the bearings with ties, because I didn’t want to mess with the fasteners (although I had plans). I also milled a groove on the table, because. the table was too low to the engine
The bearing was a wooden boss (temporary part)
Next, I started making carriages along the Z axis. After some deliberation, it was decided to make them from several sheets of Finnish plywood glued together (still Soviet stocks) nine0003
Further, taking into account the bitter experience of making bushings from duralumin, I machined two bushings from bronze. If I put it on glue, the possibility of adjustment would disappear. My teacher asked for shafts at the factory. They are not hardened, but polished, from automatic steel. At the moment, grooves from bearings have already begun to appear on them, so in the future I plan to replace them with hardened ones. The nuts inside the carriages are Teflon, also homemade (there were entries about them in the previous post). They are noticeably quieter than conventional nuts. Yes, and the hairpin is not spoiled like that
Mounting of the motors along the Z axis adjusted after installing the shafts and carriages, so that there was alignment. It entered the motor shaft with effort, and the M8 stud had to be warmed up. The whole thing was pulled together with ties, just in case
It was the turn of the manufacture of the print head. For a long time I decided how to choose the type - bowden or direct. As a result, I settled on direct, because. I still won’t develop super speed on a pruche. Yes, and I did not have one fitting.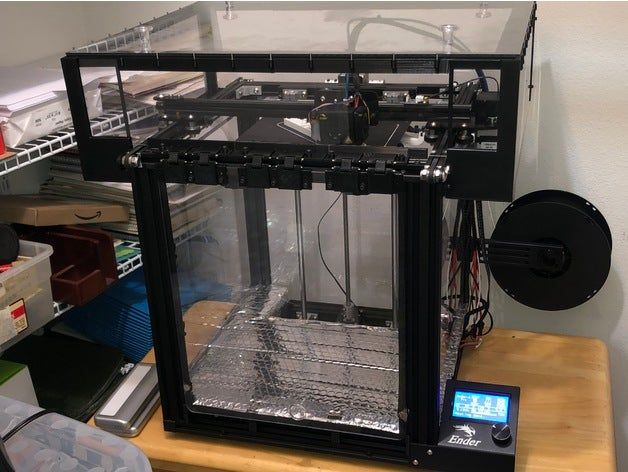 I was lucky with the print head - I found a student whose dad kindly agreed to print the details of the extruder on Ultimaker 2. In principle, I could try to cut it out of plywood, but if there is a printer ... :) After spending the evening in the compass, I drew this thing: nine0003
After printing and assembly, I got this:
Installing the extruder on a carriage assembled from two pieces of plywood and three linear bearings, I got a ready-to-use printer. It remains only to calibrate it (what I did not do in the first printer)
After a couple of hours I got the first result:
There were jambs on the model, but I didn’t even expect this from the very first print. Next came the owl. The layer was set to 0.2, when printing with a nozzle 0.3. I bought plastic on Aliexpress, ABS, 1 kg for $ 12 (I managed to snatch it). Since she was small, the slicer did not draw the model's beak well, resulting in the mouth of a stranger :D
Everything that I first saw on the Thingerverse went to print.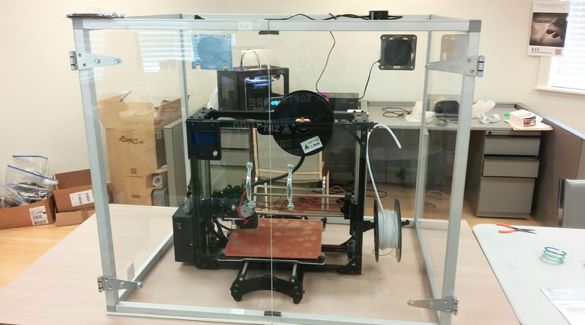
Slowly setting up the slicer (I use chicken in the repeater host), I began to think about attaching the coil, otherwise it was inconvenient to apply it with my hands. Again, after looking at the designs from different manufacturers, as well as after consulting with the teacher, I came up with this design, which was conveniently attached to the printer frame. The advantage of this arrangement of the coil is that the rod does not bend when the extruder moves. Most of all I was tired of cleaning off the old paint. After 2 days of hell, I started priming and then painting:
I painted fasteners without a primer - I regretted it, for which I later paid for it (the paint began to crumble in places)
As a result, such a light turned out:
And printing began again. The surface was a little zigzag, but after thoroughly cleaning the studs and lubricating the nuts, everything disappeared.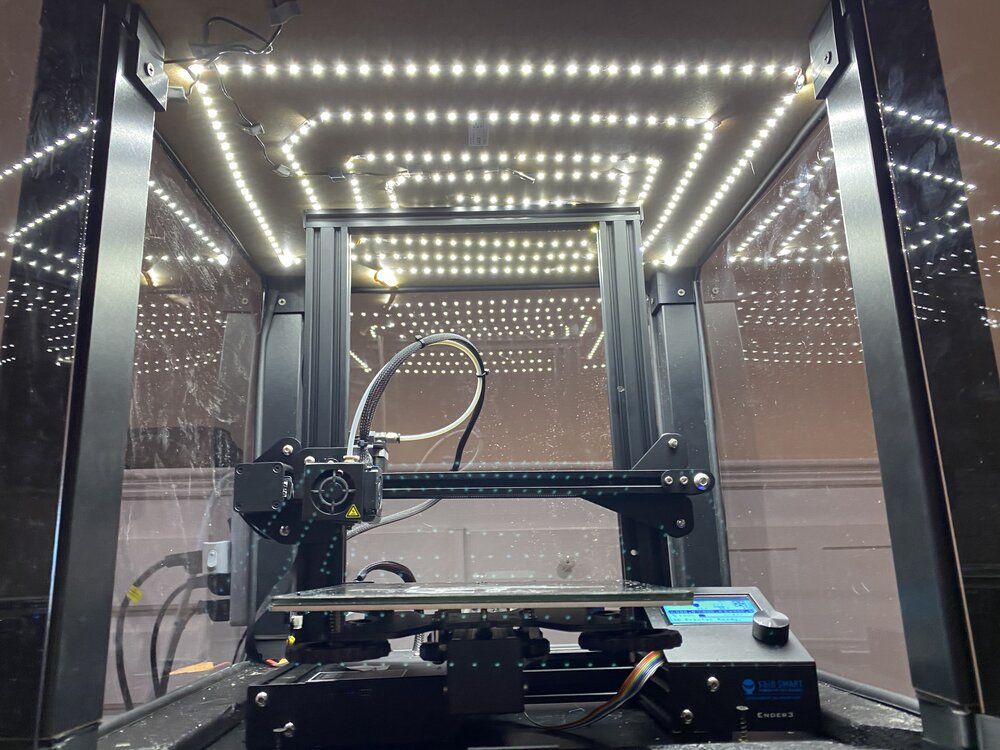 Changing the table cover was a long and tedious process, so I ordered Kapton tape. In the meantime, he is on his way, I decided to try to print on pva glue, which is a whole can. I dipped my finger, applied it gently and almost evenly in a thin layer on a cold table and waited for it to dry completely. The result amazed me - the part was difficult to tear off even after cooling. nine0003
Then I built a temporary housing for electronics out of a plastic box so that the 'brains' of the printer would not lie around it
Then I bought fluorescent plastic and printed out a dinosaur. Due to super adhesion, I could not tear the model off the table for a long time (looking ahead, I’ll say that everything is fine with pla on a table smeared with PVA glue)
Then I decided to print a part for the power supply. Printed for 5 hours (so far my longest print), 1.5 mm layer. Not to say that it is easy, but the part can be divided along the layers. I think we need to play with the temperature (it was like this: extruder 236, bed 90)
And now the most interesting part. After I wrote a post here about my printing problem, I was noticed by a large 3D printing plastic company Bestfilament, as well as a person with the nickname plastmaska, who pointed me to this company, for which many thanks to him. So, Bestfilament sent me 10kg of plastic for FREE! And different types: PLA, ABS and Watson! I thought it would be something like samplers randomly twisted in a bag. But imagine my surprise when I opened the box. Everything was in the best possible way: plastic on coils, in a sealed package, and the whole thing is also in a branded box! Thank you so much for this gift! Not everyone is able in our time to take such an act, which undoubtedly deserves respect
And here is the first printing with Watson plastic:
Here is printing with PLA plastic:
There are smudges on the model, but this is a problem in the slicer, because the chicken on the bridges doesn't want to move faster. This is how my printer works. Layer 0.06 mm, ABS
Stages of quality evolution (from left to right)
Now my printer looks like this:
Almost in this form, he will go with me to the Republican Olympiad in labor training. I will only print a housing for electronics and a screen. In the end, I would like to express my great gratitude to my teachers for their support and advice that they gave me during the assembly process. nine0003
I ended up spending $150 on the printer and 4-5 months of fun time (from idea to final product). Thank you all for your attention)
Vlad, 10th grade, Belarus
ZENIT 3D printer - Zenit3D
ZENIT 3D printer is suitable for printing the most popular types of plastic, such as PLA, ABS, PVA, FLEX, etc. heated table top. Also, for a better end result, an adjustable built-in airflow is used. The continuity of the work itself is ensured by a special broaching mechanism of the thread, which practically eliminates its jamming.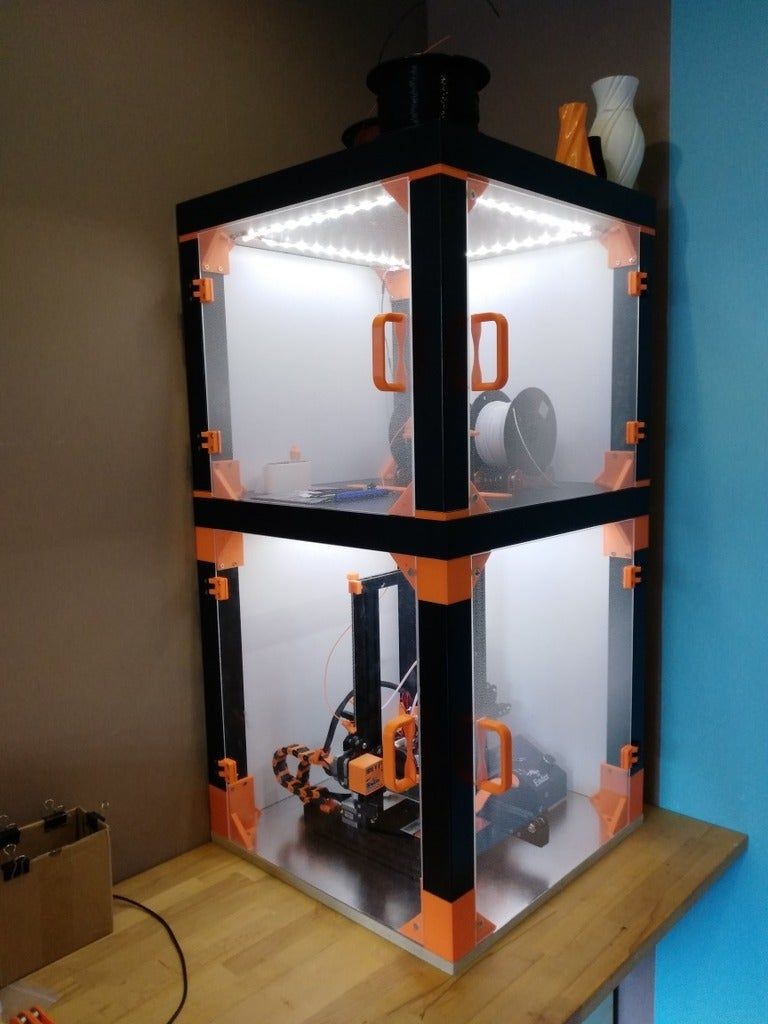 nine0003
The ZENIT 3D printer is made of heavy-duty materials. The device has a closed body, which allows you to make the printing process safe. Workspace illumination, heating indicator, LCD-display on the front of the printer make using the ZENIT printer convenient and ergonomic. And also a nice addition will be the ability to print offline from a computer using a USB flash drive.
The ZENIT 3D printer has a 3-year manufacturer's warranty.


