3D printer record
Guinness World Record title: 1096 Original Prusa 3D printers running at the SAME TIME
On August 16th, 2019, Prusa Research set a new world record for the Most 3D printers operating simultaneously with 1096 3D printers operating at the same time in one room. The record was officially confirmed by a representative of Guinness World Records. And here’s how it all happened!
The “hold-my-beer” moment
As many of you probably know, we have an in-house “Print farm”, a large hall with 500 Original Prusa 3D printers operating 24/7. They produce parts for new Prusa printers. This method, compared to e.g. injection molding, brings us a number of benefits, such as the ability to quickly iterate through new designs, so we can implement new and upgraded parts very quickly.
However, there are many other 3D printers in our building. In almost every office, in every little storage area, in every room… there’s at least one 3D printer. Yes, there are 3D printers even in the accountant’s office, sales team’s office, everywhere. Recently, we counted all the machines in the whole building and the counting stopped very close to the magical number of 1.000. This gave us an idea.
First of all, it’s a clear sign of how universal this technology has become. No matter whether you are interested in small-scale production, prototyping or just plain fun, 3D printers can be operated by pretty much anyone. And what happened next?
It was probably something as innocent as someone saying: “Hey, one thousand printers in one building… that must be a record!”
Coincidentally, we have just renovated a huge hall in the basement of our HQ that will house new filament production lines to produce more Prusament. The conditions were perfect.
Bringing it all together
We didn’t have much time, though, the new filament lines were already on their way, so we had to move quickly. We got in touch with Guinness World Records and set a date for the record attempt: August 16th, 2019.
On August 14th, the continuous hum of the print farm’s machines stopped. For the first time in two years, the print farm fell completely silent. We started bringing 3D printers to the basement, all 500 of them. Then the next phase began – bringing the printers from our offices. Everything was labeled and strategically placed, every inch of space was used and it still wasn’t enough. Tables were brought in, so we could place even more 3D printers wherever we could.
Meanwhile, another group of employees started connecting all printers to a massive electrical substation in the back of the hall. We needed heavy-duty extension cords, more than 330 of them. Many stores in the neighborhood ran out of extension cords that day.
Once everything was plugged in and ready to go, we could start the testing.
We decided to print a simple hexagon – for several reasons. It’s a popular infill pattern and it’s prominently featured on our packages, handbooks, leaflets, and other assets. Also, we needed a short print, because those 1.100 machines printed with PETG (most of them had powder-coated sheets), so the heatbeds operated at 90 °C. This caused the temperature in the hall to raise by 10 °C in around 10 minutes. There had to be 33 printer operators, 22 independent supervisors (‘stewards’) and an independent expert along with a referee present for the entire duration of the attempt and we didn’t want to keep them in 30+ °C temperatures for too long. The amount of power needed for the attempt peaked at 124 kW and the total energy consumption stopped at 127 kWh.
The Challenge
There were very specific requirements we had to meet in order to break the existing record, which was set in 2014 by California-based Airwolf3D with 159 machines running simultaneously.
All 3D printers had to be located within a single room, all prints had to start within a five-minute window and once the initial 5 minutes had passed, nobody was allowed to touch the machines. If something were to go wrong after those 5 minutes – e.g. the print would detach from the sheet, we were not allowed to fix it. In order to ensure that everything was by the books, 22 independent stewards had to be present on-site, each of them supervising 50 printers.
Once the machines finished printing, the stewards would collect up 50 objects each, so the two judges could inspect the objects for quality and count them. We had to have a perfect plan for this to happen and perfect coordination. We ran many tests on August 14th and 15th. Each printer was fine-tuned by our printing farm operators. When you went by, the heatwave coming from the room (and the smell of isopropyl alcohol used to clean the print sheets) could not go unnoticed.
The testing went well, many sample objects were printed and we started to feel pretty good about the attempt. By the end of the day, the lights were turned off and the room was left in a mesmerizing blue glow of a thousand LCD screens. Everything was ready for the big event.
A rare photo of an empty farm
The Record
On the morning of August 16th, everything was pretty much running on its own. The stewards arrived and received a full brief on their responsibilities. Our trained staff got into position, while Josef Prusa along with the Guinness World Records representative, surrounded by journalists, started the countdown. We managed to start all 1.100 3D printers within the aforementioned 5 minutes, and there was still a good amount of time left. Then, everybody had to wait. The temperature in the room started to rise quickly, but nobody seemed to care. Everybody was watching the printers. Would they fail?
Fifteen minutes later, we celebrated our first success: all printers, except for one, finished printing without issues. Then, the counting commenced. In the end, one print did not finish, two prints were overlooked by the stewards and left behind (and returning for them would be against the rules).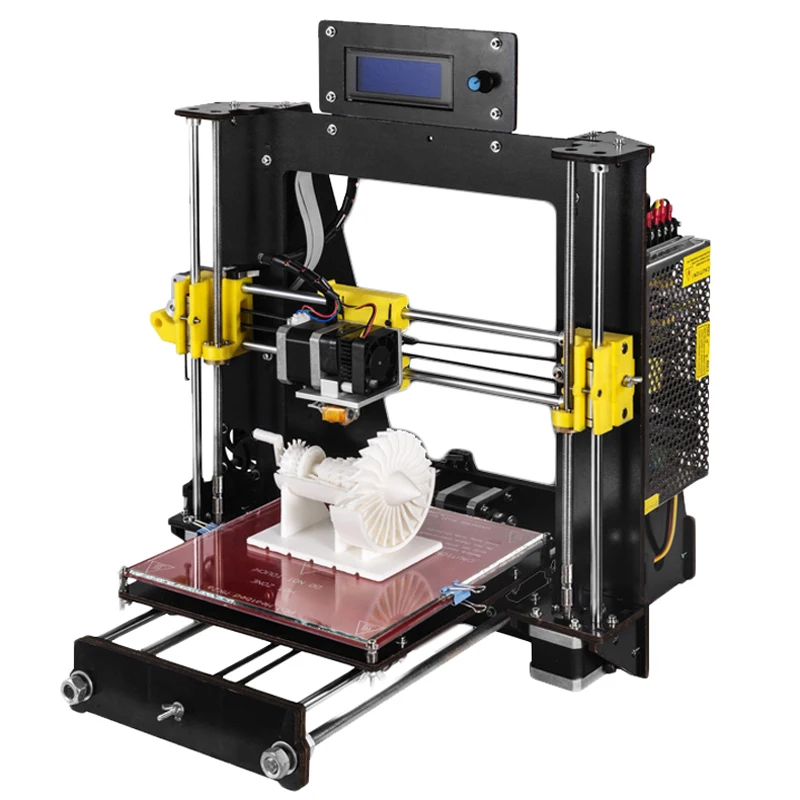 One print had to be discarded, because one of the stewards mistakenly brought 51 prints, while 50 was the maximum number per each person. This brought the total number of valid prints/printers to 1096, almost seven times more compared to the old record.
We did all of this because we believe that 3D printing is a wonderful industry, which can attract all sorts of people, professionals and amateurs alike. Nowadays, 3D printers are easy to operate and they are used by our employees on a daily basis – and these are not just 3D printing geeks. A huge thanks go to all participants who helped to make it happen! Although it was a lot of work, we thoroughly enjoyed it! And that’s also a major part of 3D printing: having fun.
Printed hexagons will be turned into a large mosaic and displayed near the entrance to our HQ. We will keep you updated!
And one more thing
To bring the total number of 3D printers to 1.100, we had to manufacture 150 new Original Prusa i3 MK3S units. Once the event was over, we have re-tested these machines and packed them into regular boxes ready for shipping to customers. So, yes, if you order an assembled Original Prusa MK3S printer from us, there’s a chance you will receive one of the printers that broke the world record. These machines are sent at random and there’s an easy way to tell whether you received one of these units: there will be a special label on the printer and also a thank-you letter included in the package. Rest assured, these machines are brand new, as we always make a test print on assembled printers. But in these cases, the hexagons have been used as a test print instead of Prusa logo.
3D Printing Guinness Record Shattered By LeTourneau University, Quickly Has Challengers - 3DPrint.com
Last week we did a piece on LeTourneau University, who was in the process of setting up to break the Guinness World Record for having the most 3D printers printing out the same object, all within the same location, at the same time.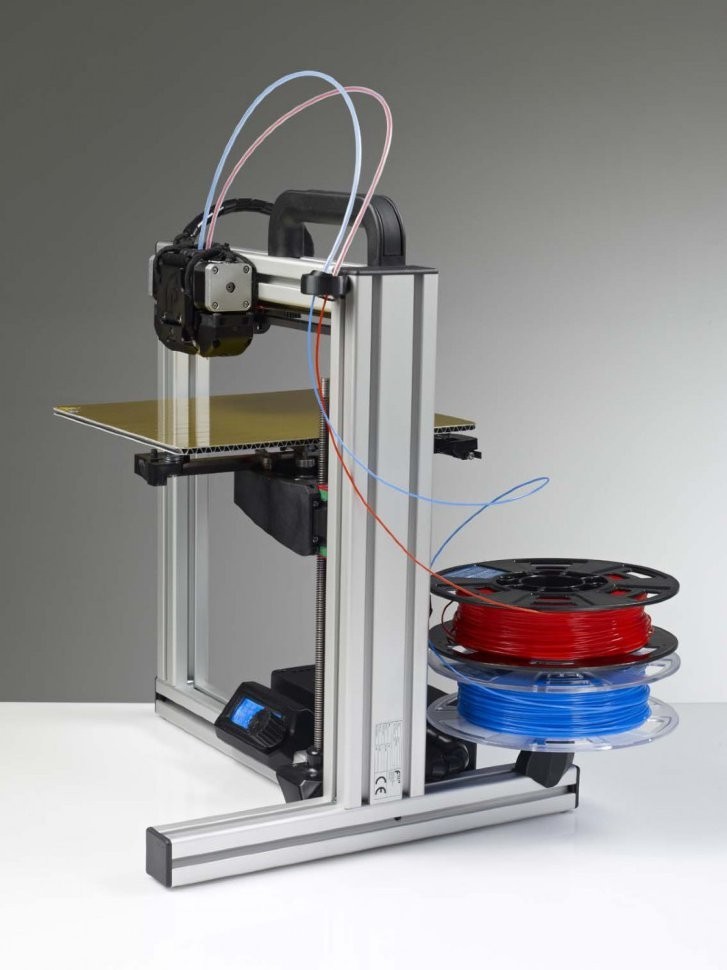 The University, located in Longview Texas, had their work cut out for them, as the previous record was 39.
Yesterday, well over 100 students gathered at the Solheim Arena, most with printers in hand, to try and break this somewhat odd, yet very intriguing record.
“LeTourneau University is big on hands-on projects,” said freshman Brooks Jarrett, who is among the roughly 90 percent of Friday’s participants who built their devices in the fall. “It’s definitely pretty exciting.”
There were a total of 108 printers in the arena, as the students worked feverishly to get each one of those printers working properly. In the end, a grand total of 102 Printers were able to simultaneously print out the same object, a cog with the date melted into its design, shattering the old record of 39, and putting LeTourneau University and their students in the record books.
Several independent sources were on hand to verify the record, and it may take as long as 12 weeks for the record to officially be recognized. In the meantime though, another group is already claiming to have broken the record that was just set yesterday.
Taking nothing away from the tremendous accomplishments of LeTourneau University, Jeff Moe, CEO of Aleph Objects, Inc., makers of LulzBot 3D printers, claims that their company has 135 3D printers within their facility. He stated that he can easily have them all running at the same time, and in fact does so often. Moe has been posting at 3DPrintboard.com, and has uploaded the following video to Youtube, showing his company utilizing 109 3D printers at once. Moe plans to submit the paperwork to Guinness soon. In the meantime he offered up some further details on the operations of Lulzbot at 3DPrintBoard,
“In the video we are printing RepRap parts for our next generation TAZ. We’ve printed hundreds of thousands of parts. Printing some medallions simultaneously won’t be hard–in fact, it will be easier.If you really want to see the nitty gritty of what we are printing, we have a LibreOffice spreadsheet of our current production batch here.
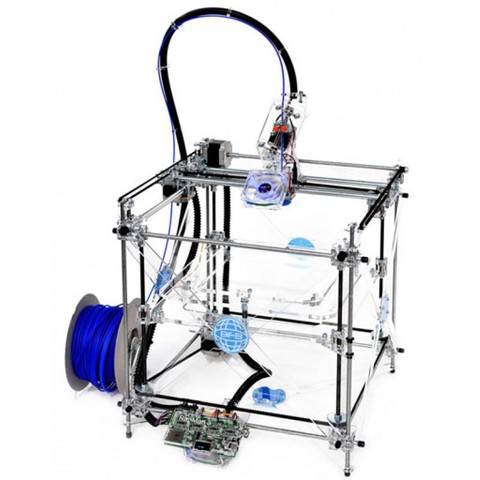
The very fact that the day a record within the 3D printing industry is to be broken, another group comes forth claiming to be able to break that record, clearly shows the rapid pace of growth within the market. Stay tuned to the 3DPrintBoard Guinness Thread for updates on this developing story, and congrats to LeTourneau University.
Stay up-to-date on all the latest news from the 3D printing industry and receive information and offers from third party vendors.
Tagged with: 3d printer record • 3d printing record • guinness • LeTourneau University • lulzbot • world record
Please enable JavaScript to view the comments powered by Disqus.
Instructions for creating time-lapse prints on a 3D printer
Many professional 3D printing studios and even amateurs post beautiful videos where an object magically appears out of nowhere.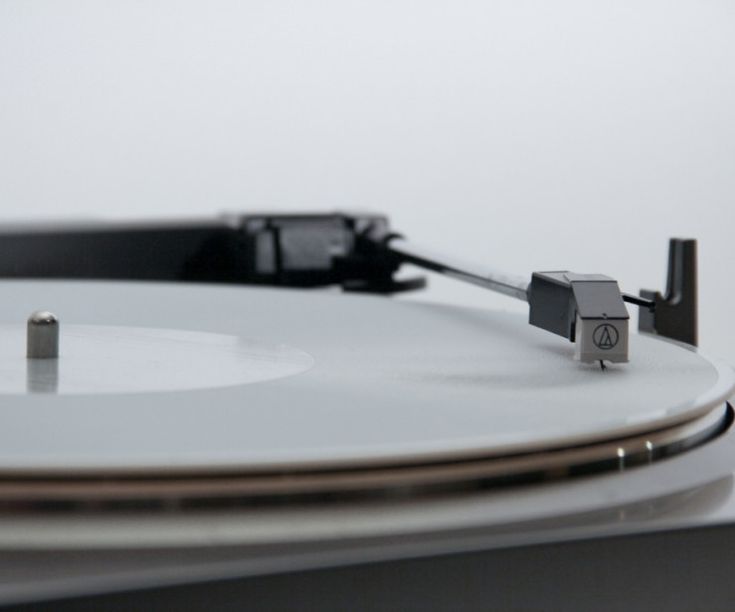 Those who understand even a little about 3D printing understand that this is really just a time-lapse filming of the printing process. But almost no one thinks about how such videos are made. In fact, creating a time lapse is very simple, it does not require special skills of the operator and editor, and all you need from the equipment is a 3D printer and a smartphone. Next, we will walk you through all the details of creating timelapses and look at mistakes that can be easily prevented even before creating a timelapse.
What is time lapse?
Before you start creating a timelapse, you need to understand what it is. Many people are under the misconception that this is just a speeded up video. In fact, this is a special shooting technology in which photographs are taken at regular intervals, and then they are combined into one video on a computer, where each photo will be a separate frame. Unlike video acceleration, this method allows you to reduce the file size, while increasing the quality of the resulting time-lapse, because we do not shoot a long video, and then throw out unnecessary frames. Everything happens the other way around: we immediately shoot only those frames that will make up the video. And the increase in quality is achieved by creating individual photos, not video, for which high-quality shooting requires expensive equipment. Almost all modern smartphones have a high-resolution camera that allows you to take high-quality photos, but at the same time does not allow you to shoot high-resolution video due to memory speed limitations or low processor power.
How to create a timelapse
Important clarification: As we understood from the previous paragraph, a time-lapse consists of separate frames, which are then combined into one video. But no one forbids shooting “the old fashioned way” using the video acceleration method. For simplicity, hereinafter, fast-paced shooting will also be called time-lapse.
The process of “making” a time-lapse is divided into two stages: shooting the material and processing it. Later in this article, we will look at various options for the implementation of these two stages. As an example, we will use the video and photos of printing a small puck on the Raise3D E2 printer.
Survey methods
Different shooting scenarios may use different equipment. Often, a regular smartphone is enough, on which you may need to install a special application. But to achieve maximum quality, it is better to use a professional camera. Also, do not forget about the battery charge in any of the devices used, especially when shooting models that take more than 1-2 hours to print. To create a high-quality time-lapse, you need to set the camera in such a way that the highest point of the model falls into the frame. This can be easily done by placing an object of similar height on the printer table. Do not forget about the light: if there is no special artistic intent, then it is best to place the light source behind the camera, at the height of the table, so that there are no unnecessary shadows and the model is evenly lit. As a result, the frame should look like the photo below.
Many photos
This method is what is meant by the word "timelapse". To do this, you need to create photos at regular intervals. Many cameras (including action cameras) and smartphones have this feature. After installing the camera and starting printing, you can start shooting. To calculate the appropriate interval between photos, you can use a simple formula:
interval = print time / (video time * frames per second)
Here video time is the length of the video received, and frames per second is the number of frames per second of the video received (usually 24, 30 or 60 fps). Note that all times in this formula are in seconds. For example, to get a video of 30 seconds in length when shooting a print of 1 hour (3600 seconds) at a frequency of received video of 30 frames per second, you need to set the interval equal to 3600/(30 * 30) = 4 seconds between photos. It should be borne in mind that when shooting with this method, the printer carriage will be visible in the frame, which means that as a result it will constantly flicker in the time-lapse. This can degrade the quality of the final result, especially on small models. To avoid this problem, you can use the following method.
Video
This option is the easiest to perform: start shooting video at the moment you start printing. Consider the need for a large amount of free space on the drive where the file will be saved. The advantage of this method is the ability to select certain frames where the caret will not block the model. To do this, before printing, you need to edit the Gcode so that with each change of layer, the carriage moves away from the part. You can read more about editing Gcode files in the article on our website. But extracting individual frames from a video in this way is an extremely time-consuming process.
Fun fact: blogger GreatScott did an automatic photo of the model without the carriage hanging in random places by modifying the printer firmware and the Gcode print file.
The essence of the method is that with each layer change, the carriage drove off to a special point, thereby pressing the limit switch, which in turn activated the camera and it took a photo.
Automatic
This method includes both the shooting of the print and the processing of the resulting photographs immediately after its completion. It is only available for smartphones and some action cameras. In fact, it is a fully automated method of taking many photos, because you only need to turn on the shooting, and the camera or smartphone will combine everything into a time-lapse video. Therefore, there is no need to process the received material. Processing methods After receiving the "raw" material, it is necessary to edit it on a computer. In the case of using video, everything is relatively simple, but to process a large array of photos, you need to use special tools and programs. Video Editor When shooting a large video, you only need to speed it up. For example, in the Sony Vegas video editor, you need to insert the video into the timeline and, holding down the ctrl key, move the right edge of the video to the left. When the edge starts to move, you will notice a zigzag. This means that you are doing everything right.
Processing methods
After receiving the "raw" material, you need to edit it on a computer. In the case of using video, everything is relatively simple, but to process a large array of photos, you need to use special tools and programs.
Video editor
When shooting a large video, you only need to speed it up. For example, in the Sony Vegas video editor, you need to insert the video into the timeline and, holding down the ctrl key, move the right edge of the video to the left. When the edge starts to move, you will notice a zigzag. This means that you are doing everything right.
An example of accelerated video on the timeline in Sony Vegas
If you used the method of taking many photos, then you need to select the file item in the top menu, then import, then multimedia.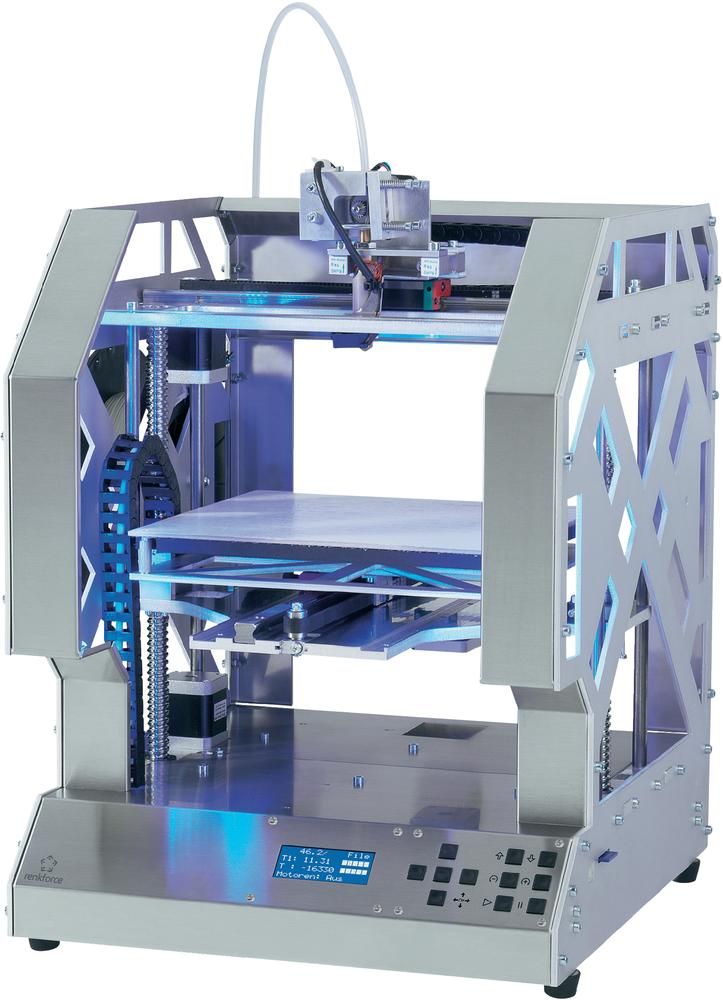 A file selection window will open. Select all photos and under the file browser window you need to check the box “Open sequence”. You will have another window where you can change the frame rate if necessary.
Creating a time-lapse from a photo using Sony Vegas
Special program
These programs exist for both smartphones and PCs. They are intended only for creating time-lapses, so you will not be able to trim the resulting video or change the frame in them. For example, you can use the Time-Lapse Tool on a computer. But on smartphones, it makes more sense to use automatic time-lapse apps like Time Lapse Camera. They have an intuitive interface that even a child can understand.
Major errors and solutions
Often errors relate to the wrong frame and lighting. If the model is closed by the carriage most of the time, then the only way out is to install the camera at table level. This can severely limit the height of the model being filmed.
Wrong shooting angle
Correct shooting angle
If strong shadows are visible on the model, which you need to get rid of, then you can use a table lamp aimed directly at the model.
If strong vibrations are visible after combining the photo into a time-lapse, then the camera moved during the shooting. In some cases, this is caused by vibrations that the printer creates. To solve this problem, you need to securely mount the camera to the printer.
Example of camera shake
Summing up
As you can see from this tutorial, making a time lapse is very simple. The only difficulty will be the choice of equipment for shooting. Do not forget that the main stage is shooting the model, and the stage of processing the received frames is secondary, because if you shoot well right away, then you won’t need to process the video much.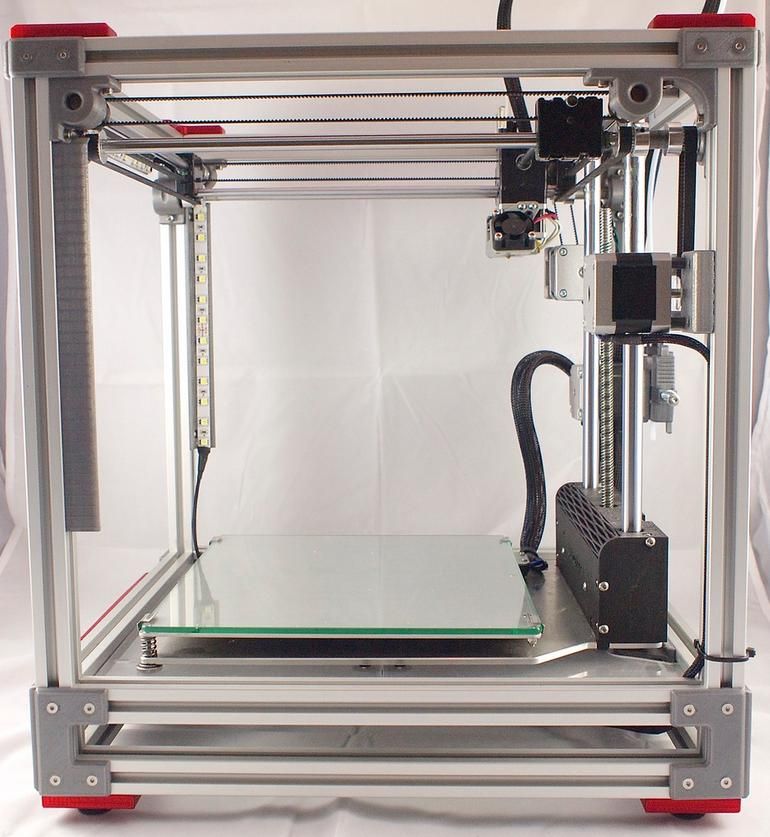 Also pay attention to the first frames that the camera or smartphone will take, because they can immediately determine the success of the selected frame and lighting. If you are going to time-lapse a large model, it is best to first make a simpler time-lapse of a small model so that if any errors occur, they can be immediately prevented. Although you can shoot a time lapse using any printer, open frame printers, that is, those that do not have any panels, are best suited, as this gives a large variation in free frames. You can read reviews of such printers and many useful articles in our blog.
A simple 3D print timelapse. Webcam, computer and printer only. (Not a manual, more like a sketch)
Why do I need to buy a RASPBERRY to shoot 3D prints?
We have a computer, a printer and a webcam - isn't that enough?
Enough, and now I'll tell you how to organize shooting for printers with MARLIN firmware with only a computer and a webcam.
Strictly speaking, time-lapse can also be shot on a mobile phone, such a mode has long existed in many modern smartphones, but for the needs of 3D printing, this is not a very successful idea, since the picture will turn out to be too jerky, especially when shooting with prush.
So a regular camera will not suit us, unless it can work in webcam mode when connected to a computer, like many modern cameras. A modern camera capable of working in webcam mode is the best webcam.
Raspbery and OCTOPRINT - although they are of higher quality, they are complicated, expensive and redundant for a simple time-lapse, so I'm not even going to consider them. I note that a two-megapixel camera, and in modern models with a higher resolution, is a good plus for Raspbery's karma.
Everything should be easier.
We need:
- Printer with MARLIN installed
- Any available computer with WINDOWS
- USB webcam
- USB cable to connect the computer to the printer manual editing of the g-code
- A program that receives commands from the printer and generates a picture. (download link)
On the last point, I didn’t find such a program on the Internet, I had to sketch it myself, brazenly stealing from free access the first code I came across to work with the DIRECTSHOW library.
The original webcam program was written in C#, using WPF, which I'm not good at, so I apologize for the somewhat clumsy interface.
However, if you have the desire and ability, then the original project is in the same place, by reference, you can rewrite it for yourself. And if I have time and desire, I will probably finish my WPF education and rewrite it in a more convenient version.
All
Next, we need to cut the printed model in the slicer, adding the command M118 SMILE to the code before each layer change - this command transmits the specified message via the serial port to the computer, and the program reads it and takes a picture from the camera.
In order not to edit the code manually, you can use the capabilities of the slicer, for example, for Simplify3D, you need to add the line M118 SMILE to the script Layer changed .
Copy the cut code to the card, connect the printer and webcam to the computer.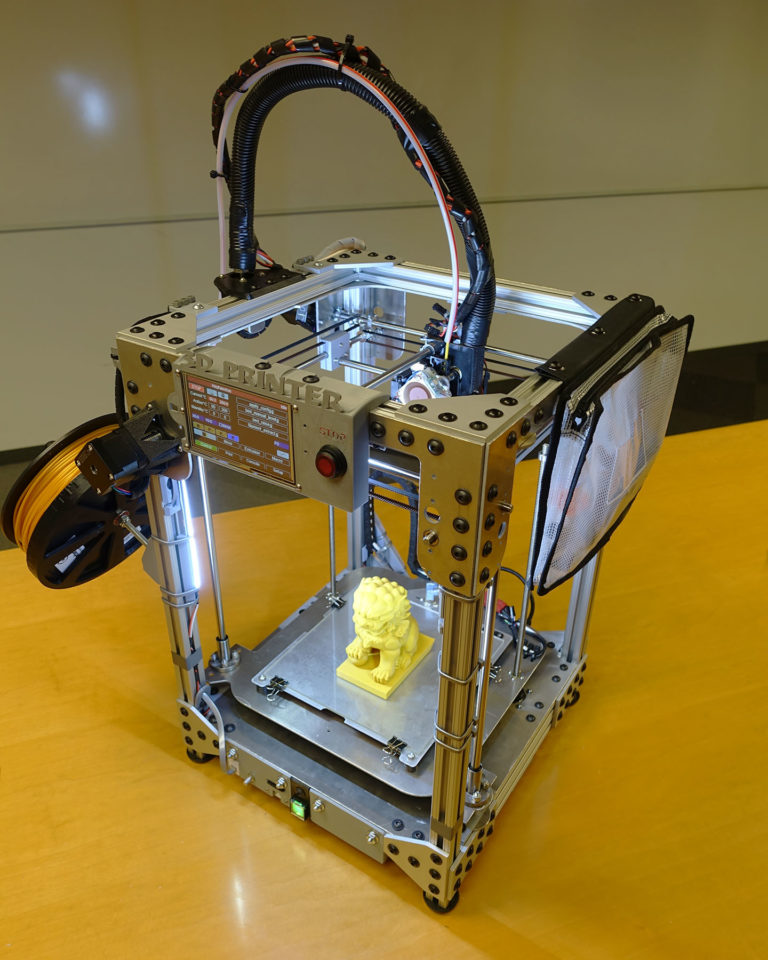 Download the program and unpack the archive.
Program settings:
Go to the folder Resources and in the file SerialPortSettings.txt write down your printer connection parameters, com port number, transfer speed, Databits value, according to the instructions for your printer.
Save the file and run the program WebCam.exe .
Here the antivirus may swear at you, because I am an unknown publisher, and the program requires access to the webcam, but I can assure you that there is nothing malicious in the program, it just reads data from the COM port, webcam and writes images to folder Photo inside the program directory.
An exception can be set for Anti-Virus.
The source code is at the link, you can check, rewrite, modify, in general, you can do anything with the code. =)
If you wrote down the port settings correctly, the program will start without warning about the unavailability of the printer.


