3D printer enclosure temperature
ABS print temperature considerations: Nozzle, bed, enclosure
ABS filament is a must-have for FDM 3D printer users. Cheap, wear-resistant, and heat-resistant, acrylonitrile butadiene styrene offers a few important advantages over PLA, such as superior ductility and durability. A good example of the thermoplastic’s value is its use in LEGO bricks, which require a good degree of toughness and flexibility so they don’t break during playtime.[1]
But although printing ABS has its benefits, newcomers to the material should be aware of the challenges it poses, the most significant of which is the high required ABS print temperature. Because ABS has a higher glass transition temperature and higher melting point than PLA, extrusion of ABS plastic requires a higher nozzle temperature. Additionally, since the material is also prone to warping as it cools down, it requires a heated print bed and ideally an enclosure to prevent that warping from getting too extreme.
This article serves as a quick introduction to ABS print temperature considerations. It discusses the ideal nozzle temperature, build plate temperature, and heated enclosure temperature, as well as other important additive manufacturing considerations like print speed and retraction settings.
Recommended reading: PETG temperature considerations: Nozzle temperature, heated bed & cooling
LEGO bricks are made of durable ABS
During FDM 3D printing, a key print temperature consideration is nozzle temperature (sometimes called extruder temperature or extrusion temperature), which relates to the amount of heat generated by the printer’s hotend.
The hotend must heat up the tip of the solid strand of filament until it is pliant enough to be forced through the nozzle and onto the print bed. Some filaments, including high-performance materials like PEEK, require very high temperatures in order to melt — sometimes up to 300 °C — while more basic materials like PLA need relatively gentle heat.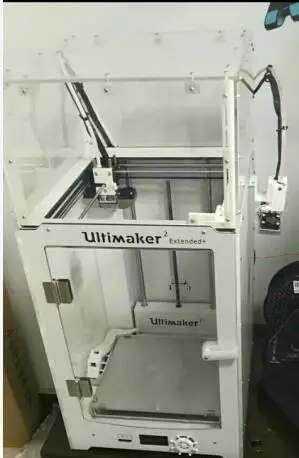
ABS isn’t a high-performance material and doesn’t require specialist high-temperature equipment. However, due to its high temperature resistance, it does require a higher nozzle temperature than PLA. Using PLA nozzle settings (around 210 °C) on ABS would result in problems such as poor layer adhesion, i.e. the individual slices of the printed part failing to stick together.
When 3D printing ABS, the ideal nozzle temperature for the 3D printing material is around 220–250 °C. Some researchers have suggested a figure of 231°C as “optimum for highest tensile properties.”[2] This slightly elevated temperature — similar to the ideal PETG temperature — helps to improve first-layer and inter-layer adhesion in ABS parts. Unfortunately, selecting a precise temperature within this range requires a bit of trial and error, as FDM hardware can vary from model to model and produce different results.
The usual ABS print temperature settings may have to be adjusted slightly when using a nonstandard nozzle.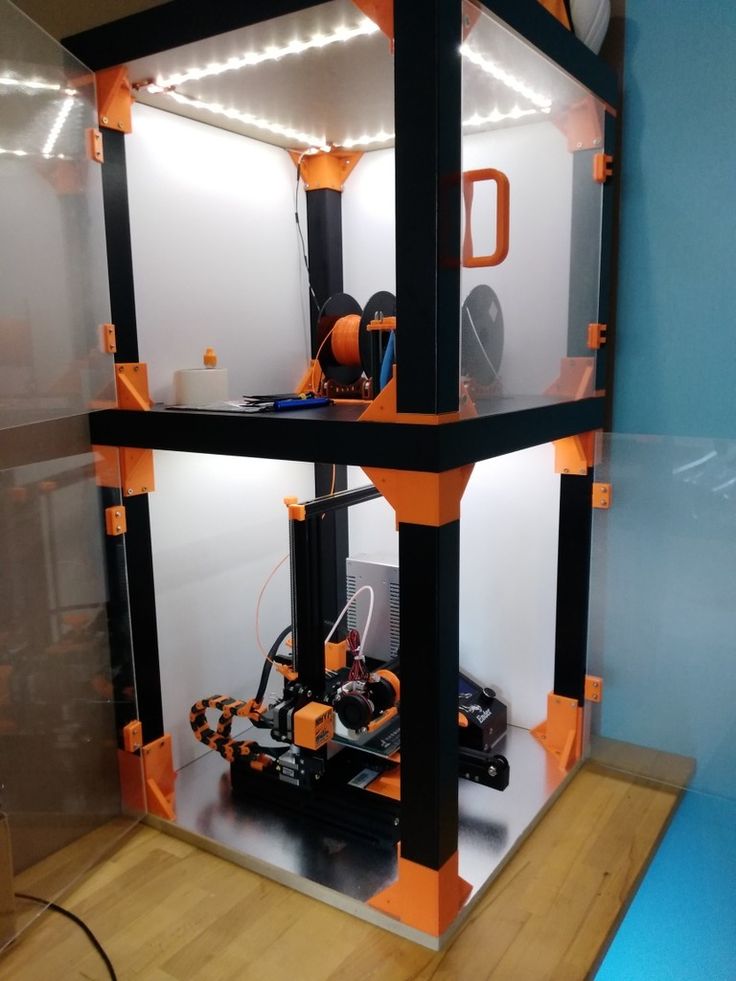 Nozzles with a wider diameter than the standard 0.4 mm typically require a higher temperature in order to heat up the larger amount of plastic passing through. Conversely, small-diameter nozzles can extrude ABS at slightly lower temperatures.
Recommended reading: Nozzle diameter and layer height explained
ABS requires other temperature considerations besides nozzle temperature. Using a nozzle temperature of 220–250 °C is great for extrusion, but that’s only part of the overall printing process. Once deposited, the thermoplastic material must adhere to the print bed, cool down, and then solidify, and this is when problems like poor bed adhesion, shrinkage, and warping can occur.
One way to improve bed adhesion and mitigate problems like shrinkage is to use a heated build platform.[3] Not all FDM printers have this feature, but a heated bed helps to ensure good first-layer adhesion and to prevent there being too much of a temperature discrepancy between the hotend and the bed. When parts cool down too quickly, they can exhibit a high level of shrinkage and warping, sometimes making the parts unusable.
ABS is a material that generally needs the assistance of a heated bed — both for adhesion and shrinkage prevention — with the ideal ABS bed temperature being around 95–110 °C.
To further improve adhesion, additional considerations like build surface material should also be taken into account. One way to improve adhesion is to coat the print surface with ABS juice: a mixture of a small amount of ABS filament and acetone. (When a higher concentration of ABS is used, this mixture is called ABS slurry.) Alternatives include glue stick, hairspray, and kapton tape.
A heated bed leads to improved ABS parts
Some 3D printers allow control over a third print temperature parameter: the enclosure temperature (or heated chamber temperature). Of course, some FDM 3D printers have an open rather than an enclosed design, and to these this parameter is not applicable.
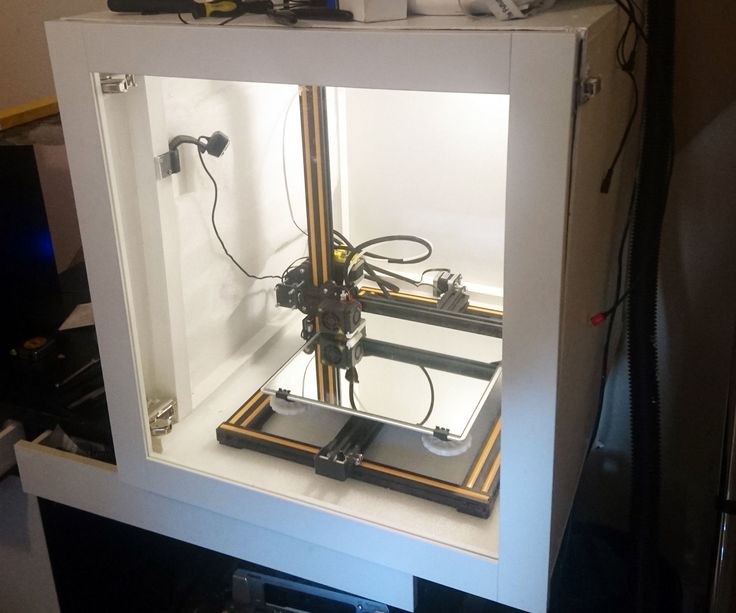
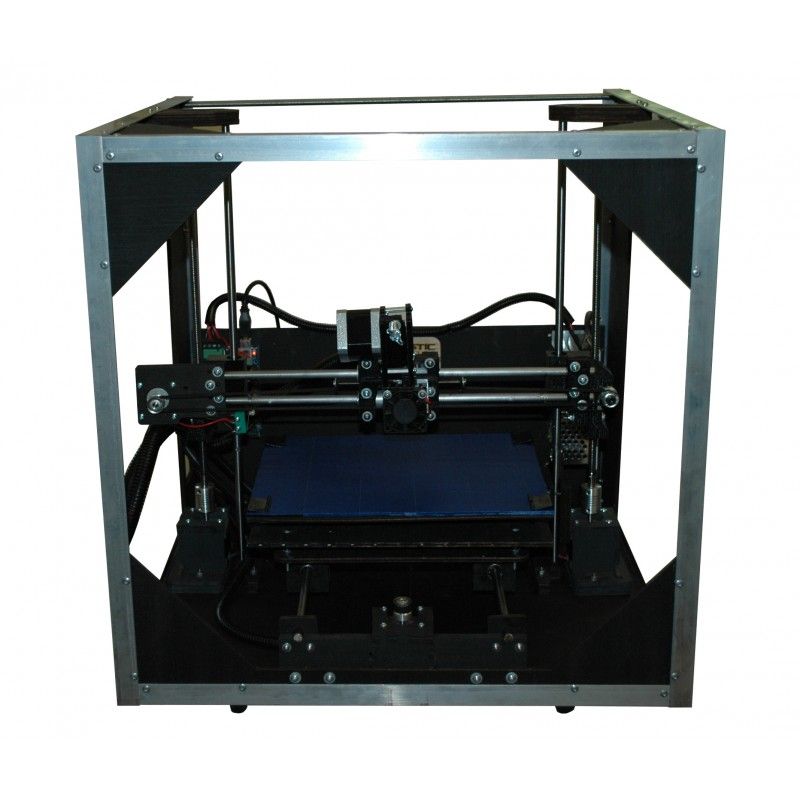
Enclosed printers offer an advantage when printing ABS because they allow for a more consistent printing environment, keeping out cold air and drafts and keeping the air temperature at around 30 °C or slightly higher. This helps to improve inter-layer adhesion and reduces the likelihood of shrinkage and warping. Lots of printers have enclosures, but it is also possible to obtain or construct a DIY enclosure to fit around an open-design machine. Although ABS prints better with an enclosure, it is difficult to control the exact ambient temperature within the enclosure, so users should be careful not to let it overheat.
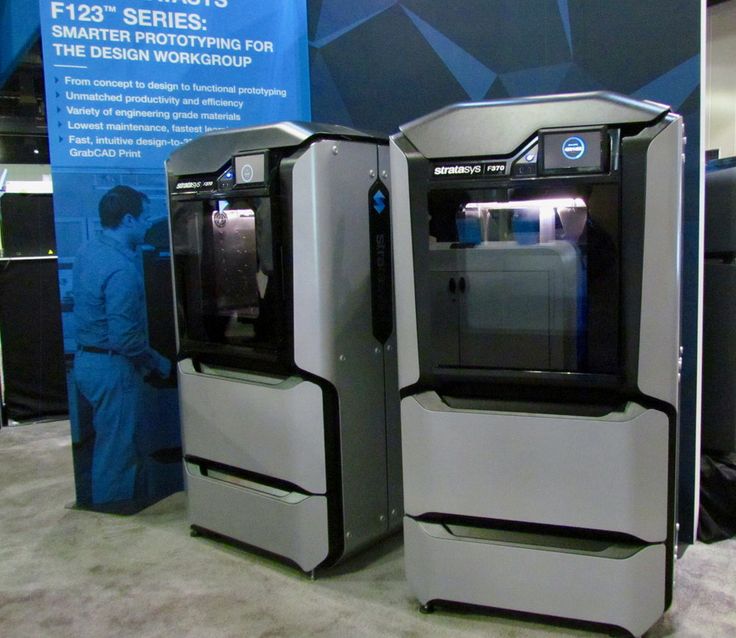
A more advanced solution than a simple enclosure is a heated build chamber. 3D printers with a heated build chamber contain thermal regulation equipment for heating and maintaining the build area to a precise temperature. The temperature can be adjusted digitally, and this feature is useful for printing high-performance materials that require very high print temperatures.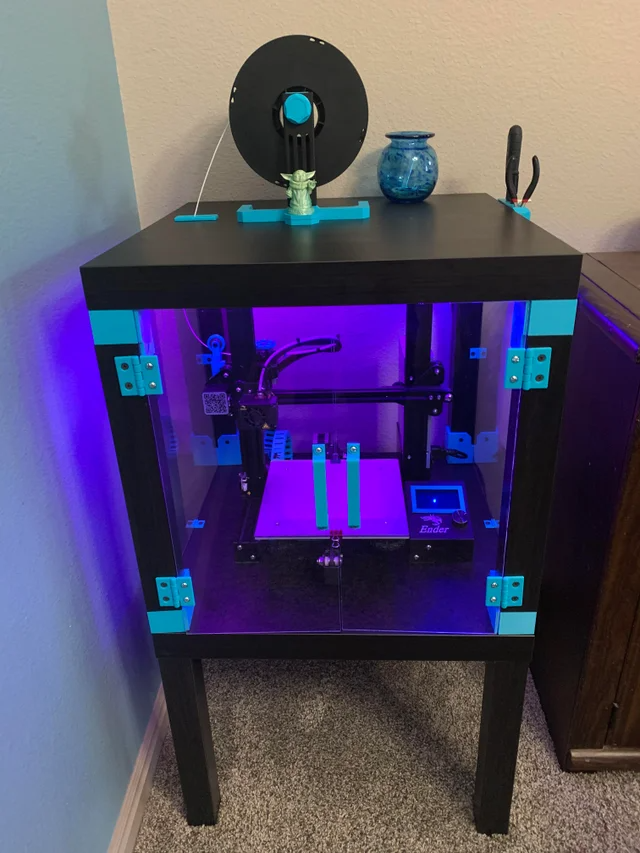 A heated build chamber is not required for ABS, but typical temperatures can be around 60–70 °C.
Configuration of temperature settings is key to getting good results from ABS filament. But a few other parameters should also be considered.
Build surface
When printing ABS, the heated bed should be complemented with a fairly adhesive build surface such as a PEI sheet. Alternatively, a glass build surface can be coated with ABS juice / ABS slurry, glue stick, or another adhesive substance.
Cooling
A 3D printer’s cooling function is closely related to printing temperature, with the cooling fan serving to reduce the temperature around the part to help the plastic solidify faster. In general, a cooling fan is not required for ABS printing, so fan speed can be set to a low setting, or off.
Ventilation
ABS releases fumes and strong odors when printed. For safety reasons, it is best to situate the 3D printer in a well-ventilated area.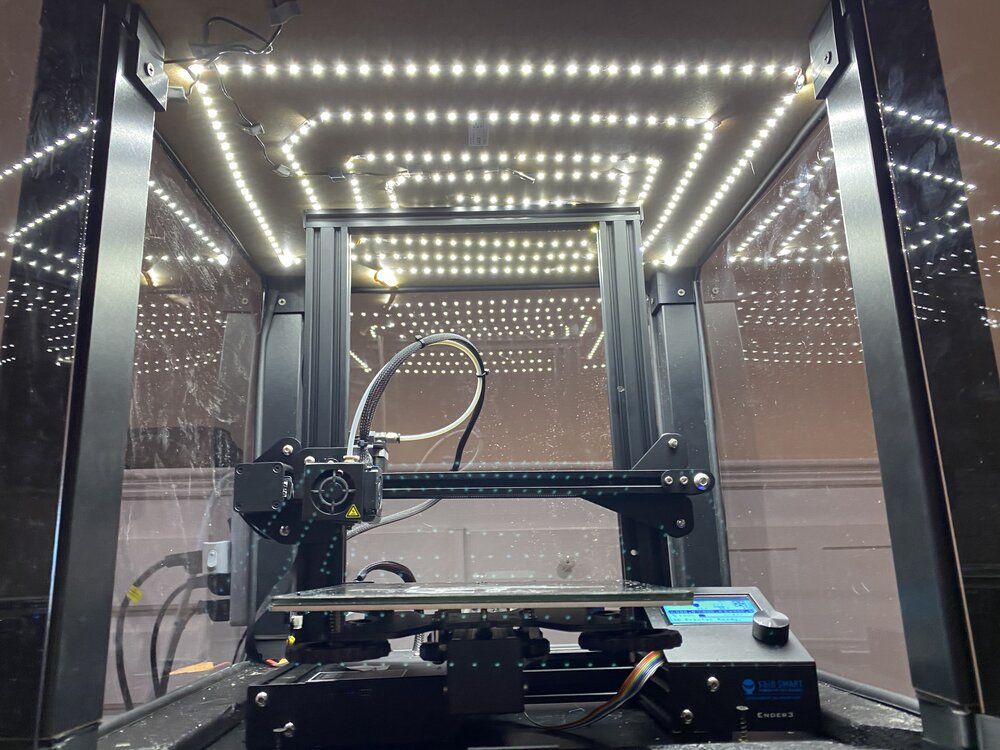 Of course, users will then have to balance the need for ventilation with the need to prevent drafts of cold air that could cause warping of the part.
Other print settings
Besides nozzle and bed temperature, the most important print settings when using ABS include:
Print speed: Should be kept to a moderate rate, and especially slow for the first few layers.
Brims and rafts: Should be used to lock the part to the build surface and prevent warping, though this can add time to post-processing as extra material removal is required.
Line width: Should be increased for the first layer to increase contact with build surface and improve adhesion.
Retraction: Should use a moderate speed (~50 mm/s) and distance (~0.8 mm) to prevent stringing.
ABS print temperature rules can be boiled down to the following key parameters:
Nozzle temperature of 220–250 °C
Bed temperature of 95–110 °C
Enclosure to maintain even ambient temperature
By sticking fairly closely to these guidelines, printing a spool of ABS filament can be straightforward, leading to high-quality parts with good mechanical properties such as durability and ductility.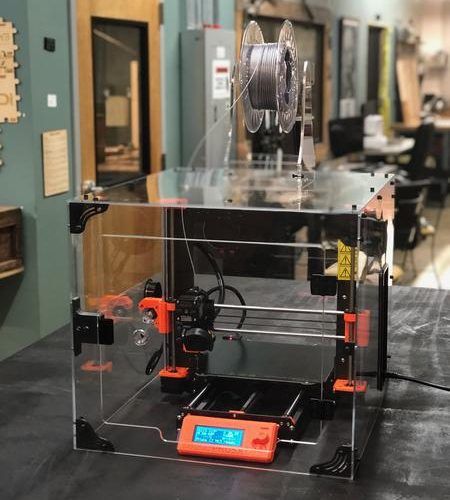 And if the pitfalls of shrinkage and warping can be avoided during the printing process, the resulting parts will be highly resistant to heat and suitable for use in fairly demanding environments.
[1] Horikoshi R. Teaching chemistry with LEGO® bricks. Chemistry Teacher International. 2021 Sep 1;3(3):239-55.
[2] Foppiano M, Saluja A, Fayazbakhsh K. The Effect of Variable Nozzle Temperature and Cross-Sectional Pattern on Interlayer Tensile Strength Of 3D Printed ABS Specimens. Experimental Mechanics. 2021 Nov;61(9):1473-87.
[3] Lelinski M. How to Succeed with ABS Filaments When 3D Printing [Internet]. Zortrax. 2018 [cited 2022 Apr 12]. Available from: https://zortrax.com/blog/how-to-succeed-with-abs-filaments-when-3d-printing
3D Printing PLA, PETG and ABS while Protecting Your Lungs with an Encl – 3D UP Fitters
A lot of 3D printer enthusiasts start out putting a cardboard box over the printer, but there’s a lot more to it than that! This article will explain a how enclosures work, and how to manage the temperatures to get quality prints while protecting your lungs.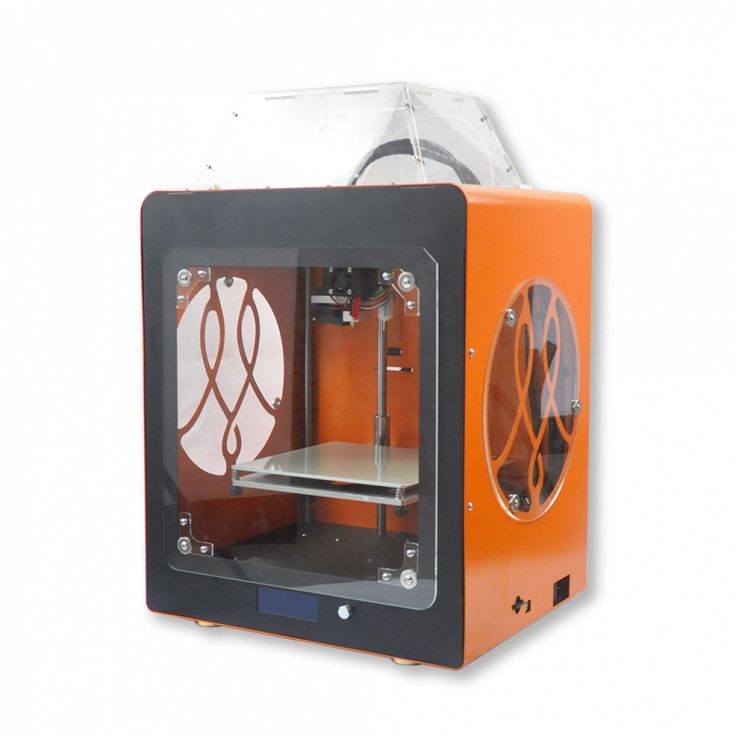
We generally get two types of customers:
- Those interested mostly in air quality.
- Those interested mostly in print quality.
Think Airflow, Not Fishtank
The problem is those two goals use two different techniques in terms of airflow. For the best air quality, we use the same design as industrial equipment, which uses airflow to manage air quality. Because of physics, the amount of air moving into the enclosure has to be equal to the air moving out of the enclosure. When the air moves out of the enclosure carrying volatile organic compounds it can then be vented to the outside or run through an air filter.
People often ask us if the enclosures are airtight and have a bottom. After living with enclosures that do and do not have a bottom, we believe the utility of being able to just lift the enclosure off of the printer is a huge benefit, while having a bottom doesn't provide any benefits.
If your main concern is air quality then being airtight doesn't buy you anything since the particles will just float out when you open the door.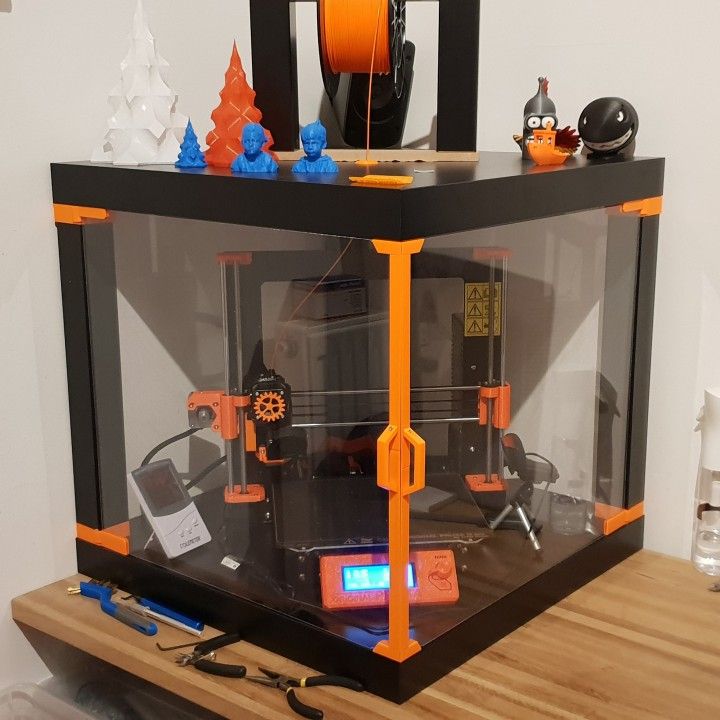 It's only by maintaining a negative air pressure that the particles are reliably kept away from human operators, which means having openings for air to both enter and exit the enclosure. This is the same technique used at hospitals to prevent the spread of airborne infectious diseases, and on industrial lasers to maintain indoor air quality.
If the maximum internal temperature is the goal, then being airtight also doesn't help since the main cause of heat loss is through conduction through the sides and top of the enclosure, not through tiny amounts of air loss. A bottom doesn't help either since while heat doesn't rise, hot air does, and thus almost all of the heat loss of an enclosure is at the top. A bottom is helpful, however, if your table is too small for the enclosure.
Since airflow is key, all of our enclosures come with fans chosen for CFM ratings to match the cubic size of the enclosures. This ensures that for cool-loving filament types like PLA there's enough airflow to keep the temperatures in the safe zone.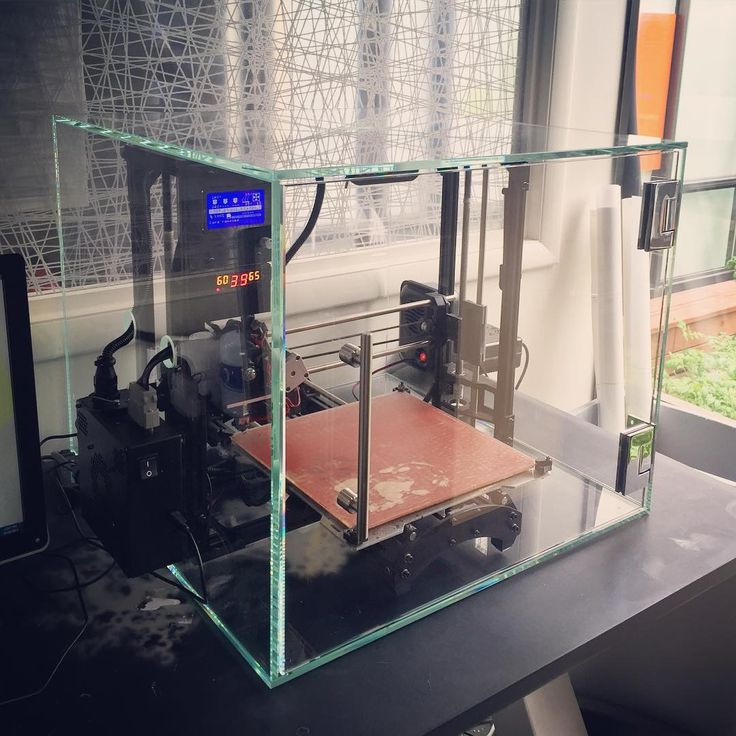
Room Temperature
Passively heated enclosures are completely dependent on the room temperature as a starting point. If you're trying to print ABS in an unheated garage in the winter the temperature inside the enclosure is never going to get hot enough. The reason is the bed heater has only enough energy to increase temps from the baseline. If that baseline is 72F, then you've got a good chance of getting into the sweet spot. If the baseline is 50F, then you'll be lucky to break 72F in the enclosure itself.
ABS, ASA, and Nylon
You want the internal temperatures higher for filaments like ABS or ASA, which happens naturally because the recommended bed temperatures are much higher. With the fans turned on we shoot for internal temps between 38C and 42C for 3D printers that use E3D hot ends because E3D recommends that temp range to avoid clogging. Keeping the temperatures in that range it puts the least stress on the equipment and follows the manufacturer's guidelines.
This works great for people either interested mostly in air quality or those who are risk-averse and don't want to take a chance of clogging their hot ends or decreasing the useful life of their printers.
More experienced 3D printer owners though, those for whom a clogged nozzle is a known risk, might want to run the temperatures higher for less chance warping of ABS parts or to print nylon. In those cases, you can turn off the fans or even print one of the vent covers and just not vent at all. For our internal print farm, we do the later on a couple of machines where the temperature when printing ABS gets as high as 46C. They've been running like that for years with no filament clogging. Even with no venting of the power supplies, we've never had a power supply fail either. Obviously, your mileage may vary, as it depends on a lot of variables such as filament quality and the quality of the power supply in that particular printer.
If you're looking for the highest temperature's possible, try turning the bed heater on for an hour before you print.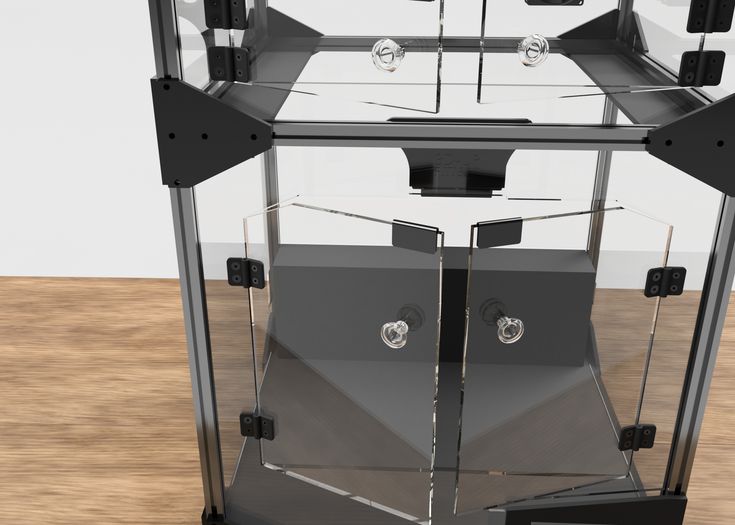
Perfect Enclosure Printing with PLA and PETG
Since PLA and PETG are perfectly happy at room temperature, the only reason to enclose it is for improved indoor air quality. PLA typically prints with a bed temperature of 60C, so it's going to heat the enclosure less than ABS right off the bat. Always make sure to print with an enclosure fan and monitor the internal temperature, which ideally should be in the 30-35C range or lower if you can get it.
If you'd like to lower the temperature further you can always buy a more powerful fan, but the easiest thing to do is just crack the front door a little to increase airflow. But won't that let out all of the volatile organic compounds coming off the hot end? The key is the negative pressure combined with the fact that the particles are extremely small and light.
As you can see in the video, the fan keeps the air flowing in and the harmful particles flowing into the vent or filter.
3D Printer Design Matters
The other part of the equation is the printer design. Those printers where the hot end is at the top of the enclosure make it easier to achieve higher temperatures because the hot air rises to the top, and the vertical hot end position is fixed. Those printers with the hot ends at the bottom are always going to have more problems managing temperature simply because the temperature is more likely to vary as the hot end goes from the bottom to the top of the enclosure.
Let Us Help
If you're looking to achieve a particular temperature with your enclosure, let us know and we'll give some advice on how to manage, but it's really not that hard:
Lower Temperature = More Cold Air
Higher Temperature = Less Cold Air
Pro Tip: measure your current temperatures before attempting to make any changes.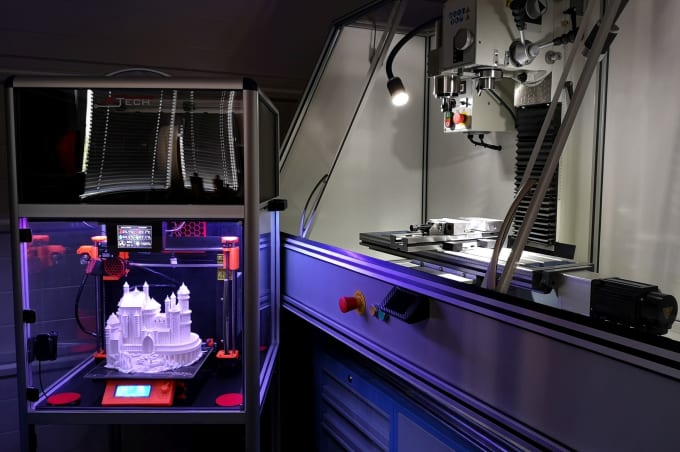 We get support calls saying "my enclosure is too hot" or "too cold" but they didn't actually measure the temperature. Without measurements, it's impossible to say if a printing problem is temperature related or not.
Optimal table and hot end temperatures for 3D printing PLA
3DPrintStory 3D printing process Optimal table and hot end temperatures for PLA 3D printing
In an ideal world, there would be an ideal temperature where you could set up your 3D printer once and just hit the button to start 3D printing. But in reality, there is no ideal temperature for PLA plastics. And in order to get a good 3D printing result, you need to spend some time and effort.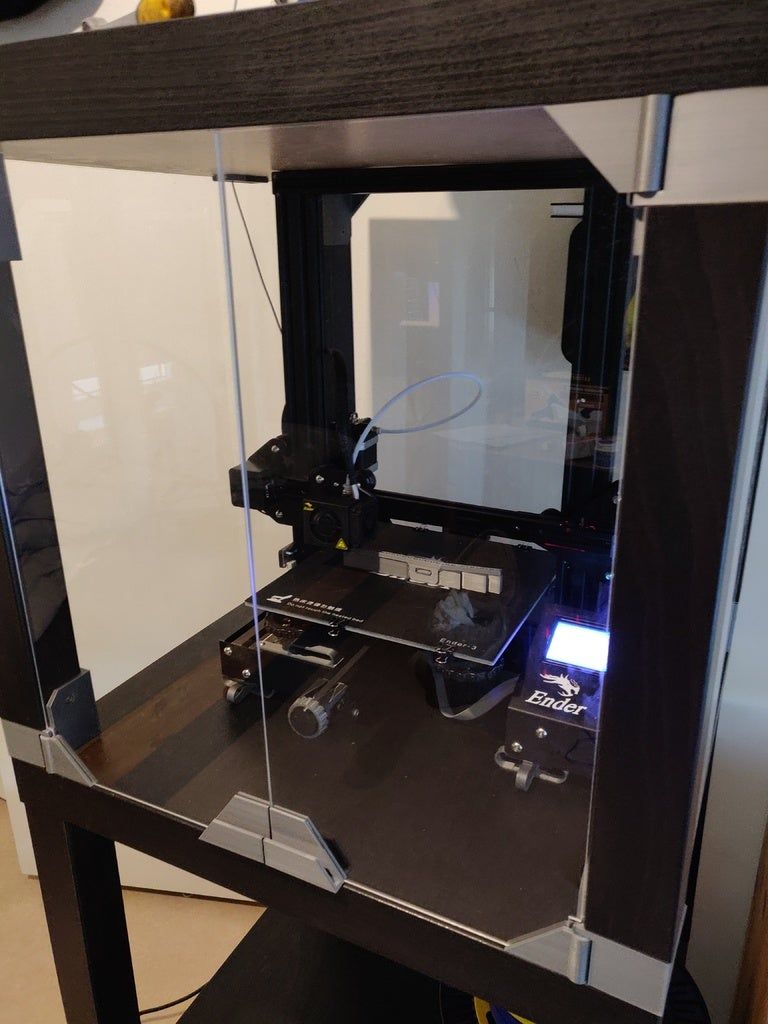
PLA is quite forgiving when it comes to temperature, and as long as you don't deviate too much from the recommended 3D printing temperatures, the result will be good. What's more, PLA is a great way to get started in the world of 3D printing and experimentation, as it's easier to use than, for example, ABS or PETG.
One important thing to keep in mind when checking suitable temperature ranges is that different brands and even colors of PLA plastics can have different optimal 3D printing temperatures.
Optimal temperature range for hot end
As mentioned above, it would be nice to know one temperature for printing PLA materials, but in fact there is none. There is a recommended range within which you need to adjust the nozzle temperature of your 3D printer. For PLA plastics, the recommended hot end temperature range is 190°C to 220°C.
If you notice that the layers do not adhere to each other during 3D printing, you can raise the temperature within the above recommended range.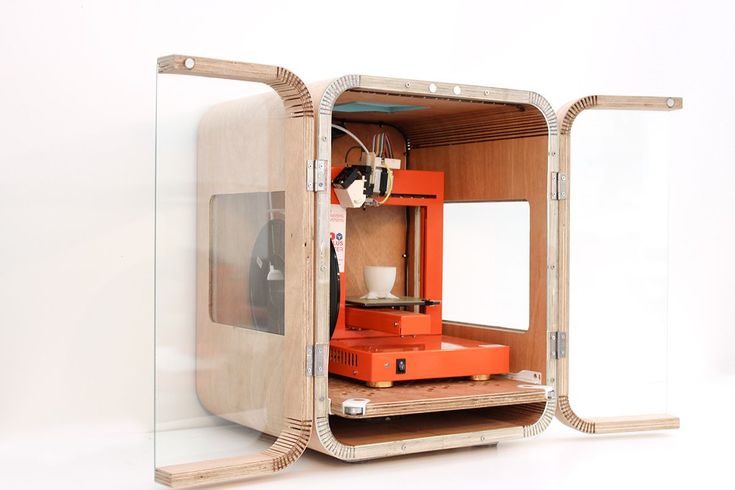 On the other hand, hot end cooling can improve 3D printing quality . If the extruder is too hot, the PLA filament can become very soft and brittle. This results in the model being printed with visual defects.
Incorrect 3D Printer Hot End Temperature Signs
Another indicator that the hot end is too hot is if your 3D printer is not printing bridges well. This could mean that the plastic is so hot that it doesn't have time to cool down enough. If the hot end is too hot, your 3D models will look "dirty" and "tarnished". Lowering the temperature can help with this.
Meanwhile, if the 3D model does not adhere well to the table, then this may be a sign of insufficient hot end temperature. A cold hot end can also make it difficult to form good corners on your 3D models.
One of the best ways to achieve the ideal hot end temperature is to experiment. By slowly adjusting the temperature, increasing or decreasing, you will gradually find the optimal temperature for your 3D printer and plastic.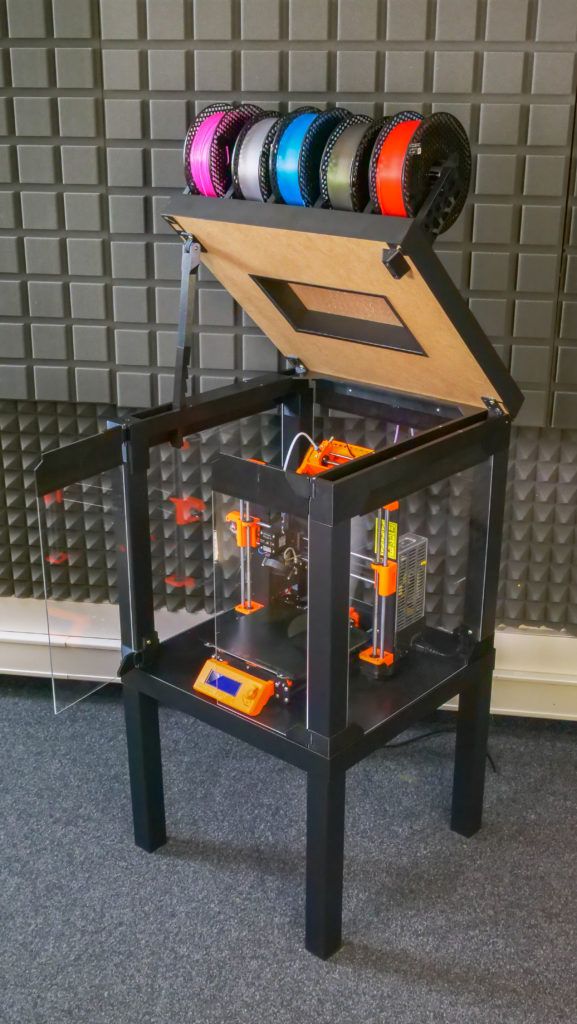
Heads from different manufacturers and different colors also affect the optimum temperature of the hot end. For example, a black PLA spool can print well at around 215°C, while a similar blue PLA spool from the same manufacturer will perform well at 210°C. Even small temperature differences can make a big difference in the quality of your 3D models.
Best 3D Printing Table Temperature Ranges
Heated tables have a huge impact on 3D printing quality. Although they are not available on all 3D printers, for those where they are installed, the temperature must also be adjusted correctly. While the recommended bed temperature for PLA 3D printing is 70°C, this does not always work perfectly. There are recommendations for a heated table temperature range of 55°C to 70°C for PLA plastic. So the temperature of the table as well as the hot end should be adjusted to your own realities.
Signs of incorrect 3D printer table temperature
The most obvious sign that your table temperature is too low is that your 3D models are not sticking to it. If they don't stick well, you can raise the temperature a little. A warmer 3D printer bed can help soften the plastic, allowing it to better grip at the base of the model. Just be careful not to overheat the table or you'll run into an elephant's paw problem. In short, this effect is manifested in the fact that the first few layers melt under the weight of the 3D model.
The "elephant leg" is especially strong, especially when the 3D model is very heavy, as there is more pressure on it. This annoying side effect can be easily fixed by lowering the temperature of the 3D printer bed a bit. Again, don't overdo it and don't set the temperature too low. Measure is needed everywhere!
External influences
External influences can also affect PLA print temperatures. If, for example, a cool breeze is blowing from the window, you can increase the temperature of the hot end and the 3D printing table by a couple of degrees. Air conditioning vents can also lower the temperature of 3D printing.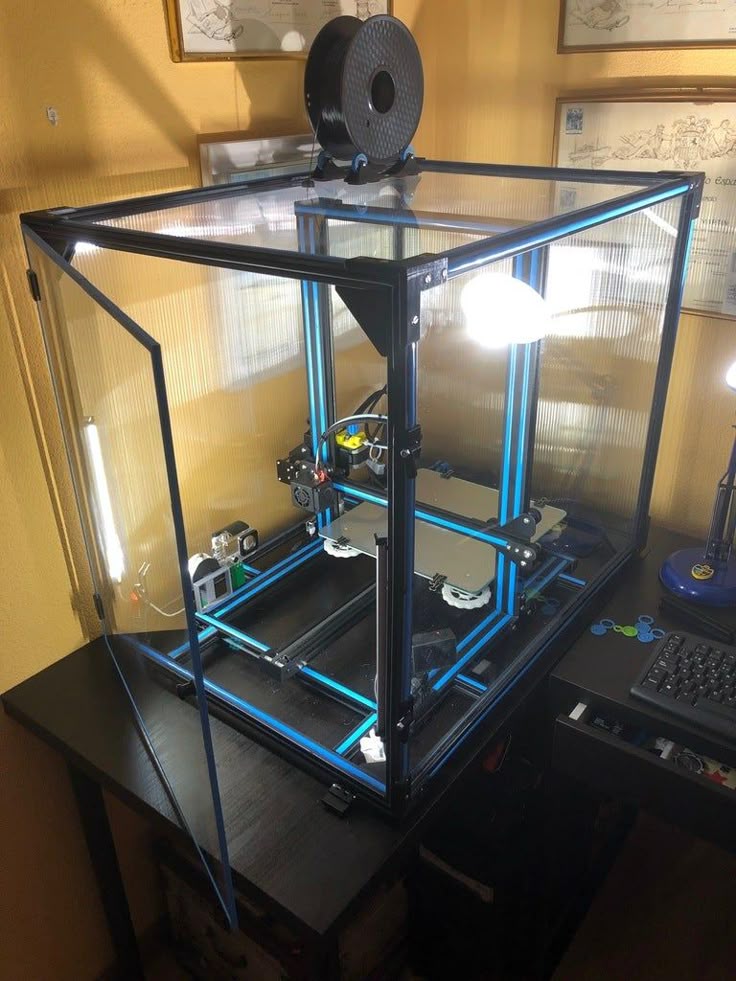
To minimize the impact of external factors, we strongly recommend making an enclosure for your 3D printer. When it comes to temperature, the case serves two purposes: keeping the outside temperature from affecting your 3D models, and keeping the heat inside.
There are quite a few 3D printer case designs available in the public domain, so feel free to google it or make your own. As materials for the case, plywood, plexiglass and fasteners are often used, which are printed on the same 3D printer.
How to find the optimal temperature settings for a 3D printer?
It has already been mentioned many times, but we will repeat it again: the best way to determine the temperature of the table and hot end is trial and error in your specific conditions, with your 3D printer, your plastic and the place where the 3D printer is standing during printing . If you find that your products are uneven, reduce the temperature of the hot end a little. If your models are not sticking to the table, you may need to lower the hot end temperature and raise the table temperature. Elephant paw can also be a key indicator that your table is too hot.
So experiment in the recommended ranges and you will get great 3D printing with PLA plastic!
The melting temperature of the plastic on the 3D printer and the subtleties of its choice
Content
-
- Types of plastics and their melting temperature
- PLA ABS
- HIPS
- TPU
- Nylon 9007 Nylon 9007
- PEEK
- Composite plastics
- Types of plastics and their melting temperature
- temperature setting on printer
- Proper installation of a thermocouple in Hottend
- Firmware Settings
- Settings PID
- Lentification temperature
- Universal table
In the world of 3D printing, there are many different plastics with different characteristics, including different temperature conditions. It is very important to choose the right temperature when printing, as a change of even 1 degree can completely change the quality of the model: its appearance and strength.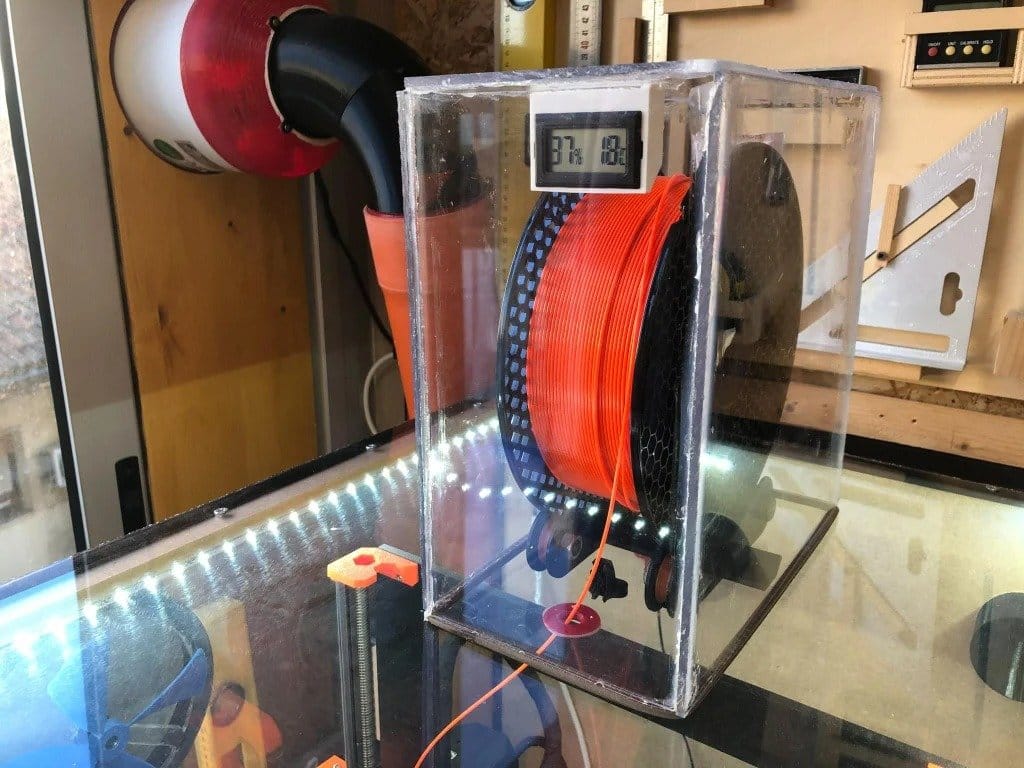
Types of plastics and their melting points
The most important is the choice of nozzle temperature, because it determines how exactly the plastic will extrude and stick to the previous layers.
Too high will result in model geometry distortion, cavities, or even printer failure. This will also affect the model: the plastic will not have time to harden in the place where the printer squeezed it out and move a little. Also, with a slight cooling of the throat, traffic jams will appear in it, completely stopping the seal.
And at too low a temperature, the plastic can be squeezed out in insufficient volume, thereby deteriorating the strength and appearance of the model. If the plastic is too hard, then the printer will not be able to push through the required volume.
The temperature of the table is important for the adhesion (adhesion) of the first layer. Rarely seen in budget printers, but still fairly well known, thermal chamber technology helps prevent cracking if the shrinkage of the plastic (i.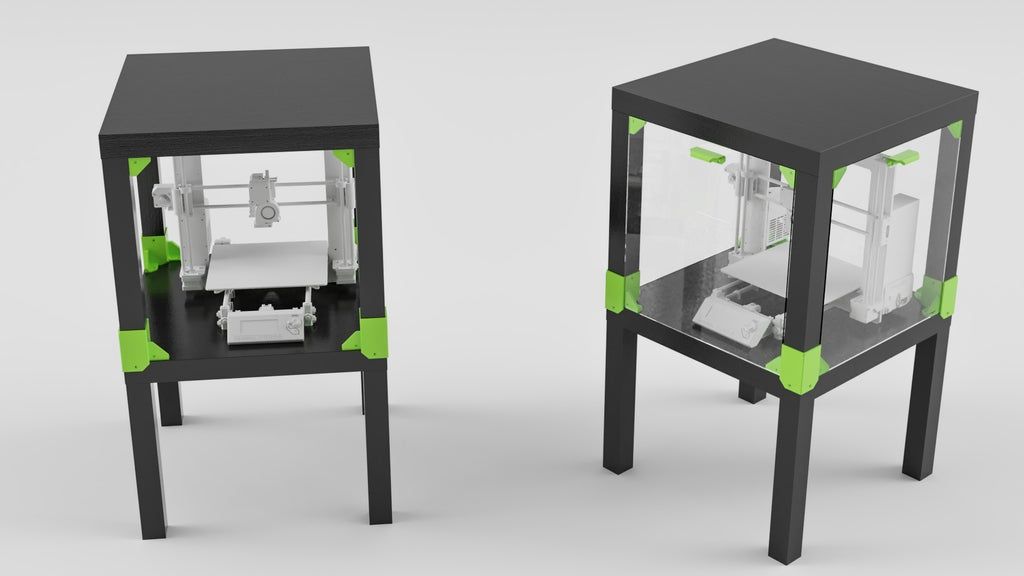 e. reduction in volume with a drop in temperature) is too high. Next, we look at the most popular plastics, their print temperatures and features.
PLA
This abbreviation stands for polylactide. Made from corn and sugar cane, PLA is one of the safest plastics for home use. Due to its ease of 3D printing and low toxicity, this plastic is the most popular for beginning 3D printers.
Temperature settings:
-
Nozzle temperature: 190-210°C
-
Table temperature: 60-70°C
-
Fan speed: 100%
The printing temperature of PLA plastic is one of the lowest among all the variety of materials, but it is worth paying attention to the fan speed of the model, as this plastic remains flexible over a wide range of temperatures. With insufficient airflow, the edges and corners of the model may be bent. In order for the model to adhere better to the table, it is necessary to set the temperature of the nozzle to about 210°C, and the temperature of the table to about 70°C.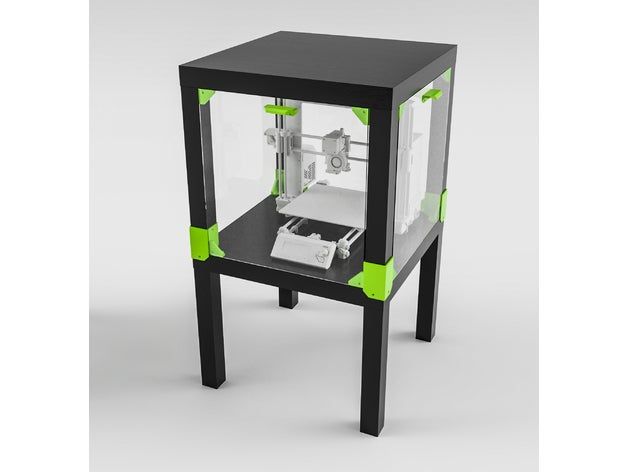 On the second and subsequent layers, it is better to reduce the temperature in order to prevent the above problems with curling edges.
ABS
Despite the difficulties in 3D printing with this plastic, it is the second most popular, as it combines cheapness and versatility. Much more flexible than PLA plastic, allowing springs and bendable parts to be printed. Due to its lower strength, it is easier to process it mechanically: with needle files and sandpaper. But due to the release of toxins when heated, this plastic is best not used when printing dishes or kitchen appliances.
Temperature settings:
-
Nozzle temperature: 230-250°C
-
Table temperature: 90-100°C
-
Fan speed: 50-75%
ABS plastic shrinks a lot, so it is better not to increase the fan speed above 40-60%, but if there are small parts or printing of bridges, then the speed can be increased to 75-80%. If the part cools too quickly, it may crack right during printing.
The strength of this plastic is highly dependent on temperature, so if accuracy is not so important, then it is better to increase the temperature up to 250 ° C. If you print at the lowest temperature, then the strength of the part may decrease by 2 times, relative to the same model printed at the maximum allowable temperature.
Be careful when printing with ABS indoors, you may experience dizziness or headache! Printing on a 3D printer should be carried out in well-ventilated areas, covering the 3D printer from direct drafts so that the fumes from the plastic do not harm you.
PETG
This plastic has a high chemical resistance, so it is used in the manufacture of dishes. At the same time, it combines the strength of PLA plastic and the flexibility of ABS. But it takes a long time to set the correct temperatures for your printer in order to remove all print defects.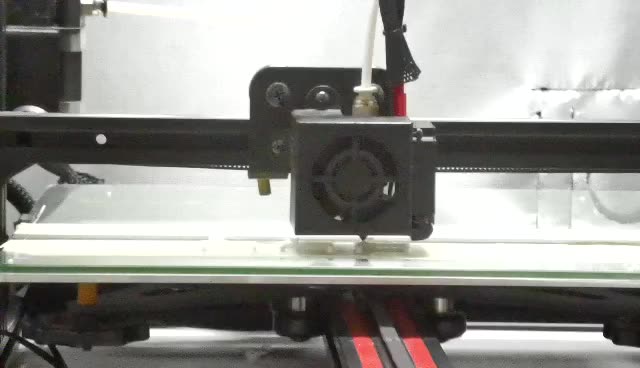
Temperature settings:
-
Nozzle temperature: 230-260°C
-
Table temperature: 60-90°C
-
Fan speed: 25-50%
Often there is a problem with “hairs” in some parts of the model. In such cases, the retract distance can be increased. Changing the temperature does little to change the situation. Due to the low adhesion of plastic to itself, the fan speed should not be adjusted above 50%, otherwise the model will easily break apart between layers.
HIPS
This plastic is used as a backing material for printers with multiple extruders. Usually the main plastic is ABS or PLA, since they are neutral to D-limonene, and HIPS is completely soluble in it. This allows you to get an almost perfect quality of overhanging elements.
Temperature settings:
-
Nozzle temperature: 230-240°C
-
Table temperature: 90-100°C
-
Fan speed: 0%
Since the strength and hardness of this plastic is extremely low (sometimes it can be pushed through with a fingernail), it should not be used as the main material of the model.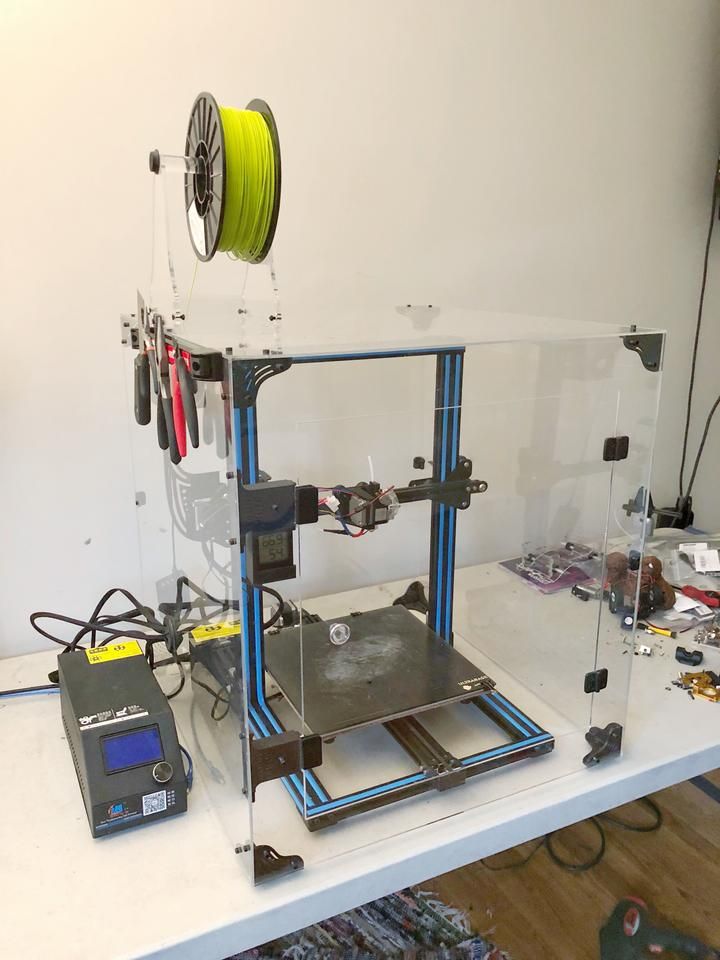 Airflow is not needed, because even when using HIPS for the entire model, it has time to harden during the printing of the layer.
Add to Compare
Product added to compare Go
| Manufacturer | Tiger3D |
Add to compare
Product added to compare Go
| Manufacturer | Tiger3D |
Add to compare
Product added to compare Go
| Manufacturer | Tiger3D |
Add to compare
Product added to compare Go
| Manufacturer | Esun
SBS
The main property of this plastic is transparency and flexibility. This allows you to make bending parts: loops, fasteners, clamps. When processing the model with a solvent, the model becomes almost completely transparent, as in the photo below. But two simple rules must be observed: thin walls and complete filling of the space between them.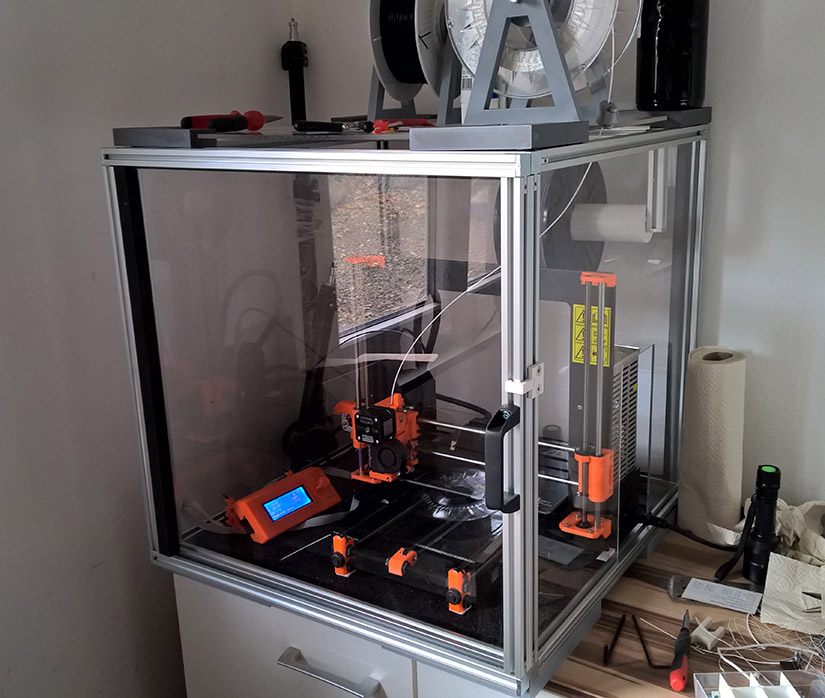
Temperature settings:
-
Nozzle temperature: 220-230°C
-
Table temperature: 60-80°C
-
Fan speed: 50-100%
Tip: If you want to print a sealed part, then the flow should be increased by 1-2%. This will increase the dimensional discrepancy with respect to the model, but will make the model completely airtight.
Nylon
This plastic is familiar to many in everyday life thanks to nylon clothing. It is used in the manufacture of gears and other moving parts due to its flexibility, strength and low coefficient of friction.
Temperature settings:
-
Nozzle temperature: 240-260°C
-
Table temperature: 70-90°C
-
Fan speed: 0-25%
Plastic requires a long time to choose the right temperatures, as it has many problems: poor sintering between layers, low adhesion, hygroscopicity (the ability to absorb moisture from the air).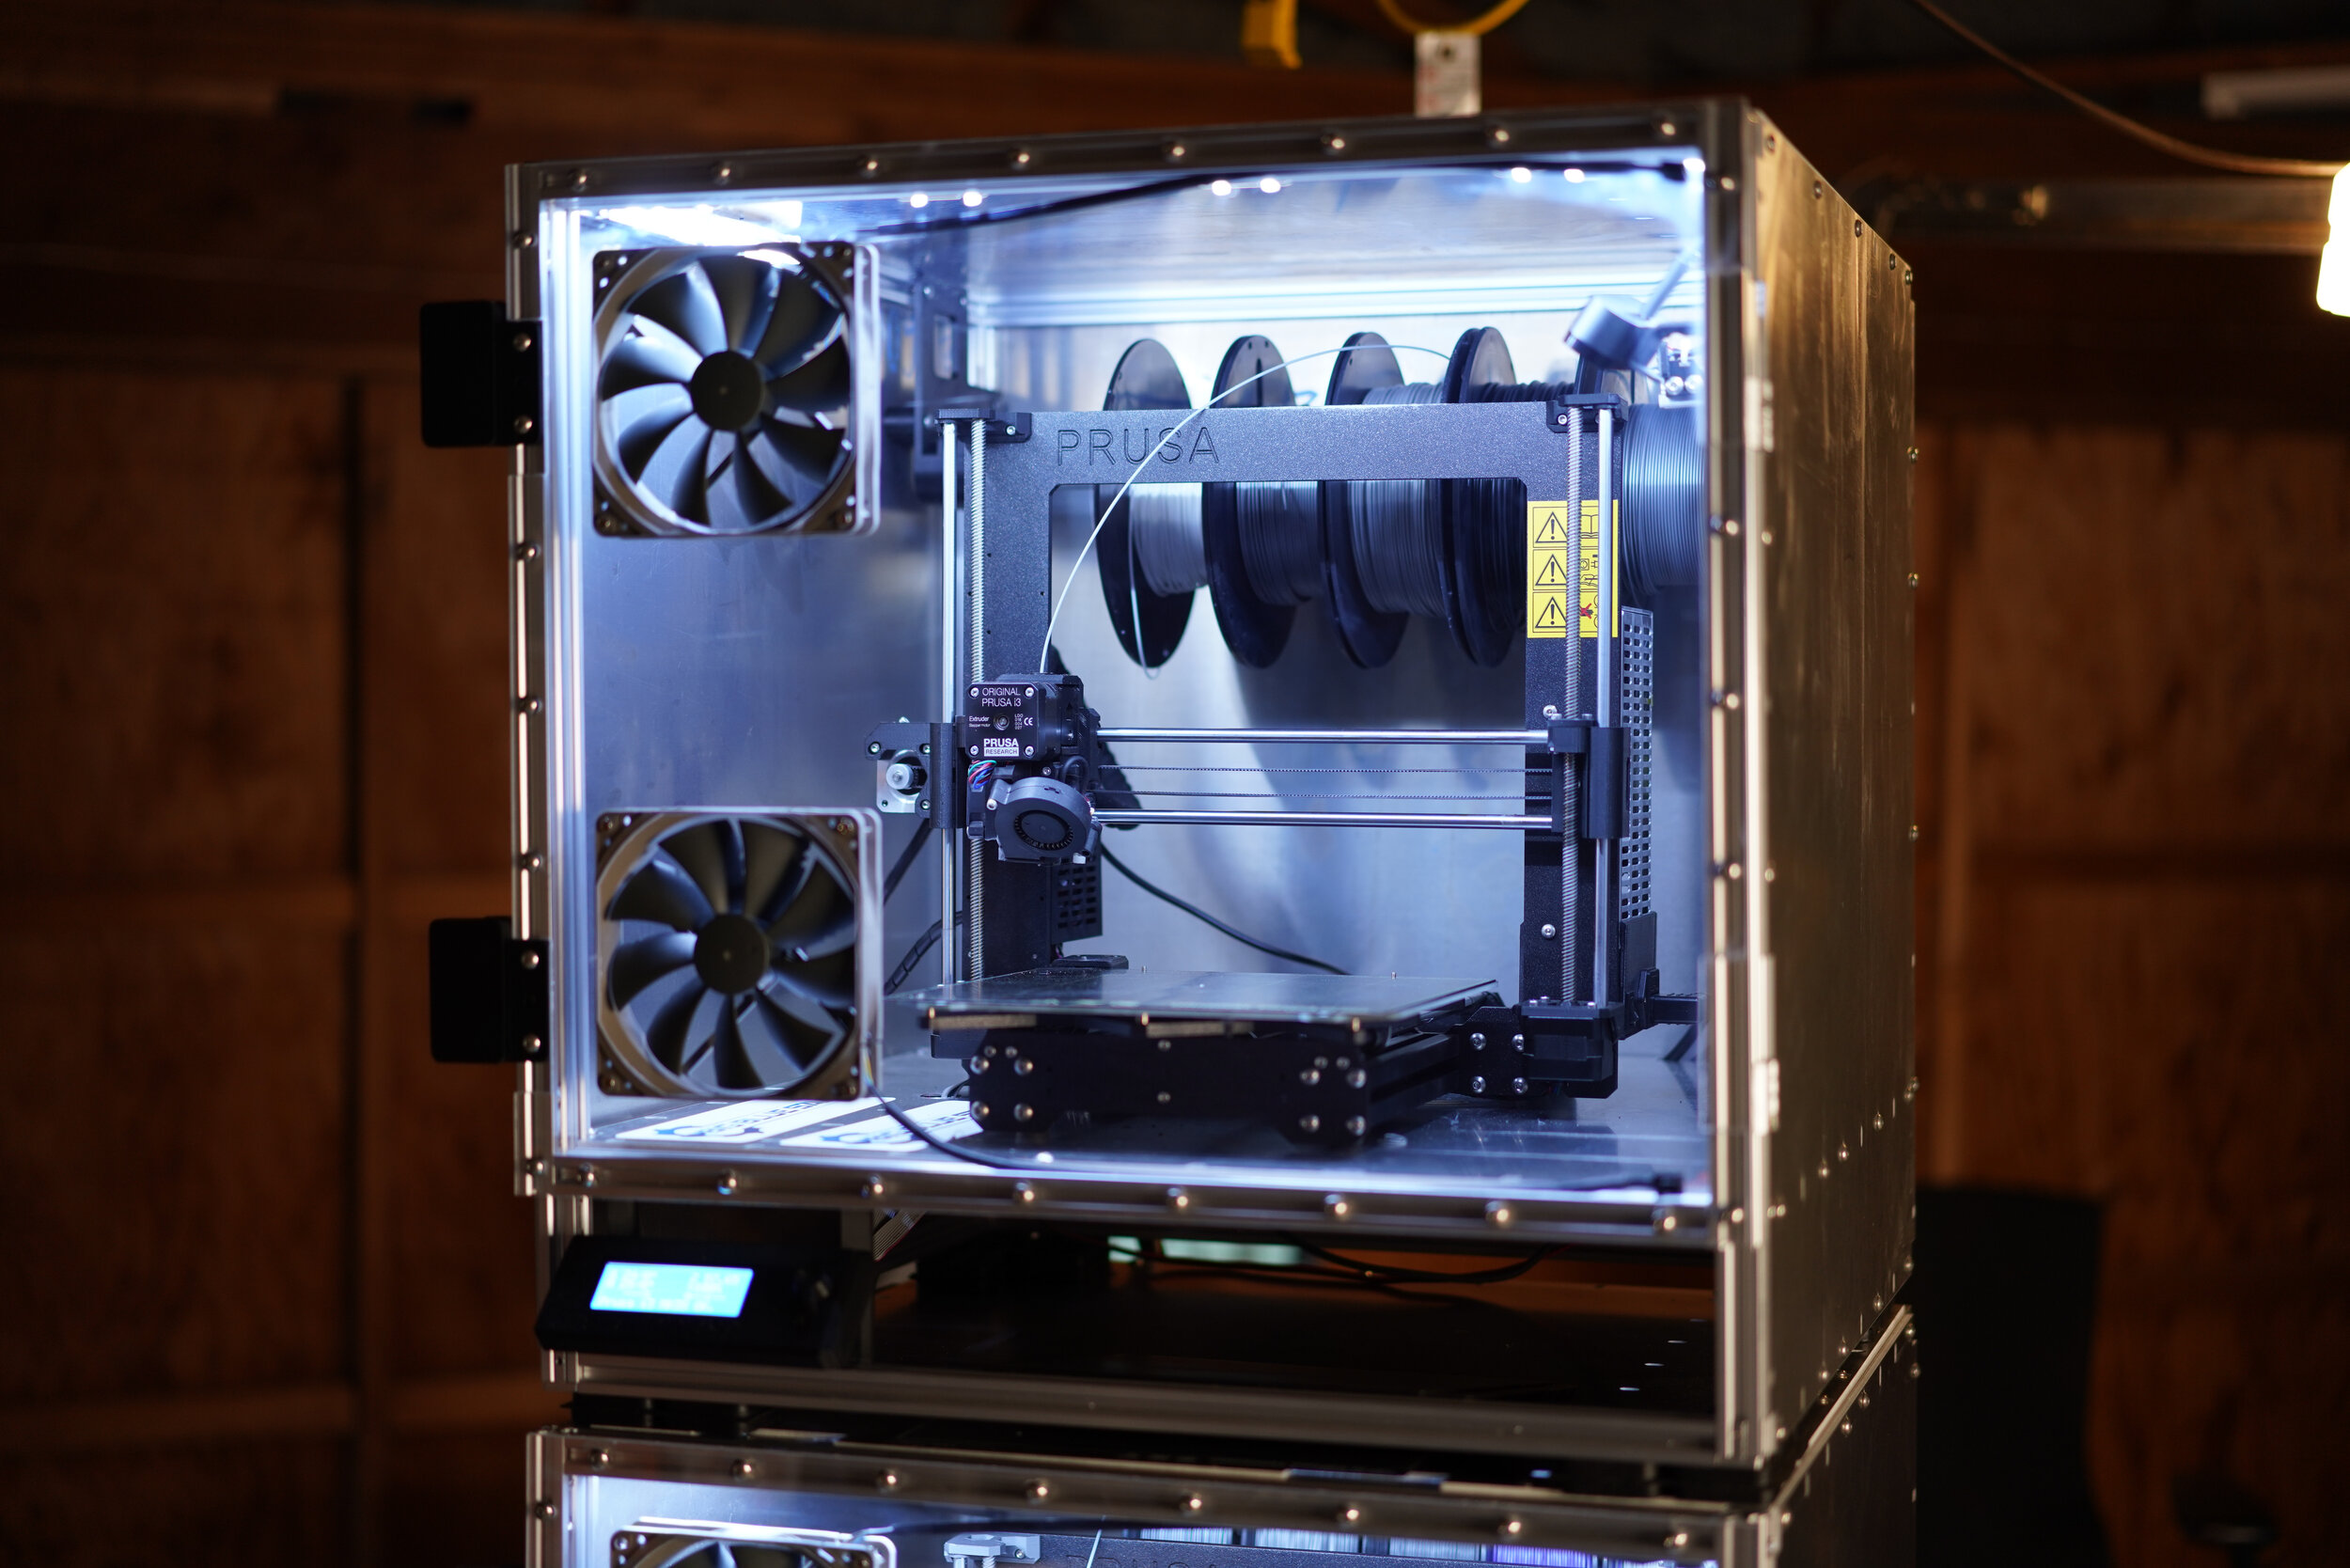 The last characteristic is extremely important, since it radically changes the behavior of plastic. Due to the presence of water particles in the plastic, the model becomes very fragile, and the surface is rough, for example, as in the photo below.
Therefore, it is extremely important to keep the plastic dry. And if it is not known whether the plastic has gained moisture, then it is better to dry it using special devices or in an oven at a temperature of 60-70 ° C for 2-5 hours.
TPU
Some call this plastic “rubber”. And this name suits it, because it is the most plastic material for 3D printing, capable of stretching up to 4 times, relative to its initial size. However, over time, it returns to its original form.
Temperature settings:
-
Nozzle temperature: 210-240°C
-
Table temperature: 50-70°C
-
Fan speed: 50-100%
Due to its flexibility, printing problems can occur, namely plastic jamming in the feed mechanism.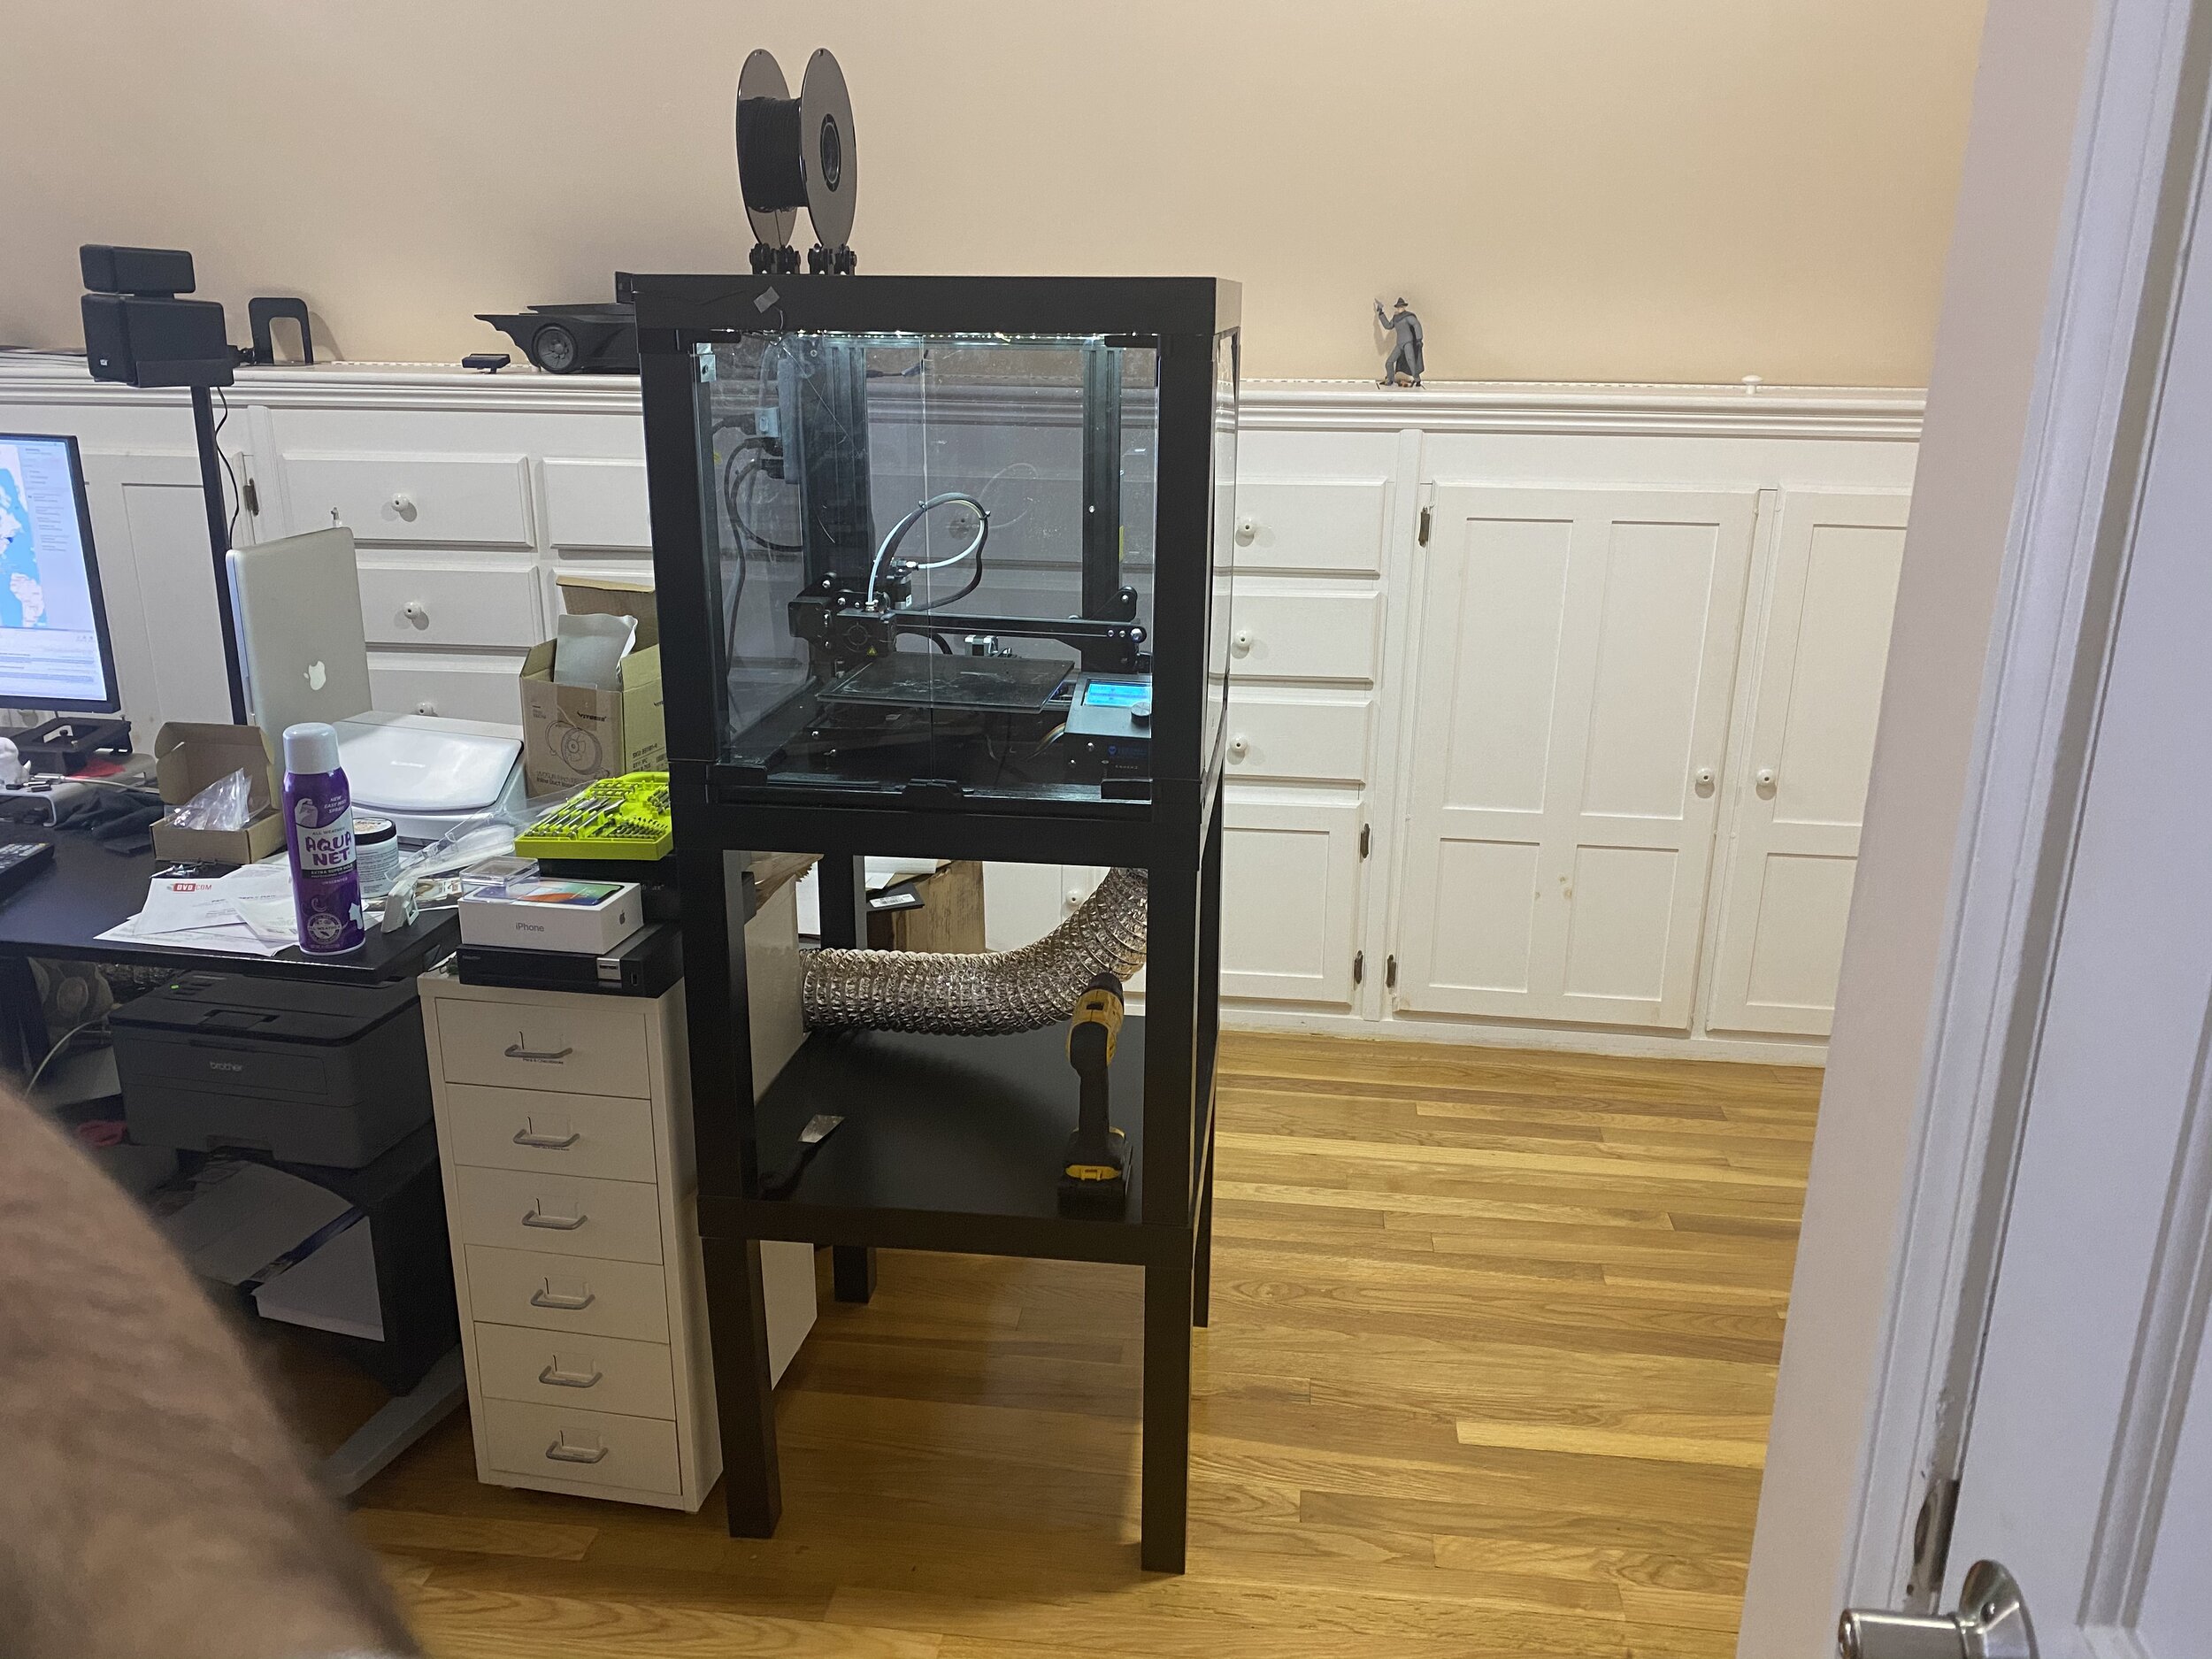 It is recommended to print with this plastic only in direct extruders at low speeds, not exceeding 40 mm/s. You can try to print them in bowdens, but then the speed should be no more than 20-30 mm / s, otherwise the filament will curl up in the tube and the printing will stop.
The cause of this problem is the gap between the hole where the filament exits the extruder and the feed gear. Special spacers that reduce this gap will help solve this problem.
PVA
Water soluble plastic used for printing supports. It has low strength, which makes it impossible to use as the main material of the part. Unlike HIPS, which has similar properties and applications, PVA is much easier to remove from the part, since even when heated and dissolved in water, it remains absolutely harmless.
Temperature settings:
-
Nozzle temperature: 220-230°C
-
Table temperature: 65-75°C
-
Fan speed: 0-50%
Since this plastic is only needed to create supports, it is better not to use airflow.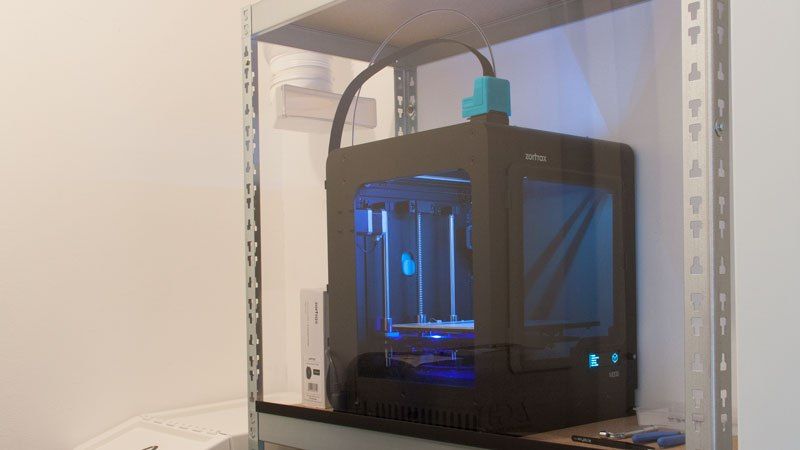 If a high-quality part is required, consisting entirely of PVA plastic (for example, a soluble cork or fastener), then the blowing speed should be below 50%, since the adhesion of the layers of this plastic is extremely low. You can increase the strength of the PVA plastic model with water: you need to gently moisten the part, wait 5-7 minutes and dry the surface. Thus, the outer walls of the part will “stick” to each other much more strongly, thereby increasing the overall strength of the part.
Add to compare
Product added to compare Go
| Manufacturer | Esun
Add to compare
Product added to compare Go
| Manufacturer | Esun
Add to compare
Product added to compare Go
| Manufacturer | Esun
Add to compare
Product added to compare Go
| Manufacturer | Bestfilament |
PC
This name stands for polycarbonate. It has great strength, but has relatively little flexibility, less than that of PLA. Also, when tanning, it tends to self-extinguishing, which increases fire safety.
Temperature settings:
-
Nozzle temperature: 290-310°C
-
Table temperature: 90-120°C
-
Fan speed: 0-25%
Like PETG, this plastic is very hygroscopic, so it needs to be stored in a dry space, preferably in a silica gel bag. Due to the need to maintain high temperatures and storage characteristics, polycarbonate is not widely used in 3D printing.
PEEK
This plastic is difficult to 3D print, but it has outstanding mechanical characteristics. Therefore, parts are made from it, designed to work with high loads and friction. It is also neutral to various chemicals.
Temperature settings:
-
Nozzle temperature: 350-410°C
-
Table temperature: 120-150°C
-
Fan speed: 0-25%
To print PEEK, you need to have professional 3D printers. If you use a 3D printer designed for home use, then there is a chance of burning the extruder and the heating element in it. A heated chamber is also required.
Composite plastics
This category includes filaments containing particles of any material. Such a material consists of two parts: a base (usually PLA, ABS or other plastic) and an added component (wood, metal, ceramic or carbon fibers). These plastics differ not only in the type of added component, but also in percentage. Usually, the higher the content of the additional component, the more the properties of the plastic differ from those of the base.
The temperature depends on the basis of which the filament is composed. All necessary parameters must be obtained from the manufacturer.
A common feature of all plastics in this category is the need to use a nozzle with a large outlet diameter (from 0.5 mm). Otherwise, the nozzle will quickly become clogged with the added component. The material of the nozzle is also extremely important, as conventional brass nozzles will wear out quickly. Hardened steel nozzles are usually sufficient.
Temperature setting on the printer
Before you start printing, it is very important to be sure that the printer heats the nozzle to the correct temperature and does it without jumps. To do this, you need to make sure that the printer firmware is configured and that the thermocouple is installed correctly.
Correct placement of thermocouple in hot end
The printer receives data on the temperature of the hotend using a thermocouple, which is installed in the hotend. Usually there is a special hole for this, you need to insert a thermocouple as deep as possible into it. It is important to secure the thermocouple wire. Often, for this purpose, there is a hole in the hot end where the screw is screwed. It is best to run two wires on opposite sides of the center of the screw. This will securely fix the thermocouple in the hotend. If there is no provision for mounting the thermocouple, then it is necessary to fix the thermocouple wire on the wire of the heating element. An example of how to do this is in the photo below.
Attention: a poorly fixed thermocouple may fall out of the hot end, thereby creating a fire hazard!
Firmware setting
If the printer is assembled on its own, then it is important to select the type of thermocouple in the firmware. If you are going to use the Marlin firmware, then you need to go into the Configuration.h file and find the line:
#define TEMP_SENSOR_0 0
In place of the last digit, there may not be a zero, but another digit. In most cases, if your printer has a thermistor in the form of a “droplet”, then instead of the last digit you need to put 1. As a result, you should get a line:
#define TEMP_SENSOR_0 1
If the printer determines the temperature incorrectly, then you should try changing the last digit to a different one. A list of numbers and the thermocouples they represent is written above this setting.
The table has the same setting, it can be found by the line:
#define TEMP_SENSOR_BED 0
Here you should also change 0 to 1.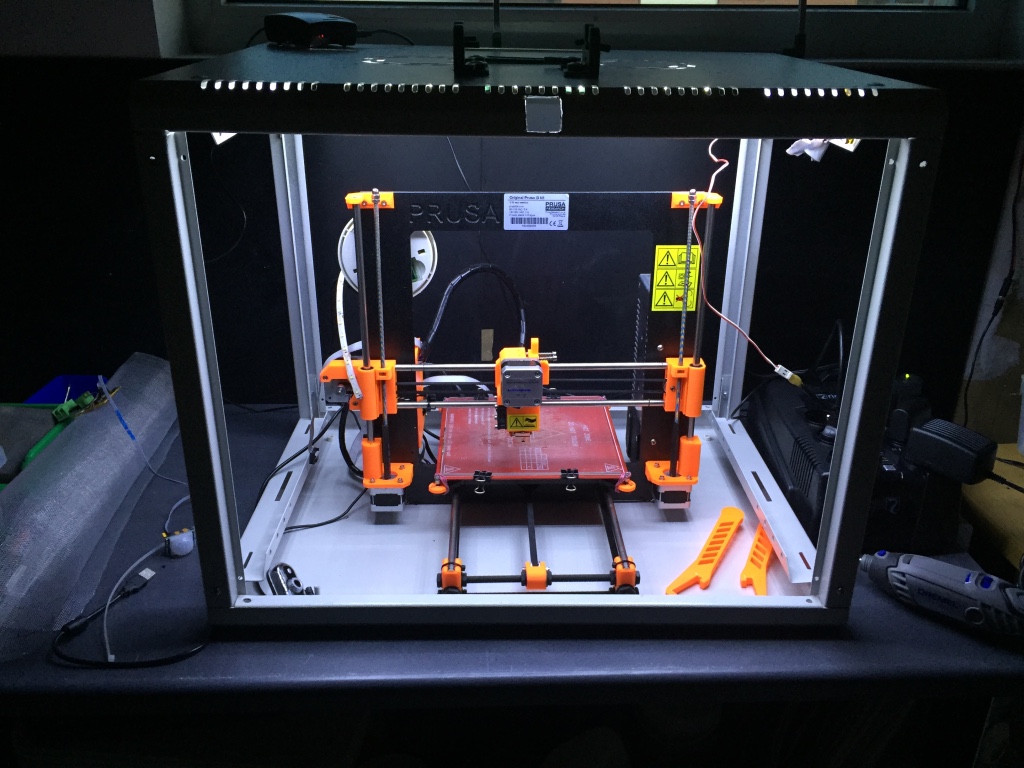
PID tuning
This abbreviation hides a complex name: proportional-integral-differential controller. In simple terms, this is a function that allows you to more accurately keep the temperature within the specified limits. Since the printer can only turn the heating element on and off, the only way to control the temperature is to turn off the heating element when the desired temperature is reached, and turn it on if the temperature falls below the set temperature. But in this case, the temperature will “jump” strongly due to the inertia of the heater. This is what the PID function is for - to compensate for the inertia of the heater. But each printer needs its own PID setting, as the inertia can vary greatly depending on many parameters.
PID tuning requires a wired connection to the printer. The best way to send commands is to use Repetier-Host. As soon as you connect to the printer, you need to send a command to it:
M303 C3 S210
Here, the number after C is the number of heat-up cycles the printer will go through, and the number after S is the temperature for which the PID is being tuned. Although the printer will be set at a certain temperature, these settings will work for higher temperatures.
After some time, the printer will send to the console the values of three PID parameters: Kp, Ki and Kd. These parameters are responsible for tuning the PID. To enter these numbers into the printer settings, you need to send a command:
M301 P14.82 I0.8 D68.25
Here, the letters P, I, and D are followed by the corresponding Kp, Ki, and Kd values from the previous step. If you enter this command, then the PID setting will be saved only until the printer is turned off. You can add this command to the start GCODE for each model you will be printing. For some printers, you can change these settings through the printer's menu.
Softening temperature and post-processing
After 3D printing, you can process the part using high temperature. This allows you to increase its strength and change the geometry of the part. At home, you can use the oven for these purposes. But you should be careful: some plastics release hazardous substances when heated, so it is better to use other methods. For example, a steam bath, hot water, or a hair dryer can serve as an alternative. The main parameter of such processing is temperature. It is necessary to have a sufficiently high temperature so that the material of the model begins to change from a solid state to a sluggish flow, but not to exceed a certain temperature threshold, after which the part can change its geometry uncontrollably.
List of plastics and their softening points:
-
PLA - 70°C
-
ABS - 105°C
-
PETG - 80°C
-
HIPS - 85°C
-
Nylon - 125°C
-
TPU - 95°C
-
PC - 145°C
-
PEEK - 255°C
The data is relatively inaccurate because plastics don't have a specific temperature when they fully transition from one state to another.