3D printer multiple colors
9 Best Multicolor 3D Printers In 2022
- Last Updated: November 28, 2022
- Pat Nathaniel
Looking for the very best Multi-Color 3D Printer on the market for 2022?
Then you’re in the right place.
Today we’re going to be:
- Looking at multicolor 3D printing;
- Seeing how viable it is for interested creators;
- Finding out which color 3D printer is the best choice for home users;
- Loads more…
Though 3D printing is still in its infancy – and I believe there’s still plenty of wild and wonderful things to look forward to in the coming years – we’ve already made so much progress in the last decade.
One area of continuous innovation is the ability to print in multiple different colors.
As with most 3D printing innovations, multi-color printing was first seen on industrial machines but has been making its way over to desktop 3D printers lately.
Let’s get started!
Geeetech A20M
Build Volume: 255 x 255 x 255 mm
Check Latest Price
Tenlog TL-D3 Pro
Build Volume: 300 x 300 x 350 mm
Check Latest Price
LOTMAXX Shark V3
Build Volume: 235 x 235 x 265 mm
Check Latest Price
Table of Contents
- Top 9 Multicolor 3D Printers At a Glance
- 1. Geeetech A20M (Best Value)
- 2. LOTMAXX Shark V3 (Premium Choice)
- 3. Tenlog TL-D3 Pro (Best Choice)
- 4. XYZPrinting Da Vinci Color (Best Full Color 3D Printing for its Price)
- 5. FlashForge Creator Pro (Most Reliable)
- 6. XRize Rize (A Look-See at an Industrial Full Color 3D Printer)
- 7. Qidi Tech iFast
- 8. FlashForge Creator Pro 2
- Add-Ons
- 9. Mosaic Palette 3 Pro (Best Color 3D Printing Add-On)
- Multicolor VS Full Color 3D Printers
- Can 3D Printers Do Multiple Colors?
- What is a Multi-Color 3D Printer?
- Advantages and Disadvantages of Multi-Color 3D Printer
- How Do You Print Two Colors?
- Can You Paint 3D Printed Objects?
- A Few Final Thoughts…
- Winner: Lotmaxx Shark V3
Top 9 Multicolor 3D Printers At a Glance
1. Geeetech A20M (Best Value)
2. LOTMAXX Shark V3 (Premium Choice)
3. Tenlog TL-D3 Pro (Best Choice)
4. XYZPrinting Da Vinci Color (Best Full Color 3D Printing for its Price)
5. FlashForge Creator Pro (Most Reliable)
6. XRize Rize (Best Industrial)
7. Qidi Tech iFast
8. FlashForge Creator Pro 2
9. Mosaic Palette 3 Pro (Best Add-On)
1. Geeetech A20M (Best Value)
3D Printer Type: FDM | Materials: ABS, PLA & PETG | Build Volume: 255 x 255 x 255 mm | Print Speed: 180 mm/s | Color Mixing (Y/N): Y | Extruder: Dual
Geeetech has a couple of different 3D printers on the market, and I found the A20M to be its best option for multi-color 3D printing.
Given that the field is still highly experimental, the A20M doesn’t cost much, which is an immediate bonus.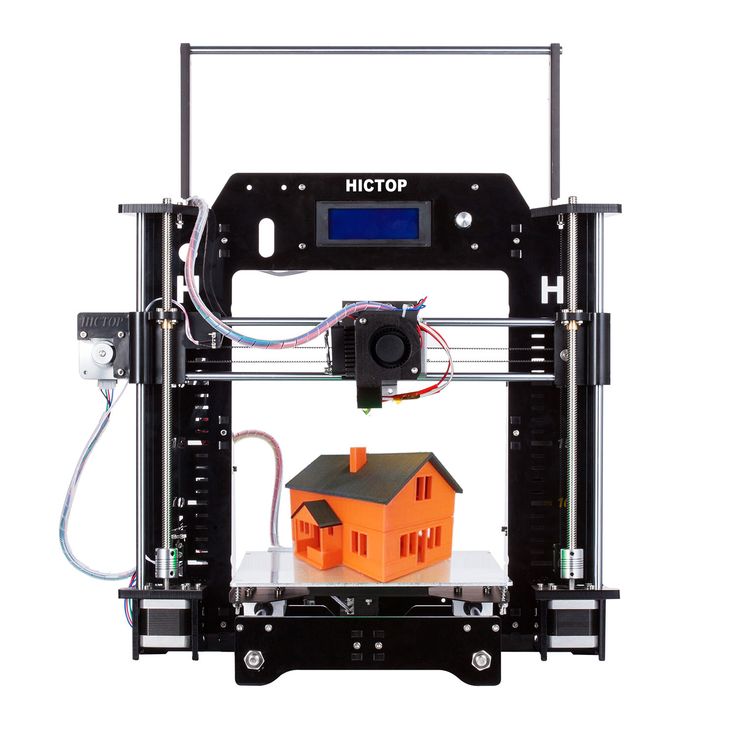
In fact…
… for any reliable dual-extruder, the A20M is still a great price. It’s also blessedly easy to set up, and the dual-extrusion 3D printing technology tends to work well.
But the real reason I loved this 3D printer was its ability to push the envelope on color mixing.
You really don’t see this very much in personal 3D printers, and it’s completely unheard of at this price point.
With the Geeetech, you can expect to print in two distinct colors (striping or the like) or even mix and/ or grade your colors, allowing for a full spectrum of shades and hues.
- Excellent price point
- Great color-mixing technology
- Solid customer service
- Persistent clogging issues
- Poor plate cover
Check Latest Price
2.
 LOTMAXX Shark V3 (Premium Choice)
 3D Printer Type: FDM | Materials: PLA, PLA+, ABS, TPU & Wood | Build Volume: 235 x 235 x 265 mm |Print Speed: 45-90 mm/s | Color Mixing (Y/N): Y | Extruder: Dual
The upgraded version of the LotMaxx Shark V2 brings new features to the table — and they’re good!
It has improved laser engraving capabilities — yielding finely-detailed engravings — and an overall sturdier frame and design with improved cable management. It’s also much quieter than its predecessor, which will save you some hearing damage as a long-suffering 3D printer user. (Oh those stepper motors…)
The V3 comes with smart G-sensor auto-leveling — the G stands for gravity. This helps you get accurate and super precise leveling that will stay in place for a long time. Nice!
It also has a Resume Print function in case of electricity outages or other interruptions, as well as a filament detection sensor to alert you when the filament has run out.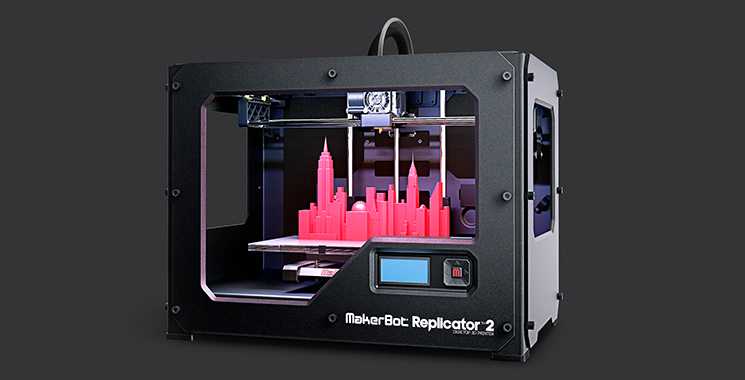
This printer is compatible with PLA, PLA+, and ABS filaments. For laser engraving, it’s compatible with bamboo, leather, wood, ceramic tile, and craft paper.
It has a build volume of 235 x 235 x 265 mm and is equipped with ultra silent TMC2208 stepper drivers.
This printer comes with dual-color switching extruders and yields beautifully-colored prints. We loved our test prints — they came out very clean and the colors were perfect.
This printer can be used with the default LotMaxx slicer, as well as Cura and Simplify3D. It supports microSD and USB connection
- High-quality dual-color printing and laser engraving
- Silent printing
- Filament detection sensor
- Auto bed leveling
- No Wifi capabilities
Check Latest Price
3.
 Tenlog TL-D3 Pro (Best Choice)
 3D Printer Type: FDM | Materials: TPU, PVA, PLA, ABS, HIPS, WOOD, PETG & Flexible | Build Volume: 300 x 300 x 350 mm | Print Speed: 10-150 mm/s | Color Mixing (Y/N): Y | Extruder: Dual
Unlike the printers before, the Tenlog TL-D3 Pro’s has two extruders and two nozzles.
It means that you can print two identical items simultaneously, in two distinct colors. You can also print in mirror mode and print in two different materials.
It seems like a pretty simple adaptation of the popular (and increasingly affordable) dual-extruder design.
Without delving too far into the enormous potential of this function (try out different colors, double-up on your creation rate, etc.), this is something I expect a lot of other 3D printers to be adopting soon.
But just as easily, these two nozzles can be used on the same product, either filling in a support filament or going for the multi-color approach.
It almost feels unfair constraining this 3D printer to a list like this… all thanks to its Swiss-Army Knife-Like variety of functions and capabilities.
How long does it take to assemble?
The D3 Pro comes half assembled and it took me 30 minutes to put it together with the help of videos online. What I didn’t like was the printer didn’t come with a lot of instructions.
The printer is not dead silent and there’s a low humming noise from the fans. However, it’s noticeably quieter than my Ender 3 Pro.
The prints so far are very good and I have better results with custom stl files than the test files from Tenlog.
There are cheaper dual color/extruder 3D printers out there but this is the most affordable INDEPENDENT dual extruder (IDEX) 3D printer today.
All in all, this is the best multicolor 3D printer.
- Image-mirroring capabilities
- Easy setup and assembly
- Included warranty
- Runs quietly
- Poor customer service
- Requires filament in both extruders
Check Latest Price
4.
 XYZPrinting Da Vinci Color (Best Full Color 3D Printing for its Price)
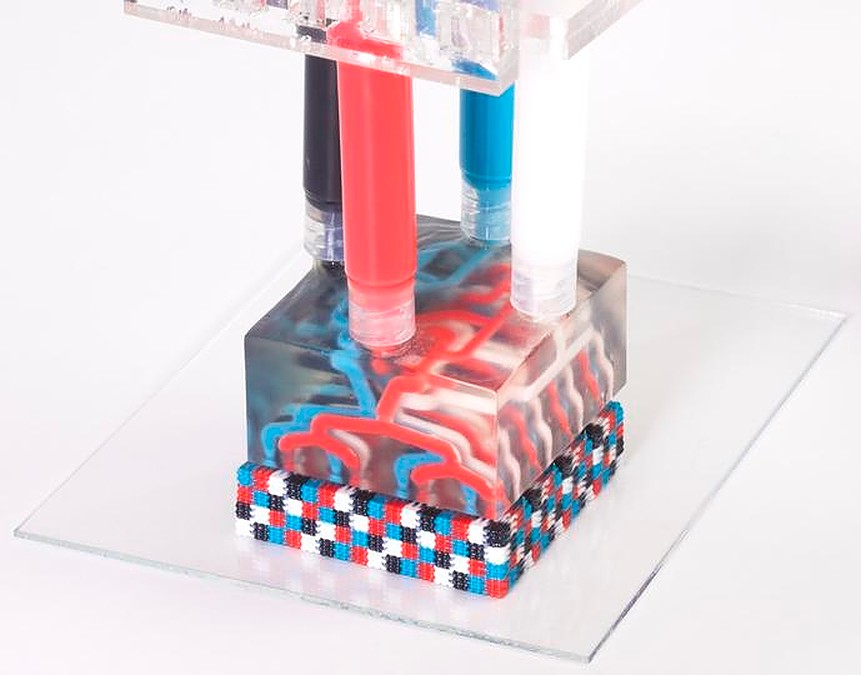
 3D Printer Type: FFF | Materials: 3D Color-inkjet PLA , PLA , Tough PLA , PETG, Carbon Fiber & Metallic PLA | Build Volume: 200 x 200 x 150 mm | Print Speed: 180mm/sec | Color Mixing (Y/N): Y | Extruder: Single
This super-popular 3D printer is probably the first one you’ll see when you search for a personal-use full-color 3D printer.
And there’s a good reason for that.
The da Vinci Color is one of the first (if not the first) personal printers to offer full color printing.
While this 3D printer still has its bugs, it can offer a 3D printing design experience that’s miles ahead of almost any other 3D printer on the list.
The Da Vinci’s full color capabilities mean creators have almost total control over every aspect of their design, including the exterior color design.
Gone are the days of painting by hand; with the right schematics, you can print just about any design imaginable.
The 3D printer also comes with hands-free calibration, which can significantly reduce the amount of time you spend fiddling with the da Vinci Color.
And while I didn’t have enough time to experiment with this feature as extensively as I might have liked, it seemed to work very well for the few prints I tested.
To note: this printer comes in the regular size – which I looked at here – and a miniature version that is basically a scaled-down version of the original da Vinci Color.
- Full color 3D printer capabilities
- Hands-free calibration features
- Excellent color palette
- Very pricey
- Some issues with ink cartridge technology
Check Latest Price
5.
 FlashForge Creator Pro (Most Reliable)
 3D Printer Type: FDM | Materials: PLA, ABS, PETG & TPU95A | Build Volume: 227 x 148 x 150 mm | Print Speed: 100 mm/s | Color Mixing (Y/N): Y | Extruder: Dual
Yet another excellent dual extruder 3D printer, the FlashForge Pro, takes the shape of the enclosed-box design, whereas the other dual extruders on the list have all been open-air.
Aesthetically, this has always been my favorite design, though it has its positives and negatives in more objective terms.
Like the previous 3D printer, the FlashForge Creator is a dual-nozzle design, though it doesn’t have the independent-nozzle functionality (and the image mirroring).
However, it does have a substantial metal frame and faster printing on single objects than the two independent heads.
On top of that, the enclosed design allows for better temperature control, and less potential warping as a result.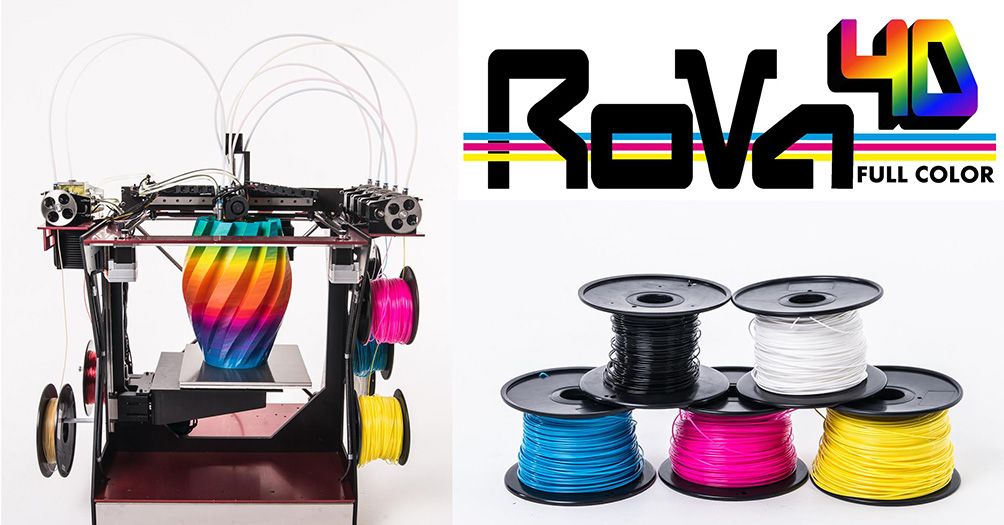
However…
… FlashForge went the distance with its design, also allowing for increased ventilation options if you’re printing with PLA.
Finally, the reliability of the Creator Pro’s build plate shouldn’t be overlooked.
By and large, issues with build plates, leveling, and covers have been the most prevalent issue I’ve had with printing.
Having a solid, completely level plate was a wonderful change for me.
- Enclosed environment
- Excellent built plate
- Great filament variety
- Some nozzle clogging
- No automatic bed-leveling
Get Discount (Official Store)
Check Latest Price
6.
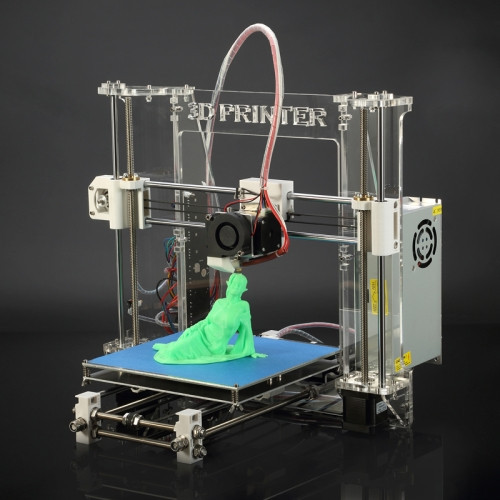 XRize Rize (A Look-See at an Industrial Full Color 3D Printer)
 3D Printer Type: FFF with AMD | Materials: Rizium Carbon, GF (Glass Filled), ST (Semi-Translucent), Rizium One White & Black, CMYK Inks & Release Ink | Build Volume: 310 x 200 x 200 mm | Color Mixing (Y/N): Y
This one’s just on the list for fun (unless you’re a large-scale industrial manufacturer, of course).
That said, it’s interesting to look at the difference in the price points of desktop-style multicolor 3D printers and an industrial-grade model full color 3D printer like the Rize.
So how much does the Rize cost?
Well, as you can see from its listing, you’ll need to request a quote to find the exact cost.
However…
… what I can tell you is that based on some of the other sites I looked at while conducting preliminary research, the price should fall somewhere around $55,000 – brand spanking new.
And believe me, that isn’t even close to being the most expensive full color 3D printer on the market.
A full color 3D printer can set you back a dime or two.
So what do you get out of one of these color 3D printers that you’ll miss in one of these other, comparatively affordable versions?
For a start off, this full color 3D printer has a precision and control over their 3D print products that nothing else on my list can come close to.
Like the da Vinci Color (one of our most expensive desktop 3D printers besides the Rize), this printer uses Inkjet toner (the same as a traditional 2D printer) to externally bind colors to the filament as it prints.
However…
… with a full color 3D printer of this price, you can expect much, much better color control than anything you’ll get from the DaVinci.
This color 3D printer can also print logos, QR codes… literally anything you can imagine slapping on the side of a 3D printing; this Rize can make it happen.
It’s awesome.
This full color 3D printer also comes loaded with all sorts of extra features that make it suitable for industrial production: a heated build chamber, automatic filament swapping and digitally-encoded ink cartridges, to name a few.
More than anything, the XRize is interesting because it provides us with a potential roadmap of what a future desktop 3D printer will be trying to emulate.
After all…
… the evolution of desktop 3D printer technology usually aims to copy the best capabilities of industrial best 3D printers, but on a smaller, less-expensive scale, of course.
Request A Quote
7. Qidi Tech iFast
3D Printer Type: FDM | Materials: PLA, ABS, PETG, TPU, PVA, Carbon Fiber, Nylon & PC | Build Volume: 330 x 250 x 320 mm | Print Speed: 60-120 mm/s | Color Mixing (Y/N): Y | Extruder: Dual
Yet another awesomely robust dual-extrusion 3D printer?!
The Qidi Tech iFast is an industrial and engineering-grade that’s much more affordable than other printers of its caliber.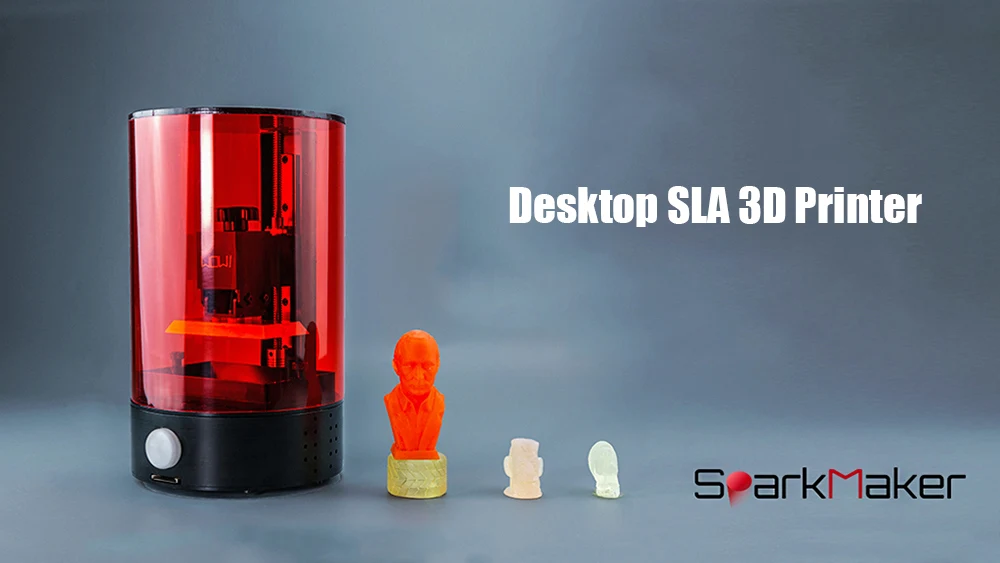
With a super spacious build volume of 330 x 250 x 320 mm, you can make a whole lot of medium to large-sized objects.
It has in-built air filters providing thorough ventilation, which makes it ideal for indoor use.
This printer can print PLA, ABS, TPU, PETG, Nylon, carbon fiber, and water-soluble PVA for supports.
It also has a double Z-axis for double the precision! Okay, that sounded right out of an infomercial. Anyway. (It’s still true!)
The Qidi Tech iFast comes with a whopping 4 direct extruders! That’s 2 extruders for normal-temperature filaments like PLA and 2 high-temp extruders for nylon and other toasty materials.
This printer also comes with a removable build plate for easy part removal. It has a filament run-out sensor to detect when filament… well… runs out, and it’s also got a camera for remote viewing of your print!
We loved the large touchscreen — it helped us easily navigate controls and get set up quickly. The printer also has WiFi capabilities so you can easily send your print file.
It also comes with a heated enclosure which is perfect for higher temp filaments like ASA, nylon, and PBS.
We found that the stepper drivers were a bit noisy when using this printer. Also, this printer is only compatible with Qidi’s own software, which isn’t as robust as say, Cura or Simplify3D. Also, it doesn’t come with auto bed leveling but with a sturdy printer of this type, it’s not that necessary.
This printer also comes with a 2 year guarantee and round-the-clock tech support. If you’re a pro who wants a mid-range printer with high-end capabilities, go for the Qidi Tech iFast.
- Very robust and professional quality printer
- 4 extruders
- Air filters
- Large build volume
- Noisy printing
- Would be better with standard 3D printing software
Check Latest Price
8.
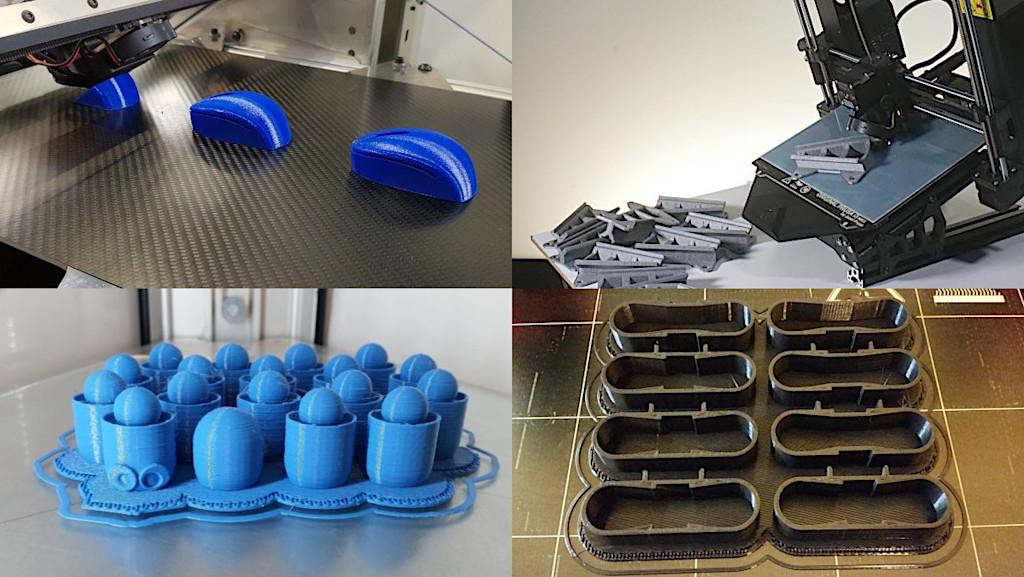 FlashForge Creator Pro 2
 3D Printer Type: FDM | Materials: PLA, Pearl PLA, ABS, ABS Pro, PVA & HIPS | Build Volume: 200 x 148 x 150 mm | Print Speed: 30-100 mm/s | Color Mixing (Y/N): Y | Extruder: Dual
The Pro 2 offers cool new features — namely, a mirror mode where you can print two of the same object at once! Crazy.
It also has an improved dual-extrusion system with only one nozzle. This grants it more flexibility and ease of use than the original Pro design. And it’s got a dandy 3.5″ touchscreen which the Pro doesn’t have!
The Pro, however, has a larger build volume at 227 x 148 x 150 mm and is cheaper than the Pro 2.
The Pro 2 has a slower build speed at 10-100mm/s unlike the Pro’s 30-200mm/s. They both come with 0.4 mm nozzles and have a maximum temperature of 240°C.
If you’re on a budget and/or want a slightly larger printer, go for the Pro. If you want a better dual-color printer, the Pro 2 is definitely it.
The Pro 2 has a build volume of 200 x 148 x 150 mm and offers 4 printing modes: mirror, duplicate, dual filament and dual color.
And with a 1 year warranty and lifetime technical assistance, the FlashForge team really have got your back!
- Improved dual-color printing
- 4 printing modes
- Amazing customer service
- Smaller build volume and more expensive than predecessor
Get Discount (Official Store)
Check Latest Price
Add-Ons
While there are plenty of color 3D printers that can handle multi-color print jobs within their basic design, others need some help.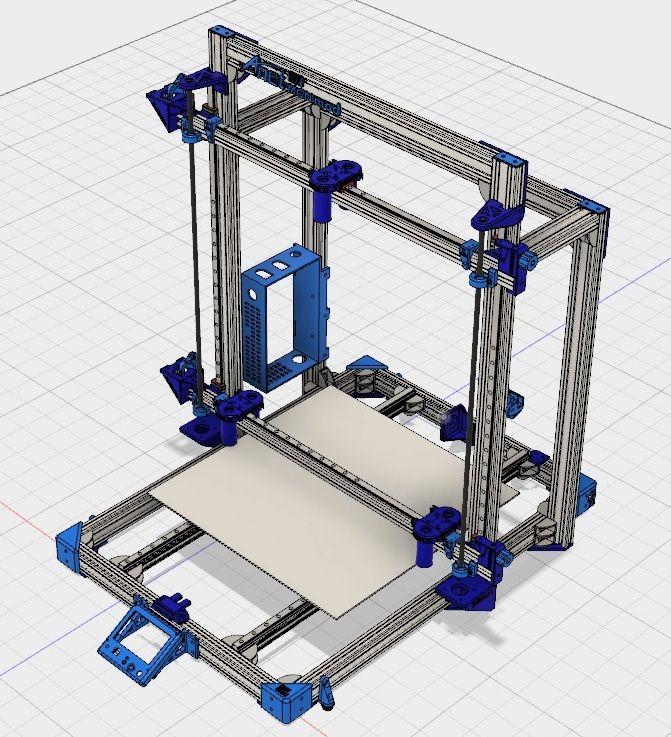
Nowadays, one of the best ways of getting excellent and low-cost multi-color creations is using a multi-color add-on for color 3D printers. These tend to cost less than getting a new printer altogether and are compatible with plenty of models (though you should always research the cross-compatibility before you order one).
9. Mosaic Palette 3 Pro (Best Color 3D Printing Add-On)
3D Printer Compatibility: Accepts Non-Proprietary Filament Which is 1.75 mm in Diameter & Recognizes Files Sliced in Slic3r/PrusaSlicer or CANVAS, and Has Open Access to Filament Feed | Materials: PLA, ABS, PETG, TPU, PVA & HIPS | Extruder: On
Want to make a glorious color explosion with your 3D printer? Or have you been dreaming of multi-color capabilities but don’t want to get another 3D printer?
Introducing the Mosaic Palette 3 Pro!
This awesome doo-dad isn’t a printer in itself but rather a device that you hook up to your existing printer to give it multi-color capabilities. With the Mosaic Palette 3 Pro, you can print up to 8 different colors and materials at once — kind of like a multi-colored filament octopus.
With the Palette 3, you can print breakaway or soluble supports using different materials, allowing you to easily tackle difficult overhangs.
To get started printing, place spools on the filament stand and feed them individually into the material inputs on the device. It kinda sounds like something out of Star Trek, but it’s simple enough when you get the hang of it!
What the Palette 3 Pro then does is it heats and splices filaments together into a single multi-filament strand.
It comes with Canvas Hub software for remote monitoring of your print. So even when you’re not nearby, you can see how things are going!
The Palette 3 also has a high-resolution touchscreen where you can execute commands and change settings. Nice!
This device has three color printing modes: Gradient Mode (for an awesome gradient/ombré effect), Pattern Mode which enables you to print patterns, and our personal favorite, Random Mode! Which is a bit like throwing paint at the wall blindfolded.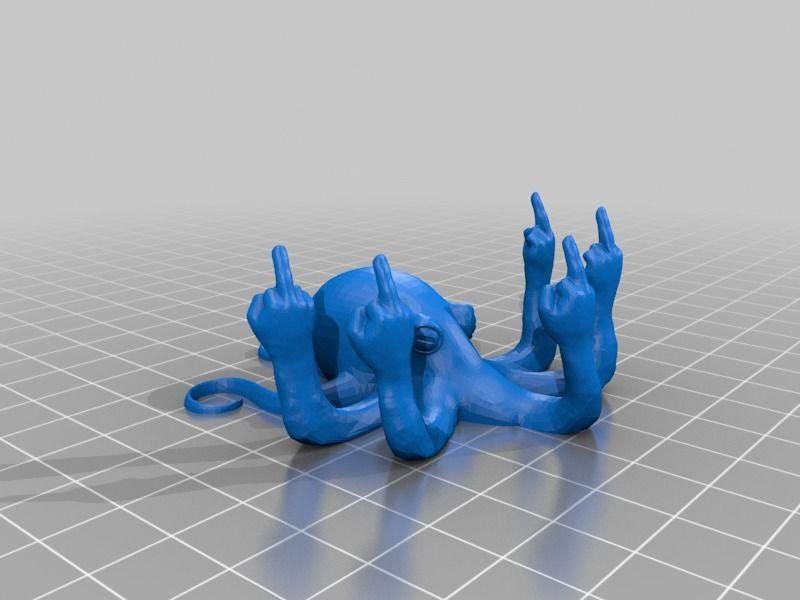 (Our favorite pastime outside of 3D printers.)
- Can print up to 8 different colors and materials
- Versatile color and material printing for creative designs and supports
- Remote monitoring
- Expensive
Check MatterHackers
Check Latest Price
Multicolor VS Full Color 3D Printers
Source: Youtube XYZprintingI want to start with a pretty important distinction when talking about 3D printers that can print in multiple colors.
Sometimes “full color” is a term used to describe these printers.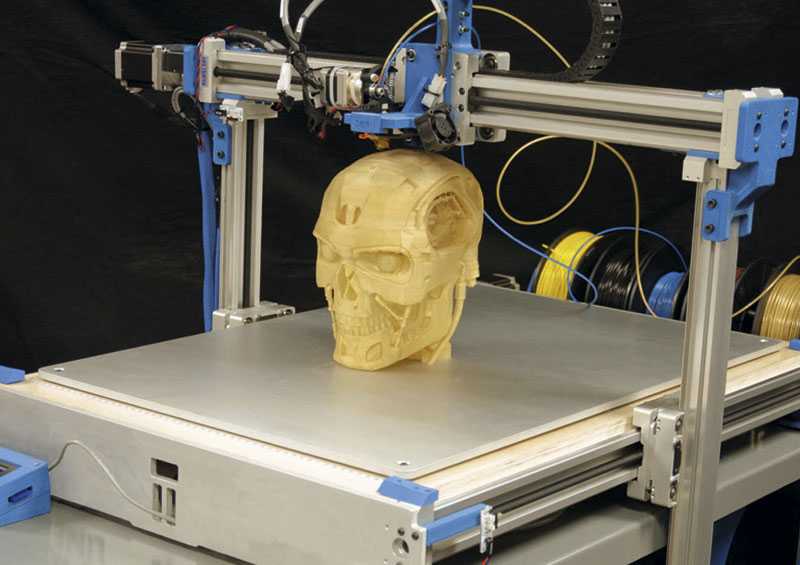
And while this is technically true, “full color” more often describes industrial-grade printers that are able to produce intricate color scaling and manipulation (I included one of these on the list – the XRize Rize – for comparison’s sake).
On the other hand…
… we’re going to be mostly looking at multicolor 3D printers, which can usually handle only a small number of different colors, but which tend to fall under the “personal 3D printer” umbrella.
They’re smaller and much, much less expensive.
All that said, multicolor printing is still a very experimental field – much less established than its industrial counterparts.
Given the scarcity of personal 3D printers that can handle multiple colors, I’m going to be looking at every option on the market today, including dual-extruder printers where each extruder can print a separate color and multi-color printer upgrades.
So let’s take a look at the best multicolor 3D printers!
Can 3D Printers Do Multiple Colors?
Source: Youtube 3D Printing Nerd3D printers can do multiple colors! However, the method varies between printers.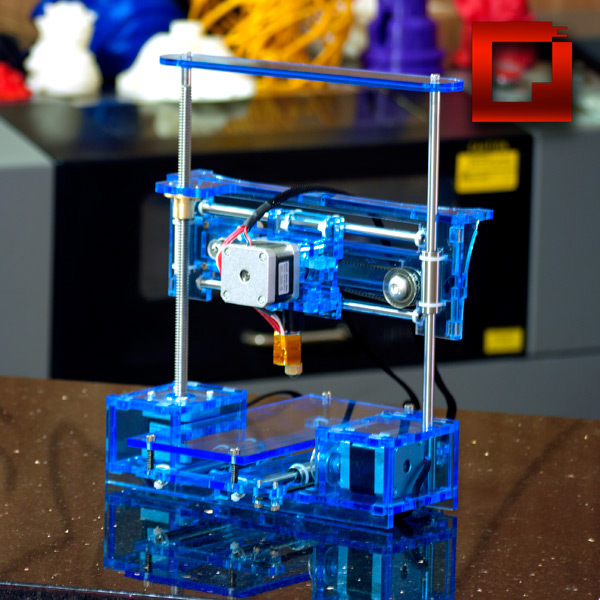 Single-extruder printers rely on a method of manually switching out spools of filament, while multi-color printers do this process for you.
What is a Multi-Color 3D Printer?
A multi-color 3D printer is a device that 3D prints different filaments using multiple extruders and nozzles.
Advantages and Disadvantages of Multi-Color 3D Printer
The obvious advantages of a multi-color 3D printer: you get awesome multi-colored prints without having to manually swap filaments. Also, such printers are compatible with water-soluble filaments for easy support removal.
The disadvantages: twice the extruders, twice the maintenance. Hot end assemblies can run into any number of issues — and dealing with two of them can be a hassle. Also, it’s much more expensive than a single-extruder printer.
How Do You Print Two Colors?
If you have a single-extruder printer, you can pause and swap.
What does this mean?
Well, whenever you want to change colors in a print, you just stop the print and swap the filament. This can be a major chore, however, and with multi-color printers the process is much easier.
First, you load your two spools onto the spool holder, and then you feed the filament into the printer. Then you just let it do its multi-colored magic!
Can You Paint 3D Printed Objects?
Yes, you definitely can!
Acrylic and enamel paints are best for 3D printed surfaces. However, you’ll have to sand your 3D printed part first. This gets rid of visible layer lines and helps the paint stick better to the surface.
A Few Final Thoughts…
So there you have it – a fairly comprehensive guide to multi-color 3D printing, the best (affordable) multicolor 3D printers out there, one crazy-expensive one, and an alternative option altogether!
When it comes to choosing your best color 3D printer, there are plenty of factors to keep in mind.
When making your decision, you should always consider what specific projects you have in mind and tailor your choice to fit. After all, if you’re looking to upgrade towards multicolor 3D printing, you probably have a couple of exciting ideas in the bag already.
Some of these 3D printers excel at color combining.
For color control, the Da Vinci provides an entirely different system from anything else on the list (besides the XRize) but does so at a higher price point and with a few concerning bugs.
Some color 3D printers come packed with excellent side features, like the Lotmaax Shark V3.
And others have an ingenious design that comes with other exciting applications, like the dual-nozzle design of the TenLog.
Anyway, your preferences will determine your best color 3D printer, so I’ll hand over the baton to you to make your choice.
You’ll be churning out those colorful 3D prints before you know it.
Our pick
LOTMAXX Shark V3
Great 3D printer for beginners
This printer cranked out quality prints right out of the box in our test. Comes with excellent, all-metal nozzle and extruder and many more features makes this the best value.
Check Price from Amazon
Source: Youtube Dylan HongSo this was kind of an underdog story for me. When I first started looking for the best color 3D printer, the Lotmaxx wasn’t even on my radar.
Yet the more I learned about this 3D printer, the more I was impressed – both by its original design and by its execution. Not to mention that it’s a Kickstarter success and really demonstrates the best aspects of grassroots ingenuity coming out of the color 3D printing field.
Not only is the Lotmaxx an excellent base 3D printer capable of color 3D printing, but it also comes with some innovative features that I haven’t seen in a single other color 3D printer.
The laser engraving upgrade opens up new doors in creative design. The auto bed-leveling works pretty well, and the handheld removable touch-screen is something I haven’t seen in any other 3D printers, no matter what price point.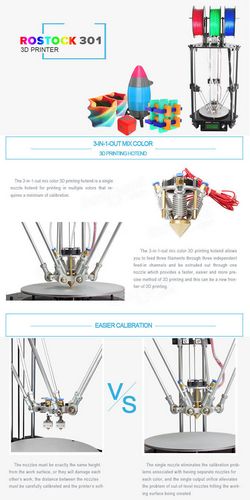
And to speak on the price… all of this costs less than $500.
Typically, when I review 3D printers by newly-launched companies or Kickstarter campaigns, I’m overwhelmed by a sea of mechanical, software, and assembly issues. I had none of these with the Lotmaxx.
In fact, the only persistent issue I had with this color 3D printer came from the build plate adhesion.
In some cases, my recent prints would require a lot of elbow grease and some light chiseling to remove the prints from the plate. This is one of the most straightforward issues to remedy, though, so it’s not even something worth criticizing.
So there you have it!
Whether you choose the Shark or some other color 3D printer on the list (XRize, anyone?), multicolor 3D printing opens up many new avenues for you and your creations.
In a field where companies and creators are innovating every day, I can’t wait to see what new color 3D printer awaits us! Until then, thanks for reading, and happy printing!
How to Make Multicolor Prints with an FDM 3D Printer
(Image credit: Tom's Hardware)The best 3D printers, even inexpensive models like the Creality Ender 3 Pro, are able to make highly detailed models, but most can only output in one color at a time.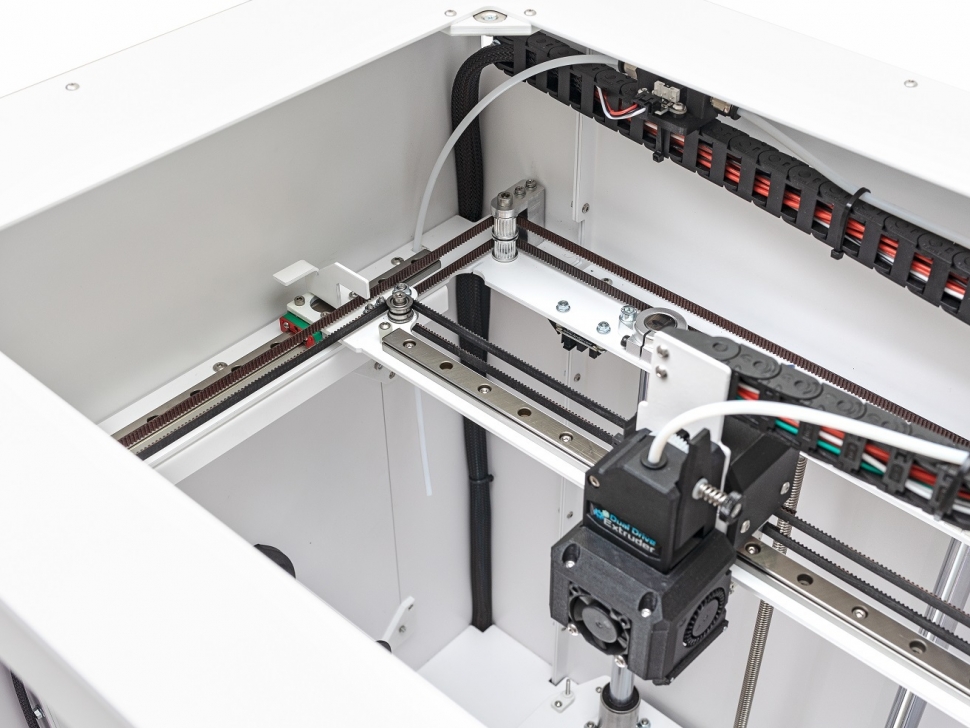 In this guide, we’re going to explore a few different ways you can print parts in multiple colors using an FDM 3D printer that only has a single nozzle. The three techniques we’ll explore are the ‘Pause and Swap’ method of swapping filament spools, printing objects in multiple pieces, and using rainbow filament to create parts with a satisfying color transition. You can also paint your model after printing, but that will be a whole other article.
If you’ve never prepared a model for 3D printing before, you can read about the process and get comfortable with customizing slicer settings by reading our guide on how to make your first 3D print. If you’re already comfortable with changing slicer settings like infill, print speed, and others, read on to learn how to create multicolor prints with a single-extruder FDM 3D printer.
What You’ll Need
- 3D Printer: In this article, we’ll be using the Creality Ender 3 Pro FDM 3D printer,but just about any FDM 3D printer will do (SLA (aka resin) models are a different story).

- Filament: PLA is an easy-to-use low cost material, and in this article we’ll be using PLA filament from Begonova, Eryone, and others. To create rainbow parts, we’ll be using the TTYT3D Rainbow PLA.
- Slicer App: We’ll be using Ultimaker Cura to prepare files for the Creality Ender 3 Pro, but other slicer apps like PrusaSlicer and Simplify3D have a similar workflow. The settings should be similar, but they may be in different menus.
Getting the Software for Multicolor 3D Printing
(Image credit: Tinkercad)We’ll be using Tinkercad to create a multicolor part, but you can use any design program you already know. Tinkercad is available as a free in-browser program, and you can create an account by visiting their site.
Most slicer apps have the ability to add a ‘Pause’ command at a specified point in a print, but you may need to reference the documentation to find where the command is located. The process for adding a pause in Ultimaker Cura is well documented, and we’ll go over the basics in this article to help guide you through if you’re not not familiar with this feature.
1. Create a Tinkercad account on the Tinkercad site. If you’re interested in creating 3D models and programming pauses into your prints, Tinkercad is a great place to get started because you can define the height of a model and design with multicolor printing in mind.
2. Download the slicer software for your 3D printer. We’ll be using Ultimaker Cura, a free app, with the Creality Ender 3 Pro but other slicer apps for FDM 3D printers such as PrusaSlicer, Simplify3D, FlashPrint and others will have similar workflows.
Method 1: Pausing and Swapping Filament
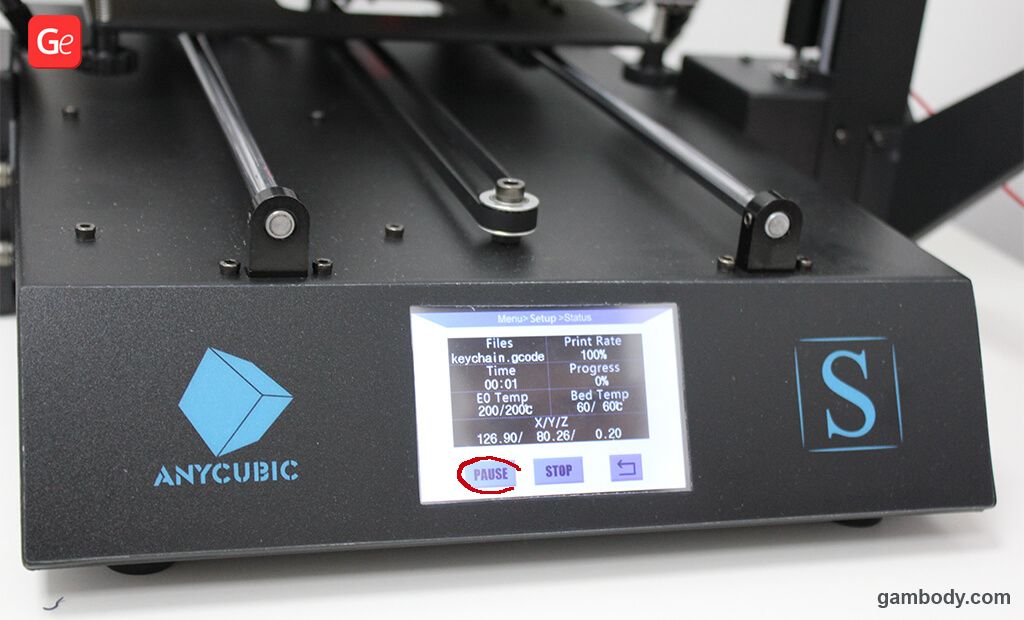
(Image credit: Tom's Hardware)One of the fastest ways to create a multicolor 3D print from a single extruder machine is to use the “Pause and Swap” method. This process involves pausing the printer in the middle of a print, switching the filament spool to one with a different color, and resuming the print. This is an easy way to get a two color part, and the easiest way to do it is just pausing the printer when it hits the right layer.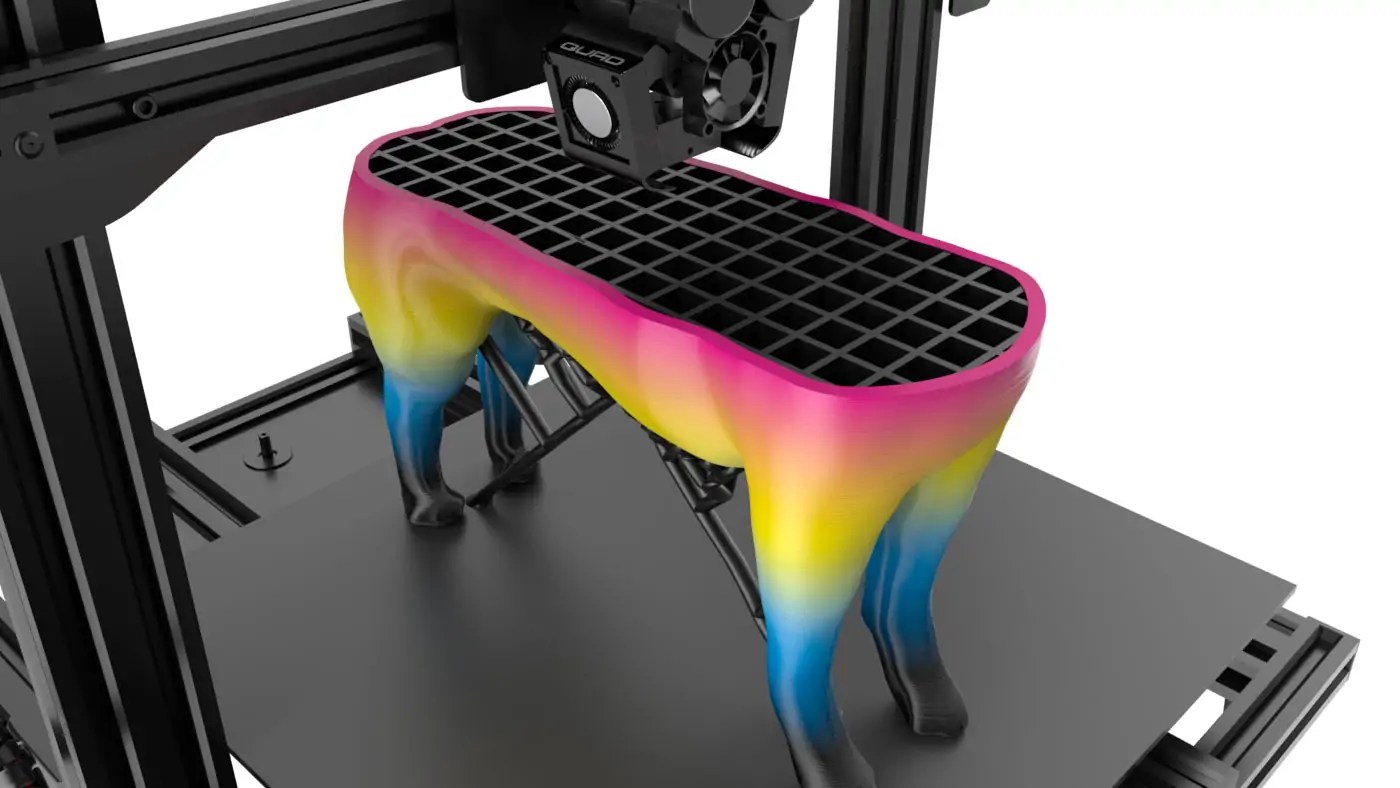 If you want more control over the process, you can also program a pause at a certain layer or height.
In this section, we’ll cover the process of creating a model that’s designed for multicolor printing and the process of programming a pause using Ultimaker Cura for the Creality Ender 3 Pro, one of the best 3D printers for beginners. This process can be used on many different slicer apps (including PrusaSlicer, Simplify3D, etc.) so the principles are similar regardless of which app you’re using.
1. Open Tinkercad and import the Twitter logo SVG. Tinkercad will automatically convert the SVG vector graphic to a solid model, which we’ll use as the starting point for our model.
(Image credit: Tinkercad)2. Use the ruler tool to scale the model to a printable size. We’re going to be printing this part of the model in a different color, so we’re going to scale this model to 2mm thick.
(Image credit: Tinkercad)3. Use the Text tool to add text to your model and set the thickness to 2mm. By keeping this thickness as 2mm, we know that it will print at a consistent height on top of the base of the model.
4. Create a base for your model and set the thickness to 5mm. Once the base has been created, use the Move tool to bring your text up 5mm so it can be placed directly on top of the base of the model.
Image 1 of 2
(Image credit: Tinkercad)(Image credit: Tinkercad)5. Align your models by using the Align tool so that the models are centered on the X and Y axes and make sure the top of the model is offset from the platform by 5mm. This will create a model that will easily accommodate changing filament colors.
(Image credit: Tinkercad)6. Export the .stl from Tinkercad and import it into Cura to prepare the model for the slicing process. Cura has the ability to pause the printer at a set layer, which will give us the ability to swap out the filament and change colors.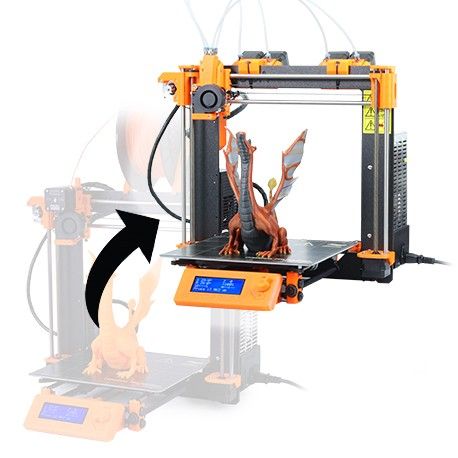
7. Select ‘Extensions’ - ‘Post Processing’ - ‘Modify Gcode’ and add a ‘Pause at Height’. Because we know the base of this model is 5mm tall (25 layers at .2mm layers) and we want to pause and change colors before starting the next layer, we’ll use layer 26 as our target.
(Image credit: Ultimaker)8. Slice the model using your default settings and export the 3D printable .gcode. You can go through the model at this point and confirm that the raised text will change color by multiplying the layer height (.2mm) by the number of layers before the change (25) which gives us 5mm.
(Image credit: Ultimaker)9. Load the first color in your 3D printer and start the print. Since we want this part to have a white base with blue text, we’ll start the print with white filament loaded.
(Image credit: Tom's Hardware)10. Remove the first color of filament and load the second when the print pauses. Some printers will retract the material automatically when paused, and others will require the filament to be pulled out and replaced manually. Once the second color of filament is loaded, resume the print.
11. Remove your model and check the layer swap. The model should have swapped colors at the correct layer, and you should have a two color print that came from a single extruder 3D printer. You can also make a model like this by pausing and swapping the filament manually, but the downside is you need to be near the printer to pause it when it reaches the proper layer.
(Image credit: Tom's Hardware)Method 2: Using Multiple Parts for Multicolor 3D Prints
Printing models that are composed of multiple parts is a simple and fun way to create colorful parts that couldn’t be printed in a single pass. To highlight this method of printing we’ll be using the Screwless Cube Gear, designed by emmett and hosted on Thingiverse.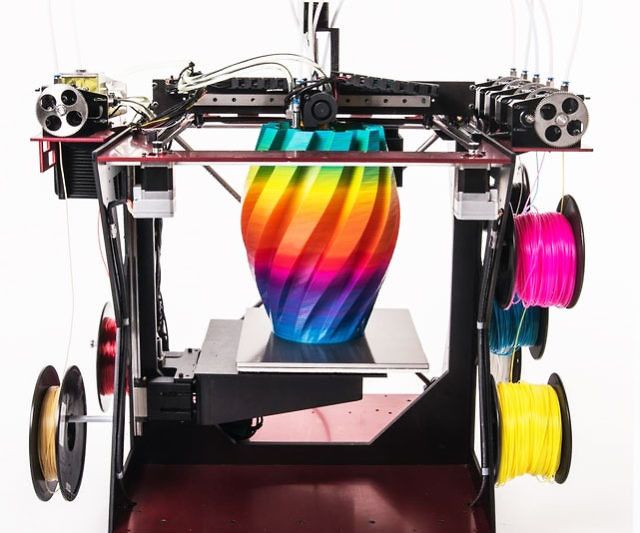 This model is designed to be printed as three separate trays and is ideal for making a colorful, functional, and engaging 3D print.
1. Choose the colors you are going to use and split the full model into different trays. Each tray will print with a different color, so select colors that you think would have good contrast. We’re going to print the center block and pins of the rotating gear in blue, then print out two sets of gears; one in white, and one in black.
Image 1 of 2
(Image credit: Ultimaker)(Image credit: Ultimaker)2. Print each tray, using a different color each time. After printing the cube center and pins, we swapped the filament from blue to white before printing out the gears.
Image 1 of 3
(Image credit: Tom's Hardware)(Image credit: Tom's Hardware)(Image credit: Tom's Hardware)3. Assemble the model by using the pins to snap each corner of the cube gear into the center block. PLA plastic tends to be stiff, so you may need to squeeze the edges of the pins to loosen them before inserting them into the corners.
4. Rotate the cube and admire the finished product. The gears of the cube should rotate freely around the center block; if they are stiff you can add a small amount of silicone lubricant to reduce friction.
(Image credit: Tom's Hardware)Method 3: Using Rainbow Filament for Multicolor 3D Prints
Printing with rainbow (or any other multicolored material) is the easiest way to create a multicolored part, but the colors that print out will vary depending on what type of material you’re using. If you’re interested in making colorful and fun prints, rainbow PLA is a great choice of material to use.
In this section, we’ll be using TTYT3D brand rainbow PLA , which is available on Amazon and doesn’t cost much more than a standard spool of PLA material.
(Image credit: Tom's Hardware)1.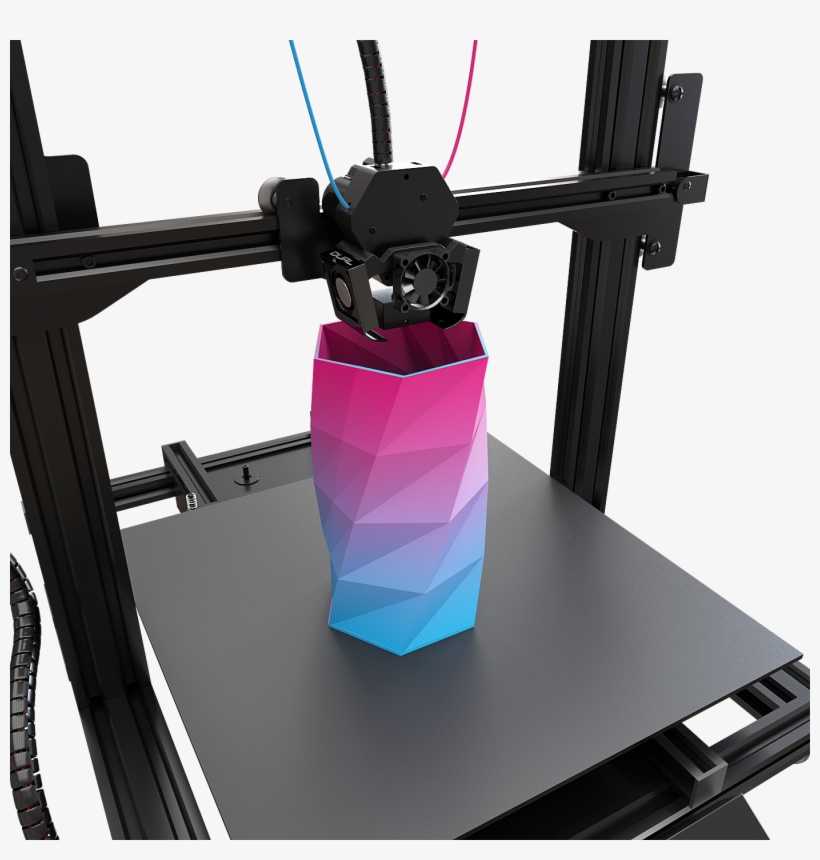 Prepare a model for 3D printing in your slicer program. You’ll get the most dramatic color transitions by making large, dense models because the spool transitions through colors as it prints. For this section, we’ll be printing the Plunderbuss Pete model with a high infill amount to use more material and create faster transitions throughout the model. Export the sliced file, save to an SD card, and insert the card into your 3D printer (or use Wi-Fi if your printer supports that).
Image 1 of 2
(Image credit: Tom's Hardware)(Image credit: Tom's Hardware)2. Load the rainbow PLA material into the printer.
(Image credit: Tom's Hardware)3. Start the print and watch the colors change as the print progresses.
(Image credit: Tom's Hardware)4. Remove your model from the bed once the print has completed. Since the model is printed using only a single spool of material, there’s no need to pause the print, change filament, or do any post-processing.
Image 1 of 3
(Image credit: Tom's Hardware)(Image credit: Tom's Hardware)(Image credit: Tom's Hardware)Want to learn more about 3D printing? Be sure to read our Best 3D Printers Guide to see which machines we recommend in 2021 and learn a little more about the differences between printer types. If you’re interested in a fun project, you can follow our guide to create a 3D selfie by scanning your face and making a 3D printed copy.
Andrew Sink first used a 3D printer in 2012, and has been enthusiastically involved in the 3D printing industry ever since. Having printed everything from a scan of his own brain to a peanut butter and jelly sandwich, he continues to dive ever more deeply into the endless applications of additive technology. He is always working on new experiments, designs, and reviews and sharing his results on Tom's Hardware, YouTube, and more.
Topics
3D Printing
Multi-color 3D printing with one extruder, in one layer
3D printing
extruder.
As usual, by creating new problems. :)
The material is difficult, not everyone can handle it.
Short video describing the method here:
First, I will talk about the traditional method of multi-color printing with a single extruder, as well as its advantages and disadvantages.
The traditional printing method allows you to create multi-color printouts by replacing plastic of one color with plastic of a different color after printing a certain layer of a part.
i.e. each layer of a different color is stacked on top of the previous layers.
Everyone does it and doesn't seem to complain, it's a quick and easy to implement method to create color prints with a single extruder.
However, the method creates a number of problems (which, of course, I invented myself and rushed to solve it myself :D): Each new color forces us to increase the thickness of the part, creating a relief that is not always necessary.
There may be other problems not mentioned by me, you can describe them in the comments.
Solution:
The solution is not simple, and will require a special approach already at the design stage of the model, and editing the G-code. As I said above, not everyone can do it. The solution is still limited to flat parts, but allows you to use any adequate number of colors and materials in the project.
So let's get started:
Step 1: Modeling
Each layer of the new color should be placed above the previous layer.
Literally - when modeling, place layers of different colors on top of each other, so that they seem to be inserted into each other, without intersecting. Look at the finished model, it should be clearer.
Free space can be created by cutting the lower layer in the shape of the layers above, or by creating a relief, as in traditional printing.
Contours of different colors must not intersect.
Step 2: Slicing
Slicing is carried out as usual
Step 3: Editing the G-code
Editing the code is to fool the printer at a certain point and make it lower the overlying layer to the print height of the previous one. Thus, combining two or more layers in one, with the subsequent replacement of the filament.
This is done by inserting into the code, before a layer of a different color, the following commands:
- G92 ZHeightReplacementLayer
- M600 - or similar script for replacing plastic
For example:
to change the plastic and print two colors in one layer, we must insert the code
- G92 Z0.
 4 - making the printer think that it has already raised the extruder to a height of 0.4 mm
 - M600 - to replace the plastic.
As a result of executing these commands, the black layer will be printed at the same height as the white layer - i.e. 0.2 mm.
And that's all for me, I wish everyone successful printouts. To be continued.
More interesting articles
DrProg
Loading
11/08/2022
1520
9
Follow author
Follow
Don't want to
We continue to reveal the incredible opportunities of enterprises from China, to...
Read more
Leoluch
Loading
07.09.2015
358957
347
Subscribe to the author
Subscribe
Don't want
Good afternoon, dear visitors of the portal.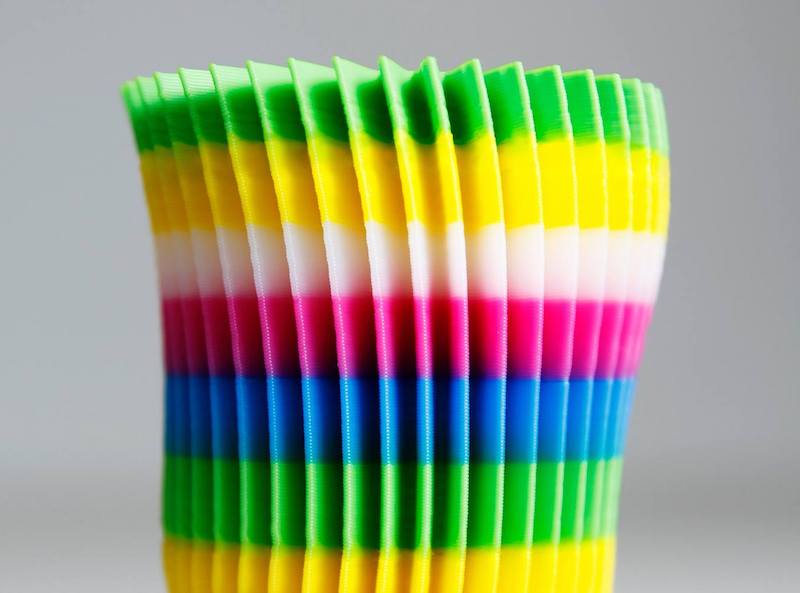
Today I decided not to leave in art...
Read more
198
Subscribe to the author
Subscribe
Don't want
Here I am again :)
With good and joyful news.
But first I want...
Read more
Color 3D printing - technology and equipment features
Today, printing of three-dimensional objects is available to everyone. Even at home, you can create three-dimensional models on compact 3D printers from a variety of materials. Color 3D printing works on the same principles as the method of building products in a single color. The availability of equipment has brought technology into the category of practical, original entertainment. However, multi-color 3D printing is also used to solve research problems and implement global projects.
Application areas for color 3D printing
3D printing is rapidly progressing, as the rapid and high-quality creation of prints gives the technology significant advantages over classical production methods. Most printers work with only one color, which is enough when prototyping or building engineering projects. When it comes to the artistic use of 3D equipment, color or combined 3D printing is needed. The technique also helps designers to simultaneously analyze the aesthetics of the design and its functional characteristics.
Full-color 3D printing provides a wide range of possibilities for producing objects in a wide variety of shades and halftones.
The advantages of the technology were evaluated in various industries:
• construction and architecture - to build demonstration models of buildings;
• Medicine - for students to practice on realistic models of human internal organs, doctors test new techniques, develop devices for the disabled;
• education - for teaching on practical visual aids that reflect the features of a particular subject;
• fashion and design - well-known couturiers already offer entire collections printed on a 3D printer;
• Jewelery - to replace hand-made stencils, printed;
• Art and Hobbies - to create exclusive figurines or mass-produce copies of famous masterpieces.
Features of working with color
Creation of color models is possible on devices operating on ColorJet Printing (CJP) full-color inkjet 3D printing technology. Today it is the most common method of growing volumetric objects.
Two-color 3D printing and construction in various colors takes place in several stages:
1. Creation of a three-dimensional model using special software.
2. The model file is cut into thin layers corresponding to the printed layers.
3. The gypsum powder is placed on the work platform in an even layer.
4. The printhead moves in a horizontal plane, applying adhesive plus color to specific areas.
5. The cycle is repeated until the complete construction of the 3D object.
6. The finished object is removed from the chamber, cleaned of powder residues with a stream of compressed air.
7. The model is completely immersed in a special compound that fills micro-holes, giving greater strength and color intensity.
8. Unused powder is recycled and reused.
The resulting products are distinguished by precision, high surface quality and a wide range of applications.
Two-color printing on a 3D printer can also be performed using FDM technology. The consumable resource in the form of a polymer rod is sent to the extruder, where it is heated. The molten mass through the nozzle is placed in layers along the established trajectory, forming the final model. The difficulty lies in the need to install a new plastic when you need to change the color of a 3D print. The calibration procedure is complicated, so fused filament printers are much less in demand.
Professional color 3D printers are divided into categories according to the purpose of operation, the complexity of operation, the required level of skill of the operator who controls the process. Equipment modification affects not only the quality of the final product, but also the price of the 3D printing service.
Conclusion
Multicolor printing is an interesting, useful technology that is constantly evolving.