3D printer moon
Luyten Plans to Build Structures on the Moon With Its Platypus Galacticus 3D Printer
3D printing news Aerospace Luyten Plans to Build Structures on the Moon With Its Platypus Galacticus 3D Printer
Published on December 13, 2021 by Mikahila L.
It seems lately that the space race has been reignited. In recent years we have seen major moon projects from companies all over the globe — such as the Griffin lunar lander from Agile Space Industries, ICON, which is set to 3D print buildings on the Moon, and even China’s plans to 3D-print a base on the Moon. Recently, Australian 3D printer maker Luyten also unveiled its plans to conquer the last frontier. In partnership with the University of New South Wales, Sydney (UNSW), the company wants to build structures on the moon, as part of a project called Meeka.
To achieve their space ambitions, the company has developed a 3D printer called Platypus Galacticus. Designed to make parts from regolith, a material available on the Moon, the Platypus Galacticus would offer many benefits in this endeavor. Matthias Hank Haeusler, one of the managers of the Meeka project managers, explained: “This information can become part of the Computational Design script and the design will respond to the specific material properties identified on-site. The knowledge we generate for building on the moon can be translated directly into building housing for extreme climates such as heat or for addressing housing issues in remote indigenous communities – both topics we investigate in parallel”.
Photo Credit: Luyten
Characteristics of the Platypus Galacticus 3D Printer
Designed from composite materials, the Platypus Galacticus is a compact 3D printer and is based on a proprietary extrusion technology called Luyten Turisops. According to the company, the machine will be able to print structures up to 12 meters long and 9 meters high (~39 feet long and 30 feet high). In order to identify buildable areas and collect materials on the Moon, Luyten plans for rovers to accompany the Platypus Galacticus.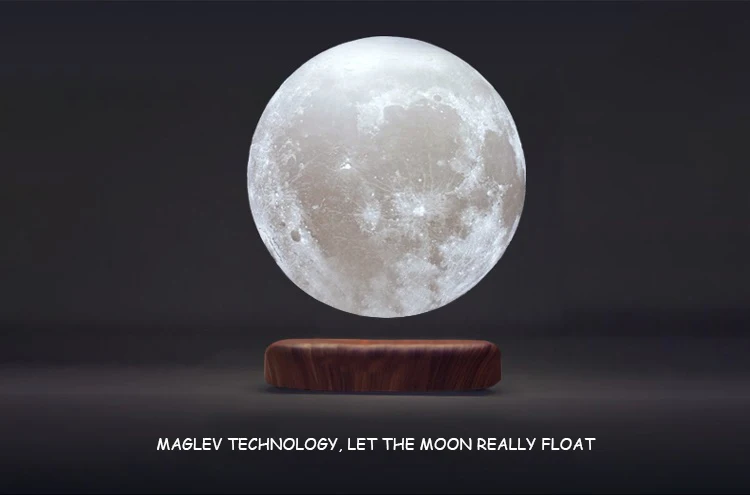 Some will therefore aim to penetrate the soil to assess the areas while others will harvest regolith.
Though perhaps the realization of such a project still seems far out, one thing that is certain is that innovations follow one another in this sector and AM is certainly starting to make its mark. For example, in order to manufacture thrusters, NASA opted for 3D printing and called on the services of Agile Space Industries, showing the capabilities of AM in the sector at the beginning of the year. Since then, more and more companies are becoming involved in 3D printing in space in a variety of different ways, including 3D printing rockets, testing the capabilities of 3D printing in zero gravity and more. And projects like Meeka are becoming more numerous today. Indeed, it would not be surprising to see additive manufacturing playing an important role in the exploration of the Moon in the future. You can learn more about the Meek project HERE.
What do you think of the Meeka project from Luyten? Let us know in a comment below or on our Linkedin, Facebook, and Twitter pages! Don’t forget to sign up for our free weekly Newsletter here, the latest 3D printing news straight to your inbox! You can also find all our videos on our YouTube channel.
Cover Photo Credit: Luyten
Moon best STL files for 3D printing・Cults
Moon Zero Two Gun / Pistol / Revolver / Colt
€5
robot moon
€1.54
Cat, moon, stars wall art decor and stencil, SET of 3 STL files
€0.71
Sailor Pluto's keys
€5.64
Skull moon sun ring
€25
Skull moon sun pendant
€25
Moon craters ring 5 mm
€15
POLYMER CLAY CUTTERS/EULITEC.
 COM/CC/COPYRIGHTED LICENSE
€2.35
Sailor Moon 3D Logo
€1
Funko Motorizado biker
€3.20
Pokemon - Stufful
Free
sullivan box monster inc
Free
Sailor Moon Serena toothless grinder
€1.86
Usagi Witchcostume- FREE
Free
LITHOPHANE HEARTLAMP (I LOVE YOU)
€2
Wolf and Lion Lamp
€2
Moonstone Renewer League of Legends
€5
Snake moon and stars pendant with bail 3D print model
€6.15
sun and moon
€2.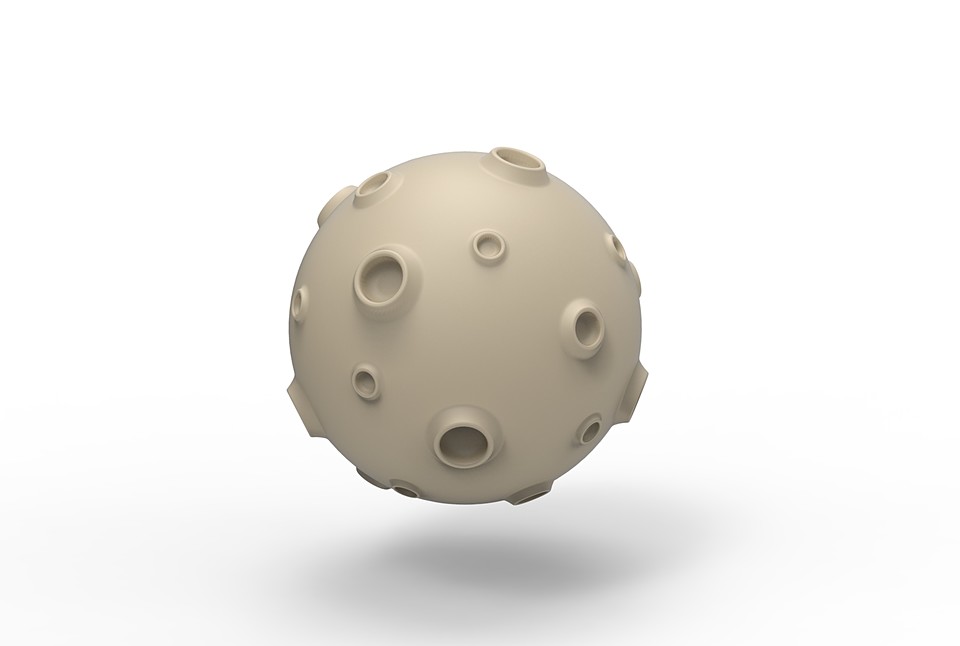 86
86
Fairy moon lamp for gift
€1.25
Blue Mansion Foster
Free
Welcome to Mercury
€12
goku vs vegeta silueta cuadro
€0.99
goku ssj cuadro y silueta - silhouette and frame
€0.85
Moonknight. Moonknight
€33.91
Earth lamp
€1.50
Moon Santa Claus - Polymer Cutter (Clay Cutter)
€3.06
Tripple Moon Holder, wicca, pagan, celtic, planter, pot
€0.89
Circle Design 1 Clay Cutter - Wreath STL Digital File Download- 8 sizes and 2 Cutter Versions
€2.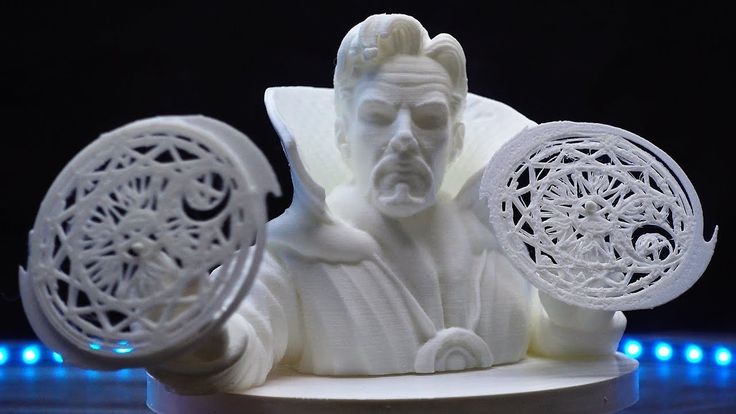 29
29
Trunk Moon lamp
€1.50
Moon Rover
Free
Funko doctor girl - doctor funko
€2.50
Moon Knight Chest Armour with Removable Crescent Dart 3d digital download MoonKnight
€35.89
Astronaut Spaceman Spacesuit 3D model
€12
Luna Lovegood Glasses
€2.50
MONKEY SMOKING SIMPSON - MONKEY SMOKING SIMPSON - MONKEY SMOKING SIMPSON - MONO Fumarola simpsons
€5.90
tuxedo mask - sailor moon
€8.95
lycanroc
Free
Sailor Neptune Lowpoly
€0.67
Halloween lantern
Free
3pc Wizard Hat Bath Bomb Push Mold
€5 -50% €2. 50
50
1pc Wizard Hat Bath Bomb Mold
€5 -50% €2.50
Moon Polymer Clay Stud Cutter | 5 Sizes | Digital STL File | 3D Printing
€1.84
Grimlock FOC AXE
€6.26
Circle Imprint 2 Clay Cutter - Embossed STL Digital File Download- 8 sizes and 2 Cutter Versions
€2.29
Circle Moon Donut 2 Clay Cutter - STL Digital File Download- 8 sizes and 2 Cutter Versions
€2.29
Circle Moon Donut 1 Clay Cutter - STL Digital File Download- 8 sizes and 2 Cutter Versions
€2.29
Sci-Fi Cyberpunk temples Dark
€50. 38
38
How to create your own Moon / Sudo Null IT News
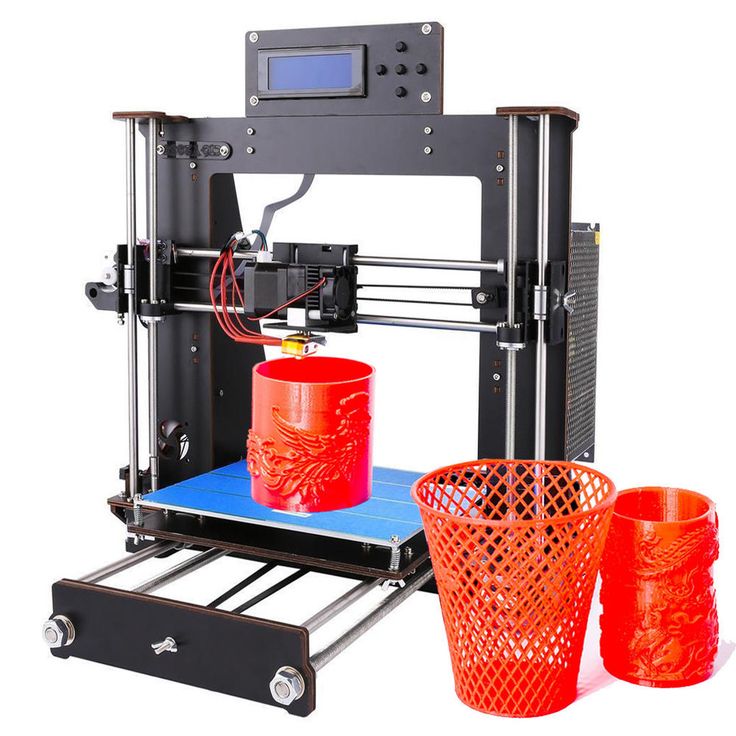
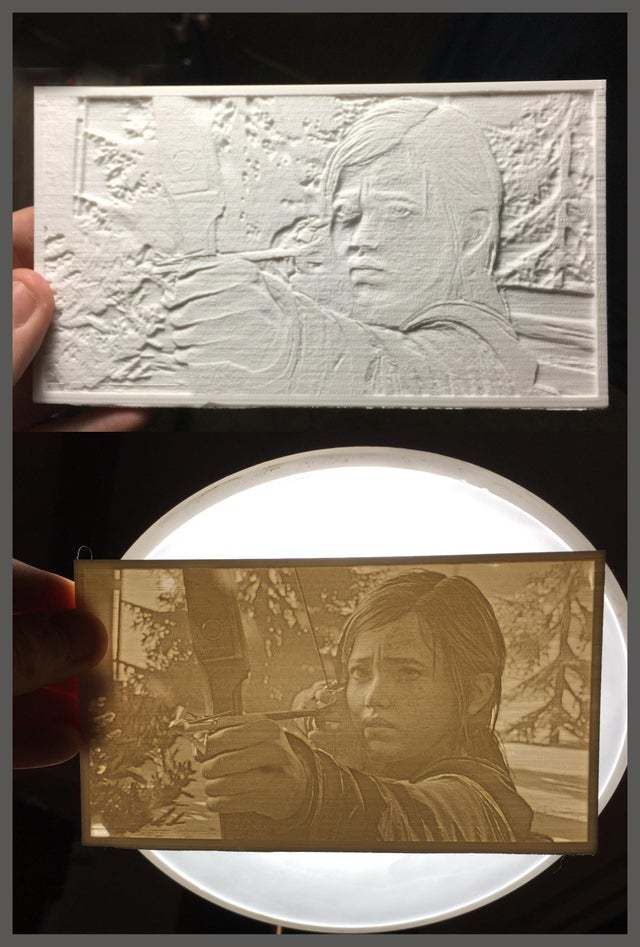
This article shows you how to make a 3D model of the Moon from scratch. It would seem, Why create a model of the Moon yourself, if you can buy it? If only because when you make a model of the Moon yourself, you can set the desired parameters, for example, the dimensions and thickness of the shell, image resolution, rotation limits, the position of the cutting plane, you can make a hole for the lamp, and so on. Let us proceed to the creation of our own moon.
A variety of 3D models of the Moon can be found on the Internet. Some can be purchased from online stores, others can be downloaded as files and printed on a 3D printer. Finished models can be divided into 2 categories:
-
The surface of the moon is drawn in detail and with high quality, but if a light source is placed in the model, its details are not highlighted from the inside.
-
Surface details are well drawn when illuminated from the inside, but without illumination they are not visible.

Step 1: Draw details
Details do not light up from the inside when a light source is placed insideDetails are drawn well when illuminated from the inside
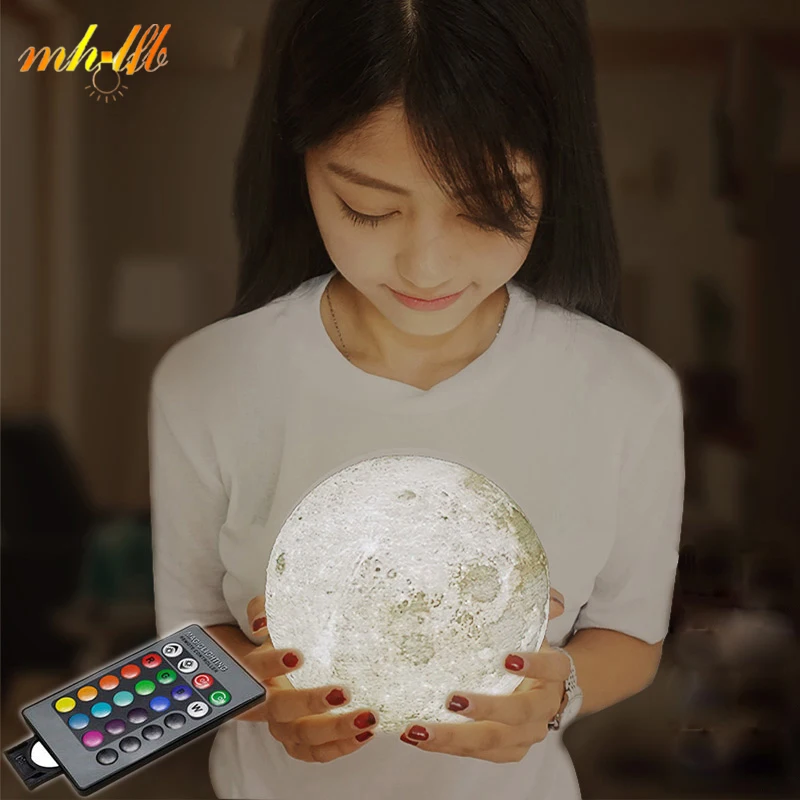
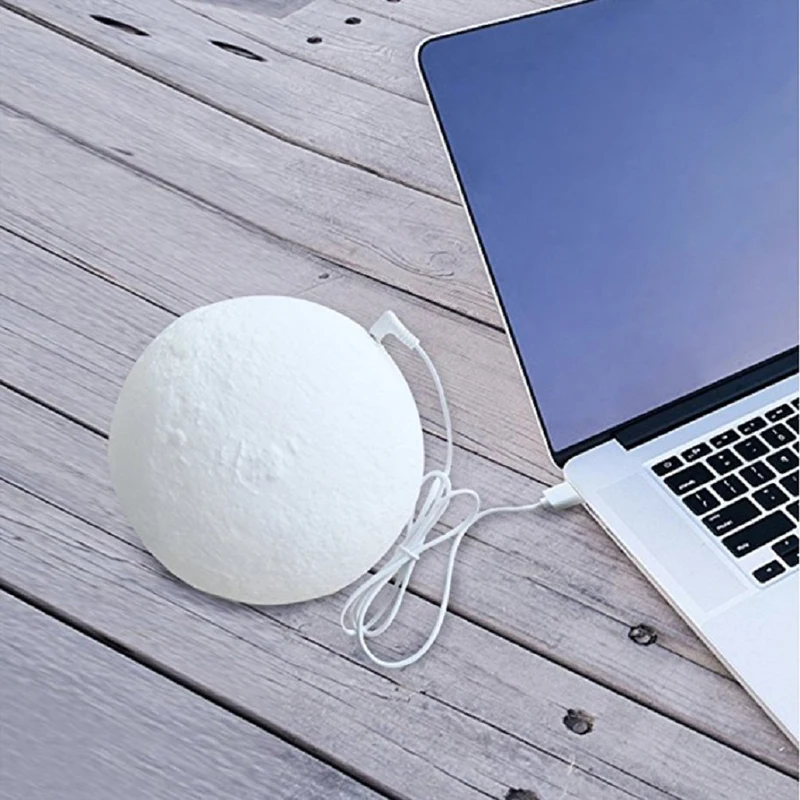
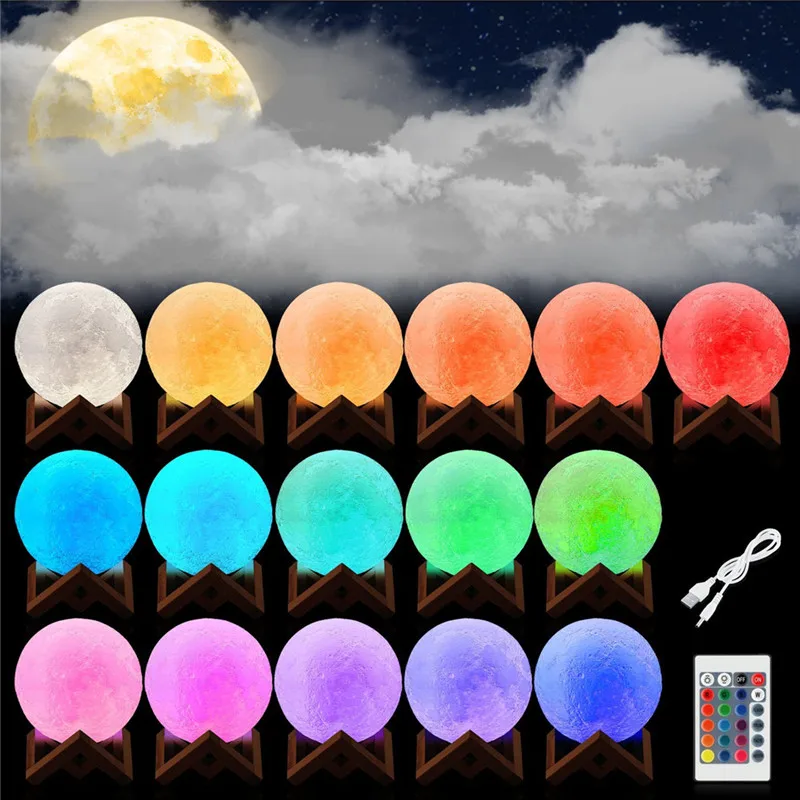
If you do not have a 3D printer, you can buy a lamp like Moon Lamp on the Internet.
Step 2: Prepare the software
Below is a list of the software involved. After familiarizing yourself with the technique, you will be able to do the same thing as I did with ordinary tools.
Modeling Tools
Download my custom version of Banate CAD from GitHub .
Banate CAD is written in Lua, so install Lua for Windows to run scripts on Windows.
STL Editing Tools
Meshmixer
Step 3 Preparing Materials
Plastic for Printing
The images above show PLA products. Products resulting from 3D printing using different types of white PLA plastic may have different shades. The plastic supplier claims that option B is the best, but that, alas, is stuck in my printer.
Light source
The moon model can be illuminated in different ways, the light source can be powered by batteries, mains, and so on. The size of the model also affects the choice of light source. There are a lot of options, and if we start discussing them here, we will deviate from the topic of printing. It is enough to understand that there are a lot of options. I want to note that the warm white light of the source is more pleasing to the eye.
Matte Spray Paint
Most PLA models are highly reflective, so I recommend a matte finish. Matte spray paint will easily solve the problem.
Step 4. Images of the Moon
Two images of the Moon are required for the simulation. They are located in the BanteCAD/Examples folder. I reduced the resolution to 720x360, it should be enough for the model. If necessary, search for higher resolution images online.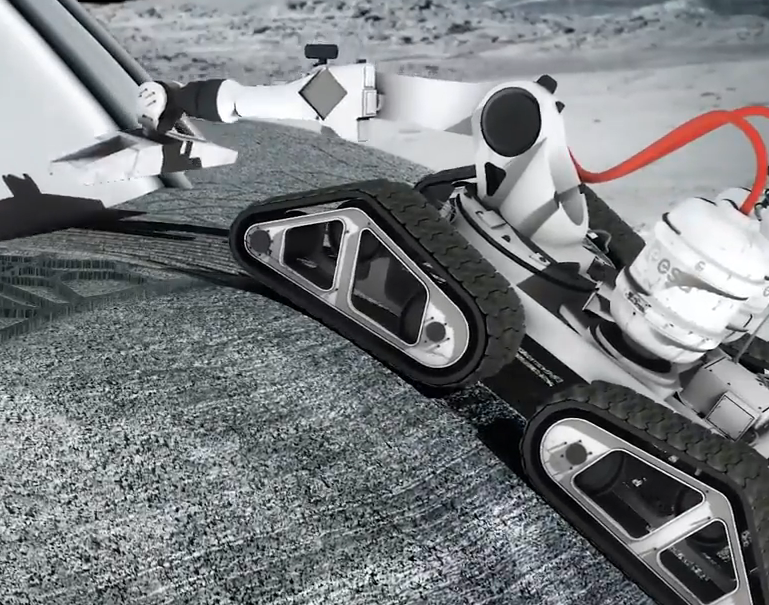
Bump map
There is a special map for surface modeling, usually called a bump map. The shade of gray indicates the height of the corresponding point on the sphere. Having a bump map, you can accurately display all the details of the surface on the model. However, if you compare the bump map with the moon in the sky, you will notice that they are different from each other.
Visual map
Details of the real moon are not only different heights at different points. Color is also important. Naturally, we can instruct the printer to print different colors, but, fortunately, we see the real moon in grayscale. To allow light to pass through the model at different intensities, you can print the model with different wall thicknesses and superimpose a grayscale image on the model. To adjust the wall thickness of the model, we need a visual map of the moon.
Post-processing
-
Lunar surface map is a regular bump map. I need to take into account the internal thickness, so using the Level function (Level) I shift the value to the right (a brighter image will be displayed on the bump map).
-
Inner map of the Moon is the shape of the inner surface of the model. From this map, we determine the thickness at each point of the surface, that is, the desired shade of gray. This map is built from a visual map, which in turn has thickness settings based on a bump map applied to it. Or, to use another calculation method, by subtracting the bump map from the inverted visual map.
Adjustable Parameters
-
If you lower the bump map level, the elevations on the surface will be smaller, and the sag will decrease, but the surface details will have to be distributed differently.
-
If you move the level of the visual map to the left, the shell will become thicker, and vice versa. In this case, it must be remembered that the level should not be shifted too far to the right. The cladding must be at least 0.4 mm thick (if a 0.4 mm extruder nozzle is used), otherwise the cladding must be manually punched.

-
The range of the light gray scale depends on the level range of the visual map.
Attached files: moon.xcf
Step 5: Control the layer thickness above. If the shell is thinner than it is possible to print, the printer simply will not print anything, holes may even form on the surface in unexpected places. You can fix it like this.
-
Open the STL file generated by BanateCAD with Meshmixer.
-
Delete the inner surface model.
-
Run the Edit command.
-
Select the Hollow command.
-
Set thickness to 0.5mm (for extruder size 0.4mm).
-
Run the Hollow command again.
-
Accept the changes, now the thickness of the shell of the lunar surface is 0.5 mm.
-
Rotation and cutting of the plane are carried out in the same way as in the settings of the lunar shell.
-
Export the STL file.
-
Open the moon shell STL file in Microsoft 3d Builder.
-
Repair any defects.
-
Open the STL file of the lunar surface with a shell thickness of 0.5 mm.
-
Repair object defects.
-
Select the entire object.
-
Accept the changes, now the thickness of the lunar shell is 0.5 mm.
-
Export the STL file.
Step 6 Modeling - BanateCAD
BanateCAD can model a 3D shape from a bump map. In the examples folder, I posted the corresponding script. It reads a map of the surface and an internal map of the moon, and then models both shapes. The following are the steps for modeling with BanateCAD:
-
Open the BanateCAD.wlua file.
-
On the File menu, choose Open.
-
Open the file moonlamp.lua in the Examples folder.
-
Optional: change parameters.
-
From the Compile menu, choose Compile and Render.
-
After a while, the 3D model will appear.
-
From the File menu, choose Export -> Export STL.
-
Enter a name for the STL file and click the save button.
Configurable Parameters
Output sphere diameter in inches, bump map and internal map are generated from this parameter:
local outputSize = 3 -- inches
Surface height factor:
local outputSize = 3 -- inches
The resolution must not be greater than the resolution of the PNG image:
USteps = 720, WSteps = 360,
Step 7: Create a Shell – Meshmixer
Based on the shapes made in BanateCAD, we can create a shell by subtracting the surface of the inner shape from the shape.
The following describes the steps to create a wrapper with Meshmixer:
-
Open the exported STL file with Meshmixer.
-
Wait for the download to complete.
-
Select both models in the Object Browser.
-
On the left toolbar, select Edit, then select Boolean Difference.
-
Wait for the calculation to complete.
-
Select Accept.
-
Wait for the calculation to complete.
-
Leave one model in the Object Browser, this will be the lunar shell.
-
Save the file.
Step 8. Modify and output the model - Meshmixer
Before 3D printing, you can configure any parameters. The options are:
-
If you want to put a model of the moon on your desktop, I suggest that the z-axis rotates from -45 to -60 degrees, so the moon will be directed towards you in its usual direction.
-
If you want to hang the moon model from the ceiling, I suggest that the z-axis rotate 120 to 135 degrees for the same reason as above.
-
If you want to install a backlight inside, do not forget to make a hole for the wire (if you have difficulty printing a hole on a 3D printer, you can, like me, just drill a hole after printing with a drill.
-
90% percent The cutaway moons are flat, so you can hide the seams and print it easily without sagging.0003
When finished, export the STL file for printing.
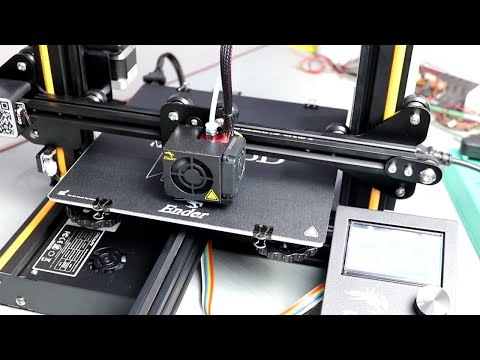
Step 9: 3D Print
Open the object in the 3D Slicer, make sure there are no holes in the shell, and start printing.
If the moon needs to be perfect, you can skip the previous step with cutting the plane and turn on the support option. But, in my opinion, removing the remnants of the caliper is quite difficult.
If the previous step was difficult for you and you could not print the STL file, use my file.
Assemble the top, light source and bottom together.
Step 10: Coating the Surface with Matte Paint
Most PLA 3D prints are highly reflective, so I recommend coating the resulting surface with Matte Paint. Now I'm trying to print a larger diameter moon lamp - 110mm, which is the largest size that can be printed with the Robo C2 printer. One printout will take tens of hours. I want a moon with these parameters:
local r = 52 local h = 3
Final!
You did it! Now you can brag to the familiar results of your work or just give the finished model to your friends!
Learn how to pump in other specialties or master them from scratch:
-
Profession Data Scientist
-
Profession Data Analyst
-
Course on Data Engineering
0011 Data analytics course DevOps course 3D printed lunar soil base on the moon and create a structure model using a 3D printer. It is on such a project that the European Space Agency (ESA) is working in collaboration with renowned architect Norman Foster.
Human colonization of the moon is no longer a utopian fantasy, but a promising goal. People do not want to build a base on the Moon “for show” - it can bring tangible benefits. The moon also has a variety of minerals, including metals valuable for industry: iron, aluminum, titanium. In the surface layer of the soil (regolith), the isotope helium-3 , which is rare on Earth, has been accumulated, which can be used as fuel for advanced thermonuclear reactors. Deep vacuum and the availability of cheap solar energy open up new horizons for electronics , foundry , metalworking and materials science . The moon, due to its impressive landscapes and exoticism, would be an attractive object for tourists.
ESA is therefore experimenting with various approaches that could enable construction on our planet's satellite in the future. At this stage, with the help of industrial companies, ESA is developing a project for a 3D lunar base from space soil.
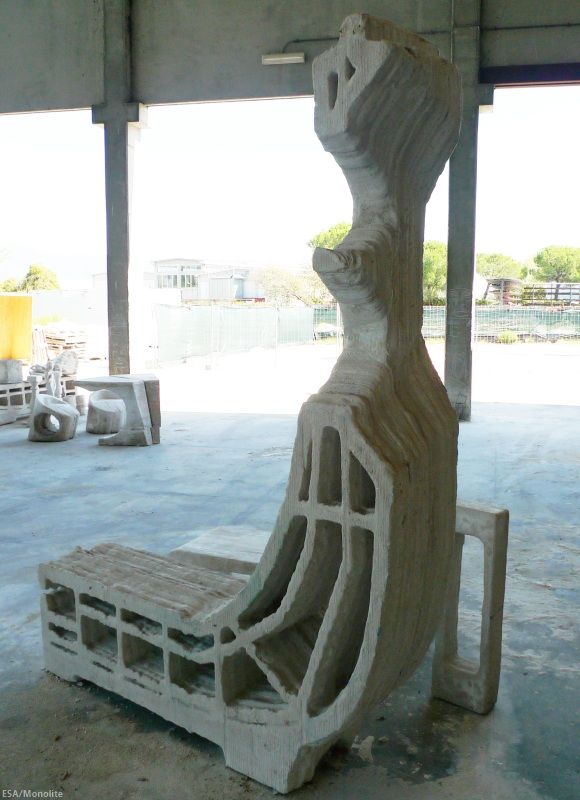
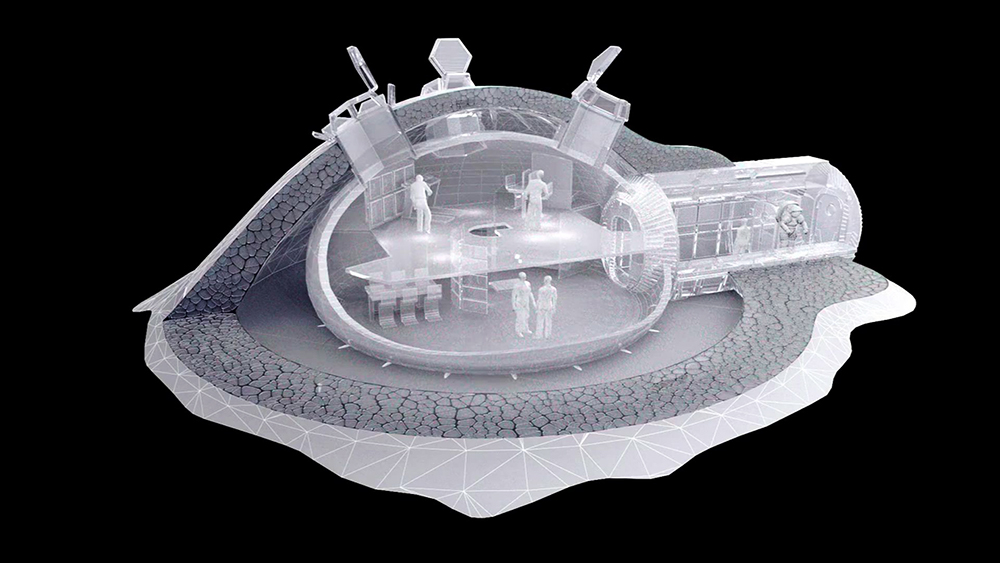
“On Earth, full-fledged structures are already being created using 3D printing. Our fellow industrialists have tried to see if it is possible to similarly build a safe environment for humans to live on the moon.”Foster + Partners, led by renowned architect Norman Foster, creator of London's famous Gherkin skyscraper and other buildings, has proposed hinged "domes" as a supporting structure.
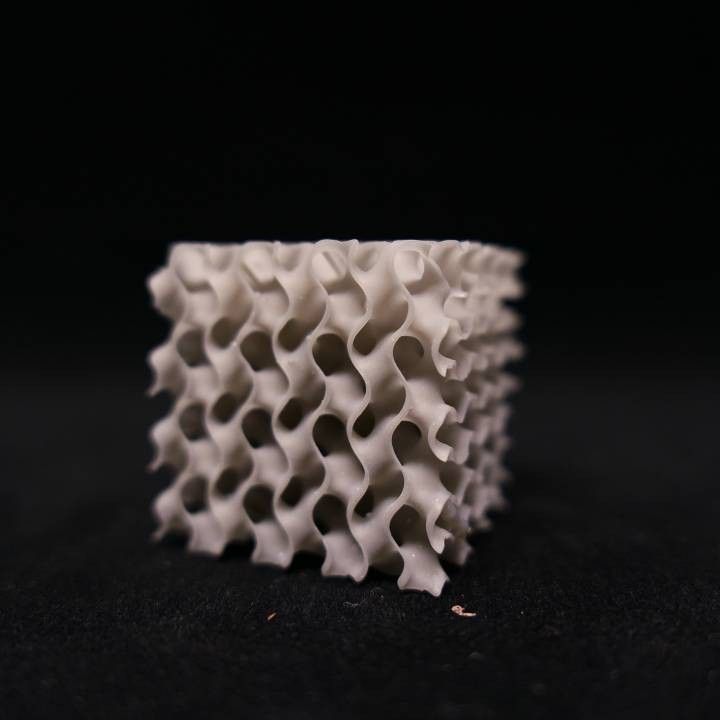
The special structure of their walls will protect the inhabitants from micrometeorites and cosmic radiation. The astronauts will live inside the dome, in an inflatable "cocoon". The hollow structure, reminiscent of the bones of birds, should be a good compromise between strength and lightness. The base model is designed for 3D printing from a one and a half ton bar of lunar soil.
“3D printing has the potential to enable the construction of a lunar settlement without a massive supply of materials from Earth.
The new possibilities this idea opens up can be taken into account by the international space agencies in the context of their own lunar exploration projects.”added Scott Hovland, ESA's manned flight manager.
“On Earth, we have already adapted to building in extreme conditions and have learned to take advantage of a particular environment, focusing on local natural materials. We are guided by the same logic in the lunar project”explains Xavier de Questellier of Foster + Partners.
Lunar Base Building 3D PrinterThe D-Shape printer that prints the base has a 6 meter frame nozzle array that sprays an adhesive solution onto a sandy building material. 3D prints are made in layers. Monolite is now using it on artificial coral reefs to create protection against the destruction of powerful sea waves.
“We first mixed our model lunar soil with magnesium oxide. This is the “paper” that we can print on. Then we apply our "ink" - a special saline solution that holds the "paper" together into a solid structure.
Right now our printer is printing at about two meters per hour, but the next generation printer will already be able to reach 3.5 meters per hour, so the whole building can be completed in a week.”Enrico Dini, founder of Monolite, explains.
The adaptation of the "terrestrial" printer to space work was carried out by the Italian space company Alta SpA in collaboration with the technical university Scuola Superiore Sant'Anna in Pisa.
Particular attention was paid to the peculiarities of working in a vacuum: after all, under these conditions, the liquid will instantly boil.
“To avoid this, we place nozzles under the regolith layer. We have found that 2mm droplets are successfully retained in it by capillary forces, so the printing process can take place in a vacuum.”, explained Giovanni Cesaretti, Alta employee.
An interesting side result of the work was the discovery of a source of "lunar" soil in Europe. In general, regolith is produced and sold by specialized companies in kilogram quantities, but this project needs tons of it.
The solution was found in the Apennines. The basalt rock of a dormant volcano in central Italy was 99.8% identical to the lunar soil.
The validation of the concept itself has now been completed, further work is still ahead. Other threats must be taken into account: lunar dust dangerous for people to inhale, the temperature features of the Moon.
Learn more