3D printer movable parts
How to 3D Print Moving Components in One Print Job
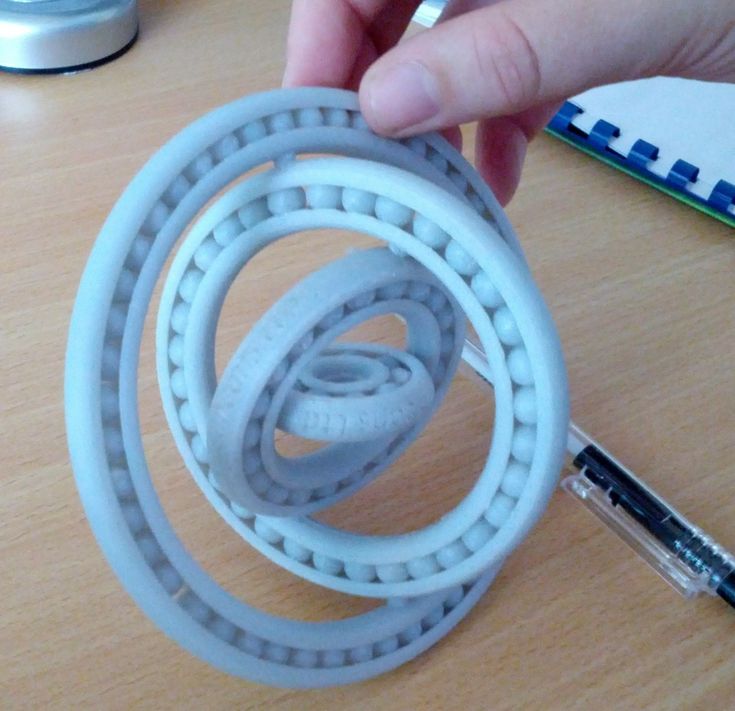
3D printing fully assembled, multi-component parts in a single job allows you to see dynamic components working in their prototyping stages. Rather than 3D printing smaller parts and assembling them together, you can reduce the workload by printing the full part in a single print. Once the supports are washed, you have a seamless, perfectly dynamic and mobile part. 3D Print Moving Components eliminates having to print very small, weak parts that could be damaged (or lost) in, say, a wash tank.
The key to 3D print moving components is to have air gaps in between the components (otherwise known as negative space), and it starts with the initial design.
Let’s use the hinge design below as an example:
Screenshot of a custom hinge design comprised of only two moving parts
Hinges are usually comprised of the knuckles (the hollow portion of the hinge in which the pin is set), the leaves (the parts of the hinge that extend laterally from the knuckles and come in contact with the external surface), and the pin (the rod that holds the leaves together by being set inside the knuckles), but we’ll design and print the hinge as only two components.
The methods shown for this hinge design can be applied to almost any mobile or dynamic component that you design.
Negative Space Based on Layer Thickness and Part Resolution
I designed this hinge in SOLIDWORKS as one part file, separated into two bodies. Using a series of repeating reference planes, I cut out and extruded the interlocking knuckles, making sure to add an equal amount of negative space between both knuckles. The holes on the ends of the leaves are just placeholders, as the main focus of this project is the pivot mechanism.
Ideally, the air gaps need to be small enough to go unnoticed, yet large enough to fully clear the extrusion paths as the printer lays down layers. This allows the final part to maintain its structural integrity while its components are fully mobile.
Layer thickness doesn’t just represent the height of the layer, it also represents the width of each path.
A design rule that I’ve stuck with is to set the air gaps to at least double the layer thickness of your choice. For instance, if I’m printing the hinge shown above in 0.007″ thickness, I want to make sure my air gaps are at least 0.014″. This way, there’s no chance that the extruded paths will intersect and melt together during the printing process. This same principle applies for all layer heights. Now, we could go into liquid thermoplastic retention properties and argue that the air gaps can change based on what material you use (e.g. Nylon12 instead of ABS-M30), but the safest option that works with almost any material is the one I just described.
Hinge Without the Pin
Now for the design. As stated before, the hinge can be designed with only two moving parts.
NOTE: This model is intended to demonstrate some unique design principles regarding fully assembled, multi-component print jobs.
Pictured below is the design in question. If you look closely, you can see there’s no pin in the centre of the knuckles. Instead, the knuckles are interlinked with an air gap of 0. 3mm (or 0.012″). For the purpose of this blog, I’m printing the hinge in 0.005″ layers, so my air gaps are slightly larger than what they need to be (which is fine). If I made the gaps smaller than 0.010″, there would be a good chance that the paths would melt in on themselves during the printing process, rendering the hinge immobile after cleaning.
Making one of the leaves transparent allows a clear view at the connecting knuckle, which fills up the gaps.
The final hinge print.
Here you can see the air gaps up close.
Post-Printing Steps
One of the major drawbacks of this method of printing/prototyping is that you will need to use more support material for these parts to print properly. During the printing process, the negative space (air gaps) are filled with support material, which is then dissolved in a wash bath.
The model material you are using must be compatible with soluble support material. The supports need to be dissolved in order for your parts to freely move after they’ve been cured.
On the topic of support structures dissolving, the wash bath times do slightly increase for prints like these. It takes a little longer for the solution to reach the inner support material buried within the part. Once the part is fully washed, gently try to move the parts back and fourth to pry them apart. If you apply too much force the parts might snap.
Some Things to Consider
If you’re designing parts to 3D print moving components that are fully assembled out of the printer, its a good idea to use the smallest layer thickness your 3D printer is capable of extruding. In my case, it’s 0.005″. Thinner layers give the part a smoother finish, which means that there’s less friction between components when they move.
Another thing to note is the support material your 3D printer will use. Make sure the supports are water soluble. These types of prints won’t work on standard consumer printers, as they only extrude model material.
Tips for designing moving parts
Print mechanisms totally assembled is one of the things that you can do with 3D printing. In this article, you will find what you need to be able to design and print models that have moving parts.
| EN | ES |
Before the appearance of 3D printers, prototypes and final products had to be manufactured using subtractive technologies, wherein the case of objects with mobile elements had to be manufactured separately and then assembled. With 3D printing, this is no longer a necessity thanks to the ease of creating mechanisms that have free spaces between parts, which allow their movement.
- The following design tips complement the Tips to designing 3D printable models to get moving parts.
Table of contents
- Space between pieces and tolerances
- Supports for the mechanism
- Improve mobility with post-processing
Space between pieces and tolerances
In 3D printing, objects are manufactured layer by layer so if the models were designed being in perfect contact, it would cause the extruder to fuse the pieces, creating a single object and preventing movement.
The best way to prevent the pieces from joining is by leaving a separation between the models when designing them, is recommended to leave a separation twice the layer height with which the 3D model will be printed. This space will be small enough not to be visible to the eye but useful for printing soluble supports in the area.
In the case of designing and printing the parts separately to later be assembled, the printing tolerances must be taken into account. Leaving a margin between 0.1mm to 0.3mm is usually enough so that the pieces have looseness, can fit together, and move.
Supports for the mechanism
Since the mechanism will have empty spaces between the pieces, in some cases it may be necessary to use supports to print the assembly.
The optimal materials to support moving parts are water-soluble due to the following advantages: they are removed by dissolving in water and they do not leave traces of materials that could obstruct movement between parts.
It is important that the piece has the necessary spaces and holes so that the water can flow between the parts and dissolve all the supports.
The supports of the same material of the piece are only recommended when the parts of the mechanism are printed separately since in case there are remains of material on the piece they can be post-processed.
Improve movility with post-processing
The smoothness of the movement of the mechanism depends on the surface finish of the parts, so in some cases, it will be necessary to carry out post-processing.
However, post-processing tasks can be complicated to perform depending on the assembly, since there may be a lack of space to insert and use the necessary tools.
If you have enough space or can disassemble the assembly, sand the surfaces of the model to be desired finish and mobility. This is quite beneficial when the layer height very wide, as this is the area where the greatest amount of friction will accumulate.
| Send us your comments about this article | |||
|
RELATED ARTICLES | |||
Techno Print 3D Company
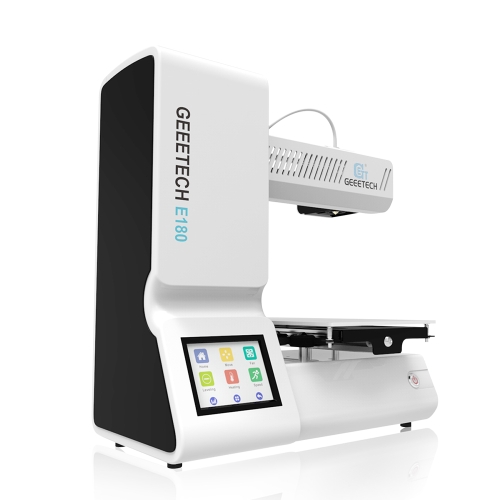
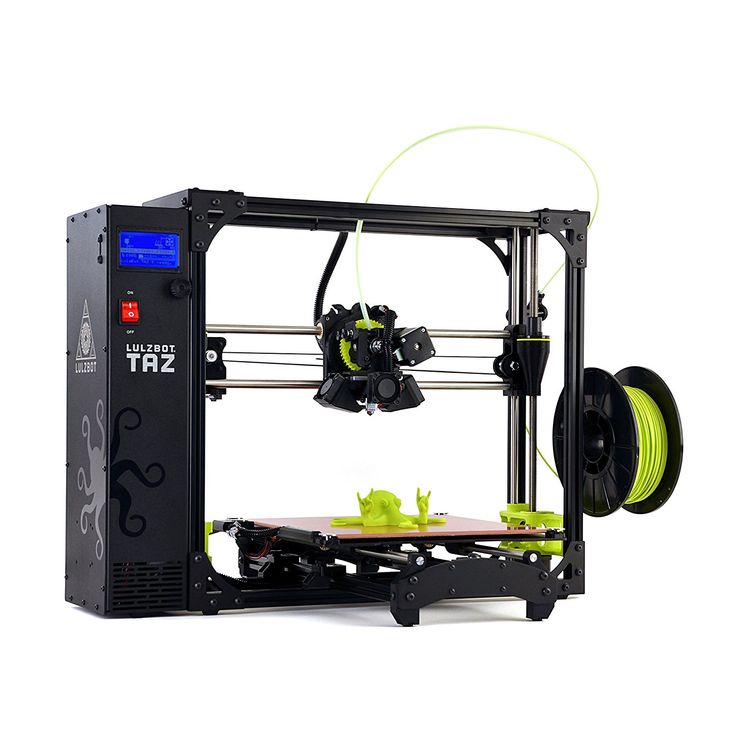
This is our first review of the most popular and inexpensive 3D printers for 2020. The list will include the best-selling devices in two price ranges (up to 30 tr and up to 60 tr). Printers working with both plastic filament (FDM) and photopolymers (LCD/DLP) will be presented. This list will always be up to date, as it is periodically updated and supplemented. Read more→
The Chinese company Dazz3D announces the launch of the project on KickStarter and accepts pre-orders for Dazz3D Basic and Dazz3D Pro 3D printers. These revolutionary new devices are aimed at both the professional and amateur markets. Read more→
We all know that precise calibration of the 3D printer desktop is the foundation and the key to successful printing on any FDM printer. In this article we will talk about the main and most popular ways to level the "bed". So, as mentioned above, 3D printing without desktop calibration is impossible. We face this process Read more→
It's hard to go through a day today without hearing about 3D printing technology, which is bursting into our lives at an incredible speed. More and more people around the world are becoming addicted to 3D printing technology as it becomes more accessible and cheaper every day. Now almost anyone can afford to buy a 3D printer, and with the help of Read more→
The FormLabs Form 2 and Ultimaker 3 are perhaps the most popular 3D printers today, capable of high quality printing with incredible surface detail. Moreover, these two devices use completely different technologies, and therefore, there are a lot of differences between them. Many will say that it is wrong to compare them or Read more→
XYZprinting, best known for its daVinci line of desktop 3D printers, is bringing five new devices to the professional and industrial environment.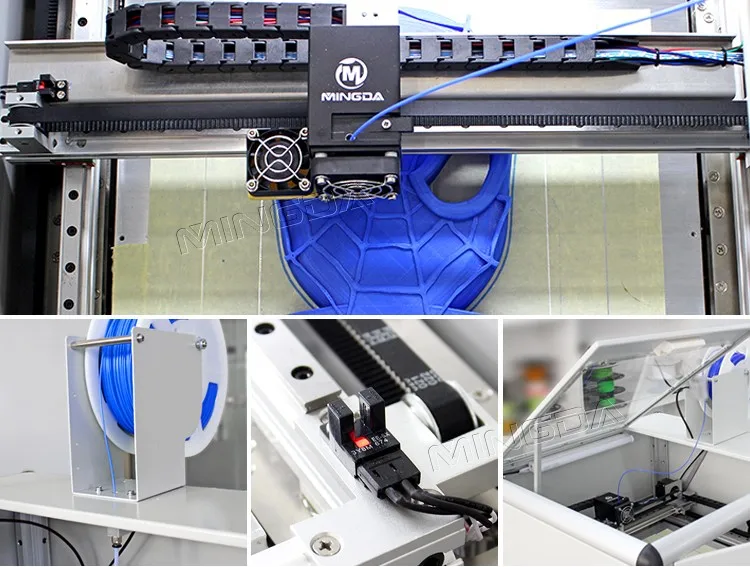 One will use laser sintering technology, the second full color inkjet printing and three DLP machines. First of all, the novelties will be of interest to dentists and jewelers. Read more→
Cleaning the nozzle of a 3D printer is a fairly common process that any user of such a device has to deal with. This is not at all a complicated procedure that anyone can handle. You can complete this task in 15 minutes, using only handy tools and accessories. Read more→
Acetone steam polishing of ABS plastic is a process for smoothing the surface of 3D printed models. The result of this treatment makes your printed products look as if they were made by a professional mold casting method. If you want to understand how this is done correctly, then read this article. Aceto Read more→
information on how it works, description of what it does
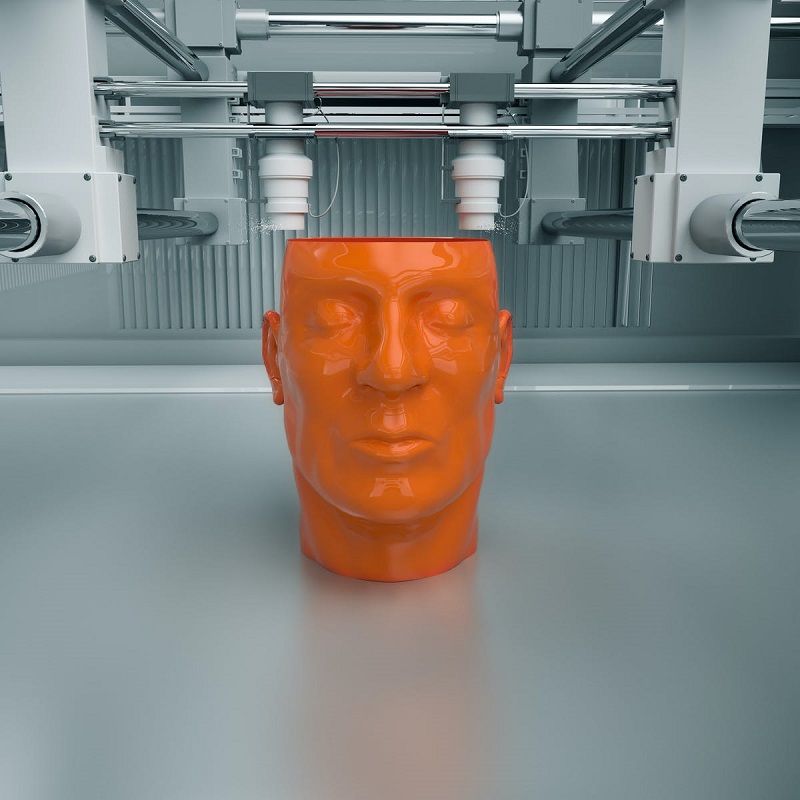
Most people have heard of 3D printing technology. It appeared quite a long time ago, but for many, the principle of operation is still a mystery. The article will look at what a 3D printer is, how it works and its main applications.
What is a 3D printer?
A 3D printer is a device that can be used to create real spatial objects from various materials.
In most cases, 3D printing machines are similar to conventional printers in their design, as they consist of the same parts. The main difference is that the 3D printer is capable of printing in all three planes. In addition to height and width, there is also depth.
3D printer consists of the following parts:
- Housing.
- Frame. This design connects all other parts of the device.
- Extruder. This part of the device heats up the material and measures the required amount of plastic using a gripping system. Semi-liquid plastic is extruded in the form of thin threads.
- Work table. Also, this part may be called the print surface or the work platform. Products are formed on the desktop.
- Stepper and linear motors. They are necessary to set other parts in motion.
- Retainers. This is the name of the sensors by which the coordinates of the print are determined. Also, the clamps limit the moving parts. This is necessary so that the extruder does not go beyond the working space.
3D printers use plastic filaments of various colors as the working material. They may differ in other characteristics, such as melting point, stiffness, strength, etc. Threads are wound on spools and sold by weight. Nylon, polycarbonate, polyethylene, ABS, etc. can be used for printing.
There are also photopolymer 3D printers. For them, photopolymer resins are used. They are liquid, but under the influence of ultraviolet light begin to harden.
The principle of operation of all printers is the layer-by-layer build-up of the product. The device creates an object gradually, applying the material layer by layer. In this way, you can print anything, for example, spare parts for various equipment, toys, layouts of structures, etc. Everything is limited only by the user's imagination and modeling skills.
What is 3D printing?
3D printing is the creation of a real object from a 3D model. The digital model is saved in STL format and translated into G-code (universal programming language for 3D printers). After that, the device begins to layer-by-layer form the product.
The printing process itself consists of repeated cycles associated with the application of consumables to the working surface. After each cycle, the table is lowered (or the extruder is raised) to a height equal to the layer thickness.
Application
3D printers have a lot of possibilities. These devices have already become familiar tools in architecture, industrial design, engineering, manufacturing, jewelry, dentistry, etc.
Typical use cases:
- Creation of personalized models.
 In this case, the products fully meet the requirements of the user in terms of shape and size.
 - Rapid prototyping. Thanks to 3D printing, a prototype or model can be made very quickly. This greatly helps designers and engineers in their work.
- Create objects with complex geometry. Models that are even difficult to imagine are very easy to create on a 3D printer.
Benefits of 3D printing
The main advantages of 3D printing:
- The cost of finished parts and prototypes is greatly reduced due to the technology used and cheap materials.
- Production speed is increased.
- High quality finished products.
- Virtually no waste.
- High degree of customization.
- Easy production of complex parts.
Despite a rather slow start, 3D printing technology is still gaining popularity among both manufacturers and customers.