3D printed menorah
3d Menorah - Etsy.de
Etsy is no longer supporting older versions of your web browser in order to ensure that user data remains secure. Please update to the latest version.
Take full advantage of our site features by enabling JavaScript.
Find something memorable, join a community doing good.
(122 relevant results)
Overview | NeoPixel Menorah | Adafruit Learning System
Overview
Save Subscribe
Please sign in to subscribe to this guide.
You will be redirected back to this guide once you sign in, and can then subscribe to this guide.
In this guide you'll learn how to build a 3D printed Menorah that lights up with NeoPixel LEDs and CircuitPython. This minimalistic design features parts that snap fit together and print without any supports. The assembly is modular and easy to put together.
- Your browser does not support the video tag.
Light Up The Days
A push button allows you to light up a NeoPixel LED on each night of Hanukkah. The Shamash (center NeoPixel) stays lit each night. On the first night of Hanukkah, the NeoPixel LED on the far right is lit. Just press the button each night to light up the next one.
3D Printed Bulbs
The bulbs are printed in translucent PLA and the NeoPixels are fitted inside these little holders. The bulbs are hollow to better diffuse the LEDs so they’ll illuminate nicely.
USB-C Powered
The bottom has a cut out so you have access to the USB-C port. It can be powered by a 5V USB supply from either a computer or a wall outlet.
QT Py RP2040
This project is powered by the Adafruit QT Py RP2040 running CircuitPython. The QT Py is secured to the bottom cover and just snaps into the build-in holder.
Your browser does not support the video tag.Adafruit QT Py RP2040
What a cutie pie! Or is it... a QT Py? This diminutive dev board comes with one of our new favorite chip, the RP2040. It's been made famous in the new
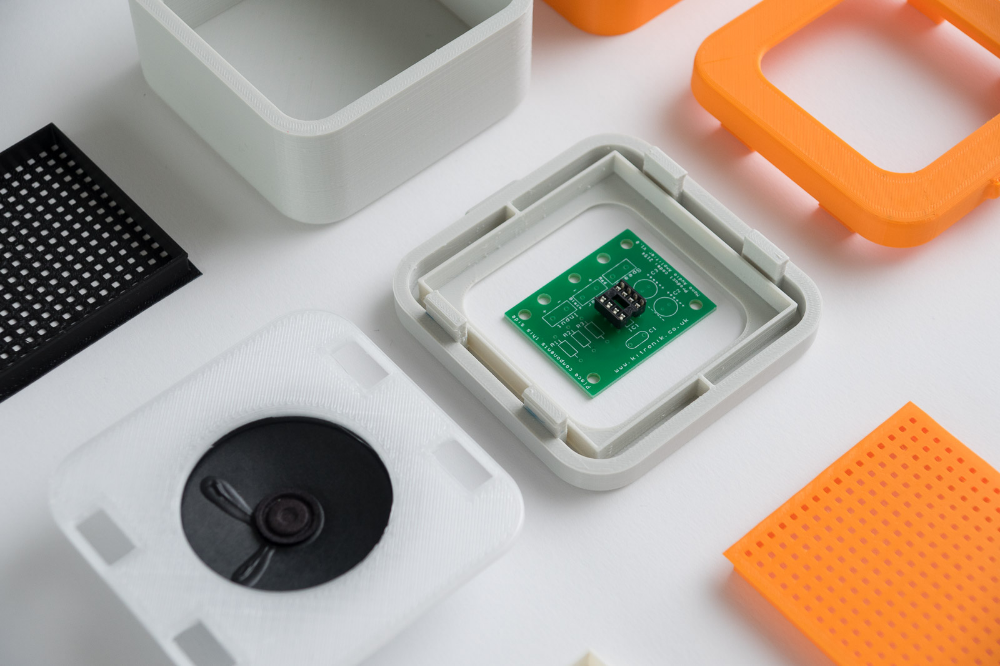
NeoPixel Mini Button PCB - Pack of 50
These are the smallest NeoPixel breakouts around! Tiny, bright RGB pixels to your project. These little PCBs are only 9. 1mm x 9.1mm and have two sets of three pads on the back for...
16mm Panel Mount Momentary Pushbutton - Burgundy
OK, this item is pretty simple - it's a panel mount pushbutton. It's not that exciting, no LEDs, no bells & whistles. But we really like it anyways – look at that...
1.25mm Pitch 3-pin Cable Matching Pair - 40cm long
When 0.1" is too big, and JST PH's too chunky, these ultra-slim 1.25mm connectors are a reliable alternative. These are only 1.25mm pitch, but have a nice clicky...
1.25mm Pitch 2-pin Cable Matching Pair - 40cm long
When 0.1" is too big, and JST PH's too chunky, these ultra-slim 1.25mm connectors are a reliable alternative. These are only 1.25mm pitch, but have a nice clicky...
USB Type C Cable with Data/Charge Switch
Perhaps your smart phone, tablet, or even your Raspberry Pi 4, charges off of USB, but can you really trust that charging station at the airport? Now you can control when to allow...
Hardware
The following fasteners are required to assemble this build.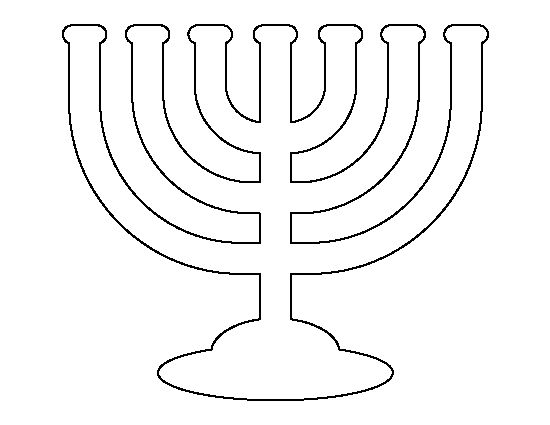
- 4x M2.5 x 10mm
- 4x M2.5 hex nuts
Black Nylon Machine Screw and Stand-off Set – M2.5 Thread
Totaling 380 pieces, this M2.5 Screw Set is a must-have for your workstation. You'll have enough screws, nuts, and hex standoffs to fuel your maker...
3D Printing
This guide was first published on Nov 23, 2021. It was last updated on Nov 23, 2021.
This page (Overview) was last updated on Nov 19, 2022.
Text editor powered by tinymce.
My 3D Printed Marble Machine / Habr
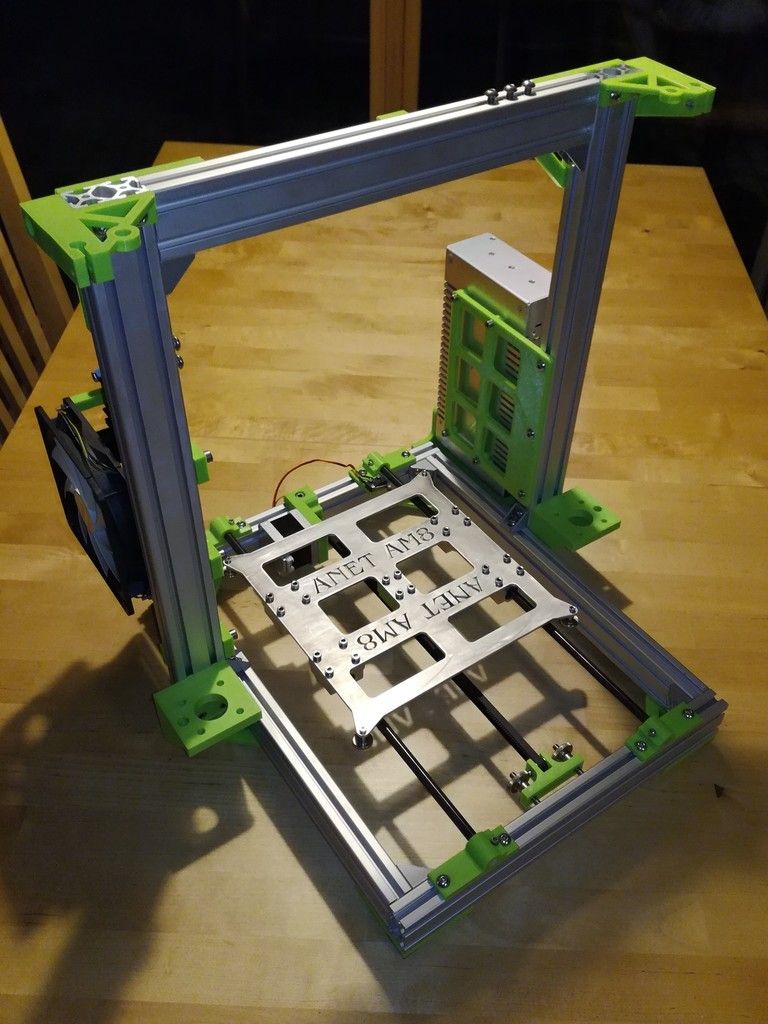
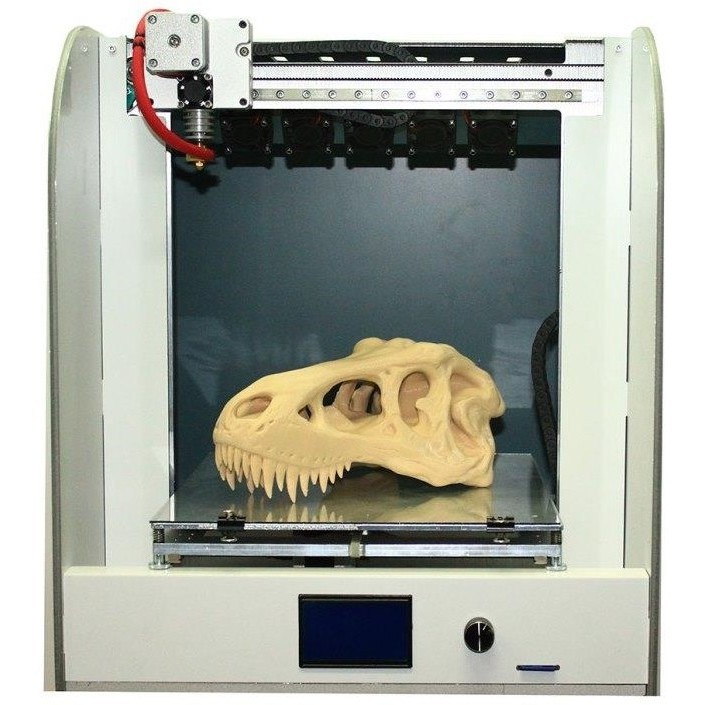
I'm trying to master 3D printing - I got a FLSUN-QQ printer, I installed 3D editors for myself: Fusion 360, Blender, I'm trying Compass 3D. Something works, something doesn't work. This Marble Machine on video is one of my first successful projects. The project, although visually not large, but its implementation required considerable effort from me. I also had to master 3D editors and invent mechanics and set up and debug this device.
Next, I will tell you what parts this machine consists of.
The most important part is, of course, the upward spiral. She had the most problems. I have designed many different types of coils and many versions have been rejected for either aesthetic or technical reasons. Yes, even due to the fact that the promised printing time was too long, I had to give up various ideas ... I wanted to get something airy, beautiful and so that I could print on my printer in a reasonable time.
The final model of the coil looks like this:
The coil installed on the machine:
There were several problems with the coil. First, it was necessary to decide what profile the spiral should have. Several options were considered. The simplest of them can be schematically represented in a section like this:
Here is the thing - in the first version, if the border near the shelf protrudes strongly, then the printer software, and I use Ultimaker Cura, will make me supports that will need to be removed manually, and then if it is poorly cleaned, then they will also prevent the ball from rolling.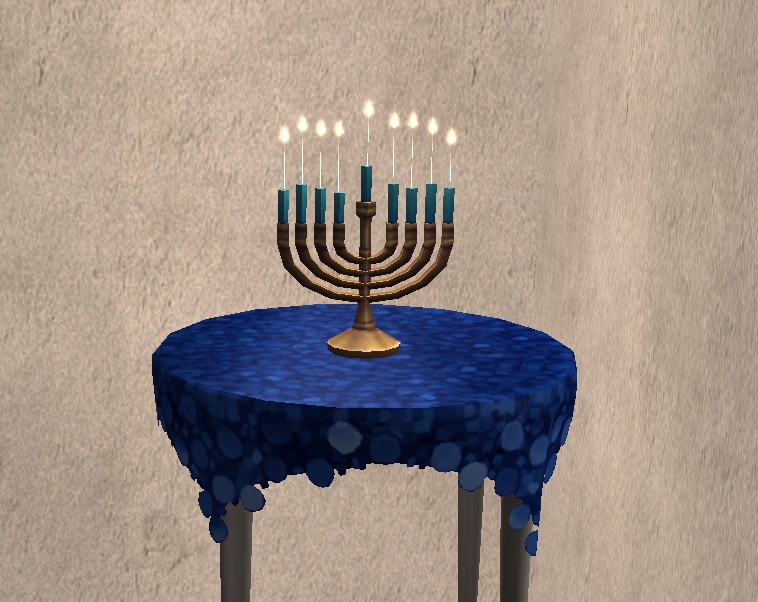 If we take the second option with a thickening shelf, so that the ball seems to roll down to the plane of the spiral, then there will definitely not be any supports, but it is not known how well the ball will be held. I even printed a fragment of such a spiral to see how it would be in real life. But all the same, the third option won, an intermediate one, with a border / curb in the form of a corner. If it is not made very large, then the printer manages to print this without support.
Another problem with the spiral printing was purely manufacturing. I have never been able to print it in its entirety. I'm not sure what the reason is - it is possible that such a figure has too much cooling surface. While the extruder will pass along the entire trajectory, part of the model has probably already cooled down significantly. But these are just my guesses. Moreover, which is strange, at the very table, which is heated, the printing is normal, but the printing rises higher and plastic delaminations appear. At the same time, the printing of small test models occurred without problems. It’s not very pleasant when I started typing and everything seems to be going well for an hour. You leave to print for the whole day (another 13 hours of printing) until you leave for work. You come home, the printing is finished, but it turned out to be a marriage - the model has stratified on the upper layers. I even thought about printing a spiral in sectors, and then gluing it together. However, later I managed to pick up the print modes, temperature and speed, when the print went completely from start to finish with an acceptable result. There were a few toffee hairs left, it would be necessary to clean them all, but then I was a little too lazy.
Another question was how to make the spiral spin. As you can see, a gear goes along the edge of the spiral. To be honest, I didn't really expect it. I thought the main thing was to make teeth on the edge of the spiral, and then somehow give rotation from a toy collector engine with another gear. This idea didn't work for me for several reasons. Firstly, the gears still need to be pre-calculated. Secondly, the idea was almost implemented like this:
But then it turned out that it was not easy to regulate the speed of the collector motor, then, the shaft of the toy motor backlashed quite a lot, and it made an unpleasant noise in operation. In general, this idea was abandoned. I took a 28BYj-48 stepper motor with a motor driver:
Step control made on Verilog in the FPGA board Mars rover:
If anyone is interested in how to program stepper motor control on Verilog, then this is the topic of a separate article. Now the speed can be easily programmed and runs almost silently. Only now it is a pity that when printing a spiral, a significant amount of printing time was spent on printing the gear. I think without it I would have saved 2 hours of printing.
So, the 28BYj-48 stepper motor is installed in a special rack. The rack model I designed looks like this:
In the car, the stand with the engine looks like this:
but at least save a little printing time. Although, what a time saving there is, if you remember that the first version of the rack, which was supposed to be used in the version with a collector motor, was like this:
The problem with this rack is a large play of the spiral shaft. Well, again, as I already wrote, the option with a commutator motor and a gear did not work, so I had to make a new rack for a stepper motor.
It just so happens that I printed almost every detail at least twice. The first option, even if almost a worker had to be rejected often. Here, for example, is the “snake” part:
It would seem that this might not be the case, but it turned out that when the ball descends in a straight line, it accelerates decently and flies out due to centrifugal force. I had the first turn to increase the height of the side. Well, at the same time, when re-printing, I reduced the height of the print layer. Let it print longer and better. Here is the "snake" installed in the car:
The project also required buns for attaching M4 studs:
These buns are attached to the board with double-sided tape - it turned out pretty strong. It's funny that I printed the quadruple buns twice. At first I printed it with black plastic and with a little infill. The model stuck so tightly to the 3D printer table that while tearing it off, it bent a little. And that's all - it does not stand exactly on the table. But it’s good that I reprinted it, it seems to me that combining white and black was a good idea.
Gutters:
Single turn:
Well, a number of minor details. In general, I had to print and reprint a lot. However, I'm glad I completed this project. Perhaps after some time I will be able to expand this Marble Machine, add new lifts and slopes, because there is still room on the board on the right for the next machine.
I was thinking of posting the sources of my models, but then I decided that there was no point in doing so, because each Marble Machine is, first of all, a fantasy of its creator. It is unlikely that anyone will want to repeat everything exactly as it is here. You can do better or just differently.
Towards a brighter future with 3D printed lights
Dutch company Yuugn creates 3D printed lights for office buildings, commercial spaces and schools with a focus on sustainability and environmental friendliness.
Several times a day, we turn on the light with the flick of a switch, regardless of the huge amount of energy consumed by each light bulb.
Yuugn, a subsidiary of the Lichtdivisie brand, designs and manufactures environmentally friendly luminaires to meet every need and specification. Yuugn is a name derived from the Japanese word for "to be one with nature" and the company follows this philosophy with the BCN3D Sigma D25 3D printers, using biodegradable materials to minimize hazardous waste.
“As a company, we feel responsible for the production of environmentally friendly products in order to reduce the environmental pollution that occurs with traditional production methods” . – Louise Cisneros, Yuugn Marketing Manager.
Sustainable production with 3D printing
Three Sigma D25 3D printers are located at Yuugn's headquarters in the Netherlands, used for both prototyping and end-use parts.
Let's look at an example of 3D printed lights:
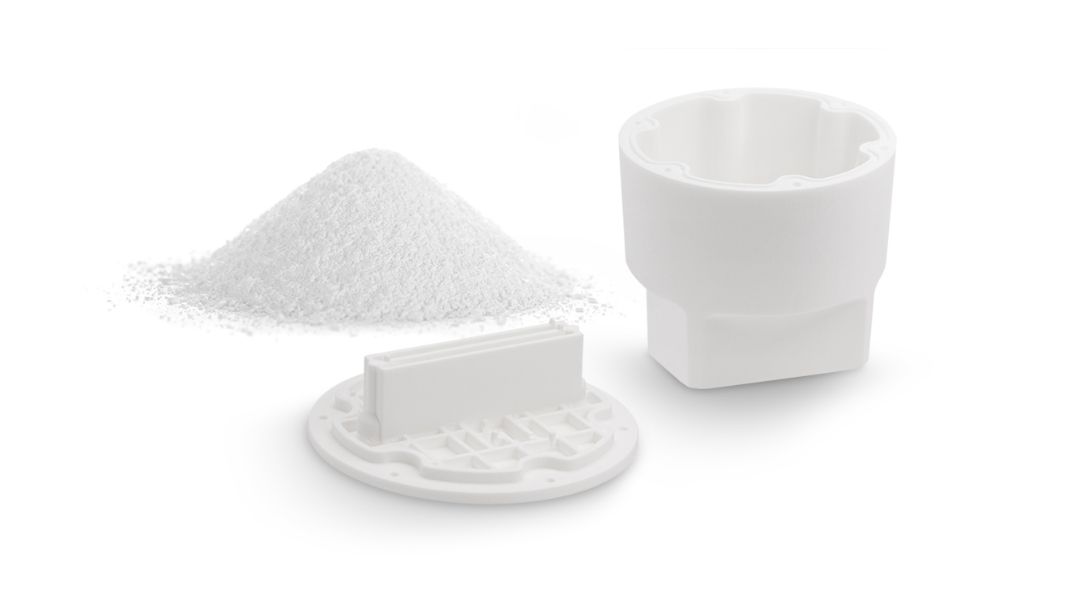
In bright metallic purple, the body of the Downlight swirl luminaire, which is installed in ceilings to direct light downwards. The swirl light ring, which is already a design item, is also 3D printed, and thanks to the really good quality of the finish, it looks impressive. This product uses carbon fiber reinforced biodegradable PLA that is durable and high temperature resistant, two vital considerations in the lighting industry.
The side covers of the ZIP module 60 LED lamp, decorated with the brand logo, were also created for end use using the BCN3D Sigma D25 3D printer. These parts are also printed with PLA using carbon fiber.
Because each product requested by customers is different, customization is key for Yuugn. Going from idea to Stratos software to print gives the team the freedom to be flexible. Through 3D printing, Yuugn provides its customers with products that are fully compatible and tailored to the specific needs of their projects.
How does Yuugn manage to be sustainable in the market?
The ability to 3D print in duplicate was paramount in deciding whether to purchase a manufacturing method that could lower their carbon footprint.
“Duplicate mode gives you two 3D printers for the price of one!” . – Martijn Broekhuis, CEO of Yuugn.
IDEX technology in the Sigma D25 saves time and money by rapidly prototyping the individual products required by each customer, while the local production capability contributes to a more environmentally friendly product.
“I would recommend BCN3D 3D printers to any company that wants to experiment with cleaner production methods.
Learn more