3D printer glass bed glue stick
Glue Stick or Glass Bed - Let's Talk About Bed Adhesion
3D printer users have a long history of fighting bed adhesion problems. That's why we have all these creative solutions: glue stick, glass bed, blue tape, you name it. For starters, we want to give you an overview on what factors play a role in bed adhesion, and how to get them right. We will drill down to each of them in details in the blogs to follow.
The first item on the bed adhesion checklist is the obvious, but most important step: proper bed leveling. This is the #1 step that, unless you are a seasoned veteran (and even then) with a highly reliable automated leveling system like what is found on the Prusa mk3, you simply cannot skip. Without a properly leveled bed, a few things might happen, you may either experience:
- Underextrusion, where your hotend stops extruding filament due to not having the required pressure to extrude against your tightly-pressed bed.
- No adhesion, where your filament is not compressed against the bed and doesn’t adhere at all.
- A combination of the two, where you start off with loosely adhered filament on one corner of the bed, but as the hotend moves to the other corner, your extruder motor starts skipping steps and strips out the filament, and you wake up to some air.
Fortunately, there are several good guides on how to properly level your bed. We here at TSD recommend using the paper leveling trick on all four corners while nozzle and bed are hot. There will be an additional blog post on leveling tips and tricks, which will also include a section on mesh leveling!
The second most common reason for failed bed adhesion is imperfection in the bed surface itself.
When 3D printers were getting their start, one of the most common surfaces was a piece of aluminum, something that current printers still have as one of their base substrates. Aluminum is cheap, light, and easy to manufacture whether you’re stamping, laser cutting, or machining the base. It also has the advantage of being relatively thermally conductive, ensuring a speedy heat-up time.
However, using thin-gage aluminum as your structure (especially in laser cut and stamped varieties) has shown a key weakness, these surfaces tend to be warped and non-planar, especially when heated and subjected to differential cooling. This warping can result in a difference between peaks and valleys of the surface of easily over .5mm, which is a few multiples of common printed layer heights for most desktop printers. This (relatively) massive height difference across the entire bed plane, even when properly leveled at the corners can result in under extrusion and no adhesion, which can significantly hamper surface quality or outright ruin a print by detaching from the bed. Most users have gotten around this problem by using a piece of glass, which is typically flatter to begin with, and deflects significantly less when heated.
The final culprit of poor bed adhesion is the bed surface itself and how the filament bonds to it.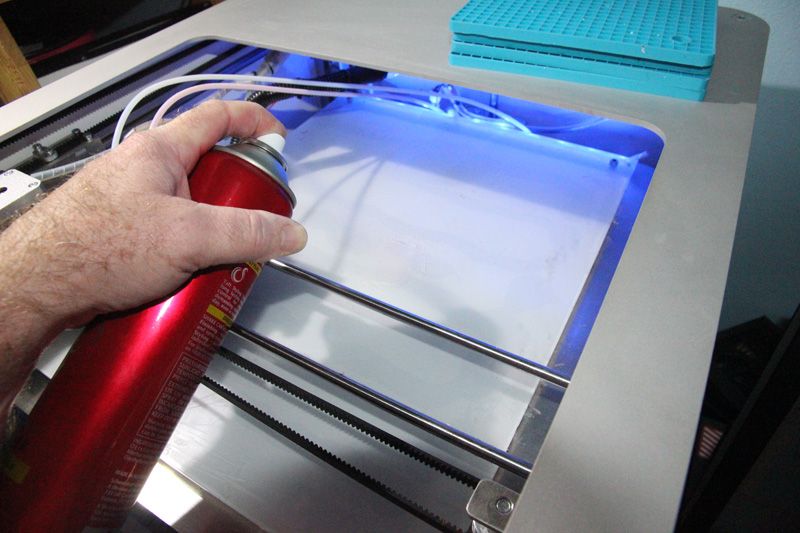 This category is something that’s far less cut and dry, and for most users requires quite a bit of experimentation to get right for their particular equipment and filament combo. Bed preparation has three major categories: bed material, surface coating, and temperature. If one of these isn’t properly configured for the particular printer and filament, the print can become detached from the bed and you’ll have a mess on your hands.
There are a few commonly used bed surface materials on most desktop printers. The most common bed base materials are glass and aluminum. As discussed before, aluminum heats quickly and is also a sturdy and resilient surface if prints get stuck too well. Glass, while very hard and scratch-resistant, is simultaneously fragile and will shatter if not taken care of properly. Borosilicate glass, while much rarer and typically only used in places like ovens or Pyrex, can stand up to repeated thermal cycling and doesn’t break in a similar way to common glass blends.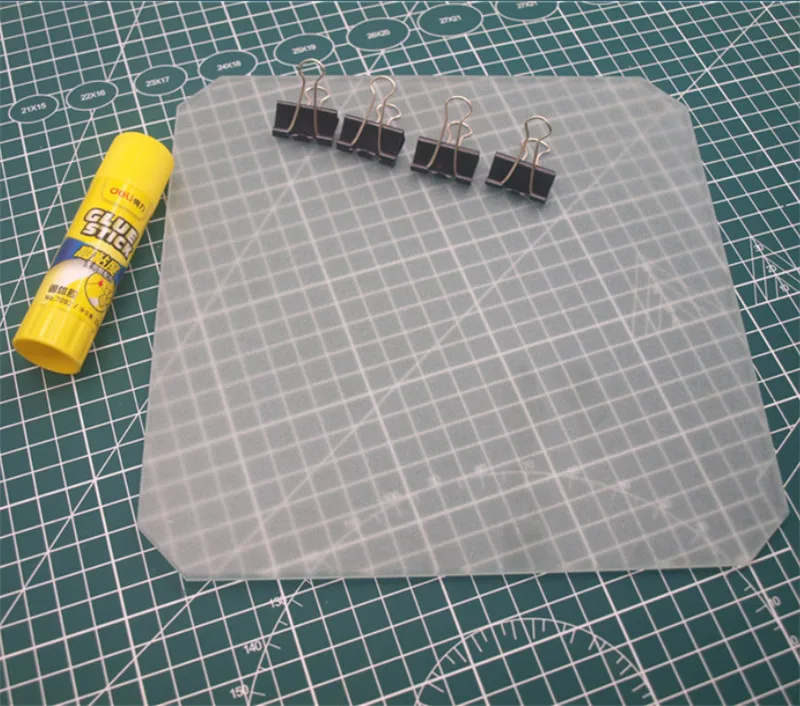 Atop these two super-common bases is a wide variety of permanent or ablative surfaces that aid in adhesion. The most notable of these add-ons are blue painters’ tape, PEI sheets, and surface veneers like Buildtak. We won’t get into the details here, but will be writing a more in-depth look on these surfaces that can be built on.
On top of these surfaces there exists a variety of adhesives, sprays, and cleaners that aim to ensure that your print stays put on your bed. The most common adhesive is also the humblest, a simple stick of Elmers washable glue. On the other end, there are custom mixes like Wolfbite or Magigoo that aim to provide that extra adhesion you need for tricky prints in tricky environments. On the other end of adhesives or additives, is simple bed surface maintenance you can do. Glass and PEI should be cleaned with isopropyl alcohol to ensure the removal of dust and oils from your hands to enable the filament to stick properly.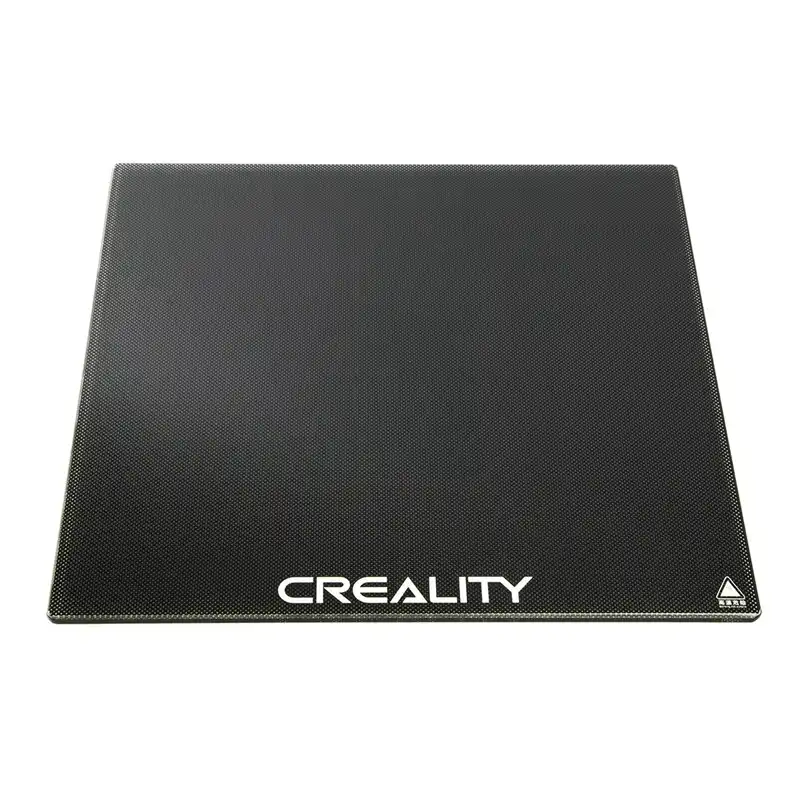 A simple 5 second operation to wipe down your print bed could save quite a bit of time spent wasted on a failed print! (or have TSD watch it for you!)
The final element of bed surface is temperature. Most commonly used recommended bed temperatures are at or close to the TG, or the glass transition temperature of the filament being printed. The reason for this is when the very hot filament is extruded and then cools down and recrystallizes, it will want to shrink. Unfortunately, this means that the outer edges will shrink first, causing the common issue of print warpage. This in some cases will cause the entire print to curl up, get caught on the nozzle, and will break adhesion with the bed.
Common Filament: Temperature combinations are:
- PLA: 60C
- ABS: 100-110C
- PETG: 85C
- Nylon: (100C+) (Blend dependent)
- Polycarbonate: (110C+) (hotter the better!)
Depending on your particular printer and filament, these temperatures may be different by up to 10C.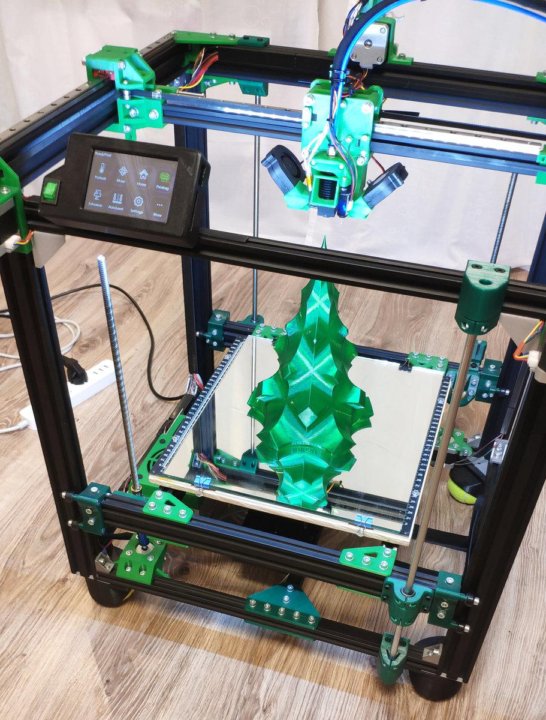
There are quite a few things that can go wrong during the course of a print, but, no matter what the root cause of your bed adhesion issue, you can rest assured that The Spaghetti Detective has your back. We hope that this was a good overview of common bed adhesion issues, and look forwards to expanding on quite a few of these topics in the coming months.
Luke
What are Bed Adhesives in 3D Printing?
One of the issues that people face when 3D printing is getting their prints to stick to the build plate. If a print does not stick to the build plate properly, then it could move during the print process which will cause it to fail.
Manufacturers have, of course, devised remedies for this. Ultimaker 3D printers have a heated build plate for better bed adhesion and reduced warping and curling (the heated plate stops prints from cooling down rapidly, avoiding contraction). Some manufacturers have taken a simpler route, though – MarkForged recommends people use an Elmer’s Glue Stick to create a sticky layer on the build plate.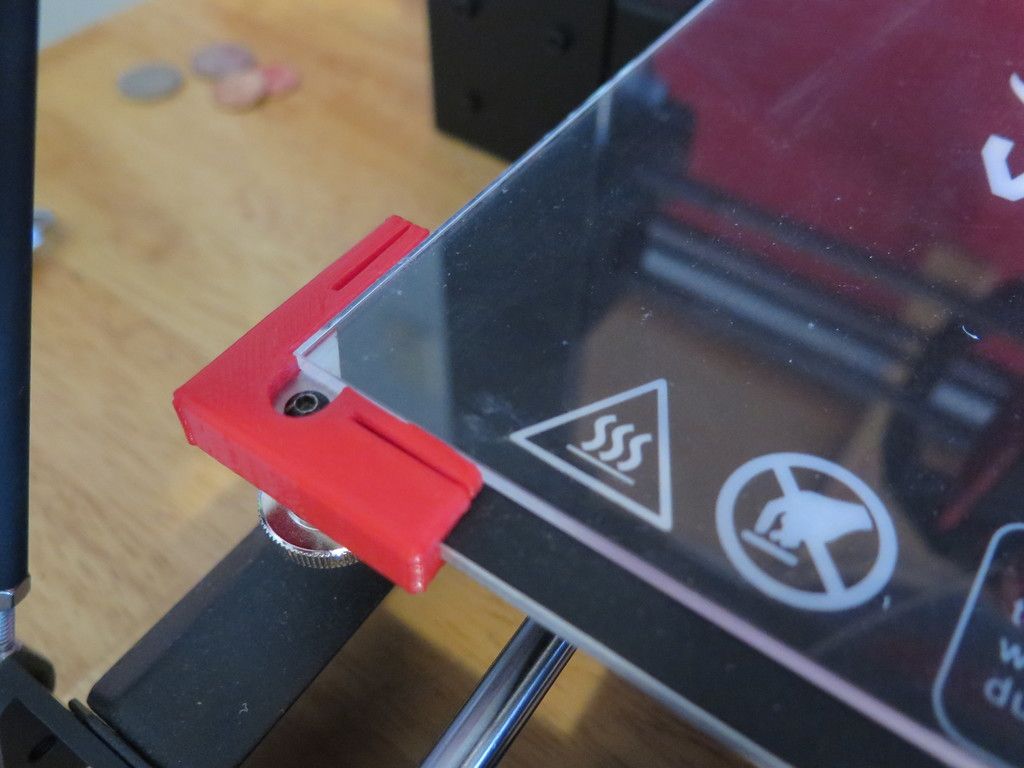
The simple truth of bed adhesives – whether they are cheap glue or expensive tapes – is that all of them have the same aim: to prevent warping, curling, print failure and to reduce waste. It is important to point out though that not all materials require a bed adhesive to stick to the build plate. PLA, for instance, adheres well to a heated build plate without adhesive. However, when glue or tape is used, the risk of warping and curling is reduced considerably.
How do bed adhesives work?
Simply put, bed adhesives work by forming a stickier layer for prints to adhere to. In the case of heated build plates (which are necessary for printing materials with a higher melting point than PLA), hard materials like ABS and CPE can warp even with support structures. The reason for this is the smooth glass plate with the introduction of heat; the print material sometimes doesn’t cool quickly enough to be strong. By introducing a layer of glue, print-bed adhesion is improved, and the glue also acts as a layer of protection for the glass.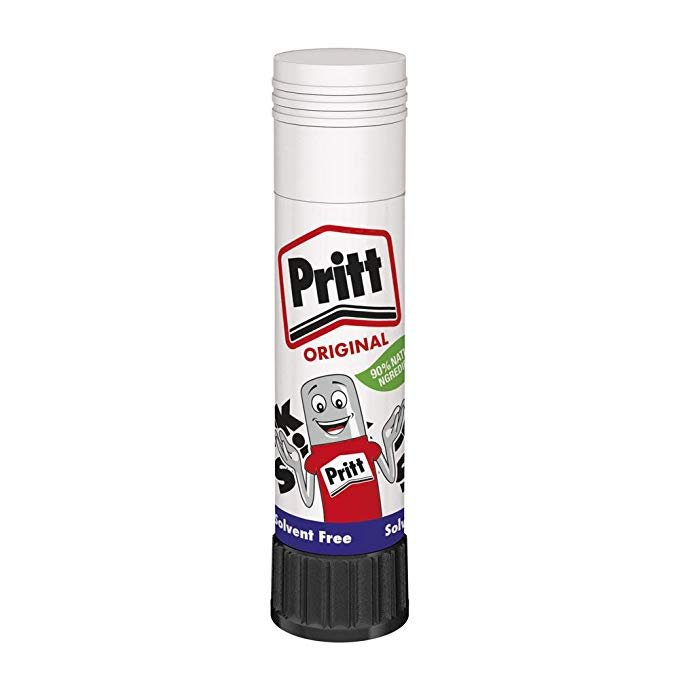
Adhesives also eliminate the risk of print movement. If a print moves just a little during the print process, then it will fail. We regularly receive questions from people asking why their prints keep failing, and it is more often than not because they aren’t using an adhesive on their build plate.
Are there alternatives to external adhesives?
It is possible to print a ‘brim’ with your print, which is a thin platform around your print that helps ensure successful adhesion. These work because your part or model will be printed on a layer of filament, rather than directly on the build plate itself. Cura, Ultimaker’s software, allows you to create a brim quickly and the brim itself can simply be cut away afterwards. However, even with a brim, we still recommend using a bed adhesive to protect the build plate.
What are the best adhesives?
We are of the belief that what works best for manufacturers and the 3D printing community will work best for you.
So, here’s a list of products and who uses them:
Elmer’s Disappearing Purple Glue Stick – Recommended by MarkForged and other brands
Cheap and effective, Elmer’s Disappearing Purple Glue Stick is used by pros and hobbyists alike to improve print bed adhesion.
UHU stic- Recommended by the 3D printing community
If you can’t get hold of an Elmer’s sick, the UHU stic is the next best thing. It works just as well, and like Elmer’s stick, it can be used with PVA support material.
Makerbot Build Plate Tape – Recommended by Makerbot.
Makerbot’s Build Plate Tape is designed for Makerbot printers, but it can be used with any printer. The textured surface improves adhesion and lasts for several prints.
Blue Painter’s Tape – Recommended by 3D Platform
If you don’t want to use glue, the textured surface of blue painter’s tape lends itself well to bed adhesion. It can be used with PLA, ABS and high-temp thermoplastics.
Essentium’s 3D Printing Bed Adhesive – recommended by Essentium
Essentium 3D Printing Bed Adhesive is for printing nylon filaments. It works with nylon filament and other high-temp materials, formulated to reduce contraction.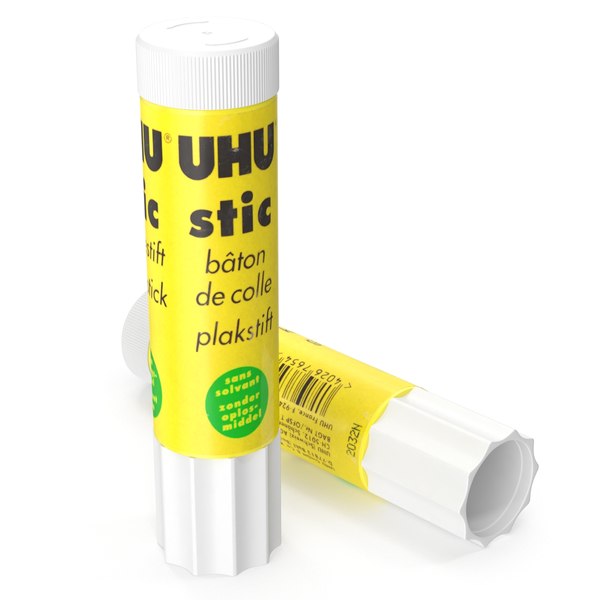
Out of the above adhesives, we have had excellent results with Elmer’s Disappearing Purple Glue Stick, the UHU stic, and blue painter’s tape. Blue painter’s tape can be picked up at any hardware store, or even your local supermarket. It can be pulled away from a glass build plate easily, without leaving any residue behind, and the grippy surface is ideal for ABS and CPE. Glue sticks are another excellent option, and they don’t cost very much either.
Just be careful with what glue sticks you use. Elmer’s Disappearing Purple Glue Stick and the UHU stic are tried, tested and proven. We tried the Original Pritt Glue Stick but didn’t get good results and this sentiment is echoed by most people who’ve tried it.
Also, remember to calibrate your build plate periodically. Today, most 3D printers will do this for you, but you will need to calibrate manually if you have manual levelling. Having a level build plate is crucial for good bed adhesion, print quality and reliability.
And again about adhesion.
 .. (glue sticks part 2)
 3D printing
here: http://3dtoday.ru/blogs/mister-magomedov80-yandex-ru/adhesion-kalyakaexperience123/
This site has written a lot of articles about adhesion agents for 3D printing. I would also like to contribute my little bit, in connection with which I purchased several different samples of glue sticks (more precisely, all the samples that I could find on sale).
I want to clarify that the tests are carried out on a ZAV printer, in a heat chamber, with ABS 'Prostoplast' plastic, at a temperature of 230/95.
The first sample is 'ErichKrause' pencil glue (the most common glue is a pencil in all stationery stores), which, upon arrival at home, was the very first smeared in two layers on a clean, washed 4-mm mirror.
A model of a classic spinner was sent to print, which was already on a flash drive. The first layer went perfectly, the part did not come off, even in the absence of a skirt. Given that the area of adhesion of the print to the mirror was minimal.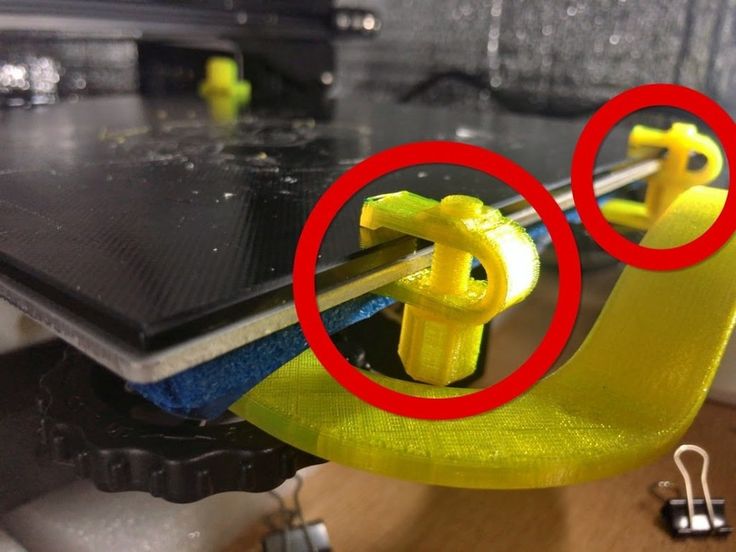 .. the glue stick did the job!
I am very satisfied with the initial print using this sample. The second print of the same model, in the same place was successful! The part didn't come off!
Next, for test printing, I chose the model http://www.thingiverse.com/thing:802145 the so-called 'gyroscope'.
'Gyroscope'
Let's move on to the next test participant. Sample #2 is a strange triangular shaped glue called 'De Vente'. Glue of lilac color with an unpleasant smell. Applied to the mirror in two layers, the first print went well. The second print in the same place came out just as well. Fingerprints are removed from the mirror without difficulty. This adhesive is usable.
Sample #2.
Sample #3 'Silwerhof' glue stick This glue sample is based on PVP. Glue is applied easily to the mirror. The plastic adhered perfectly on the first print and also stuck on the second print without any problems. The prints come off the mirror with difficulty.
sample no. 3.
sample no. 4 glue stick 'A+'. This glue is designed for gluing paper, cardboard and fabric. The glue is applied to the mirror with difficulty and sticks strongly. In this connection, it was applied in one layer. The adhesion of this sample is weak, the plastic does not stick well even at the first printing (although for some reason I had hopes for it :)). Glue in the trash!
Sample No. 4.
Printing result with sample No. 4.
Sample No. 5 'ErichKrause Joy' glue stick, which was also hoped for, did not fit for printing at all, the plastic did not stick at all. Summary: in the trash!
sample no. 5.
sample no. 6 'Hatber' glue stick applied easily, first print and second print went well.
swatch no. 6.
swatch no. 7 'De Vente' gel adhesive stick, colorless, pleasant smelling, applied with great difficulty and in a thick layer, therefore, it was applied in one layer. However, this did not prevent the plastic from sticking to the surface perfectly, on the first print and the second! This glue remains as a 'helper';)).
Sample no. 7.
left side of mirror smeared with sample no. 6, right side with sample no. 7.
sample no. . The part comes off with difficulty. This glue goes to 'helpers'.
Sample No. 8.
Sample No. 9 PVP-based glue stick 'Alingar', I was not satisfied with this glue, the first print was unsuccessful, I didn't even start the second one.
Sample No. 9.
And the last one....
glue stick 'Tukzar' apparently Turkish) is not suitable for printing, throw it away!
Good luck everyone! Thank you for your attention).
Subscribe to the author
Subscribe
Don't want
38
Overview of glue sticks and adhesion varnishes for beginners
Hello, dear readers of the portal 3d today.
For a long time I wanted to write an article about those means for plastic adhesion that I tried myself. The materials I chose were glue sticks and hairsprays, because.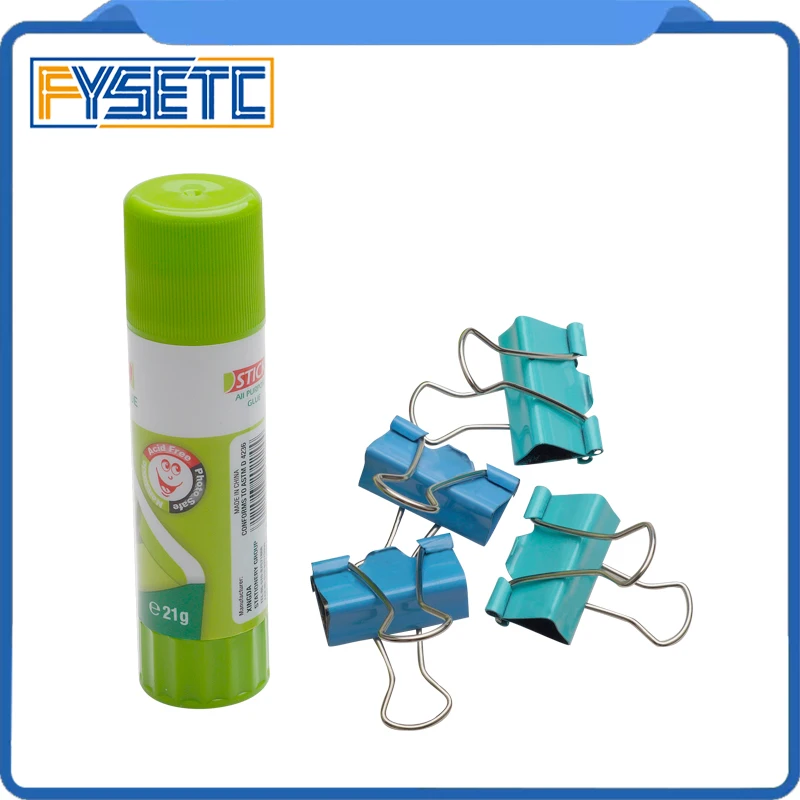 they are the easiest and most enjoyable to use. The article was rather published for beginners to look for their own remedy, so there are no revelations here.
1) Gingko glue stick "Work-Home-Office-Creativity" from "Uncle Liao" from China.
The worst I've ever seen on the road to good adhesion. It dries quickly, everything peels off and bends, you need to smear it with enough oil to have at least some effect.
Pluses:
- forms a continuous film after several applications;
- quite common (at least in the Tula region).
Cons:
- poor adhesion, and that says it all.
Subjective assessment: 2/10.
2) Erich Krause glue stick, originally from sunny Russia.
Definitely a skill to work with, parts often come off the table.
Pros:
- available almost everywhere.
Cons:
- mediocre adhesion.
Subjective assessment: 4/10.
3) Mega fixation hairspray "Taft three weather" from Schwarzkopf Professional.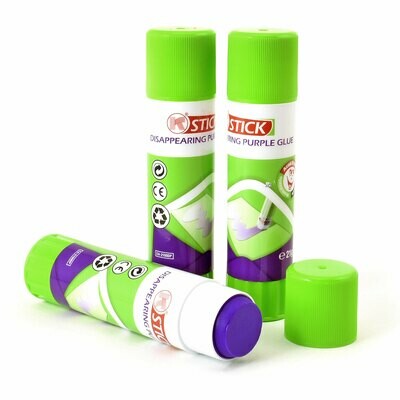
Slightly better than the previous sample, but not much.
Pros:
- not pronounced.
Cons:
- very afraid of drafts when printing with ABS plastic.
Subjective assessment: 5/10.
4) Extra strong hairspray Delight from Russia. Sold in various wholesale stores and Magnet.
Pros:
- the price is 50 rubles. For a huge balloon that will last forever.
Minuses:
- with a little effort, even a hot table is torn off, but it is suitable for printing with certain reservations.
Subjective rating: 6/10.
5) Oriflame "More" Swedish hairspray.
I got it quite by accident. It glues well, although sometimes the skirt starts to peel off very slowly, but if the print is less than 5 hours, then it's okay.
Pros:
- compact;
- very sticky and slow drying. After finishing in the evening, you can print on the old varnish pass in the morning.
Cons:
- slightly sticky surface of the part after peeling off the table;
- now it is quite difficult to get it.
Subjective rating: 7/10.
6) Nelly Spanish strong hold varnish.
Was very widely known in narrow circles of 3D printers.
Pros:
- strong adhesion;
- compact size unlike other varnishes.
Cons:
- strong adhesion, oddly enough. The students, having gone too far with varnish, tore off the cold part along with pieces of glass.
is the biggest minus. This varnish is no longer produced. Therefore, it can only be bought from old stocks.
Subjective assessment: 8/10.
7) Magic glue stick "Kalyaka-malyaka".
Here's our purple favorite. Many recommend it, and, as it turned out, for good reason. There are no problems at all. It was possible to glue medium-sized parts without a skirt at all with an open ABS plastic table.