3D printer connectors
Quality connectors from great brands for your 3D printer
Quality connectors from great brands for your 3D printerSearch
Cables, Wires & Connectors
Sort By: Featured ItemsNewest ItemsBest SellingA to ZZ to ABy ReviewPrice: AscendingPrice: Descending
Products Per Page: 812162040100
Columns: 1 2 3 4 6
-
Add to Cart
Cable - Stepper Motor to PC2510 | Bondtech
Bondtech
Now: $3.99
Bondtech PC2510 to JST-XH6 Cable PC2510 4-pin connector to JST-XH6 6-pin connector. This cable is by default wired for the Bondtech 40mm geared Nema17 motor.
Please make sure that it follows the schematics for your application. Controller side ...
-
Add to Cart
Cable - Stepper Motor to Dupont | Bondtech
Bondtech
Now: $3.49
Bondtech Dupont Cable Dupont cable 4-pin connector to 6-pin connector. This cable is by default wired for the Bondtech 40mm geared Nema17 motor. Please make sure that it follows the schematics for your application. Controller Side ...
-
Add to Cart
Cable - Stepper Motor to Dupont 4 Pin (No Latch) | 1 Meter
PB Select™
Now: $3.99
Extension Cable, Stepper Motor to Dupont 4 (No Latch). Approximately 1 meter long Nema 17 stepper motor 6-pin connector to Dupont 4-pin connector.
 The default wiring for this extension cable is listed below. You may need to switch the...
 -
Add to Cart
Cable - Stepper Motor to Dupont 4 Pin (No Latch) | 2 Meter
PB Select™
Now: $4.99
Extension Cable, Stepper Motor to Dupont 4 (No Latch). Approximately 1 meter long Nema 17 stepper motor 6-pin connector to Dupont 4-pin connector. The default wiring for this extension cable is listed below. You may need to switch the...
-
Add to Cart
Cable - Stepper Motor to Dupont w/Latch | Bondtech
Bondtech
Now: $3.99
Bondtech Stepper Motor Cable Length: 0.7 meter Connectors: 4-pin Dupont with lock to JST-XH6 6 pin.
 This cable is by default wired for the Bondtech 40 mm geared Nema17 motor.
Please make sure that it follows the schematics for your application...
 -
Add to Cart
Cable - Stepper Motor to JST-Xh5 | Bondtech
Bondtech
Now: $2.99
Bondtech JST-Xh5 Cable JST-Xh5 4-pin connector to JST-XH6 6-pin connector. This cable is by default wired for the Bondtech 40mm geared Nema17 motor. Please make sure that it follows the schematics for your application. Controller side ...
-
Add to Cart
Cable - Stepper Motor to Xh3.54 - 4 pin | 1 Meter
PB Select™
Now: $3.99
Extension Cable, Stepper Motor to Xh3.
 54 4 Pin
Approximately 1 meter long
Nema 17 stepper motor 6-pin connector to Xh3.54 4-pin connector
The default wiring for this extension cable is listed below. You may need to switch the pins around...
 -
Add to Cart
Cable - Stepper Motor to Xh3.54 - 4 pin | 2 meter
PB Select™
Now: $4.99
Extension Cable, Stepper Motor to Xh3.54 4 Pin Approximately 2 meter long Nema 17 stepper motor 6-pin connector to Xh3.54 4-pin connector The default wiring for this extension cable is listed below. You may need to switch the pins around...
-
Add to Cart
Cable for Fan or Thermistor | Slice Engineering
Slice Engineering
Now: $2.
 99
99Slice Engineering Extension Cable for Fan or Thermistor Specs:1 meter longGenuine Molex Micro-Fit 3.0 connector
-
Add to Cart
Cable for Stepper Motor (Dupont with Latch) 1 Meter
PB Select™
Now: $3.99
Stepper Motor Cable with Latch Length: 1 meter Connectors: 4-pin Dupont w/latch to JST-XH6 6 pin. This is a universal cable. Depending on your setup you may need to relocate the pins in the connector housing Controller Side Motor...
-
Add to Cart
DC Power Cable with 5.5mm x 2.1mm Male Barrel Plug
Other
Now: $3.99
DC Power Cable with 5.5mm x 2.1mm Male Barrel Plug Specs Max current: 3A Red Connector: Center Pole Black Connector: Outer Pole Material: PVC Barrel Plug Size: 5.
 5 x 2.1mm
Wire Length:100cm/39''(approx)
-
Add to Cart
Extension Cable for Creality CR10S Direct Drive on S4/S5 | Bondtech
Bondtech
Now: $19.95
Extension Cable for Bondtech DDS on Creality CR10S Extension cable to use the Bondtech Creality CR10S Direct Drive Extruder on the S4 and S5 models. This will extend the existing cables 40 cm...
How to Crimp JST Connectors for 3D Printers
When I first started down the rabbit hole of 3D Printer upgrades, one of my earliest projects was installing a V6 hotend on the Anet A8. It came with a small, 30mm cooling fan and plenty of wiring length was included, but it didn’t have a plug for the board. This conundrum introduced me to the art of crimping my own JST Connectors.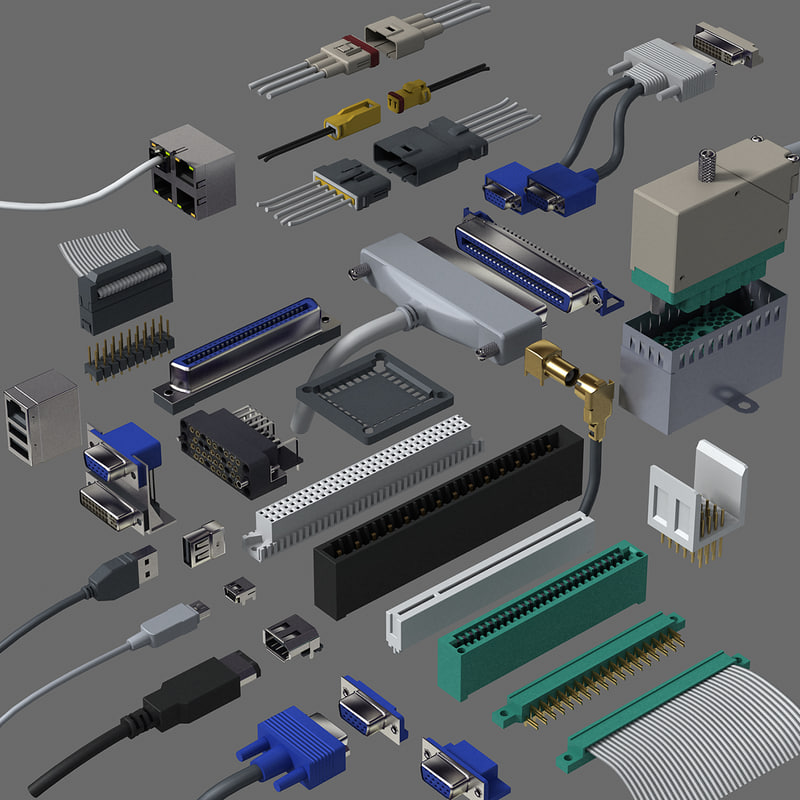
Sure, there were perhaps better options on the table that would cost less upfront. I could just splice the new fan to the original fan’s wiring, or solder the wires to the board, but I prefer to keep my setup clean and professional.
After some Google research, it turned out almost every 3D Printer board uses JST Connectors, the XH series to be exact. Better yet, they are easy enough to make on demand. For a one off weekend project, this probably isn’t worth the expense of parts and tools. But for hobbyists doing frequent upgrades or those running home based printer farms, we can certainly benefit from crimping our own JST connectors as needed.
Purchase Parts
720 PCS JST-XHP Connector Kit - $10.99
22 AWG Stranded Wire - $14.99
Tools (Optional)
Wire Stripper Tool - $4.95
SN-01BM Ratchet Crimper Tool - $22.29
What are JST Connectors?
JST Connectors (Japanese Solderless Terminal) are an extensive family of electrical connectors, often used in hobbyist and consumer products.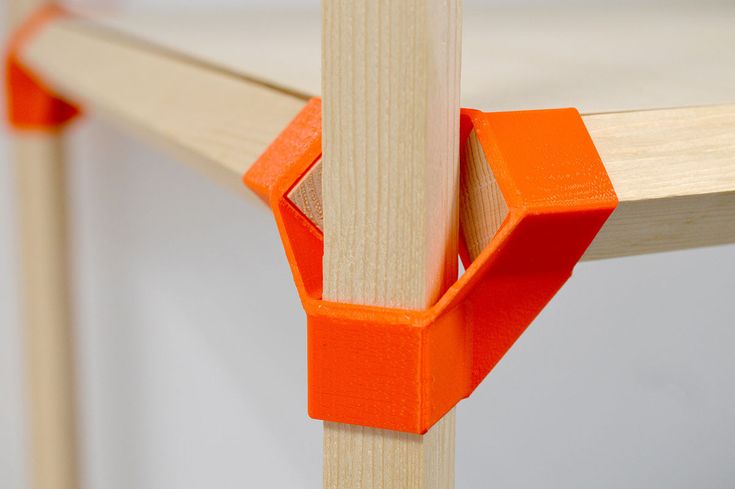 There are about 500 different types, and they are found in battery packs, RC electronics and in our case, 3D Printer circuit boards.
The most confusing aspect is their naming conventions, which have a range of suffixes like SH, VH and XH just to name a few. Each type has a different shape and spacing between pins, but they are also designed for use with different applications, intended for a specific wiring gauge, current and voltage.
It’s not important for this guide, just something to be aware of. For 3D Printers, we almost exclusively use the JST-XH style connectors with a 2.54mm pin spacing.
JST-XH Connectors
The XH series of JST Connectors are a small, versatile crimp style connector that is rated for use up to 3 Amps on 22 AWG wiring. They are specifically made for wire to board connections, found on our cooling fans, stepper motors, endstops and so on.
This particular type is visually distinguished by (2) arrow looking prongs on the backside, which help secure it when plugged in. That helps maintain a good electrical connection during use, without any concern of loose plugs falling out.
Crimping JST Connectors
The process of making JST Connectors can ultimately be broken down in to 3 simple steps… strip, crimp and connect. We prepare the wiring, crimp on a terminal and insert it into the plug.
When using the correct tools, it will take about 30 seconds per wire and most 3D Printer connectors are either 2 or 3 pins. Without the recommended tools, we can still crimp the JST connector terminals in Step 2, but the experience will be a lot less pleasant and far more tedious.
1. Strip the Wire
If you’ve ever worked with wiring before, you’re probably already familiar with how to strip it. For those doing this for the first time, we’ll take a brief look at how to do it.
Since our wiring is insulated, we need to strip a bit off the end to expose the metal strands inside. These will be crimped inside of the JST connector, and when plugged in to the board, the metal to metal contact makes an electrical connection, providing power, ground or signal.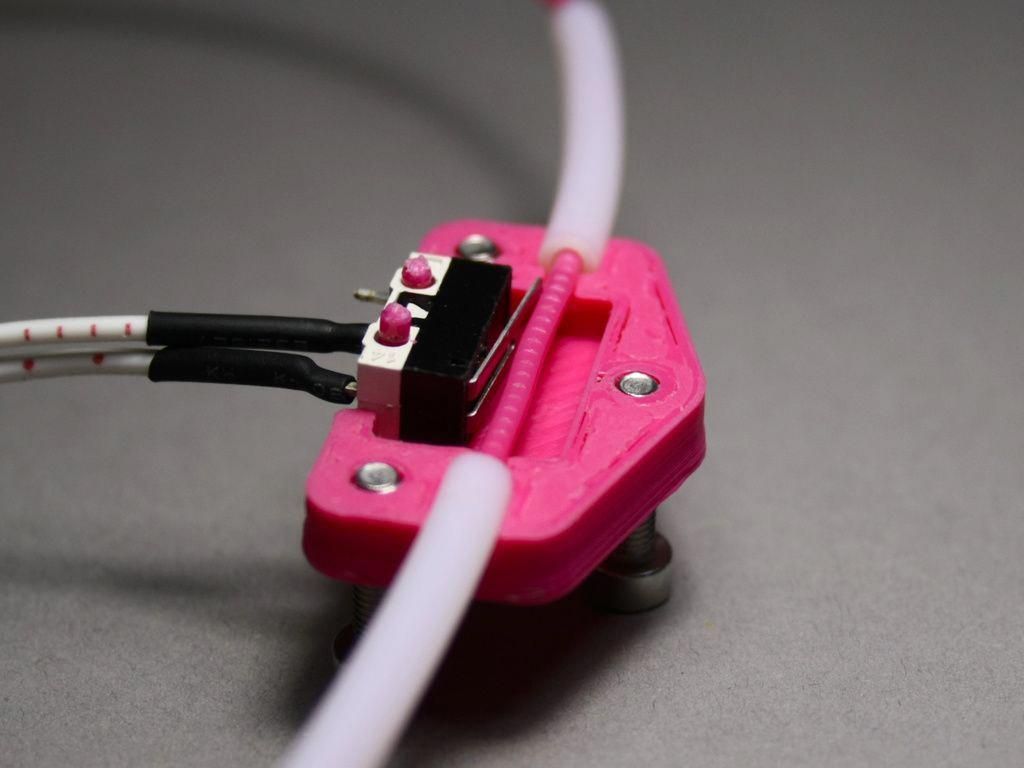
Using the wire strippers, insert about 3mm of wire in the teeth marked 22 AWG. Squeeze the handle grips together and then twist back and fourth, which helps cut through the insulation material. Pull back on the wire and this should strip away the coating, leaving you with bare wire strands to use.
2. Crimp Terminals
JST Connectors use a small metal crimp terminal for stranded wire, with 2 sets of wings that wrap around and grip it in place. When you buy a JST Connector Kit, these come as strips, designed to feed in to an industrial machine. For DIY purposes, we will just snap them off and crimp by hand.
When I first started out, I was using needle nose pliers to bend each wing in to place. In theory it’s doable, I even managed to make a few decent ones, but the sheer frustration of trying to fold tiny metal prongs around small AWG wiring left me beyond frustrated.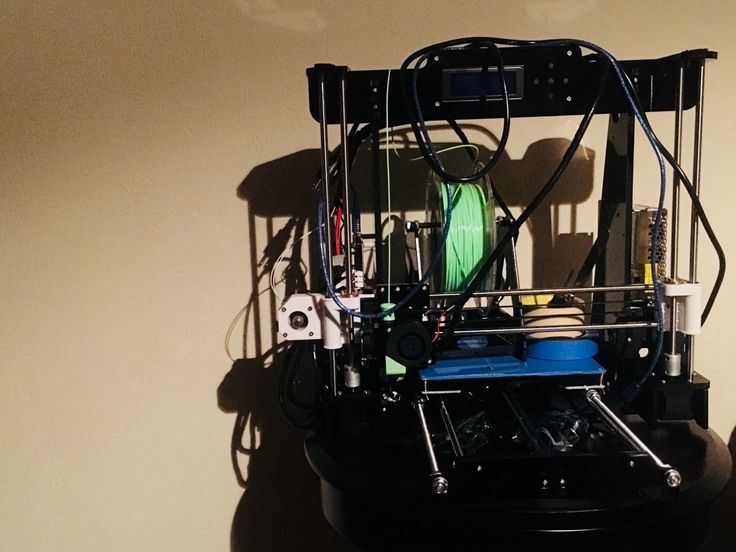 This is one of those situations where it’s absolutely worth it to use the right tool for the job.
The SN-01BM Ratcher Crimper does take a few minutes to get the hang of, but it’s dead simple to use and makes the crimping process a breeze. Rather than individually folding the large set of wings around the insulation, and the smaller wings around the wire, it bends both for us in one quick move.
First, we’ll start by placing the metal Crimp Terminal in between the outer most teeth, wings facing upwards. Squeeze the handles together until it clicks in to the first position, which should loosely hold it in place for us.
The IWISS SN-01BM tool has 6 lock settings that click each time it changes position.
Before we continue, it’s a good idea to re-position the terminal, where the back (wing side) should sit flush with the tool’s metal teeth. We don’t want to crush the connector’s end, which should be sticking out the other side with a small bit of clearance.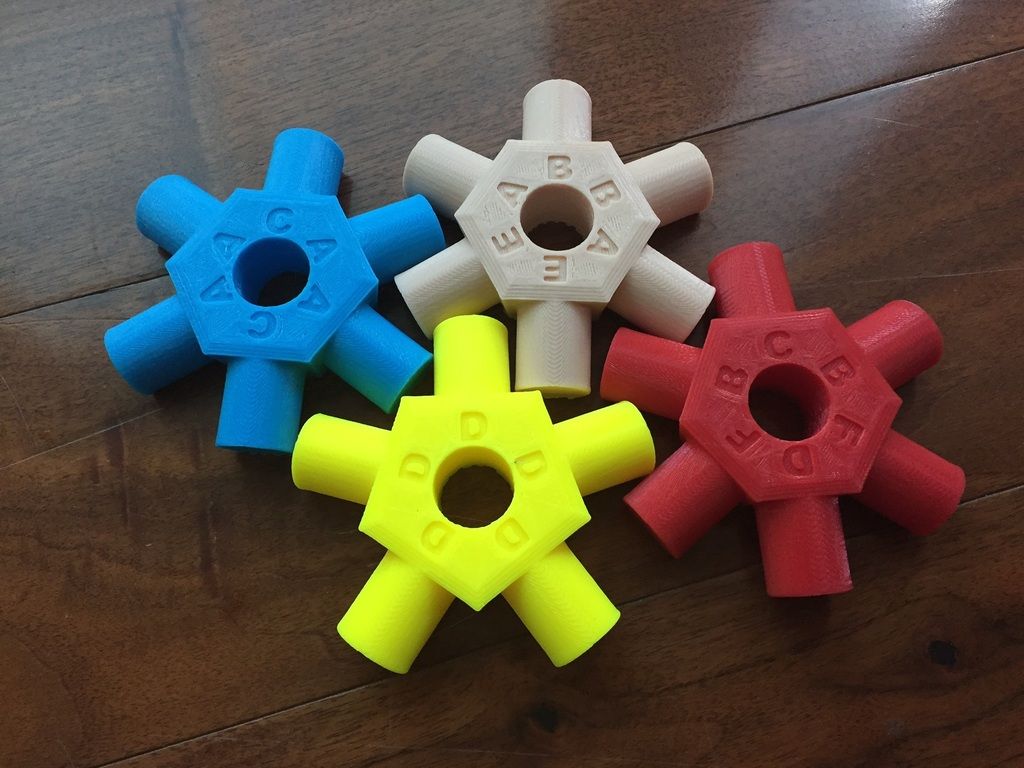 Once the terminal is lined up correctly, clamp it down two more notches to hold it.
At this point, we can go ahead and insert the stranded 22 AWG wire in the opening, making sure it’s firmly seated. When you’re satisfied, squeeze the handle grips together until it has fully compressed, then release and pull out the new crimped wire.
If everything was done correctly, the larger bottom wings should be wrapped around the insulation and the smaller wings should be folded over the wire. It doesn’t have to be absolutely perfect, but definitely try and get it as close as possible. Worst case, just snip it off and try again!
3. Connect Plugs
With our wiring crimped and ready to use, all we have left to do now is insert it into the JST connector plug.
Now, the back of our Crimp Terminal has a flared metal wing sticking out, this is what holds it in the JST Connector housing. The white female connector shell has slot openings on one side, and when inserted, the wing pops through and locks the wire in position.
Make sure to line up that flared wing with the slot, then go ahead and push it inside. As long as the Crimp Connector shape wasn’t damaged in the previous step, it should slide right in and sit securely in place. Gently tug on the wire to check that it’s snug, then repeat the process until your JST Connectors are finished.
Adjusting Wire Position
Perhaps you made a JST Connector and put the wires in backwards, or maybe you bought an aftermarket product and the polarity is wrong.
Good news, it only takes a few seconds to swap these around and fix the issue. That flared wing design on the back of the metal Crimp Connectors isn’t a permanent design, it’s just as easy to remove as it was to install.
Using a pen, flat head screw driver or whatever else is laying around, press the wing down in to connector’s slot while gently pulling out on the wire. As soon as the flared bit can clear the plastic housing, it will just slide ride out. This can be done as many times as needed to make sure the wiring matches the board plug.
Welcome to NIOZ.RU
Sort by
Product Name +/-
Product Price
Featured Products
Product Availability
Showing 1 - 60 of 662
153060150
Products
3D Scanner Ciclop
RUB 8500.00
Notify me when available
Product description
400 ml
RUB 1940.00
Product description
RUB 390.00
Product description
350 ml
RUB 850.00
Product description
Ready to print
RUB 23700.00
Item description
Ready to print out of the box
RUB 14500.00
Notify me when available
Product description
Print Ready
RUB 19900. 00
00
Product description
Print ready
RUB 20900.00
Notify me when available
Product description
Ready to print
RUB 23900.00
Item description
Ready to print out of the box
RUB 43500.00
Item description
Ready to print
RUB 39000.00
Product description
LCD 0.7/1.75 mm
RUB 1550.00
Notify me when available
Product description
OLED, 0.6/1.75mm, USB
RUB 2150.00
Notify me when available
Product description
RUB 650.00
Product description
Wiznet W5100 Arduino Shield
RUB 650.00
Notify me when available
Product description
RUB 550.00
Product description
Assembly kit
RUB 2500.00
Notify me when available
Product description
Volume: 1 l.
RUB 3100.00
Product description
Boscam 200mW, 5. 8GHz
8GHz
RUB 4550.00
Product description
Chimera, e3d
RUB 1700.00
Product description
Print head 1.75mm 0.4mm
RUB 1100.00
Product description
Double printhead 1.75mm 0.4mm
2500.00 RUB
Notify me when available
Product description
Long
RUB 750.00
Product Description
Short
RUB 700.00
Item description
RUB 100.00
Notify me when available
Product description
LERDGE 2IN1
Call for Quote
Notify me when available
Product description
Call for a quote
Notify when available
Product description
Quantity: 1 set Weight: 10 g
RUB 100.00
RUB 1900.00
Notify me when available
Product description
APM2.6 mavlink
RUB 1350.00
Product description
ESP8266 is a highly integrated
chip RUB 650. 00
00
Product description
RUB 250.00
Product description
Call for a quote
Notify me when available
Product description
11.1V, 20C
RUB 1900.00
Item description
11.1V, 25C
RUB 1250.00
Notify me when available
Product description
11.1V, 25C
RUB 2100.00
Product description
Heat block v6
RUB 150.00
Item description
cartridge type thermistor
Heat block Volcano
Output parameters: 24 V, 600 W.
RUB 3300.00
Product description
12V 20A
RUB 1550.00
Product description
12V 30A
RUB 1950.00
Notify me when available
Product description
12V 5A
RUB 450.00
Notify me when available
Product description
24V 15A
RUB 2100.00
Notify me when available
Product description
RUB 250. 00
00
Product description
Hobbed bolt
RUB 150.00
Item description
Price per 10mm (free cutting)
RUB 13.00
Product description
Price per 10mm (free cutting)
RUB 17.00
Product description
Section 400mm
RUB 650.00
Product description
Price per 10mm (free cutting)
RUB 25.00
Product description
10mm (cut to size)
RUB 70.00
Item description
10mm (cut to size)
RUB 90.00
Item description
Price per 10mm (free cutting)
RUB 7.00
Product description
Price per 10mm (free cutting)
RUB 10.00
Item description
Section 400mm
RUB 400.00
Product description
2x400mm, 2x350mm, 2x325mm
RUB 2100.00
Product description
2x420mm, 2x405mm, 2x350mm, 1x20mm
RUB 2200.00
Product description
25x25x10mm
RUB 150. 00
00
Product description
25x25x10mm
RUB 150.00
Product description
30x30x10mm
RUB 150.00
Product description
Useful articles and examples of 3D scanning
Partners
Technology: scanning, reverse engineering
Location: RangeVision 9 laboratory0013 Equipment: 3D scanner RangeVision PRO 5M
Software: ScanCenter, ScanMerge, CAD and GOM Inspect Free.
Time costs: scanning - 8 hours, scan processing - 4 hours, reverse engineering - 16 hours,
collection check - 2 hours, printing time 3 hours. 52m.
Auto electricians often have difficulty replacing electronic connectors that have broken during dismantling. It is not always possible to purchase new ones - obsolete samples are discontinued. The use of 3D scanning, reverse engineering and additive technologies allows you to recreate the original CAD model and print an analogue.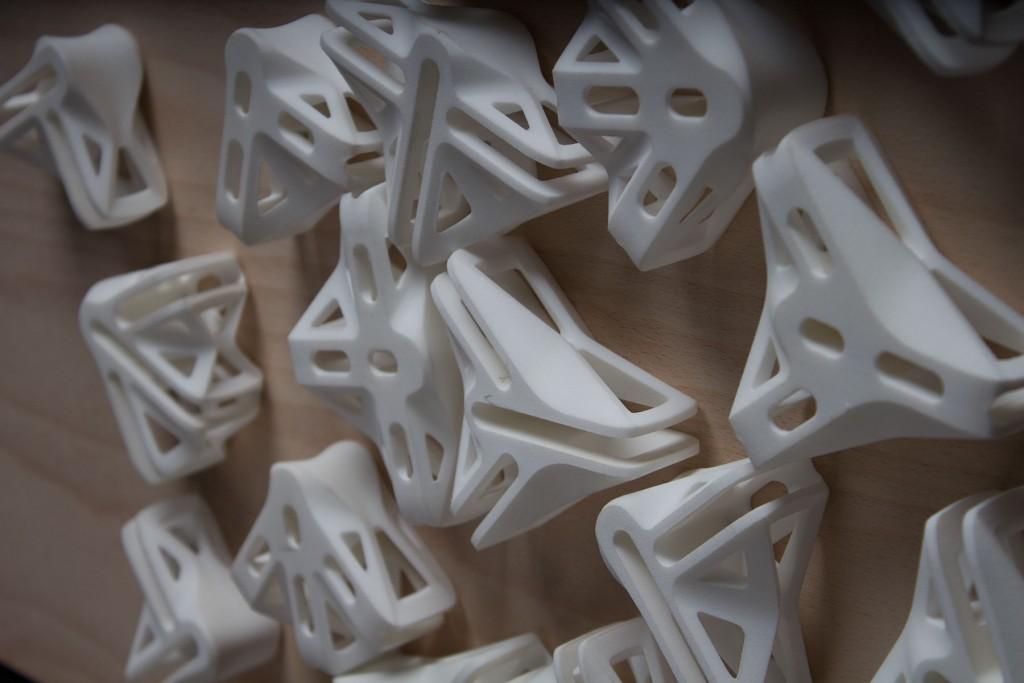
ABS plastic, from which connectors for electronic devices are mass-produced, is similar in its properties to photopolymer - a material for 3d printing. Therefore, the company "Technologies in Volume" offered its customer, who is engaged in auto electronics, to print the details of the connector of the electronic control unit (ECU) of a car engine. The model of the restored Japanese car had long been discontinued, and it was impossible to order or purchase a part. But the Envisiontec Vector 3sp 3D printer, capable of layering models from durable and flexible plastic with high detail (up to 0.02 mm), lived up to expectations.
An electronic connector with small elements - sockets for wires and grooves - is a complex object for scanning, reverse engineering and printing. For example, the gap on the moving hook, which, when assembled, ensures the fixation of the wire, is only 50 microns. It was necessary to create three separate elements and ensure their collection.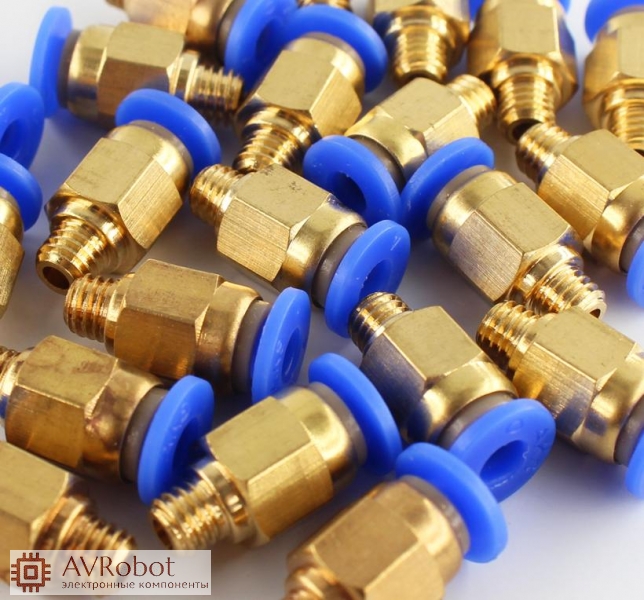 Using classical methods of measurement, without the use of specialized machines, it would be almost impossible to achieve the required accuracy of execution.
Before digitizing, the plastic parts of the connector were prepared - the wires and metal contacts were removed. The geometry of each of them was considered by the RangeVision Pro professional 3D scanner. First, the outer surfaces were scanned, then the side walls were removed with a clerical knife and the geometry of the hooks inside the cases was digitized. Scans of external and internal surfaces were connected and performed according to the obtained polygonal models of all three parts of the connector by reverse engineering, that is, CAD models were built.
In conclusion, we checked the assembleability of 3D models of connector elements. To do this, all parts of the electronic connector were virtually aligned in the working position, the gaps were analyzed and the fixation of the parts was checked with each other.