3D printer connector
How to Crimp JST Connectors for 3D Printers
When I first started down the rabbit hole of 3D Printer upgrades, one of my earliest projects was installing a V6 hotend on the Anet A8. It came with a small, 30mm cooling fan and plenty of wiring length was included, but it didn’t have a plug for the board. This conundrum introduced me to the art of crimping my own JST Connectors.
Sure, there were perhaps better options on the table that would cost less upfront. I could just splice the new fan to the original fan’s wiring, or solder the wires to the board, but I prefer to keep my setup clean and professional.
After some Google research, it turned out almost every 3D Printer board uses JST Connectors, the XH series to be exact. Better yet, they are easy enough to make on demand. For a one off weekend project, this probably isn’t worth the expense of parts and tools. But for hobbyists doing frequent upgrades or those running home based printer farms, we can certainly benefit from crimping our own JST connectors as needed.
Purchase Parts
720 PCS JST-XHP Connector Kit - $10.99
22 AWG Flexible Wire - $24.99
Tools (Optional)
Wire Stripper Tool - $4.95
SN-01BM Ratchet Crimper Tool - $24.29
What are JST Connectors?
JST Connectors (Japanese Solderless Terminal) are an extensive family of electrical connectors, often used in hobbyist and consumer products. There are about 500 different types, and they are found in battery packs, RC electronics and in our case, 3D Printer circuit boards.
The most confusing aspect is their naming conventions, which have a range of suffixes like SH, VH and XH just to name a few. Each type has a different shape and spacing between pins, but they are also designed for use with different applications, intended for a specific wiring gauge, current and voltage.
It’s not important for this guide, just something to be aware of. For 3D Printers, we almost exclusively use the JST-XH style connectors with a 2. 54mm pin spacing.
JST-XH Connectors
The XH series of JST Connectors are a small, versatile crimp style connector that is rated for use up to 3 Amps on 22 AWG wiring. They are specifically made for wire to board connections, found on our cooling fans, stepper motors, endstops and so on.
This particular type is visually distinguished by (2) arrow looking prongs on the backside, which help secure it when plugged in. That helps maintain a good electrical connection during use, without any concern of loose plugs falling out.
Crimping JST Connectors
The process of making JST Connectors can ultimately be broken down in to 3 simple steps… strip, crimp and connect. We prepare the wiring, crimp on a terminal and insert it into the plug.
When using the correct tools, it will take about 30 seconds per wire and most 3D Printer connectors are either 2 or 3 pins. Without the recommended tools, we can still crimp the JST connector terminals in Step 2, but the experience will be a lot less pleasant and far more tedious.
1. Strip the Wire
If you’ve ever worked with wiring before, you’re probably already familiar with how to strip it. For those doing this for the first time, we’ll take a brief look at how to do it.
Since our wiring is insulated, we need to strip a bit off the end to expose the metal strands inside. These will be crimped inside of the JST connector, and when plugged in to the board, the metal to metal contact makes an electrical connection, providing power, ground or signal.
Using the wire strippers, insert about 3mm of wire in the teeth marked 22 AWG. Squeeze the handle grips together and then twist back and fourth, which helps cut through the insulation material. Pull back on the wire and this should strip away the coating, leaving you with bare wire strands to use.
2.
 Crimp Terminals
JST Connectors use a small metal crimp terminal for stranded wire, with 2 sets of wings that wrap around and grip it in place. When you buy a JST Connector Kit, these come as strips, designed to feed in to an industrial machine. For DIY purposes, we will just snap them off and crimp by hand.
When I first started out, I was using needle nose pliers to bend each wing in to place. In theory it’s doable, I even managed to make a few decent ones, but the sheer frustration of trying to fold tiny metal prongs around small AWG wiring left me beyond frustrated. This is one of those situations where it’s absolutely worth it to use the right tool for the job.
The SN-01BM Ratcher Crimper does take a few minutes to get the hang of, but it’s dead simple to use and makes the crimping process a breeze. Rather than individually folding the large set of wings around the insulation, and the smaller wings around the wire, it bends both for us in one quick move.
First, we’ll start by placing the metal Crimp Terminal in between the outer most teeth, wings facing upwards. Squeeze the handles together until it clicks in to the first position, which should loosely hold it in place for us.
The IWISS SN-01BM tool has 6 lock settings that click each time it changes position.
Before we continue, it’s a good idea to re-position the terminal, where the back (wing side) should sit flush with the tool’s metal teeth. We don’t want to crush the connector’s end, which should be sticking out the other side with a small bit of clearance. Once the terminal is lined up correctly, clamp it down two more notches to hold it.
At this point, we can go ahead and insert the stranded 22 AWG wire in the opening, making sure it’s firmly seated. When you’re satisfied, squeeze the handle grips together until it has fully compressed, then release and pull out the new crimped wire.
If everything was done correctly, the larger bottom wings should be wrapped around the insulation and the smaller wings should be folded over the wire. It doesn’t have to be absolutely perfect, but definitely try and get it as close as possible. Worst case, just snip it off and try again!
3. Connect Plugs
With our wiring crimped and ready to use, all we have left to do now is insert it into the JST connector plug.
Now, the back of our Crimp Terminal has a flared metal wing sticking out, this is what holds it in the JST Connector housing. The white female connector shell has slot openings on one side, and when inserted, the wing pops through and locks the wire in position.
Make sure to line up that flared wing with the slot, then go ahead and push it inside. As long as the Crimp Connector shape wasn’t damaged in the previous step, it should slide right in and sit securely in place. Gently tug on the wire to check that it’s snug, then repeat the process until your JST Connectors are finished.
Adjusting Wire Position
Perhaps you made a JST Connector and put the wires in backwards, or maybe you bought an aftermarket product and the polarity is wrong.
Good news, it only takes a few seconds to swap these around and fix the issue. That flared wing design on the back of the metal Crimp Connectors isn’t a permanent design, it’s just as easy to remove as it was to install.
Using a pen, flat head screw driver or whatever else is laying around, press the wing down in to connector’s slot while gently pulling out on the wire. As soon as the flared bit can clear the plastic housing, it will just slide ride out. This can be done as many times as needed to make sure the wiring matches the board plug.
Quality connectors from great brands for your 3D printer
Quality connectors from great brands for your 3D printerSearch
Cables, Wires & Connectors
Sort By: Featured ItemsNewest ItemsBest SellingA to ZZ to ABy ReviewPrice: AscendingPrice: Descending
Products Per Page: 812162040100
Columns: 1 2 3 4 6
-
Add to Cart
Cable - Stepper Motor to PC2510 | Bondtech
Bondtech
Now: $3.
 99
99Bondtech PC2510 to JST-XH6 Cable PC2510 4-pin connector to JST-XH6 6-pin connector. This cable is by default wired for the Bondtech 40mm geared Nema17 motor. Please make sure that it follows the schematics for your application. Controller side ...
-
Add to Cart
Cable - Stepper Motor to Dupont | Bondtech
Bondtech
Now: $3.49
Bondtech Dupont Cable Dupont cable 4-pin connector to 6-pin connector. This cable is by default wired for the Bondtech 40mm geared Nema17 motor. Please make sure that it follows the schematics for your application. Controller Side ...
-
Add to Cart
Cable - Stepper Motor to Dupont 4 Pin (No Latch) | 1 Meter
PB Select™
Now: $3.
 99
99Extension Cable, Stepper Motor to Dupont 4 (No Latch). Approximately 1 meter long Nema 17 stepper motor 6-pin connector to Dupont 4-pin connector. The default wiring for this extension cable is listed below. You may need to switch the...
-
Add to Cart
Cable - Stepper Motor to Dupont 4 Pin (No Latch) | 2 Meter
PB Select™
Now: $4.99
Extension Cable, Stepper Motor to Dupont 4 (No Latch). Approximately 1 meter long Nema 17 stepper motor 6-pin connector to Dupont 4-pin connector. The default wiring for this extension cable is listed below. You may need to switch the...
-
Add to Cart
Cable - Stepper Motor to Dupont w/Latch | Bondtech
Bondtech
Now: $3.
 99
99Bondtech Stepper Motor Cable Length: 0.7 meter Connectors: 4-pin Dupont with lock to JST-XH6 6 pin. This cable is by default wired for the Bondtech 40 mm geared Nema17 motor. Please make sure that it follows the schematics for your application...
-
Add to Cart
Cable - Stepper Motor to JST-Xh5 | Bondtech
Bondtech
Now: $2.99
Bondtech JST-Xh5 Cable JST-Xh5 4-pin connector to JST-XH6 6-pin connector. This cable is by default wired for the Bondtech 40mm geared Nema17 motor. Please make sure that it follows the schematics for your application. Controller side ...
-
Add to Cart
Cable - Stepper Motor to Xh3.54 - 4 pin | 1 Meter
PB Select™
Now: $3.
 99
99Extension Cable, Stepper Motor to Xh3.54 4 Pin Approximately 1 meter long Nema 17 stepper motor 6-pin connector to Xh3.54 4-pin connector The default wiring for this extension cable is listed below. You may need to switch the pins around...
-
Add to Cart
Cable - Stepper Motor to Xh3.54 - 4 pin | 2 meter
PB Select™
Now: $4.99
Extension Cable, Stepper Motor to Xh3.54 4 Pin Approximately 2 meter long Nema 17 stepper motor 6-pin connector to Xh3.54 4-pin connector The default wiring for this extension cable is listed below. You may need to switch the pins around...
-
Add to Cart
Cable for Fan or Thermistor | Slice Engineering
Slice Engineering
Now: $2.
 99
99Slice Engineering Extension Cable for Fan or Thermistor Specs:1 meter longGenuine Molex Micro-Fit 3.0 connector
-
Add to Cart
Cable for Stepper Motor (Dupont with Latch) 1 Meter
PB Select™
Now: $3.99
Stepper Motor Cable with Latch Length: 1 meter Connectors: 4-pin Dupont w/latch to JST-XH6 6 pin. This is a universal cable. Depending on your setup you may need to relocate the pins in the connector housing Controller Side Motor...
-
Add to Cart
DC 5.5mm x 2.1mm Round Power Socket | 4 Pack
Other
Now: $1.99
Specification: Max current: 3A Max Volts: 24 Color:Black Quantity: 4 pc
-
Add to Cart
DC Power Cable with 5.
 5mm x 2.1mm Male Barrel Plug
 Other
Now: $3.99
DC Power Cable with 5.5mm x 2.1mm Male Barrel Plug Specs Max current: 3A Red Connector: Center Pole Black Connector: Outer Pole Material: PVC Barrel Plug Size: 5.5 x 2.1mm Wire Length:100cm/39''(approx)
Connector for 3d versatility
mckoala
Loading
08/19/2017
6839
Sandbox
Prusa i3
I am starting a series of articles on upgrading a 3D printer to an MFP.
The project is called 'Universal 3D platform' (abbr. U3P )
Goal of the project: to transform a conventional Prusia i3 printer into a multifunctional device.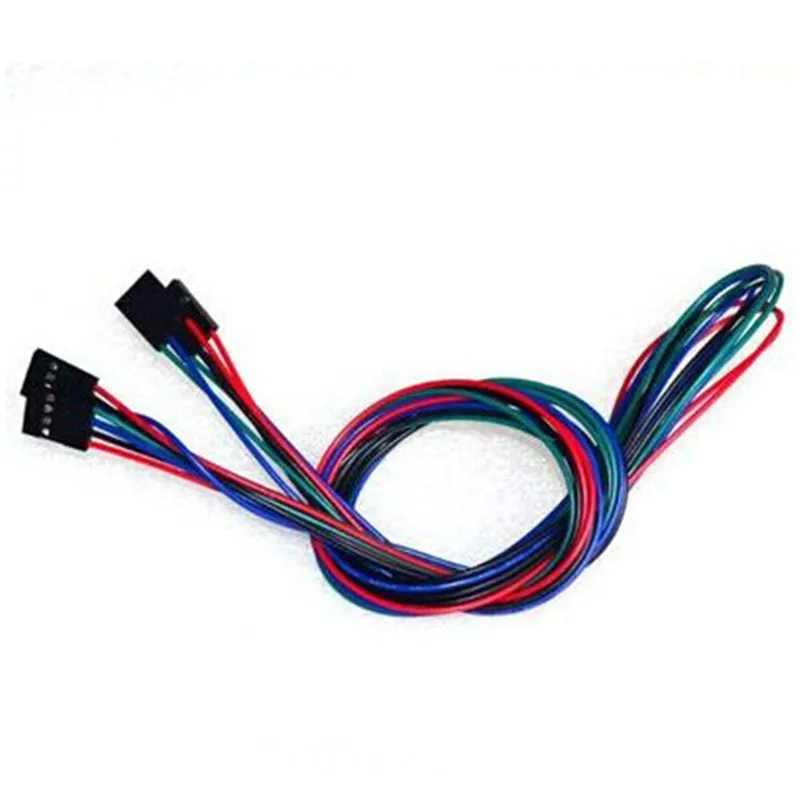
In the seal, the printer should learn:
- Milling soft materials
- laser engraving
- Coordinated drilling
- drawing (for example, markers for subsequent etching) 9002 $ 900 I'll start with the upgrade of the print head. The printer has an E3D v6 extruder with 8 wires. It is necessary to put the connector in the gap of the cable to the carriage and the extruder.
- 4 and 5 for 10 kΩ resistance
Uncle Liao ordered neo-aviation connectors GX16-8 for 8 pins.
the connector socket was soldered with a 3D pen to the printer carriage
And the connector itself is soldered as follows:
The plug will be switched depending on the unit:
Drilling and milling module 8 and 3 for illumination and dust removal
Engraving Module (Laser)
- 7 - TTL Laser Control
- 8 and 3 to power laser
- 4 and 5 for resistance 10 KOM
Sing Module
- 1 and 2 to power plowder
- 4 and 5 for the PAIRS TERMISTIC
- 8 8 8 and 3 for backlight
Drawing module
- 8 and 3 for backlight
- 6 and 7 for marker drive
- 4 and 5 for 10 kΩ resistance
0003
Don't want
5
Article comments
More interesting articles
alsten
Loading
09/10/2021
4904
46
Subscribe to author
Subscribe
Don't want
Eight months after I bought the Ender, I'm summarizing his upgrades to date. Sei...
Read more
42
Subscribe to the author
Subscribe to the author
Don't want to
39
Subscribe to the author
Subscribe
Don't want to
In my outback it is problematic to get both nelly, nova, and bf2 and others like them. At first I used abs juice for ...
Read more
What can be printed with a 3d printer
About
TechnologyThe very rapid development of 3D printing technology has made buying a 3D printer now a non-issue. Its cost is already quite low and almost any enthusiast can afford to purchase such a device.
Magnum Creative
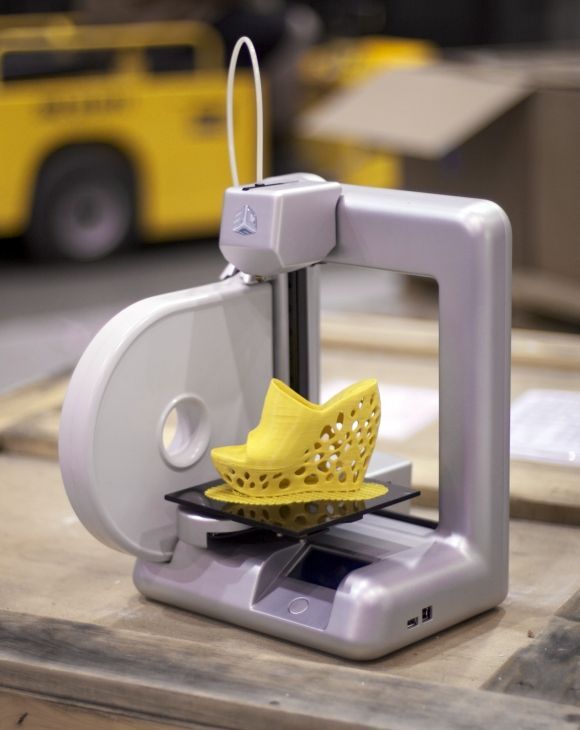
One of the most interesting representatives among low-cost home 3D printers is Magnum Creative, which recently released its second generation of devices.
They feature faster print speeds and more advanced software. In the second version of the 3D printer, software engine control was applied. This allows you to get perfectly tuned electronics, which will become the guarantor of high-quality and fast printing of 3D models.
New generation innovations
In the new version, Magnum Creative 3D printers received a special external connector that allows you to connect various peripheral devices, such as an attachment for printing with plastic materials, or for measuring the diameter of a filament rod. Also in the second generation of 3D printers there is a display that allows you to autonomously control the printing process. Some models of the new line also have a second head (extruder), which makes it possible not only to print in two colors, but also to facilitate the process of printing complex elements by printing water-soluble supports.
What can a 3D printer do?
Professional machines print prostheses and implants , living tissues, various parts of cars and buildings.
Moreover, a 3D printer has been created that makes whole houses . You can also print candies. It all depends on the material that will be loaded into the printer.
Enthusiasts make musical instruments intricately shaped. What is an electric guitar worth, the body of which is made in the form of a web, and printed spiders sit inside? Or a violin that is printed in a couple of hours, and not a few days, is made of wood? Such instruments sound drier, weigh more, but in principle they have a place for life.
Scientists investigate creation of human organs on a 3D printer. Now we have already managed to print the first copies, though they live no more than 4 months due to the lack of blood vessels. In Massachusetts, they learned how to print prosthetic eyes, which used to take a very long time to create. And for a little girl with congenital muscle atrophy, a special exoskeleton was printed, which lives and works with her.