3D printed sanding tools
Sanding best STL files for 3D printer・Cults
Sand Paper holder
Free
Vacuum dust collector for Einhell
€6
KB Knife Sharpener/Mini Belt Sander v1.0 OTG
Free
Guild Sander Adapter for Henry Hoover (30 mm Nozzle)
€2.85
3DBros Curved Sanding Bow
Free
Micro mesh holder
€1.15
Rotary tool accessories holder
€0.60
150mm sanding disc storage
Free
shop roll holder
Free
Mini Sanding Drum
Free
Radius sanding block
€2
Vito's 65x410mm sand block with QUICK-RELOAD
€3. 80
Sanding stick holder
Free
Sand/Wet Blasting set repair kit
Free
MicroLux mini sander custom heads
Free
Outer Curve - Sanding Block
Free
Sanding tool + Support
Free
Dewalt Airlock to 1.5 pipe (Tool side)
Free
Mini Sanding Wedge
Free
N Scale Sand Drying House
€4.57
Adaptable sanding handle on the 125 mm plate of the MIRKA DEROS sander
€1.50
Ducati 888 - Sand Blasting
Free
N Scale Sanding Tower v2
€7.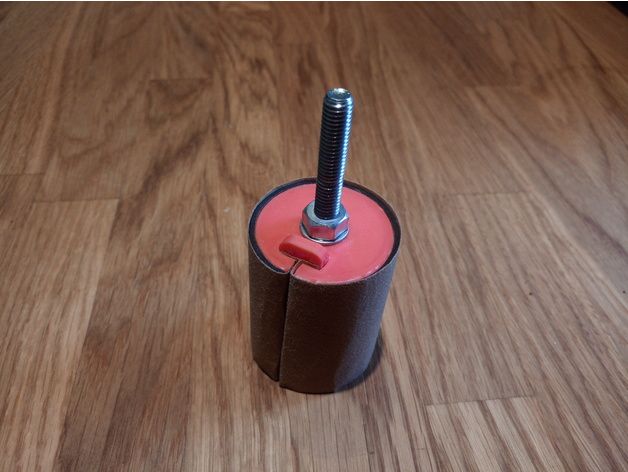 34
34
Sanding grips 100mm
Free
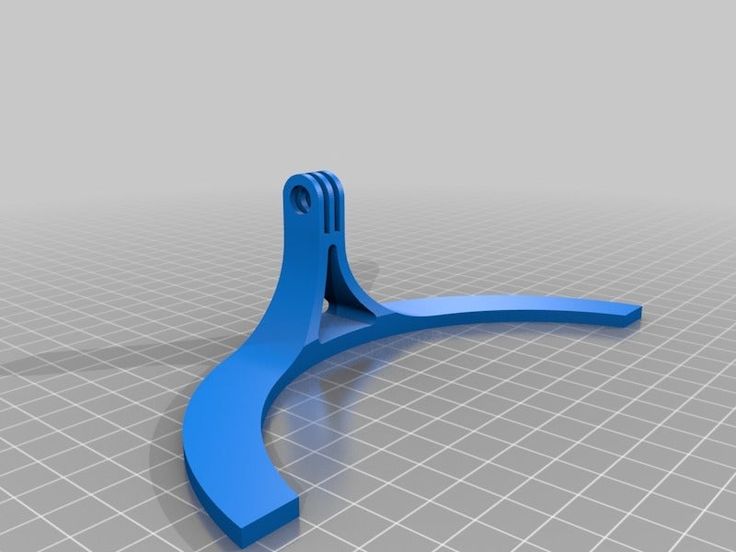
Go Pro Hero 2014 Dust Cap
Free
Dremel Ball sanding bit
Free
Magnetic Sanding Stick
Free
Cnc Hold Down / Clamps for Desktop Milling Machine & Sanding Tables/ Openbuilds, Mpcnc, Shapeoko, xCarve, Diy Cnc Routers T-Slot
Free
Flat Sanding Blocks - 2 sizes
€0.90
Mounting under the M4 bolt
Free
Sanding tool
Free
Palm Sander
€1.56
Greenstuff world flexible sanding pads holder/organizer
Free
professional sanding block
€9.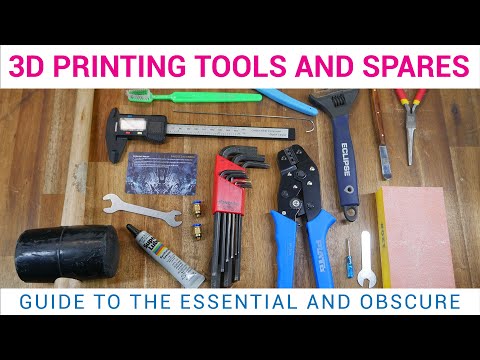 87
87
Sanding Wedge (fully printable)
Free
Vibrating sanding rod
€2
Sanding block 150x110x60
€0.50
Miter Gauge
€0.64
Der Schleifboy, ein Rollenschleifer mit Diamantscheibe und Magnetwinkel
€5
Dust collector for Bosch PBD40
Free
Small sander
€0.74
Handle size 10 for Festool ETS 150 manual sanding table
€0.50
Bow Sander for round pieces
Free
Küpper Sanding holder, size / width 12, 16, 20, 24, 30mm with sandig tools
€0.62
Sanding surfaces with your dremel/proxon
Free
Electric nail drill machine replacement cover
€0. 50
50
Sandingtool
€0.66
Wet-Sanding Sediment Filter
Free
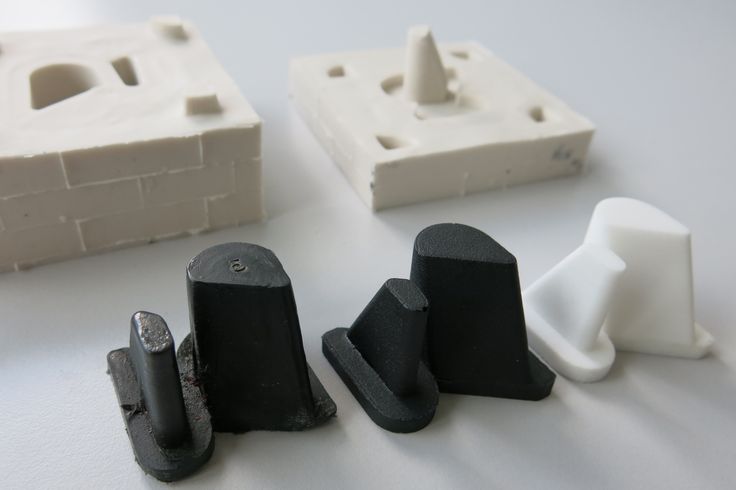
Ultimate Guide to Sanding 3D Prints
Sanding 3D printed models can be a great way to eliminate layer lines in preparation for painting, silicone molding, or vacuum forming.
In this “how to”, we will show you the best practices associated with sanding your 3D prints.
Working time will vary depending on your model. The process shown took us about 3 hours from start to finish.
SUPPLIES
Sandpaper (80, 120, 240, 220, 1000, 1500 grit)
Handheld electric sander
X-acto Knife
Needlenose pliers
Flush cutters
Chisels
Bin to hold water
Respiratory Mask
Eye protection
Gloves
Need some of these products? We've curated an Amazon wish list for you.
STEP 1: PREPARE & PRINT MODEL
Consider: Print settings, print orientation, number of build plates. Surfaces printed in the Z axis will have the smoothest surface finish.
Surfaces printed in the Z axis will have the smoothest surface finish.
Supplies used: Needle-nose pliers or flush cutters and chisels
A. Remove the print from the build plate
B. Remove rafts and support material from the model
When removing supports using pliers or clippers, be sure to wear eye protection.
C. Remove large pieces of support first, and then approach smaller pieces and fine details
D. Clean the edges and seams of your model to ensure better alignment of pieces
If you plan to glue your model, take care not to remove too much material around seams or joining surfaces, or you will need to use filler later on.
The 2021 Guide to 3D Printing Materials
Learn about polymers, composites, and metals all available for 3D Printing!
Supplies used: Electric sander and 80 grit sandpaper
A. Begin sanding with coarse (80 grit) sandpaper
Be sure to wear eye protection and a respiratory mask as sanding will release particulates.
B. When sanding with 80 grit sandpaper, the goal is to remove any leftover blemishes from raft or support material, and create an even surface that you will later refine. This process will remove the most amount of material and take the most time.
C. In early stages of sanding you will notice that your model surface that was once fairly shiny will become dull and rough and change in color. The shine will return as you move to higher sanding grits.
Be sure not to sand in one place for too long as heat generated from friction could melt the PLA.
D. To save some time you can use an electric sander or multitool. If using a multi tool, be sure to choose a low setting to avoid overheating/melting the PLA.
E. After each sanding stage, clean the model of any dust and inspect for a uniform surface finish
Move on to sanding with higher grits when all large to medium sized imperfections or blemishes have been removed.
STEP 4: SAND WITH MEDIUM GRIT SANDPAPER (DRY)
Supplies used: Electric sander and 120 & 240 grit sandpaper
A: Sand with 120 grit sandpaper (dry)
B: Sand with 240 grit sandpaper (dry)
C: If you notice large imperfections that you have missed, return to a lower sanding grit to refine those areas
As you move up through various finer grits, sanding should require less time. You will also notice that the model’s texture becomes more refined and much smoother.
Supplies used: 1000 grit sandpaper, plastic bin and water
When your model’s surface is even and refined it is time to wet sand the model using fine grit sandpaper. This process will not remove much material, but will do the most to polish its surface.
A: Submerge the model in a tub filled half way with water
Take care around fine features, round surfaces, and other small or difficult to reach places.
B. Using 1000 grit sandpaper, sand the model until it is completely smooth to the touch
C. Dry the model and inspect for a uniform surface finish
If you have properly sanded your model, its surface should now be even, blemish free, and glass-like to the touch.
Here you can see the difference between the unfinished surface and final sanded part.
Visit one of our other applications pages for tips on how to take your print even further.
We recommend that you visit our pages on:
Gluing
Painting
Silicone Molding
Last but not least, remember to share your work with us on Thingiverse and social media @MakerBot.
We can’t wait to see what you make!
Hair Dryer Shell
Ferro
10/2/2015
https://grabcad.com/library/hair-dryer-shell-1
Powered by MakerBot Learning.
Oops.. there seems to be no such page
Apparently, you've landed on a page that either doesn't exist or was deleted long ago. Start your search first!
Request a call back
Telephone
By clicking on the button, you agree to the privacy policy of
Item added to cart
Go to cart
Product added to comparison
Compare products
Cannot compare more than 4 products
Invoice or quotation request
Organization name:
Your e-mail
Your phone
Name of contact person:
Legal address:
Comment:
By clicking on the button, you agree to the privacy policy of
Goods on the way, find out when delivery
Your name:
Your e-mail
Your phone
By clicking on the button, you agree to the privacy policy of
Contact us
How to call
By phone +7(495)155-45-19. Your call will be answered by an answering machine. We won't call back if you don't speak up. Each request is processed, we contact clients in accordance with requests. Prepare the information you want to report, send it to the answering machine and we will call you back. We kindly request: do not be silent and do not hang up, this is just an answering machine. 🙂 Other most effective ways to get in touch:
- Write to Telegam @techno3dru
- Write to Whatsapp +74951554519
- Write Email [email protected]
Is the product in stock
On the product page, under the product name, there are 3 statuses:
- In Stock - We have this item in stock. Make a purchase with the Buy button.
- Pre-order - goods on the way, delivery soon. Find out about delivery times by clicking on 'Delivery times' or make a purchase using the Buy button.
- On order - The goods are delivered according to your order on a partial prepayment. Place an order using the Order button.
How to get an invoice for payment for legal entities
Add items to the cart, proceed to checkout. Payment method: Organization → Specify details → Get an invoice for payment
How to get a quotation
On the product page, click on the link Request a quote
How much is delivery
On the product page, block Delivery. With an accurate calculation of the cost and timing to your city. On the Delivery and payment page for more details about all delivery methods.
If you did not find your question among the questions, please contact us via Whatsapp
or Telegam
Inquiry
Contact person (Full name):
Contact phone:
Email:
Free STL file Pipe inner surface grinding tool・3D printing design for download・Cults
Building bricks
2,80 €
Mi Watch Stand
1,50 €
Rotating display table
2. 50 €
50 €
Charger for Apple Watch 28 mm
1 €
Finger guard
€1.80
CVT transmissions
0,95 €
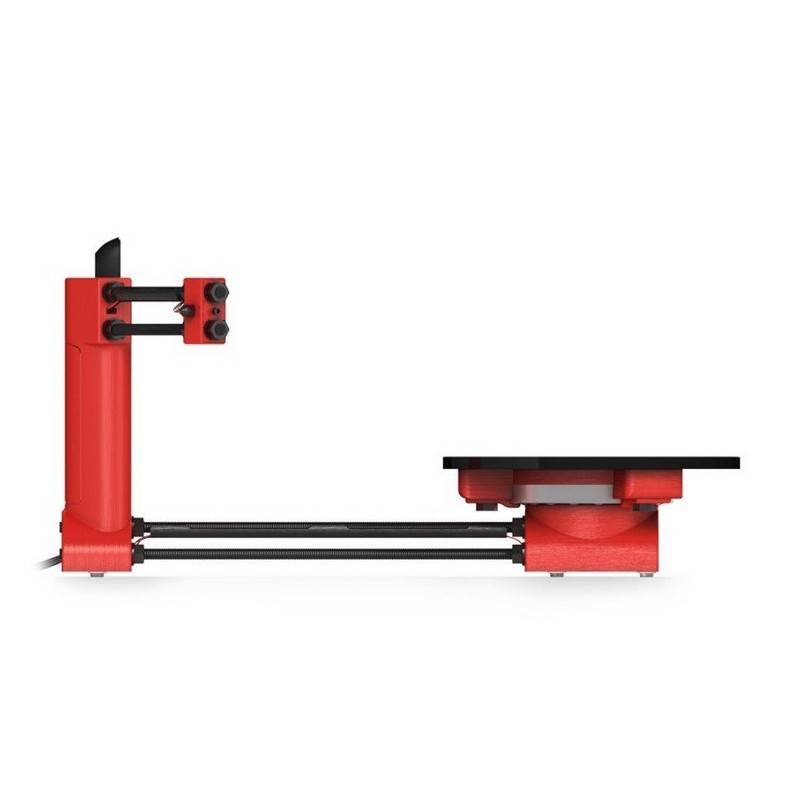
Camera slider with object tracking
7.80 €
Converting microphone stand to phone stand
€1.50
The best files for 3D printers in the Tools category
Proteus Solder Station - 80mm/120mm fan
Free
Dräger HME/DAR Filter Adapter
Free
Ice scraper Audi
€2.10 -50% 1. 05 €
05 €
Ranger Band Storage (Camping)
Free
Filament clip
Free
Christmas Tree for Circuit Playground
Free
Watering Can
Free
Star for Diffraction Grating Test
Free
Bestsellers in the Tools category
'ELEGANCE' Bambu lab set and general 3d printers
5 €
Ender 3 S1 Air duct for stock fan
1 €
ENDER 3 S1, S1 PRO, SPRITE, V3 AIR DUCT FAN 5015, ACCELEROMETER, LED strip
€2.64 -18% 2. 16€
16€
Paint stand with scissors
5.09 €
SUPERBOX
1,50 €
gb-22 mini
0,90 €
Printer boxes for Ikea Lack Table
1,99 €
Fire Hydrant Storage Container
1.84 €
PRECISION CALIPER 3D PRINT DIY
3,10 €
Ender 3 Briss fang Gen2, red lizard, spider, nf crazy, dragonfly, etc.
€1.72
Phone holder
2.57 €
Sovol SV06 fan duct - CFD 9 optimized0110
3.75 €
Creality Sonic Pad Mount for Ender 3 S1 Pro
1.