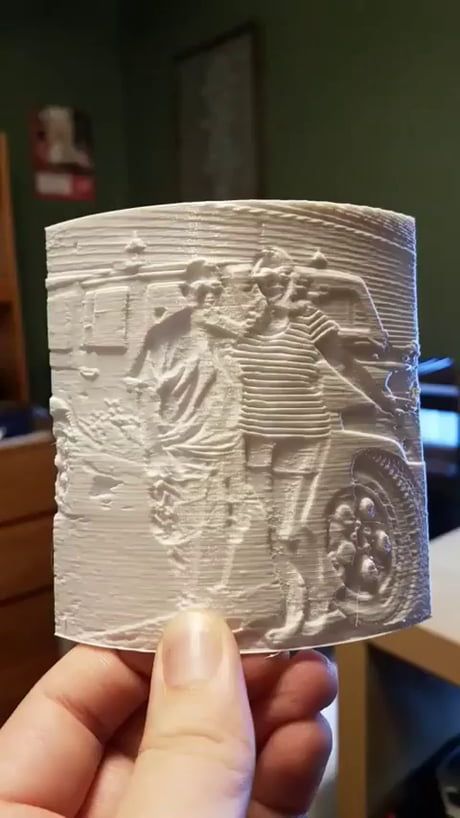
3D printed photograph
How to convert photos into a 3D model? (2022 Update)
3D Learning Hub
See all categories
Contents:
- Introduction
- How can you turn one picture into a 3D model
- From one 2D image to 3D model: The best tools
- How can you convert a few pictures into a 3D model
- How can you generate a 3D model from multiple images
- Selection of approved photogrammetry software to create your 3D file
- Other ways to turn an object into a 3D model
- Once you have a 3D file, what should you do?
Introduction
How can you turn one picture into a 3D model?
First, the results of your model depend on the number and quality of the photos you take; the more photos and the higher the resolution the more detailed your 3D model will be. You don’t need to be a professional 3D artist or 3D designer, but with an ounce of 3D skill and enough time, everyone can achieve a good 3D character or object and print it.
You’ll see that 3D printers can give life to your best images. You can create any avatar or model that you want with the 3D printing technology, you can also create a CAD model with images from video games. Everything is possible. We split the solutions on the number of images that you have already taken to generate your 3D file.
Did you know that you can create a 3D model even with a single picture?
Don’t get too excited – creating a 3D model from photos is possible, but you should keep in mind that the possibilities and the details allowed would be more limited. For example, you cannot expect to create a perfect 360° file of your pet or your home based on one picture. To obtain the desired shape with a printing process, it is better to have a lot of pictures to get a detailed model and an impressive result. Maybe it will be possible to print a perfect CAD model thanks to only one picture in the future of 3D printing, but it’s not possible yet.
But still, if you only have this option you can create an interesting 3D printed object with the additive manufacturing technology that we know today.
From one 2D image to 3D model: The best tools
- Use the Extrude tool
A picture is a 2D file, meaning that you will only be able to play with two axes to use it in your 3D model. The extrude tool will help you to create a third axis to create new geometry from a selected component. This tool will help you to give volume to your 2D model based on a specific algorithm (most common is converting your image in levels of grey and calculates the height based on the intensity of grey). It’s a pretty common tool that you can find on CAD software. If you don’t own a graphic software you can have a look at one of these free amazing 3D software: SketchUp, Blender or Meshmixer.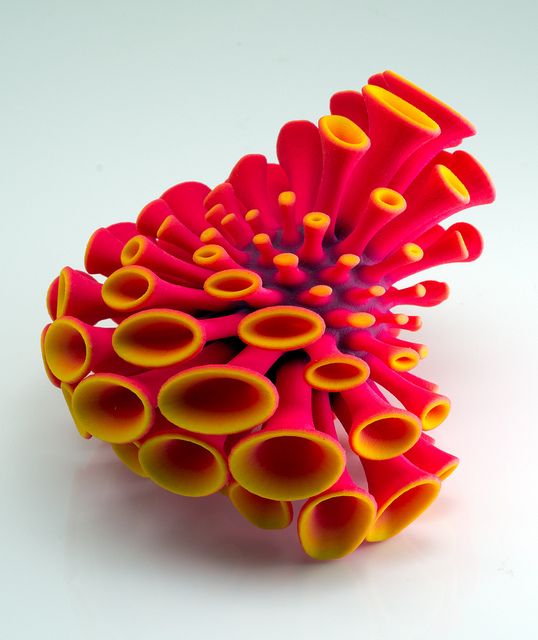
- Smoothie 3D
To convert your 2D photo Smoothie 3D might be the easiest solution. This free online software is a game-changer in the creation of a 3D model based on a single picture. With only one picture it helps you to create a simple digital model online that looks closer to the kind of result that you get with a scan or photogrammetry. What’s the trick? Well, if your 2D images can be symmetrically replicated you can get a surprisingly lookalike 3D model. However, if you need to create an asymmetrical model with a lot of details you will probably need to use another software with more pictures.
smoothie-3D.com
- Artificial Intelligence
This AI powered tool, developed by researchers, is able to convert one single photo into a 3D model. This 3D Face Reconstruction online app explores a face, using one picture and generate a model that you can totally use for 3D printing.
- Lithophane
First, what is a lithophane? A lithophane is a way to 3D print a photo using the thickness of the print to show different shades of grey, some will be dark when others will be brighter when illuminated from behind. To generate a 3D model, there are options available: Cura, or Image to Lithophane.
Once your model is generated, you will have to slice your model. In order to slice the model, you will have to choose a slicing software, to create layer and guide your 3D printer. To get a good 3D printed lithophane, it is not recommended to use an FDM printer, the layer height might not be good enough.
https://www.indiamart.com
How can you convert a few pictures into a 3D model?
Many times people are contacting us for a solution based on 10 or 20 pictures. For example, when you’re looking to create an avatar of – let’s say – your grandpa, you start asking around to get pictures, try to find a good portrait of him, another picture of him sitting in the garden, the third one playing with your kids, etc.
When you think you have grabbed enough material, you’re looking for an automatic solution to build a 3D model based on these various pictures that have been taken at different time, with different devices etc.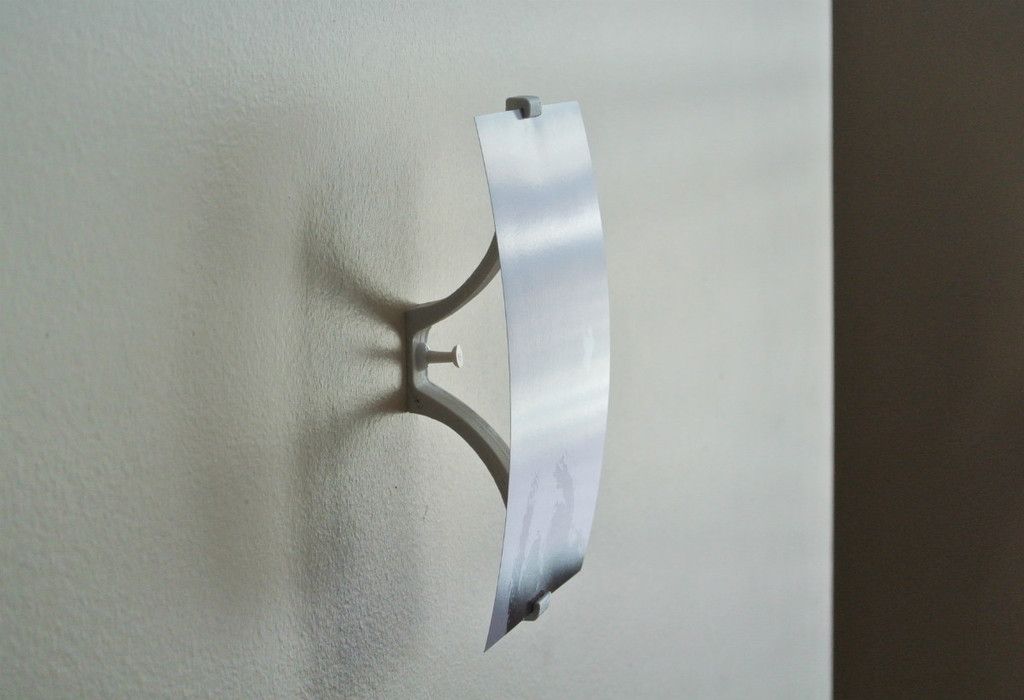 Unfortunately, there is none. Because a very special secret-sauce is needed in this case and its imagination. You have to mentally organize the pictures and sculpt your model based on the measure and details that you can grab from the pictures.
It takes a lot of time to create a model from photos like this. So the only way to get to an optimal result is to convert a lot of pictures to make a very precise digital design. Then, you’ll be able to print an interesting model and get a good print quality.
To summarize, you have 3 solutions to go from 2D to 3D with few pictures:
- you can still use the solutions described for one photo
- you can launch yourself in 3D modeling software (such as Zbrush or Sculptris)
- you can ask a 3D designer to help you modeling your 3D file.
Indeed, with more perspective thanks to the different pictures, you would be able to create a more detailed and accurate 3D model. If you need more information to find a 3D designer for this process, please feel free to contact us.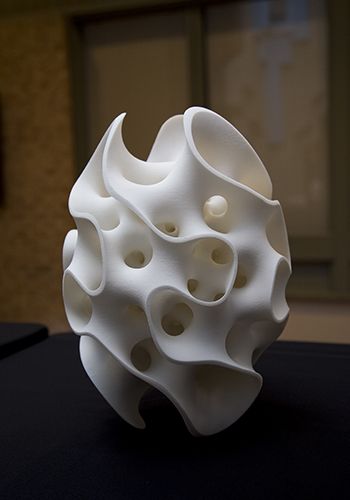
How can you generate a 3D model from multiple images?
Even if 3D printing enables you to create 3D objects with complex shapes you first have to create a detailed model to get an optimized result. In this part, we are giving you few tips to optimize your pictures in order to create the best 3D model. To do so, the best way for you is to use photogrammetry.
This technique implies a process of collecting a series of points in space from a series of photographs. First, you snap a series of photos of the object from every angle that you can, once you have those photos you upload them into a photogrammetry software and you can generate a file to 3D print it.
To get the best 3D model for photos, you first have to get good photos. Here are our best tips.
- Choose the right material for the best result
- A digital camera: of course your old camera won’t make the trick, as you need to have digital files to upload on your computer.
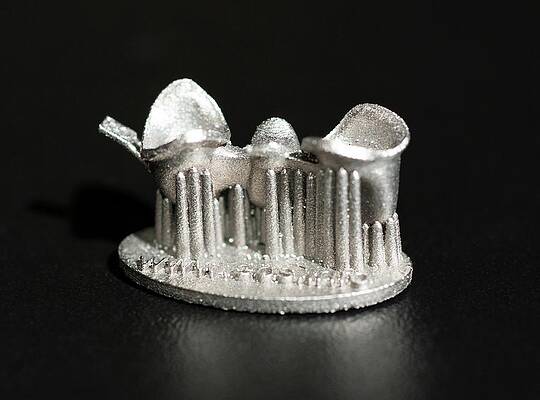 Your smartphone’s camera can be a good start but you’ll obviously get a more detailed result with a digital single-lens reflex camera as the pixel’s resolution will be three times better and the setting more customizable. We strongly recommend using this type of camera since you need to to make the most of the light and the outline of your subject. The best settings are a low ISO to diminish the most noise as possible. The main advantage of it is that it will help you to get a small aperture with a reduced depth of field. This would allow you to increase the sharpness of the subject outline, making it less confusing for the software. If you are considering taking a subject in movement, be aware that the setup could be far more complicated. You will need many digital cameras as above in the picture (between 50 and 100) with a simultaneous triggering mechanism.
 - A lighting device: Even if you can settle your camera settings to improve the light sensitivity, an additional lighting will be key to improving your shooting.
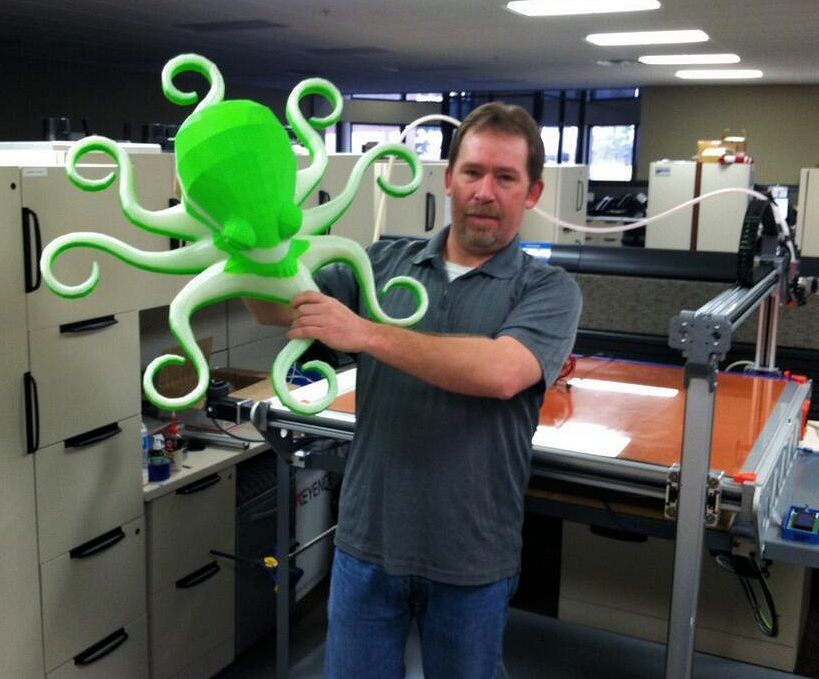 Adding a light will help you to earn at the same time a good light sensitivity and lower the noise. Indeed, your ISO could be lower and you will gain in speed and reduce the grain. Whether you use natural or artificial light, what is key is to avoid as much as possible shadows that would blur the outline of the subject
 - A Tripod: or any support allowing you to stabilize the subject and your camera. The pictures will be less blurred and more consistent. It will provide more high-detailed and flat pictures.
- Follow these ten commandments of an optimal shooting to create your 3D file
- Try to place your object in a way it is raised and you can easily turn around to take pictures from all the angles.
- Shoot various loops and change your angle every time to be sure to cover the surface of your object from the top to the bottom and from the left to the right.
- Take at least 30-40 photos to get a detailed model.
- In order to make the process on your software easier put some newspaper or sticky notes on the surface in contact with your object, it will help to distinguish it from your object.
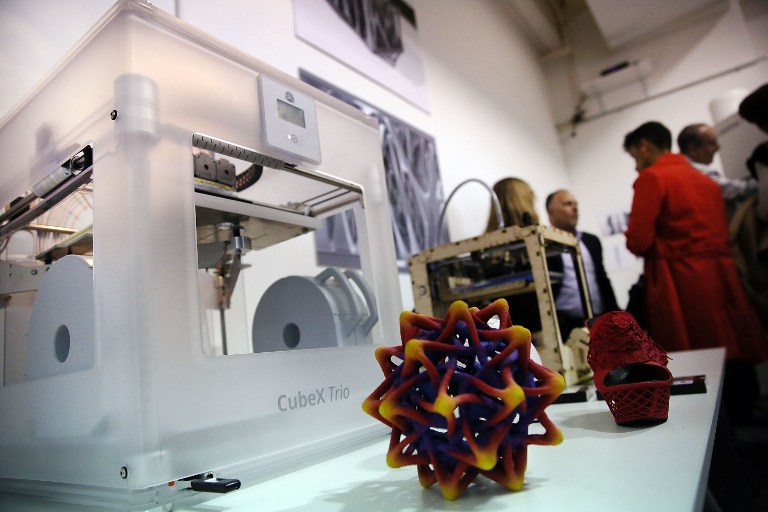
- Limit the variation of light, moves and focus between your pictures
- Make sure that the exposition will be enough to get the precise shape of your object.
- To make the most of your camera’s pixel you can try to do your shooting in RAW image format to get the sharpest pictures possible.
- Use a lens with a low deformation between 30-60 mm
- Have a small aperture between 8 and 16
- The smallest ISO possible between 100 – 200
Selection of approved photogrammetry software to create your 3D file
Once you have this series of pictures you can upload them on specialized photogrammetry software such as the following ones:
Autodesk 123D Catch
123D catch is an Autodesk software which allows you easily to create a 3D model from your pictures with your smartphone or your computer. The application is free. The YouTube channel of 123D catch is full of tutorials that will help you to master easily the software from your first try and will give you precise tips to improve your set of pictures.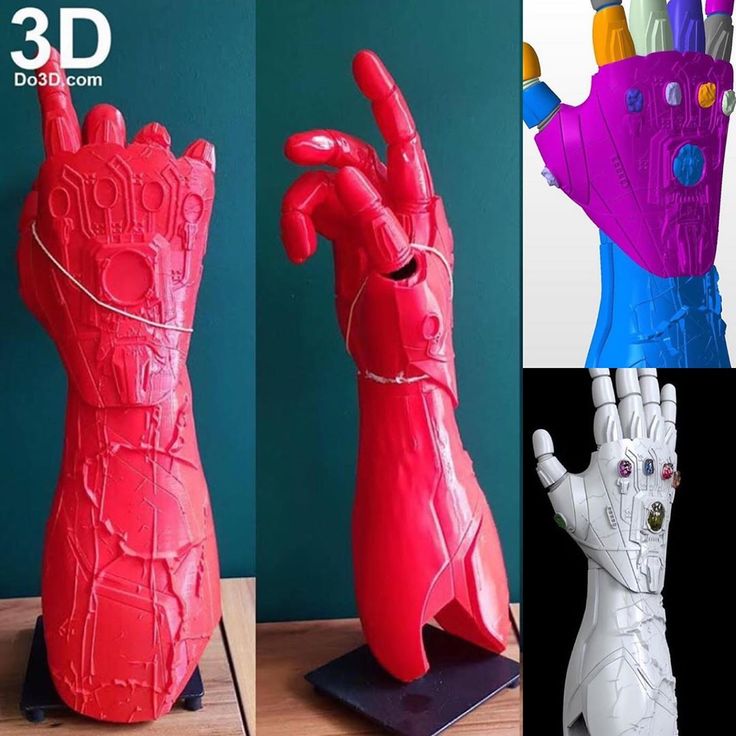 Check also our 123D Catch tutorial.
Agisoft Photoscan
Photoscan is a computer software that is also a good alternative. It offers a free license for individuals or a professional license costing $179. There are some technical requirements on your computer to make it work properly (for example RAM more than 256 GB). But the results can be impressive when you choose to upload a lot of data. For example, this software was used to create an impressive 3D model of a whole university campus based on 5000 pictures. It is less accessible than Autodesk’s software and will be more targeted for experimented users.
Context Capture (previously Acute 3D)
In the same way that Photoscan, Contact Capture is a more complex and professional oriented photogrammetry software. Acquired by Bentley system, this software is at the edge of the technology and offers astonishing results.
Reality Capture
Reality Capture is a pure photogrammetry software, it doesn’t include any laser scan feature. This photogrammetry solution is easy to use and has quite a friendly interface. Speed and quality are the main advantages of this Autodesk program. You will be able to work on different file format, and even small objects using this complete software.
Once you have this series of pictures you can upload them on specialized photogrammetry software such as the following ones:
Autodesk 123D Catch
123D catch is an Autodesk software which allows you easily to create a 3D model from your pictures with your smartphone or your computer. The application is free. The YouTube channel of 123D catch is full of tutorials that will help you to master easily the software from your first try and will give you precise tips to improve your set of pictures. Check also our 123D Catch tutorial.
Agisoft Photoscan
Photoscan is a computer software that is also a good alternative. It offers a free license for individuals or a professional license costing $179. There are some technical requirements on your computer to make it work properly (for example RAM more than 256 GB). But the results can be impressive when you choose to upload a lot of data. For example, this software was used to create an impressive 3D model of a whole university campus based on 5000 pictures. It is less accessible than Autodesk’s software and will be more targeted for experimented users.
Context Capture (previously Acute 3D)
In the same way that Photoscan, Contact Capture is a more complex and professional oriented photogrammetry software. Acquired by Bentley system, this software is at the edge of the technology and offers astonishing results.
Reality Capture
Reality Capture is a pure photogrammetry software, it doesn’t include any laser scan feature. This photogrammetry solution is easy to use and has quite a friendly interface. Speed and quality are the main advantages of this Autodesk program. You will be able to work on different file format, and even small objects using this complete software.
Other ways to turn an object into a 3D model
The best method to turn an object into a 3D model is 3D scanning, to capture the shape of your item.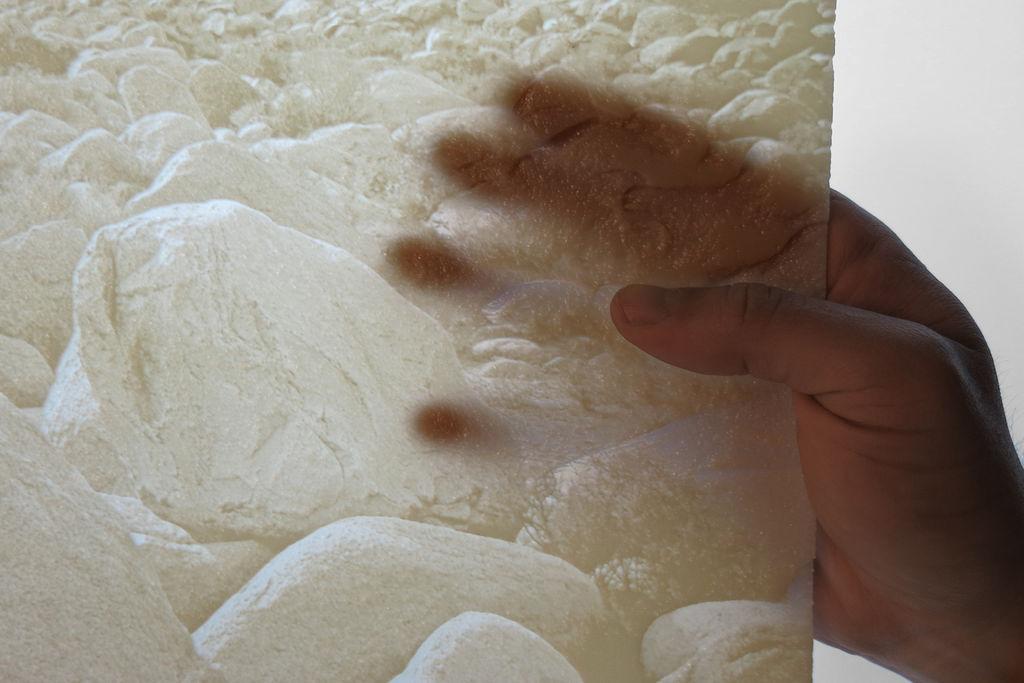 We are pretty sure that you don’t have a 3D scanner at home, but did you know that you could create a 3D scan only using a smartphone? 3D scanning is an easy method to turn an object into a CAD model.
Thanks to CT scanning, you could also create a 3D model of your own brain, and you could also 3D print it!
Once you have a 3D file, what should you do?
Here are the last steps, and then you will be done with 3D printing your photos. First, you need to finish and optimize your 3D file in another software than the ones described above. It happens often that your 3D file can be non-printable since it’s very difficult to create a solid mesh based on a set of pictures (i.e. textures). Some 3D software are offering efficient tools for creating proper files such as MeshLab. You’ll be able to work on the resolution and size of your file, by creating a high or low poly mesh.
Then, you have to pick a format for your file. 3DS, OBJ, C4D, DAE, STL. STL files are the most common for 3D printing.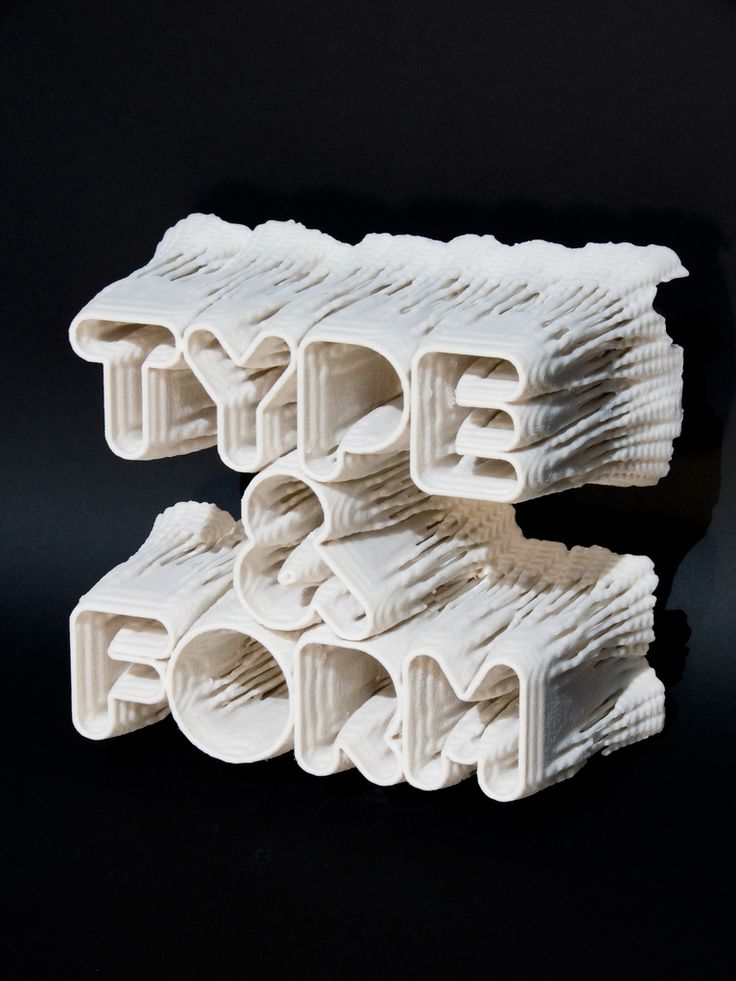
The last, and the easiest part: you just have to 3D print it by uploading your 3D image on our online 3D printing service! There are a lot of possibilities to 3D print models because various 3D printing materials are available. You have to choose the 3D printing material that you want for your CAD model, it will determine the additive process.
Usually, we recommend using the full color sandstone material in order to get a colorful and likely result. As you can see, with the 3D printing technology that we have now, it is not that difficult to turn photos into 3D models. You can do it on your own or with a little help, and the good news is that you don’t need to have a 3D scanner or 3D printers at home!
Even if additive manufacturing is very useful and efficient for rapid prototyping, or even to work on industrial designs thanks to impressive technologies allowing to create a large variety of projects from medical devices to kitchen equipment, office equipment or architectural exteriors. Witch technologies such as Digital light processing (CLIP), Multi Jet Fusion, or Selective Laser Sintering, you can work on anything, or just experiment these printing processes.
Thanks to this little guide you’ll be able to create a 3D character without using 3D scanning. We’ll be delighted if you share with us your project. We are always excited to see what you can achieve with 3D printing technologies. It’s the occasion to show us how you can get impressive results by turning your photos into 3D models!
Don’t forget to subscribe to our newsletter to get all tips you need to use additive manufacturing!
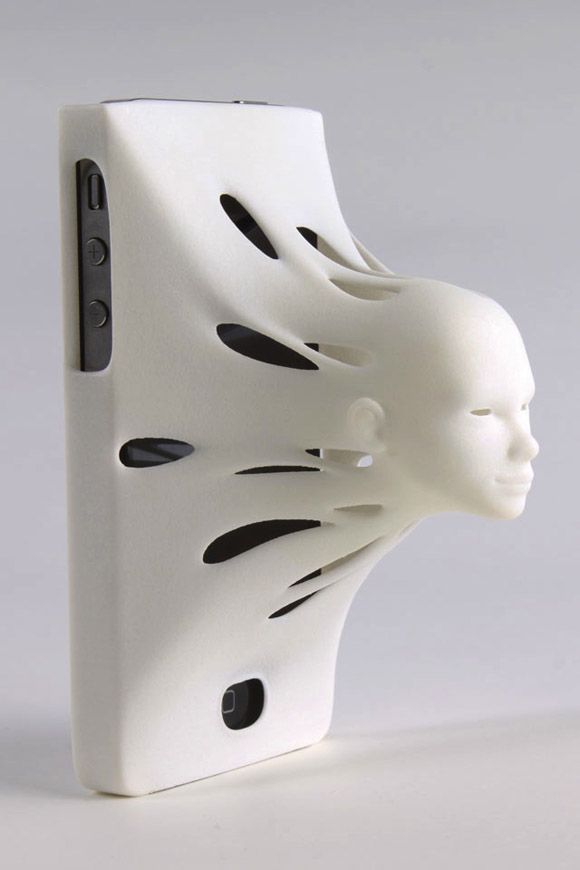
Picture credit: A 3D portrait. Toolfarm.com
How do I make a 3D model from a photo?
Can you 3D print from a photo?
How do I convert a picture to Lithophane?
Related Topics
- Return to Top
Get the latest 3D printing news delivered right to your inbox
Subscribe to our weekly newsletter to hear about the latest 3D printing technologies, applications, materials, and software.
3d Printed Photo - Etsy.de
Etsy is no longer supporting older versions of your web browser in order to ensure that user data remains secure. Please update to the latest version.
Take full advantage of our site features by enabling JavaScript.
Find something memorable, join a community doing good.
( 1,000+ relevant results, with Ads Sellers looking to grow their business and reach more interested buyers can use Etsy’s advertising platform to promote their items. You’ll see ad results based on factors like relevancy, and the amount sellers pay per click. Learn more. )
Printing 3D Objects in Photoshop
User's Guide Cancel
Search
Last update Dec 13, 2021 08:23:10 PM GMT
- Photoshop User Guide
- Introduction to Photoshop
- Dream about it.
 Do it.
 - What's New in Photoshop
- Editing the first photo
- Create documents
- Photoshop | FAQ
- Photoshop system requirements
- Transferring presets, operations and settings
- Introduction to Photoshop
- Dream about it.
- Photoshop and other Adobe products and services
- Working with Illustrator artwork in Photoshop
- Working with Photoshop files in InDesign
- Substance 3D Materials for Photoshop
- Photoshop and Adobe Stock
- Working with the built-in Capture extension in Photoshop
- Creative Cloud Libraries
- Creative Cloud Libraries in Photoshop
- Working in Photoshop using the Touch Bar
- Net and guides
- Create transactions
- Cancellation and transaction history
- Photoshop on iPad
- Photoshop on iPad | General questions
- Introduction to the working environment
- System requirements | Photoshop on iPad
- Create, open and export documents
- Adding photos
- Working with layers
- Drawing and painting with brushes
- Selecting areas and adding masks
- Retouch compositions
- Working with Adjustment Layers
- Adjusting the key of a composition using the Curves layer
- Applying transform operations
- Trim and rotate compositions
- Rotate, pan, zoom and restore canvas
- Working with text layers
- Working with Photoshop and Lightroom
- Getting missing fonts in Photoshop on iPad
- Japanese text in Photoshop on iPad
- Application parameter management
- Touch shortcuts and gestures
- Key combinations
- Image resizing
- Live stream your creative process in Photoshop on iPad
- Fix imperfections with Healing Brush
- Creating brushes in Capture and using them in Photoshop
- Working with Camera Raw files
- Creating and using smart objects
- Adjusting the exposure of images with the Dodge and Burn tools
- Photoshop Web Application Beta
- Frequently Asked Questions | Photoshop Web App Beta
- Working environment overview
- System requirements | Photoshop 9 Web App Beta0010
- Keyboard shortcuts | Photoshop Web Application Beta
- Supported file formats | Photoshop Web Application Beta
- Opening and working with cloud documents
- Collaboration with stakeholders
- Limited editing options for cloud documents
- Cloud Documents
- Photoshop Cloud Documents | Frequently Asked Questions
- Photoshop Cloud Documents | Workflow Questions
- Work with and manage cloud documents in Photoshop
- Cloud storage update for Photoshop
- Unable to create or save cloud document
- Troubleshooting Photoshop cloud documents
- Collection of cloud document synchronization logs
- Sharing and editing cloud documents
- File sharing and commenting in the application
- Working environment
- Working environment basics
- Learn faster with the What's New panel in Photoshop
- Create documents
- Working in Photoshop using the Touch Bar
- Tool gallery
- Performance settings
- Using tools
- Touch gestures
- Touch gestures and customizable workspaces
- Technology overview versions
- Metadata and comments
- Default key combinations
- Touch gestures and customizable workspaces
- Putting Photoshop images into other applications
- Installations
- Default key combinations
- Rulers
- Show or hide non-printing auxiliaries
- Specifying columns for the image
- Cancellation and transaction history
- Panels and menus
- File storage
- Positioning of elements with referencing
- Positioning with the ruler tool
- Setting sets
- Customizing keyboard shortcuts
- Net and guides
- Web, screen and application content development
- Photoshop for design
- Artboards
- View on device
- Copy CSS from layers
- Splitting web pages into fragments
- HTML options for snippets
- Changing the arrangement of fragments
- Working with web graphics
- Create web photo galleries
- Understanding images and working with color
- Resizing images
- Working with raster and vector images
- Image size and resolution
- Importing images from cameras and scanners
- Creating, opening and importing images
- Image viewer
- "Invalid JPEG marker" error | Opening images
- Viewing multiple images
- Customize color palettes and color swatches
- HDR images
- Image color matching
- Converting between color modes
- Color modes
- Erase sub-images
- Blend Modes
- Choice of colors
- Making changes to indexed color tables
- Image information
- Distortion filters not available
- Color details
- Color and monochrome corrections with channels
- Selecting colors in the Color and Swatches panels
- Sample
- Color mode (or picture mode)
- Shade
- Add color mode change to operation
- Add swatches from HTML CSS and SVG files
- Bit depth and settings
- Layers
- Understanding Layers
- Reversible editing
- Create and manage layers and groups
- Selecting, grouping and linking layers
- Putting images into frames
- Opacity and layering
- Layer masks
- Application of smart filters
- Layer compositions
- Move, arrange and lock layers
- Layer masking with vector masks
- Manage layers and groups
- Effects and Layer Styles
- Editing layer masks
- Extract resources
- Display layers with clipping masks
- Generation of graphic resources from layers
- Working with Smart Objects
- Blend Modes
- Combining several fragments into one image
- Combining images with Auto Layer
- Alignment and distribution of layers
- Copy CSS from layers
- Load selections based on layer boundaries or layer masks
- See-through to show the contents of other layers
- Layer
- Mixing
- Composite images
- Background
- Selections
- Select and Mask workspace
- Quick area selection
- Getting Started with Selections
- Selecting with the Marquee Toolbox
- Selection with the Lasso tools
- Selecting a color range in the image
- Pixel highlight setting
- Convert between contours and selection boundaries
- Channel Basics
- Moving, copying and deleting selected pixels
- Creating a temporary quick mask
- Save selections and alpha channel masks
- Selecting focus areas in an image
- Duplication, splitting and merging of channels
- Channel calculation
- Extraction
- Bounding box
- Image corrections
- Perspective distortion
- Blur reduction due to camera movement
- Healing Brush Tool Examples
- Export color lookup tables
- Image sharpening and blurring
- Introduction to color grading
- Applying the Brightness/Contrast setting
- Shadow and Highlight Detail Correction
- "Levels" correction
- Hue and saturation correction
- Juiciness correction
- Adjusting the color saturation in image areas
- Quick tone correction
- Applying special color effects to images
- Image enhancement with color balance correction
- HDR images
- View histograms and pixel values
- Image color matching
- Crop and straighten photographs
- Converting a color image to black and white
- Adjustment and fill layers
- Curves correction
- Blend Modes
- Target Imaging for Press
- Color and tone correction with Levels and Curves eyedroppers
- HDR Exposure and Toning Compensation
- Filter
- Blur
- Lighten or darken image areas
- Selective color correction
- Changing object colors
- Adobe Camera Raw
- Camera Raw system requirements
- What's New in Camera Raw
- Introduction to Camera Raw
- Creating panoramas
- Supported lenses
- Camera Raw 9 Vignetting, Grain, and Haze Removal0010
- Default key combinations
- Automatic perspective correction in Camera Raw
- Reversible editing in Camera Raw
- Camera Raw Radial Filter Tool
- Manage Camera Raw Settings
- Processing, saving and opening images in Camera Raw
- Improving Images with Camera Raw's Improved Spot Remover
- Rotating, cropping and modifying images
- Camera Raw color correction
- Function overview | Adobe Camera Raw | Issues for 2018
- Overview of new features
- Processing versions in Camera Raw
- Making local adjustments in Camera Raw
- Fixing and restoring images
- Removing objects from photos using Content-Aware Fill
- Content-aware patching and relocation
- Retouching and fixing photos
- Image Distortion and Noise Correction
- Basic troubleshooting steps to solve most problems
- Image transformation
- Object transformation
- Crop, rotate and canvas adjustment
- Crop and straighten photographs
- Creating and editing panoramic images
- Deforming images, shapes and contours
- Perspective
- Using the Liquify filter
- Content-aware scale
- Transforming images, shapes and paths
- Deformation
- Transformation
- Panorama
- Drawing and painting
- Drawing symmetrical ornaments
- Options for drawing a rectangle and changing the stroke
- Drawing details
- Drawing and editing shapes
- Paint tools
- Creating and modifying brushes
- Blend Modes
- Adding color to contours
- Edit contours
- Painting with mix brush
- Brush Presets
- Gradients
- Gradient interpolation
- Fill and stroke selections, layers, and paths
- Drawing with the pen tool group
- Making patterns
- Creating a pattern with the Pattern Builder filter
- Loop control
- Managing pattern libraries and presets
- Drawing with pen tablet
- Creating textured brushes
- Adding dynamic elements to brushes
- Gradient
- Draw stylized strokes with the Artistic Archive Brush
- Drawing with pattern
- Synchronizing presets across multiple devices
- Text
- Adding and editing text
- Universal text editor
- Working with OpenType SVG Fonts
- Character formatting
- Paragraph formatting
- Creating text effects
- Text editing
- Leading and letter spacing
- Font for Arabic and Hebrew
- Fonts
- Troubleshooting fonts
- Asian text
- Create text
- Text Engine error when using Photoshop's Type tool | Windows 8
- Adding and editing text
- Video and animation
- Video editing in Photoshop
- Editing video and animation layers
- Introduction to video and animation
- Video and animation preview
- Drawing frames in video layers
- Import video files and image sequences
- Create frame animations
- Creative Cloud 3D Animation (Preview)
- Create timeline animations
- Creating images for videos
- Filters and effects
- Using the Liquify filter
- Using Blur Gallery group effects
- Filter basics
- Filter effects guide
- Adding lighting effects
- Using the Adaptive Wide Angle filter
- Oil Paint Filter
- Effects and Layer Styles
- Application of specific filters
- Image area feathering
- Saving and exporting
- Saving files in Photoshop
- Export files to Photoshop
- Supported file formats
- Saving files in other graphic formats
- Moving projects between Photoshop and Illustrator
- Saving and exporting video and animation
- Saving PDF files
- Digimarc copyright protection
- Saving files in Photoshop
- Printing
- Printing 3D objects
- Printing with Photoshop
- Printing and color management
- Checklists and PDF presentations
- Print photos in a new image layout
- Spot color printing
- Duplexes
- Printing images on a printing press
- Photoshop Color Enhancement
- Printing troubleshooting | Photoshop
- Automation
- Create activities
- Creation of data-driven images
- Scenarios
- File batch processing
- Operation playback and management
- Adding conditional operations
- About actions and the Actions panel
- Recording tools in operations
- Add color mode change to operation
- Photoshop UI Development Kit for Plugins and Scripts
- Color Management
- Understanding Color Management
- Accurate color assurance
- Color settings
- Working with color profiles
- Color management of documents for viewing on the web
- Color management for printing documents
- Color management of imported images
- Perform proofing
- Content authenticity
- Learn more about content credentials
- Identity and origin of NFT tokens
- Connecting accounts for creative attribution
- 3D objects and technical images
- 3D in Photoshop | Common questions about deprecated 3D features
- Creative Cloud 3D Animation (Preview)
- Printing 3D objects
- 3D drawing
- 3D Panel Enhancement | Photoshop
- 3D Concepts and Tools
- Rendering and saving 3D objects
- Creating 3D objects and animations
- Image stacks
- 3D graphics workflow
- Measurements
- DICOM files
- Photoshop and MATLAB
- Image object count
- Combining and transforming 3D objects
- Editing 3D textures
- HDR Exposure and Toning Compensation
- 3D panel settings
Photoshop allows you to print any compatible 3D model without worrying about the limitations of a 3D printer.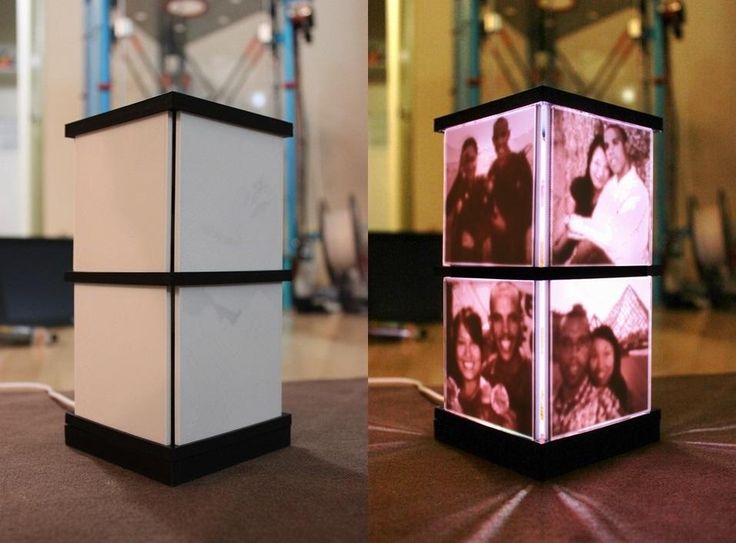 When preparing to print, Photoshop automatically renders 3D models impenetrable. Photoshop also generates the necessary support structures—platforms and bases—to help you achieve successful 3D printing results.
- Select the menu item Window > Workspace > 3D to switch to 3D mode.
- Open the 3D model in Photoshop. If necessary, resize the 3D model while opening the file.
- Select menu item 3D > 3D Print Settings.
- In the 3D Printing Preferences panel, choose whether to use a printer connected to your computer via USB (local printer) or online 3D printing services such as Shapeways.com or Sculpteo.
You can now print 3D models as 3MF (3D Manufacturing Format) files. When specifying 3D printing options, select 9 for option0844 Print to is Local and Printer is 3MF File. When you send a 3D object to print, Photoshop creates a 3MF file. On Windows computers, Photoshop also launches the Microsoft 3D Builder application to further process the 3MF file.
To update the list of supported printers or online profiles, select Get Latest Printers from the Send to Print To pop-up menu.
- Select a local printer or Shapeways.com print profile.
View estimated prices for printing 3D models using available Shapeways.com profiles by selecting Printer > Estimated Price.
- Select the unit of measure for print volume from inches, centimeters, millimeters, or pixels. This unit will serve to measure the dimensions of the volume of the printer as well as the dimensions of the printing plate.
A. 3D model B. Printing plate C. Printer volume overlay
- Select the 3D Printing Detail Level—Low, Medium, or Fine. The time it takes to print a 3D object depends on the level of detail selected.
- If you do not want to see the bounds of the 3D model's print volume, clear the Show Printer Volume Overlay check box.
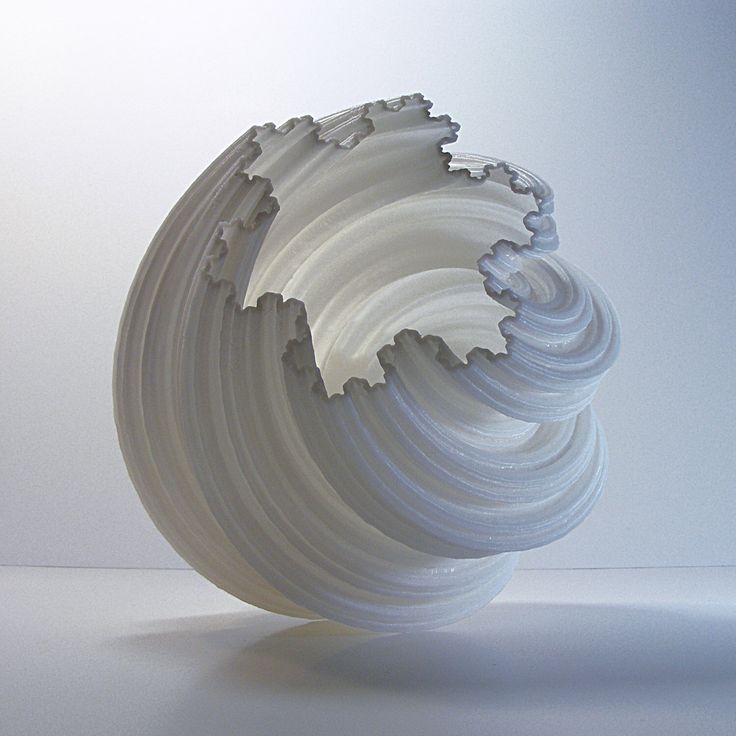
- Set the Scene Volume options to the appropriate size for the 3D printed object. When you change one value (X, Y, or Z), the other two values are scaled proportionally. When resizing the Stage Volume, notice that the print plate under the 3D model resizes accordingly.
You can scroll through the Scene Volume settings by clicking the size label (X, Y, or Z) and dragging the cursor left or right. By holding down the Shift key, you can scroll through the values faster.
- Select Scale by printer volume if you want to automatically resize the 3D model so that it takes up the entire available printer volume on the selected printer.
- If the 3D model includes normal maps, bump maps, or transparency maps, you can ignore these types of maps when printing the model. Notice how the 3D model changes in real time as you change the Surface Detail settings.
- Optionally, you can exclude the support structures of the 3D object (platforms and bases) from printing.
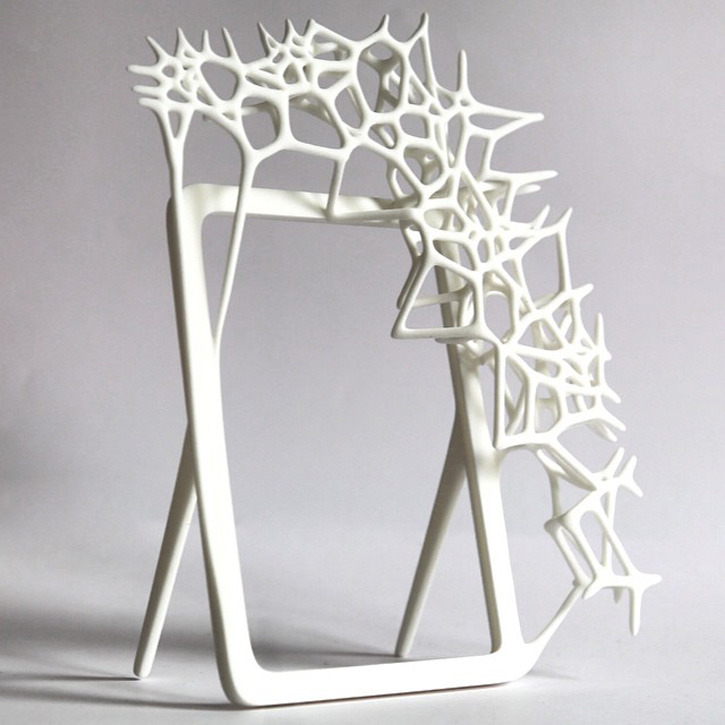 Use this option with caution as printing a 3D model without the necessary support structures may produce unsatisfactory results.
 - If your printer supports multiple materials, select the material you want to use to print this 3D object.
You can enable an experimental feature that allows you to print continuous tones with your MakerBot Replicator 2x 3D printer.
Requirement: Enable experimental Photoshop features
Experimental features must be enabled in Photoshop before using multitone printing:
- Select Preferences > Experimental Features.
- Select the Enable multitone printing check box.
- Click OK.
- Restart Photoshop.
Experimental features not yet fully tested. They should be used with caution.
Choose a multi-tone surface material
- Select the MakerBot Replicator 2x printer in the 3D Printing Settings panel.
- In the Material field, select Multitone Surface.
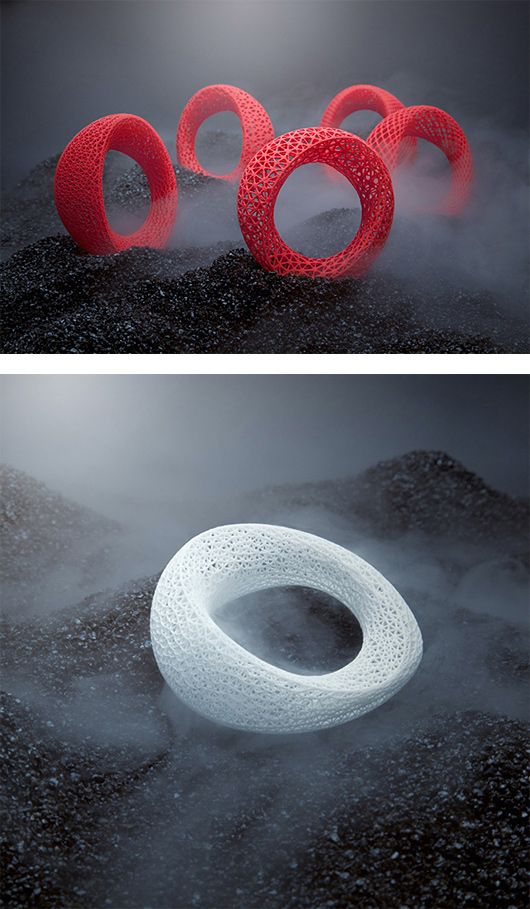 If you don't see this option, make sure the experimental Multitone 3D Printing feature is enabled.
- Set other parameters according to the generated 3D model.
- To view and print a 3D object, select 3D > 3D Print.
After setting the 3D printing options, follow these steps.
- Click the Start Print icon () or select the menu item 3D > 3D Print. Photoshop will combine the 3D elements of the scene and prepare it for the printing process.
- If you choose to print with a Shapeways.com profile, Photoshop will display a message that the actual print cost may differ from the estimated cost displayed. Click OK.
- In the preview window that opens, you can use the 3D camera tools to rotate, scale, or move the 3D object.
Rotate the 3D camera.
3D camera rotation.
Move the 3D camera.
3D camera slide.
Return to the home position of the 3D camera.
- If necessary, select the Show restoration check box.
 Photoshop displays various restoration colors such as Initial Mesh, Thickened Walls, and Hole Closed.
- You can also turn on Ray Tracing Preview. Viewing ray tracing allows you to more accurately reproduce the printed material.
- If you want to export the 3D printing settings to an STL file, click the Export button and save the file to the desired folder on your computer. This STL file can be sent to a network service server or moved to an SD card for printing with your own printer.
- View a summary of the 3D print object and click the Print button.
You can cancel the current 3D printing process using the menu item 3D > Cancel 3D printing.
Photoshop provides interactive step-by-step utilities that you can use to set up, calibrate, and maintain your 3D printer. These utilities can only be used when the 3D printer is turned on and connected to a computer.
- Select the menu item 3D > 3D Printer Utilities.
- Select the utilities you want to run.
Print plate calibration
Helps in leveling the printing plate. This utility includes the following general steps:
- Requires you to remove all residual print materials from the 3D printer.
- Initializes the print head.
- Allows you to adjust the amount of gap between the platen and the printhead at nine nozzle positions.
You can use this utility in wizard mode or manual mode.
Download Thread
Helps load filament into a Fused Deposition Modeling (FDM) 3D printer. To facilitate filament loading, Photoshop starts the head heating process and the filament loading mechanism.
Remove thread
Helps remove the filament from the FDM 3D printer. To facilitate the removal of the filament, Photoshop starts the head heating process and the filament loading mechanism.
Replace thread
Helps to replace the old filament in the FDM 3D printer with a new one. To make changing filament easier, Photoshop starts the head heating process and the filament loading mechanism.
- Follow the instructions on the screen.
Sometimes you may want to print multiple instances of an object on the same panel. Do the following.
- Select the required objects in the 3D panel.
- Select 3D > Pack Objects on Ground Plane.
- Start printing objects.
Photoshop currently supports the following 3D printers:
- MakerBot Replicator 2
- MakerBot Replicator 2x
- ZCorp Full Color
- Mcor Iris
- MakerBot Replicator 5th Generation
Photoshop also supports several Shapeways. com and Sculpteo profiles.
The MakerBot Replicator 5th Generation Printer Profile does not yet support USB direct printing. You can export files to a USB drive and print them to a local printer.
Yes. Before printing, you can set a cross section to cut off part of the 3D model. Follow these general steps.
- Select the menu item Window > Workspace > 3D to switch to 3D mode.
- Open the 3D object you want to print.
- Select Scene from the 3D panel.
- On the Properties panel, select Cross Section.
- Specify the cross section parameters in the Properties panel.
- Select the menu item 3D > Apply Cross Section to Scene.
- Print the 3D scene.
The desired cross section must be dried before printing.
Yes. Follow these general steps.
- Select a material in the Stage panel.
- In the Properties panel, click the folder icon () next to Emboss/Transparency/Normals and load the texture.
 You can also specify a new texture to apply to the 3D model.
 - When specifying a new texture, save this texture. The texture is applied to the 3D model as a bump map or transparency.
- Print a 3D model.
If your 3D printer has two heads, you can print 3D models in two colors. Pop-up menus for additional available heads are displayed in the Print Properties panel. In the 3D workspace and in the 3D Print Preview window, the model appears in two colors.
Printing a 3D model in two colors From a printing point of view, each layer of a 3D model is treated as a separate 3D object. You can optionally merge two or more layers (3D > Merge 3D Layers).
Related topics
- How to print a 3D object in Photoshop
- 3D painting
- 3D panel enhancements | Photoshop
- Photoshop 3D Documentation
Sign in
To come in
Account Management
(There is a solution) 3D printed sphere, How to remove roughness
troubleshooting prusa-i3 prusaslicer
I have a model of an eye that I made to order in blender 2. 83 , which when printed only creates a roughness on the printed object near where I had the supports. The supports are not the cause of the roughness of (at least not completely), since the supports do not even touch the parts of the print, where most of the roughness and unevenness ( see my photos of prints) it is printed up (see pictures)
What I am looking for is a technique or any suggestions to print this without roughness so that it is smooth like the rest of the print. I'm also interested in , which causes roughness.
Model of the eyes in blender
Blender scale coefficient: 0.001
Blander blocks: mm
Model of the Eye 9000 9000 9000 9000 9000 9000 9000 9000 9000 9000 9000 9000 9000 9000 9000 9000 9000 9000 9000 9000 9000 9000 9000 9000 9000
003
The main settings of PRUSA Slicer (higher resolution)
The variable height of the layer for smoothness
The eye model prints photography
The eye model is a small version of the 3D printing (note that it is Glad on top
Eye Model Small Version 3D Print Problem Area
Eye Model Small & Large Version Supported (note roughness on sphere)
Example of Support Used On Fine Font
Smooth inside print
- - - - - - - - - - - - - - - - - - - - - - - - - - - - - - - - - - - - - - - - - - - - - - - - - - - - - - - - - - - - - - -
Printer: Prusa i3 MK3S
Thread: PLA Galaxy Silver (Prusa Resirach)
Slicer software: 2 PRISA SLICER 9000 9000 9000 9000 layer : 205 degrees
Print Temperature Other Layers : 190 degrees
Notes: Suggested temperature for 205-215 filament, I adjusted after careful calibration considering my environment to a lower temperature to reduce tension. I built the tower at different temperatures and found that 190 is the ideal setting for reducing tension in my case with this material. See my screenshot below. I don't think temperature has anything to do with this as the print is smooth inside and near the top with no issues .
Temperature Tower Test For Photo Filament - - - - - - - - - - - - - - -
Settings of the filament
Extruder settings
Support settings
@joseph Astrahan, ♥2
Discussion 9000 9000 9000 9000 9000 9000 9000 9000 9000 9000 9000 9000 9000 9000 9000 9000 9000 9000 9000 9000 9000 9000 9000 9000 9000 9000 9000 9000 9000 9000 9000 9000 9000 9000 9000 9000 9000 9000 9000 9000 9000 9000 9000 9000 9000 9000 9000 9000 9000 9000
3 answers
Best answer:
▲ 5
While Trish is absolutely right that roughness cannot be completely eliminated (you can't print a perfect spherical surface with discrete layers), the situation can be greatly improved. The most revealing photo in your question is one of the removed support structure.
The part of your sphere that is seriously rough is the whole hard canopy. In this region, the outer wall of layer N+1 barely overlaps the outer wall of layer N, if at all, and without support, would be printed mostly or completely over thin air, not attaching to anything and sagging/rolling randomly according to the stresses in the extruded material, air currents, etc.
Now, with supporting material, this is not entirely true. From time to time (looks like a 2 mm grid) reference lines appear under the overhanging outer wall. They will pin it down from time to time and keep it from twisting or sagging too much, but they don't really restrict it to where the slicer wanted the wall to go, and they don't provide a surface for the extruded material to snuggle up to obtain the desired (eg, 0.4 mm wide and 0.1 mm thick) extrusion cross section; instead, the cross section will generally be circular as a result of stresses in the molten material.
In order to get a decent surface over the support material, you need what slicers call "Support Interface" or "Support Roof" (these are the names Cura uses; I suspect it's similar to the Prusa Slicer). This function creates a top surface as part of the reference material itself, on which the reference part of the model rests and presses. Of course this can make the support harder (potentially much harder) to remove and depends on the Z distance setting between the model and the support as a compromise between quality and removal difficulty, but it should give you much better results.
, @ R.. GitHub STOP HELPING ICE
▲ 4
Short answer: With FDM, you can't create curves that go in the Z direction. A better question is why?
Let's see why it is rough: the roughness depends on the height of the layer and the thickness of the perimeters (walls). At some point, perimeters of a given thickness must be positioned in such a way that they no longer completely cover. Let's look at this styling example. First, what does a sphere look like near the equator? Well, the setup is pretty easy. Imagine that each printed wall is a rectangular cross-section and you end up with this pattern:
As you move up the print, the overlap between each subsequent layer gets smaller and smaller. Somewhere in between we are in this situation:
Until this happens at the top of the dome: The footsteps seem to get rougher and rougher and eventually create a very visible and tangible pattern of footsteps. Also, the top layer is skipped because it's not the full height of the layer.
But there are ways to mitigate the sphere problem to some extent.
- significantly reduce the layer height in areas that are strongly curved, although this directly affects print time and may affect quality.
- Do not use an FDM printer, but an SLS printer with a layer height that is a fraction of the layer height possible with FDM
- Cut your sphere.
 An example of cutting is here, but there are other options. If print orientation isn't a must, you can even cut the sphere and reorient it to achieve this, mitigating both the layer issue and the use of 0:9 support0010
The only sure way to get rid of layer lines is in post-processing. In this case, I highly recommend using filler and then sanding off the excess material.
, @ Trish
▲ 0
I've noticed that the best way to make it smooth without support is to have the printer print the insides of the model first. So it gives the hanging layer something to hold on to. I turn my AC window unit so it's facing the printer so it cools the filament quickly. Then you'll want to fiddle with the heat of the extruder. Try to keep it as low as possible, but keep an eye on the good sticky bad sticky range. If the first overhanging layer is close to the table, turn off the table heat.


