3D print with sketchup
3D Printing with SketchUp: 10 Tricks | 3D Printing Blog
3D Printing with SketchUp: 10 Tips and Tricks
by Fabian | March 30, 2017
SketchUp is one of the most popular 3D modeling & design programs for 3D printing, as we found out from our analysis. However, preparing a SketchUp model for 3D printing can be a little tricky. That’s why we put together a list of 10 simple yet effective tips and tricks to make your SketchUp design 3D printable.
1: Set your Template to Millimeters or InchesSome simple clicks before getting started will make your life easier: you may want to set your SketchUp template to metric or imperial units. This way, you won’t need to re-scale the printing size of your model later.
You can change the template by clicking on Window > Preferences > Template and selecting ‘3D Printing – Millimeters’ or ‘3D Printing – Inches’.
2: Install the SketchUp STL ExtensionTypically you can save your 3D model as a SketchUp file (SKP). Even though our online 3D printing service accepts these files, you might want to get SketchUp’s free STL Extension. The STL file format is the most commonly used in the 3D printing community and will make it easier to share, print, and edit your design in other software.
With the SketchUp STL extension installed you can export your model as an STL file. Make sure to select the same unit type that you chose in your template (millimeters or inches) when exporting, and choose the binary file format to reduce the size of your file.
3: Avoid Paper-Thin Surfaces & Set Wall ThicknessesIn order to make your SketchUp model printable, you need to ensure that each and every surface has a wall thickness. Without setting a wall thickness, a 3D printer has no information about how thick or how thin it is supposed to print your part.
The picture below shows a model with paper-thin surfaces (not printable, left) and a solid object with thick walls (printable, right).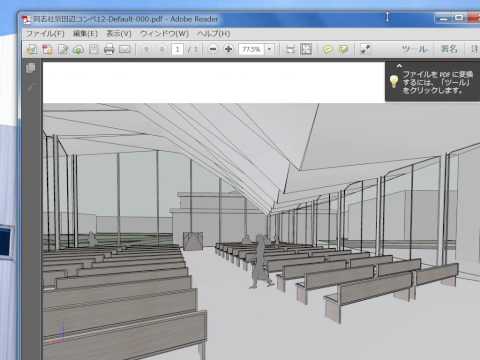 If you want to learn more about how thick your walls need to be exactly, make sure to read this blog post.
A printable model must not feature any holes in its surface. Ask yourself the question: if I were to put water inside my model, would it flow out? If that’s the case you need to find these holes and close them. This is one of the trickiest parts of creating 3D printable models in SketchUp.
The design below is an example of a model that is not watertight. You can clearly see that there is one big hole on its surface.
Once this hole is closed (for example by drawing new lines), SketchUp recognizes that the object is solid on the inside and ready for the printer! You can see such a watertight (also referred to as manifold) object below.
5: Avoid Internal OverlappingIntersections and walls within your design can make your life difficult since your model needs to have one continuous ‘outer shell’.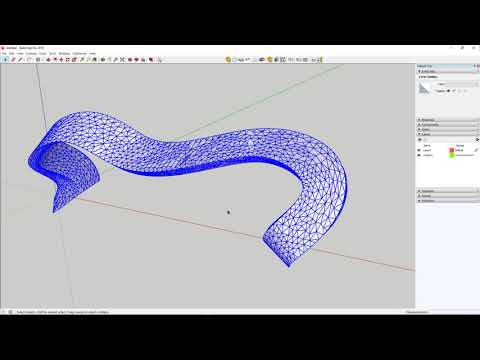 That’s why it makes sense to think about your model in a 2-dimensional space first.
In the case below, the left shape will not be printable once it is pulled into a 3-dimensional object since it will feature paper-thin walls within the object. The shape on the right, however, won’t be a problem to print once it is pulled into a 3D object because it will only have one ‘shell’. It doesn’t feature paper-thin walls on the inside. We’ll look at an automatic way to create one outer shell later.
6: Check if Your Model Is SolidCreating watertight models with one continuous outside can be tough sometimes. Luckily SketchUp lets you check if you made any mistakes.
Here’s how it works:
- Triple-click on your model with the select tool (this will select everything).
- Right-click on your object and select ‘Make Group’.
- Right-click on your object again and select ‘Entity Info’.
If you designed an object with holes (not watertight) and internal intersection (not in one shell) the Entity Info window will say ‘Group’.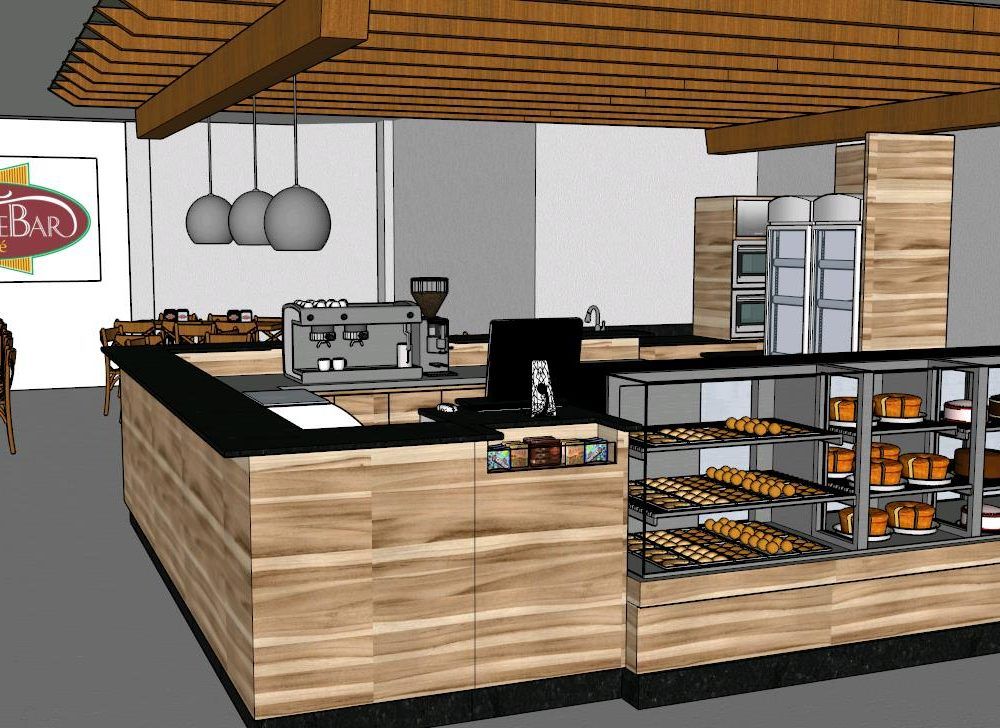 This means that your model is not printable and you’ll have to check it again. Right-click on it and select ‘Explode’ to re-edit the components.
If you designed a watertight model in one shell, the Entity Info window will say ‘Solid Group’ and then you know that your model is ready to be 3D printed (in the next steps we’ll tell you how to fix this).
7: Look inside Your Model with the ‘Hide Tool’ and ‘X-Ray-Mode’Looking at your model from the outside means that the inside is a ‘black box’ for you. However, even the inside of your model could feature many modeling mistakes that would make your object unprintable. In the example below, the ‘Entity Info’ window indicates that the object is not solid.
Since it looks solid from the outside, it makes sense to take a look at what’s going on inside. Select a surface (face) you want to hide and select ‘Edit’ > ‘Hide’. And voila: you can find the trouble-making mistake. Alternatively, you can switch into x-ray-mode by clicking on ‘View’ > ‘Face Style’ > ‘X-ray’.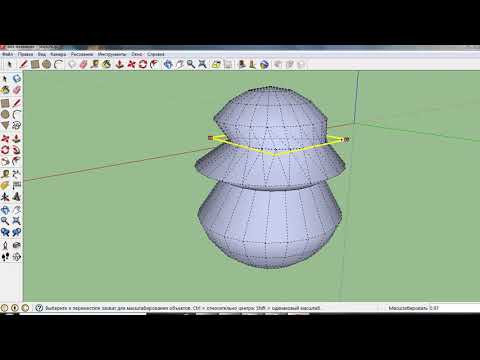
We already pointed out that designs with overlapping objects create problems for 3D printers. The good news: there’s an automated solution for creating one ‘outer shell’ around the overlapping objects, deleting all internal overlapping parts.
To start with, we have these two solid blocks. Each of these blocks was ‘grouped’ separately (Select > Right click > Make Group). We also selected the x-ray view to make things easier.
We then move one block into the other. We now have overlapping areas in the interior of this object.
To get rid of these, we select one block, click on ‘Tools’ and choose ‘Outer Shell’.
The last thing to do is to click on the second block. SketchUp automatically created one solid group out of these blocks. As you can see, the internal overlapping parts are gone. The result is a new solid object that is ready to be 3D printed!
9: Fix Reversed Faces (Inverted Normals)Another problem that can occur is so-called inward-facing or reversed faces.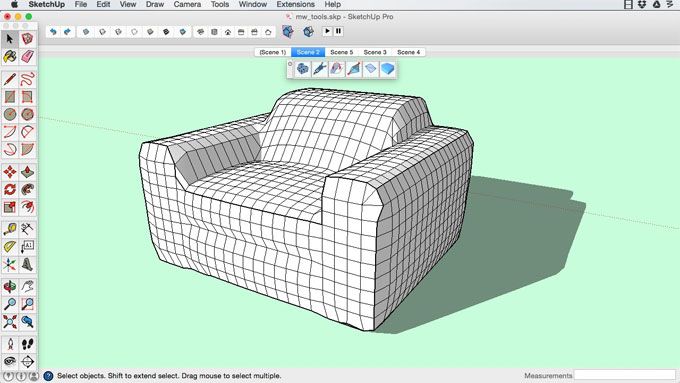 This means that a surface of your model is facing in the wrong direction (typically this means that it is facing the inside of the object instead of the outside). These surfaces are automatically colored in light blue.
To fix this, right-click on the inward-facing surface (face) and select ‘Reverse Faces’. You can see an example of this in the image below (left). On the right, you can see the object how it is supposed to be: all faces point to the outside again.
10: Increase Circle/Arc Segments to Getting Smooth CurvesSketchUp ‘smoothens’ arcs and circles in its visual presentation. Even though circles might look perfectly spherical in SketchUp, they are actually only made of 24 sides. Click on ‘View’ > ‘Hidden Geometry’ to see theses sides. When being printed, this circle might come out quite edged.
When you select the arc or curve tool, SketchUp will show you their default sides in the bottom right corner. You can then enter a higher number to increase the number of sides.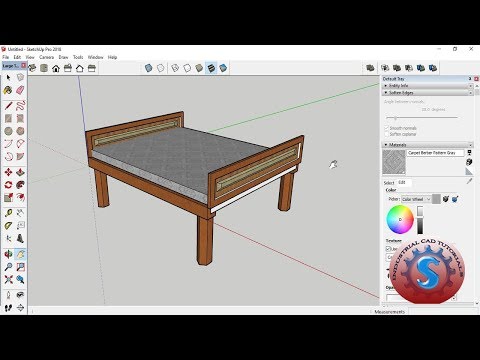 Validate your entry by hitting the ‘Enter’ key and then draw your arc or circle.
The image below shows a comparison between the default 24 sides (left) and 150 sides (right).
Extra: Automatic File Fixing and PreparationSometimes problems are tiny and hard to see with the naked eye. There are SketchUp extensions like the Solid Inspector 2 that find problems automatically and point them out to you. Simply select a group or component and activate the Solid Inspector tool for an analysis of what would prevent it from being a solid manifold.
Another handy extension is CleanUp 3. It allows you to cleans up and optimize your SketchUp model with handy tools like “Erase hidden geometry” and “Erase duplicate faces”.
Also, SketchUp added a cool feature to their 3D Warehouse that was developed by Materialise. When uploading a model to the 3D Warehouse, you can check the “I want this to be 3D printable” button (see video below) to get modeling errors fixed instantly. This tool will make your 3D model watertight and allow you to download it as an STL file. While it might lead to somewhat less accurate results, it’s a very fast way to get a printable file. So if you’re searching for an easy-to-use tool that will save you a lot of time and effort (no more searching for file issues, no more exhausting fixing sessions), this is the tool for you.
Did you manage to follow our tips and tricks and create a printable SketchUp file? In order to send it to our printers, download the SketchUp 3D print service plugin. Alternatively, you can upload your models here and choose from hundreds of material options.
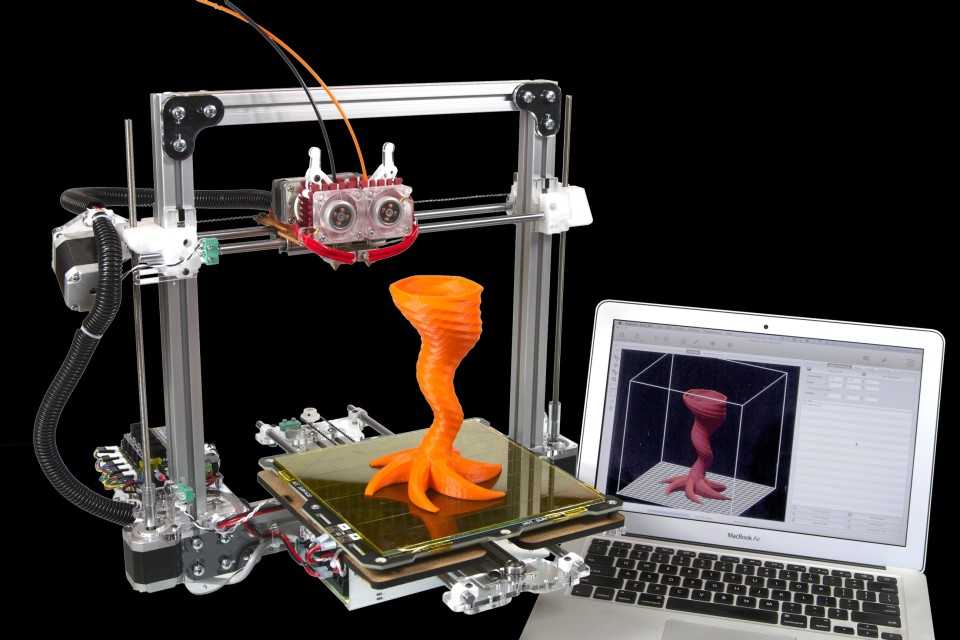
Get high-quality 3D prints like these with i.materialise’s online 3D printing service.
Is SketchUp good for 3D printing? – 3D Solved
Have you ever come across a model you would like to modify so it can meet a specific requirement of yours? If you ever felt the need to modify an existing model or to create your very own designs, then you surely saw there are a lot of programs to help you achieve that.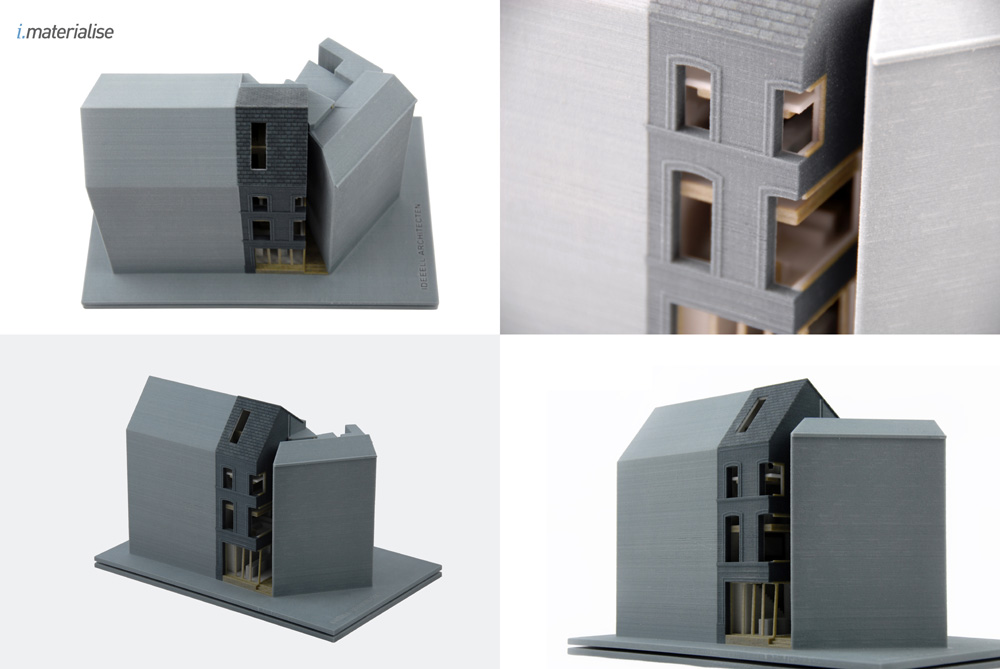
There are quite a few CAD software options to choose from and all of them have their own strengths and weaknesses, so I made this article to help you decide if SketchUp is the right one for you.
SketchUp is a great tool for beginners with little to no experience in the 3D modeling world. With SketchUp, you will be modeling your designs right away for free without the need to download anything. Although the learning curve is friendly for newcomers, professional modelers will be limited by the lack of advanced functionalities.
Is SketchUp easy to learn?
SketchUp is considered by most users to be one of the easiest 3D CAD modeling programs to get started in the 3D designing world. It is possible to achieve a fairly decent skillset with the software in no time and with little difficulty. This is because of its user-friendly interface, which is very intuitive to pick up, even for someone without a 3D modeling background.
With SketchUp, 3D modeling is made simple but its narrow focus makes it more difficult when it comes to complex designs. For that reason, SketchUp is better suited for beginners or intermediate users. If all you want is to 3D model simple objects, just watch a SketchUp tutorial and you can start designing right away.
Is SketchUp popular in 3D printing?
SketchUp is a popular 3D modeling program amongst makers. The fact that it provides a free version, combined with its user-friendly interface makes it a solid choice for beginners and intermediate users. You don’t even have to download the software as it is browser-based. Just sign in on SketchUp’s website and start designing!
With SketchUp, you can transform your ideas into 3D models easily thus making it an excellent tool for both visualizing and planning. The SketchUp Viewer mobile app is also available for free and allows users to see their designs in the place it would be built using augmented reality (AR).
Sketchup’s mobile app allows for augmented reality object visualizationsCan you design anything using SketchUp?
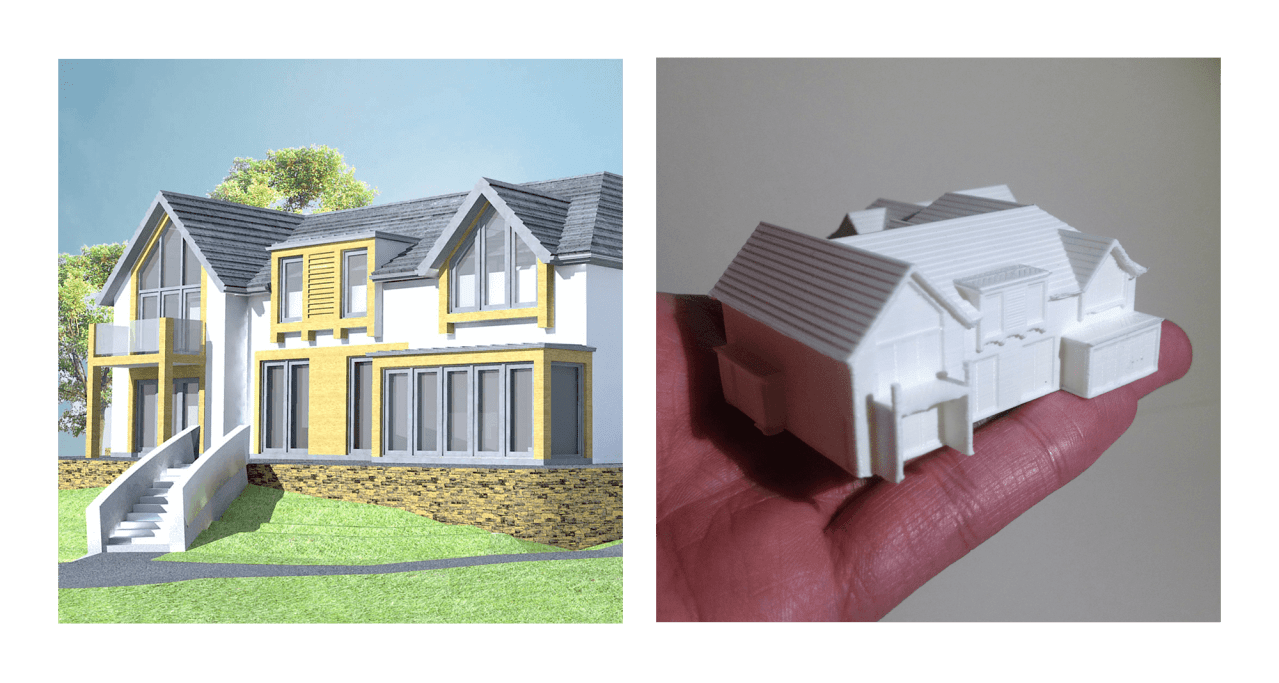
SketchUp can be used in a variety of projects, from buildings to 3D printable product mockups.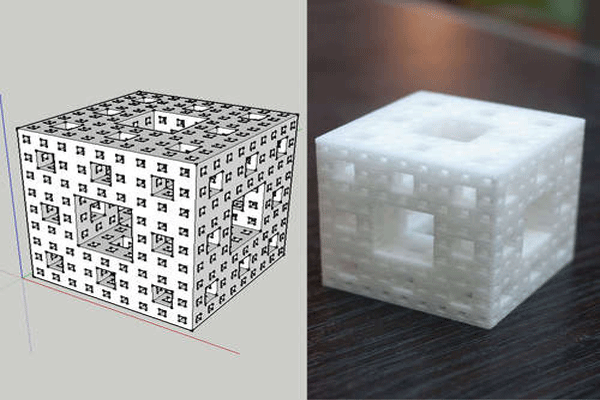 It is a great tool for 3D modeling projects across architectural and interior design.
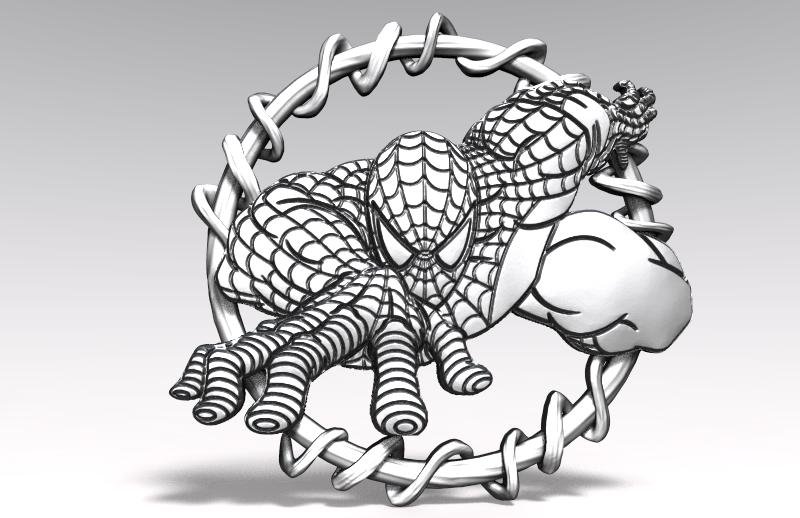
Since SketchUp uses straight-line segments to build forms it is not advised to use it on organic designs such as plants and animals. You will have a hard time modeling any curved or irregular lines. If you are interested in organic modeling you should consider another CAD program, like Blender or ZBrush.
Many hobbyists choose SketchUp as it is free and easy to use, but take into consideration that complex modeling and drafting customization can be troublesome because of SketchUp’s narrow focus.
Online resources for learning SketchUp
As it happens with all the popular 3D CAD programs, there are a lot of good sources providing educational content to help you learn everything you need to know to start modeling with SketchUp.
Besides the community-driven content, the SketchUp developers provide amazing official resources to learn the program. Just access SketchUp’s website for free courses covering most features of the software.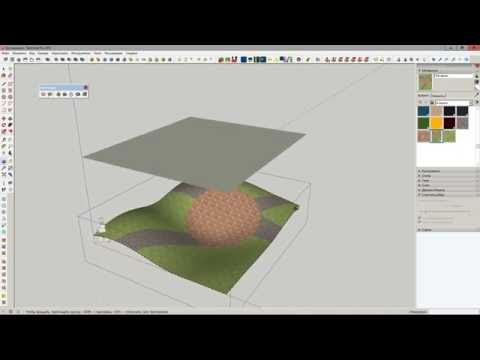
You can also find great tips and tutorials on SketchUp’s official YoutTube channel. Also, I found this channel to have good updated videos teaching SketchUp, you might want to check this video series to get started.
Popular alternatives to SketchUp
SketchUp vs Tinkercad
Tinkercad is a totally free browser-based 3D design software. There is no offline version, so you need an internet connection to be able to use it. Both Tinkercad and SketchUp provide people without any experience in 3D modeling the opportunity to design real objects that come out of the 3D printer.
Tinkercad limits your options with their preset catalog of shapes and is more oriented towards introducing kids to the 3D modeling world. With SketchUp, you have more freedom to create new designs as it has more advanced features, allowing you to further express your creativity.
I would recommend SketchUp to anyone who finds Tinkercad as too basic and wants to explore more advanced options, but still has very little experience with 3D modeling. If you want to learn more about Tinkercad, you can check out the review I made!
SketchUp vs FreeCAD
FreeCAD is a completely free open-source parametric 3D modeling software. Being that FreeCAD is fully parametric means that it is not very practical to use it to model organic figures such as plants and animals.
FreeCAD is best used when it comes to mechanical purposes, precise replacement parts, and elaborated technical objects, whereas SketchUp is primarily used in construction and interior design.
When it comes to ease of use, SketchUp’s interface is way more user-friendly and intuitive than FreeCAD’s. So it would be easier for someone taking their first steps in 3D modeling to start with SketchUp.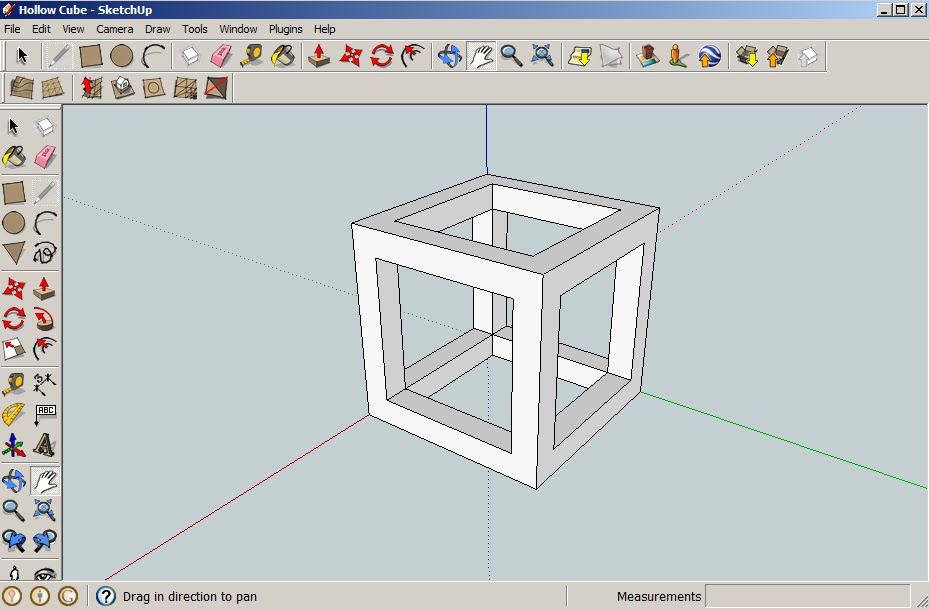
I also wrote a review of FreeCad, so make sure to check it out if you are still on the fence.
SketchUp vs Fusion 360
Fusion 360 is a desktop-installed and cloud-based professional 3D CAD software. For professional use, you need to pay a monthly subscription but It also offers free licenses for personal use, students, educators, and startups.
Fusion 360 uses parametric modeling but u can change it to direct modeling when it is convenient for your project. SketchUp is better suited for beginners or intermediate users focused on construction and interior design while Fusion 360 features and tools make it more appealing to a wider audience.
With SketchUp, 3D modeling is made simple as it has a narrower focus making it easier to use than Fusion 360, In addition, Sketchup’s paid versions are cheaper than Fusion360’s subscriptions. SketchUp may demonstrate to be a faster option to get started with small projects, but if you are looking to create complex technical designs down the road, give Fusion 360 a try.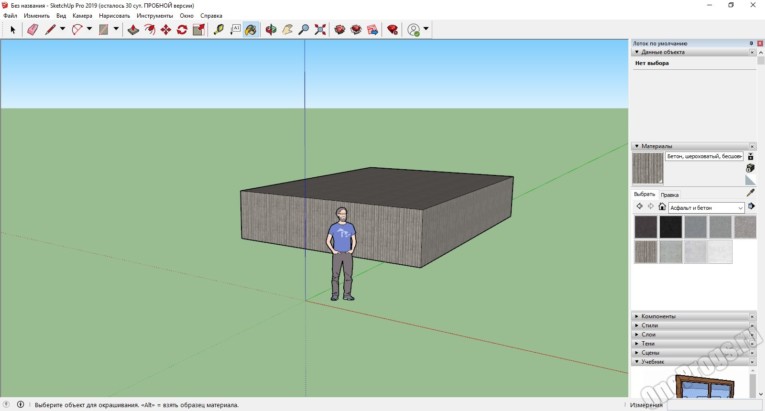
Fusion360 is my favorite designing program available, so I might be a little biased in the review I wrote about it.
SketchUp vs AutoCAD
AutoCAD is a precise 2D and 3D drafting software and was one of the first CAD programs introduced in 1982. There is no free version so you need to pay a monthly/annual subscription in order to use it.
Even though AutoCAD is ideal for 2D drafting it isn’t very user-friendly to use in complex 3D modeling as it has a steeper learning curve than most CAD software. Because of that, it is not a very popular option in the 3D printing community.
Because AutoCAD subscriptions are expensive, SketchUp is a better option for most hobbyists to design their models. AutoCAD is rather used by professionals working on industry-level designs.
Frequently asked questions
Do I have to download SketchUp?
SketchUp has both a desktop and a web-based version. The Free and Shop plans only allow for web-based use of the software, whereas the Pro and Studio subscriptions offer web and desktop usage, meaning that you can download the software and use it offline.
How much does SketchUp cost?
SketchUp offers a free version, and for those who want to check the features from the paid versions, there is a 30-day trial, after which you would have to pay for a subscription or go back to the free version. You can expect to pay around $10 to $30 per month for the Shop and Pro versions, whereas the Studio subscription will set you back around $100 per month.
Can you render objects with SketchUp?
There aren’t any native rendering tools in SketchUp that allow you to create photorealistic images of your models. However, there is rendering software that you can use in conjunction with SketchUp to get the results that you want. You can use rendering extensions that run inside SketchUp or rendering apps that work outside SketchUp as standalone apps.
What operating systems does SketchUp support?
For the web-only version, you just need an internet connection to use SketchUp, and the desktop versions are being developed and maintained for Mac and Windows operating systems. Although it is possible to install Sketchup on Linux, it is not supported by the developers.
Can you export STL files in SketchUp?
SketchUp supports imports and exports in STL format, which is the most common file type in 3D printing. In order for your model to become a successful print, you need it to meet some requirements before exporting the file like having a base, a volume, and being a solid group.
Can I activate my SketchUp Pro license on more than one computer?
If you possess a classic license you can activate your SketchUp license on up to 2 computers and for subscription users, you are allowed to sign in with 3 computers.
Conclusion
Having gone through most of the key features that make Sketchup a popular choice among designers, we can definitely conclude that it is a viable option for getting started in the 3d modeling world.
Having said that, there are other intuitive and friendly programs out there that are also better suited for professional uses if you choose to do so in the future. Such is the case of Fusion360, which is also free in most cases, and I definitely urge you to consider it.
We created a recommended products section that will allow you to remove the guesswork and reduce the time spent researching what printer, filament, or upgrades to get, since we know that this can be a very daunting task and which generally leads to a lot of confusion.
We have selected just a handful of 3D printers that we consider to be good for beginners as well as intermediates, and even experts, making the decision easier, and the filaments, as well as the upgrades listed, were all tested by us and carefully selected, so you know that whichever one you choose will work as intended.
Blender 3D for 3D Printers / Sudo Null IT News
Correct position! But some problems can still be covered by polygonal modeling.
Gathered here the answers to the four most common and non-obvious problems.
Dimensions
When I first tried to order 3D printing from a company about seven years ago, it was like this:
— Igor! You sent an empty file!
- No! Here's a screenshot, well!
One meter in the Blender is equal to one millimeter in the slicer, nothing has changed in these seven years.
Designing in meters is wonderfully inconvenient, so when exporting to STL/OBJ, set the Scale value to 1000:
Closed geometry The ability to create open geometry is both a scourge and a bonus of polygonal modeling.
In the modern world, slicers (not all) have learned how to work with this, but there may be surprises: want a hole? get a blank wall!
If you don't like surprises, you should use Blender's geometry analyzer.
In mesh edit mode, select vertex selection, and click Select → Select All By Trail → Non Manifold
To eliminate such trash as on the right ball, there is a Merge By Distance tool. Lives in Mesh → Clean Up → Merge By Distance.
In other cases, it is necessary to either give the wall thickness by extruding, or close up the hole, or is this geometry really necessary?
And now for the good news: in Blender 2.8 the 3D printing addon is built right into Blender, hooray! Geometry analysis just got easier.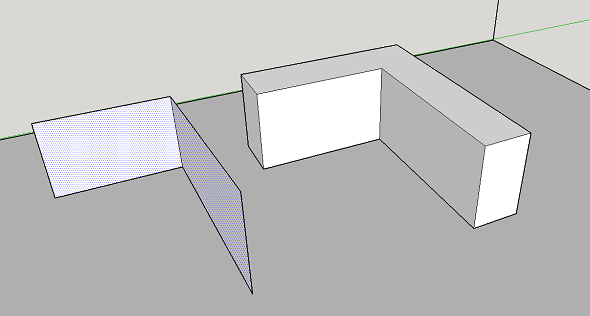 You just need to turn it on, and in the edit mode in the N-panel everything will be (and even the preliminary volume of the model!).
Flying geometry
As unclosed, only flying. So the slicer can still try to shove it into the G-code!
The annoyance is that if the volume of the walls was made by a modifier, these mesh pieces can no longer be found with the Non Manifold tool.
Select any polygon on the target mesh, and use the Ctrl+L hotkey: it will add all physically connected polygons to the selection. After that, invert the selection with the Ctrl+I hotkey and delete everything you don't need.
Normals
Roughly speaking, the polygon has a "face". When the polygon enters the slicer, the slicer looks at where the polygon has a “face”, tries to fill the wrong side with plastic, and at the same time checks for overhangs.
Accordingly, a cube with normals inside will be perceived clumsily.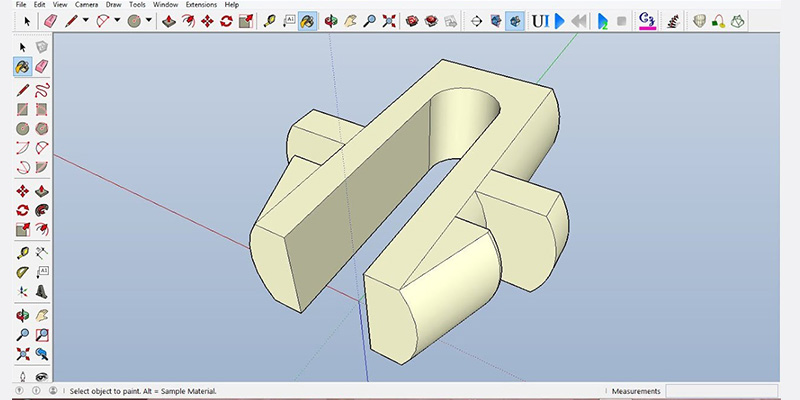 In fairness, in modern slicers this is no longer so important.
The solution is super-simple: turn on the display of normals:
Turn in the right direction: select the polygon with the normal turned inside out and press Alt+N. Hoba! and the slicer no longer panics about negative angles where they cannot exist.
Generalize
Blender, indeed, is not developed as engineering software, and you should not try to solve furious tasks with it in the spirit of multicomponent kinematic systems.
But the blender + home 3D printer perfectly covers the needs of a small workshop, the main thing is to remember the nuances of polygonal modeling.
Selecting a program for modeling to print
Autodesk 123DBlenderTinkercadSculptrisSketchUp
AUTODESK 123D
Autodesk 123D is a package of free 3D applications linked together in the cloud and aimed at implementing almost any of your ideas!
Autodesk 123D software is designed to enable iPad, Mac and PC users to create and order 3D models without serious design skills or knowledge of complex CAD systems.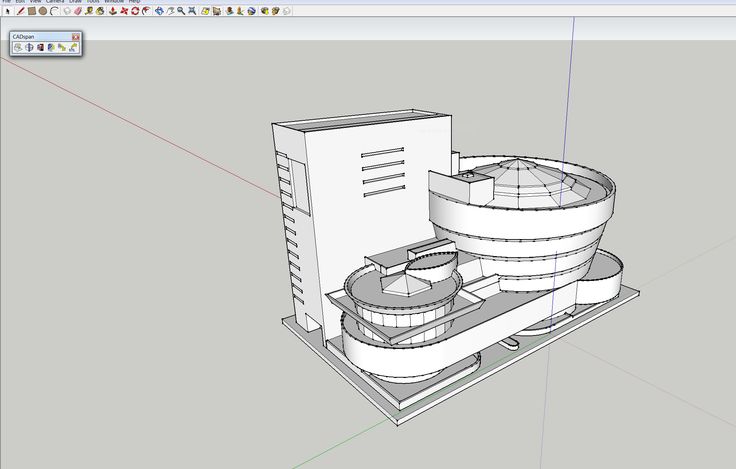 Autodesk 123D projects are saved in *.3dmk format. The program supports *.stl and *.obj import of 3D graphics format.
www.123dapp.com
BLENDER
Powerful free app with full professional tools.
Includes modeling, animation, rendering, video post-processing, and interactive game creation tools. Blender has a large number of additional information resources to help you master this tool.
Blender projects are saved in *.blend format. The program supports import and export of *.dae, *.bvh, *.ply, *.stl, *.3ds, *.fbx, *.obj, *.x3d formats.
www.blender.org
TINKERCAD (ONLINE)
With Tinkercad, you can design amazing little things for 3D printing.
You do not need to have experience in designing and working with complex programs. With the latest web technology, you can use the 3D modeling tool directly in your browser. Just open your browser and start creating!
Tinkercad projects are saved in *stl ,*. obj, *.x3d, *.vrwl format.
tinkercad.com
SCULPTRIS
Sculptris is an easy-to-use yet powerful 3D modeling software.
If you're new to the world of digital design, then Sculptris is the perfect tool to get you started. On the other hand, if you already have experience in 3D modeling, Sculptris will allow you to test your ideas and concepts incredibly quickly.
Sculptris projects are saved in *.sc1 format. The program supports import and export of *.obj 3D graphics format.
www.pixologic.com/sculptris
SKETCHUP
SketchUp is a tool that makes the modeling process easy and enjoyable.
Are you an architect who wants to design your future home or interior, or do you just dream of getting into 3D modeling? Dozens of video tutorials, an extensive help center, and a worldwide community of users will help you quickly master SketchUp.
SketchUp projects are saved in *.skp format. The program also supports the import and export of various formats of two-dimensional raster and three-dimensional graphics, in particular: *.