3D print voronoi
Voronoi best 3D printing models・Cults
Wonder Woman bust
€3 -10% €2.70
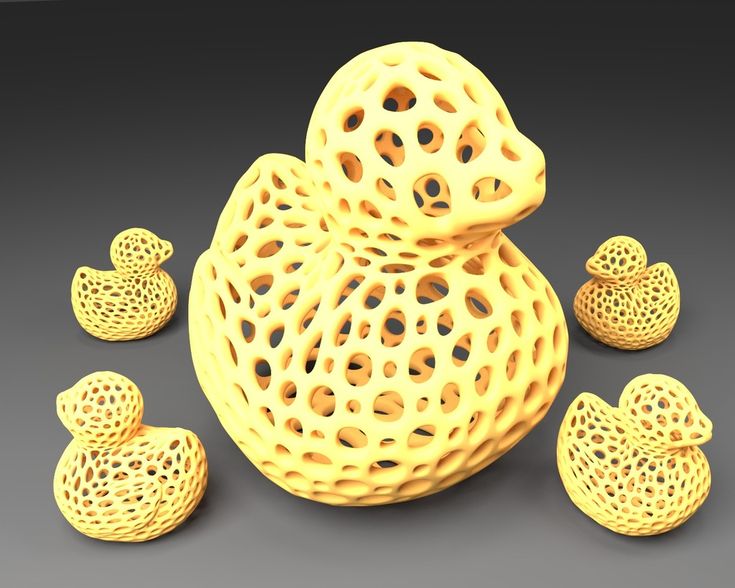
Teddy Bear - Voronoi style
€2.81
Kangaroo - voronoi style
€5.16
Totem
€3 -10% €2.70
CHRISTMAS TREE CANDLE HOLDER VORONOI COMPLETELY 3D PRINTED
Free
Statue of Liberty
€3 -10% €2.70
Dragon
€4 -10% €3. 60
Cute Dragon
€3 -10% €2.70
Ikea lamp Melodi
€3 -10% €2.70
Love Bear KUMATY 2
€3 -10% €2.70
Love Bear KUMATY
€3 -10% €2.70
Love Bear
€3 -10% €2.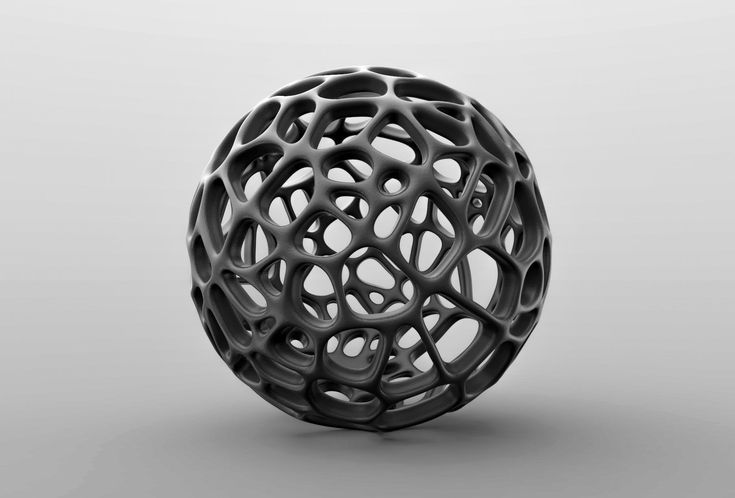 70
70
VASE DECOR
€3 -10% €2.70
Modular/Stackable Boxes
€2.50 -51% €1.22
Heart
€3 -10% €2.70
Eevee Pokemon
€3 -10% €2.70
VASE VORONOI
€4
Pikachu Pokemon
€3 -10% €2.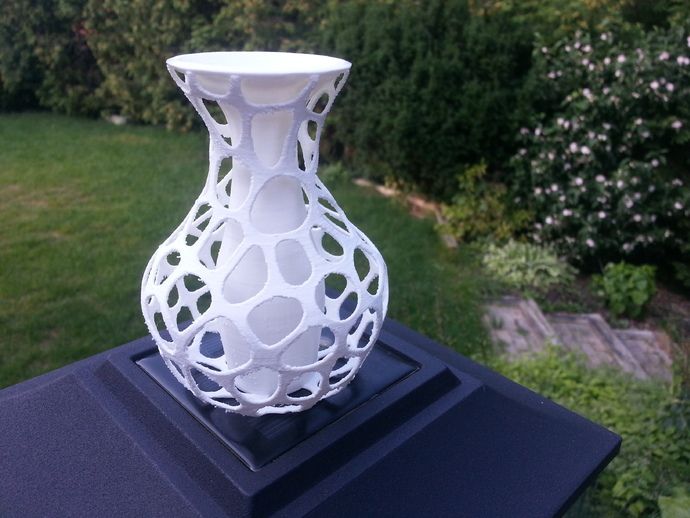 70
70
Vulpix Pokémon
€3 -10% €2.70
Black Panther Bust
€3 -10% €2.70
Cat Statue
€3 -10% €2.70
Heart
€3 -10% €2.70
Black Panther Bust
€3
Christmas tree
€3
Rabbit Symbol of 2023
€3
Voronoi Light Fixture
€3.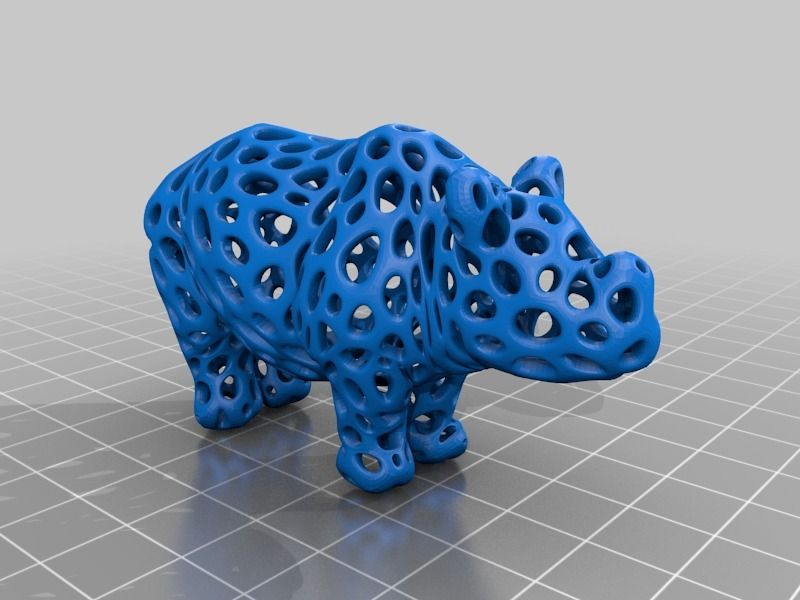 62
62
VORONOI SCULPTURE 1
€2.14
Christmas tree
€3
Christmas tree
€3
Voronoi Guitar Picks
Free
Christmas tree
€3
Christmas tree
€3
Heart
€1
Christmas tree pass set 6 pieces
€10
Voronoi vase
Free
Christmas bauble voronoi heart
Free
Christmas bauble Voronoi
Free
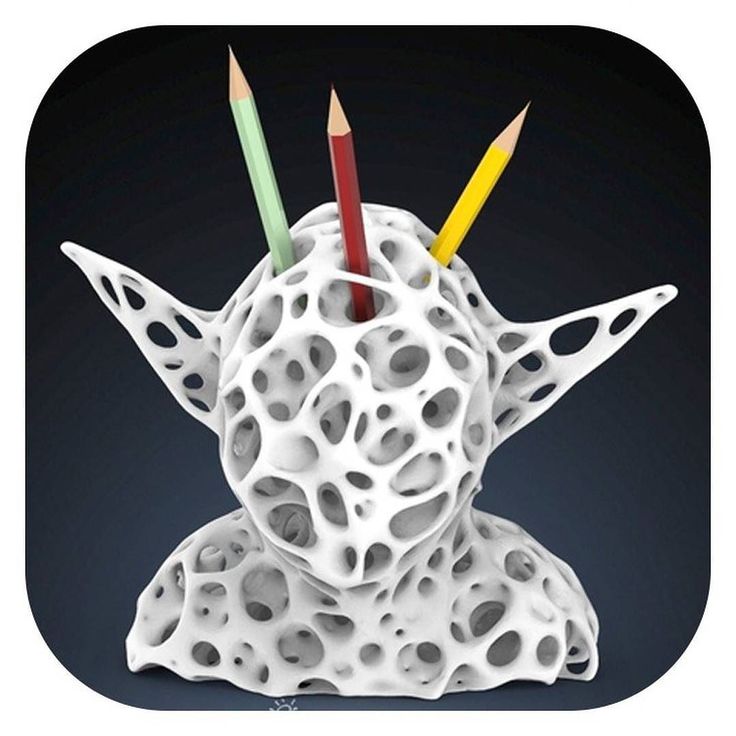
Voronoi woman bust - Pencil pot or remote control storage
€1
Xiaomi 9A case Voronoi
Free
Organic Fruit Bowl
€6.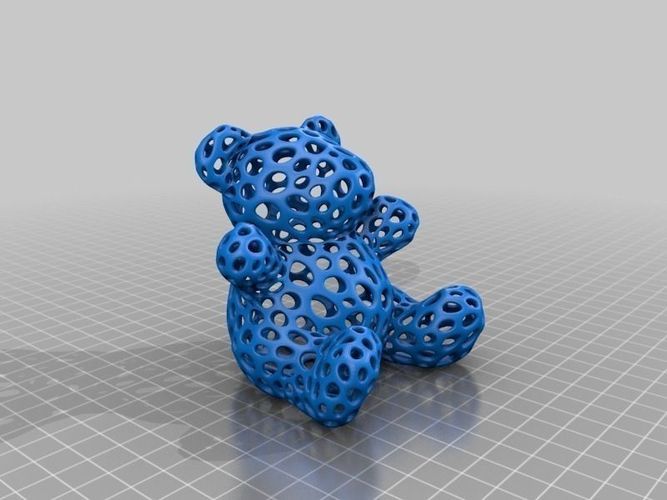 99
99
Christmas tree 6
€3
Voronoi lamp
€2.90
bacterial Coaster
Free
Christmas tree 5
€3
Biomimicry Pen Holder 2.0
€6.25
Voronoi Bar Pendant
€8
Christmas tree 4
€3
Angel
€3
How a Ukrainian Mathematician Can Make Your 3D Printed Models Look Better - 3DPrint.com
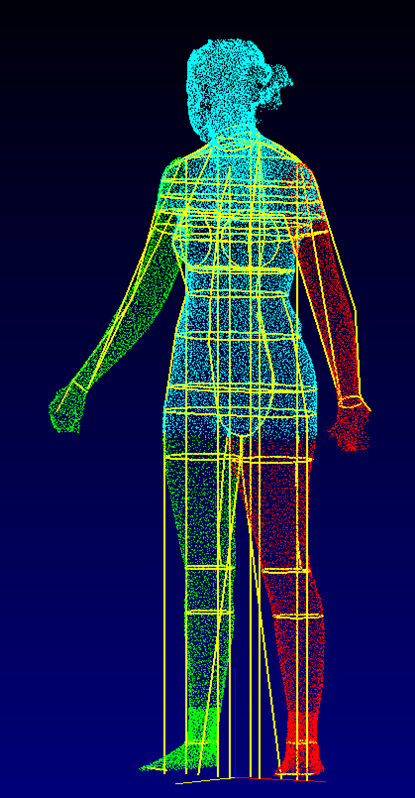
The Ukrainian mathematician Georgy Voronoy, among his many accomplishments, defined what is now known as the Voronoi diagram.
A Voronoi diagram, at least in a very simple form, describes the partitioning of a plane into separate regions based on the distance to points in a specific subsection of the plane.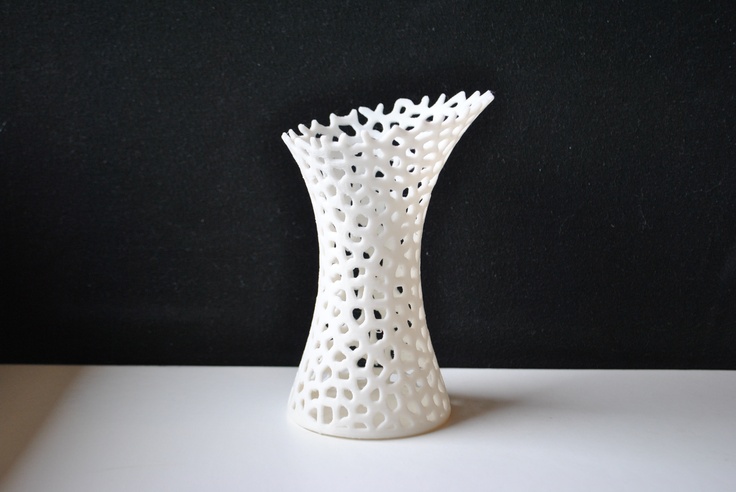 Vornonoy called those partitions seeds, sites, or generators, and each of them includes a corresponding region which is made up of all the points closer to that seed than to any other.
The Voronoi diagram itself is a representation of a set of points made by taking pairs of points that are close together and drawing a line that is both equidistant between them and perpendicular to the line connecting them. What you end up with is a form in which all points on the lines in the diagram are equidistant to the nearest pair of source points.
The diagrams are sometimes referred to as Voronoi tessellation or Voronoi decompositions, and they’ve been used in practical and theoretical applications in science, technology and the visual arts.
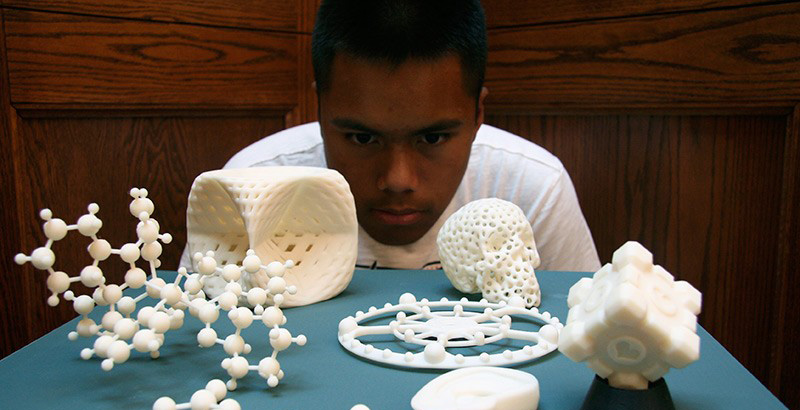
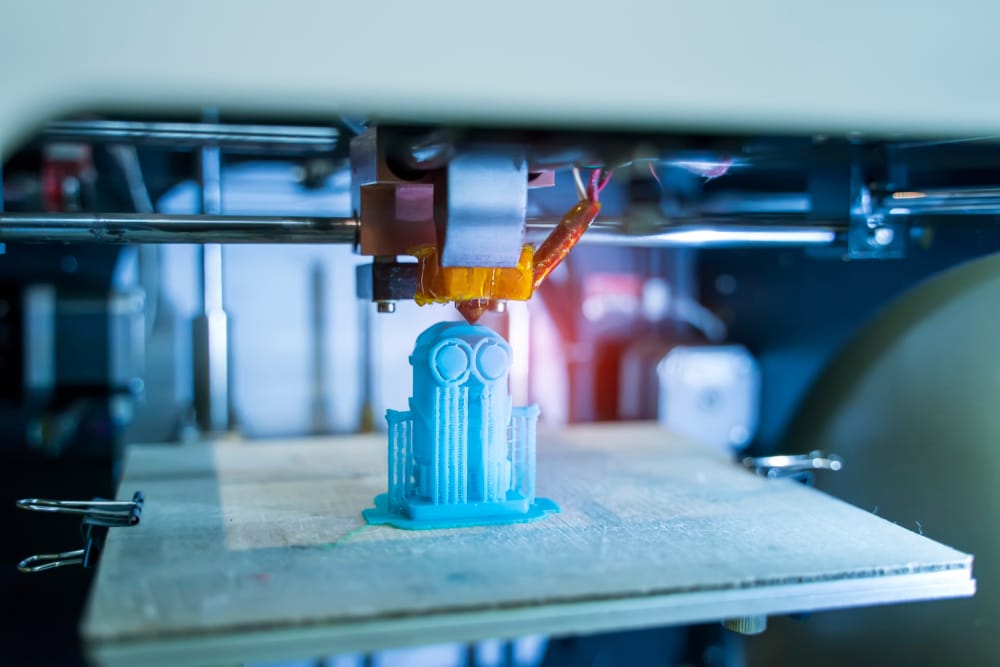
Marshall Peck of ProtoBuilds used Voronoi patterns to make some organic-looking models by adding the pattern to his STL files and the resultant 3D models by importing them into Autodesk Meshmixer. Peck operates a design and printing hub service out of Austin, TX, and he’s a networking and technical support professional during the day.
He reduces polygons and applies the Dual Edges pattern to create tube-like structures to replace the original polygons, and he says the patterns can provide “consistent horizontal cross sections for slices that might be helpful when using SLA resin 3D printers” and adds that models created with the technique “can print well on most Fused Filament 3D printers.”
Peck begins the process by importing a model into Meshmixer, selecting the entire model and then using the Reduce tool to drop down to a lower triangle or polygon count. He says fewer polygons will ultimately result in larger openings in the final model.
The models he used were the Brown Bear and Pink Panther Woman Voronoi Style downloaded from Thingiverse and the Bunny model which comes pre-loaded in Meshmixer.
He adds that adjusting certain pattern settings might gobble up a lot of resources on your CPU and that you may wish to reduce the new mesh polygons for easier 3D printing or to make the files smaller for importation into other design programs.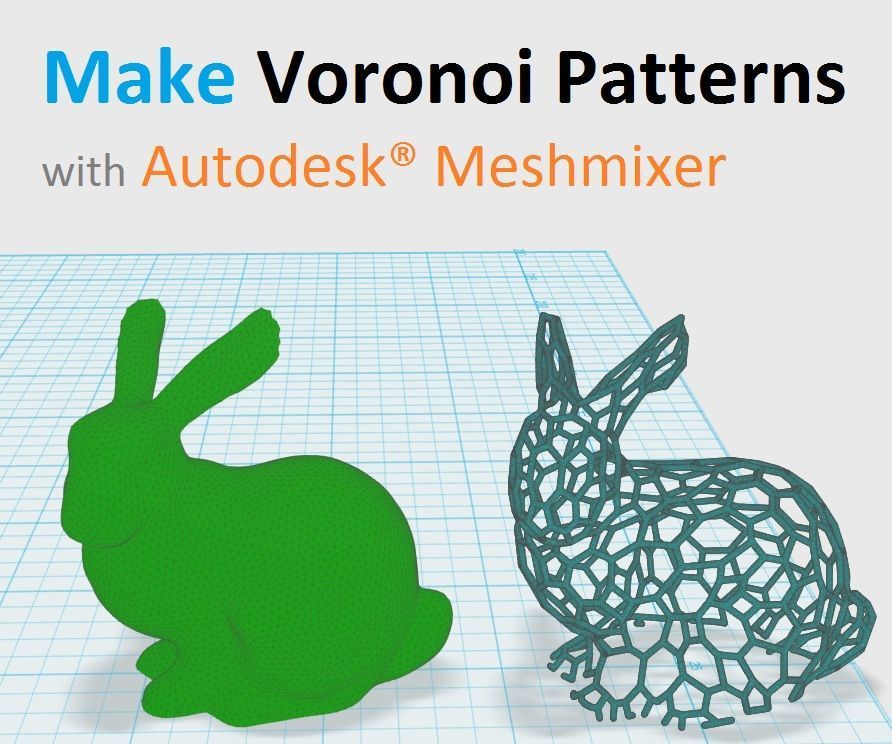
You can check out his tutorial on how to apply the Voronoi effects to your 3D models on his site, as well as further details in an Instructable he wrote on the subject.
Have you ever built objects with your 3D printer that feature the Voronoi technique? If you have, please let us see your work in the Voronoi Patterns forum thread on 3DPB.com.
A Voronoi diagram of weather stations around the world
Stay up-to-date on all the latest news from the 3D printing industry and receive information and offers from third party vendors.
Tagged with: 3d hubs • 3d printed Voronoi tessellation • 3d printing design techniques • Autodesk Meshmixer • instructables • Marshall Peck • meshmixer • ProtoBuilds • Protobuilds.com • thingiverse • Voronoi tessellation or Voronoi decompositions
Please enable JavaScript to view the comments powered by Disqus.
Best 3D Printable Models Voronoi・Cults
Bust of Wonder Woman
3 € -10% 2.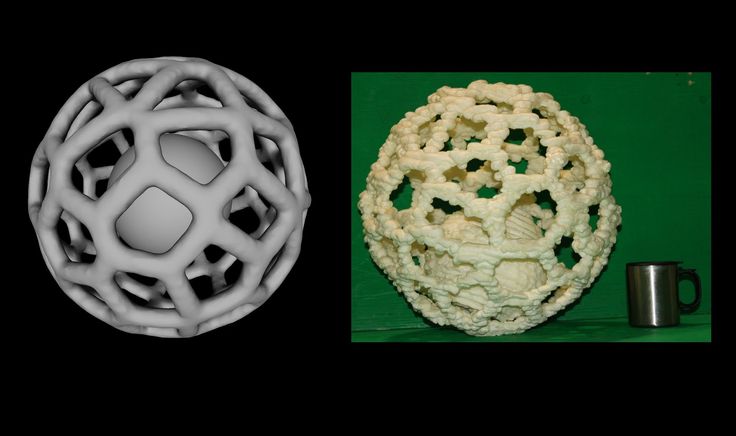 70 €
70 €
Teddy bear - Raven style
2.78 €
Kangaroo - black style
5.11 €
nine0002 Totem 3 € -10% 2.70 €
VORONOI CHRISTMAS CANDLESTICK FULLY 3D PRINT
Free
Statue of Liberty
3 € -10% 2.70€
Dragon
4€ -10% 3.60 €
Cute dragon
3 € -10% 2. 70 €
70 €
Ikea lamp Melodi
3 € -10% 2.70 €
Love Bear KUMATA 2
3 € -10% 2.70 €
Love bear KUMATA
3 € nine0006 -10% 2.70 €
Love Bear
3 € -10% 2.70 €
VASE DECOR
3 € -10% 2. 70€
70€
Modular/stackable boxes
€2.50 -51% 1.22 €
Heart
3 € -10% 2.70 €
Pokemon Eevee
3 € -10% 2.70 €
CROW VASE
4 €
Pokemon Pikachu
3 € -10% 2.70 €
3 € -10% 2.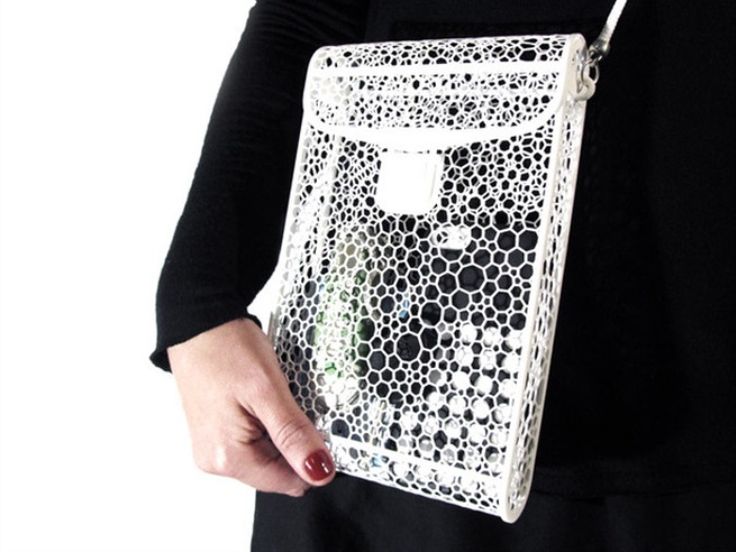 70 €
70 €
Black Panther Bust
3 € -10% 2.70 €
Cat figurine
3 € nine0006 -10% 2.70 €
Heart
3 € -10% 2.70 €
Black Panther Bust
3 €
Christmas tree
3 €
nine0002 Rabbit symbol of 20233 €
Lamp Voronoi
3,65 €
RAVEN SCULPTURE 1
2. 15 €
15 €
Christmas tree
3 €
Christmas tree
3 €
Voronoi 9 guitar picks0003
Free
Christmas tree
3 €
Christmas tree
3 €
Heart
1 €
Christmas tree pass set 6 pieces
10 €
Voronoi Vase
Free
nine0002 Christmas bauble black heartFree
Voronoi's Christmas bauble
Free
Bust of Voronoi Woman - Chalk Pot or Telecommand Range
1 €
Xiaomi 9A Voronoi Case
Free
Organic fruit bowl
€6.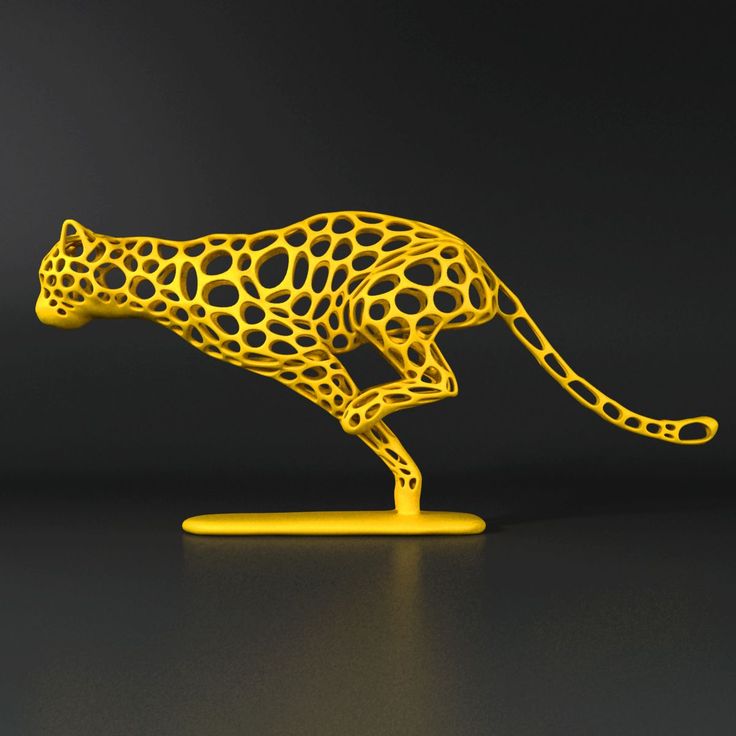 99
99
Christmas tree 6
3 €
Voronoi lamp
2,90 €
bacterial stand
Free of charge
Christmas tree 5
3 €
Biomimicry 2.0 pen holder
6.25 €
Voronoi column pendant
8 €
Christmas tree 4
3 €
Angel
3 €
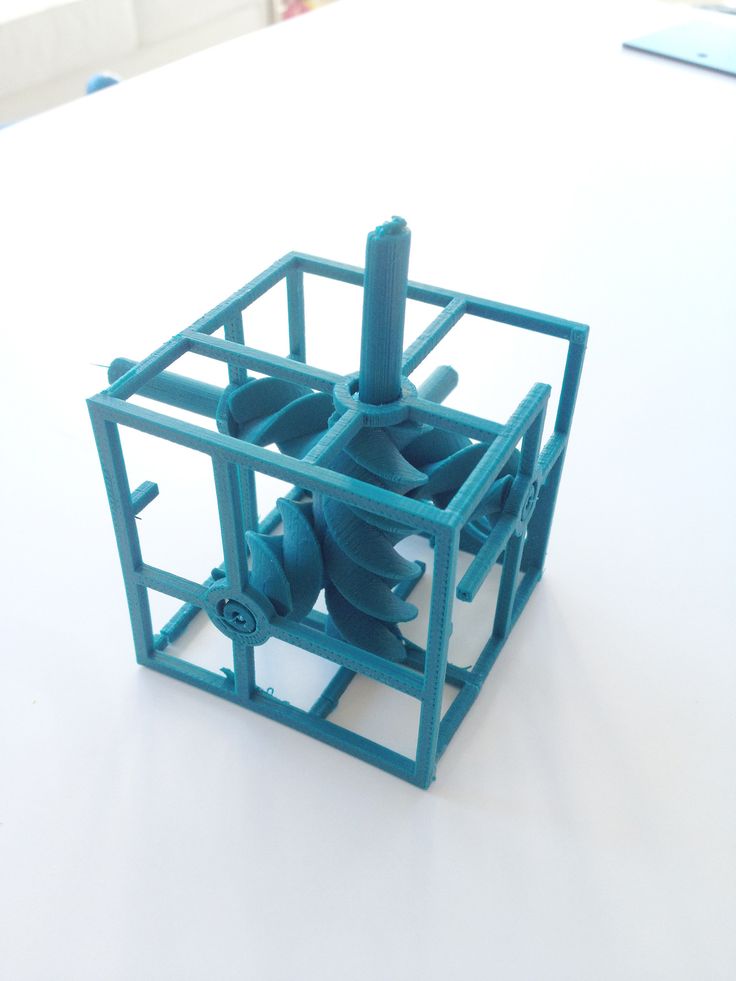
Creating a Voronoi-style part for 3D printing
3D modeling
0236 In this article we will look at the basic principles of creating a model in the so-called 'Voronoi' style.
To create, we need such programs as:
- Meshlab
- 3Dsmax or Blender
- Netfab basic
- Kisslicer or any slice
- Meshlab.
 Whoever has the model already has a polygon mesh ready to apply the pattern can go to step (). nine0004 Important: If you have done meshing before, then in order to avoid problems in the future, our mesh must be error-free (overlapping polygons, double vertices)!
- Open the layer window and display our grid.
- Now apply Filters -> Remeshing, Simplification and Reconstruction -> Surface Reconstruction:VCG to our model.
Next, in the previously opened layers window (on the right), select our model and delete (Delete current mesh) leaving only the generated Meshlab-a model (.ply). After that apply Filters -> Remeshing, Simplification and Reconstruction -> Subdivision Surfaces:LS3 Loop - this is done in order to get a more detailed model. This step can be repeated indefinitely, the main thing is that your PC can withstand: D
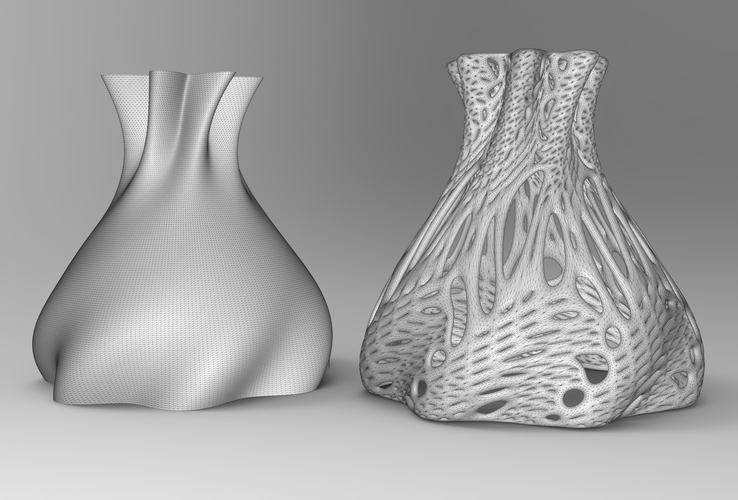
You should get:
3. Next, we need to create the “seeds” (the points around which will form the Voronoi area). For this we use Filters -> Sampling -> Poisson-disk Sampling.
In the “Numbers of samples” field we specify the number of holes for the pattern.
Apply Filters -> Sampling -> Voronoi Vertex Coloring by clicking on “Back distance” and “Preview” This is what we should get:
4. Next turn off the color display Render -> Color -> None. Select Filters -> Selection -> Select Faces by Vertex Quality and disable Inclusive Selection. Next, use the sliders to select the area of interest to us (This area will remain for the model, and we will delete the rest)
5. Apply Filters -> Selection -> Invert Selection and delete the polygons.
6. After applying the smoothing filter Filters ->Smoothing, Fairing and Deformation -> Laplacian Smooth (Run until the model is smooth) you should get:
Congratulations, your model is ready for further processing, I will talk about it in the next article !
Follow author
Follow
Don't want
21
Article comments nine0007
More interesting articles
XcLxAd
Loading
11/27/2022
3113
25
Subscribe to the author
Subscribe
Don't want to
There comes a time in every divers' life when the chaos in the workplace starts to rage.