3D print spray
How to Prime and Paint 3D Printed Parts (With Video)
Primer
Primer is a special type of paint that adheres strongly to the part and provides a uniform surface for paint to bond with. Different primers have different uses. A spray-on primer is the best way to paint your printed parts because it quickly covers a surface with an even coating. Brush-on primers are available, but they are tricky to work with and better for fine touch ups. For best results, choose a primer and paint that are plastic compatible and from the same brand. We like Krylon and Montana (though both are thick formulas), but nothing really compares to Tamiya brand model paint - it goes on extremely thinly and evenly, preserving delicate surface details.
Rotary Tool
Because sometimes you want to sand fast. With interchangeable bits, rotary tools offer a variety of options for sanding and polishing parts. Drum sanding bits quickly sand down supports, while steel wire brushes smooth surface marks. Rotary tools are rough, so you will still need sandpaper for a smooth finish. There are plenty of great brands: Dremel and Craftsman are popular in the states, Proxxon in Europe. To avoid scorching your part, turn down the RPMs to the minimum (usually 500-1000) and use a light touch.
Hand Files
Not as clumsy or as random as a palm sander. A more elegant tool…for a more civilized age.
One of the most simple yet effective tools, a hand file removes supports and sands down surfaces. Using a firm grip, you can remove marks with more control than with a rotary tool. Keep a wire brush on hand and clean the file’s teeth often (otherwise plastic and resin will gum up teeth). Like a rotary tool, a hand file will leave a rough surface, so it’s best for removing the larger support marks.
Sand Paper
The most unglamourous tool in the shop, sandpaper has come light years in the last decade with the release of flexible sanding sheets. Available at home improvement stores, flexible sanding sheets last 15 times longer than paper ones. They don’t curl, puncture or crease.., and they hey can be used wet, which reduces dust and prevents buildup in the sanding tooth. Because they flex, they can easily reach small interior spaces and rounded surfaces.
Dust Removal
Even after wet sanding, some dust will remain. Remove buildup with water and a soft scrub brush (an old toothbrush works). For serious cleanup, an inexpensive sonicator can quickly remove fine particles caught in corners and cracks of a surface. If you work in an area with hard water, using deionized or distilled water will prevent spotting between painting.
Tack Cloth
Tack cloth is a soft, slightly sticky cotton cloth designed to remove remaining dust and leave a clean surface for painting. Let your model dry before using the tack cloth — the waxy surface does not work well with water.
Painting Block, Dowels & Drill
This simple trick will save you grief in the spray booth (we were excited when we saw this technique in a modelmaking how-to video by Adam Savage). By mounting your 3D print on a dowel (often you can use a preexisting hole in the part), you can quickly maneuver while spraying, allowing you to get to all sides and into the nooks and crannies of the part without creating any fingerprints. When you want to add an even coat to all sides of your model, this is pretty essential. We recommend ordering a variety of size of dowels. To minimize the hole size on a part, start with a small size and work your way up until the model feels firmly seated. Drill a corresponding hole in a block of wood or MDF and insert the part with the dowel - now you can keep the model hands free while spraying.
Safety Equipment
Spraypainting means working with airborne particulates and solvents, both of which pose health hazards. Remember to use a NIOSH approved respirator and work in a well ventilated workspace. While painting, wear nitrile gloves to avoid spraying paint on your hands and and also protect your model from fingerprints.
Ultimate Guide to Painting 3D Prints
Download the full Guide
as a PDF!
The simple post-processing techniques presented in this guide are an excellent way for professionals to create low-cost silicone molds, threaded inserts for enclosures, vacuum formed parts, and more.
If you’re an engineer or product designer creating concept models, a prop or set designer, artist, or an educator looking to add incorporate a bit more creativity into your classroom 3D printing activities, painting your models can be a great solution.
In this tutorial, we’ll show you how to create a nearly automotive quality paint job on any of your 3D printed objects.
Working time will vary depending on your model. Including drying time, the process shown took us about 6 hours from start to finish.
SUPPLIES
3D Print
Rubbing alcohol
Paper towels
Spray primer/filler
Spray paint
Hanging cord
80, 120, 240, 220, 1000 grit sandpaper
Needlenose pliers
Bondo
Sanding block & sandpaper
Gloves
Eye protection
Respiratory Mask
Need some of these products? We've curated an Amazon wish list for you.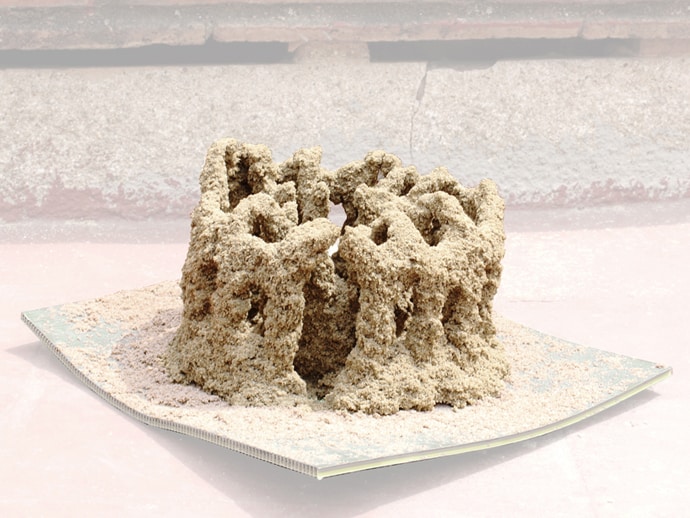
STEP 1: PREPARE & PRINT MODEL
When preparing models for painting in MakerBot Print, keep in mind how your print settings will affect the quality of your paint job.
Consider: Print settings, print orientation, number of build plates
Surfaces printed in the Z axis will have the smoothest surface finish.
Printing models in 100 micron layer resolution will result in a slightly smoother surface finish, but will take significantly longer.
If possible, avoid placing support material in places you intend to paint as they will require more post processing to remove completely.
Supplies used: Needle-nose pliers or flush cutters
After you remove your print from the build plate of your printer, you will need to remove any raft or support material.
A. Remove prints from the build plate
B. Remove rafts
C. Remove large pieces of support
D. Approach smaller pieces and fine details
Supplies used: Sanding block, electric sander, 80,120, 240, 400, & 1000 grit sandpaper, Cyanoacrylate glue (super glue), Bondo
For the highest quality paint surface, an optional next step is to sand your model.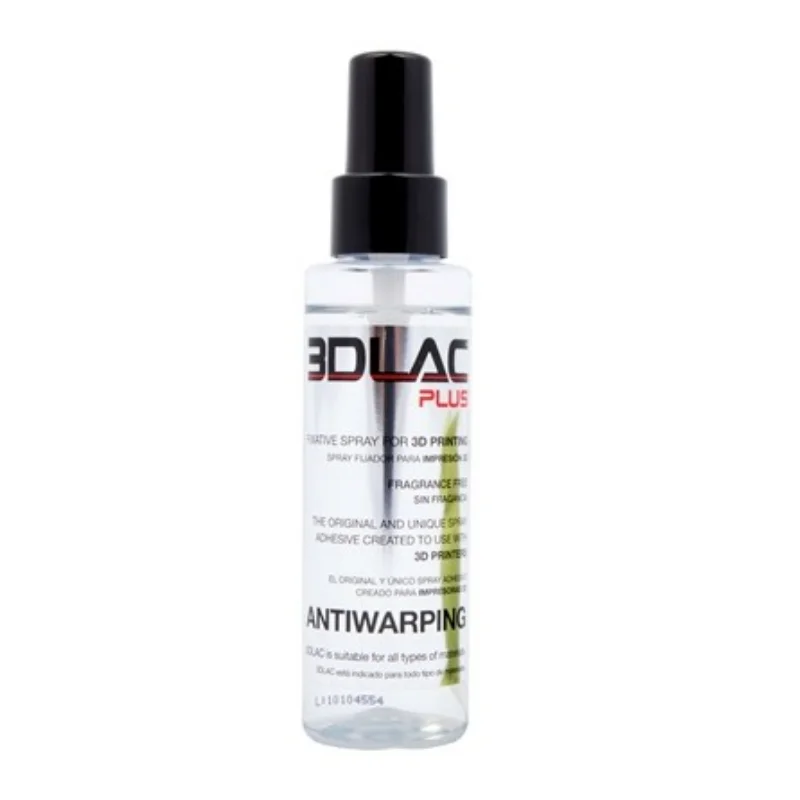
Make sure to wear eye protection, gloves, and a respiratory mask.
A. Dry sand the model using 80-240 grit sandpaper
B. Wet sand the model using 400 & 1000 grit sandpaper
C. Glue the parts of your model together
D. Apply filler to any gaps or blemish in your model and sand once dry
Find more detailed information here on gluing and sanding.
The 2021 Guide to 3D Printing Materials
Learn about polymers, composites, and metals all available for 3D Printing!
Supplies used: Hanging cord
Once your model is ready for painting - hang it in an open, dust free space with plenty of ventilation. This will allow you to paint all surfaces evenly without having to handle the model while paint is drying.
A. Tie hanging cord around the model
B. Hang the model in an open room with a tarp
STEP 5: PRIMER/FILLER
Whether you have chosen to sand your model and apply filler or you are simply painting a rough PLA model printed at high resolution, a few layers of primer/filler will fill any small surface imperfections before painting.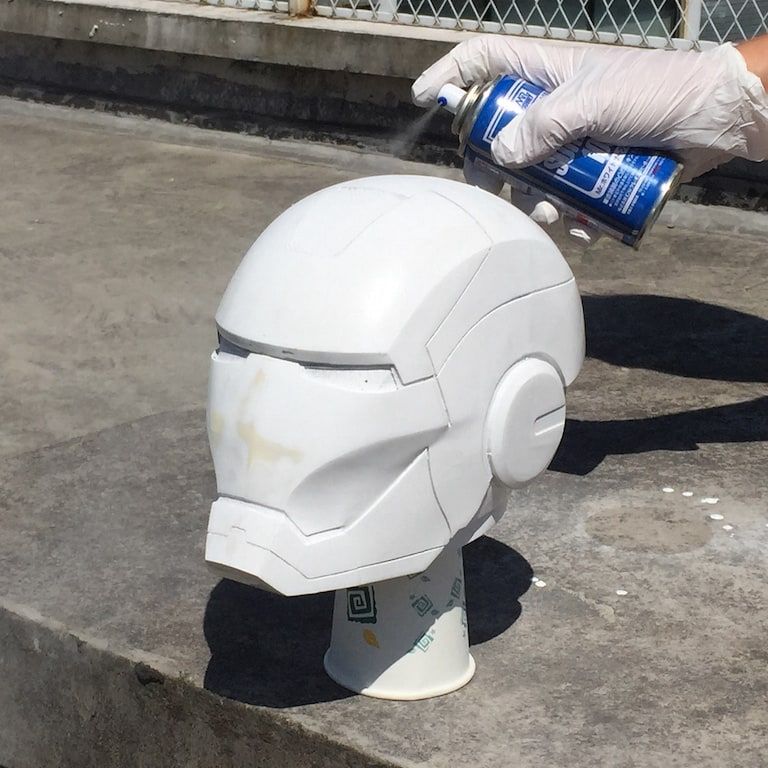
Primer filler is a high build spray filler that comes in aerosol form and can be purchased at most local hardware stores.
Before spraying remember to wear gloves, eye protection, and a respiratory mask.
BE SURE TO:
Shake well before use
Use wide strokes beginning and ending in space outside of the model
Hold the can 10-12 inches from the model
Paint in thin layers using a misting technique
AVOID:
Painting in thick layers
Holding the can in any spot for a long time
Holding the can too close to the model
Once you’ve sprayed 2-3 layers of primer/filler, allow your model to dry for 30-40 minutes.
STEP 7: SAND
A. Lightly sand your model with 1000 grit sandpaper (dry). This will smooth the surface of the model as the primer filler tends to create a rough surface texture similar to sandpaper.
B. Evaluate for quality.
C. If there are still surface imperfections you would like to smooth, continue to apply consecutive layers of primer/filler, and sand.
Once you are happy with the model surface, move on to painting.
STEP 8: PAINT
When choosing paint, you typically have a large degree of freedom as to which color and type of paint you use. Make sure to pick something that adheres well to plastic.
A. Choose a paint
B. Test for color in an inconspicuous location before painting the entire model
C. Let the paint sit overnight to cure
TIP:
Typically the paint will be dry to touch within an hour or so, and ready to polish within 24-48 hours.
If you’d like to protect the surface of your painted model, you can also apply a thin clear coat at this point.
In the end, you’re left with a beautiful painted model ready for approval presentation, enhanced for sets or galleries, optimized for better classroom learning, or simply improved for better innovation.
Here you can see just how far we have come.
Visit one of our other applications pages for tips on how to take your print even further.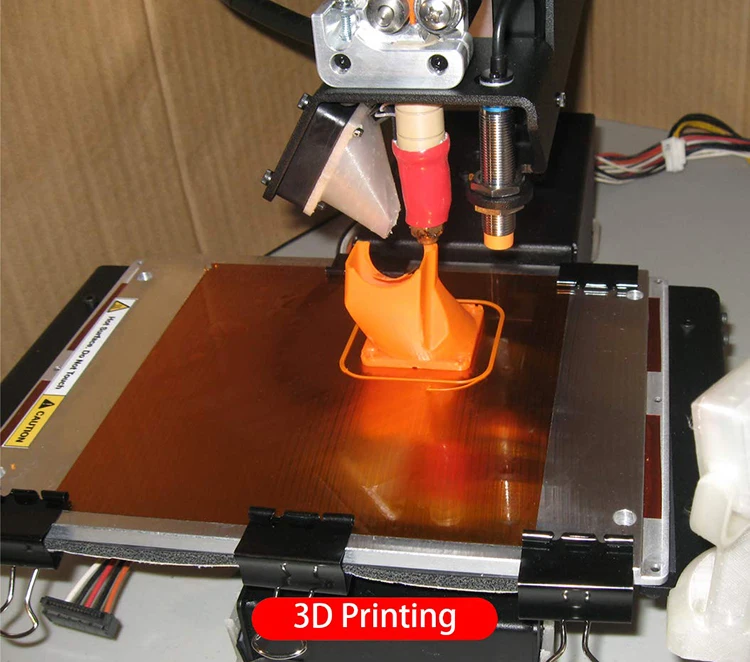
We recommend that you visit our pages on:
Gluing
Sanding
Inserts
Last but not least, remember to share your work with us on Thingiverse and social media @MakerBot.
We can’t wait to see what you make!
Hair Dryer Shell
Ferro
10/2/2015
https://grabcad.com/library/hair-dryer-shell-1
Powered by MakerBot Learning.
Adhesives: Professional vs. Amateur
Initially, this post was conceived as a test of specialized 3D adhesives for FDM printing from Picaso and 3D Company. To make it not boring at all, let's add 3DLac to the comparison. All this was provided to me at various times by the glorious Top3DShop company. Thanks to her for sponsoring contests on the portal and just various promotions.
Let's immediately debunk the myth that these adhesives are the same, made at the same factory from the same "barrel". This is not true.
They have the same composition, they also smell the same... maybe there is a little less fragrance in the red bottle.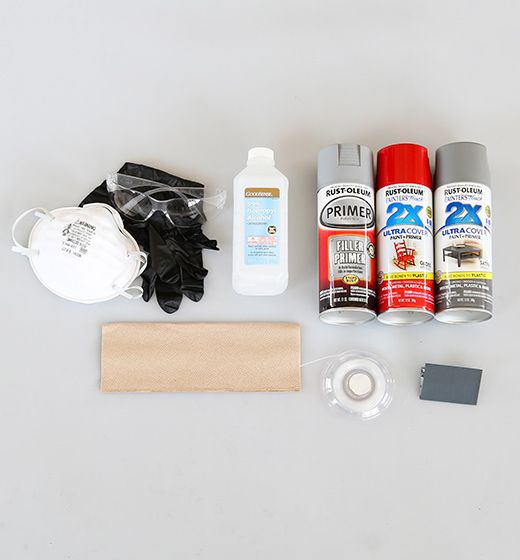 Smells a little more like alcohol.
"Red" is sold in a box, "black" without. The cost is the same.
We will test hard, on nylon! And not anyhow, but on SolidFilament. Printer Flying bear ghost 4S.
Naturally, we will not apply adhesion agents to the original coating. For testing, we use a mirror, which we put on top of the native one and give the temperature on the table 110 degrees. The mirror allows you to solve another problem - application. It is often written that you need to apply the product with a cotton pad and wipe the table with it. Others spray directly onto the surface, often in the printer's chamber. Both methods are dubious. In the first case, this is equivalent to degreasing. the entire P-complex remains in the disk, and in the second part of the composition they scatter on the mechanics of the printer, coking dust and dirt. The removable mirror allows the product to be applied to the surface more evenly (improved visual control) and without risk to the printer.
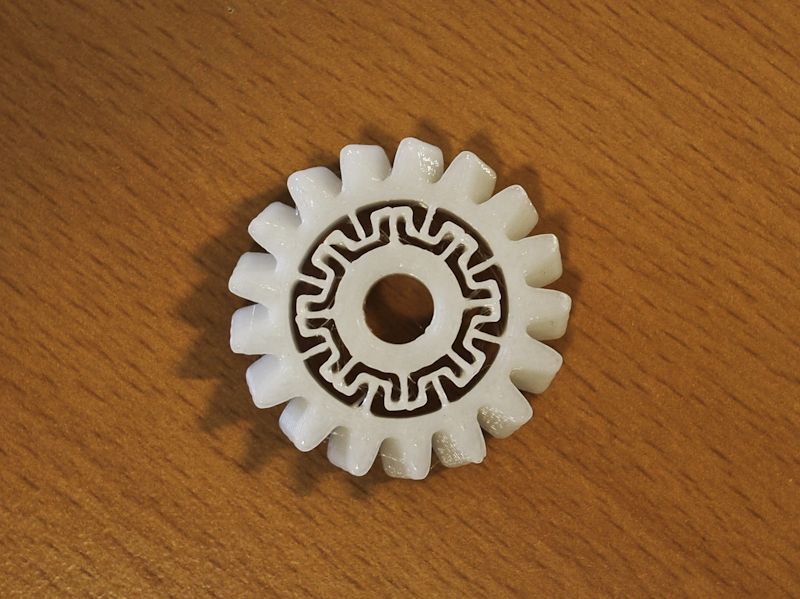
The result of the tests is not encouraging - none of these tools coped with the task! Attempts to print the rear wiper gear (diameter 60, crown 9 mm, there are hubs) failed one after another.
Someone will say that it's about asphalt (GHOST4 is not particularly suitable for printing with nylon), others that it's about skis (Neylon Solidfilament is significantly different from similar materials from Rec and BF), and still others will say that the author is "crooked".
This is how the idea was born to expand the test with the means that I use in everyday life and which I use for everyday printing (including nylons).
And these are: "Auchan" glue stick (take only Italian!), "Kalyaka-Malyaka" glue stick and one secret agent used to wipe the original covering of a bear under the secret callsign Nurofen (what is this agent at the end of the post) .
After a series of tests including the original coating...
We can safely say that the GHOST4 is not capable of printing with nylon without altering the "head".
Further tests without it. Thank God that there is something!
The printer, although open, has a table 250x250, and taking into account the Shield, printing on it with nylon is not a problem.
All compounds work differently. Varnish makes the surface rough i. increases the contact area.
3D adhesives work in a similar way, but their surface is also slightly sticky.
PVP-based glue sticks are a completely different matter.
They, like 3D glue, increase the area and hold the model due to adhesive particles.
Output. All compositions have the right to life. But they have their own characteristics. Professional tools (3DLac, The3D 3D glue and Picaso 3D glue) are good for getting the perfect first coat. The surface is very cool with them.
But they are also demanding on printer settings. The thickness of the adhesive layer is very small and therefore the quality of their work is highly dependent on the calibration of the table.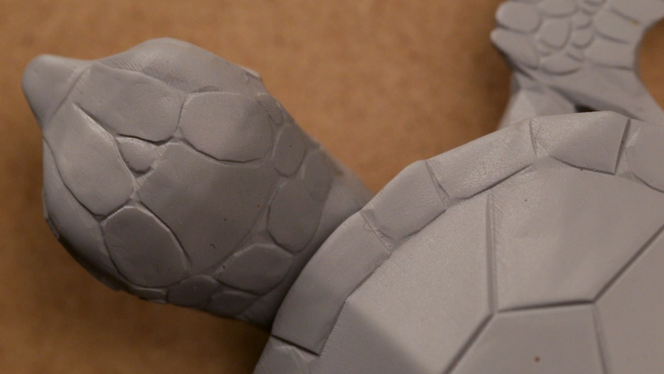 The next feature is that the surface treated works 2-3 prints. 3rd not the fact that it will turn out. More like no than yes. "Pushing" is not the best idea. Especially on the hot table. The surface will become uneven, which will necessarily affect the quality of the bottom of the model. Another incomparable advantage of these tools is that they remain on the table and not on the model. The model itself moves away when the table cools down.
Hobbyist methods are printing with glue sticks. Their incomparable plus in unpretentiousness. We smear how we want and when we want. Can be applied cold or hot. You can print 5 times. Then add a teaspoon of water and refresh the surface with a toothbrush and you can still print 3 times. Further, so much dust accumulates in the surface that it already ceases to hold. The glue is applied in a thicker layer, which eliminates the inaccuracy of the table setting or its removal under temperature. The condition of the surface is easily visually controlled. The main disadvantage is that glue sticks like to stay on the part and it needs to be washed afterwards. This is a small problem, but still ... All dough compositions are easily washed off with water, but only glue sticks are "renewed". Of course, Kalyaka-malyaka can be recognized as the best. They can be applied on a cold one with a very thin layer and end up with an ideal bottom for the part. And due to the fact that it changes color when wet, it is easy to control whether it is still on the table or not. Just add water! Where there is pink glue, and where it is not ... then it is not ... The main disadvantage of glue sticks is that sometimes the part sticks to the table so much that it leaves along with pieces of glass. It's best to take it off while the table is still warm.
Final conclusion: different means are needed, different means are important. If you have some kind of openwork, then it is better to print it on professional means, so as not to break it while scraping it off the table. If you are printing a "series" (a lot of the same things in a row), then it is better to use glue sticks.
FAQ:
-Which is better, 3D glue or 3D varnish?
- I liked the 3D glue better. It is more convenient to apply. Sprayed and dispersed with a silicone spatula.
- Is it possible to do without additional adhesion agents at all?
- You can. But the risks of screwing up the press are too great. With the low cost of glue sticks or enthorodesis and alcohol (it is he who is hidden in the bottle from Nurofen), it is not worth it. Before each seal on the bear, we wipe the table with this composition, from dust from the remnants of the previous seal.
- Is 3D glue and Entorodez + isopropyl alcohol the same thing? Can you buy expensive ones?
- Possibly. But our homemade composition works worse. Although there is an excess of medicine in it, it even falls out in flakes.
If you have any questions, then ask in the comments - I will answer
Sincerely, Mnogo3D (3D printing in Ryazan and not only)
DIMAFIX adhesive spray will no longer allow your products to deform during printing
Consumables
Subscribe to author
Subscribe
Don't want
9
Recently, the Spanish company DIMA 3D has released DIMAFIX, a new adhesive spray for 3D printers based on deposition modeling technology.
New spray designed to work with thermoplastics (especially ABS and nylon) that are extruded onto a heated print bed. DIMAFIX is non-toxic and odorless. One 400 ml can is enough for 100 applications. The principle of its operation is simple: DIMAFIX firmly sticks the product to the platform during printing, but then the finished product can be easily removed without deforming it.
To apply DIMAFIX to the print platform, wait until it is warm. 50° C is enough to create a high-quality and reliable hitch. As long as the platform is warm, the product will hold firmly on it. To remove the product, just wait until the platform has cooled down. This means that the finished product will easily separate when the platform temperature drops below 40°C. DIMA 3D is now looking for representatives to help spread its development around the world.
According to DIMA 3D spray DIMAFIX:
- Provides good adhesion between plastic and glass, so you can forget about deformation of products (even if you print something large from ABS plastic)
- Compatible with all types of thermoplastic
- Gets adhesive properties above 50°C
- Suitable for large scale projects
- Loses adhesive properties when the platform temperature drops below 40-50°C.

Learn more


