3D print solutions
Industrial 3D Printing & Additive Manufacturing
Industrial 3D Printing & Additive Manufacturing - Stratasys Breaking The Sound Barrier Webinar With Our Guest Boom Supersonic - Click Here to RegisterUSA & Canada
Select your country and region
- Americas
- English
- Español (México)
- Português (Brasil)
- EMEA
- English (United Kingdom)
- Deutsch
- Español
- Français
- italiano
- APAC
- 中文(简体)
- 日本語 (日本)
- 한국어(대한민국)
- English (India)
USA & Canada
The additive manufacturing leader
Stratasys provides complete polymer 3D printing solutions for every stage of the product life cycle, across design, manufacturing, and healthcare. Learn how Stratasys innovations help the world’s leading organizations change lives, gain business agility, and seize competitive advantage with additive manufacturing.
Learn More
We empower people to create without limits for an economical, personalized, and sustainable world.
We envision a world in which ideas become reality through 3D printing technology. The imagination of the human mind is unlimited. The limitations are physical ones that we can overcome. We are freeing engineers, manufacturers, educators, designers, doctors, and other creators from those constraints. Through the potential of additive technologies, impossible human challenges become possible.
About us
Solutions for your industry
Automotive
3D printing is helping Eckhart improve the lives of factory-floor workers.
Read More
Aerospace
INFN reduces costs by 90% with agile manufacturing.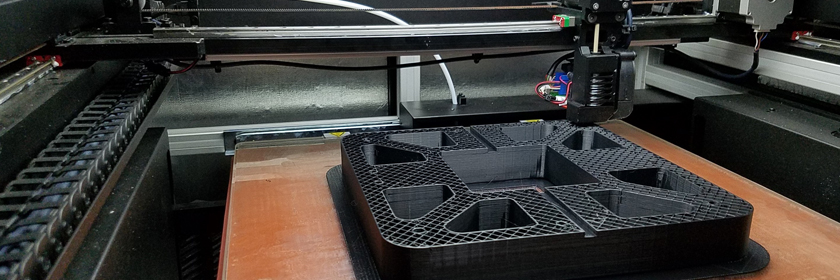
Read More
Dental
Dynaflex use the J700 for accurate, high-output of clear aligners.
Read More
Medical
Children's Hospital Colorado turns to anatomical models to treat congenital heart disease.
Read More
Consumer Products
Kinetic Vision uses 3D printing to sell unique features of AeroFlexx liquid packaging.
Read More
Transportation
Angel Trains and DB ESG 3D-print spare train parts to reduce lead times by 94%.
Read More
Our Recycling + Returns Program is part of our commitment to Mindful Manufacturing™. It supports our users through a program that accepts used cartridges, canisters, spools, print engines and containers for return or recycle.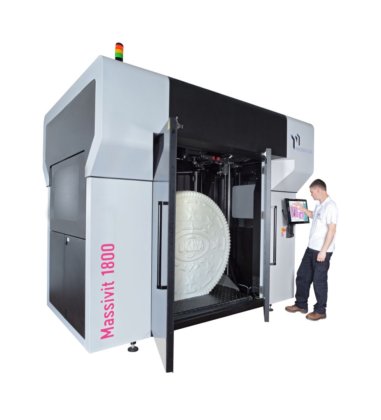 With easy-to-follow return instructions and printable labels, we can all do our part for a more sustainable world.
Learn More
Stratasys has acquired Xaar 3D.
Stratasys has now acquired all outstanding shares of Xaar 3D, the joint venture behind SAF technology and our H Series solutions for production-scale additive manufacturing. The first 3D printer, the h450, is now available.
Learn more
Stratasys is Committed to Mindful Manufacturing™
We are proud to share our first Stratasys ESG & Sustainability Report. Our ESG strategy calls for advancing Mindful Manufacturing™, which is the thoughtful redesign of processes, parts and supply chains, utilizing 3D printing across the product lifecycle to maximize sustainability over time, all while supporting business growth.
Learn More
1960s supercars built with 21st century technology.

Radford Motors uses additive manufacturing from Stratasys to make their low-volume, highly customized specialty automobiles. But cars are complex. Learn how Radford uses multiple Stratasys 3D printing technologies to bring their iconic brand to life on the roads.
Watch Video
Fashion creativity unleashed.
Fashion designers are now producing one-of-a-kind garments with 3DFashion™ technology. Marvel at the complexity in design and optical illusions created by designers that are 3D printing their creations direct to textile. See unlimited creativity unleashed.
Learn More
patient care:
Digital Anatomy transforms lives.
Seattle Children’s is turning to Stratasys Digital Anatomy to plan complex pediatric surgical procedures. Synthetic digital twins of an actual patient’s anatomy, including the specific pathology in question, is transformative.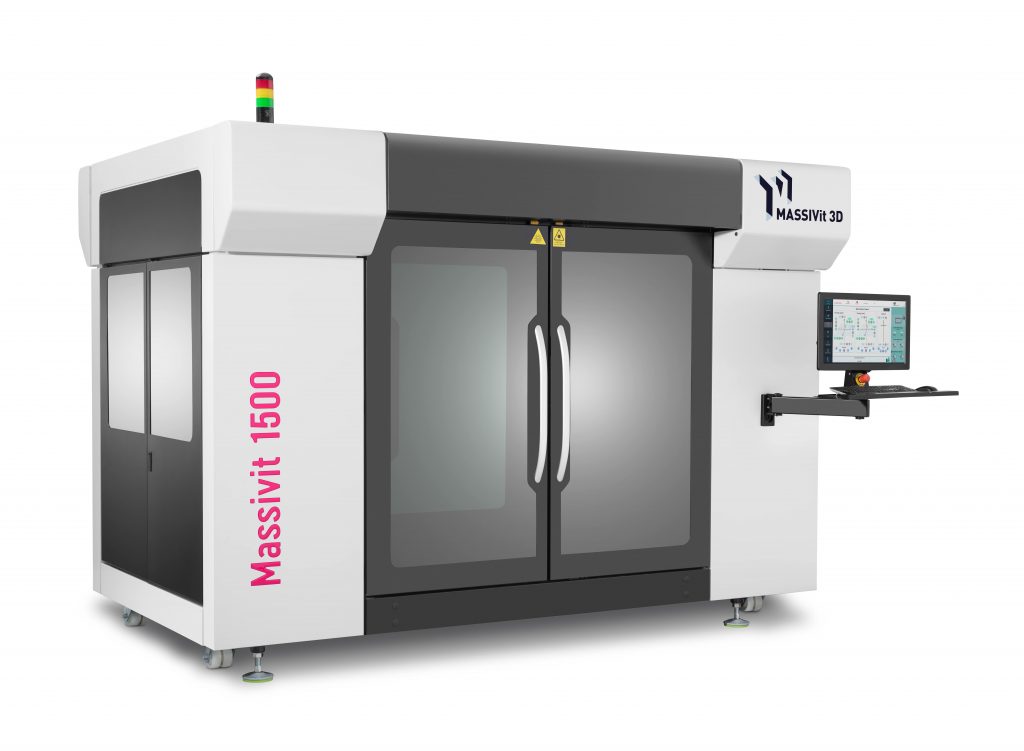 Watch how it helped Nia.
View case study
3D Printers for Sale | 3D Printer Australia
3D Printers for Sale | 3D Printer Australia | 3D Printing Solutions3D Printing Solutions is Australia's premier online 3D Printer Superstore.
At 3D printing solutions, we are focused on stocking and supplying an extensive range of 3D printer gear, filaments and supplies to suit the unique requirements of business, education, home and government users in Australia.
One of our key philosophies has been to maintain a hands on approach with the brands we offer. Through consistent printing and testing, our team understand the nuances and advantages that each machine can offer to recommend the right solution for you. The printer brands we support are also used in-house every day as part of our 3D printing service.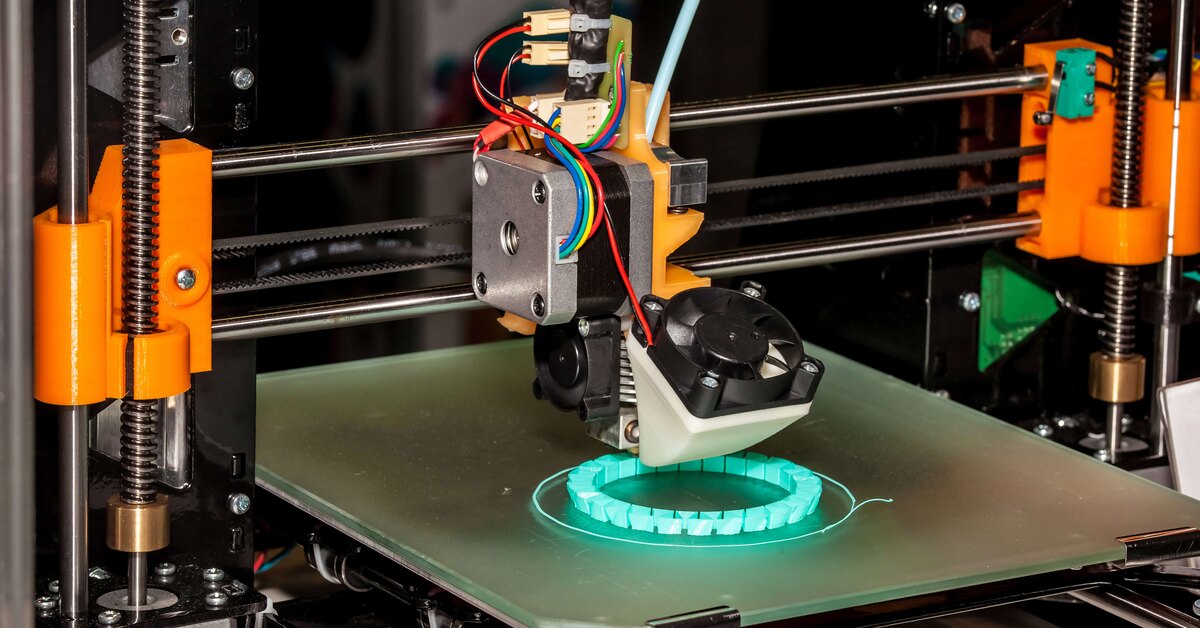
- We only stock 3D printers and 3D Printer filament that give repeatable quality results.
- We've tested the products in our store and can advise on the best solutions.
- Service and support is handled right here in Australia.
- Australia wide delivery
- FREE Delivery for orders over $150*
*Some remote regions or products may be ineligible for free shipping.
Shop Now
3D Printers that print with the quality and ease that you expect
3D Printer Store
What's New
-
Raise 3D E2-CF
Price:
AUD ($8,995.
 00 Incl Gst) $8,177.27 Ex Gst
See details
-
Raise 3D Pro3 Plus
Price:
AUD ($15,750.00 Incl Gst) $14,318.18 Ex Gst
See details Add to cart
-
Raise 3D Pro3
Price:
AUD ($11,550.00 Incl Gst) $10,500.00 Ex Gst
See details Add to cart
More What's New. ..
..
Staff Picks
-
Ultimaker S3
Sale:
AUD ($7,735.50 Incl Gst) $7,032.27 Ex Gst
Price:
AUD ($8,595.00 Incl Gst) $7,813.64 Ex Gst
See details Add to cart
-
Vaquform DT2
Price:
AUD ($1,837.00 Incl Gst) $1,670.
 00 Ex Gst
See details Add to cart
More Current Specials...
What can you do with a 3D Printer?
Need a replacement plastic part or want to prototype a new business idea?
The advancement of 3D Printing has changed the way individuals and organizations are solving challenges and approaching creative expression. With such a wide range of standard, engineering and industrial materials 3D Printing; can be a powerful tool for professionals, hobbyists, teachers and businesses to rapidly manufacture custom solutions.
- Automotive Repair
- Creative Expression
- Defence
- Education Models / Cutaways
- Low Production Manufacturing
- Moulding & Casting (Plastic, Silicone, Metal)
- Rapid Prototyping
- Replacement Parts
- Research & Development
- + more!
About 3D Printing
Need Help?
Dont know where to start? Or which filament will suit your application?
We have a broad range of support options including Telephone Support
Contact Us
Complete 3D Printing Solution - 3D Farms
Home
Complete solution for 3D printing - 3D farms
What is a 3D farm
A 3D farm is a set of 3D printers, usually of the same type and performing standard tasks, within one enterprise.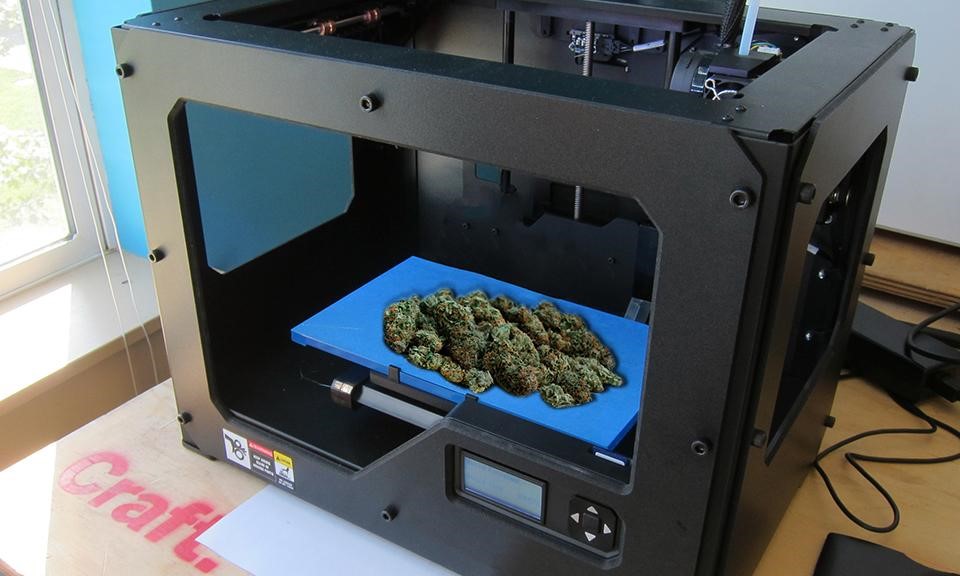
A well-managed 3D printing farm can be a strong addition to an existing business or stand alone. Creating a cell from several 3D printers will increase production capacity, allow simultaneous production in several materials and offer 3D printing to customers as a paid service.
The use of 3D printing in production allows you to shorten the production cycle, reduce overhead costs and reduce the time needed to translate projects into a finished product.
3D printer farms are the best solution for starting or expanding your business. Their advantages:
- Easy scalability – from small workshop to factory
- Quick install and start
- Ideal for fast turnaround times
Why you need a 3D farm
For a large team
A 3D farm increases the efficiency of a team of engineers or designers - having several 3D printers will allow you to print models at the same time, without taking up a queue for printing and without waiting for several hours or days.
By dedicating one specialist to maintain the farm, you free the rest from the need to fill printers with material and control printing, which allows them to focus on their work.
For more productivity
Regardless of the field of activity, the production cell of several 3D printers allows you to increase production volumes.
The Formlabs farm, for example, which includes fifty Form 2 printers, produces about 650 models per week in different types of polymer, and only seven people work there. When printers are bundled together, there is no need for an operator for each device.
Multi-material
Most 3D printers print one material at a time. There are models of FDM printers with two or even three extruders, but such printers are also limited in the number of plastics used at the same time. This forces you to wait for the end of printing to create the next model from a different material, which stretches the process for many hours.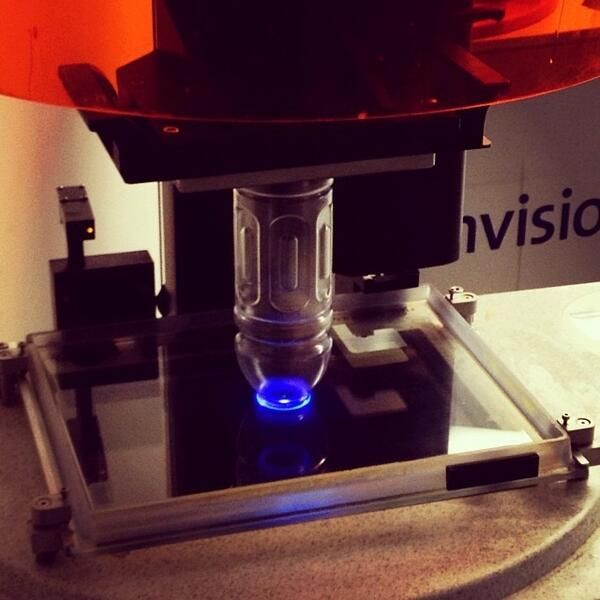 With the help of a 3D farm, you can print parts from any number of materials at the same time, limited only by the number of printers in your farm.
Custom print
3D print shop websites and 3D hubs accept 3D printing orders over the Internet, converting printer life into profit. Users who print too little to buy a 3D printer send them their models in .STL or .OBJ format and receive finished prints. This industry is growing, the service is gaining popularity. If you are interested in getting into this field and capturing your piece of the market, then it's time to get a small 3D farm, which can then be easily scaled up by adding new printers.
For Guaranteed Success
Even with the most reliable 3D printer, there is always the possibility of a breakdown, operator error or disruption due to unforeseen circumstances. If you have only one 3D printer, this situation can slow down the entire organization while it is being repaired, causing production delays and customer dissatisfaction. Having a farm of 3D printers, you are protected from suddenly being left without a 3D printing tool, and especially important orders can be duplicated by printing at the same time to ensure that force majeure is avoided.
Options for execution
Fermlabs
FORMLABS FORM 2 Farm 2 is equipped with high-precision stereolithographic 3D printers that have proved to be well-produced by the quality standards in the techno-table stereolite.
Buy Formlabs Form 2
- High definition and quality
- Reliable printing process - ultra low reject rate
- An assortment of advanced photopolymers designed specifically for this printer, for any purpose
- Ideal for jewelry and dental applications
Ultimaker Farm
Ultimaker builds some of the most accurate and high quality FDM printers in the world. This solution is perfect for prototyping or custom 3D printing. The farm is equipped with Ultimaker 3 Extended 3D printers, which print simultaneously with two filaments in a working area of 215 x 215 x 305 mm.
Buy Ultimaker 3 Extended
- High quality printing from a renowned manufacturer
- Possibility of remote control via WEB
- Inexpensive and proven, familiar materials - Nylon, ABS, PLA, CPE
- Ideal for prototyping, small batch production of finished products
Makerbot Farm
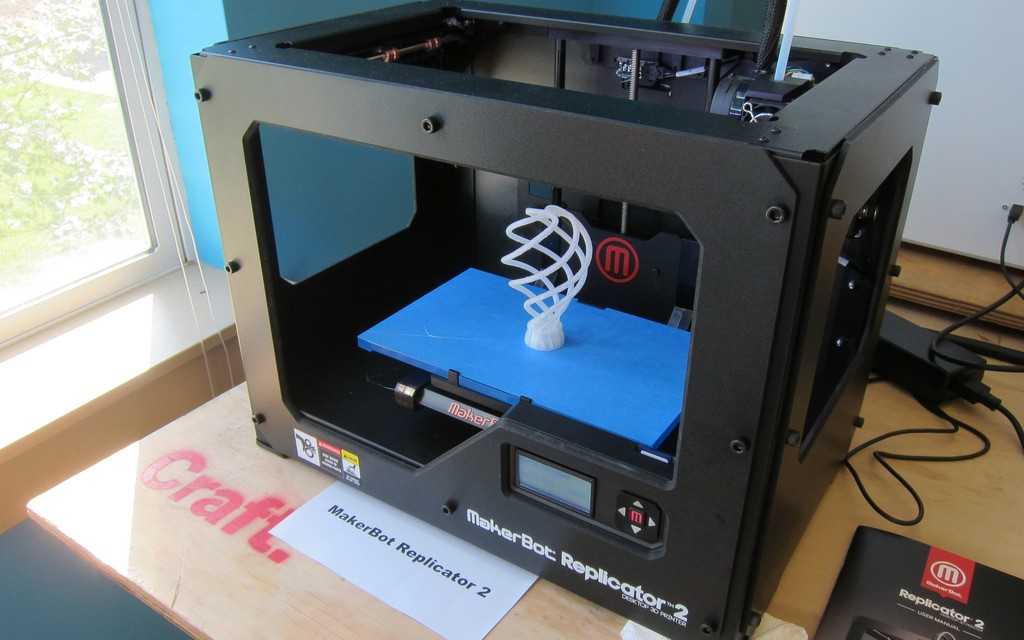
MakerBot Farm is a centralized, scalable 3D printing center consisting of MakerBot Replicator + 3D printers.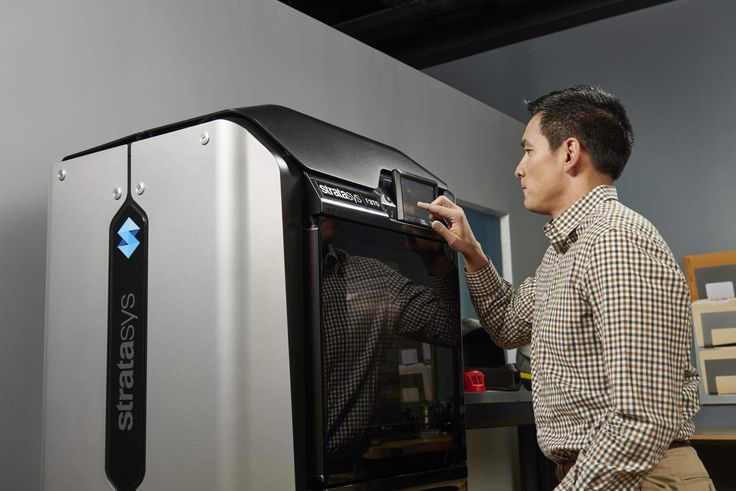
The solution includes 3D printers and installation, custom printer manufacturer software, job training, technical support, and filament supplies.
Buy Makerbot Replicator +
- All settings standardized - high level of simplicity and reliability
- Optimized for PLA Makerbot
- All Inclusive - printers, installation, software, training, supplies and maintenance
Farm Custom
We will select 3D printers according to your requirements and create a project of the farm, taking into account the field of activity, the size and layout of the room, customer preferences, ergonomics and increasing efficiency.
To create an individual 3D farm project, please contact our staff.
To calculate the cost of and the timing of your order, send your request through the form or by mail:
stl@top3dshop. ru
ru
{simple_form}
The 20 Most Common 3D Printing Problems (Part 1)
Good afternoon dear 3D Today community! I would like to present you a translation of the article Troubleshooting Guide to 20 Common 3D Printing Problems, which will be divided into 2 parts.
Everyone has problems with printing. We had enough of them to analyze and find solutions for the 20 most common 3D printing problems. In this article, we share our experience and hope that now you do not have to spend extra time diagnosing and solving problems that have arisen.
If you cannot determine what the problem is, compare it with the description.
3D Printing Issue #1: Warp - First Layer Peeling
Description of Issue
At the base of the model, the print rises and does not stick to the platform. This problem can also cause horizontal cracks in the top sections of the printout.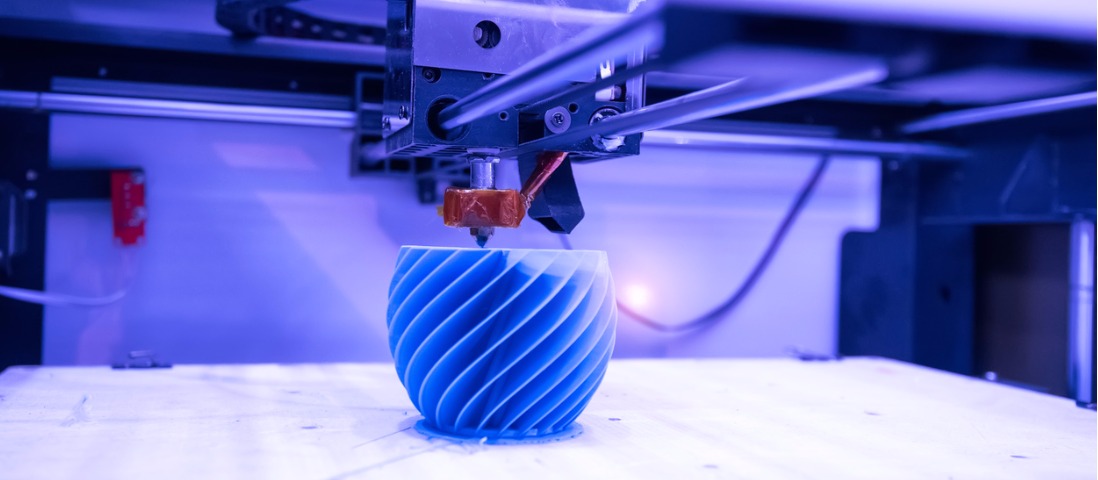
Why did the problem occur?
Deformation of the print base is due to the nature of the plastic. ABS and PLA plastic cools very quickly and this is what can cause the first layer to come off.
Solve 3D printing problem: Printout warped
1. Use heated bed. The simplest solution to this problem is to use a heatbed and set the temperature just below the melting temperature of the plastic. If you set the temperature correctly, the first layer will not come off the platform. The printer bed temperature is often set automatically by the slicer. The recommended temperature for your plastic is listed on the side of the package or reel.
2. Use adhesive . If your printout is lifting around the edges, apply a thin layer of glue (or hairspray) to the platform to increase adhesion.
3. Try another platform. Change the platform to a platform with more adhesion. Manufacturers like Lulzbot use a PEI (Polyetherimide) coating that provides a good grip even without the use of glue. XYZPrinting Some printers include a few pieces of thermal tape for the liner. This is a good solution for cool platforms. Zortrax 3D choose a different solution - a perforated backing to which the printout adheres, thereby relieving the user of the problem of deformation at the base.
4. Calibrate the platform. Incorrect platform calibration can also affect the print quality of the first layer. Check the level of the platform and correct the height if necessary.
5. Increase contact between printout and platform. Often this problem also occurs due to insufficient contact between the model and the substrate. It can be easily corrected using the printer software by adding a skirt or backing.
6. Optimize temperature settings. If none of the methods worked, check the advanced settings of the printer software and the printer itself. Try increasing the platform temperature by 5 degrees.
7. Pay attention to the fan settings. As a general rule, the fans should switch to full power as soon as the print reaches a height of 0. 5 millimeters, but you can increase the height to 0.75 millimeters to allow the layers to cool naturally.
8. Even if your printer has a heated bed, it is recommended that you use glue (or varnish) and constantly adjust the bed level.
Warp 3D Printing: Checklist to Avoid Problems
- Use Heated Platform
- Use Glue (Varnish) for More Adhesion
- Instead of Glass Platform, Use Kapton/Heat Tape/Glue/Varnish 9 Calibrate Platform
- or substrate
- Adjust temperature and fan settings
3D printing issue #2: First layer misalignment (Elephant's foot)
Problem description
The base of the model is slightly off.
Why did the problem occur?
Generally, the base of the model is shifted due to the weight of the print, which presses on the first layer when the lower layers have not cooled yet. Often happens with heated bed printers.
3D Printing Solution: First Layer Offset
1. Correct balance. In order to get rid of the problem of first layer displacement, printed models must be sufficiently cooled to support the weight of the entire structure. Here you should be careful: excessive hypothermia can lead to deformation of the first layer. Finding a balance is hard enough. Start by lowering the platform temperature 5 degrees (but no more than 20 degrees below the recommended temperature). If Bottom / Top Thickness is set to 0.6 millimeters, turn on the fan immediately at a height slightly lower.
2. Platform level. Most 3D printing problems are related to the wrong platform level. For each printer, there is a specific approach for platform level calibration. Check the manufacturer's recommendations to determine what you need. Print out a calibration cube and look at the quality of the plastic feed. The calibration cube will help you determine if the plastic has been laid flat, and if the nozzle is too close to the platform and scrapes the melted plastic, or too high causing the plastic to bubble.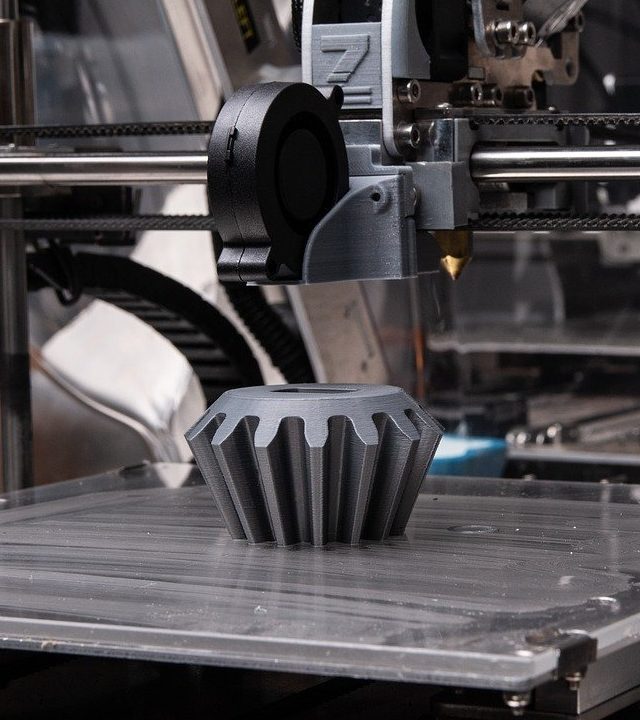
3. Raise the nozzle. Raising the nozzle a little can often help. The main thing is not to raise it too high.
4. Make the corners of the model smoother. If all else fails, try beveling the corners of the model base. Of course, this is only possible if you created the model yourself or if you have access to the source file. Start with 5mm and 45º bevel and experiment to get the best result.
First Layer Offset in 3D Printing: Checklist to Avoid Problems
- Balance Platform Temperature and Fan Speed
- Raise Printer Platform
- Check Floor Height
- Make model corners smoother 0 : Other problems with the first layer
- Check the level of platform
- Check the height of the nozzle
- Clean the platform
- Use the textbooks for cold platforms
- Check belt tension
- Check if the upper cover is moving
- Evil that the studs on the zsi are even
- Check the printer mechanism to make sure the moving parts are tight.
- Recheck printer design and alignment
- Check for worn bearings and bent pins
- Use some oil to lubricate parts
- Check the maximum possible temperature of the extruder and increase the current temperature by 10ºC in one attempt.
- Check the direction and speed of the cooling fans.
- Use a larger diameter
- Make sure that the direction and speed of the fans are correct
- manually set the fan speed
- increase the thickness of the upper layer
- Check the diameter of the Philication
- Use the caliper to double -check the diameter of the Philament
- , check whether
- Extraction by 5%
Description of the problem
The first layer does not look right, some fragments are missing. There are unnecessary lines at the bottom.
Why did the problem occur?
These 3D printing problems usually indicate that the platform level has not been set correctly. If the nozzle is too far from the platform, unnecessary lines often appear at the bottom of the printout or the first layer does not stick. If the nozzle is too close to the platform, this can cause formation bubbling.
Also note that the platform must be clean. Fingerprints on the platform may cause the first layer to not adhere to the platform.
3D printing problem solution: Other first layer problems
1. Set the platform level. Each printer has its own platform level configuration process. For example, the latest Lulzbots use auto-calibration, while Ultimaker offers step-by-step manual calibration. But to set up the Prusa i3 platform level, you will need to spend a lot of time studying the issue.
2. Set nozzle height. If the nozzle is too high, the plastic will not stick to the platform, if too low, the nozzle will scrape the printout.
3. Clean the platform. Be sure to clean the printer platform regularly, especially if you are using adhesive. Fingerprints, dust and adhesive residue affect how well the model sticks to the platform.
4. Use glue (varnish). Apply a thin layer of adhesive to the platform to increase the adhesion of the model to the platform. Remember to clean the platform regularly as excess glue can cause the opposite effect.
5. Use textured underlay for non-heated printer platforms.
Other problems with 3D seal: Cheklist to avoid problems
Figure 4: Layer displacement in model
Description of problem
Layers shift in the middle of the printout.
The printer straps are not tight enough. The top plate is not attached and moves independently of the bottom plate. One of the rods in the Z axis is not perfectly aligned
3D Printing Solution: Layers misaligned in the model
1. Check the belts. First of all, check how tight the straps are: they shouldn't hang loose, but they shouldn't be too tight either. If you pull on the straps, you should feel a slight resistance. If you feel that the top strap is tighter than the bottom strap, this is a sure sign that they are not tight enough.
2. Check the cover. Check the cover, rods and other parts on top of the printer (if you have coreXY). Make sure all parts are properly fastened.
3. Check the z-axis screws. Many printer manufacturers use threaded studs more often than trapezoidal screws, and while both do the job, the studs tend to bend over time. No need to disassemble the printer to check if the rods are straight. Simply use software such as Printrun to move the print head up and down. If one of the Z axis bars is bent, you will definitely notice it. Unfortunately, it is almost impossible to straighten a bent stud, but on the other hand, this is a great reason to replace old threaded rods with trapezoidal screws.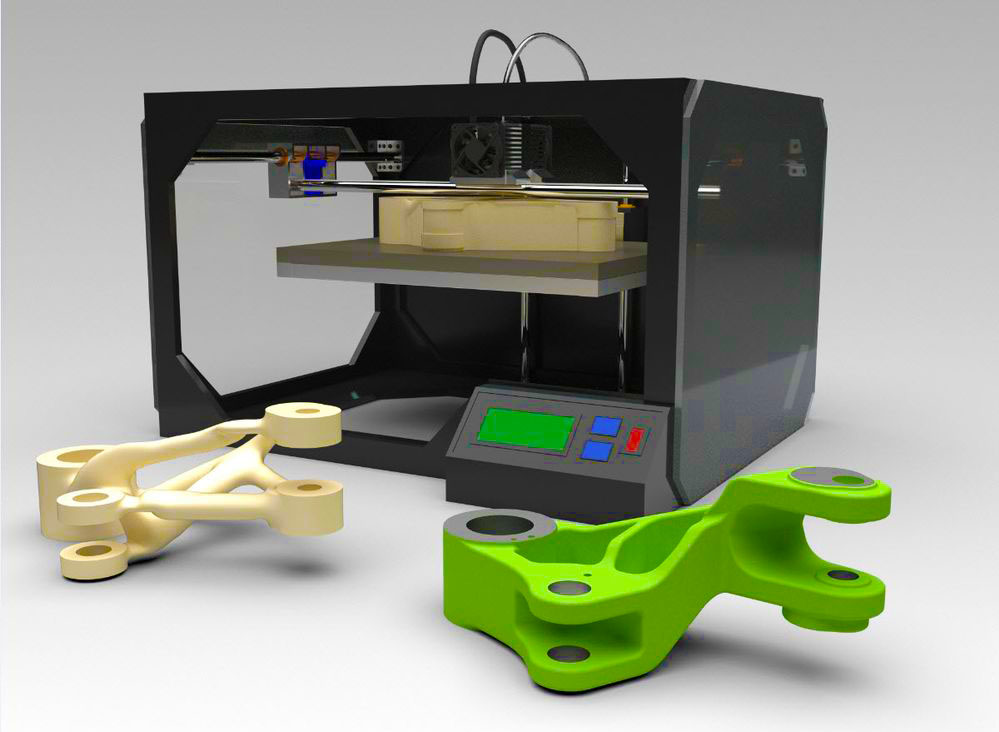
Supply displacement: Checklist
Problem with 3D print #5: The absent layers
problems
Gaps in the model appear due to the fact that some layers are missing (partially or completely).
The printer was unable to produce the required amount of plastic to print the missing layers. In 3D printing, this problem is also known as under-extruding. The essence of the problem may lie in the plastic itself (for example, a different diameter of the material), in the coil, in the feed mechanism (extruder) or in a clogged nozzle.
Friction can cause plastic to get stuck. It could also be that the z-axis screws (studs) are not properly aligned with the linear bearings.
There may also be a problem with screws (studs) in the Z axis and with the bearings themselves.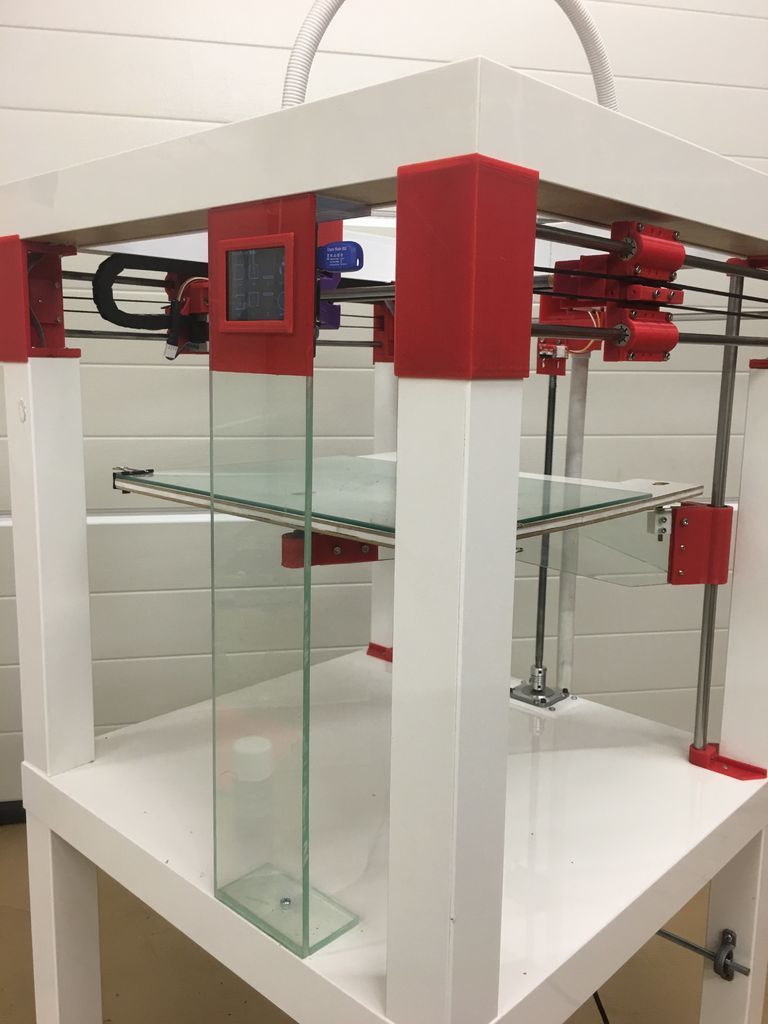
3D Printing Solution: Missing Layers
1. Mechanical Check . If suddenly you find missing layers in the print - it's time to take a little care of your printer. Start by checking the screws (studs) and make sure they are firmly attached to the bearings or clamps.
2. Check rod alignment. Check that all screws (studs) are aligned and not misaligned. Turn off the power and gently move the print head along the X and Y axes. If there is any resistance, then there is some problem. It is easy enough to understand what exactly the problem lies in - a slightly bent rod or bearings.
3. Worn bearings. Worn bearings make noise. You may also feel the rattle of the print head, while the printer vibrates slightly. In this case, turn off the power and move the print head along the X and Y axes to find out where the worn bearing is.
4. Check oil. Be sure to regularly lubricate the printer moving mechanisms. Sewing machine oil is ideal for lubrication - you can buy it at any hardware store at an affordable price.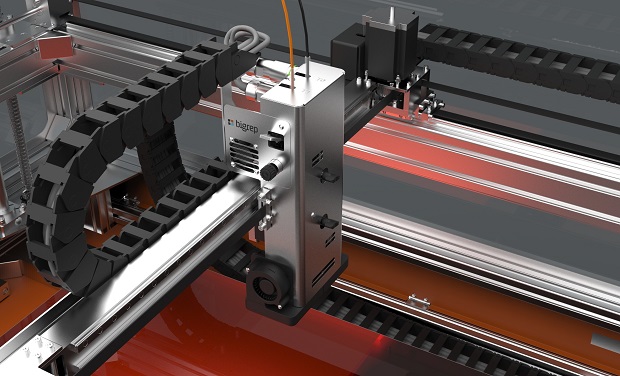 Before applying oil, make sure the studs (screws) are clean. If the studs(screws) have dirt or print material residue, clean them.
Then connect to the printer via a program (eg Pronterface) to move the print head in the X and Y axes and check that the studs are evenly lubricated. If you apply a little more oil, just wipe off the excess.
5. Underextruded . The last cause of the problem may be insufficient extrusion. There can be many solutions to this problem, and all of them are described in Section 9.
Checklist
3D printing issue #6: Cracks in tall objects
Description of issue
Cracks on the sides of the model, most commonly in tall models.
The problem can occur unexpectedly, and most often occurs in large printers, especially if you do not monitor their work.
On the upper layers, the material cools faster because the heat from the platform does not reach the required height. Because of this, the adhesion of the upper layers is lower.
3D Printing Solution: Cracks in Tall Objects
1. Extruder Temperature . Start by increasing the extruder temperature - 5-10ºC is best. On the side of the plastic box you will find the highest temperature for plastic, try not to raise the temperature to this value.
2. Fan direction and speed . Double check your fans and make sure they are pointed at the model. If the direction is correct, reduce their speed.
Checklist
3D Printing Issue #7: Holes in the top layer
Description of the issue
Holes and gaps in the top surface of the printout.
The two most common causes of this problem are improper top coat cooling and top coat not thick enough.
Solution to 3D printing problem: Holes on the top layer
1. Thread (filament) diameter . Often the problem happens with plastic with a diameter of 1.75 mm. Holes in the top layer are a problem with all 3D printers, but they happen more often with printers that use 1.75mm filament than with printers that print with filament larger than 2.85mm.
2. Check the location of fan . Cooling can cause this problem, so check the fans first. When the printer starts printing, the fans are at their lowest speed or off. After printing the first layer, the fans start to work. Check if they start working and also check if they continue working when printing is finished.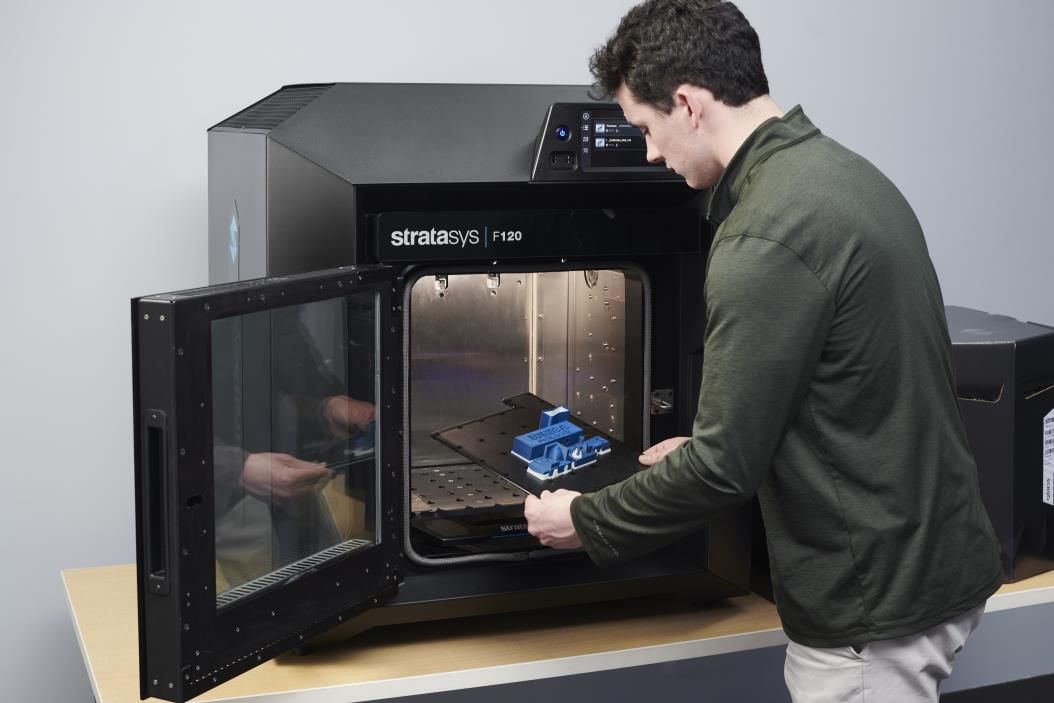 If all is well, double-check if the direction of the fan is set correctly - they should blow over the model.
3. Set fan speed in G-Code. Another cooling issue is related to excessive plastic in the top layer. It must cool quickly so as not to fall between the already printed supporting elements. The fan speed can be adjusted with G-Code ( is usually G-Code for Fan On is M106 and M107 Fan Off ). Also set the fan speed to maximum for the upper layers.
For example, for a 1cm x 1cm cube, the height of the top layer would be 0.1mm. In this case, when generating a G-code through CURA for Prusa i3, the G-code indicates that the number of layers for the cube is 100. Considering that we specified heights of 0.6 mm for the top and bottom layers, it is worth editing the value to LAYER: 94
4. Increase the thickness of the top layer . One of the simplest solutions to the problem is to increase the thickness of the top layer. In most applications, you will be able to adjust the thickness using the ‘Bottom / Top Thickness setting’ advanced settings. You need to increase the thickness of the top and bottom layers up to 6 times the other layers and up to 8 times for smaller nozzles and plastics. If the layer height is 0.1mm, then the height of the top and bottom layers should be 0.6mm. If there are still holes and bald spots in the top layer, increase the thickness to 0.8mm.
Checetalist:
Problem STIMITA
Description of the problem
Cobwebs or hairs appear between model elements when printing.
When the printer head moves over an open surface (without extrusion), i.e. from one object to another, the plastic flows out of the nozzle.
3D printing solution: Hairs, webs
1. Turn on retract . Retraction is an important factor for the quality of the finished model and can be enabled in the slicer. It functions quite simply and works by pulling the filament back into the nozzle before the head starts to move. The bottom line is that it prevents plastic from flowing out of the nozzle, which creates a "spider web" between objects.
2. Retraction activation in settings . Most apps like Cura offer pull activation in settings and this is set by default. However, if you want more options, you can customize them further. For example, you can set the minimum head path before activating retraction.
3. Minimum distance (mm) . If retraction is not working correctly, the easiest way to fix this is to reduce the minimum distance. Reduce it by 0.5mm until hairiness disappears. Activate retraction (retract) to increase the speed of printing.
This problem has several causes. First of all, the thread diameter may not match the diameter set in the slicer. Also, the amount of extruded material may be lower due to incorrectly configured firmware. Another problem is that the nozzle can become clogged and this will cause under extrusion.
3D Printing Solution: Underextruded
1. Check filament diameter . Start with the simplest solution - check the filament diameter settings in your slicer. If you are not sure about the filament diameter and the recommended temperature, check the information on the packaging.
2. Measure thread . If you still can't get the desired result and filament separation remains a problem, use a caliper to check the filament diameter. After measurement, adjust the settings of the slicing software. ( author's note - if you have a bowden hotend, then you need to unscrew the fitting from the hotend, enter the command (for example, in Pronterface) M302 : Allow cold extrudes and extrude a meter of plastic. If more or less is extruded, then you have an incorrect number steps per mm for the extruder If you have a direct hotend, then you need to unscrew the nozzle ( the nozzle can only be unscrewed when it is hot! ). It is also worth noting that even with the correctly set steps per mm value, when retracting, the distance traveled will be less than when extruding. This is because more resistance is experienced when retracting )
3. Check printhead . After starting printing, most printers lift the print head off the model base. Check if the nozzle is clean.
4. Set the extrusion factor to . If there is no difference between the actual extrusion diameter and the software settings, check the extrusion multiplier settings (or flow rate or flow compensation), they may be too low. Each slicing application solves the problem differently, but try increasing the ratio by 5% and restarting the print process.
5. Open the Edit Process Settings window in Simplify3D and go to the Extruder tab - the extrusion factor should be set to 1. 0 which corresponds to 100%. Open the Material tab in Cura and increase the Flow settings (you may need to enable Flow in the Preferences window).
Checetalist:
5
Description of the problem
Excessive extrusion means that the printer is supplying more material than needed. This affects the fact that the printout has excess filament.
3D Printing Problem Solution: Overextruding
This problem is usually caused by the slicer's extrusion or flow ratio being too high.
1. Extrusion ratio . Open the slicer and check that you have selected the correct extrusion ratio.
2. Flow settings. If everything is correct with the extrusion ratio, reduce the Flow parameter in your printer software settings.