3D print keyboard
Make your own 3-D printed mechanical keyboard
Mechanical keyboards are all the rage and it’s easy to see why—there’s the pleasure of being able to really hit the keys, the clicky sounds, and the fact that they can be highly customizable.
If you want to upgrade your typing experience with one of these gadgets, there are two ways to go about it: You can always buy one or, if you’re up for the challenge, put one together yourself. Choosing one approach or the other may not make a huge difference in the price tag of your new peripheral. But there’s only one way that gives you the satisfaction of having made a keyboard that’s specifically made for you and by you.
If you’re ready for an adventure, here’s how you can build your own 65-percent mechanical keyboard. A high-end peripheral can easily cost in excess of $100, so we designed this project to be generally affordable, and if you want to cut costs further, you can even 3D-print your case. Ordering your components will generally be more expensive, resulting in a final price tag of around $150. Making your own parts, on the other hand, can reduce that cost to less than $50.
And don’t get deterred if you don’t have a 3D printer at home—you can always sign up for a membership at your local maker space where there will likely be machines you can use and even classes you can attend. If you really want to take the plunge and get your own 3D printer, we’ve put together a guide with everything you need to know before you buy one.
- Assembly time (not including 3D printed case): 6 hours
- Material cost: $50 to $166.10
- Difficulty: Moderate
Materials
- 1 roll of stranded rainbow wire
- 1 roll of single-core wire
- 1 set of Costar-style keyboard stabilizers
- 4 rubber feet
- 68 1N4148 diodes
- 1 mini USB cable
- 2 sets of your choice of switches
- 6 32 by ½-inch Phillips machine screws
- 1 Teensy 2.0 microcontroller replica (Mega32u4)
- Solder
- Electrical tape
- 3D printer filament
- 1 set of standard keycaps
If you’re not 3D-printing your components
- Keyboard case (case and plate)
- Tada68 keycaps
Tools
- Soldering iron
- Phillips screwdriver
- Wirecutter
Instructions
1. Buy or print your case. The case is the body of your mechanical keyboard, and it holds the switches and other electronic components. As we mentioned before, you can buy one or you can 3D print your own.
If you choose to hit the market in search of a case, online retailers such as KBDFans and Aliexpress are good options since they have a wide range of cases. The Chinese online retailer has the benefit of getting you more bang for your buck, but with the drawback that orders take longer to get to you. If you’re impatient, Amazon also carries affordable keyboard components, but you’ll end up paying a premium for having them at your doorstep within a couple of days.
You can choose to buy an aluminum case or a plastic one. Aluminum tends to be more expensive, but it’s more solid and hefty, which makes it a good choice if you don’t tend to move your keyboard around. On the other hand, some people prefer the look of plastic cases, which are also usually cheaper. Some cases come with a fitting plate, which is the piece that holds the keyboard switches in place, but you can also just look for a case that has an integrated plate.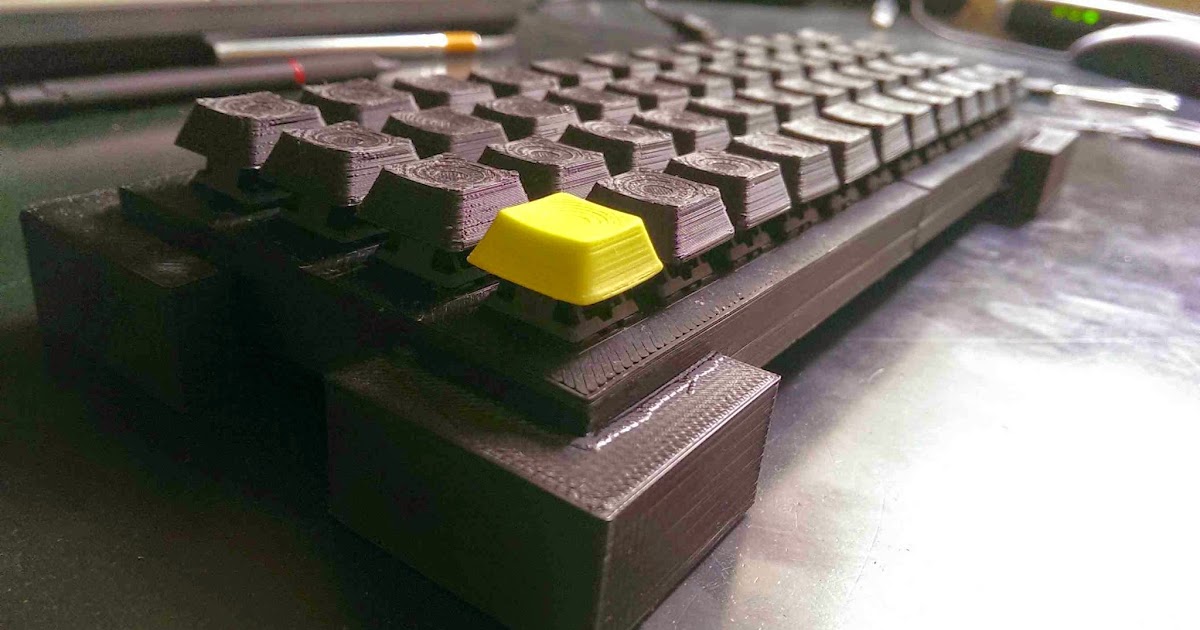 Pick the model, color, and material you like the most—just make sure the case has a mini-USB slot for the control board.
For those who choose to 3D print their own case, I recommend using FedorSosnin’s SiCK-68 tada68 ‘thing’ from Thingiverse. It is well-designed and the printing instructions are easy to follow. If you’re more advanced when it comes to 3D printing, you can alter the Thingiverse design or make one from scratch using the swillkb Plate & Case Builder resource. I personally went with the SiCK-68 build nice and compact, and you can print it in whatever colors you like, but I used silver PET-G filament for the bottom part of the case and white filament for the top. I chose PET-G filament because it’s sturdy and durable, but you can also use PLA, which won’t require you to change the default settings on Ultimater Cura.
When using the SiCK-68 template you’ll need to print some parts separately—the lower and upper case pieces (both left and right), the dowels (to join the pieces together), and the keycaps for the Alt, function, right shift, and CTRL or Command keys, if you buy a standard keycap set.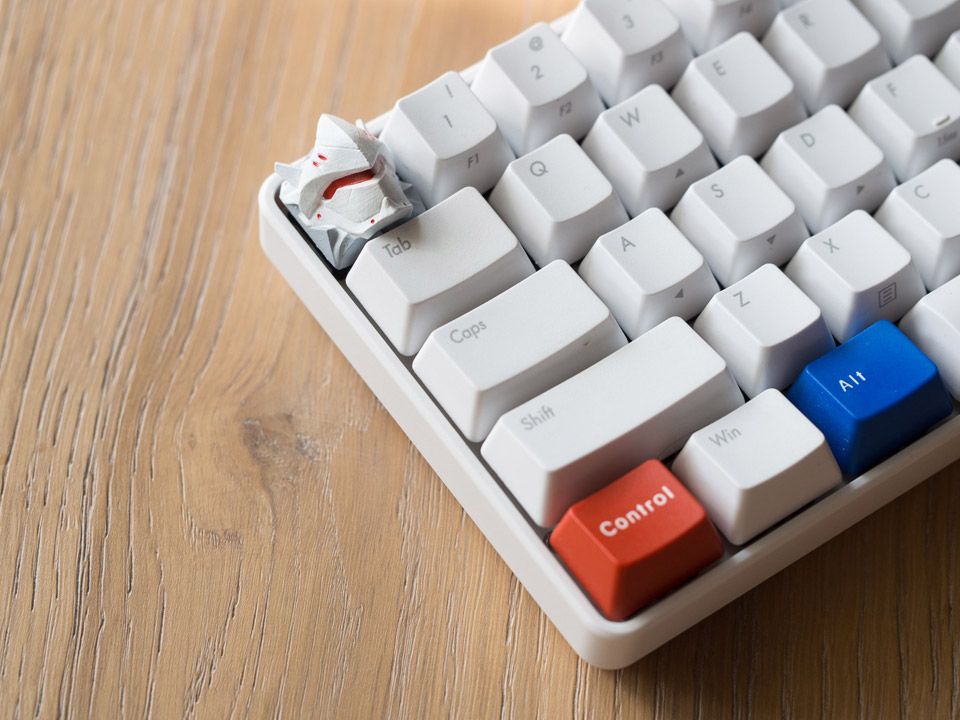 These keycaps are slightly smaller than the Tada68 layout, so you’ll need to make your own to fit the case.
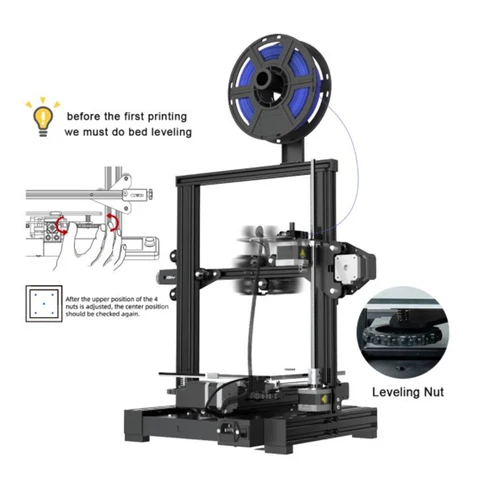
The printing process should be fairly similar for all 3D printers but I used a Creality Ender-3 so I will describe the 3D printing process based on that. If you are using a printer that doesn’t have automatic bed leveling, start by leveling your bed before printing to ensure that you get the best results. I used Ultimater Cura to do my slicing, but you can use another slicer such as Prusa Slicer. You can find the relevant settings I used below—you can use them as a baseline and adjust them to fit your specific machine and filament. If these settings result in a messy-looking print, slowing down the speed should fix any issues.
Printer: Creality Ender-3
Filament type: PET-G
Print nozzle temperature: 235°C
Build plate temperature: 85°C
Print speed: 60mm/s
Initial layer speed: 10mm/s
Enable Retraction
Retraction distance: 9.
5mm
Retraction speed: 40.0mm/s
Maximum retraction count: 10
Combing mode: Within infill
Enable print cooling
Fan speed 100.0%
Initial fan speed: 0.0
Build plate adhesion type: Brim
In total, the print took around 30 hours, and if you optimize the settings of your printer, you can just leave your machine to do its thing without much intervention.
If you print with a brim, you’ll note that you will have to trim off the extra material with a craft knife. You’ll also notice some leftover “strings”—these are normal when using PET-G filament, and you can easily remove them by blasting your prints at arm’s length with a heat gun at around 390 degrees F. You can also pluck them off.
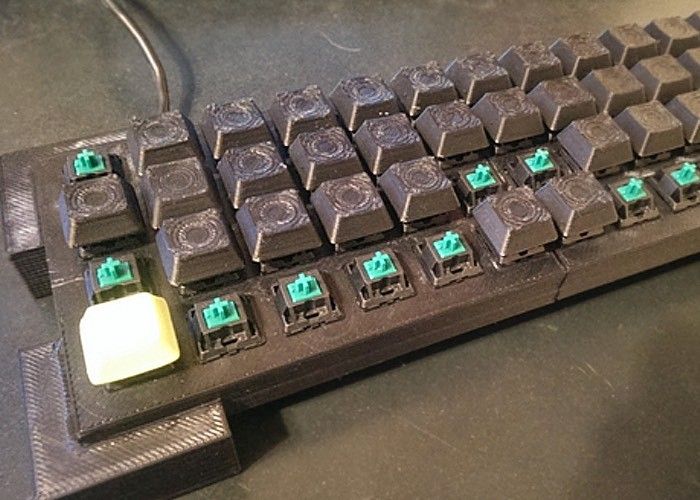
2. Install the switches. Install your switches into the assembled top half of your keyboard case or plate. We went for the Akko CS Ocean Blue, as they are clicky and very affordable, but you can use whatever switches you like as long as they have three pins and are the same size.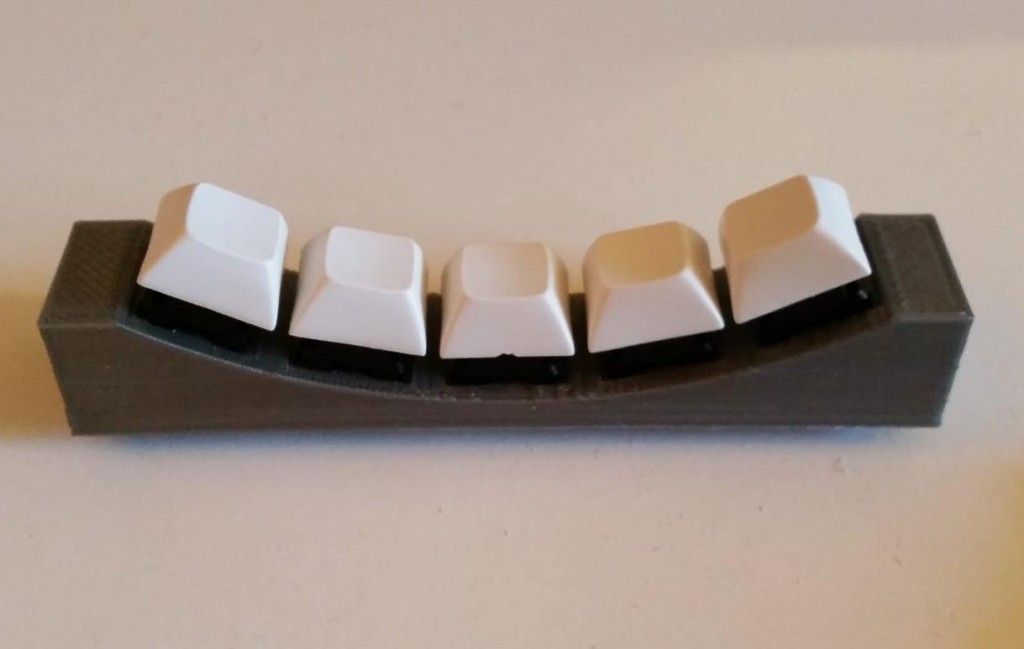
To install them, make sure all the switches are facing in the same direction and press them into place until you hear a click—that’s how you know they are secured.
When you finish installing the switches, it’ll look something like this.3. Solder the switches to the diodes. Now you need to start setting up your keyboard’s control system, which allows the signal of a pressed key to travel from the right switch to the control board. The first step is to solder diodes to the pins of your switches.
Diodes usually come in sets of 100, but you’ll only need 68—one for each key. This will leave you with a lot of room for error if you need it. These delicate components ensure that current only flows in one direction so that there are no loops that will end up frying your keyboard or causing your machine to register the wrong key.
Start off by identifying which end is the cathode of the diode—you’ll recognize it by the black band painted on the body. Use your wirecutter to trim the cathode down to 1/2-inch and solder it to the left pin of a switch. Repeat the process with all remaining switches and finish up by trimming the remaining ends of the diodes to 1/2-inch.
4. Connect each row of switches with a wire. You’ll notice that there are five rows and 15 columns of switches connected to diodes. Measure up, cut, and strip five pieces of solid core wire long enough to run for the entire length of each row of switches.
Solder the remaining ends of the diodes in the first row to one of the pieces of the solid core wire, and repeat the process for all the remaining rows. Finish the row up by trimming the ends of the diodes that are still poking up, and placing electrical tape over each piece of the solid core wire. This will prevent shortages from happening between the rows and columns.
5. Connect each column of switches with a wire. Measure up, cut, and strip 15 shorter pieces of stripped solid core wire long enough to span the length of the columns of your keyboard. Solder one piece of wire to the right pin of each switch in the first column and repeat for all columns.
6. Connect your rainbow wires to the row and column wires. Strip the ends of five wires from your rainbow wire spool, and solder them onto the ends of each row of wire. You can choose the right or left end of the row wires, but whatever you do, make sure your Teensy is able to slot into its spot in the bottom half of the case without issue. If you don’t router your wires properly, they could bunch up and not leave enough space for the Teensy and the case might not even be able to close up properly.
Continue by stripping the ends of a set of 15 wires from your rainbow wire spool and solder them onto the ends of each column wire.
At this point, the back of your keyboard should look something like this.
It looks messy, but we swear it’s not as complicated as it seems.7. Solder the rainbow wire to the Teensy. Use this diagram. The different colors of the rainbow wire will help you tell the difference between each row and column, making the job a little easier. Make sure to double-check your wires before you solder them.
Pro tip: You can use an original Teensy if you want to, but it will likely be more expensive.
If you want a more theoretical understanding of how exactly this setup works, you can check out Matt3o.com where the author takes a deeper dive into the inner workings of this type of keyboard. But to sum up, each key corresponds to a unique combination of row and column numbers. This is how the Teensy knows which key you’re pressing.
8. Program the Teensy. It’s just a matter of following these steps:
- Connect your Teensy to your computer with the mini-USB cable.
- Download the SiCK-68_EasyAVR.zip file.
- Extract the file to a convenient location and open the folder.
- In the EasyAVR-master folder, find and run the easykeymap.exe file. This is the setup wizard for the keyboard mapping process.
- Go to the File menu on the main navigation bar at the top of your screen, and select New.
- Select TAD68 and then click OK.
- Close the software for now.
- In a new File Explorer (or Finder window, if you’re on a Mac) go to C:\SPB_Data\.EasyAVR\boards
- Copy the SiCK-68.py file to this folder. This file is in the main folder from when you extracted the SiCK-68_EasyAVR.zip file.
- Back at the EasyAVR-master folder, open easykeymap.exe again.
- From File, choose New, select SiCK-68, and then click OK.
- To create a function key layer (meaning, giving keys a function different from the original when you press the Fn key), select Layer 1, then the 1 key (next to Esc) in the window. Continue by selecting the Scancode option and then F1—this will give the number key the F1 function when you press it along with the Fn key.
 You can repeat the process with the rest of the number keys (and the minus and plus keys to the right of the row) to assign them up to the F12 function.
 - Select Build.
- Save the resulting file.
- From the main SiCK-68_EasyAVR folder, open the Fake Teensy Loader.exe file.
- Press the button on your Teensy once to manually enter Program Mode.
- Next, go to File and then Open HEX File, and select the document that you created in step 13.
- Finally, select Program.
- To finish, select Reboot from the Teensy Loader menu. Your keyboard should now have the firmware on it.
9. Slot in the stabilizers and the keycaps. Stabilizers will help, well, stabilize bigger keys, like the left shift key, the backspace, the spacebar, and the Enter keys. Once the stabilizers are in place, you can attach the keycaps to the switches—just line up the cross-shaped slot in the keycap and push it into place.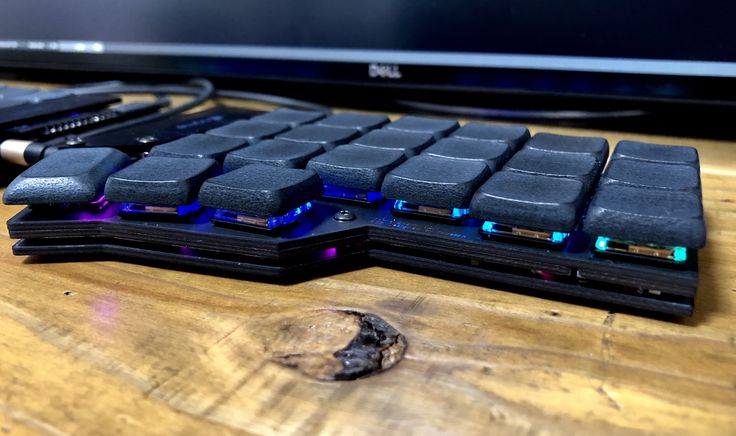 In case you don’t remember where each keycap goes, you can use this layout as a reference.
10. Test the Teensy. Make sure everything works as it should, by going to the Keyboard Tester website and trying out your gadget. You should see the platform registering each stroke as you hit the keys.
Any issues you run into may be due to shorts—maybe you didn’t apply the electrical tape properly, or it may have been damaged in some places. This is an easy fix: visually inspect the tape to see if there are any issues. If problems persist, then it might mean something is not soldered correctly. Disconnect the keyboard, remove the tape, and rejoin anything that might have separated.
11. Tuck in your components and close the case. Once you’ve verified everything’s running smoothly, it’s time to package everything up. There’s a slot in the bottom half of the case for the Teensy. Go ahead and tuck it in there, making sure that it’s as far forward as possible and that you can easily plug in your mini-USB cable.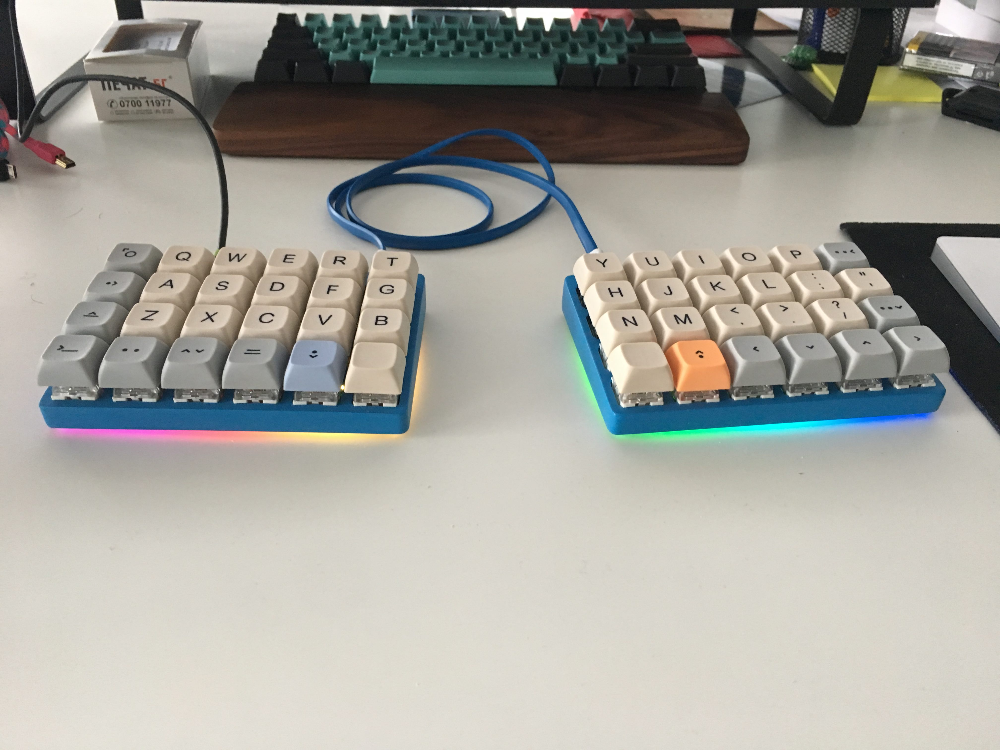
Put the top half of the case onto the bottom half, making sure there are no wires protruding. Screw everything together with your machine screws.
12. Apply the rubber feet. Do this near or at the four corners of the bottom of the keyboard.
I’ve been using this keyboard ever since I finished programming the Teensy and it has been a real pleasure. There is something about the roughness of it—where I cut off the extra material, the custom keycaps, and the joints—that makes me love this keyboard more than any one I could have bought. It’s my keyboard and I built it.
You might not like the roughness as much as I do (you can easily polish that early on in the process), but the action of the switches and keycaps is quick and polished, so the texture doesn’t compromise the gadget’s performance. The Akko CS Ocean Blue switches are very tactile and clicky, which I personally love, but if you want something quieter, then there are other options out there.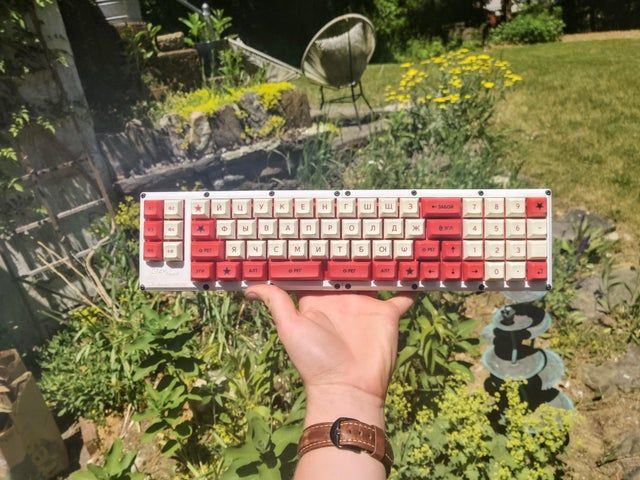
I am a new convert to mechanical keyboards and thanks to this build there’s no way I’m going back to a membrane keyboard. This is a basic build but you don’t have to stop here. You can build one to use at home and one for the office. You can add more customizations like different colored keycaps and you can even add LEDs. The sky’s the limit.
All 3D Printed Keyboard Cases – P3D Store
Additional filter options are located under the filter drop down.
Filter
3D Printed Keyboard Case Digital Files
$10.00
Quefrency 3DP Rev3 Keyboard Case Files
$10.00
Sold Out
Sold Out
Phoenix 45 3DP Keyboard Case
$95. 00
00
Sold Out
Sinc 3DP Keyboard Case Files
$10.00
Sold Out
Sold Out
Prime_E 3DP Keyboard Case
$120.00
Sold Out
Sold Out
Sold Out
SPIN 3DP MacroPad Case
$40.00
Sold Out
Sold Out
Sold Out
Discipline 3DP Keyboard Case
$110.00
Sold Out
Sold Out
Sold Out
_33 PCB and 3DP Keyboard Case
$55. 00
00
Sold Out
Sold Out
Sold Out
QAZ 3DP Keyboard Case
$50.00
Sold Out
Sold Out
Sold Out
RoMac 3DP MacroPad Case
$30.00
Sold Out
Sold Out
Sold Out
P360 3DP Keyboard Case
$100.00
Sold Out
Sold Out
Sold Out
Gingham 3DP Keyboard Case
$110. 00
00
Sold Out
Sold Out
Sold Out
Discipad 3DP MacroPad Case
$30.00
Sold Out
Sold Out
Sold Out
Plaid 3DP Keyboard Case
$70.00
Sold Out
Sold Out
Sold Out
Minivan Top Mount 3DP Keyboard Case
$95.00
Sold Out
Sold Out
Sold Out
Romeo 3DP Keyboard Case
$80. 00
00
Sold Out
Sold Out
Sold Out
Program Yoink 3DP Case and PCB
$95.00
Sold Out
Sold Out
Sold Out
Getawayvan Top Mount 3DP Keyboard Case
$95.00
Sold Out
Sold Out
Sold Out
Training Wheel 40 3DP Keyboard Case and PCB
$120.00
Sold Out
Sold Out
Sold Out
RoPro 3DP Keyboard Case
$75. 00
00
Sold Out
Karina PCB Only and 3DP Case Files
$5.00
materials, equipment and technologies for advertising production
- Product catalog
Product catalog
Go to expanded catalog
PDF catalogs
CONSUMABLES
- Silk-screen materials
- Advertising and decorative lighting
- Chemistry (adhesives, paints, varnishes, special chemicals, cleaners)
- Mounting and packaging materials
- Aluminum and plastic profiles
- Materials and equipment DTF
- Digital printing ink
- POS materials and equipment, Joker, Uno and Tritix systems
- Mobile stands, Flagpoles, Pavement signs, Fencing posts
- Rigid sheet materials
- Colored self-adhesive films
- Materials for printing and lamination
- Reflective materials
- Thermal transfer materials
- Souvenir and premium products
- Clothes and accessories for labeling
- CRAFT materials and equipment
EQUIPMENT AND TOOLS
- Printers for printing and transfer printing
- Thermopresses
- Printers for advertising production
- 3D printers
- Equipment for nesting and cutting
- Milling and engraving equipment and laser engravers
- Fabric printing equipment
- T-shirt printers
- Laminators
- power tool
- Aluminum ladders and ladders
- Equipment for the production of liquid acrylic letters
- Trimmers, abrasives, film tools
- Eyelets and tools for their installation
- Knives, blades, scissors, mats
- Silk-screen equipment
- Spare parts, add.
 hardware and software
Sale New Year
- Zenon Academy
- Video
- Articles
- Webinar Schedule
- About Us
- About company
- Our staff
- News
- News
- Stock
- New
- Developments
- Seminars
- Exhibitions
- Congratulations
- Webinars
- Service
- Signboard calculation
- Service
- Working conditions
- Delivery
- Payment
- Contacts
You are using an outdated browser
In order to use all the features of the site,
download and install one of the browsers:
Google Chrome
download latest version
Opera
download latest version
Mozilla
download latest version
article
Subscribing to the newsletter
A confirmation email has been sent to the email you specified.
Please follow the instructions in the letter.
Sorry, an error has occurred, please try the service later.
To subscribe to the newsletter, please fill in ALL fields of the form
Subscription regions
- Moscow - Golyanovo
- Moscow - Losiny Ostrov
- Moscow region - Odintsovo
- Moscow region - Podolsk
- Arkhangelsk
- Barnaul
- Belgorod
- Vladivostok
- Vladimir
- Volgograd
- Voronezh
- Yekaterinburg
- Izhevsk
- Irkutsk
- Kazan
- Kaliningrad
- Krasnodar
- Krasnoyarsk
- Kursk
- Lipetsk
- Nizhny Novgorod
- Novosibirsk
- Omsk
- Orenburg
- Penza
- Permian
- Pyatigorsk
- Rostov-on-Don
- Ryazan
- Samara
- St.
 Petersburg
 - Saransk
- Saratov
- Simferopol
- Smolensk
- Sochi
- Stavropol
- Tambov
- Tolyatti
- Tomsk
- Tula
- Tyumen
- Ulyanovsk
- Ufa
- Khabarovsk
- Cheboksary
- Chelyabinsk
- Yakutsk
- Yaroslavl
I agree for the processing of personal data
Product request:
You can submit this product request form, or contact us by phone or by email , informing the manager of the article
I agree for the processing of personal data
Comments and suggestions
If you are faced with a situation in which you could not get an answer or the help you need from our employees, were dissatisfied with the service or did not find a solution to your question, you can directly contact the company's management with your problem.
I agree to the processing of personal data.
▷ Membrane keyboards: Individual With display Backlit
- NEW_422_c0
- NEW_422_c1
ReverseForward
Custom membrane keyboards ranging from copper backed keyboards to backlit keyboards TastenIndividual membrane keyboards ranging from copper-based keyboards to backlit Tasten keyboards
waste disposal. Regardless of whether it is high hygiene requirements or the impact of extreme environmental conditions on equipment, we guarantee the supply of suitable input systems for any application.
Various technologies such as Profiline, doming or backlit keys turn your membrane keyboard into an eye-catching high-tech device! Size, design and color for various membrane keyboards you can choose yourself. Of course, the integration of the keyboard into our cases is included in the list of our services - for this, many of our standard cases already have a membrane keyboard surface, ensuring that the individual keyboard is flush with the surface of the case. In some application scenarios, it is preferable to use a keyboard in combination with a front panel or PCB. In addition, faceplates can be equipped with simple faceplates and short-throw keys.
Benefits for you:
- High quality workmanship
- Easy to use thanks to function keys and individual additional functions
- Tailor-made product – both in terms of technical features and design
- Environmental resistance
- Can be integrated into electronics housings and control panels Copper foil construction with metal membrane Detail view of the different backlit Profiline layers - detail view of the structure
Which foil keyboards offer tactile feedback through a clearly defined pressure point?Despite the popularity of touch technology, the classic membrane keyboards with distinct pressure point tactile feedback are in high demand.
 Our Profiline membrane keypads are ideal for this: They impress in particular with the following features:
 - Optimum tactile feedback and operating comfort
- clearly defined pressure point (important for operation with gloves )
- Backlit membrane keyboard also available
in terms of tactile feedback and ergonomics. This input interface stands out for its typical “short-travel feel” of the keys and perfect tactile guidance for the fingers. The design of the membrane keyboard and the number / shape of the keys is determined entirely according to your wishes - even incredibly small or very large keyboards can be produced. Between Metal Membrane and Face Film are used for tactile, durable keyboard elements. They not only provide a very good tactile response, but are also extremely reliable in operation. In addition to providing the standard dust and moisture protection, the built-in acrylic gasket protects the metal membrane from possible deformation.
 The surface of the keys of this input system cannot be damaged even as a result of intense, point-like force impacts.
 By calculating the appropriate gasket parameters, we can, in particular, realize special requests for our keypads, ensuring that the highest safety requirements for the operation of devices and assemblies are met. These include, for example:
- Rocker switch equipment
- Double contact keypads
! Double contact allows the user to easily define two different switching functions. Thanks to this, it is possible to implement switching concepts that guarantee safety at the first wrong press (reserve), as prescribed in safety-critical application scenarios.
Backlit Profiline
Systemintegration - HMI-Lösungen für Gehäuse
Depending on your requirements, wishes and printed pattern, our foil keyboards are produced by screen printing or digital printing.
 Based on the points below, we will select the appropriate printing method for your membrane keyboard in consultation with you.
Stone print- High hiding place
- Special colors (gold, silver, etc.)
- incredible wear resistance
- Durability
color gradients available - Low initial cost
- Ideal for prototype/small batch production; large-scale production is also possible
- The printing template can be quickly changed (for example, during sample making)
Front films are molded primarily to improve handling. The surface of the keys becomes tactile, and the membrane effect of molding improves the tactile response of the controls. Of course, molding is also used as a design element to accentuate the decorative areas of the film. Choose the right molding for your membrane keyboard from the following options:
Height: approx.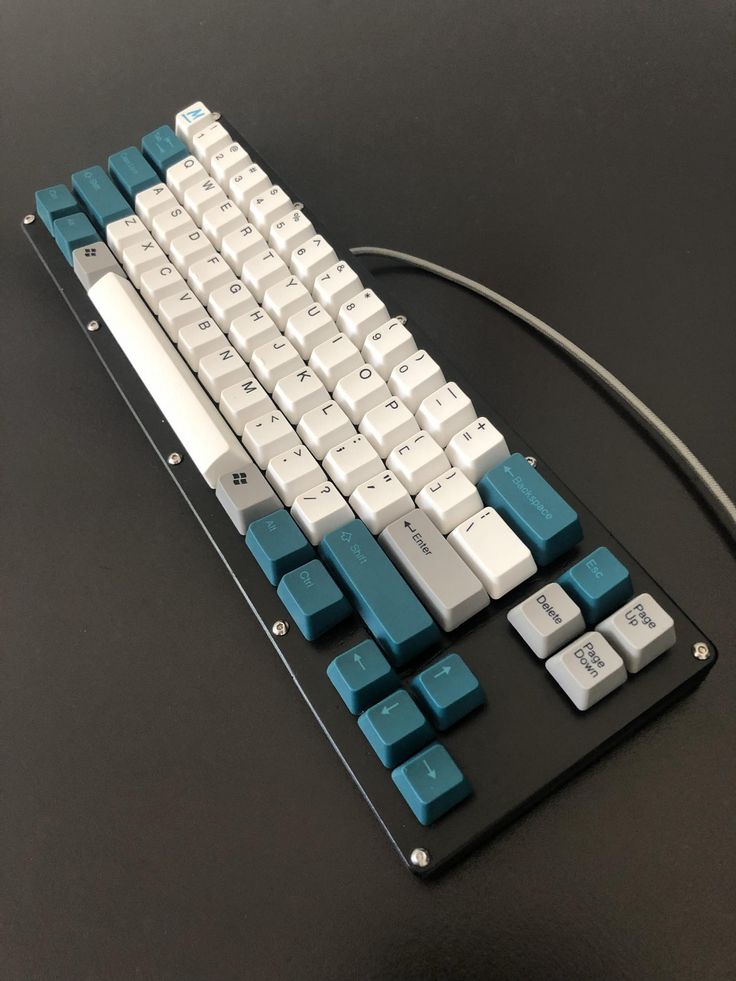 1.0 - 1.5 mm*
 Profiline molding
This type of molding with increased height forms the basis of our Profiline keyboards.
*May vary depending on film material.
Height: 0.6 - 1.4 mm*Dome molding
Dome molding is available in various diameters from 8 to 17 mm.
Height: approx. 0.3 - 0.5 mm*Flat forming
Flat forming can be done in various shapes.
Height: 0.3 - 0.5 mm*Contour molding
Contour molding is used as a tactile guide for the fingers. At the same time, the surfaces of the front film and the keys themselves are on the same level.
Height: approx. 0.6 - 0.8 mm*Convex Molding
The Convex Molding is a molding with a small bump relief. This type of molding is used when integrating LEDs. In this case, the molding height can be aligned with the height of the LED, and the highlighting effect will be enhanced.
Membrane keyboard with touch screen and Profiline technology keysFilm keyboard with molded keys and display cut-outFilm keyboard with large display cut-outFoil keyboard with many keysFilm keyboard with LED windows, display cut-out and molded keysLarge membrane keyboard with numeric face film printContact information - where can I request an offer for my customized membrane keyboard?
We would be happy to advise you on membrane keyboards and work with you to determine the best keyboard technology for your application.