3D fdm printer abs
Everything you need to know about ABS 3D printing
Before you get started with ABS 3D Printing, we’ve compiled some of the basic information you’ll need to know. Read on to learn the advantages, disadvantages, history and applications of ABS 3D printing
ABS Filament and 3D printed OXO Thermometer Housing
Fused Deposition Modeling (FDM) 3D printing has been around since the early 1990s. It was the third major 3D printing technology to be developed, and is currently one of the most widely used. As the technology developed, materials also started to develop and ABS was one of the first materials to be introduced to 3D printing. It was a known material and already in use in traditional manufacturing processes, making it a natural fit to 3D printing.
Today, ABS is the most popular FDM 3D printing material for professional applications. ABS is a difficult material to 3D print and through this article we intend to share everything you need to know about ABS 3D Printing.
UNDERSTANDING ABS AS A MATERIAL
ABS or Acrylonitrile Butadiene Styrene is a thermoplastic copolymer – it can be melted to form liquid and cooled to form solid, and this process can be repeated many times without any significant degradation in its properties.
Chemical Composition
ABS is a polymer of acrylonitrile and styrene in the presence of polybutadiene. The general composition is 20% acrylonitrile, 25% butadiene and 55% styrene. By altering the composition of these compounds, the properties of ABS can be modified to improve its toughness, heat and impact resistance. The butadiene, which is a rubbery substance, imparts resilience even at low temperatures while the styrene gives the plastic a shiny, water-tight surface.
LEGO bricks are injection molded out of ABS plastic
Professional Applications
ABS is widely known for its impact, chemical and heat resistance. It also exhibits high structural strength, stiffness, and excellent high and low temperature performance, which make it suitable for automotive components and kitchen appliances.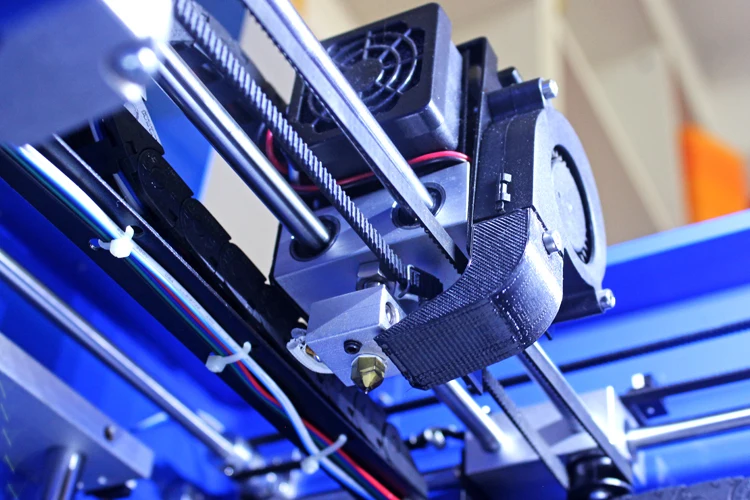 ABS also displays great electrical insulation properties, making it a common choice for applications in housing and casing of electrical components.
ABS has a low production cost and is relatively easy to machine,, making it an ideal material for mass production of everyday products. ABS is also fairly easy to post-process as it can be glued and painted.
Examples of products that are manufactured in ABS include kitchen appliance housings, automobile dashboard and bumper, protective equipment like headgear, electrical casings and covers, Lego bricks and other toys, and even musical instruments.
FUSED DEPOSITION MODELLING (FDM) ABS 3D PRINTING
ABS offers many benefits to users but it is also important to note that it can be difficult to successfully print with this material.
Common Challenges with ABS 3D Printing
Users have to face a variety of challenges while 3D printing with ABS. ABS 3D printing is synonymous with critical issues like warping, curling and cracking that affect the print shape, dimension and performance.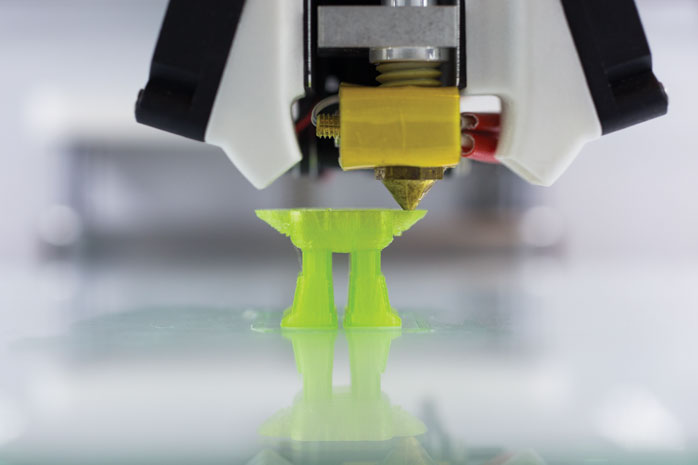 These issues are directly caused by ABS’s propensity to shrink up to 2% as it cools. When this cooling occurs unevenly at each layer, the result can be poor-layer adhesion and cracking. First-layer adhesion is also a problem for ABS and users have to resolve the same through a tedious trial and error methodology.
ABS shrinks significantly leading to warped parts
Solutions to ABS 3D Printing
Even though ABS faces multiple challenges, solving them is definitely possible. With careful consideration and proactive measures, the challenges can be easily overcome. We help you with a list of problems and factors to consider while printing with ABS material.
First we need to understand ABS material properties.
FDM ABS MATERIAL PROPERTIES
| TECH SPECS | Imperial | Metric |
|---|---|---|
| Heat Deflection (ASTM 648, 66 psi) | 210°F | 99°C |
| Flexural Modulus (ASTM D790, 15 mm/min) | 377,000 psi | 2,600 MPa |
| Tensile Strength at yield (ASTM D638, 50 mm/min) | 0. 806 psi 806 psi | 43 MPa |
| Tensile Modulus (ASTM D638, 50 mm/min) | >348,000 psi | >2,400 MPa |
| Strain at Yield - Elongation (%) | >5.6% | >5.6% |
| Notched Impact Strength (ASTM D256) | >3.6 ft-lb/in | >192 J/m |
(Specifications for MakerBot ABS)
GUIDELINES TO ABS 3D PRINTING
Ideal Extrusion Temperature Range
It is important for users to always print ABS within the ideal or recommended temperature range. The temperature range is provided by the filament manufacturer and the entire range should be explored for the ideal temperature for your 3D printer and the environment you are working in. For METHOD the extruder temperature for ABS is 245°C.
Heated Build Plate vs Heated Build Chamber
Due to ABS’s rate of shrinkage while cooling, it is strongly recommended that a heated build chamber is used when printing.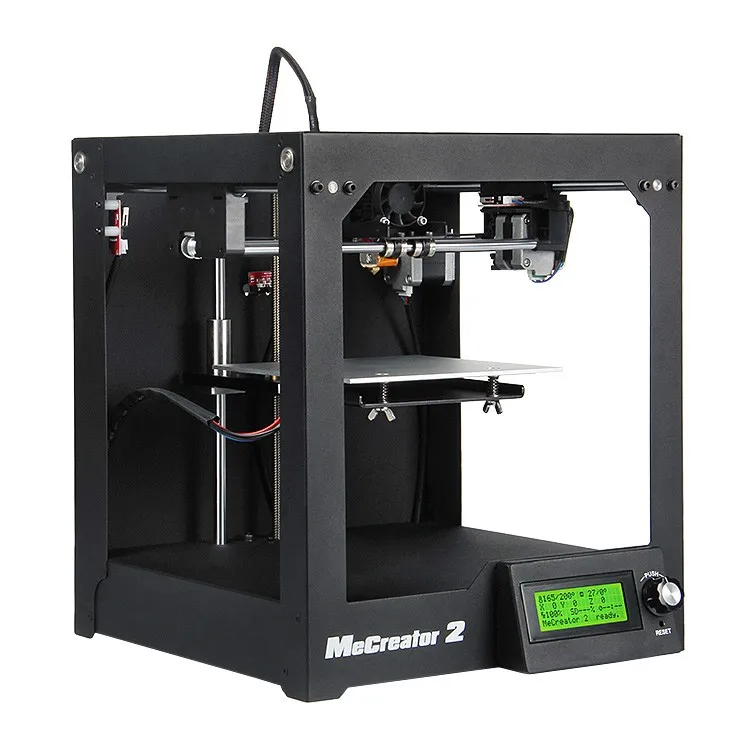 This will allow the print to maintain an elevated temperature until the job is complete, at which point the entire print is able to cool at a constant rate ensuring dimensional accuracy and structural integrity are maintained. If a heated chamber is not an option, another less ideal option is to use a heated build plate with an enclosure. The heat on the build plate will increase adhesion while the enclosure will attempt to mimic a heated chamber. Note that for the second configuration, the part’s accuracy and strength will decrease as the part’s size increases.
Real ABS vs Modified ABS
There are many formulations of ABS and depending on what type of 3D printer you have access to, you may elect to choose a variety that has been modified to favor less curling. These modifications tend to have a negative impact on material properties so ensure you know what you are getting before you purchase. If your goal is to closely mimic ABS used in injection molding, you’ll want to stick with the least modified version of ABS you can find.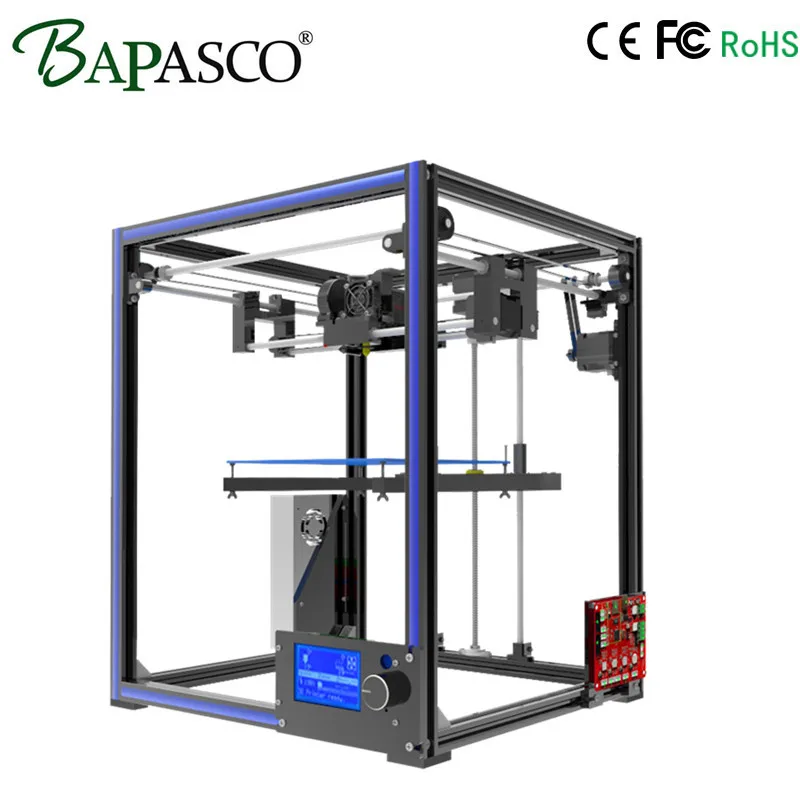 Remember, real ABS will require a heated build chamber to print well.
Ventilation
ABS 3D printing should always be carried out in a well ventilated room. Typically an open office environment with industrial HVAC should do the trick.
Warping, Curling & Cracking
Warping, curling & cracking can be big problems in ABS 3D printing. If not controlled, the print can warp, curl, or even crack after a few layers. These problems are visible only after some printing is done and so the print has to be constantly monitored to make sure the print is running perfectly. To reduce the chances of Warping, Curling & Cracking users have to take certain precautions as mentioned below.
First Layer Adhesion
Users should ensure that the first layer of the print has sufficient adhesion. The first layer adhesion can be controlled through multiple means like using a heated bed or a heated chamber. Both these features are important for ABS printing and help in keeping the printed part well heated. The heat prevents the layers from completely solidifying, thus avoiding warping or cracking.
Using Gluing agent
To increase the first layer adhesion, users can apply glue to the print bed. They can either use a regular glue stick, or specially formulated Magigoo adhesive or use ABS slurry.
ABS Slurry: It is a mixture of ABS filament pieces mixed with acetone. The mixture forms a thick gooey substance that is spread over the print bed to act as a glue. Take adequate care while creating this mixture.
Using Bed Adhesion Tools
Users can also try to control the warping and cracking issues through slicer settings. Slicer softwares have bed adhesion tools like raft and brim. These can significantly improve the first layer adhesion of the print.
Raft: Raft is a horizontal structure over which the entire part is 3D printed. Its sole purpose is to increase the surface area in touch with the bed.
Brim: The brim is similar to a raft but a brim only extends from the outer surface of the print.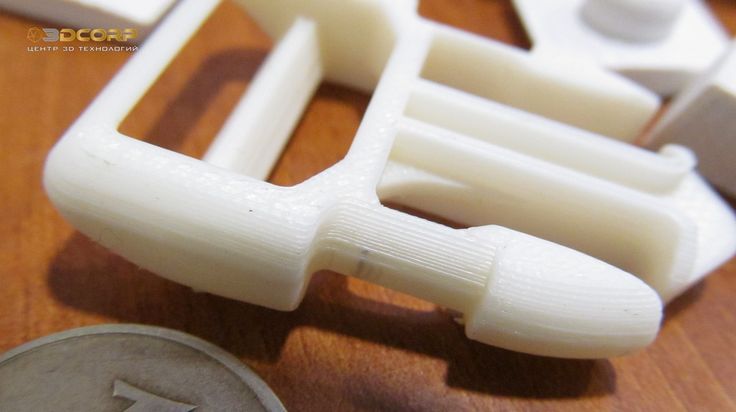 It has no contact with the print’s underside.
Tweak Slicer Settings
Other slicer settings that can help in increasing the bed adhesion are fan settings. Fans can be either run at low speeds for the entire duration of the print or else simply switched off while printing with ABS. This will help in keeping the print warm and in a heated state to improve bed adhesion.
advantages
➜ Manufacturing-Grade Material: ABS filament offers great mechanical properties like strength, ductility, impact, and wear resistance. This makes it an important manufacturing-grade material
➜ Easy to Post-Process: ABS can be machined, polished, sanded, filed, drilled, painted, glued, etc. with extreme ease, and the finish is still good.
➜ Wide-Ranging Applications: It has wide ranging applications in prototyping, especially for aesthetic prototypes and end-use parts as well.
DISADVANTAGES
➜ Warping, Curling & Cracking: ABS is highly prone to warping, curling & cracking. Without necessary precautions, the print will fail.
➜ Advanced Feature Requirements: ABS is a demanding material and it requires multiple features to ensure it is successfully printed. For most hobbyist and even professional level 3D printers, ABS will produce inconsistent results, while traditional industrial 3D printers can be out of reach due to high costs. Next generation desktop 3D printers such as the MakerBot METHOD are changing this with industrial features designed to control the 3D printing environment and produce consistent results while still being affordable.
WHERE TO BUY?
ABS material can either be bought from filament manufacturers or 3D printer manufacturers. For the MakerBot METHOD, we recommend use of MakerBot ABS as it is optimized to deliver great results.
Looking for a professional 3D printing platform that works with a variety of manufacturing-grade materials? Learn more at makerbot.com/method.
A Note to MakerBot METHOD Users Printing ABS:
The above guide is intended to discuss the challenges and techniques for printing ABS with a variety of desktop 3D printers.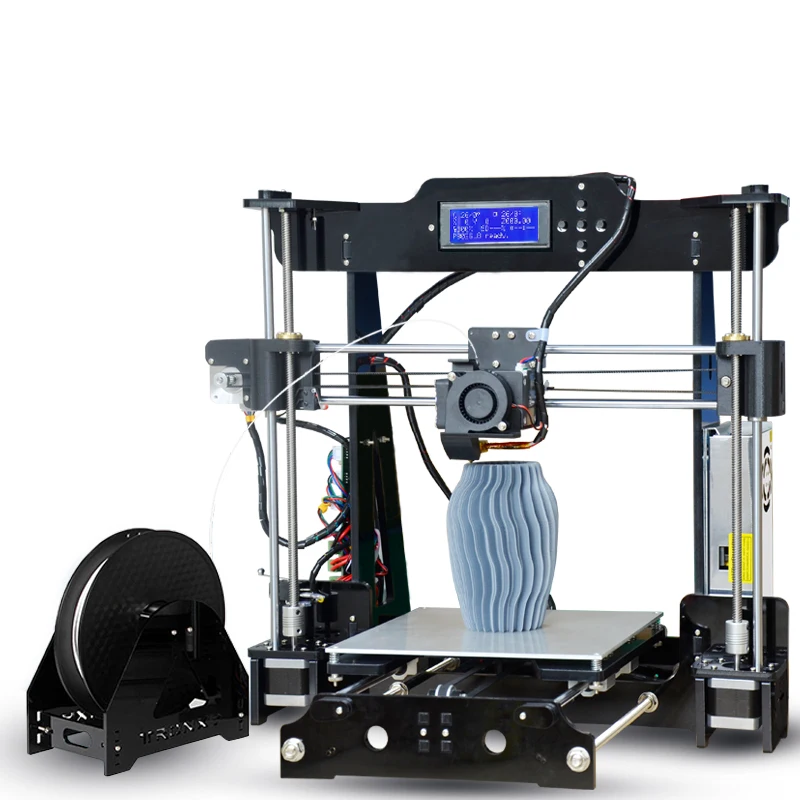 METHOD is designed to print real ABS without modification or special settings thanks to its unique environmental regulation features such as the heated build chamber. It is recommended to use optimized ABS settings within MakerBot Print for best results.
Related Posts
7 Best ABS 3D Printers In 2022
- Last Updated: December 25, 2022
- Jackson O'Connell
Sometimes PLA just doesn’t cut it. Your prints break and you just get tired of reprinting the same part over and over for whatever project you’re working on.
Lucky for you, there’s an alternative: ABS
ABS is another thermoplastic that’s relatively strong, widely used, and, in some cases, a few bucks cheaper. Using ABS can maybe even help your 3D-printed sword stay together the next time your cat knocks it off the counter.
Sadly, with the benefits of ABS filament comes some additional challenges. Moreover, the hardware requirements for printing ABS are a lot more intensive than PLA filament, so not all printers can handle it (yield high-quality prints).
We’ve scoured the markets, online and in person, and found the best printers for ABS filament, which we reviewed in the sections below. It’s worth noting that not all of these printers are able to print ABS from the get-go and some require some slight upgrading or modifications to handle the filament. Despite this, we still think the machines we’ve reviewed are the best for printing ABS.
In this review, we’re going to be looking at what ABS is, how it differs from PLA, what makes a printer capable of printing ABS, and then we will review the top ABS 3D printers the industry has to offer and see how they hold up to our standards.
Anycubic Mega S
Build volume: 210 x 210 x 205 mm
Get Discount Now
Check Latest Price
Qidi Tech X-Plus
Build volume: 270 x 200 x 200 mm
Check Latest Price
Dremel DigiLab 3D45
Build volume: 254 x 152 x 170 mm
Check Latest Price
Table of Contents
- Top ABS 3D Printers At A Glance
- Product Reviews
- 1.
 Qidi Tech X-Plus (Best Overall)
 - 2. Anycubic Mega S (Best Value)
- 3. Dremel DigiLab 3D45 (Premium Choice)
- 4. Flashforge Adventurer 3 (Best for Beginners)
- 5. Creality Ender 3 (Best for Advanced Users)
- 6. Flashforge Creator Pro (Most Reliable)
- 7. Qidi Tech X-Max (Best for Large Prints)
- What Is ABS?
- ABS VS PLA
- Considerations for Printers for ABS Filament
- Conclusion
Top ABS 3D Printers At A Glance
1. Qidi Tech X-Plus (Best Overall)
2. Anycubic Mega S (Best Value)
3. Dremel DigiLab 3D45 (Premium Choice)
4. Flashforge Adventurer 3 (Best for Beginners)
5. Creality Ender 3 (Best for Advanced Users)
6. Flashforge Creator Pro (Most Reliable)
7. Qidi Tech X-Max (Best for Large Prints)
Product Reviews
At this point, you may be thinking ABS is pretty cool and may want to experiment with it.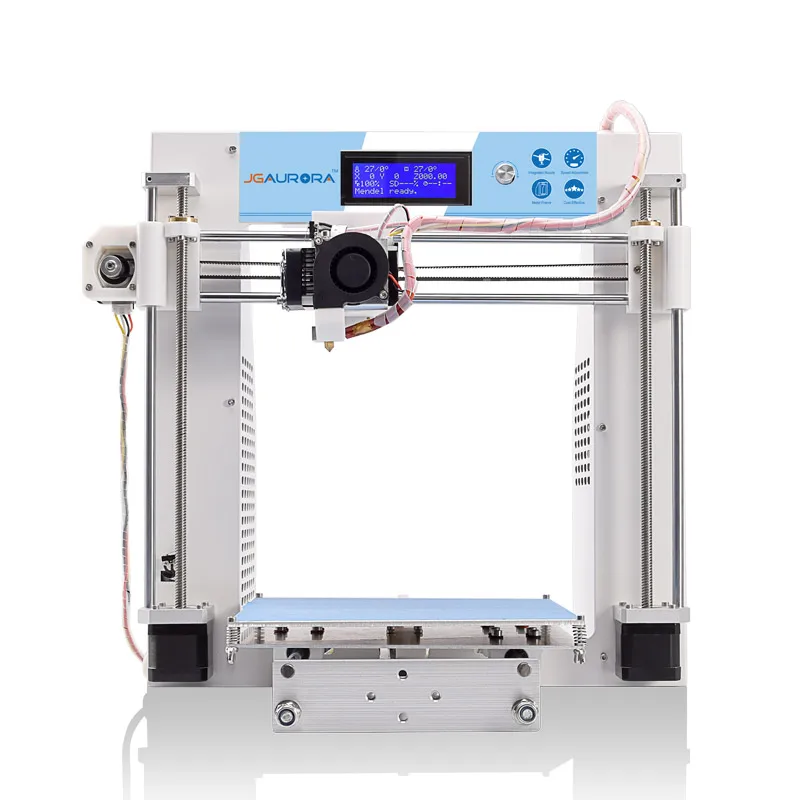 However, as we said, not every printer can handle it the same, and some can’t even handle it at all. In the next few sections, we reviewed a few of the best 3D printers for printing ABS filament!
3D Printer Type: FDM | Materials: PLA, ABS, PETG, TPU, Nylon, Carbon Fiber & Polycarbonate | Build Volume: 270 x 200 x 200 mm
Qidi is a name you may not have heard of before, depending on your experience, but they’re experts when it comes to making enclosed 3D printers. The Qidi Tech X-Plus is my personal favorite from the company’s lineup, offering a full built-in enclosure with visibility from three sides (and above).
What I love especially about the X-Plus is Qidi’s decision to include the filament spool holder inside the enclosure. This feature doesn’t look super useful, but dried filament yields higher-quality filament because moisture can’t degrade the plastic.
The machine also has two Z-axis stepper motors. This ensures a more stable motion of the print bed, as it moves up and down, resulting in fewer Z-banding or ringing issues. On another note about motion on this printer, the printhead runs along the X/Y plane through conduit rods which offer smoother movement compared to a traditional bearing-and-rail setup. Additionally, this will allow you to use a higher-than-normal printing speed.
As for temperatures, the X-Plus’ hot end can get up to 300 °C, far above what’s required for printing ABS. Moreover, with this high maximum temperature and the built-in enclosure on the printer, high-end materials like PC, carbon fiber composites, and nylon are well within reach.
The maximum bed temperature on the printer is only 100 °C, but this should work for ABS too.
Bed leveling is also a feature worth mentioning, and, although Qidi opted for manual leveling on the X-Plus, it’s not all bad. Moreover, there’s a “one touch” leveling button available on the user interface on the printer, which automates the nozzle’s movement across the bed.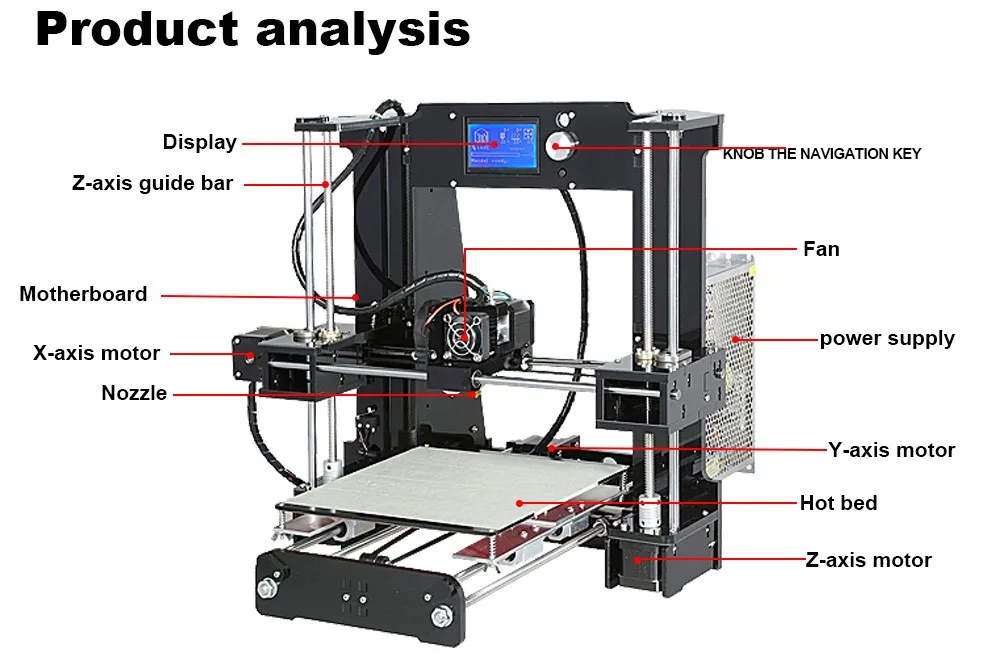 While this makes manual leveling easier and more convenient, it still is manual leveling and not automatic.
While all of these features can make almost any hobbyist jump with excitement, a drawback that should be considered is the price point. If you just want to print ABS, there may be some cheaper printers for you that are still up to the task.
- Full enclosure
- Dual Z-axis structure
- One button leveling
- Easy-to-use user interface
- Relatively large build plate
- Price point
- Manual leveling
Check Latest Price
3D Printer Type: FDM | Materials: PLA, ABS & TPU | Build Volume: 210 x 210 x 205 mm
Anycubic is a brand that has had a good history in the market manufacturing low-cost printers that have surprisingly good performance and the Anycubic Mega S is no exception.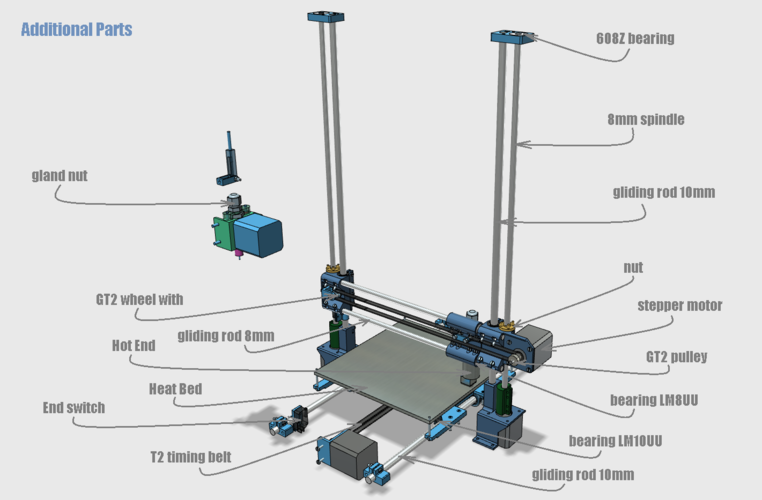 With a powerful “Titan Extruder”, heated print bed, and semi-large print volume, there is a whole lot you can do with this printer.
Printing ABS though may prove to be a little difficult however; possible, but difficult.
The lack of an enclosure makes retaining the heat difficult and you could experience some bad prints during the first few attempts at printing ABS. But, if you have some experience, there are plenty of tutorials online on how to get your Anycubic Mega S tuned to print ABS nicely.
Overall, with such a low price point and so many features, I think the lack of an enclosure can be excused. It is still able to print ABS, just with some extra steps, and the extra features give you plenty to play around with even if you are not printing ABS.
- Heated print bed
- Low price point
- Relatively large print volume
- Powerful extruder
- Able to print from USB port
- Full-color touch screen
- No enclosure
- Occasional quality control issues in some orders
Get Discount (Official Site)
Check Latest Price
3D Printer Type: FDM | Materials: PLA, ECO ABS, PETG & Nylon | Build Volume: 254 x 152 x 170 mm
Now let’s turn to a printer that was surely designed with reliability in mind: the Dremel DigiLab 3D45.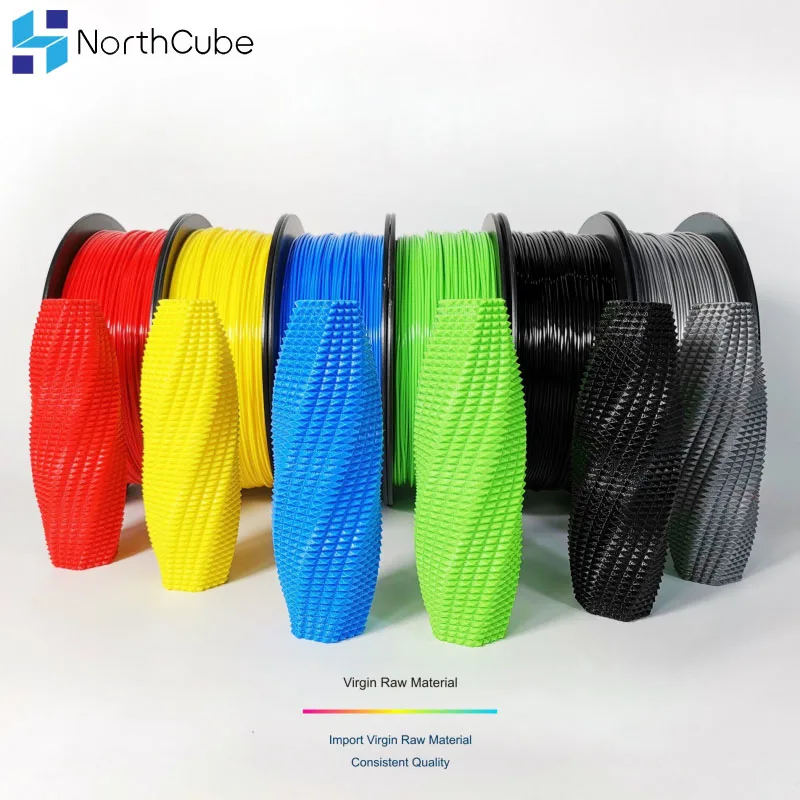 The printer’s just-under-$2000 price tag makes it a little out of reach for your average consumer. But, the 3D45’s ability to print ABS and other features may make the machine worth the price for you.
First off, the DigiLab 3D45 has a decently-sized rectangular build space, measuring 10 x 6 x 6.7 inches. This is more than enough space to print small gears, toys, and most other trinkets you probably have saved.
And you can print all those models in ABS on the 3D45… pretty easily too! Moreover, the 3D45 is equipped with a custom powerful hot end that can reach 280 °C and a bed rated for 100 °C. This puts you well within range for printing ABS filament, and the built-in full-size enclosure on the printer will ensure high-quality prints.
But what makes printing this material easier on the 3D45 compared to other printers?
Well, the extruder and hot end assemblies used on the machine are known to be very reliable and, personally, I’ve never had a single major issue with them.
Additionally, it’s basically a fact that the slicer settings provided by Dremel for the 3D45 will work with the filament you’re using. That’s because the 3D45 has an NFC chip reader that will only allow you to print filaments manufactured by Dremel. While this limits which materials and brands you can use, it also forces you to only use high-end, pre-tuned filaments on the printer, virtually guaranteeing high-quality prints.
The Dremel also has a WiFi chip on its motherboard. This allows you to remotely control, monitor, and start prints, so you can continue making stuff even when you’re not home.
As for the “monitoring” part, this is possible due to the built-in camera that’s mounted on the inside of the Dremel’s frame. It’s not the highest quality of webcams on the market, but it’s good enough for just checking up on the quality of your prints.
The user interface on the printer’s touchscreen interface is also worth mentioning because it’s very user-friendly and easy to use. As such, you shouldn’t have an issue navigating the machine whether you’re a seasoned 3D printing expert or a newbie.
Unfortunately, this printer’s high price tag discourages individual consumers from making the investment. But, if you really want the easiest printing experience with ABS and other materials, this printer is the one for you.
- Full enclosure
- The capability of printing other filaments
- Reliability and Safety
- WiFi, USB, and Ethernet printing capability
- Built-in camera to watch your prints
- User-friendly interface
- Price point
- Response issues on the touch screen
- Not as good print quality with 3rd part filaments
Check Latest Price
3D Printer Type: FDM | Materials: PLA, TPU, PETG & ABS | Build Volume: 220 x 220 x 250 mm
Flashforge is a popular manufacturer of consumer-grade 3D printers, and their Adventurer 3 is one of their newer machines.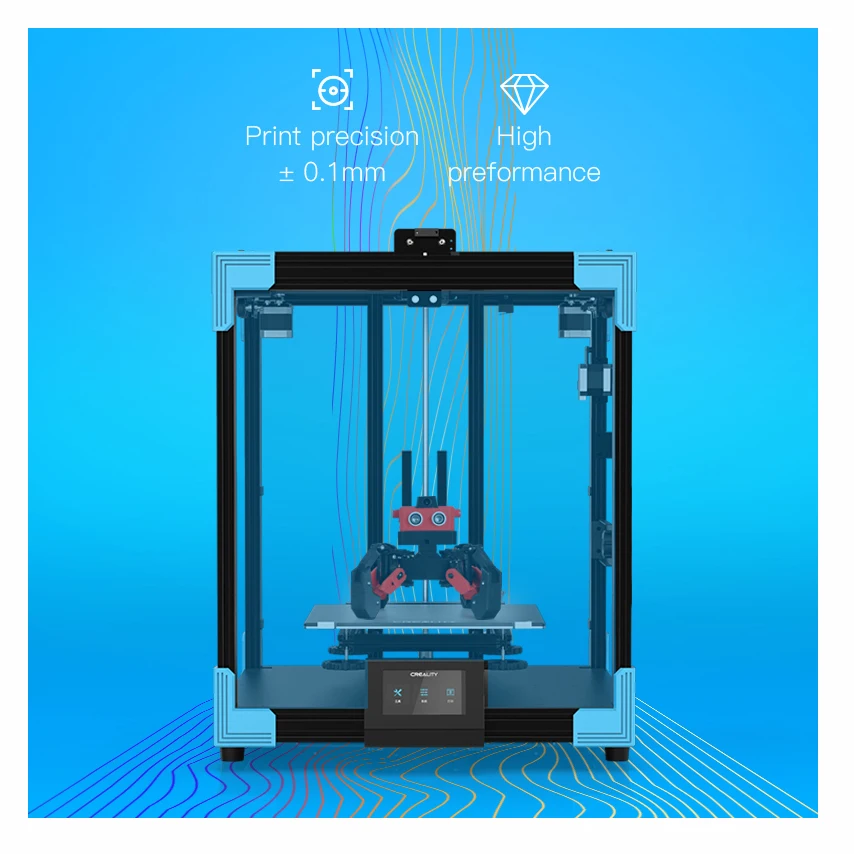 The printer is more than equipped to handle ABS filament, with a full enclosure and a decently-powerful hot end. This helps keep the printer’s ambient temperature high enough to produce high-quality models in ABS.
The printer offers a full-color touchscreen interface for starting prints and controlling other aspects of your machine. And, if your nozzle ever clogs, Flashforge’s quick-swap technology on the printer’s hot end will make getting your printer back up and running super easy. There’s also a filament runout sensor onboard the Adventurer 3 which will kindly pause your print if you ever run out of printing juice.
Ironically, there isn’t much room to adventure on the Adventurer 3 as the usable print space caps out at 150 x 150 x 150 mm. However, I feel the user-friendly features of the machine more than makes up for its lack of build volume, which is why I personally recommend this printer for beginners.
- Filament runout sensor
- Full-color touchscreen display
- Quick-swap nozzle technology
- Full enclosure
- Decently-powerful hot end and heated bed
- Wi-Fi printing capabilities
- Glass build plate
- Small print volume
- Not easily upgradable (not open-source)
Check For Official Website
Check Latest Price
3D Printer Type: FDM | Materials: PLA, TPU, PETG & ABS | Build Volume: 220 x 220 x 250 mm
If you’ve been looking for a printer to get you started in 3D printing, you’ve probably heard of Creality. The Creality Ender 3 is a flagship product for Creality as it packs a lot for such a low price point. The printer is super versatile and, because it’s open-source, there are many upgrades available, both 3D printable and purchasable.
Printing ABS is certainly possible with the Ender 3, though you’ll need to either buy or build an enclosure from the printer because it doesn’t come with one. Luckily, there are many guides you can follow for DIY-ing an enclosure online, or you can purchase one of the many Ender 3-fitting enclosures available like the one from Creality.
Besides the lack of an enclosure, everything else on the Original Ender 3 is suited for printing ABS. The hot end isn’t super powerful, but its maximum temperature of 240 °C is just enough, and the 110 °C maximum bed temperature is more than good enough.
However, once you load your spool of ABS filament inside the Bowden-drive extruder on the Ender 3, you’ll have to fiddle around with the print settings. Moreover, in my experience printing ABS on an enclosed Ender 3, the default profile on Cura or PrusaSlicer doesn’t yield super high-quality models.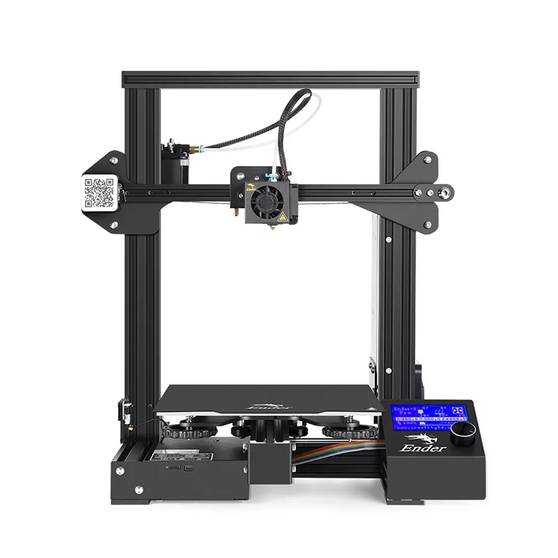 But, after reducing the printing speed, activating the brim, and adjusting a few other settings, you should be good to go.
Overall, the lack of an enclosure, auto-leveling, and a reliable bed make this printer a little tricky for most and may not be the best option if you are just getting into 3D printing.
However, if you think you are up to the challenge, you will find this printer has a lot to offer. The decently large build quality can allow your prints to be bigger and more creative and the fact that it’s so upgradable is also fun.
- Low price point
- Open-source
- Decently large build volume
- Good documentation and plenty of tutorials for almost everything
- Has the capability to print very nicely
- No enclosure
- The stock bed is tricky to work with when printing ABS
Get Discount (Official Site)
Check Latest Price
3D Printer Type: FDM | Materials: PLA, ABS, PETG & TPU95A | Build Volume: 227 x 148 x 150 mm
Flashforge’s Creator Pro 3D printer is one that will certainly get you through your first ABS prints with ease.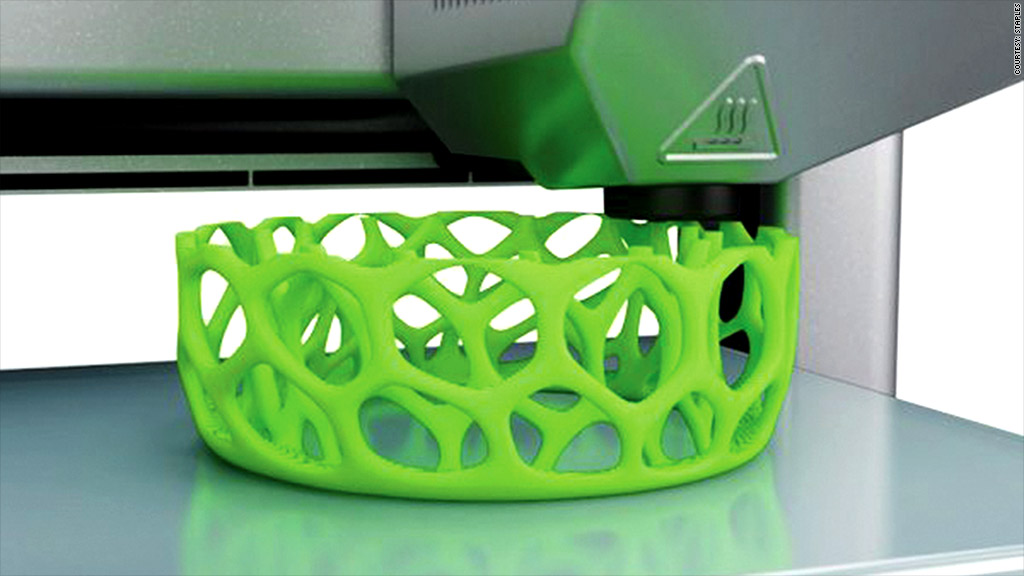 It features an enclosure, a powerful hot end, and a well-heated print bed; all things you need to print ABS effectively.
Reliability was certainly put in mind when this was designed so printing ABS on this machine will certainly be easier than some of the other ones, and the print quality will be sure to stay pretty good. In addition, this printer has dual extruder capabilities, allowing you to print more types of filaments.
Despite these things, the printer does however lack some things that I would’ve liked to see on a mid-price printer. The lack of auto-leveling doesn’t bode well for the Creator Pro and the absence of printing over WiFi is just one of those things that don’t “make or break” the printer but certainly influence how consumers view it.
- Powerful heated bed
- Has an enclosure that makes the ABS printing process much easier
- Has dual extruder capabilities
- Decently-sized build volume
- Relatively-consistent print quality
- No auto-leveling
- No WiFi printing
- Decently expensive yet still has some problems with support and lacks some features
Check Latest Price
3D Printer Type: FDM | Materials: PLA, ABS, PETG, TPU, Nylon, Carbon Fiber & Polycarbonate | Build Volume:300 x 250 x 300 mm
Like I said before, Qidi is a company that produces professional-grade 3D printers with professional-grade reliability and safety.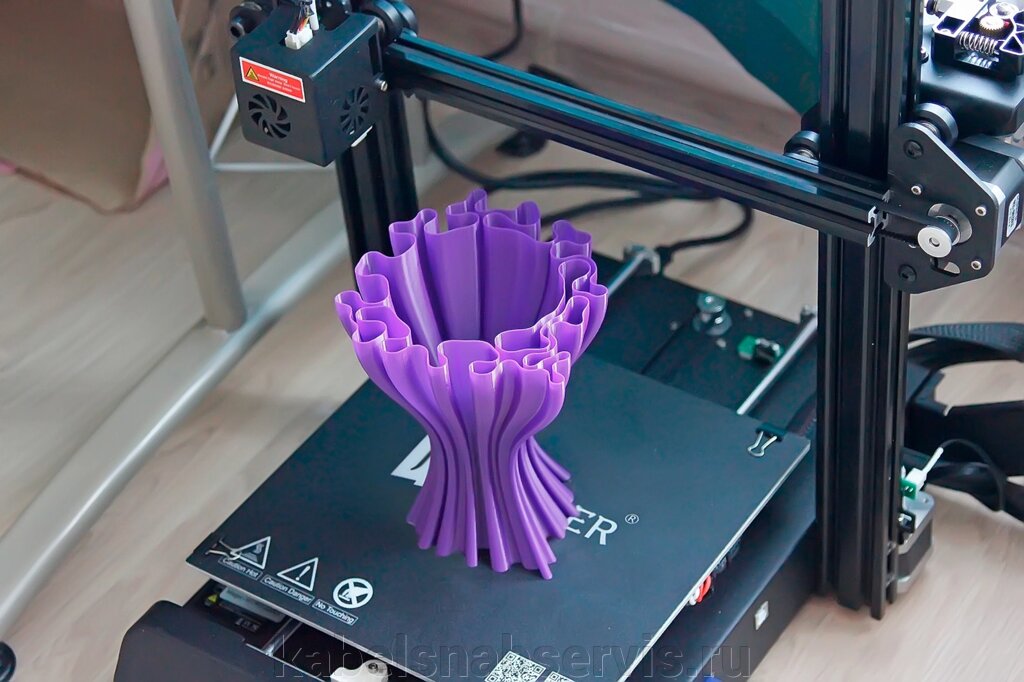 But, as one would expect, that comes with a hefty price tag. Keeping that in mind, this printer may be a great choice if you are a professional, a business owner, or are just really really into 3D printing.
With a large print volume, powerful extruders that are also swappable, and an enclosure, and not to mention a long list of extra features, the Tech X-Max has more than any normal hobbyist would ever need. All of this leads to some of the most consistent and reliable prints any 3D printer has to offer. ABS is certainly within this printer’s realm of capabilities and you’ll be sure to have an easy and fun time with it too.
Although this printer has a TON of features, it does make sense given how expensive it is. It’s clear that almost every feature any normal or premium printer would have, is included in this one, but in the end, you are paying for it.
- Powerful and Swappable Extruders
- Full Enclosure
- One-button leveling
- WiFi Printing
- Nice touchscreen with well-designed UI
- Removable Build plate
- Can print a wide variety of filaments including Nylon and TPU
- A very high price point
Check Latest Price
What Is ABS?
Source: Youtube Maker’s MuseFirst off, ABS is shorthand for Acrylonitrile Butadiene Styrene, but no one has that much time to say the whole name.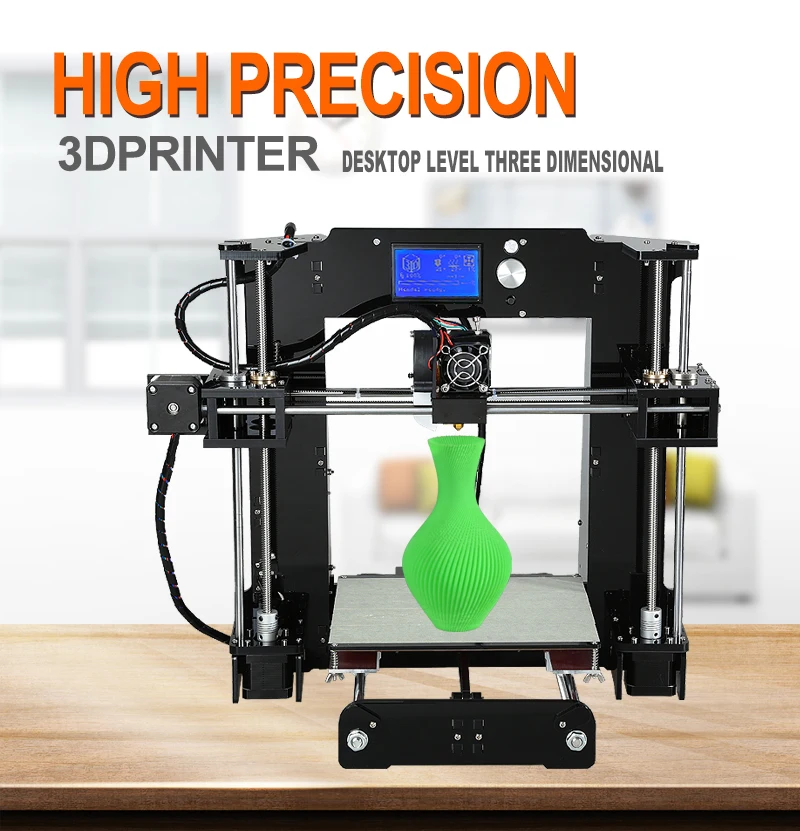 ABS is considered one of the most widely-used plastic materials around, used in everything from LEGOs to the interiors of cars.
The plastic isn’t just popular for being stronger than PLA, though (which it is). ABS is also one of the most widely-available and least expensive plastics one can get.
Additionally, ABS plastic is also the slightest bit flexible. While it’s not stretchy or bendy like TPU or TPE, ABS is flexible enough not to be brittle. As such, long parts printed in this material won’t snap in half as easily as they might in materials like PLA.
ABS is also soluble in acetone, the same chemical used in most nail polish removers and paint thinners. Although this might not seem like a big deal, it means you can layer smooth parts printed in ABS very easily, which is useful when printing display pieces (e.g. cosplay armor).
But with the extra strength and other physical properties of ABS comes more restrictive printing conditions. Moreover, ABS has a decently higher melting temperature than PLA, so both a more powerful hot end and heated bed are required for printing the material.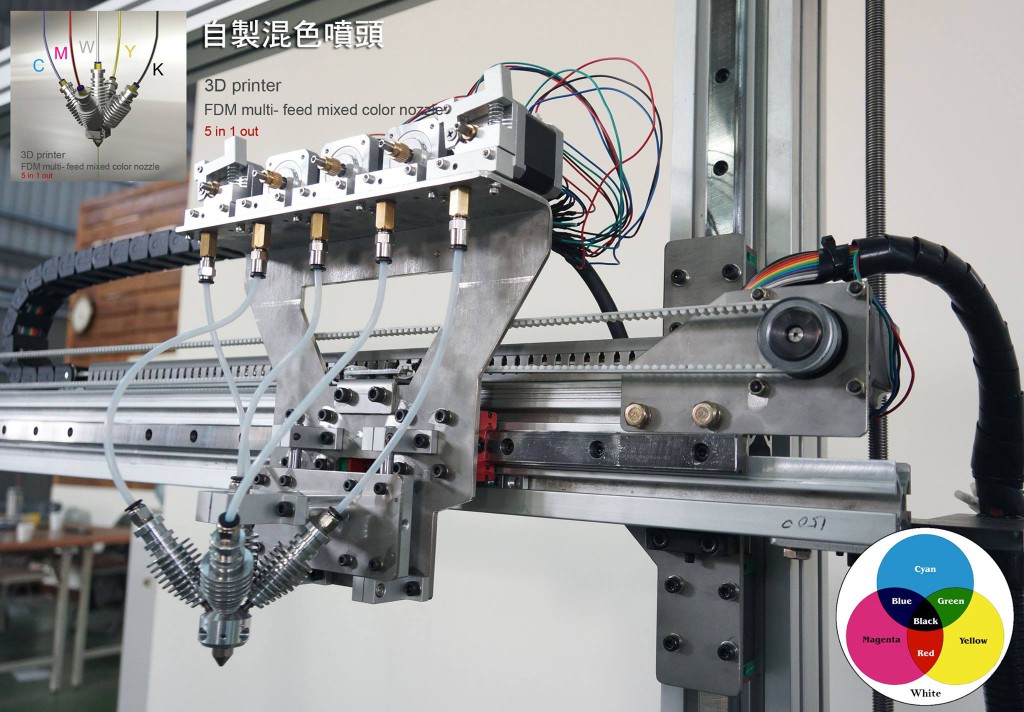
ABS is also very sensitive to environmental changes. So, any cold air or air drafts around the print bed will cause print quality issues like layer separation, ruining your ABS prints. As such, an enclosure is highly recommended, and basically necessary, when printing this filament material.
On a similar note, you’ll also need to have well-tuned slicer settings to achieve good prints in ABS due to its sensitivity. With this said, don’t be surprised if it takes you a few tuning 3DBenchys to get the perfect settings for ABS.
ABS VS PLA
Source: Youtube Proto3000As you probably know, PLA is the most popular plastic material for 3D printing, which is why we’ve already compared ABS to PLA a few times. But the differences don’t just stop at ABS being a bit stronger than PLA.
ABS, as we said, is also a bit flexible while PLA is not. This makes parts printed in ABS a lot less brittle than in PLA, which is known for snapping easily.
PLA is also not soluble in the same chemicals as ABS.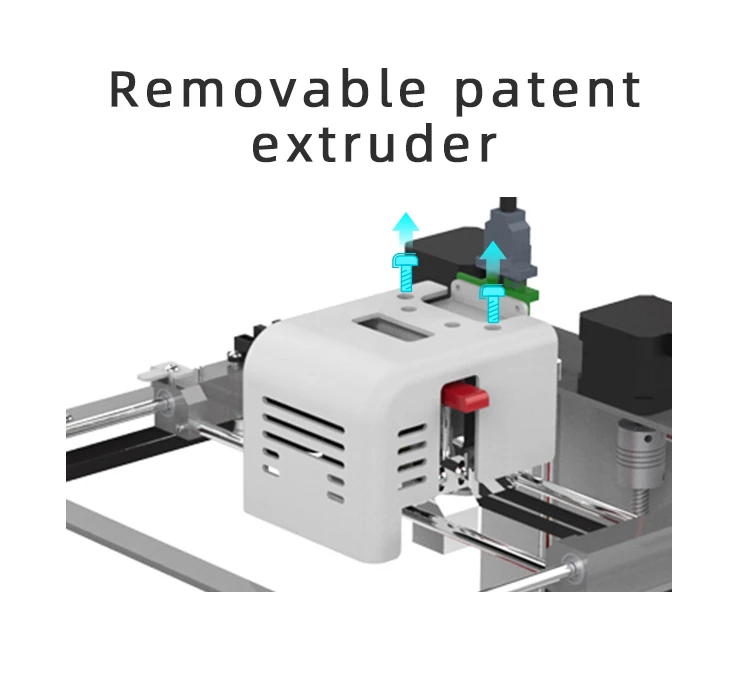 While you can layer smooth parts made of ABS in acetone and MEK, parts printed in PLA need to be exposed to isopropyl alcohol, ethyl alcohol, or special mixtures like XTC3D to smooth.
PLA is also easier to print than ABS. On top of needing a lot less heat to melt (lower nozzle and bed temperature), PLA also doesn’t need an enclosure to print with a high level of quality. And, PLA is a lot less sensitive to settings, so you can achieve high-quality PLA prints without as much tuning as you need to do to get the same results in ABS.
On another note, PLA is also a lot more eco-friendly than ABS. Polylactic acid (PLA) is mainly derived from fibers in crops, like corn or cane sugar. This is a more sustainable raw resource to use than the highly-processed deep-sea oils used to make ABS plastic.
So, overall, I’d say PLA and ABS are pretty evenly-matched contenders for 3D printing plastic. But, at the end of the day, there’s a fine line dividing when you should use one and when you should use the other.
If you’re printing nice display pieces that don’t need to be strong, go for PLA. Although it might be a bit weaker, it’s easy to get, inexpensive, easy to print and looks amazing.
But, if you need more industrial-grade parts or just decently-strong prints, choose ABS. Once you get over the printing difficulties, it prints nice and parts are strong enough to last years, even in stressful environments.
Considerations for Printers for ABS Filament
There are a few factors that separate any old 3D printer from the ones that can give you the quality ABS prints you want. ABS needs to be extruded at a hotter temperature than you might regularly use for PLA. So having a higher maximum temperature in the hot end is important.
Keeping that heat while printing is also crucial to the quality of the print, so having a heated bed with a high maximum temperature is also required. An enclosure to keep the heat in also makes printing ABS a lot less difficult.
While those criteria are there to make sure the printer meets the bare minimum requirement, other factors play a part too. Things like build volume, user interface, and even the filament spool holder are all things to think about when choosing the best ABS 3D printer for your needs.
Conclusion
So if you’re ready to print ABS, it’s time to get a good printer.
But don’t just let “can print ABS” in the product description fool you. Only a handful of 3D printers on the market truly can print ABS (or can be modded to do so) and yield high-quality prints.
Personally, I’d go with the Creality Ender 3 and then make an enclosure to fit it. The printer costs very little and is super versatile. Additionally, there are so many enclosure projects you can follow online.
Now if you’re less of a DIY person and want something ready from the get-go, I’d say either the Flashforge Adventurer 3 or the Qidi Tech X-Plus has got your back. These printers can print ABS right out of the box and are very reliable. Lastly, if the cost isn’t in question, the Dremel DigiLab 3D45 is the ideal candidate, offering tons of features, like a full enclosure and even WiFi printing.
Printing of ABS (ABS) plastic using FDM technology to order
Printing of ABS (ABS) plastic using FDM technology to orderPrinting ABS (ABS) with plastic using FDM technology to order
Technology: 3D PRINT
Loading ...
Loading ...
Loading ...
Loading ...
Loading ...
Loading ...
Loading ...
Loading ...
Loading ...
Loading ...
Loading ...
Price
no more than 12 o/cm 3
Processing cost
+ 50 o for processing 1 item
Printing time
from 1 to 3 days
Calculate the cost
Price
no more than 25 o/cm 3
+ 50 o for processing 1 item
Printing time
We print on the day of order*
Calculate the cost
Price
no more than 25 o/cm 3
Processing cost
+ 50 o for processing 1 item
Printing time
from 1 to 3 days
Calculate the cost
Price
no more than 70 o/cm 3
+ 500 o for processing 1 item
Printing time
from 5 to 7 days
Calculate the cost
Price
no more than 12 o/cm 3
Processing cost
+ 50 o for processing 1 item
Printing time
from 1 to 3 days
Calculate the cost
Price
no more than 70 o/cm 3
Cost per treatment
+ 500 o for processing 1 item
Printing time
from 5 to 7 days
Calculate the cost
nine0002 Priceno more than 25 o/cm 3
Processing cost
+ 50 o for processing 1 item
Printing time
We print on the day of the order*
Calculate the cost
Price
no more than 25 o/cm 3
Cost per treatment
+ 50 o for processing 1 item
Printing time
from 1 to 3 days
Calculate cost
Need an alternative?
More accurate
Photopolymer
Higher quality
Polyamide
Beneficial for series production
Molding plastic into silicone
Feedback form for calculating the cost of 3D printing
If you have a finished 3D model, upload it to the online form to calculate the cost of 3D printing. nine0041 If you do not have a 3D model or need a preliminary consultation, contact us by phone +7 (499) 390-03-77, send a 3D model with questions to our mail [email protected] or fill out an application, we will contact you and answer all your questions.
Fields marked with an asterisk (*) are required
nine0000 ABS for 3D printingThe high strength of ABS makes it suitable for structural applications
ABS (Acrylonitrile Butadiene Styrene, ABS) is a high-impact thermoplastic that has gained popularity in industry and additive manufacturing.
The excellent mechanical and physical properties of ABS plastic make it possible to use this material to create all kinds of objects of practical value. ABS plastic is widely used in the automotive, medical and souvenir industries, in the production of sports equipment, plumbing, bank cards, furniture, toys, etc.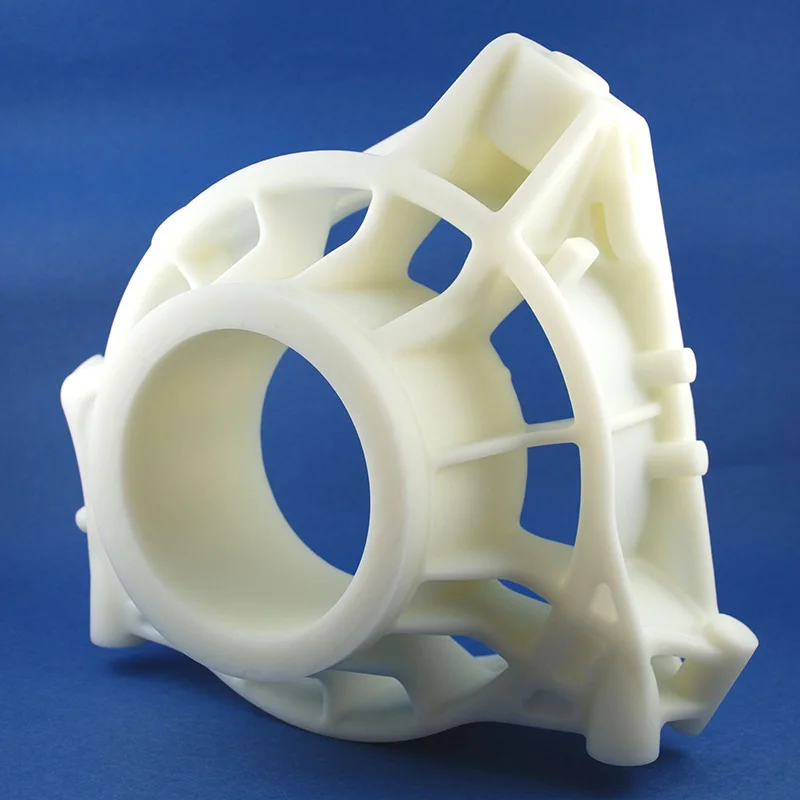 nine0003
The relatively low cost of ABS plastic and the relative ease of use as a consumable have led to a high popularity of ABS among 3D printing enthusiasts. ABS is one of the most popular materials for FDM/FFF printing.
Safety ABS
ABS is relatively safe and does not pose a threat under normal conditions. However, heating ABS releases toxic acrylonitrile fumes, which means you need to take some precautions when 3D printing. Evaporation is generally low due to the relatively slow material consumption of FDM printing. To ensure a completely safe environment, only good ventilation of the room or an extractor is required. It is also worth bearing in mind that ABS plastic reacts with ethanol, which leads to the release of styrene. nine0003
Do not use finished ABS products to store hot food and drinks or alcohol at any temperature.
ABS Specification
| Glass Transition Temperature | About 105°C |
| Flexural strength | 41 MPa |
| Tensile strength | 22 MPa |
| Tensile modulus | 1627 MPa |
| Elongation | 6% |
| Shrinkage on cooling | Up to 0.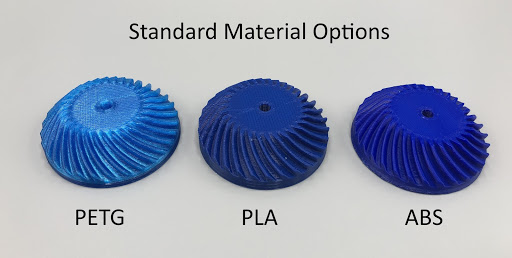 8% 8% |
| Material density | Approx. 1.05 g/cm³ |
Please note that the actual dimensions of the 3D printed ABS will depend on the manufacturer's specifications. In many cases, ABS is blended with other thermoplastics (such as polystyrene), resulting in changes in extrusion temperature, resistance to certain solvents, etc. nine0003
Advantages and disadvantages of ABS
The main disadvantage of ABS is its relatively low resistance to direct sunlight. In addition, the potential toxicity of the material somewhat limits its use in the manufacture of toys, food packaging and medical instruments.
A wide range of colors is demonstrated by Lego bricks made from ABS plastic
At the same time, ABS plastic has a number of positive qualities: nine0003
- Almost unlimited colors
- Moisture resistant
- Acid resistance
- Oil resistance
- Relatively high heat resistance, reaching up to 115°C with some material grades
- Non-toxic at relatively low temperatures and in the absence of alcohol exposure
- Enhanced impact resistance
- High elasticity
- High durability in the absence of direct sunlight
- Easy to machine
- Good affordability
- High solubility in acetone
Use in 3D printing
The result of processing a model made of ABS plastic with acetone vapor
Printing with ABS plastic is associated with certain technological difficulties due to a rather high tendency to shrink, that is, to loss of volume upon cooling.


