Vsr 10 3d print
Vsr 10 best STL files for 3D printer・Cults
Airsoft Vsr-10 full cylinder guide sleeve
€1
Barrel Stabiliser MB05 n DB VSR-10 Gel Blaster
€1.94
Barrel Adaptor/Stabiliser VSR-10 and MB05 Gel Blaster
€1.94
VSR 10 Stock
€4.03
hop up vsr support
€1.25
piston guide vsr
€0.50
barrel spacer vsr
€1
bolt cover vsr10
€0.50
SCOPE BASE
€1.03
Scope Base 85mm
Free
Airsoft M870 parts set
€6
Silverback SRS-VSR Magazine Adapter
€10
VSR-10 magazine handstopper
Free
low profile TDC for SSG10 or VSR 10
€2
airsoft VSR 10
€3. 36
VSR10 / MB03 hop up chamber lever (FOR TDC)
Free
Airsoft scope knob tuning
€2.04
Airsoft Lee Enfield No4 - VSR 10 ! - R3D
€17.17
Whiskey 3 VSR10 chassis (M4 Magazine)
€4.90
High scope rail for VSR10
Free
TDC 2.0 PRO UPGRADE
€5.08
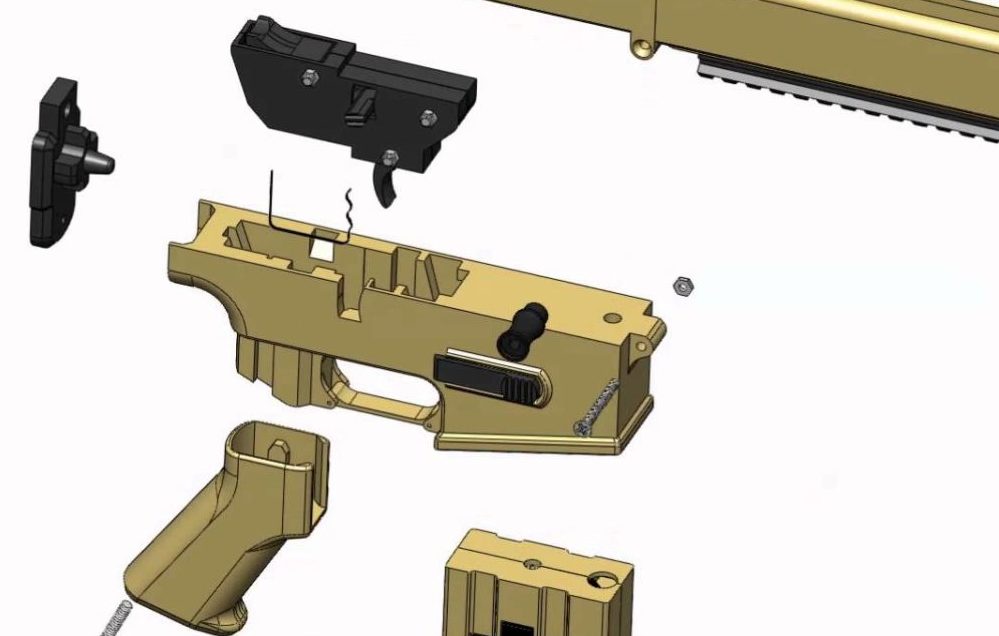
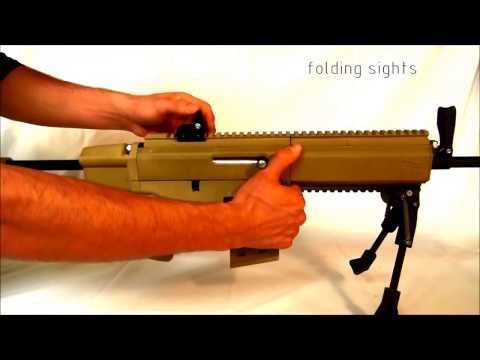
VSR 10 Airsoft Skeleton Conversion Kit
€10
VSR10 barrel cap adapter
Free
VSR-10 G-Spec Tiger tank muzzle brake
€5
VSR-10 G-Spec 14mm thread endcap
€1
BAR-10 bolt cover
Free
Barrel spacer VSR - MB44xx
Free
11 mm VSR 10 silencer
Free
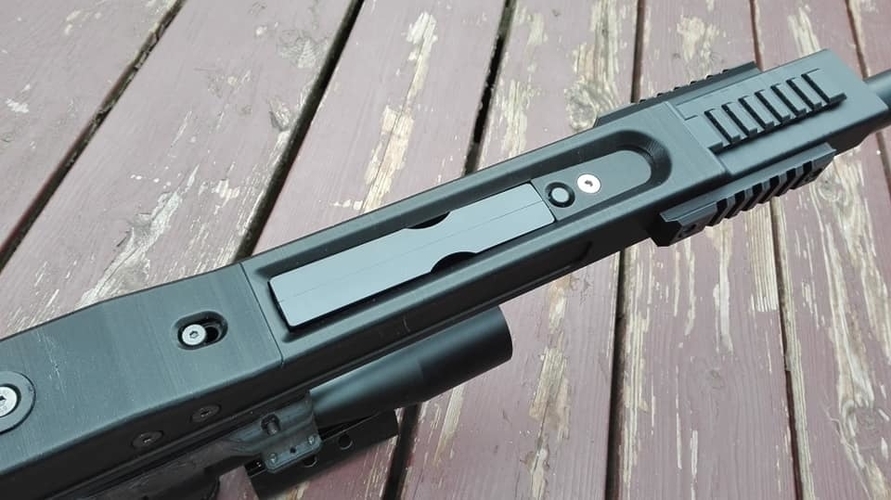
vsr extended rail big
€6
vsr extended rail small
€6
VSR-10 Stock - modular
€7. 58
58
VSR-10 G-Spec stock LEFT HAND VERSION
€10
VSR HC1 stock
€6.45
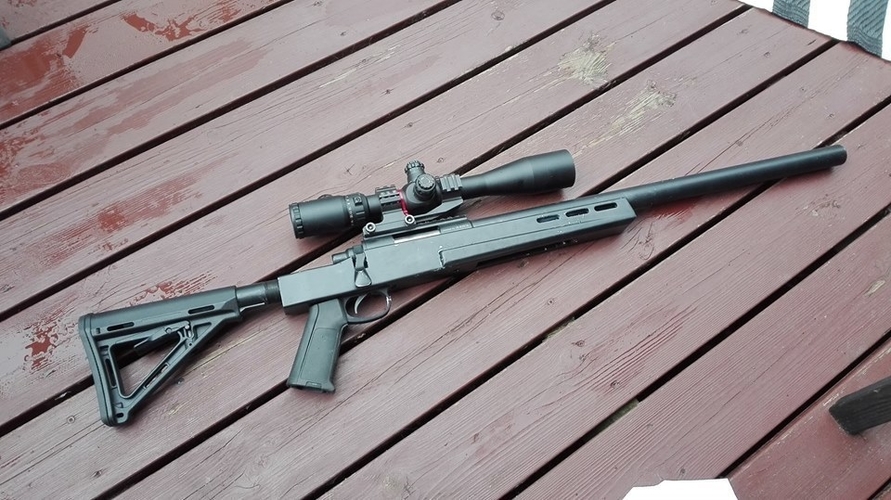
VSR LTS1 body kit
€6.43
VSR LT1 stock
€6.43
VSR S1 stock
€6.43
VSR L1 stock
€6.43
VSR-10 G-Spec stock. Right hand version
€10
VSR-10 Scope picatinny
€3
VSR-10 G-spec silencer
€5
AS Val Warzone
€3.75
Novritsch SSG10 Glide Ring Tube
Free
VSR10-BAR10 MAGAZINE WALL MOUNT
€2
VSR 10 Bulpup Stock
€10
VSR 10 HPA Bulpup Stock
€15
VSR-10
€5
3d printing
have a 3d file you would like to have printed? send me an email or message with the file and what color you would like ill get back to you with a price and print options
Sort By: DefaultName (A - Z)Name (Z - A)Price (Low > High)Price (High > Low)Rating (Highest)Rating (Lowest)Model (A - Z)Model (Z - A)
Show: 25305075100
MP5k to M4 stock adapter (3D printed)
3d printed on my own printer. with high strength PETG plastic should fit most standard mp5's so..
$15.00
3D Printed VSR-10 Magazine Puller
Glue one of these onto your VSR-10 magazine, and behold. It's now much easier to remove!..
$1.00
3D Printed Scorpion EVO Odin Adapter
You bought yourself a really nice gun, why not enjoy a really nice magazine loading experience?Allow..
$15.00
3D Printed Riser w/ Battery Compartment
3D printed optic riser that also functions as a battery compartment. Perfect for front-wired guns wi..
$20.00
3D Printed Rail Mount Shotgun Shell Rack
3D printed on my own printer with high strength PETG plastic.Mounts to standard Picatinny rail. Hold..
$15.00
3D Printed PEQ Battery Box
3D printed battery box for your thicc energy needs, which attaches to Picatinny rail. Great for fron..
$20.00
3D Printed Odin Sidewinder Adapter (MP5)
3D printed adapter for loading MP5 magazines with an Odin Innovations M12 Sidewinder.Makes for an ea..
$10.00
3D Printed Magwell Spacer for LCT AK
Load your mags more easily with this 3D printed spacer. Just insert in your magwell and you're ready..
$10.00
3d printed c9a2 rail
3d printed on my own printer. with high strength carbon fiber PETG plastic..
$20.00
3D Printed Ares MSR to 14mm CCW Adapter
3D printed on my own printer with high strength PETG plastic.Allows Ares MSR series to be used with ..
$8.00
3D Printed AAP-01 Short Stroke Kit
Four buffers for the AAP-01's guide rod. Add as many as you see fit and enjoy the snappier action!..
$10.00
3D Printed Hi-Capa Stand
3D printed stand for your Hi-Capa so you can display your fly race pistol...
$20.00
3D Printed Potato Grip
Comrade, potato is not just for making of vodka. Potato is ultimate ergonomic form envisioned by cre..
$12.00
pistol stand
3d printed strong and durable single stack and double stack sizes 28x20x70 32x13x70..
$15.00
Showing 1 to 27 of 27 (1 Pages)
STL file Stock VSR 10・3D printing design for download・Cults
Airsoft electronic speed loader
2.02 €
Upper tank Airsoft M4
0,50 €
Model LMG UPPER M4 Airsoft
1. 34 €
34 €
Upper tank Airsoft M4
0,50 €
TOP M4 AIRSOFT
0,50 €
holster for airsoft 1911
1.08 €
Holster for Airsoft Glock 17
1,08 €
airsoft speed loader controlled by drill
1.34 €
Best 3D Printer Files in the Miscellaneous Category
Mystery Machine
6.81 €
Customizable Top Bar Hive internal jar feeder
Free
EDC Flashlights Holder for Glasses
Free
FrameCorp Face Palm
0,60 €
Vic Pied Piper
Free
Storage box (Polymaker boxes)
Free
Lithophane SPIDERMAN
Free
Covid-19 Decatlon / TheNice / Other mask 3M 5N11 Particulate Filter N95 Adapter
Free
Bestsellers in Miscellaneous category
ItsLitho "Pure" personalized lithophane Christmas ball
1,90 €
Wolf - Flexi Articulated Animal (printed in place, without supports)
2 €
RS-X-Bow "Government - 1911" style
6. 25 €
25 €
Eeveelution articulated mega pack
10 €
Halloween pumpkin lantern ItsLitho
1,90 €
T-800 Terminator Moving Skull
15€ -25% 11.25 €
Adderini - 3D Printed Repeating Slingbow / Crossbow Pistol
6.25€
Articulated pretty spider
2.49 €
Ghost Boom x10
1.99 €
Ciberpunk 2077 Gun Rebecca "Guts"
4 €
Polestar 2 center console accessories
7.09 €
flexible volute
2 €
Charmander - pokemon with flexible articulation (seal in place, without supports)
1,50 €
Articulated Raykuaza Flexible Dragon Pokémon
1 €
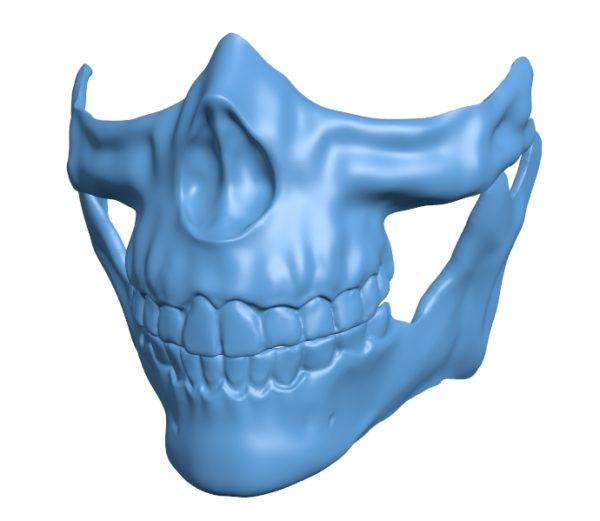
Black Phone Movie Invader 2 Piece Mask 3 Style Frowning Smile Without Mouth STL
10. 25€
25€
Predator-inspired movable mask
€6.20 -ten% 5.58 €
Do you want to support Cults?
Do you like Cults and want to help us continue our journey on our own ? Please note that we are a small team of 3 people, so supporting us in maintaining activities and creating future developments is very easy. Here are 4 solutions available to everyone:
-
AD: Disable the AdBlock banner blocker and click on our banner ads.
-
AFFILIATION: Shop online with our affiliate links here Amazon.
-
DONATIONS: If you want, you can donate via PayPal here.
-
* INVITE FRIENDS: * Invite your friends, discover the platform and great 3D files shared by the community!
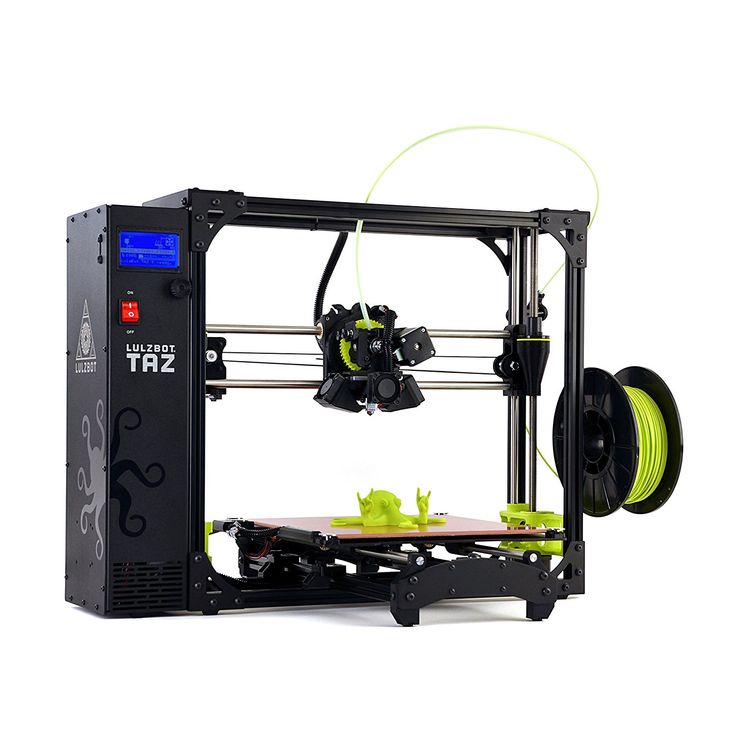
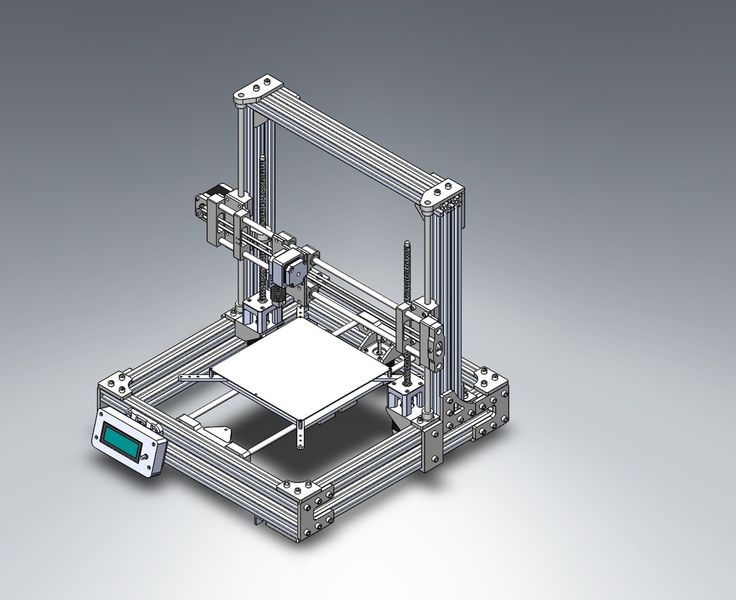
3D printing — Worldskills Russia national team
“
3D printing technology was invented back in the 80s of the last century, but became popular not so long ago.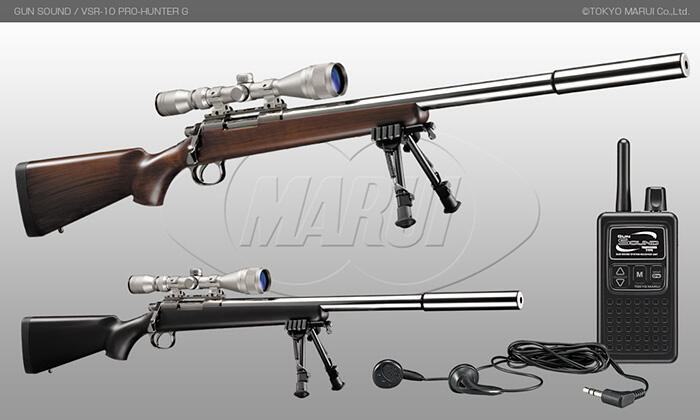 With this printing method, the material is layered on top of each other, forming a finished product, and not just a two-dimensional image. Thanks to this, the possibilities of 3D printing are almost limitless: you can produce both a small high-precision part and an entire structure! In this tutorial, we'll walk through the entire 3D printing process from start to finish.
Glossary
In order to successfully master the material, we recommend that you study the following concepts:
Apparatus that works on the principle of additive manufacturing. The finished product is, as it were, "grown" from a certain material
The principle of production, in which the finished product is formed by gradually adding material to the base
Programs that allow you to cut STL models into layers and, based on this, generate a G-code in which commands are written for 3D printer
Video lecture
Synopsis
Additive manufacturing technologies
There is a huge variety of 3D printing technologies in the world today, from the oldest and simplest FDM technology to the emerging 3D bioprinting technology.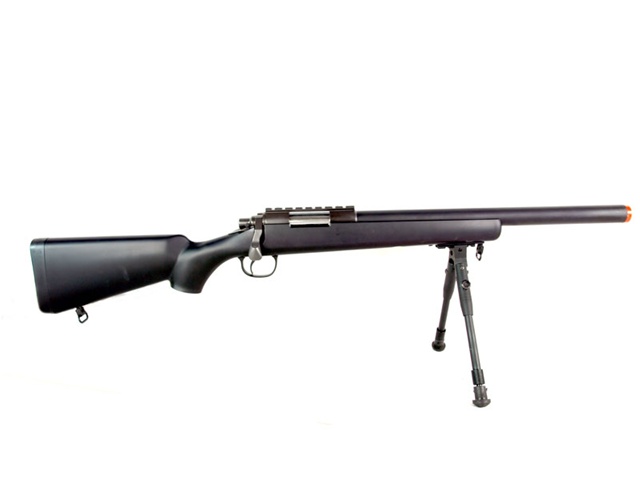
SLA (stereolithography)
Technology for the production of models from liquid photopolymer resins. The polymerization of the resin occurs due to irradiation with an ultraviolet laser at the points of contact of the material with the beam. Upon completion of the contour construction, the working platform is immersed in a tank with liquid resin for a distance equal to the thickness of one layer. After leveling the surface of the liquid material, the process of building the next layer begins. The cycle is repeated until the complete model is built.
The main advantage of stereolithography is its high printing precision. The minimum layer height can be as low as 25 microns.
Among the shortcomings, it is worth noting the high cost of manufactured models due to the high price of consumables.
Here is an example of a printed part with mechanical supports.
SLS (Selective Laser Sintering)
In this manufacturing process, a laser selectively sinters polymer powder particles, fusing them together to create layer after layer.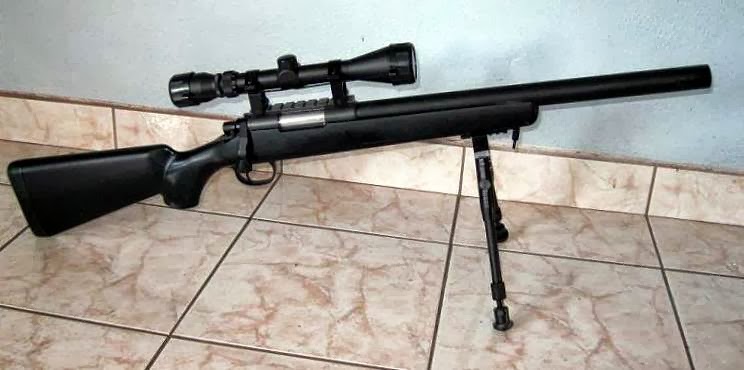
This technology provides high precision, detail and allows the production of parts with good and stable mechanical properties, unlike FDM and SLA. And printing in the volume of consumables allows you to print parts of even the most complex shape without mechanical supports.
Here is an example of a part printed using this technique.
MJP (Multi Inkjet 3D Printing)
This technology is based on layering an object from a wax-based photopolymer to build supports and a resin with properties selected for the part itself.
MJP is somewhat similar to SLA technology: both use photopolymer resins and UV lasers. But MJP is distinguished by more detailed printing and the presence of wax supports, which, in turn, allows you to completely get rid of the post-processing of the model.
This is what a part made using this technology looks like.
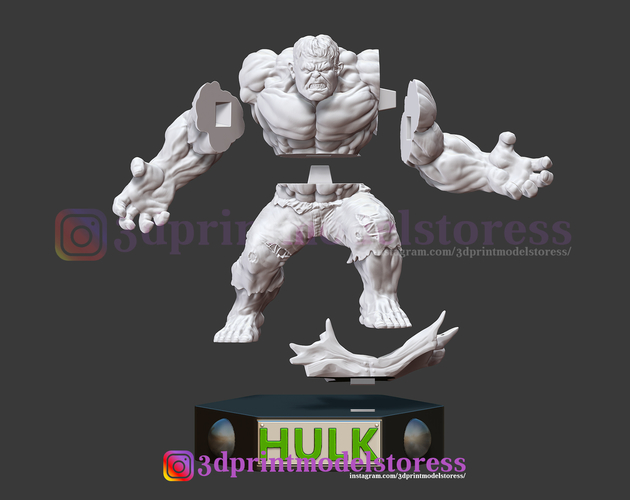
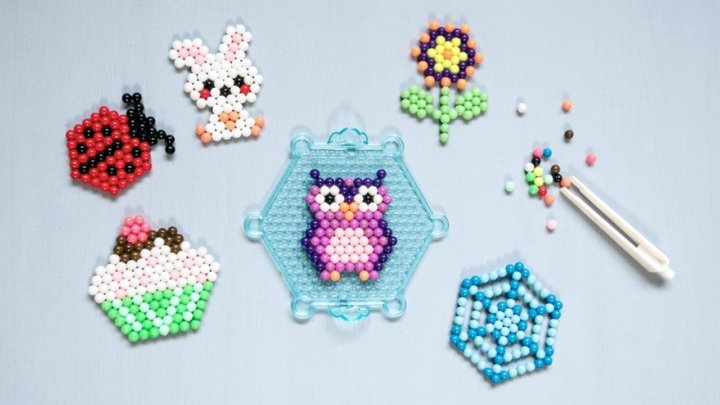
CJP (colour inkjet)
The principle of printing is to apply powdered materials layer by layer, after which a binder polymer is applied.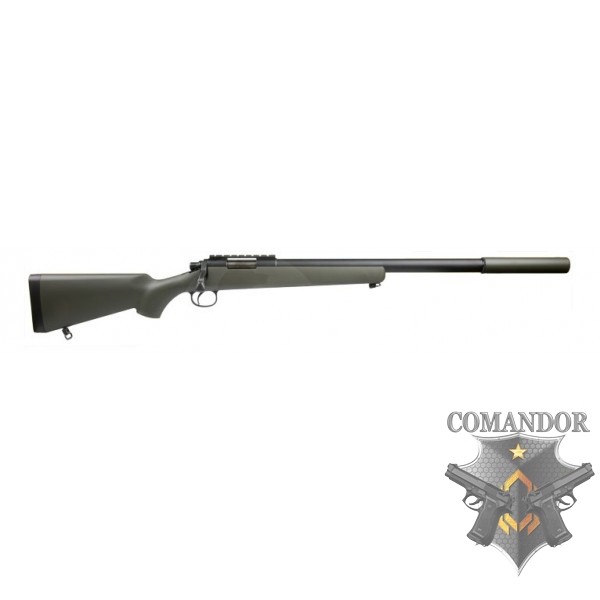 The peculiarity of the technology is that polymers of different colors can be used, which makes it possible to create multi-colored and textured parts.
This technology is used to create realistic prototypes of buildings, clothes and shoes, human organs in medicine, and to make scanned human figures.
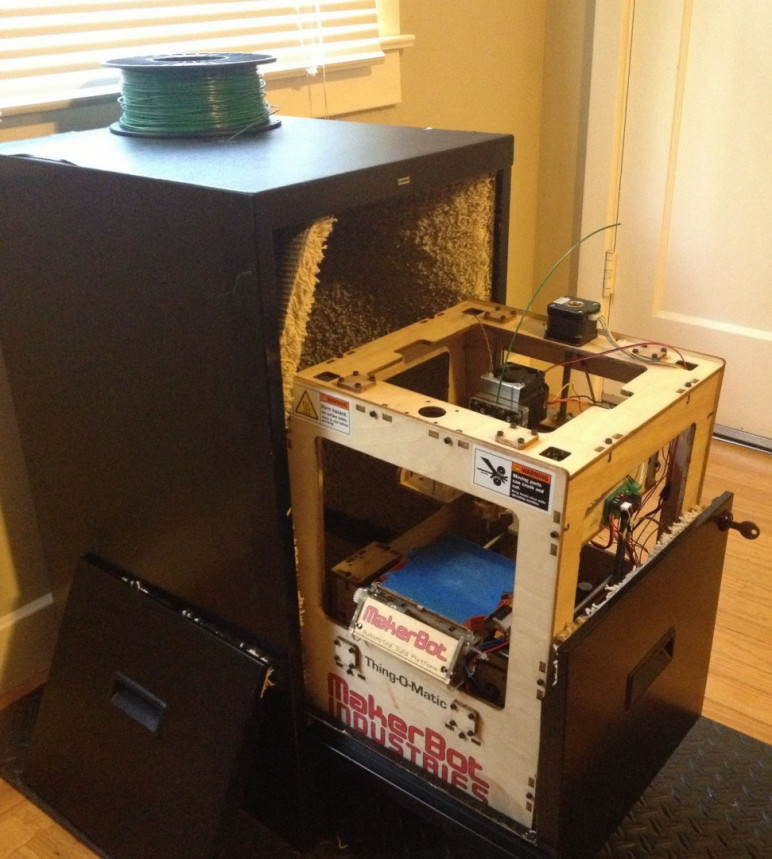
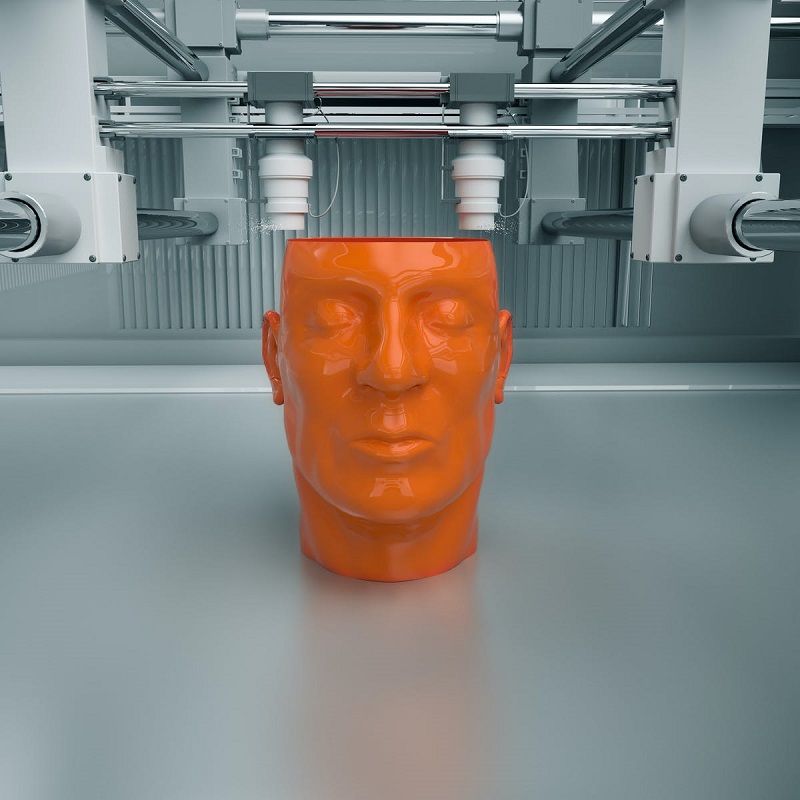
FDM (Fusion Deposition Modeling)
This technology is printed by fusing the material layer by layer.
Although FDM technology is the oldest printing technology, it has become widespread relatively recently. It includes ease of study and use, availability on the market of additive technologies and an excellent ratio between price and quality of finished products.
FDM technology allows you to use different types of media for printing. Each material differs in its properties and printing parameters. These can be:
- simple plastics: ABS, PLA;
- engineering plastics: PetG, ePeek;
- special materials: PVA, Hips, Flex.

Making a part on a 3D printer
Safety precautions
- While the 3D printer is in operation, do not reach into the working area where the printing is being done.
- Protective goggles and gloves must be worn when handling photopolymer printers that use photopolymer resin.
- Wear respiratory and eye protection when using printers that use powder media.
What We Need
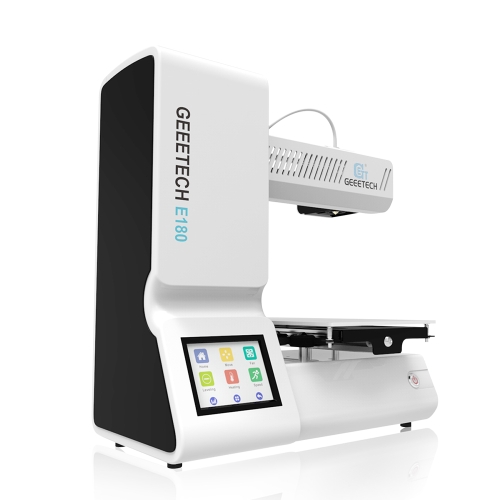
3D Printer
3D Printing Plastic
Computer with Slicer 0285
USB stick
Special adhesive for 3D printing
Napkins
Making settings for printing
1.
2. We arrange the model so as to minimize the number of supports.
3. Set the print options. Set the height of the layer. It should not exceed the diameter of the nozzle installed on the printer. The higher the layer height, the faster the print, but the surface quality of the model suffers.
4. Set the fill percentage. They affect the occupancy rate of the model: the higher the percentage, the stronger the model. But at the same time, material consumption and printing time increase.
5. Perform support settings. The main ones are the gaps between the model and the support body during printing. When setting supports, you must take into account the height of the layer.
6. Perform adhesion settings. They allow you to create "skirts" around the models, which increase the contact area of the model with the table. The smaller the contact area, the wider the "skirt" should be.
7. After setting all parameters, press Slicing.
8. Save the job and send it to the printer.
Preparing the printer
1. Loading material into the printer.
2. In the program, go to the "Plastics" section, select the "Plastic Loading" item and set the type of plastic you want to load.
3. Calibrating the printer. To do this, go to the "Service" section, select the "Desk settings" item and follow the instructions on the screen.
4. The job can be run in one of the print speed profiles: Draft, Standard, or Quality. Each profile is labeled with an estimated print time. Select the desired profile.
5. Apply the 3D printing adhesive to the napkin and spread it evenly on the table.
6. We start the job and wait for the part to be printed.
Finished product measurement and post-processing
1. Printing completed. Let the model cool down and remove it from the table.
Important
Do not remove the finished model from the table immediately, as this can ruin the model itself or even damage the table
2. We are reviewing the finished product. We take the dimensions of the physical model and compare them with the dimensions of the three-dimensional model.
3. We evaluate the surfaces of the model. Very slight roughness is the norm for FDM printing. To achieve ideal surfaces, the model needs further post-processing.
“
In this lesson, we went through the entire path of a 3D printer operator and figured out the steps that go into it. And now consolidate your knowledge by completing a small task.
Interactive task
To reinforce your knowledge, take the test
| Let's start! |
| Next |
| Check | 0409
Sorry, you answered all questions incorrectly
Read the lecture and watch the video again
| Go again |