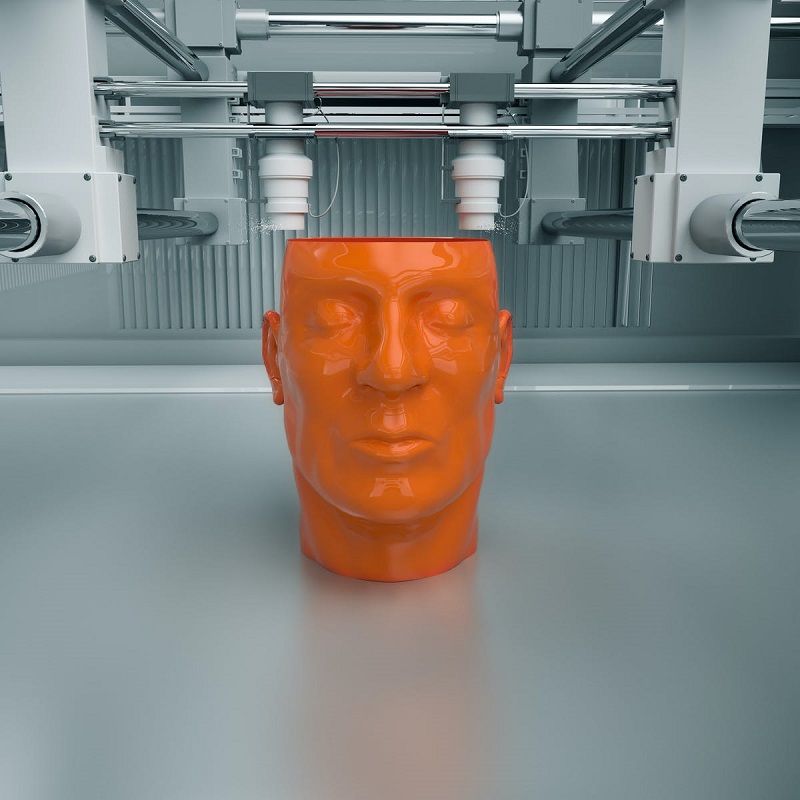
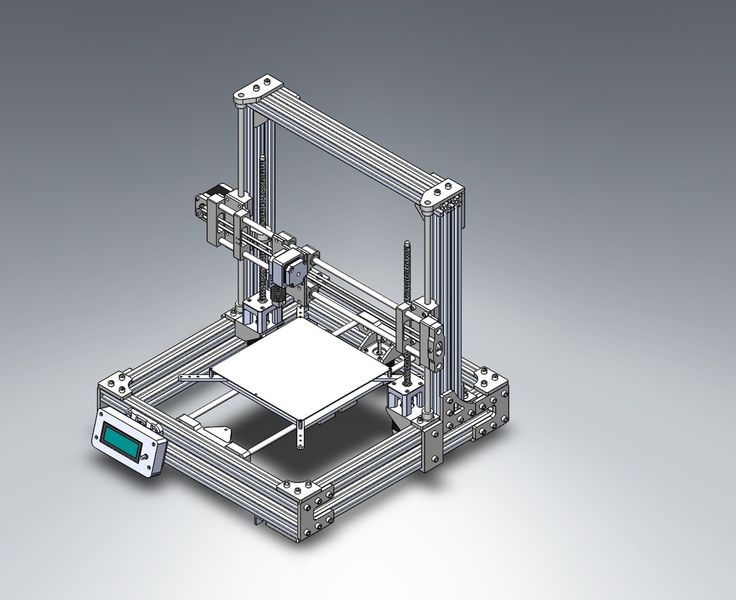
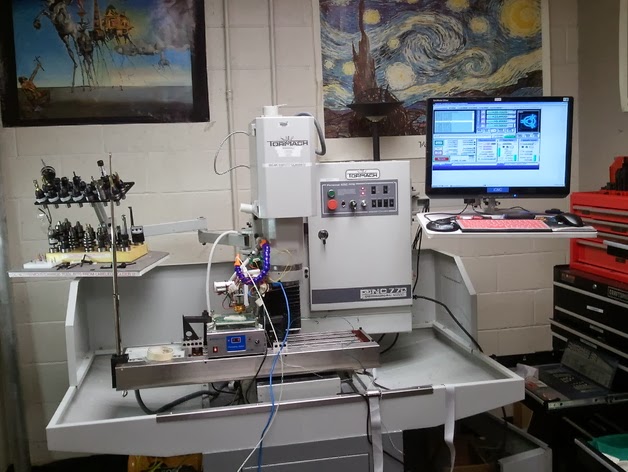
3D printer workspace
Best Practices for 3D Printing From Home
Like many of us across the globe, chances are that you’ve had to quickly adapt from having a full workbench or stocked office to engineering and working from your home with more limited resources. In these times, the ability to adapt to these new surroundings and challenges will help limit product disruption and maintain development cycles down the line.
Formlabs desktop stereolithography (SLA) 3D printers’ compact size make them suitable for use at home or outside of the office. Additionally, with over 30 different materials simulating everything from silicone, polypropylene, ABS, and more, you’ll have more flexibility and use cases to adapt to new challenges as they arise.
Bringing your 3D printing in-house will help you cut costs and gain more control during times of uncertainty, especially if you’ve previously or currently rely on outsourcing 3D printed parts. Our customers have turned to 3D printing at home to cut costs and improve efficiency, continue critical product development, and support COVID-19 relief efforts.
Dan Kirchgessner, Community Manager, and Jake Kapusta, Senior Services Agent, share their best practices as they print from home.
Before you transport or receive your 3D printer, you’ll want to make sure your space and environment are suitable for printing, post-processing, and any finishing needs you may have. You’ll want to declare level working spaces where you can place your printer(s), post-processing solutions like Form Wash and Form Cure, a workspace for part removal and finishing, and short-term storage for items like additional wash solvent, resin tanks, resin cartridges, gloves, post-processing tools, etc.
Alexis Hope, a designer and researcher based at the MIT Media Lab and MIT Center for Civic Media, says that when it came to setting up her home workshop, “getting the printer at home was a big impetus for me to set up a workstation. You need room for the wash and cure systems and a space to store your parts, so make sure you plan to have the necessary setup to be productive. ”
”
Alexis Hope’s home workshop.
Some of our most commonly asked questions about 3D printing from home relate to environmental considerations, like sounds and smells. To prevent any sensitivity to smells, we’ve found it helpful to keep the post-processing station in a well ventilated area or near an open window for easy access to airflow. While the Form 3 is relatively quiet, comparable to the sound of a microwave, you may want to consider placing it away from quiet areas of your house to prevent any type of disruption.
Woody Hedberg, print process engineer at Formlabs, recently set up a Form 3L in his apartment for materials testing. “I installed chipboard, thick cardboard, on the floor and walls of the space as a protective measure,” Hedberg says. He also found it useful to set up his space near an open window behind a closed door to mitigate any potential smells and sounds.
Once you have your space set up, gather your 3D printing essentials, such as rinse buckets, baskets, and bottles, tweezers, a scraper, removal tool, flush cutters, disposable nitrile gloves, and whatever additional tools you’ve found useful to your 3D printing workflow.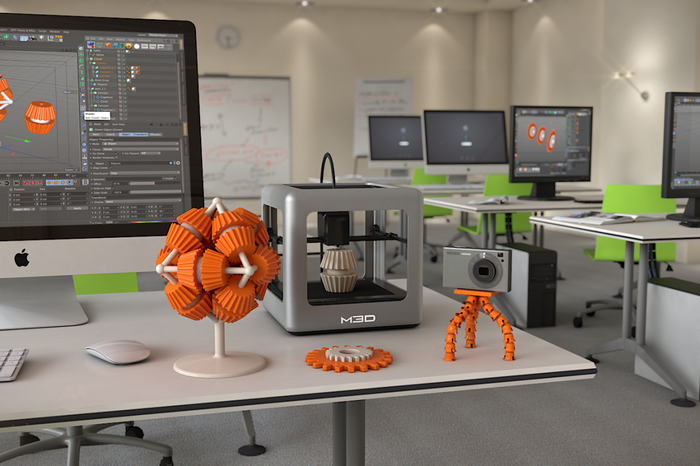
If you already own a 3D printer, you’ll first want to carefully consider how you’ll transport it directly from your office or workspace to your home. When preparing your Formlabs 3D printer for transportation, first, remove the resin cartridge, remove and clean the build platform, and then remove and cover the resin tank before placing it inside its tank case. Make sure that all accessories that contain resin are closed securely before transport.
For the Form 3, the Light Processing Unit (LPU) must be secured with the thumb screws and latch before transportation. Not securing the LPU may cause damage to your printer. Contact us if you can't find the screws.
Wrap your printer carefully and place it in its original packaging if possible. Don’t forget to pack all the accessories you might need for 3D printing and post-processing: Form Wash and Form Cure or finishing kit and alternative curing solution, and consumables such as resin tanks, resin cartridges, gloves, post-processing tools, IPA, etc.
Once you’re able to unpack all of your 3D printing supplies at home, don’t forget to re-level your printer in your new environment before printing.
Now that you’ve got your home printer setup ready to go, there are a few ways you can improve and optimize your workflow.
Align the start and end times of your prints to match your working hours to get the most working hours out of your printer. Using PreForm’s estimated print duration, you can plan for the start of your next print. Set long prints to run while you’re away from the workspace, so that you can finish the current print and begin the next one when you return.
Kevin Gautier, business development at Formlabs, finds his team shipping prints to each other more while working remotely. “Always remember to print a copy of the object for yourself, so you can go back and reference them.”
Kevin Gautier’s home setup.
In the same vein, Hedberg suggests to document in detail and photograph every print, especially if you don’t have excess storage.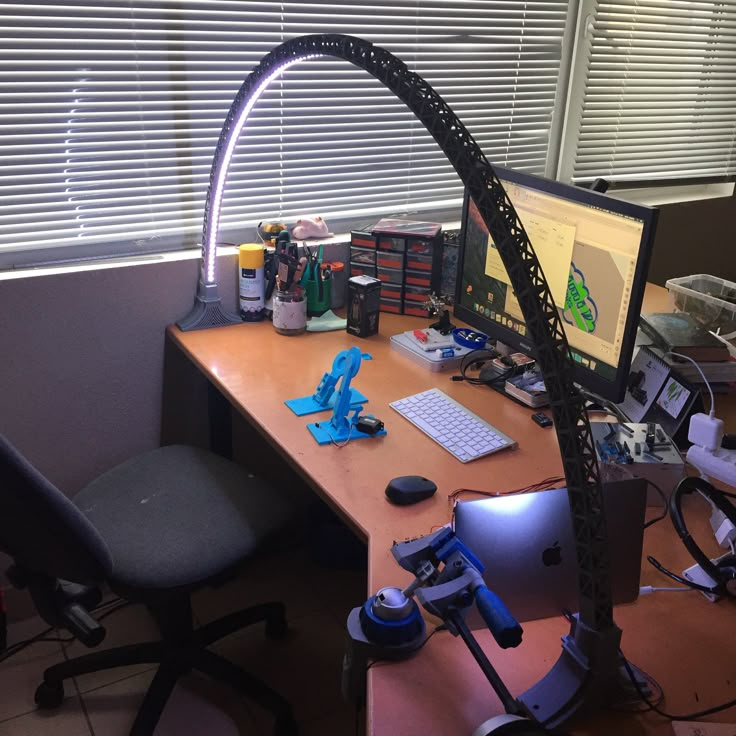 “Now that the team is all remote, we need to have a proper system of documentation. That doesn't mean I need to keep every single 3D printed part, but I do need to carefully document my prints and keep records for the team,” he says.
To monitor your print production in real time and track resin and tank usage, use Dashboard to monitor your print progress by printer. You’ll also be able to track the success and failure rate of your prints, so that you know which designs were most successful for future iterations.
“Get ahead with all the design work you can do and prioritize the critical physical prototyping tasks across teams,” suggests Zach Frew, engineering technician at Formlabs. Frew says it’s necessary to prioritize these tasks, especially when working with limited resources, and communicate them across your team members.
Practice safety when using Formlabs products. Wear nitrile gloves to handle IPA, and work in a well-ventilated area. Store IPA away from heat, sparks, and open flame. IPA evaporates rapidly, so keep containers closed whenever possible. Consult the chemical manufacturer or supplier for detailed safety information.
According to Formlabs materials guru Zac Zguris, “You need to practice good chemical hygiene. Keep everything clean. Ensure you wipe up any drips or spills immediately, use acetone or isopropyl alcohol to ensure no sticky residue remains. When it comes to wash IPA, this would include making sure you have fresh airflow in your workspace. A closet is not at all an appropriate location for active use of a 3D printer or an IPA wash.”
When handling resin cartridges and containers, always be sure you’re wearing gloves to protect your skin. Store cartridges upright, away from direct sunlight, in a well-ventilated area. Close the cartridge vent cap to prevent leaks.
Do not pour liquid or partially cured resin into drains or dispose of it with household waste. Do not pour isopropyl alcohol (IPA) that contains dissolved resin into drains or dispose of it with household waste. As always, all solvents and resins should be disposed of in accordance with your local regulations and supplier’s SDS. To learn more about safety precautions, continue reading on our support site.
Do you have any best practices or tips that you’ve learned along the way when making this transition to engineer from home? We’d love to hear about them. Feel free to share directly on social media by tagging @formlabs or #EngineeringFromHome or add a comment on our forums.
Continue reading to learn more of our best practices and see how other individuals are engineering from home.
The 10 Best 3D Printer Tables and Workbenches – Clever Creations
A 3D printing workspace is so much more than the 3D printer itself. Along with it come the filament rolls, various tools, accessories, and post-processing setup. Initially, you can do with a bare minimum table for a 3D printer; however, as you progress with the hobby, you will likely find the need for a dedicated 3D printing setup.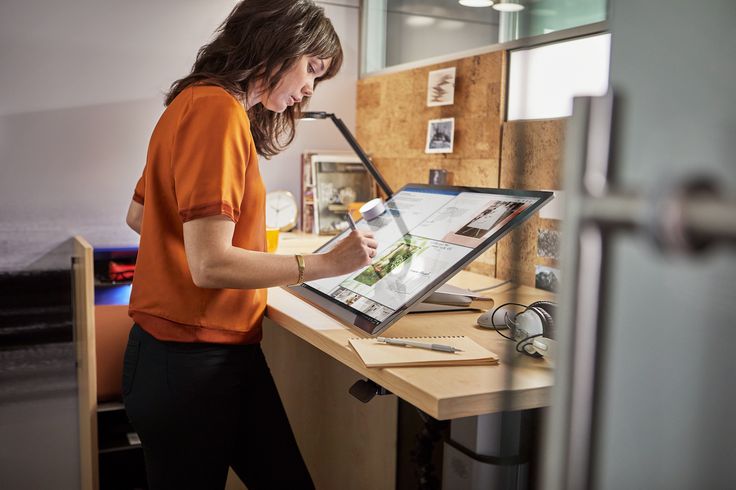
A 3D printer table or workbench allows you to organize your stuff and find it quickly when you need it. But, with loads of options available in the market, it can get confusing to select the ideal one for your needs.
In this article, we’ll get into the different criteria for choosing a 3D printer table or workbench and then look at the options available in the market for you to buy. Read on to learn more about these tables and choose the best 3D printer table that suits your setup.
| Best 3D Printer Table | Surface Area | Storage | Price (~) | Best Offer |
|---|---|---|---|---|
| Seville Classics UltraHD Lighted Workbench | 48" x 24" 122 x 61 cm | ** | $399 | Amazon |
| Safco Products Deskside Wire Machine Stand | 24" x 20" 61 x 51 cm | *** | $109 | Amazon |
| Seville Classics Rolling Cabinet Workbench | 77" x 37. 5" 5"196 x 95 cm | ***** | $999 | Amazon |
| Gladiator Steel Cabinet | 31" x 28" 79 x 71 cm | **** | $299 | Amazon |
| Seville Classics Workbench Desk Table | 48" x 24" 122 x 61 cm | * | $189 | Amazon |
| Gladiator Wide Hardwood Workbench | 66.5" x 19.96" 169 x 51 cm | * | $299 | Amazon |
| 2x4 basics 90164 MI Custom Workbench | Customizable | **** | $76 | Amazon |
| Husky Extra Deep 46 in. 9-Drawer Mobile Workbench | 46" x 25" 117 x 64 cm | ***** | $655 | Amazon |
| Mighti Foldable Heavy Duty Workbench | 44.5" x 27.5" 113 x 70 cm | ** | $229 | Amazon |
| IKEA LACK table(s) | 21.65" x 21.65" 55 x 55 cm | * | $31 | Amazon |
Best 3D Printer Tables and Workbenches in 2022
Seville Classics UltraHD Lighted Workbench
Best overall
Check Price
Amazon
If you have a single 3D printer and need a robust and sturdy table, the Seville Classics Ultra HD is an ideal desk for you. It has solid steel construction, a thick wooden flat surface, and fluorescent light along with a cantilever top shelf.
The workbench features a huge pegboard that you can use to hang large tools that you need to use frequently. You get a power surge protector included with the workbench with six power sockets and 2 USB plugs, giving you an easy solution to plug in all your 3D printers and accessories, like a UV curing station.
The table can hold an evenly distributed weight of 500 lbs (227 kg), and the drawers are designed to hold an additional 60 lbs (27 kg) of weight. With its industrial design, durable build quality, and wide desk surface, the Seville Classics Ultra HD is in our book the best 3D printer table for beginner and advanced hobbyists.
Standout Features
- Fingerprint-resistant drawers
- Easy-to-reach power strip
- Powder-coated finish
Technical Details | |
|---|---|
Dimensions (W x D x max. H) H) | 48" x 24" x 65.5" 122 x 61 x 166 cm |
| Weight capacity | 500 lbs 227 kg |
| Material | Crafted solid steel body and solid beech wood top |
What We Like
- Rigid build quality
- Perfect area for printing essentials
- Adjustable legs
Could Be Better
- Limited storage capacity
- Limited tabletop depth
Find Seville Classics UltraHD Lighted Workbench at
Amazon
Safco Products Deskside Wire Machine Stand
Best on a budget
Check Price
Amazon
The Safco Deskside machine stand is a budget 3D printer table that can be used for a single 3D printer, and it can fit an Ender 3 V2 or small resin 3D printer like those from the Elegoo Mars series. The table was initially intended for paper printers and office stationery, but its rugged build quality and low price make it equally suitable for 3D printing.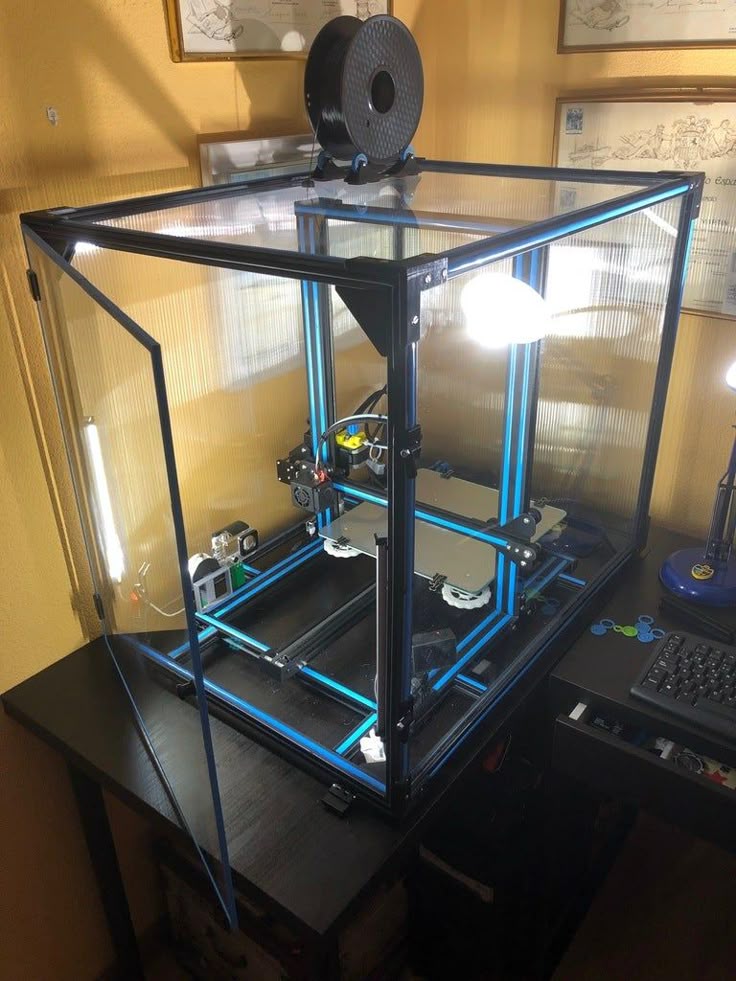
This table has three shelves, with the top desk surface designed to hold up to 100 lbs (45 kg) of weight. The bottom shelves have a mesh design and can hold 50 lbs (23 kg) of materials each. One great way to use this arrangement is to keep a 3D printer on the top work surface, with filament spools in the middle rack and the other tools on the bottom shelf.
The table is supported on four swivel wheels for easy mobility. The assembly is easy, with straightforward guides and an easy setup process. Overall, the Safco Wire stand is a decent quality table for small-sized 3D printers and beginners on a budget.
Standout Features
- Swivel wheels
- Adjustable shelf height
- Lightweight design
Technical Details | |
|---|---|
| Dimensions (W x D x H) | 24" x 20" x 27" 61 x 51 x 69 cm |
| Weight capacity | 100 lbs 45 kg |
| Material | Steel and Laminate |
What We Like
- Easy to move around
- Durable build quality
- Affordable
Could Be Better
- Lacks drawers or cabinets
- Limited weight capacity
Find Safco Products Deskside Wire Machine Stand at
Amazon
Seville Classics Rolling Cabinet Workbench
Most futureproof
Check Price
Amazon
The Seville Classics rolling workbench comes with an elegant yet purposeful design. It has a rugged and durable build quality, with a solid wooden flat work surface, metal frame, and drawers. It is suitable for holding multiple 3D printers at once, including their accessories.
The workbench features eleven drawers that you can use to store and organize tools, spare filament spools, and more. It also has a two-door cabinet with a full-width shelf with four adjustable positions. All front surfaces are coated to prevent fingerprint marks, and you can lock the drawers and cabinet to protect your equipment.
To move the workbench quickly, it comes with five heavy-duty wheels. You can lock two of these to fix the table in one place. Overall, the Seville Classics is a solid, durable, and rugged table that you can use to accommodate all your 3D printing stuff and still have room for future expansions.
Standout Features
- Multi-sized drawers
- Hard rubber 5" wheels
- Polyurethane bumpers
Technical Details | |
|---|---|
Dimensions (W x D x max.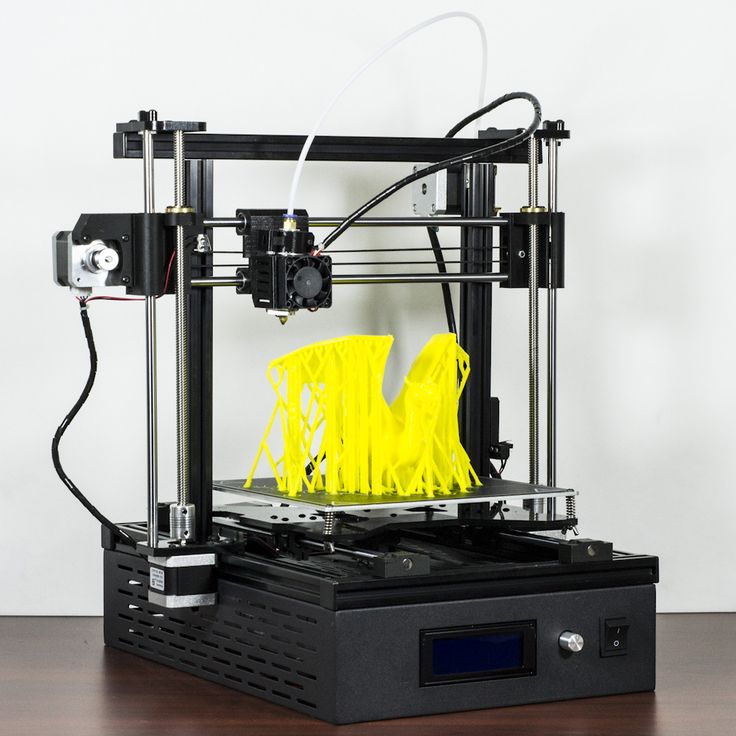 H) H) | 77" x 37.5" x 20" 196 x 95 x 51 cm |
| Weight capacity | 500 lbs 227 kg |
| Material | Stainless Steel |
What We Like
- Versatile design
- Wide tabletop
- Lots of storage capacity
Could Be Better
- Costly
- Large footprint
Find Seville Classics Rolling Cabinet Workbench at
Amazon
Gladiator Steel Cabinet
Best 3D printer storage cabinet
Check Price
Amazon
The Gladiator steel cabinet is a heavy-duty table suited for use in a garage space. It can accommodate a single 3D printer, and you can store the rest of your accessories on the cabinet shelves below the tabletop.
Its shelf is adjustable to fit a variety of 3D printer tools, and you can use it to hold up to 75 lbs (34 kg) of weight. You also get adjustable legs so that you always have an evenly leveled desk surface.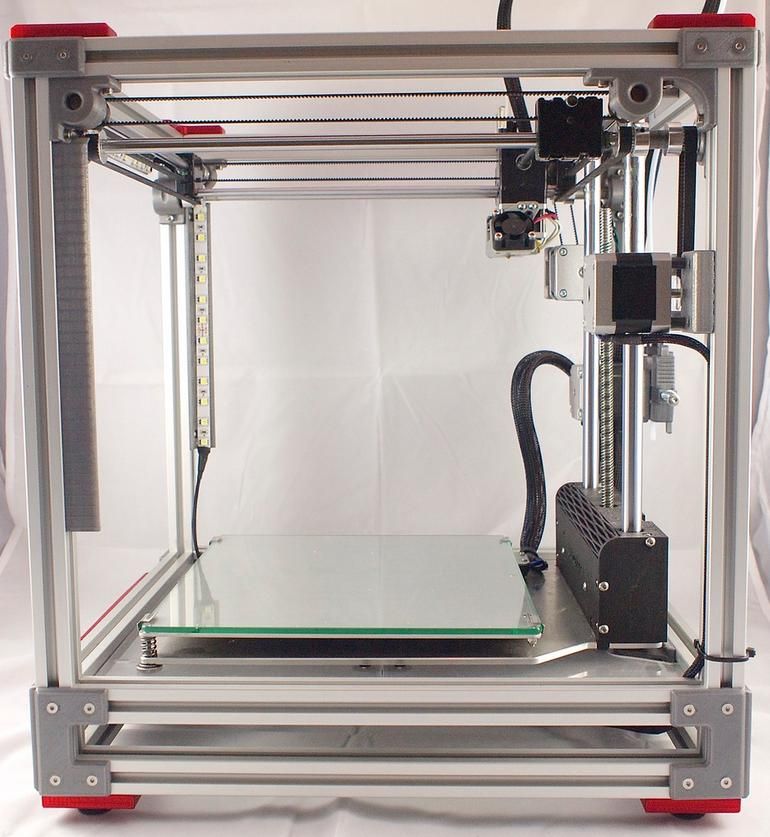 Optionally, you can add caster wheels if you need more mobility and want to move your 3D printer cabinet around.
The included instructions are not particularly detailed, and you will need to have some experience and be careful during the assembly process. The Gladiator steel cabinet is best suited for storing filament spools, small tools, and 3D printer electronics.
Standout Features
- Adjustable storage shelves
- 10-year limited warranty
- Steel cabinet panels
Technical Details | |
|---|---|
| Dimensions (W x D x H) | 28" x 18" x 31" 71 x 46 x 79 cm |
| Weight capacity | 300 lbs 136 kg |
| Material | Alloy Steel |
What We Like
- Solid build quality
- Ideal for heavy-duty use
- Can be stacked on top of other table
Could Be Better
- Poor quality instructions
Find Gladiator Steel Cabinet at
Amazon
Seville Classics Workbench Desk Table
Best adjustable table
Check Price
Amazon
The Seville Classics workbench table is a heavy-duty, height-adjustable desk.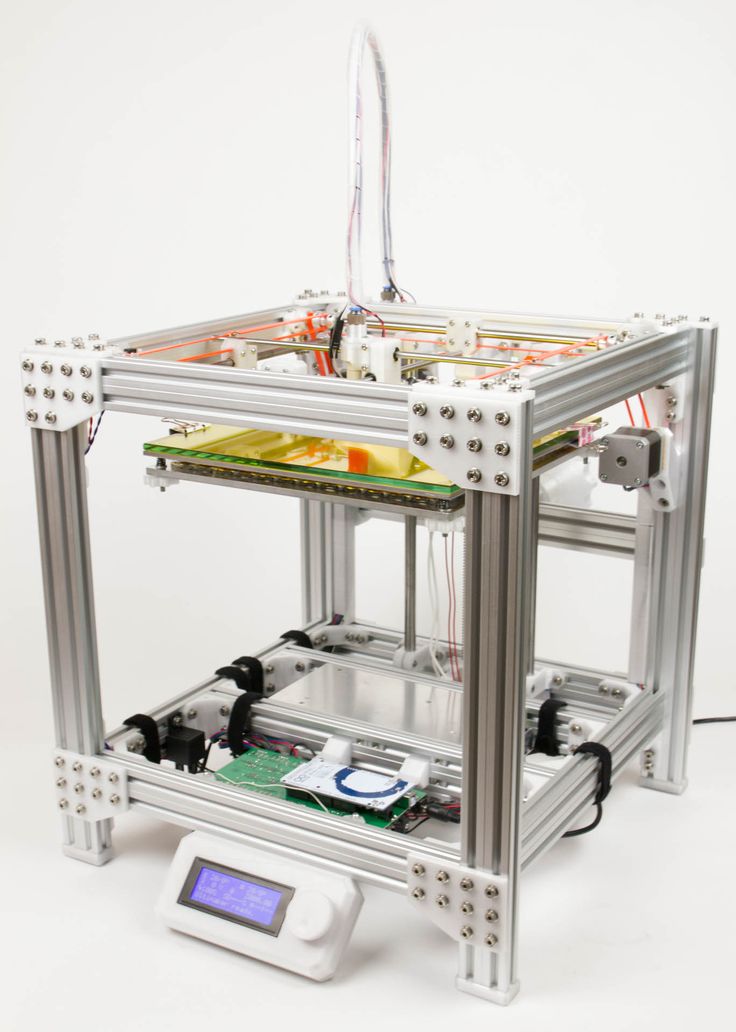 Its height can be easily adjusted between 28.5″ (72.4 cm) and 42″ (106.7 cm) at 1.5″ (3.8 cm) increments. It gives you the flexibility to adjust the table surface according to your needs and get easy access to the 3D printer without compromising on your posture.
The table’s construction is solid with a metal frame and a 1.5″ (3.8 cm) thick wooden work surface that lets the desk hold 1000 lbs (454 kg) of evenly distributed weight.
This workbench does not have cabinets or drawers to store your extra 3D printing stuff. Nonetheless, considering its adjustable nature, large surface area, and ability to hold large weights, the Seville Classics workbench is an ideal 3D printer table for a large 3D printer.
Standout Features
- Adjustable height
- Easy to assemble
- Multi-purpose desktop
Technical Details | |
|---|---|
| Dimensions (W x D x max. H) | 48" x 24" x 41.5" 122 x 61 x 106 cm |
| Weight capacity | 1000 lbs 454 kg |
| Material | Wood, Alloy Steel |
What We Like
- Wide range of height options
- High weight capacity
- Durable build quality
Could Be Better
- No storage options
Find Seville Classics Workbench Desk Table at
Amazon
Gladiator Wide Hardwood Workbench
Most minimalist table
Check Price
Amazon
The Gladiator Wide Hardwood workbench is an excellent solution if you need a simple yet sturdy 3D printing table. It comes with a generous desk surface, solid construction, and is easy to set up for any workspace.
Its 1-1/2″ (38 mm) tabletop can support up to 1500 lbs (680 kg) of weight, making it ideal for heavy 3D printers. The top of the desk is treated with a UV cured coating that helps it resist any chemical stains, ideal if you work with a resin 3D printer.
The Gladiator Wide hardwood workbench also comes with steel leveling legs that will help you get a perfectly level work surface. There is no option to add caster wheels for more mobility, however.
One limiting factor of the workbench is its depth, and it restricts the maximum size of the 3D printers you can use it for. Aside from that, the Gladiator hardwood workbench is an excellent option if you’re looking for a heavy-duty yet basic 3D printing table.
Standout Features
- UV-cured coated tabletop
- Supports 1500 lbs / 454 kg of weight
- Minimal assembly
Technical Details | |
|---|---|
Dimensions (W x D x max. H) H) | 66.5" x 19.96" x 38.31" 169 x 51 x 97 cm |
| Weight capacity | 1500 lbs 680 kg |
| Material | Steel |
What We Like
- Good for large 3D printers
- Chemical-resistant surface
- Simple to assemble
Could Be Better
- Lacks storage space
- A bit overpriced
Find Gladiator Wide Hardwood Workbench at
Amazon
2x4 basics 90164 MI Custom Workbench
Most customizable
Check Price
Amazon
If you need a fully customizable solution for your 3D printing workspace, the 2×4 custom workbench is probably the best table for your needs. It comes with four workbench legs and six shelf links that you can set up in various configurations and get the perfect table for your 3D printing setup.
This workbench is somewhat of a DIY project, and you will need to provide your own lumber to build the table and shelves.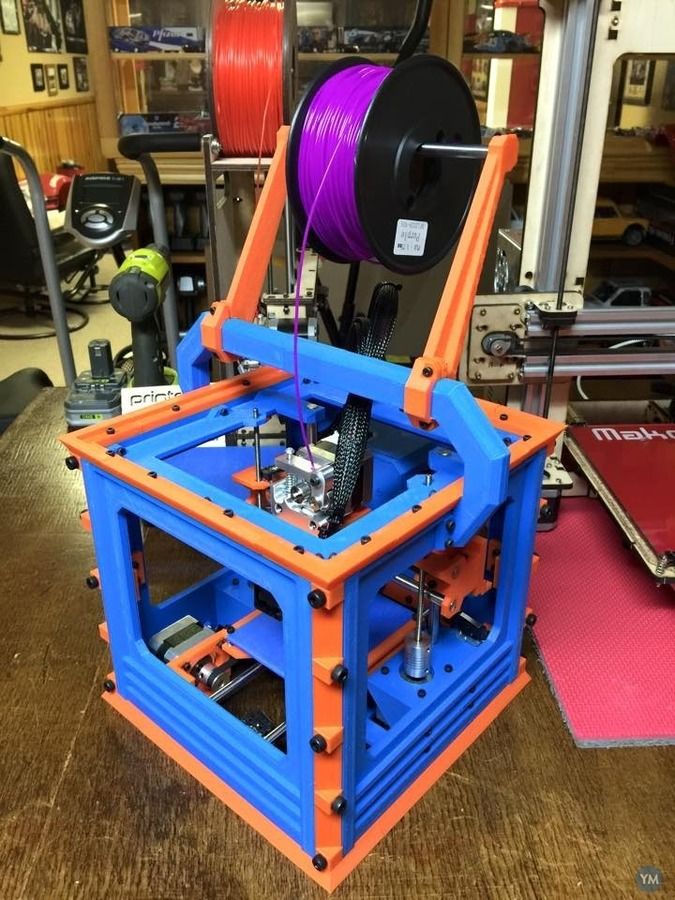 This means this workbench needs more time and effort than the others on this list, but you can also fully customize it to your needs.
The brackets are made up of heavy gauge structural resin that can support 1000 lbs (454 kg) of weight when combined with the lumbar. For the construction process, you only need to execute straight and 90-degree cuts, removing the need for more serious equipment like a miter saw.
While purchasing, you can select various options and choose which one best matches your requirements. Because of its high configurability, the 2×4 basics Custom Workbench is the best table for DIY enthusiasts and experienced users who need a custom-built solution for all their 3D printing needs.
Standout Features
- Pre-bored screw holes
- Durable construction
- Versatile use cases
Technical Details | |
|---|---|
| Dimensions | Customizable |
| Weight capacity | 1000 lbs 454 kg |
| Material | Heavy-gauge resin |
What We Like
- Completely customizable design
- High weight capacity
- Only straight cuts required
Could Be Better
- Requires additional components (lumber)
- Needs extra time and effort
Find 2x4 basics 90164 MI Custom Workbench at
Amazon
Husky Extra Deep 46 in.
 9-Drawer Mobile Workbench
 Most rugged
Check Price
Amazon
The Husky extra deep mobile workbench has an all-metal construction and it comes with nine lockable 24.5” (62 cm) deep drawers. Each drawer can hold up to 100 lbs (45 kg) of weight, with the bottom ones rated for 200 lbs (91 kg).
This workbench comes with a power strip with four outlets and two USB ports for easy access to power for all 3D printers and other powered tools. The four castor wheels and ergonomically designed handle let you quickly move your table to your desired location, whenever you need.
At almost $700, the Husky mobile workbench is undoubtedly not a cheap option. You should only consider it if you’re a serious professional who needs a rugged and heavy-duty 3D printer cabinet for long-term use.
Standout Features
- Ball bearing slides
- Lockable
- Extra deep drawer storage
Technical Details | |
|---|---|
Dimensions (W x D x max. H) H) | 46" x 25"x 37" 117 x 64 x 94 cm |
| Weight capacity | 1200 lbs 544 kg |
| Material | Steel, wood |
What We Like
- Rugged construction
- Easy to move around
- Integrated power strip
Could Be Better
- Heavy
- Costly
Find Husky Extra Deep 46 in. 9-Drawer Mobile Workbench at
Amazon
Mighti Foldable Heavy Duty Workbench
Best foldable 3D printer workbench
Check Price
Amazon
If you have limited space in your garage and need a 3D printer table that you can move easily out of the way, the Mighti Foldable workbench is perfect. It folds up when you don’t need it and reclaims your space for other activities.
It comes with a pegboard for organizing and attaching your tools with ease. The pegboard also substitutes the lack of storage drawers with a cantilevered shelf on the top.
The thick MDF tabletop supports 400 lbs (182 kg) of weight, making it suitable for heavy-duty applications. The table needs no assembly, and you can get started using it within a few minutes from unboxing.
Overall, the foldable design and the metal construction make it suitable for use in cramped spaces and for holding heavy 3D printers. It is ideal for people who have a small-sized 3D printing workspace but still need a solid 3D printer table.
Standout Features
- Foldable design
- Large surface area
- Big pegboard
Technical Details | |
|---|---|
| Dimensions (W x D x max. H) | 44.5" x 27.5" x 62" 113 x 70 x 158 cm |
| Weight capacity | 400 lbs 182 kg |
| Material | Stainless steel |
What We Like
- Easy assembly
- Saves space
- Study construction
Could Be Better
- Limited storage space
- Advertised weight limit differs from actual
Find Mighti Foldable Heavy Duty Workbench at
Amazon
IKEA LACK table(s)
Best DIY 3D printer table
Check Price
Amazon
IKEA LACK tables are one of the popular 3D printer tables you can buy right now. They’re highly modular, cheap, and easy to build. You can stack these tables on top of each other and create a basic yet effective 3D printing workbench for your 3D printer.
Due to its design, stacked LACK tables also help enclose your 3D printer from all sides. 3D printer enclosures let you print with additional materials and isolate your 3D printer from the external environment. Prusa3D has an excellent guide on how to construct your own enclosure with these tables.
It is an elegant and versatile table/enclosure solution that you can use in your home, garage, and offices. The LACK IKEA table is an excellent choice for someone who wants to build a cheap DIY 3D printing table, but still needs flexibility in terms of design and features.
Standout Features
- Minimal design
- Easy assembly
- Versatile use
Technical Details | |
|---|---|
| Dimensions (W x D x max. H) | 21. 7" x 21.7" x 17.7" 7" x 21.7" x 17.7"55 x 55 x 45 cm |
| Weight capacity | 55 lbs 25 kg |
| Material | Particleboard, Fibreboard, ABS plastic |
What We Like
- Budget-friendly
- Aesthetic looks
- Can be used as enclosure frame
Could Be Better
- Not sturdy
- Limited weight capacity
Find IKEA LACK table(s) at
Amazon
What to Look for in 3D Printer Tables & Workbenches
Surface area
An important criterion for choosing the best table for your 3D printer is the surface area you get. It dictates the maximum size of the printer that you can fit on the table. A large surface area will guarantee that you have ample workspace for your 3D printer and extras. Especially when you work with (M)SLA/DLP printers, there are many resin 3D printing accessories that you need space for.
What is critical here is to ensure that the table will fully support the base of your 3D printer. Any overhanging edges or corners can lead to wobbling and leveling issues. Additionally, having a rigid, stable surface underneath your printer will reduce vibrations and help you get better print quality.
Most 3D printer tables mentioned in this list have sufficient length to support a medium-sized 3D printer like the Ender 3 V2 or the Prusa i3 MK3S+. However, we recommend measuring your 3D printer’s footprint and matching it with the table’s surface area to guarantee that your printer will be fully supported.
Storage Space
3D printers come with loads of printing accessories. Allen keys, flush cutters, repair tools, post-processing equipment, and extra filaments are only a few of them. The best workbenches will have sufficient space and allow you to store all these things in an easily accessible place.
Drawers and cabinets help you to organize and find your stuff quickly. Adjustable shelves will let you store oversized items without problems. If you want to 3D print with multiple 3D printing materials, like PLA, ABS, PETG, TPU, it can be helpful to have a dedicated drawer for each of them.
Stability
A 3D printer needs to be as stable as possible to get a high print quality during the printing process. A weak or shaky table will cause the printer to wobble and results in poor print outputs.
Stationary tables that do not have wheels will give maximum stability while printing. These have a solid foundation and will not move along with the motion of your 3D printer. In contrast, a table with wheels can sway with the movement of your hot end or the print bed at higher print speeds.
Material
If you’re looking for a heavy-duty and sturdy table, looking at its material will probably help you in the long run. A metal frame with a solid wood top tends to give the best stability and structural integrity for heavy loads.
While selecting a metal table, you will need to consider its post-processing. A corrosion-resistant coating offers you good protection against rust and exposure to the spilling of 3D printer resin, for example.
The same goes for a solid wood top.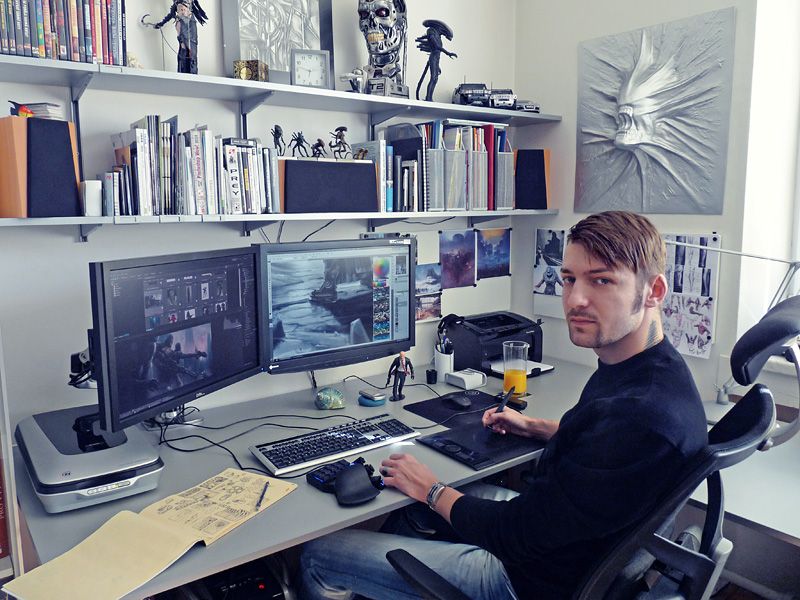 An epoxy or other coating for the wood top is likely to improve its long-term appearance.
Accessories
Power surge strips, pegboard clips, and lights are some of the additional accessories you can get with your table. These accessories will help you organize and use your workspace in a better way and 3D print more efficiently.
Basic tables will skip on other accessories to save on the cost. But if you’re getting a premium desk, it will be helpful to get one with as many attachments as possible. The Seville Classics Lighted Workbench is one of the best tables that comes with extra attachments designed to enhance your user experience.
Adjustability
Adjustability is not the prime factor for 3D printer tables. However, an ergonomically designed table that can be adjusted will be better suited for many users.
An adjustable height table will let you position your printer as per your preferences. You can quickly adapt the table to suit your workspace, and it will give you the flexibility to work on the 3D printer with more ease.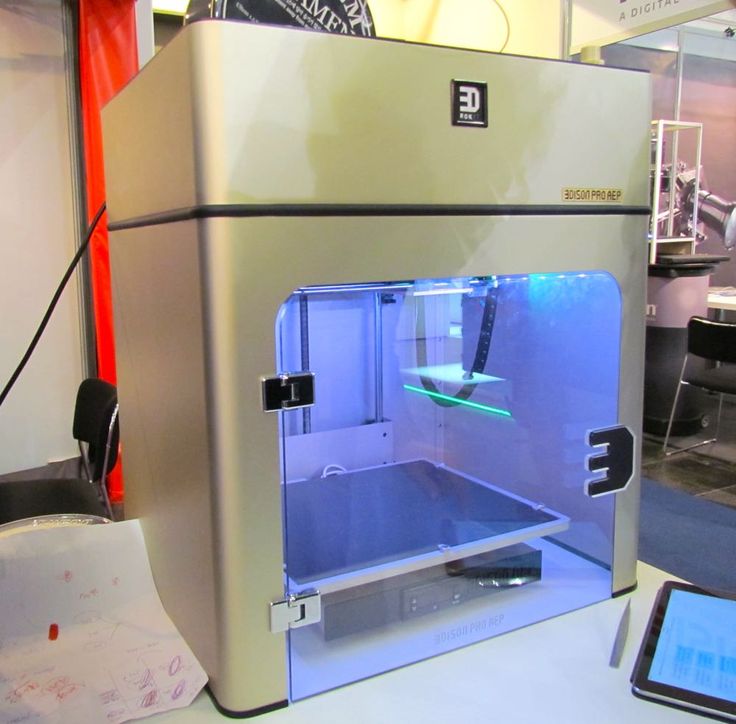
However, an adjustable desk will lose out on storage space and might have a less stable surface than fixed tables, reducing its stability and negatively affecting its user experience.
Weight Capacity
A 3D printer table should be strong enough to support the weight of multiple 3D printers at once. You will need to factor in the drawers and cabinets’ weight capacity, and it will inform you what items you can store within your table.
A solid table with a metal frame and wooden tabletop will be durable and have more weight-bearing capacity. Meshed structure or plastic legs will reduce the weight capacity of your table and result in a less sturdy table.
If weight capacity is your primary factor, the Gladiator Hardwood Workbench can support 1500 lbs (680 kg) of weight at once and is the best table in the list.
Frequently Asked Questions
Where is the best place to put a 3D printer?
The best place to put a 3D printer is on a 3D printer table. This will allow you to have a flat surface to work with and it will also provide stability for the printer. You will want to make sure that the table is level and that it is large enough to hold the printer and printing accessories without taking up too much space in your room.
Does a 3D printer need a stable table?
Yes, a 3D printer needs a stable table or desk to work properly. The table needs to be sturdy so that it doesn’t move around as the printer is working.
An unstable surface can cause the printer to produce inaccurate and low-quality prints. A big waste considering the time and effort that can go into optimizing a 3D printer’s performance.
Does a 3D printer need to sit on a level surface?
Yes, a 3D printer needs to sit on a level surface in order to print correctly. If the table, workbench or desk is not level, the printer’s frame can end up misaligned and prints might not come out correctly.
Can 3D printers make furniture?
Yes, 3D printers can most definitely make furniture! A lot of people don’t realize that 3D printing technology has come a long way in recent years and is now capable of printing out all sorts of objects, including furniture.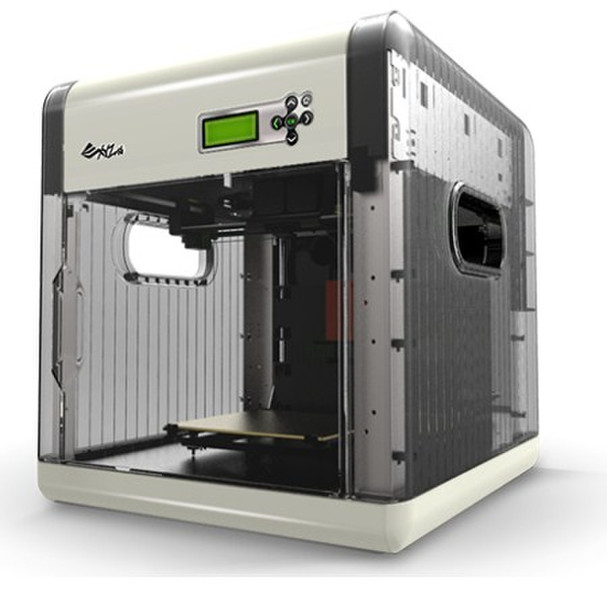 In fact, there are even companies that specialize in manufacturing 3D-printed furniture.
So if you’re interested in getting some new furniture but don’t want to go through the hassle (and expense) of buying it from a store, then you might want to consider getting a 3D printer and making it yourself. It’s a great way to save money and have some fun too!
Can you put a 3D printer on the floor?
It is possible to put a 3D printer on the floor, but it is not usually recommended. Most printers are designed for use on a table or desk, and putting them on the floor can lead to problems with stability and printing quality.
If you do need to place your printer on the floor, there are a few things you can do to improve its stability. For example, you can set it on a non-slip surface like a rubber mat. Also make sure to keep any cords or cables clear of traffic areas so they don’t get stepped on or tripped over.
Can 3D printers be left alone?
Leaving a 3D printer unattended is not recommended, as it may cause a fire. The printers use heat to create objects from plastic filament, and if something goes wrong while the printer is printing, the heat can build up and cause a fire.
In addition, many 3D printers require active cooling to keep them from overheating, and if the cooling system malfunctions or is turned off, the printer can overheat very quickly.
Conclusion
A 3D printer table will help store all your materials in one place and let you organize your work efficiently. It needs to be robust, sturdy and has lots of storage space to accommodate all your 3D printing accessories and filament spools with ease.
The Seville Classics Ultra HD lighted workbench is overall the best 3D printer table that you can buy. It has a sturdy tabletop, sufficient storage space, pegboard, and an industrial design that easily fits any garage, home, or office space.
If customizability is your primary criterion and you love to DIY, the 2x4basics 90164 MI Custom WorkBench and Shelving Storage System is an excellent choice for you.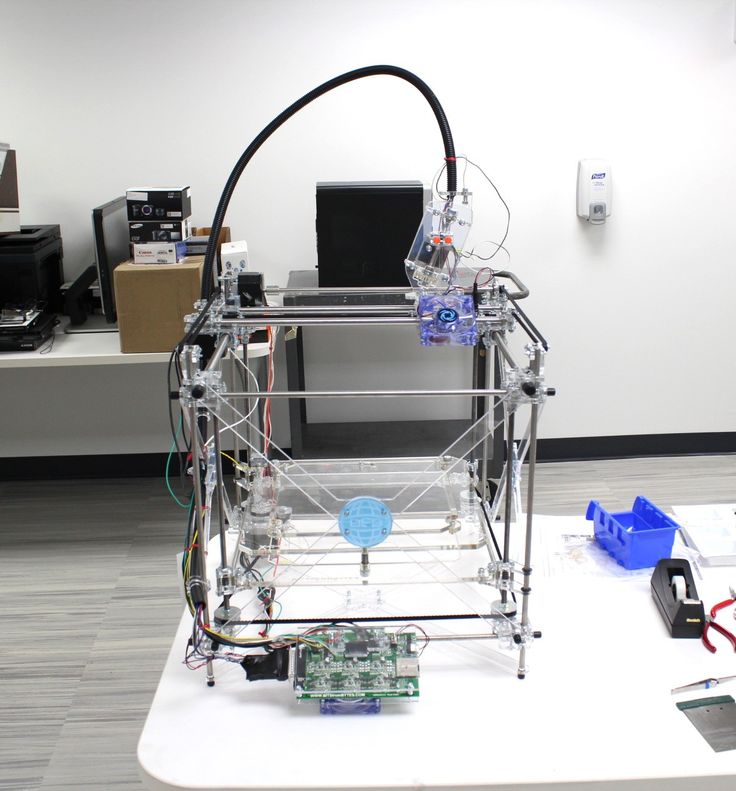 Alternatively, if you need a versatile and future-proof table, the Seville Classics Rolling Cabinet Workbench is a well-rounded option for your needs.
Let us know your experiences with the 3D printer tables, and if you have any questions, feel free to comment below.
Helpful Tips for 3D Printing at Home
You, like many people around the world, may have had to quickly change from working in a workshop or office with many tools at hand to working at home where resources are more limited . During this difficult period, the ability to adapt to new circumstances and challenges helps to reduce production disruptions and avoid disruptions in the organization of the development cycle.
Formlabs desktop stereolithography (SLA) 3D printers are compact in size and can be used from home or outside the office environment. In addition, the ability to use over 30 different materials that mimic everything from silicone and polypropylene to ABS and more increases flexibility, expands the scope and makes it easy to adapt to new tasks as they arise.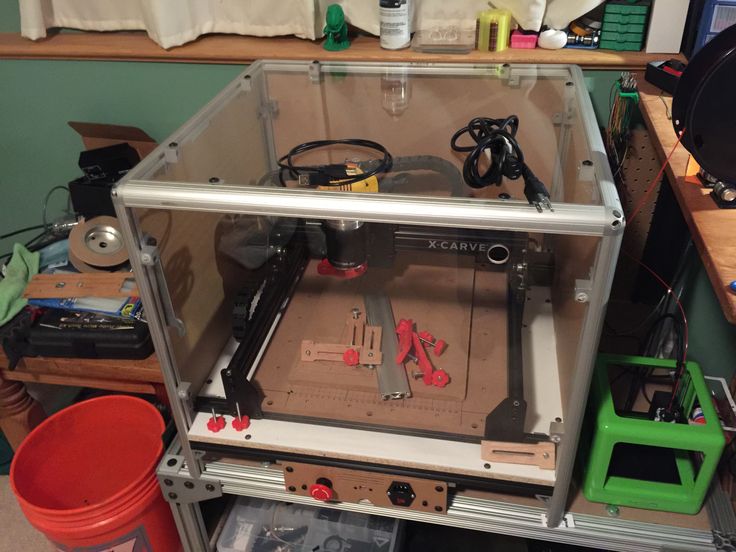
Introducing 3D printing technology in-house will help you cut costs and keep your feet on the ground during times of uncertainty, especially if you have previously used or currently use third-party 3D printed models. Our customers are using home 3D printing to reduce costs, improve manufacturing process efficiency, continue developing critical products, and help overcome the COVID-19 crisis..
Dan Kirchgessner, Communications Specialist, and Jake Kapusta, Senior Maintenance Specialist share practical tips for printing at home.
Before the 3D printer is delivered to your home, you need to organize your space and workspace so that you can print, post-process, and finish everything you need. You will need space to house the printer(s), post-processing stations such as Form Wash and Form Cure, workspace to separate and finish parts, and short-term storage space for items such as spare wash solvent, resin reservoirs, cartridges for resins, gloves, post-processing tools, etc.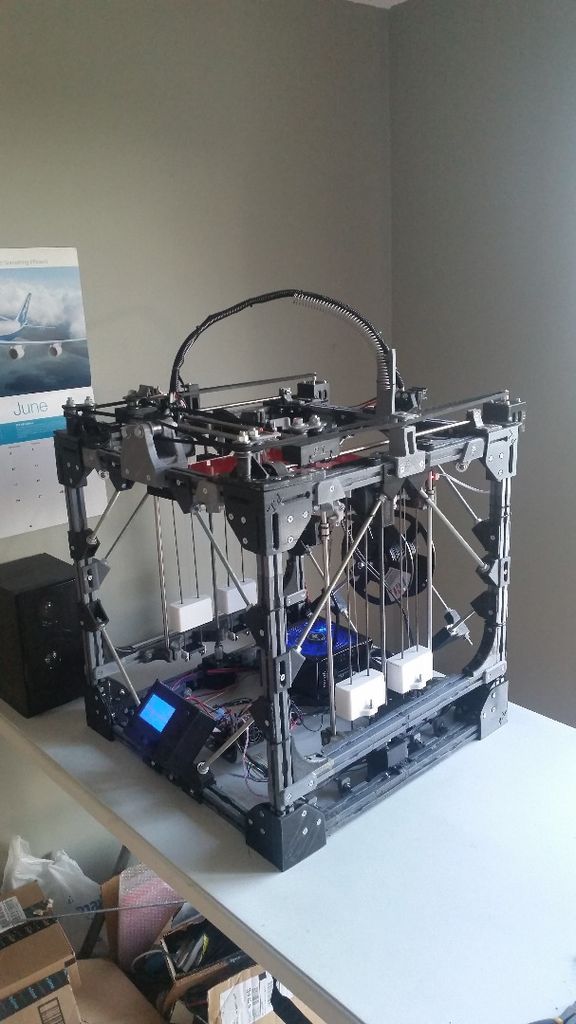
Alexis Hope, designer and researcher at MIT's Media Lab and MIT's Center for Social Interaction Tools, says that in setting up her home workshop, “getting the printer home was a great incentive to reorganize the workplace. Space is required for flushing and curing systems, as well as space for storing models, so proper organization of space is necessary for productive work. ”
Alexis Hope's home workshop.
Some of the most frequently asked questions about 3D printing at home have to do with environmental factors such as sounds and smells. To account for sensitivity to odors, we advise placing the post-processing station in a well-ventilated area or near an open window. Although the Form 3 is relatively quiet - it produces a noise comparable to that of a microwave oven - you may prefer to place it away from those areas of your home where you don't want to disturb the silence.
Woody Hedberg, Formlabs Print Process Engineer, recently hosted a Form 3L in his apartment for material testing purposes.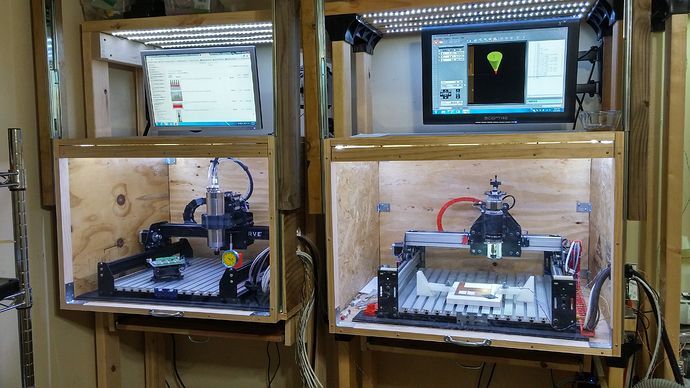 “As a protective measure, I installed thick cardboard on the floor and walls of the room,” says Hedberg. In addition, for the workplace, he chose a space near an open window and behind a closed door to reduce the penetration of potential smells and sounds.
After preparing the workspace, lay out the items needed for 3D printing, such as wash containers, baskets and bottles, tweezers, spatula, detach tool, wire cutters, disposable nitrile gloves, and any additional tools that you may need during the work 3D printing process.
If you already have a 3D printer, the first thing you should consider is transporting it from your office or workplace to your home. When preparing your Formlabs 3D printer for shipping, first remove the resin cartridge, then remove and clean the platform, and finally remove the resin reservoir and close the lid before placing it in its storage case. Ensure that all accessories containing polymers are securely closed before transport.
Before shipping the Form 3 printer, secure the Light Processing Unit (LPU) with wing screws and latch.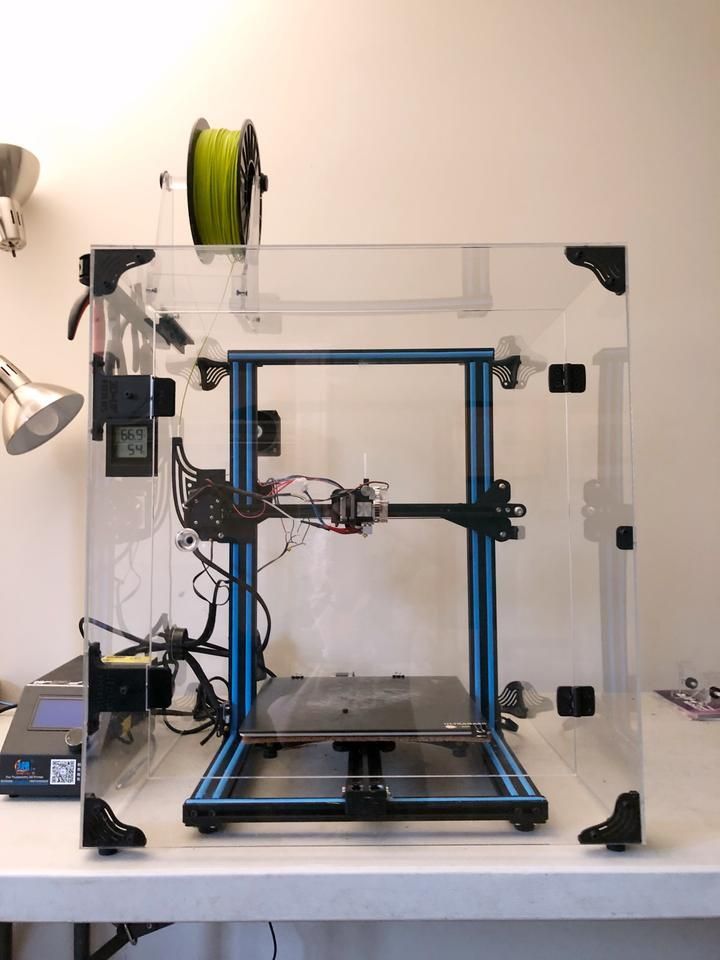 Failure to lock the LPU may damage the printer. Contact us if you can't find the screws.
Carefully wrap the printer in protective material and, if possible, place it in the original packaging. Be sure to pack all the accessories you may need for 3D printing and post-processing: Form Wash and Form Cure or post-processing kit and an alternative curing solution and consumables such as resin reservoirs and cartridges, gloves, tools for post-processing, isopropyl alcohol, etc.
After unpacking 3D printing supplies at home and before printing, be sure to check that the printer is level and stable in the new location.
Now that your printer is ready to use at home, there are several ways to improve and streamline your workflow.
Schedule the start and end times for printing to fit your work schedule. This way you can load the printer to the maximum. You can schedule the start of your next print using PreForm's Estimated Print Duration feature. Print time-consuming models while you're away from your workspace so you can print while you're away so you can start the next one when you get back.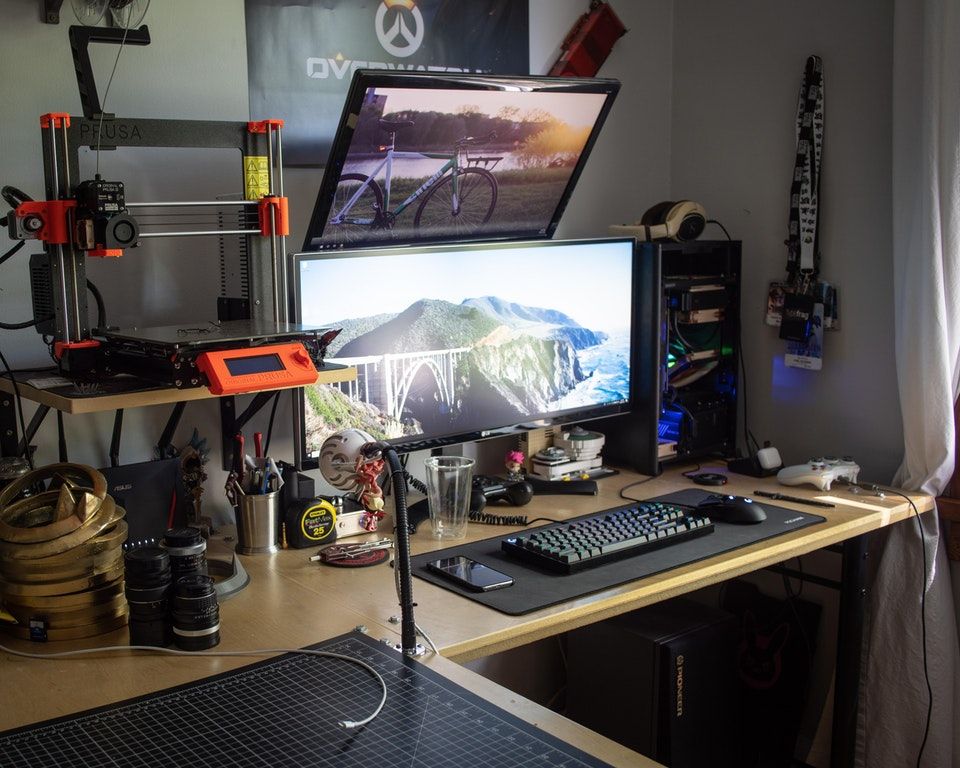
Kevin Gauthier, Business Development Specialist at Formlabs, found that when working remotely, his team sent models to each other more often: "Never forget to print an instance of an object for yourself so you can refer to it later."
Kevin Gauthier's home workspace.
Continuing the same line, Hedberg suggests documenting and photographing every 3D printed model in detail, especially if your storage space is limited. “Now that we are working remotely, we need a proper documentation system. This does not mean that every 3D printed model should be saved, but carefully documenting the printed models and keeping records for my colleagues, yes,” he says.
Use the Dashboard to monitor the printing process in real time, as well as tank usage and resin usage. You'll also be able to track quality prints and scrap rates so you know which designs are the best and use them for future iterations.
“Do all the design work you can and prioritize critical physical prototyping tasks for different teams,” says Zach Frew, Formlabs Technical Specialist.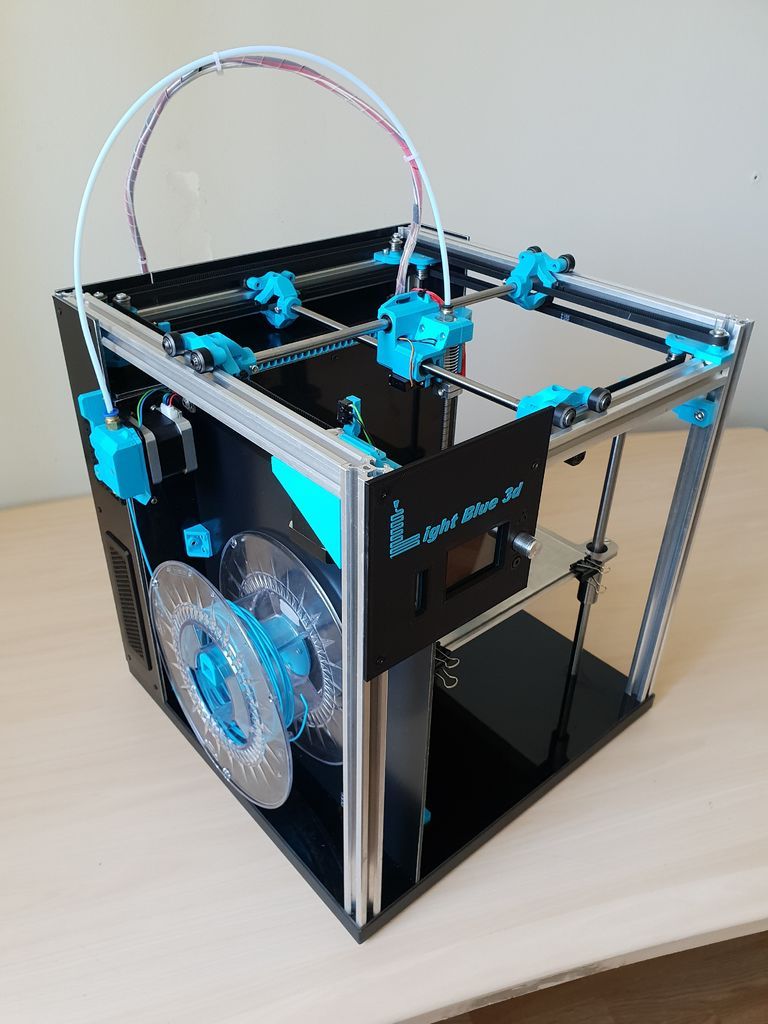 Frew says you need to prioritize these tasks, especially when work resources are limited, and share them with your team members.
Follow safety guidelines when using Formlabs products. Handle IPS with nitrile gloves in a well-ventilated area. Keep the IPS away from heat, sparks and open flames. Isopropyl alcohol evaporates quickly, so keep containers covered if possible. For detailed safety information, contact the manufacturer or supplier of this chemical.
As Formlabs Materials Expert Zak Zguris says, “You have to practice good chemical hygiene. Keep everything clean. Wipe up any drops or spilled liquids immediately. To avoid sticky residue, use acetone or isopropyl alcohol. When washing in the IRS, ventilation of the working space with fresh air should be provided. The cabinet is not at all suitable for the active use of a 3D printer or a washing station in an IRS.”
Always wear gloves to protect your skin when handling resin cartridges and containers. Store ink cartridges upright, out of direct sunlight, in a well-ventilated area.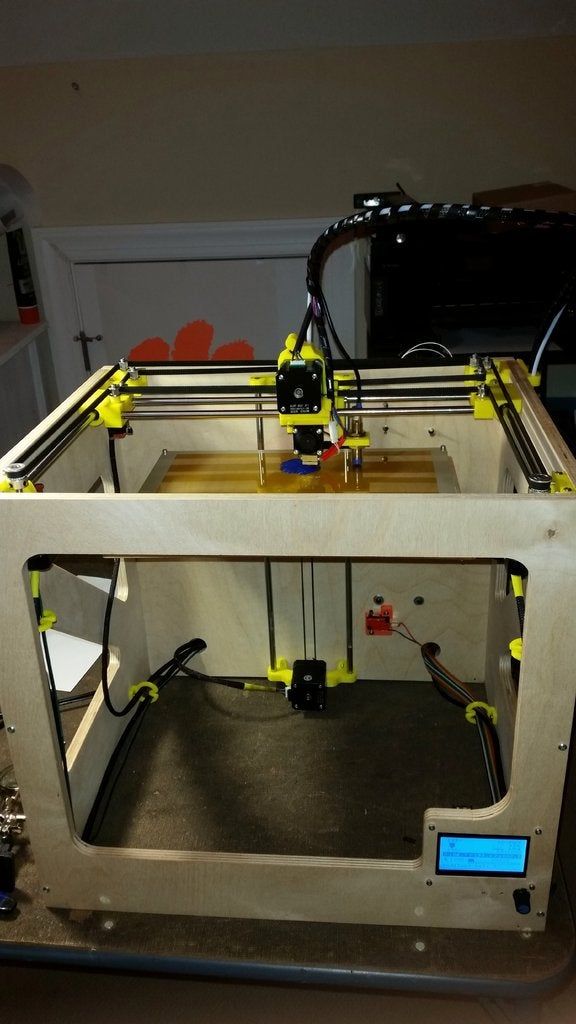 Close the cartridge outlet cap to prevent resin leakage.
Liquid or partially cured polymers must not be poured down the drain or disposed of with household waste. Do not pour isopropyl alcohol (IPA) with the polymer dissolved in it down the drain or dispose of it with household waste. All solvents and polymers should, as always, be disposed of in accordance with local regulations and the supplier's MSP. More information about security measures can be found on our technical support website.
Do you have any helpful tips or advice that you could share based on your experience of transitioning to working from home? We'd love to hear about them. We invite you to share them on social media with the tag @formlabs or #EngineeringFromHome or by commenting on our forums.
3D printer light. Variants and implementation
3DPrintStory Reviews 3D printer backlight.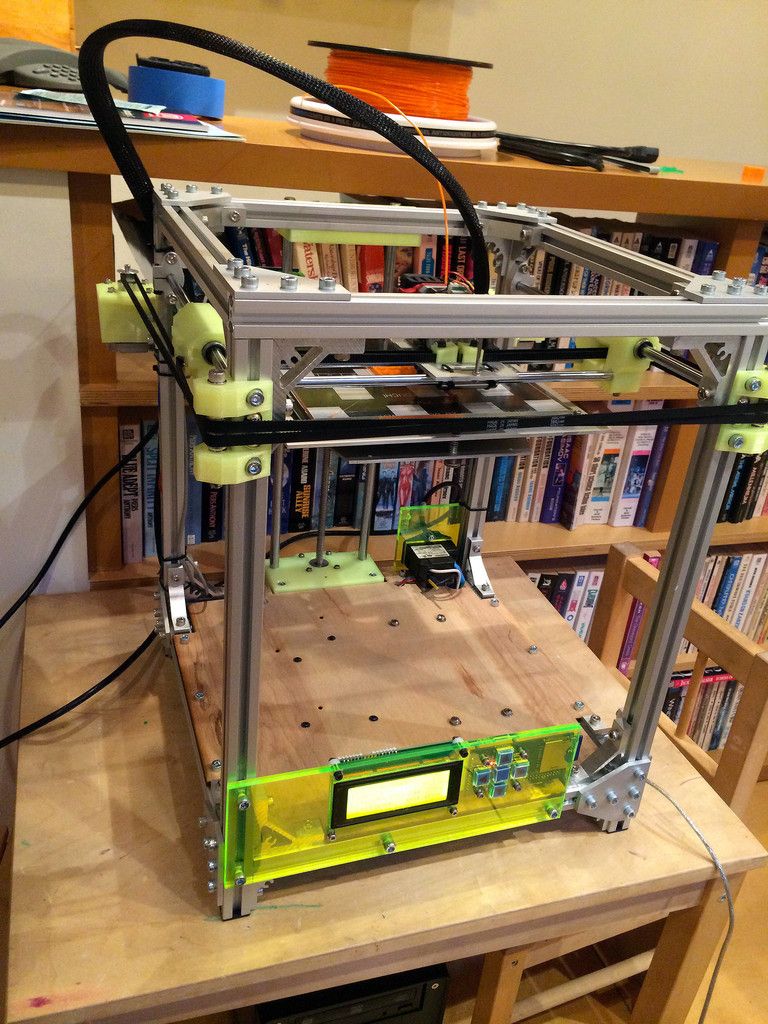 Variants and implementation
Have you ever got up in the middle of the night to check on the progress of 3D printing and frantically illuminated with a flashlight from your mobile? Or do you want your 3D printer to look cooler in the dark? The backlight can illuminate the entire 3D printer, workspace, or even the printhead, so there's room for your creative choices.
Aside from aesthetics and better visibility, another benefit of proper lighting is the accuracy when using a webcam, which is essential for programs like The Spaghetti Detective to track 3D print failures.
In this article, we'll look at several different lighting options for your 3D printer, print head, or entire desktop. However, before we present these options, let's discuss some of the specifics of your lighting setup.
What to look for when choosing a 3D printer light
There are several factors to consider when deciding which 3D printer light is best for you.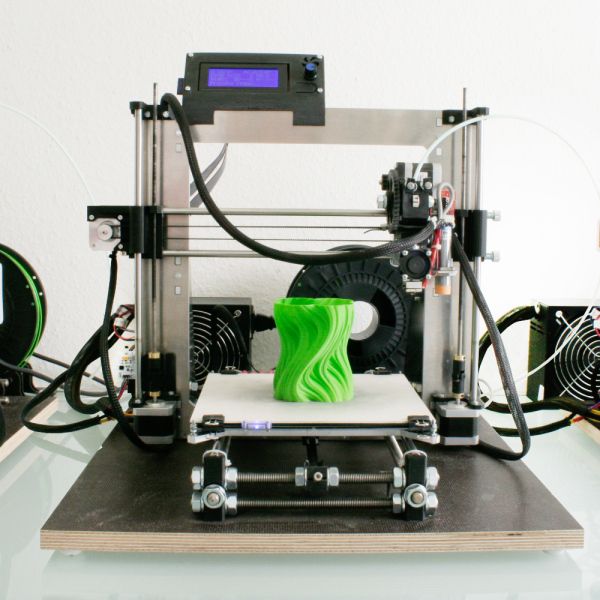
- Placement and Orientation: If you direct the light towards the center of the 3D printer, it will illuminate the area of the printed model. If you place the backlight outward, then this illumination will be enough not only for your part, but for the entire 3D printer.
- Power: You can implement backlighting for a 3D printer through the printer's power supply or take a separate power source. If your printer uses a motherboard that supports backlighting, such as the SKR Mini E3 V2 or MKS Robin E3D, you can connect a compatible light source (same voltage) directly to the printer. However, if your motherboard does not have this feature, you can power the lighting from an external source, such as a computer or wall outlet.
- Color: If you need different colors, look for RGB (red, green and blue) lights that can produce any color. If you want a plain white light, we recommend that you choose a richer white color (brighter and whiter) for better illumination.
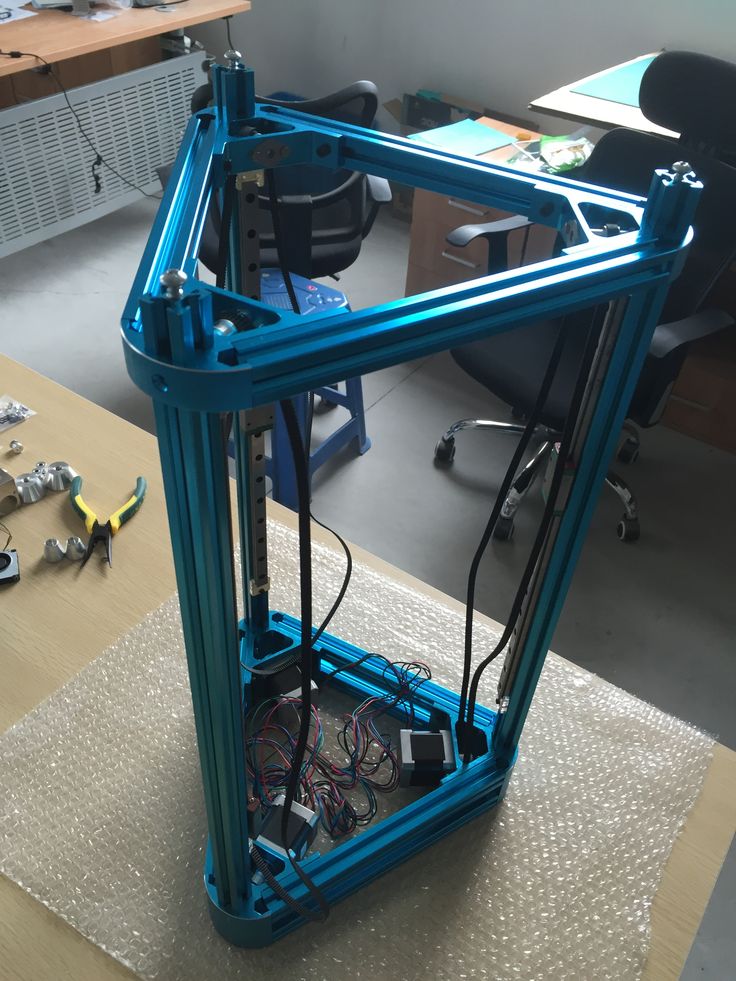
Now let's look at the options! Please note that although some of the suggested options are for the Ender 3, it is not difficult to change them for your specific 3D printer.
Illumination of the extruder zone on a 3D printer from profiles
The first option involves attaching an LED strip to your 3D printer's horizontal portal profile. Many 3D printers use aluminum V-groove profiles as part of the frame and gantry design, making them a great option for mounting LEDs. There are a huge number of options, it all depends on the number of tapes and your desires.
In essence, this lighting option for a 3D printer comes down to mounting an LED strip on a V-groove profile. Implementation may vary, there are many mounting options. For example, you can use mounting strips printed on a 3D printer and attach the LED strip to them already. Or mount the tape directly on the profile without using additional parts.
There is an interesting way to illuminate the extrusion zone with a flashlight.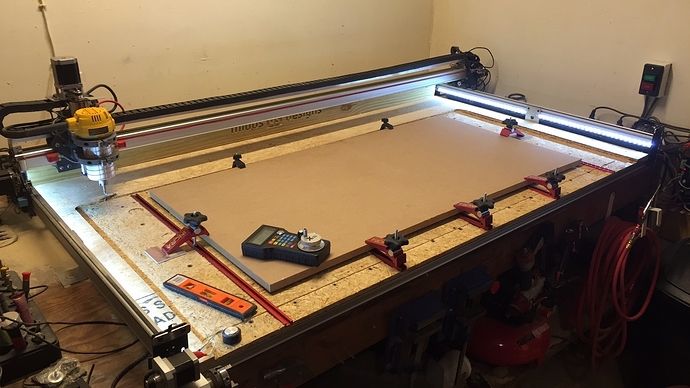 The Thingiverse link below will have a fastener that you can print and mount to your frame if you are using an Ender 3 3D printer. to the body, you can do it in other ways. There are many standard fixtures for lighting fixtures, so there are many options. As a general rule, these mounts are fine if you have a closed-case 3D printer.
You can 3D print fasteners yourself. For example, here is a variant of fixtures for LED strips. You can use screws or glue for fastening. The fasteners are pretty versatile.
There are options for more specialized LED strip fixtures for a specific 3D printer. For example, here is a mount for mounting on the body of a Prusa 3D printer. For example, these 3D printable models are designed to fit on the frame of a Prusa 3D printer.
3D Printer Arch Light
Another cool option that will take a little more effort but will work great for lighting your 3D printer is the arch. After installing this arch with LEDs on your 3D printer table, you will be able to monitor both the 3D printing process and, in principle, use the large illuminated area for soldering and repairing small parts and assemblies.