3D printed hydroponics
Hydroponics best STL files for 3D printer・Cults
KOH Molecule Chemistry
Free
KRYDDA / VÄXER light leg/holder
Free
Lid for hydroponic growth in pot
Free
bamboo | hydroponic garden
€32.80
Bell Siphon Shroud and filter / cap- Aquaphonics - Hydroponics
€2.28
Aerogarden Cover
Free
Modified Window Farm
Free
100mm Hydroponics tower modular 2" net pots
€10.25
Hydro 6-way splitter, with screw thread to fit a metric 24mm 3000l/h pump
Free
142mm / 6 inch hydroponic netpot rain ring dripper
Free
LST - cropping
€0. 65
Heavy Branch Support
€0.75
Pipette Holder for General Hydroponics Up & Down 1 Quart Bottle
Free
3-16 Inch Aquarium water pump venturi.
Free
Venturi 3/16 inch water transmission
Free
Hydroponic pot
€2.60
Circle Bubbler
€2
Indoor Cooler Support
€3.25
Indoor hydroponic garden
€15
Hydroponics System Shelf Type
€5
Tilted Hydroponics Sytem
€5
4 inch square hole filler
€1. 43
43
4 Inch Grow room celing extractor pipe adapter
€1.43
Hydroponic Basket 420
€1.79
Modular tower Size reducers
Free
Hydroponic tower
€5.20
Large hydroponics tower 210mm diam hanging or stand
€17.43
Bushing Cap for Water and Air projects 1/8"
Free
Hydroponics salad island for ponds
Free
Remix: Modular Hydroponic Tower Base to fit a Folgers Coffee 750g container
Free
Hydroponics Tower
Free
manifold bell siphon
€15.38
Hydroponic Desk Pot
€1. 13
13
4" tube fishtank bracket
Free
Hydroponic system
Free
mini hydroponic tower
Free
bubbler/muffler
Free
mini net pot and ring
Free
mini_bell_siphon
Free
60mm hydroponic basket for 4 inch pipe
€0.66
60mm hydroponic basket for 4 inch pipe
€0.66
Eazy Plug Basket
Free
hydro-heart basket
€0.65
Hydro potted orchid / Hydro pot orchid
€9
Hydroponics upcycling kit for uncommon sizes tin cans
€3.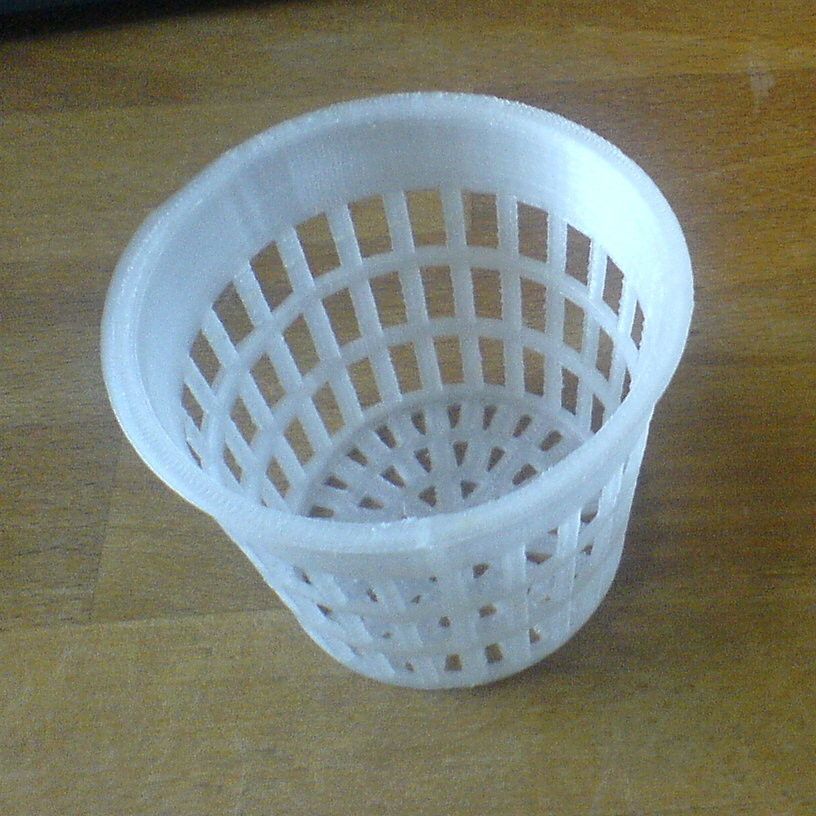 99
99
Green Loop
Free
net pot 2"
Free
Propagation Station for cuttings | Fits on a tin can | Easy Hydroponics | Unlimited Basil
€3.99
Hydroponic 3D Printing - GROZINE
Fig.4.: Full 3D printed microgreens package with Red Radish growing in it shortly before the harvest3D printing in Hydroponics, Microgreens and Gardening By Christopher Hansen
Hydroponic 3D printing gives growers an invaluable tool to make, repair or even innovate hydroponic parts or complete growing systems. If you also ever wanted to take your hydroponics and microgreen setup to the next level you have come to the right place. I will show you, how a 3D printer opens new dimensions for you and make
your hydroponic garden as unique as yourself. We will start with easy steps and printing already existing
models, to then go all the way to designing everything yourself.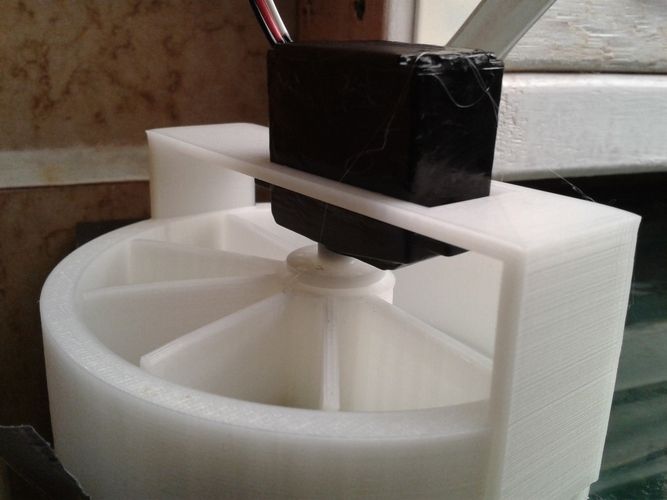
printed
Start 3D-printing things:
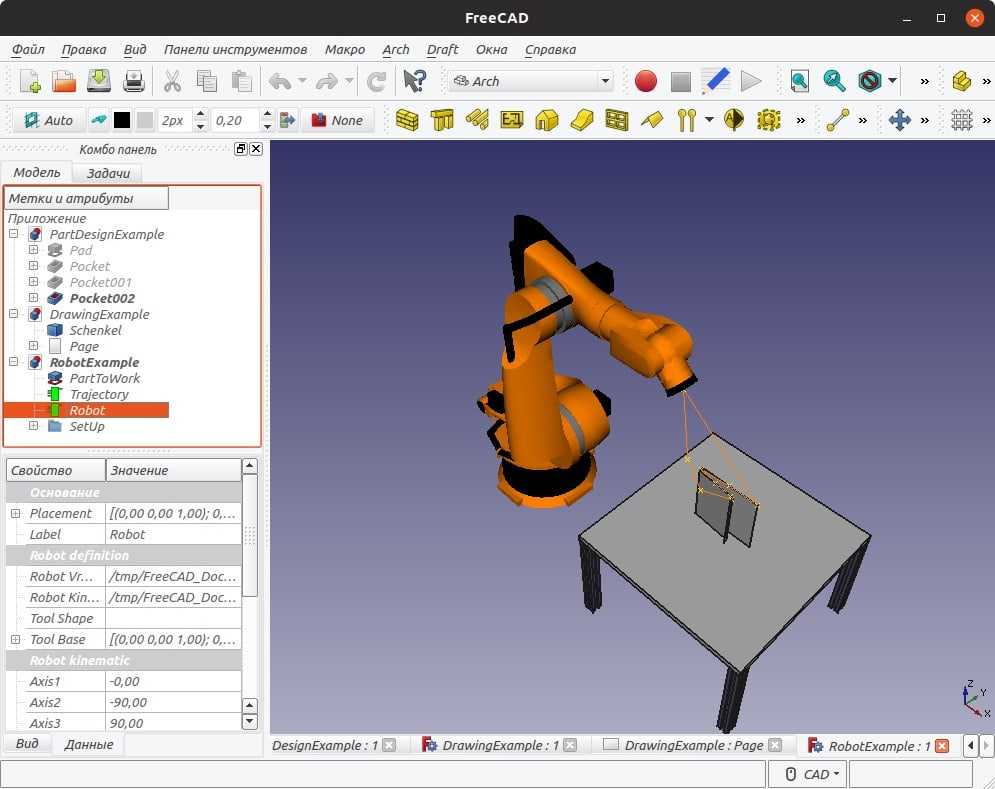
To 3D print anything you need a digital model of the part of your choice. The most common file
type for this is STL. This file is used by most CAD or 3D modeling softwares. To make your model
printable you need another program called a Slicer. This program slices your model into tiny
layers, some as small as 0.05mm, and creates a so called .gcode file. This file then tells the 3D
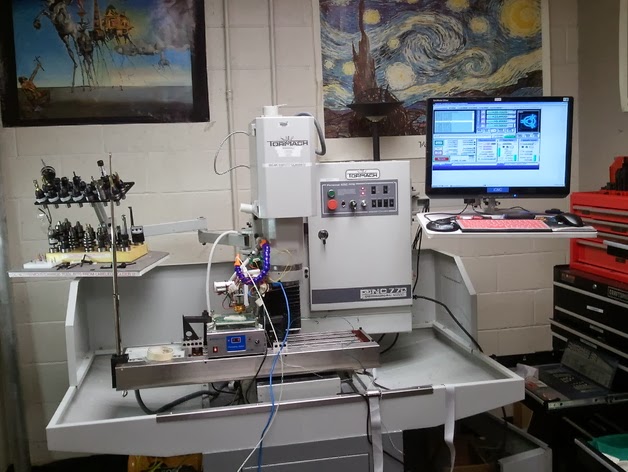
printer where to move while extruding the filament. If you are familiar with CNC machines, think
of it as a reverse CNC. Instead of removing material we add something in the process. The most
common material for 3D printing is PLA, which is a stiff plastic and in some cases even
biodegradable. Besides this there are numerous materials out there, even flexible ones, that you can
use for hydroponic 3D printing.
Naturally then, the first and easiest step to start 3D printing is grabbing an STL file from the
internet, put it in your slicer and you are ready to go.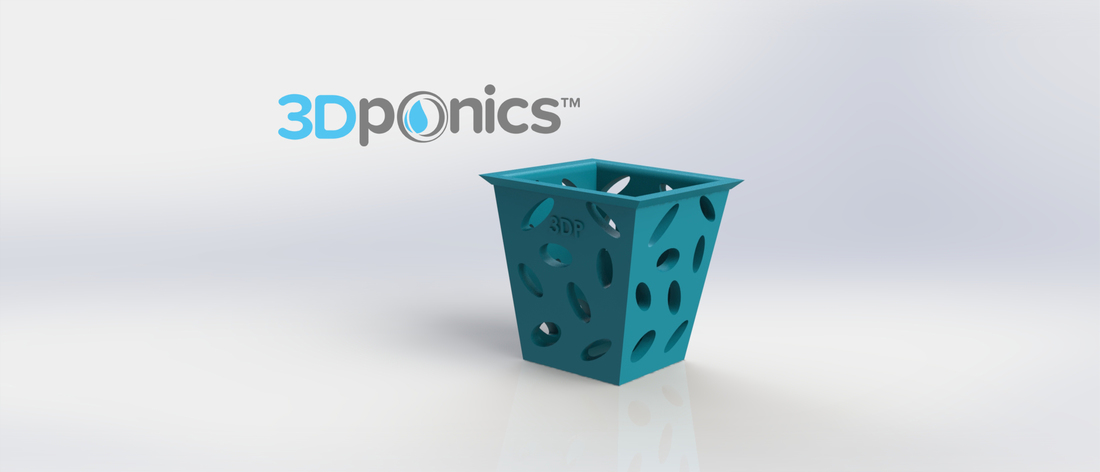 There are probably millions of different files
for any application you can imagine. The two most common applications are probably: Repairing
and Improving.
Let us start with the rather obvious one repairing: It happened to me more than once, that some
major tool, like a water pump breaks. And sometimes you are even lucky to find the piece that
broke online and it ships within a few days. Unfortunately though, mostly with older pumps and
tools, those pieces are rather hard to come by. And probably you are not the only one with this issue.
Many of those parts can be found as a 3D printable STL file and after a couple of hours your
hydroponics system is ready to go again.
Furthermore I love to improve my setup with 3D prints: And the main reason is it is easy to
customize, even if you have zero experience with complicated CAD or 3D modeling programs. The
rather not so secret trick is: scaling models. You know it, I know it, when you go to the hardware
store there are all thinkable sizes of connectors or sealings, just not the one you need. A millimeter
here, 1/4 of an inch there. With the 3D printer you just scale the model e.g. by 20% in the X
direction and it fits, no questions asked.
Make your own 3D prints:
Speaking of scaling models. Why not start with making your own models right away? True taylor
made design for your gardening setup. And there are many great ways to start. For the deep dive
into designing 3D models I recommend get a CAD program and just start. There are many free, yet
powerful options available. Of course this takes some time to get used to the program and maybe
you just want to make something easily. If you feel overwhelmed by learning how to use a whole
new program, maybe check out Tinkercad. It is easy and fun to use where you can build things via
drag and drop.
How I started to make my own 3D prints
Fig.2: Chili clone growing in my 3D printed tin can hydroponics system. The water indicator on theleft is up, so the plant is watered properly.
 The hole on the right is for watering.
I am a big fan of tiny indoor gardens. It just fascinates me to make plants grow without soil on my
window sill in whichever planter you find. And since I am also a big fan of canned tomatoes I had a
few old tin cans lying around. I think you can connect the dots here: I started my CAD program,
measured the tin cans and came up with a tin can hydroponics system. The first design was very
basic and just a proof of concept. Later then I even included a water level indicator, that is print in
place. Print in place is a big advantage of 3D printing, as it means you design the print in a way, that
it is ready to use, once you remove it from the build plate. It means no connectors, no assembly,
nothing it is just printed into the hydroponics cup and ready to use.
ready to use after the print is finished.
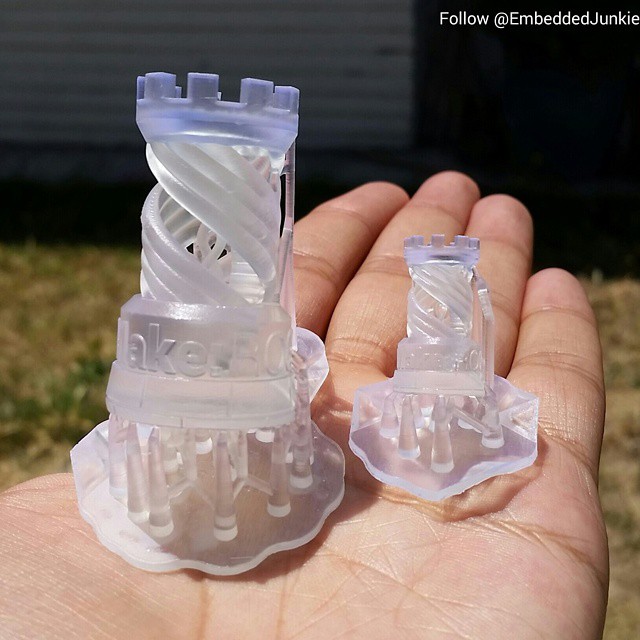
Another project where hydroponic 3D printing came in handy for me was microgreens. I live in a flat and
unfortunately there is not enough space for a proper microgreens setup. Hence I had to find a way
to grow microgreens that includes less space than the common grow boxes.
Ideally I wanted something small I could use to grow them on the window sill. And it was somehow hard to find
anything that fit my needs. Hence I designed a small 3D printable microgreens kit. It contains
everything the professional microgreen grower needs: A bottom tray for the water and a tray for the
substrate and seeds. This is then covered with a popping pressure plate that pushes the seeds down
while germinating as well as a cover box to keep them dark for a bit longer.
Since sowing is not as easy in the smaller dimensions I even added a little something for that: A funnel and a sowing mesh.
This allows you to grow small batches of microgreens for prototyping, if you are usually growing
larger quantities, or for me to harvest the perfect amount for a two person dish, while growing on
my window sill just as I wanted it.
harvest
Furthermore with a 3D printer and an STL file you can make as many as you want and you skip all
of the shipping cost.
Hydroponic 3D Printing, Conclusion:
Let us wrap up everything in three key points:
• 3D printing is great to customize and improve your garden and hydroponics system. The
possibilities are endless and maybe you even come up with a unique idea for a new system.
• There are easy ways to get into hydroponic 3D printing, while not holding you back to take a deep dive
into the topic. While it may look scary in the beginning there are many great resources and
an open community that helps each other a lot.
• Once you have a 3D printer it is hard to imagine how you could live without one. Mine is
running almost everyday and I try to come up with even more ideas to make everyday items
a hydroponics home for my plants.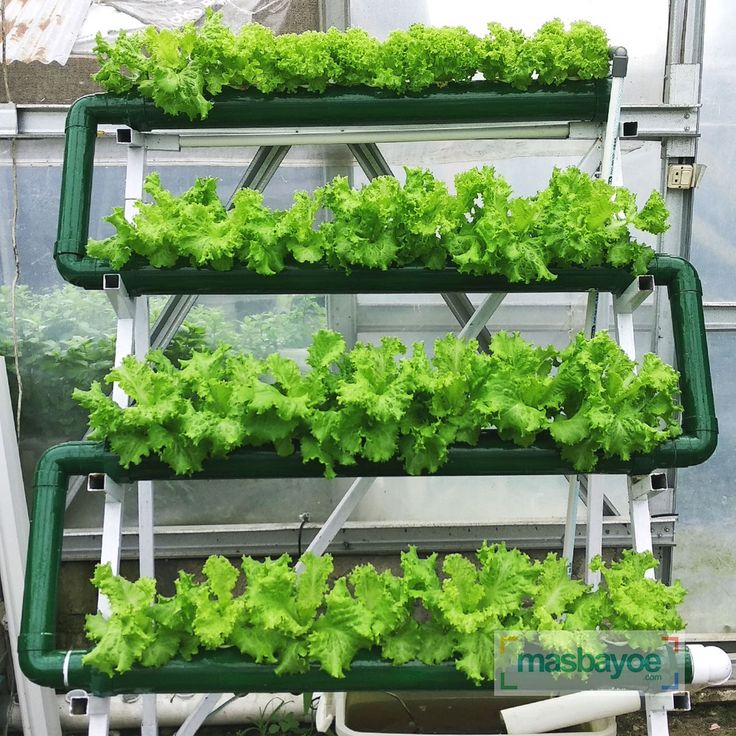
The STL files for all prints in this article can be found here:
https://www.etsy.com/shop/PrintsAndPrintsDE
To see how all of this works in a video, check out my Youtube Channel:
https://www.youtube.com/c/PrintsAndPrints
About the Author:
My name is Christopher and about two years ago I got into 3D printing. I was curious about the
technology and how it would help me improve my everyday life. I was always growing my kitchen
herbs indoors and as I had the printer I was basically only thinking about how I could improve tiny
indoor hydroponics and gardening systems. In my opinion 3D printing is the future of home
production and maybe even the 4th industrial revolution. If you want to get in touch with me just
send me an E-Mail: [email protected] .
3D Printed Cube Garden Hydroponic System
Miscellaneous
Usually, urban agriculture refers to the cultivation of food for consumption not on large farms and fields, but, for example, on a small plot of land in the yard of a house.
 To date, hydroponics methods without the use of soil are also used in this area.
 Hydroponics allows you to replace the soil with water and a set of mineral salt additives, so that plants need less space to grow. It is not just an innovative and high-tech agricultural method - in addition, hydroponics can reduce the risk of pests and increase yields. Until recently, hydroponics required a large financial investment, space, infrastructure and technical skills that amateur gardeners could not afford. With the development of 3D printing technology, significantly cheaper options are becoming available..
3Dponics is a leader in small, affordable kits for home growing vegetables and fruits. Given the possibility of 3D printing in space, astronauts can print all the parts needed for a hydroponic system and expand their space farm without acquiring additional materials from Earth.
The first system introduced by 3Dponics required only a few 3D printed parts, empty two liter bottles and a small water pump.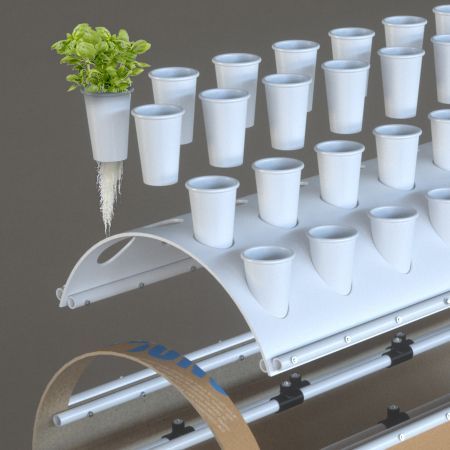 The level system was specially created to be as easy to install and use as possible. Drip hydroponic system.
While this system works, the 3Dponics team doesn't stop there. The company is constantly working on improving the hydroponic installation.
1. 3D muffler
2. Rubber tubes (about 10 m)
3. Four empty plastic bottles (recommended 2 l)
4. 20 zip ties
5. Four 3D printing nozzles 3.6002 9002 Water tank (5 or 8 l)
7. 3D printed channel
8. Air pump
9. growing medium
10. four small plants
11. nutrient solution
12. pH kit
13. pH modifier kit
its installation requires a lot of parts and electricity. Therefore, the company has developed a simplified system without water circulation, which can be used indoors or outdoors.
The new system does not require a pump, has fewer parts, and once installed can run on its own for weeks.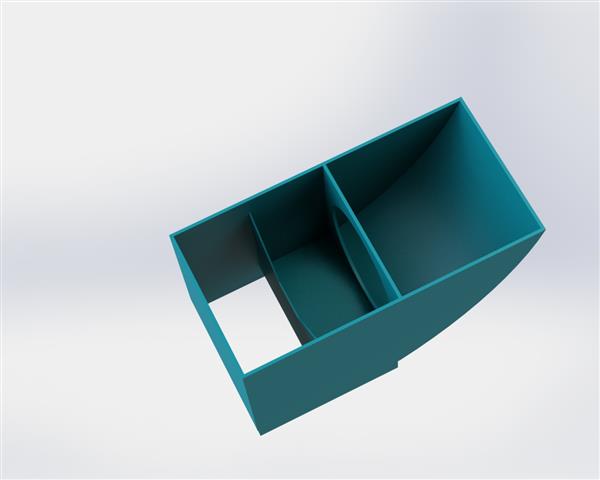
The main advantage of this system is the ability to scale it. The container itself can be any size, depending on the available space, and the 3D-printed parts can easily be reduced or enlarged in a digital model. In addition, there is also a special application with which you can increase, improve or change the system in any way at the discretion of the user.
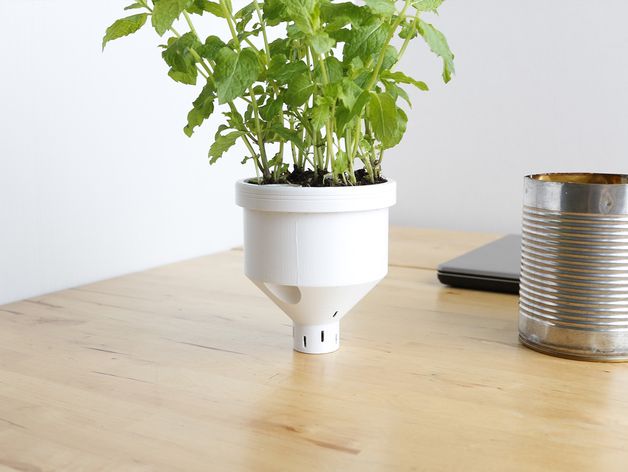
A non-circulating system at first glance seems more like traditional hydroponics than the model originally proposed by 3Dponics. However, the new development eliminates almost all of the complicated or confusing elements that might be too difficult for a novice or someone who just doesn't have the time to keep the system running. As with drip technology, a soda bottle is used here, but in this case, to ensure that water and nutrient solution enter the container. The system prevents over-watering with a simple float device that blocks water from entering when the water level is too high. The plants are simply at the top of the system with their roots lowered into the container. All digital models of parts for 3D printing and instructions for installing and running the system are available on the 3DPonics website.
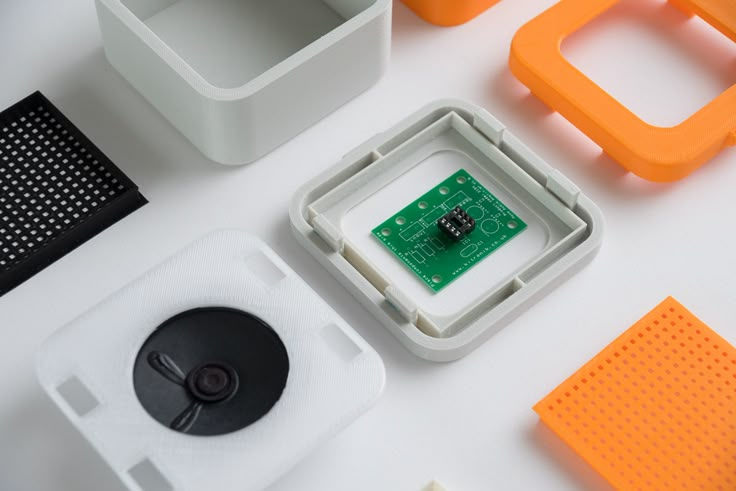
Considering that even such a system may seem too complicated to some, 3DPonics is now developing an even more compact and simple model, which is called 3Dponics Cube Garden. This system consists of just three parts: a 3D printed pot and a lid with a built-in plant basket, and a small aerator you can buy at a hardware store.
Subscribe to the author
Subscribe
Don't want to
27
More interesting articles
ten
Subscribe to the author
Subscribe
Don't want to
So, after reading all sorts of articles and comments to them, you finally made a decision to enter.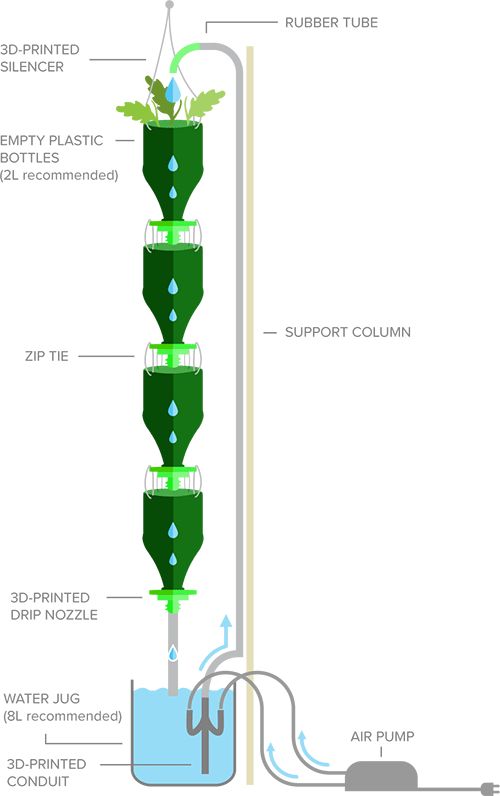 ..
..
Read more
2
Follow author
Follow
Don't want
Yesterday, October 26, 2022, was the first day of the Formlabs User Summit 2022, where Fo...
Read more
185
Follow the author
Follow
Don't want
Now you can quickly view STL files as 'thumbnail' in Windows Explorer when you select...
Read more
3D printed mini farm: grow food made easy
Mike Adams, an inventor from the FoodRising.org team, has developed a 3D printed mini farm kit. The mini-farm project is available for free download and is a compact system for growing food at almost no cost. The design and principle of operation of the mini-farm is fully consistent with the principles of hydroponics with a constant bottom water supply without circulation. This method has been widely used in Taiwan and is taught by Professor Bernard Kratky of the University of Hawaii.
As a health food activist, Mike Adams has tried many different methods of hydro and aquaponics, and as a result of the experiments he has chosen the technique most suitable for mass application. “This method is so cheap that for many years it did not attract attention, because there is practically nothing in it that can be sold,” Adams explains. One part of the system, a self-wetting float valve, can be 3D printed from recycled plastic. The rest of the mini-farm parts and elements can be made from common items that are in any home, such as an eraser, a garden hose, and a drug case.
Mike has prepared easy-to-follow videos that show you how to build your own mini-farm from scraps. In addition, those wishing to grow food at home using such a system can download files for printing the necessary parts on a 3D printer from the FoodRising.org website.
Detailed 3D printing instructions are included with all items, including material feed temperature, printer nozzle size, optimum layer size and print speed.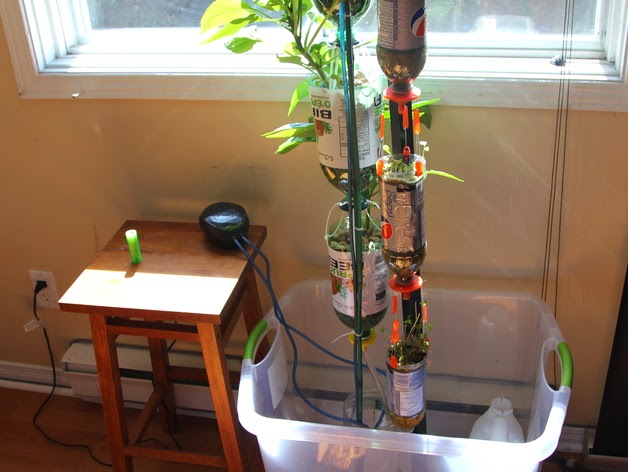 FoodRising recommends using Taulman T-Glase in any color and using Cura to layer the model. The site also contains detailed instructions for assembling the system. If you do not have a 3D printer, you can also order a kit of ready-made parts to create a mini-farm for only 99 dollars.
The proposed mini-farm system has many important advantages. First, they can be reused an unlimited number of times. Secondly, they do not use electromagnetic pulses or electrical circuits in their design, so plants develop naturally, and the level of mutations is minimized. Mini farms are extremely efficient in terms of the area needed for each plant. Moreover, such a system requires only 5% of the volume of water used in traditional agriculture. There is no need to remove weeds, apply pesticides or install special lighting, and you can grow almost any type of plant - fruits, vegetables, herbs, etc. Finally, very tasty and nutritious produce can be produced with a mini-farm, since no-circulation hydroponics ensures maximum mineral density and absorption rates.