Turn 3d printer into cnc
Why 3D printers can’t be CNC mills – Tom's 3D printing guides and reviews
Hey, how’s it going, everyone? Have you ever wondered why 3D printers and actual CNC machines seem to be so similar, but rarely you ever see anyone successfully using a 3D printer as a milling machine and vice-versa? Well, today we’re going to look at why that is and maybe at what a compromise could look like to handle both!
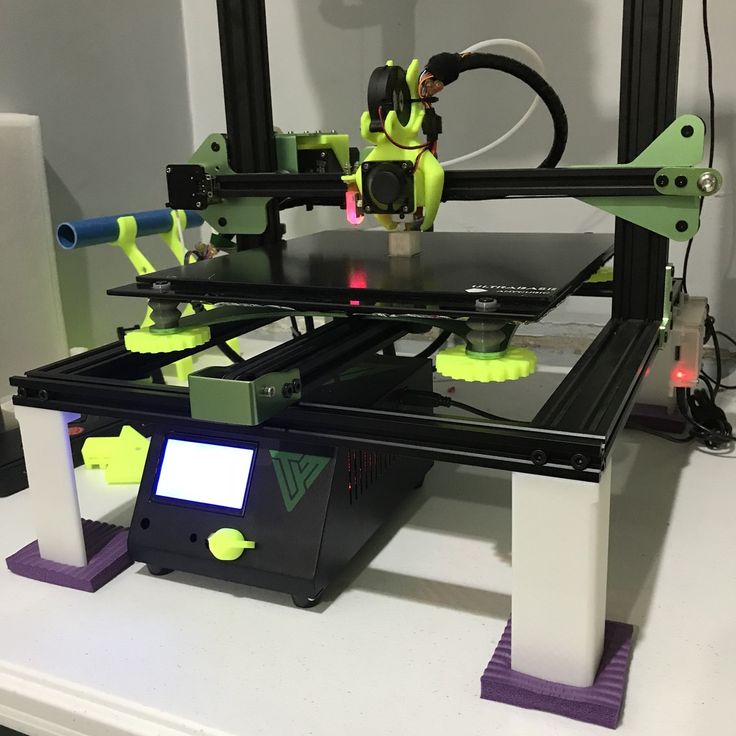
So the three printers, well, the three machines I have here today are the CR-10, a fairly common and actually surprisingly okay 3D printer, my converted MendelMax 3, which used to be an oversized 3D printer and is now a super-light-duty engraver, mill, whatever you want to call it, you can watch the conversion process here, and yes, it’s not perfect by any means, and lastly, the Sienci CNC, which from now on I’m just going to call Bob because I’m sick of every time having to clarify whether I’m talking about the CNC category or the Sienci product (hrmpf, “Slic3r”), ‘scuse me, and this is a light-duty mill.
I know, I’m using the terms “milling machine”, “router” and “engraver” somewhat interchangeably here, at least for these machines, because they are neither, actually. They’re not built like a router, which typically has a moving portal, which is this part right here, and that’s great for cutting sheet goods; they’re also not built like a milling machine, which has a smaller work surface, but much sturdier construction with a rear column and often a moving work surface, which is heavy and slow, but great for machining metals.
Neither Bob nor the MendelMax is either of those, but both of them are built like your typical Mendel-style 3D printer with a fixed portal and a moving bed, the MendelMax has the X-axis mounted on top of the Z-axis, and Bob has the Z-axis on top of the X-axis, but otherwise, their basic kinematics are the same.
Differences between Bob and MendelMax
openbuilds-style V-slotAnd while we’re at it, let’s actually take a look at how these two are built differently.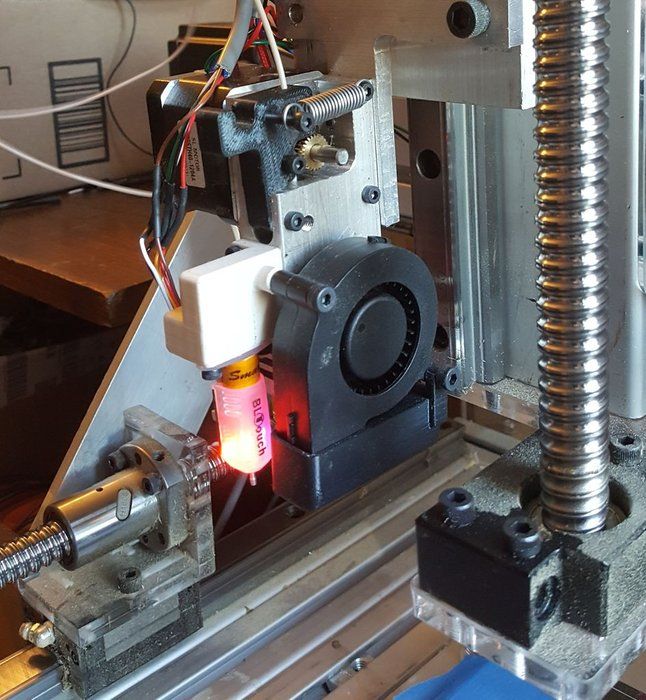 First difference: The frame. Both 3D printers here use machine profiles and both are actually using the openbuilds-style V-slot, which already is a good bit sturdier than your regular 8mm smooth, unsupported round bars, and Bob has these massive aluminum angle profiles with the wheels running on the edges of that.
Proper milling machines would either have linear carriages like these or sliding dovetails, which look like this. And why? Because rigidity. On a 3D printer, there are no forces between the toolhead, that is your hotend, and your workpiece, so the printbed and your print because the hotend is basically just skimming over the part and lays down molten plastic as it goes. On a milling machine, you have the cutting edges of your tool actually digging into the material you’re cutting and that does, in fact, generate quite a significant amount of force.
Use the ForceLet’s see what that force does with these machines: For reference, here’s a Prusa MK2… The CR-10… Mendel Max 3… Bob… and my glorified drill press “milling machine”. That’s quite a difference. The floppier a machine is, the more it is going to deflect when cutting and that means the more likely it is going to start ringing or doing some other weird stuff that is completely inappropriate for milling. What also plays into this is that 3D printers typically use belts, and especially the cheaper belts are often incredibly elastic – which is the same as having a non-rigid frame. Some CNC routers use steel-reinforced belts, but typically you see trapezoid leadscrews or even ballscrews. Simply speaking, these don’t flex at all.
belts flexing
Steel-reinforced belts
And you always have to keep the key difference in mind when looking at 3D printers vs. CNC machines: 3D printing is, by definition, an additive process, meaning you’re adding material to your workpiece as it gets processed; milling, turning, etc, on the other hand removes material as the part gets processed. So with 3D printing, you only put in as much material as the finished piece is going to use, plus supports, brim, priming, whatever, that’s a tiny amount of waste, but with any subtractive process, you actually need a larger blank of solid material that then gets gradually shaved away. So basically, with a milling process, any part is already in here in the blank, it just needs to be freed from all the waste material around it, which, is actually a pretty cute way to think about it. Where does that extra material go? Well, shavings. If you’re machining wood, you’re often also getting a ton of dust, but aluminum shavings aren’t much nicer to deal with, either, because they are sharp, pointy, small, and large in numbers.
It’s one of the things you’re very likely to underestimate if you’ve never used a CNC and are thinking about converting a 3D printer, for example. There’s going to be a lot more of these than you expect and they will get everywhere. Oh, and the noise. It’s pretty intense.
So, let’s actually make something with these machines, shall we?
Make thingsSponsor Message
And while that’s printing and milling, let’s talk about today’s sponsor, Skillshare! Skillshare is an online learning community and right now, they’re offering over 19. 000 classes for you to learn more about the things you enjoy. Daniel has been using Skillshare to get up to speed with videography and editing and I’ve been taking classes on how to be a better boss for him. One of the classes we’ve both taken is “DIY cinematography” by Ryan Booth, and it’s a great, compact course on the basics of lighting, camera angles and motion in any video or film,and that will help us out make better YouTube videos, but if you’re not into videography, Skillshare also has courses on 3D modelling, for example with Fusion 360, or basically any other topic you want to learn about just for yourself or even for turning your hobby into a full-time job!
Once signed up, you can watch as many courses as you want, and while premium memberships are usually around $10 per month, the first 150 people that sign up with this link will get 2 months for just 99$ct. These spots do go quickly, so make sure you don’t miss out. Thanks Skillshare!
We made something
CNC vs 3DPrintedSo in this case, the milling job was already a bit faster than the 3D print, and this just gets amplified the larger a job is.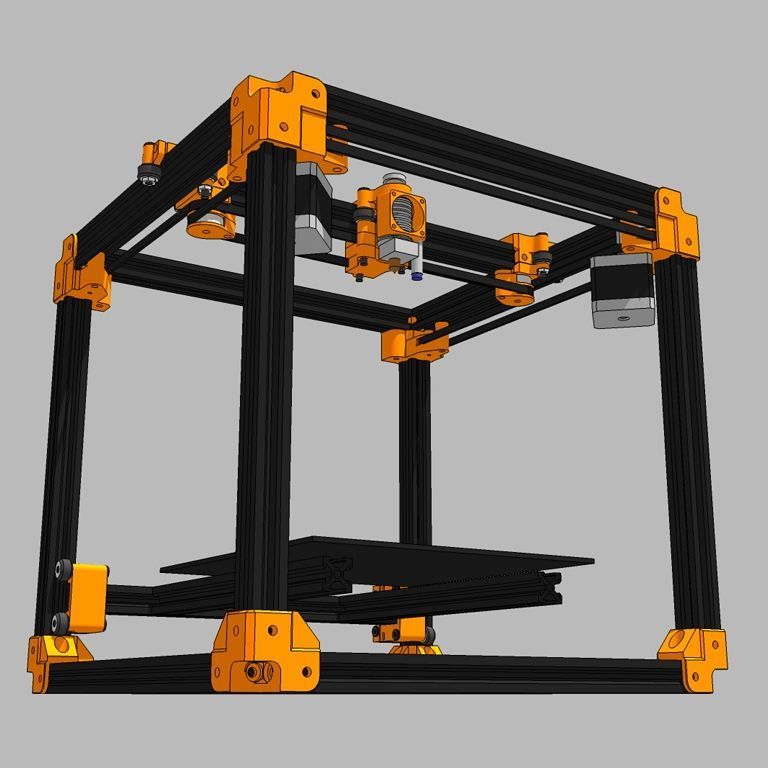 If it’s really intricate parts, a 3D printer does have the upper hand as complexity doesn’t nearly “cost” as much as with a subtractive process, but because a 3D printer will need to lay down every bit of material instead of just not shaving it away, it’s not quite as scalable as a milling process.
Now, a 3D printer, at this point in time, is pretty much always built in the same, very simple sequence: The machine starts at the bottom, works its way up vertically and once it reaches the tallest spot of the part you want to make, it’s done!
Single headWith a CNC, it’s not always that simple. What you often see with these smaller machines is just a single tool being used for the entire job – often that’s an ⅛” square endmill – but on nicer machines, you have all sorts of tools from a cutter head over roughing endmills to finishing endmills, chamfering tools, taps, drills, reamers etc. In which order those tools are used and for what areas is really up to the user, so the process of preparing a file for machining is typically much less automated than the process of preparing a 3D model for 3D printing – which just uses a single nozzle size for the entire print, typically.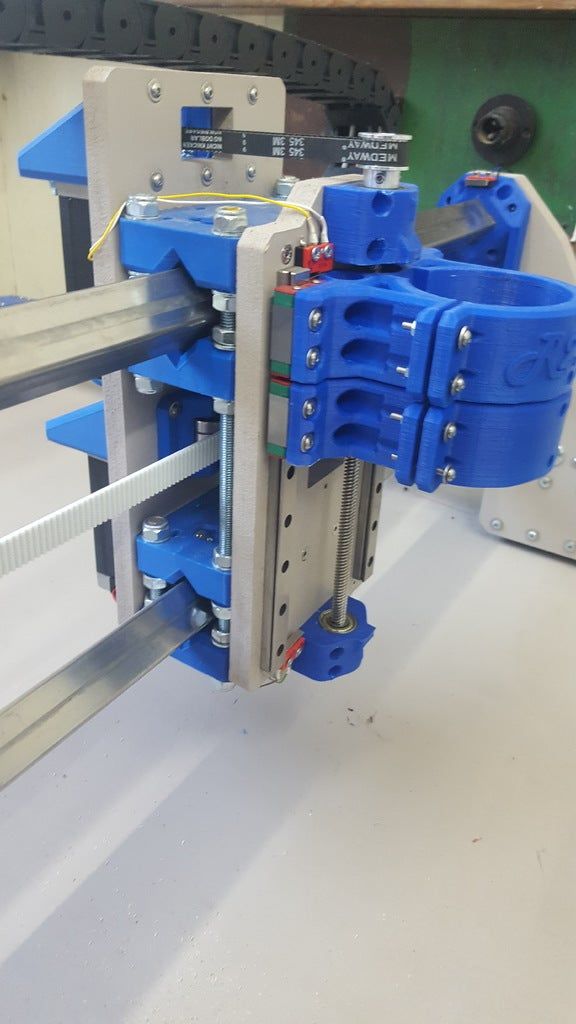 In both cases, how the input file is processed has a huge impact over how the finished part is going to turn out, but with CNC’ing, there’s no simple one-size-fits-all-solution.
3D printers in general are quite the rigid concept – it’s three movement axes, X, Y, Z, plus an arbitrary amount of extruders that basically work as extra linear axes along the length of the filament. On a CNC machine, you usually also have X, Y and Z that position the tool relative to the workpiece, but you might also have, for example, a B and C rotational axis that rotates the tool or workpiece about the Y or Z axis in a four- or five-axis machine. But let’s not forget there’s not just mills, there’s a CNC lathes, combination machines and completely different types as well.
multi axis cncOther “details” are actually surprisingly similar between 3D printers and other CNC machines, like the part cooling fan control on a 3D printer and a coolant pump on a CNC, temperature control of a hotend and RPM control on a spindle, etc, etc, so it’s no surprise that DIY CNC routers are increasingly using electronics, firmware and just general components that might not be directly 3D-printer specific, but at least based on the developments from 3D printing. Like with Bob, all the electronics are based on 3D printing boards, the motors are standard NEMA17, the computer interface is the same software serial port – it’s basically a beefed-up 3D printer.
But let’s not forget that 3D printers originally did originate from the larger CNC machines. Things like G-code are directly carried over that, and many of the early 3D printing developments were built to suit both CNC applications and 3D printing – think firmware and even the back-then slicer, Skeinforge. What also carried over is that these machines are maybe not dumb, but at least blind. If a cutting tool breaks, the workpiece dislodges or anything else happens, the machines are often not going to notice it and will just keep going. That is just now getting better for both 3D printers and mills, and bigger CNC machines are using things like load monitoring, the same thing the Trinamic drivers are doing on 3D printers, as well as Servo motors that have a feedback loop etc.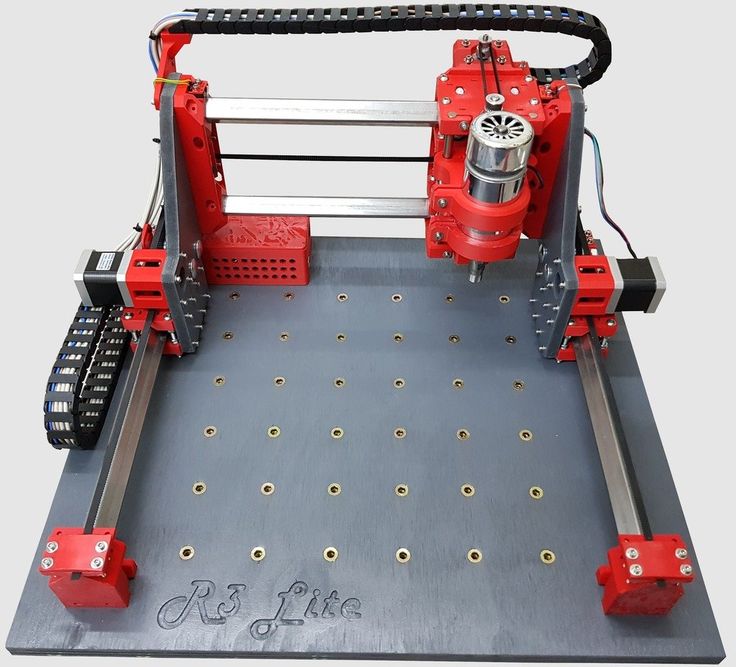
So yes, 3D printers and CNC milling machines are actually quite similar and knowing one of them well will help you get a head start with the other. But the differences in machine construction, especially when it comes to rigidity and top speed, don’t really make combination machines all too viable, at least for “real” applications. Maybe with a somewhat rigid frame and high-pitch leadscrews, you could build something that does both, but it would neither be a great 3D printer nor a great CNC mill.
Wrap Up
Ok, so with that, I think we’re set for trying some more CNC machines! I hope this video clarified some of the differences for you, if it did, give it a thumbs up, get subscribed if you want to see more like it and… and do hit that bell to get notifications when new content goes live. Also check out the affiliate links below where you can get the products we used in this video – like the CR-10! And that’s it for today, thanks for watching and I’ll see you in the next one!
The three CNC/printers shown:
Sienci Mill One
Converted Mendel Max
CR-10
How to Turn a 3d Printer into a CNC Machine — Nikko Industries
No doubt a 3D printer is a really cool tool to have in the 21st century.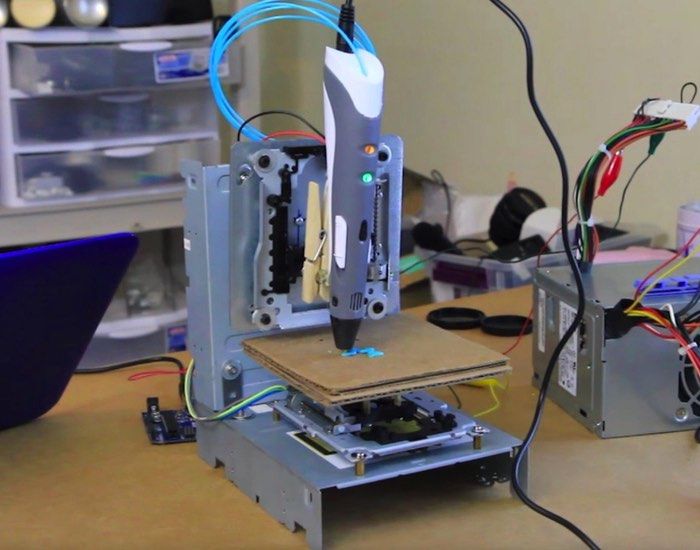 You could make all sorts of stuff with it; from action figures to PCBs, toys, and even spoons. With a 3D printer, you could make almost anything, you’re only limited by your imagination. But what if we could do more with our 3D printer, what if we could convert it into something else, say a CNC machine? Is that possible? Emphatically yes!
Well then, what is a CNC machine? CNC machines are making parts all over the planet for pretty much every industry. They are machining tools used to make things out of plastics, metals, aluminum, wood, and numerous other hard materials. The term "CNC" means Computer Numerical Control, although, today everybody calls it CNC.
Things being what they are, how would you characterize a CNC machine? All mechanized movement control machines have three essential parts -- an order work, a drive/movement framework, and a criticism framework.
CNC machining is the most common way of utilizing a PC-driven machine to create a section out of strong material in an alternate shape.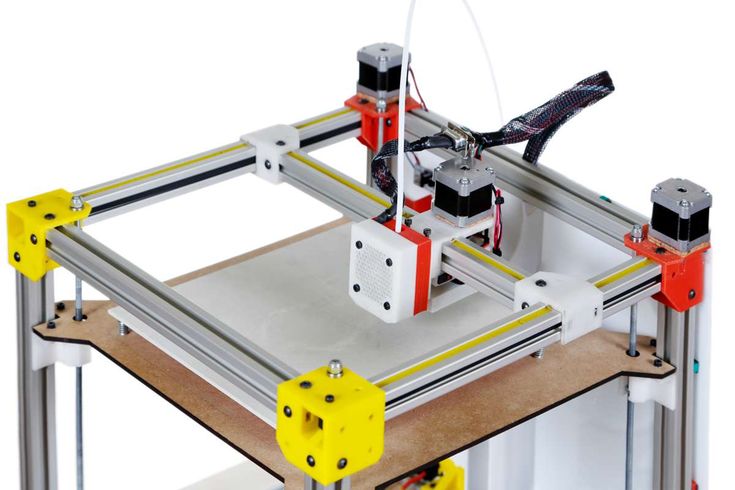 So, let’s delve into the principle of how we can convert our 3D printer into such a machine.
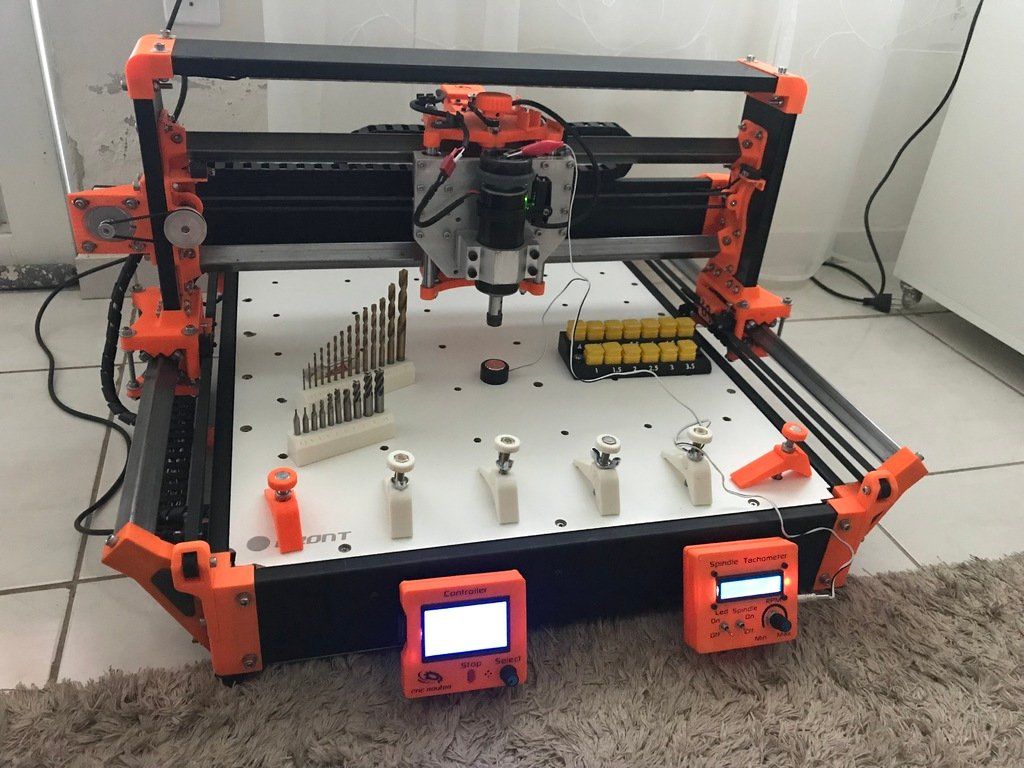
How to turn a 3D Printer to CNC Machine
CNC machines are engraving tools used to engrave or make cut patterns on the surfaces of large blocks of materials. CNC machining can be used to produce parts that are strong and have precise dimensions. It is generally accepted as being the best for the manufacture of parts for airplanes and cars machinery, and some other fields where robust parts are needed.
A 3D printer is basically the same as a CNC machine, both electronically and mechanically. They move a tool around in three dimensions but reducing this to practice however causes some issues. A CNC tool typically weighs more than a HotEnd 3D printer and cutting into solid material generates a lot of torque. The two machines run G-code and move in three axes involving stepper motors- or engines with encoders on account of "genuine" CNC mills. The main significant contrasts are the force of the engines and the underlying inflexibility of the casings.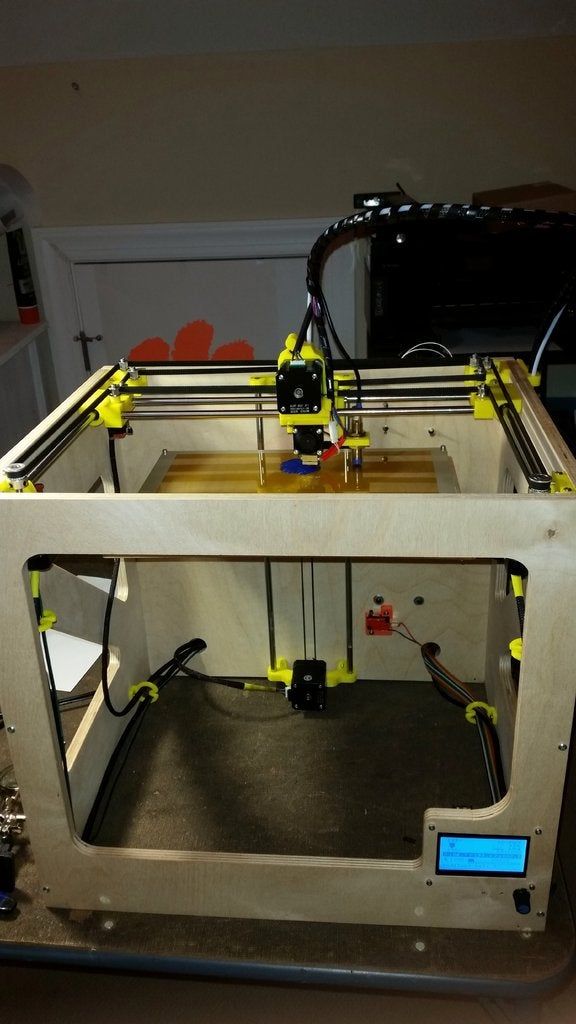 However, for light-obligation etching in delicate materials, a 3D printer ought to be adequate.
You will require these parts;
- A DC brush motor (preferably 12volts)
- PVM DC motor controller
- Chuck and
- An engraving tool (Spindle)
- Spindle Mount
It’s necessary to use a DC brush motor because it is relatively easy to control the speed, you only have to control the voltage to control the common speed. It is not limited by frequency or power so it can be made into a high-speed motor. The CNC uses a very high-speed motor for its cutting action so the DC brush motor is very effective.
PVM DC motor controller will be used to control the speed of the DC brush motor and can be attached to the frame of the 3D printer. The chuck which will be used to hold the spindle is mounted on the motor. A four-jaw chuck is most preferred to a three-jaw chuck.
The extruder has to be removed from the printer as well as all the associated wiring like the heater cables and temperate probes which will make things a bit easier to deal with.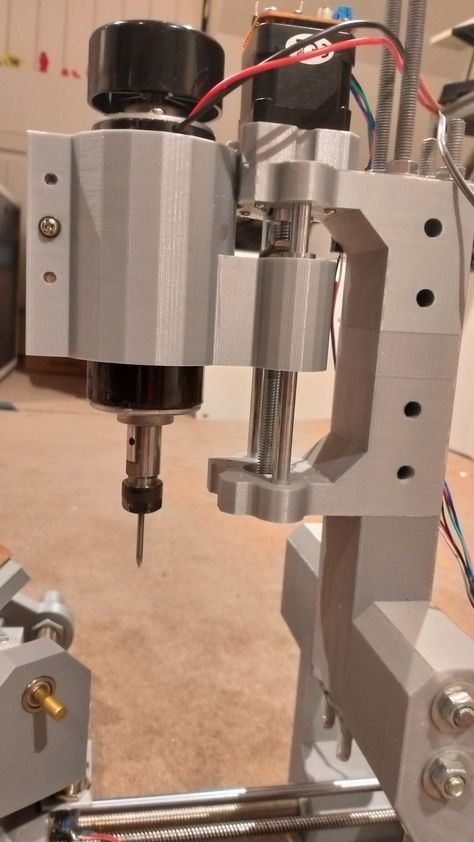 Then in place of the extruder, you’ll need to put the appropriate spindle mount to hold the spindle firmly to the printer.
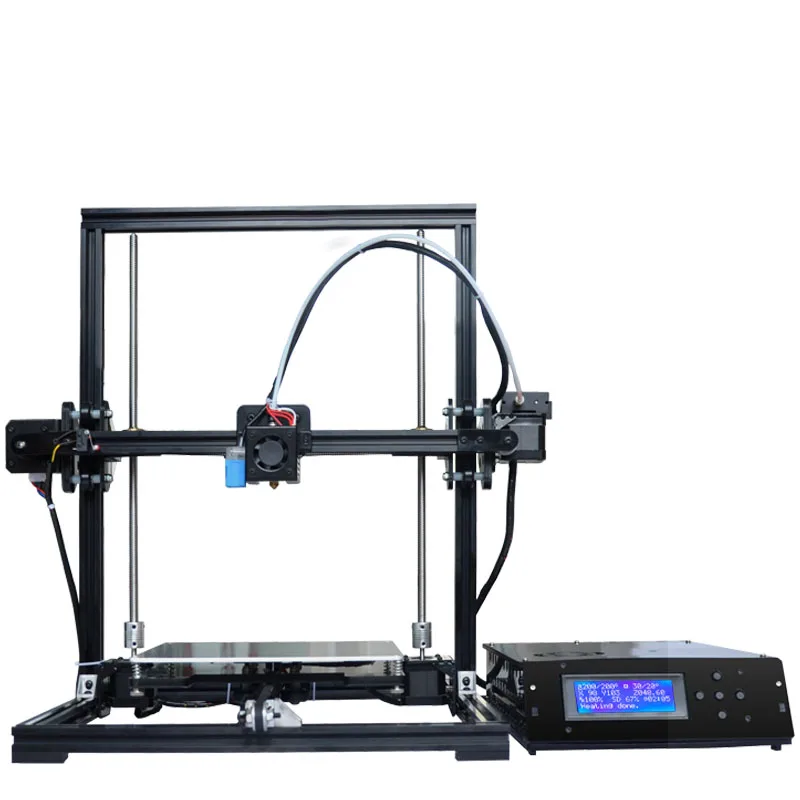
Next, you’ll have to change the print bed. The print bed holds the printed piece for a 3D printer but the material used to manufacture it is not sturdy enough if you’re going to place objects to be machined on it. Basically, a CNC is a machining tool so you’re not going to be needing the filament spool or the hot end of your 3D printer, those parts are to be taken out too.
Mount the DC brush motor on the spindle mount and attach the spindle to the chuck which will then be attached to the motor. The chuck ensures the spindle is firmly held. You will of course have to make proper connections between the motor and the PVC DC controller.
The next thing to do will be to remove all the internal wires that are not needed for the operation of the CNC machine. Of course, this will vary for different types of printers but it will ensure that the printer functions as a CNC machine without any errors.
After all these parts have been removed and the basic necessary parts for a CNC added to the printer, the X and Y motor axes of the printer are disabled because the CNC machine will only be working with the Z-axis of the 3D printer.
With the hardware part of your 3D printer ready, the next thing to consider is the G Code that will make your printer function as a CNC machining device. The G code for any work you’ll be doing for a converted 3D printer to CNC machine will only need to have depth so the width and height parameters will not exist.
The 3D printer and the CNC milling machine both use G code. Although some 3D printers do not have support for G code, if yours is one of them, you will have to find another suitable way to pass commands to make it function as a CNC machine. One way of doing this is to download and use a conversion tool to convert from .stl to G code file format.
The resulting device can be used to cut acrylic, wood, and even aluminum. The results will be good although not perfect. Another option will be to mount a laser (which doesn’t have torque problems) instead of a motor as lasers are a much better cutting tool than rotating spindles. This will of course have safety issues but that will be another hurdle to clear.
3D Printer or CNC Machine, Which Is Better?
The major difference between a 3D printer and a CNC machine is that 3D printing is a kind of additive manufacturing process while CNC is a subtractive manufacturing process. This implies that CNC machines start with a block of material called a blank and machines away parts of the material to produce the finished product whilst the 3D printer manufactures products by creating parts layer by layer using materials like plastic filaments or resins.
Both 3D printing and CNC machining are viable with a wide assortment of materials, including plastics and metals. 3D printing anyway is more centered around plastics, by and large, however, this is changing quickly as better and more reasonable methods of 3D printing metal are being created
Here are a few differences between 3D printing and CNC milling;
- CNC milling creates a lot of waste.
 3D printing does not.
 - 3D printers are better at creating more customized, unique products.
- With CNC milling, you can make a broad range of sizes — from tiny, delicate parts to car parts.
- Although they are slower at producing a component, 3D printers are flexible and can easily switch between jobs.
- CNC fits with large-scale manufacturing, so it can deliver a lot of higher results at a time.
- CNC machines can consistently produce a product the same way each time.
Can You Convert a CNC Machine into a 3D Printer?
While the reverse is relatively easy, converting a CNC machine to a 3D printer is a very big deal and extremely complex. CNC machines come with parts that are much faster than those of a 3D printer, trying to convert a CNC machine to one will cause several problems including accuracy issues. It is not advisable that you try to convert a CNC machine to a 3D printer, although you could use the parts of a CNC machine to replace some parts of a 3D printer.
The CNC machine is usually bigger in size as compared to the 3D printer, so the Z-axis is very large. It takes a long time to 3D print objects of relatively small sizes, so with the larger size of the CNC tool, if it is converted to a 3D printer, what you’ll have is a really big 3D printer that cannot be used to manufacture large objects because it is going to take an almost infinitesimal amount of time.
For this reason, it is not a very good practice to convert your CNC machine into a 3D printer.
Conclusion
There are some basic similarities between the 3D printer and a CNC machine like the fact that they both make 3D products from 3D models by following instructions from a computer, this makes converting your 3D printer to a CNC machine relatively easy. Although a 3D printer cannot be a substitute for the CNC machine, it nonetheless makes itself useful as a cheap and quick substitute for a CNC and it is also a good DIY project if you’re looking to get your hands dirty.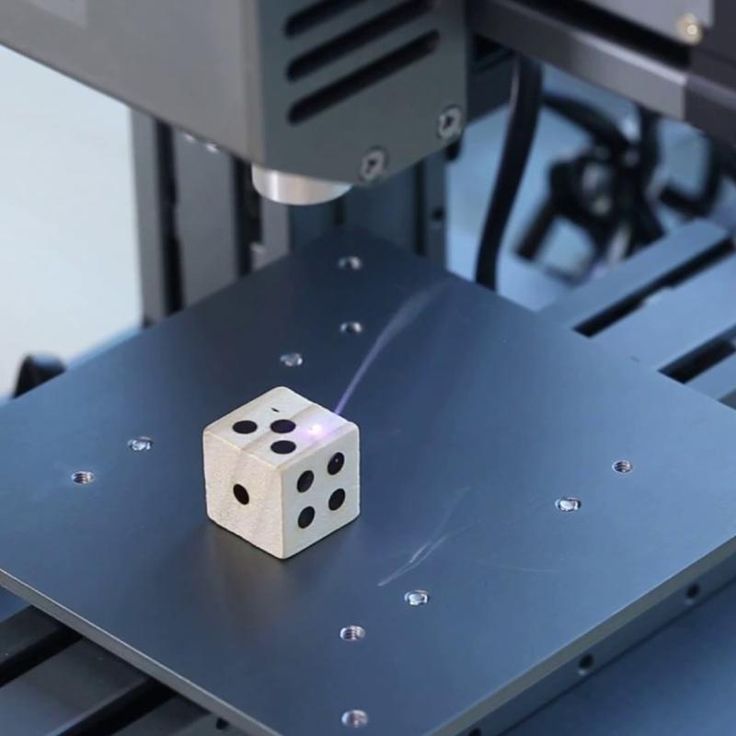
How to convert a CNC machine into a 3D printer?
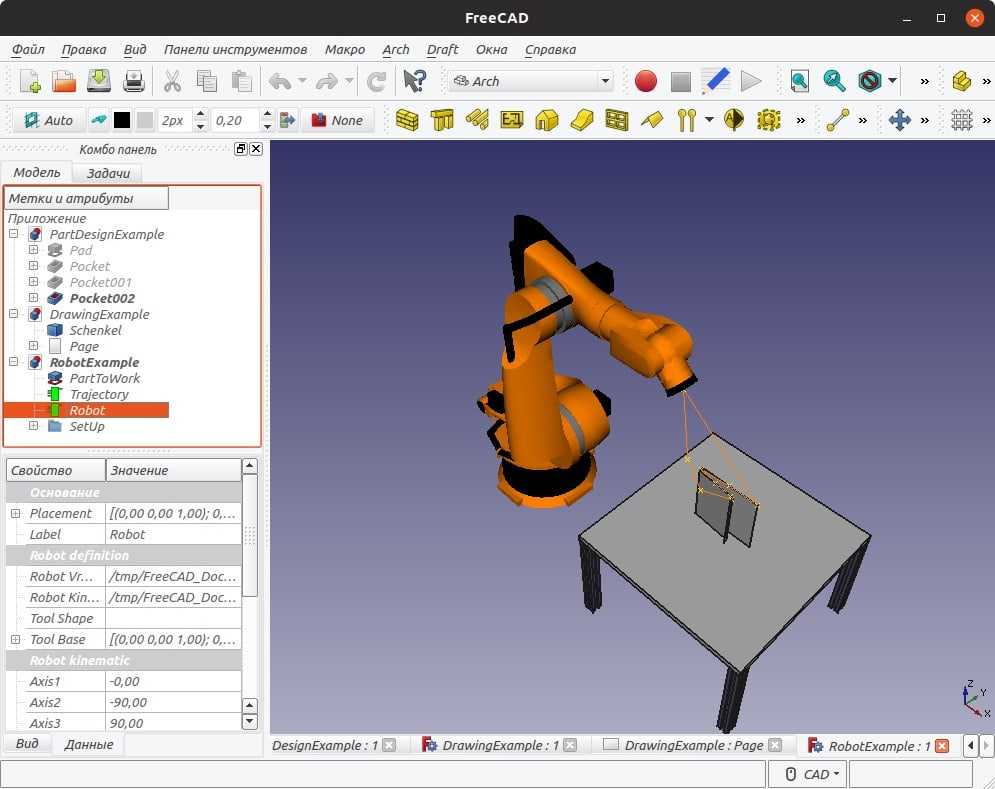
Before you start converting the CNC machine into a 3D printer, you first need to stock up on the necessary tools and materials. This is the most important and preparatory stage, where you can buy cheap used devices at a lower price. When planning to turn a CNC machine into a 3D printer, anyone can significantly expand the functionality of the equipment. In order to manage the transformed machine-printer in the future, it is recommended to use the Mach4 program. To print in 3D, you need to create a file in STL resolution. It is supported by most 3D printers. If you need to convert the file format, then you can use one of the following programs: Soildworks, google Sketchup and other programs.
To print in 3D format on a desktop CNC machine, it is recommended to use a 3D printer extruder. The temperature sensor must first be replaced with a 3K thermocouple.
What to do
There is a myth that it is almost impossible to convert a CNC machine into a 3D printer without professional technical knowledge. However, if you use the ready-made instructions, select the necessary materials and tools, then everyone will be able to cope with the task.
To obtain a proper result, the following procedure is recommended:
• Remove the spindle holder. In the holes that have become free, it is necessary to fix the adapter-corner. It is necessary in order to install and fix the print head of the 3D printer;
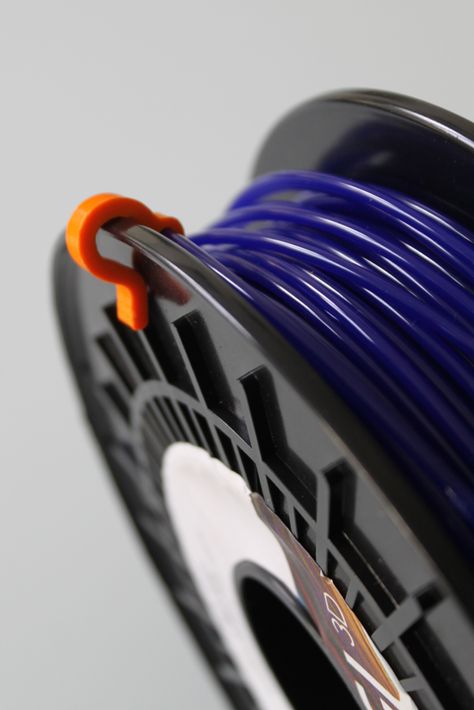
• To fix the filament spool for 3D printing, you need to assemble a stand made of aluminum profile. It is a resistant metal that is tolerated by almost any mechanical impact;
• on an existing CNC machine, you need to fix a special stand with a spool and thread for 3D printing;
• install additional software;
• download the Mach4 program from the official website of the developer. It is worth noting that the program does not require heavy-duty hardware for normal operation. The package contains Skeinforge software, which enables the normal conversion of 3d files to G-code;
• In addition, you need to install the Russian-language interface.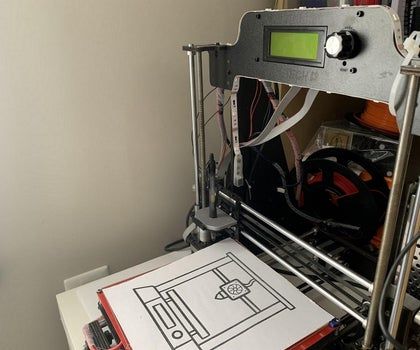 In this case, management becomes much easier;
• Mach4mill must be selected to run the Mach4 program. After the download comes to an end, you need to go to the menu and find "Wizards" select "Pick Wizard";
• double click on the button and select "Open STL File"print addon"";
• click on the file and find Open in English. It is necessary to wait until the program completes the creation of the 3D file, then the settings with printing in 3D format should open;
• Next, you need to return to the Mach4 window, you must click on the Post Gcode to Mach4 button. The resulting code is easy to save.
After you manage to bring the print head to the starting print location, you need to erase or reset the coordinates of the tools.
Printing is started by simultaneously holding the combination ALT + R.
What materials can I buy
To make your own 3D printer, you can alternatively purchase the following devices and materials:
• Arduino Mega 2560.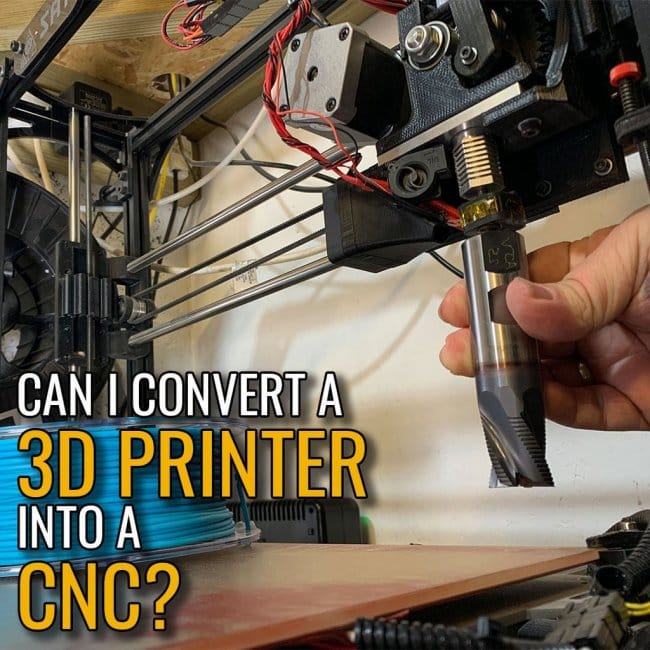 This is the main element that will be responsible for the future control of the printer in 3D format. Can be purchased from the Chinese store Aliexpress;
• if you plan to buy the brain offered above, then Mosfet transistors with any other powerful devices are best suited;
• foil fiberglass;
• M6 threaded stud in the amount of 3 pcs. Each is one meter long;
• guides for X, Y, Z axes. In order not to spend extra money, it is enough to use old printers. However, most often there are differences in diameters. Therefore, the bushings will have to be made independently.
You can also borrow stepper motors from an ordinary dot matrix printer. It is necessary to prepare at least 5 pcs. To make a CNC printer, it is not necessary to spend a lot of money to purchase important technical items.
You can choose from our catalog
Wedding Rings 800
More info
Quick view
Add to favorites
Wedding Rings 737
More info
Quick view
Add to favorites
Wedding Rings 1325
More info
Quick view
Add to favorites
Wedding Rings 172
More info
Quick view
Add to favorites
Wedding Rings 221
More info
Quick view
Add to favorites
Wedding Rings 770
More info
Quick view
Add to favorites
Wedding Rings 796
More info
Quick view
Add to favorites
Wedding Rings 101
More info
Quick view
Add to favorites
Wedding Rings 97
More info
Quick view
Add to favorites
Wedding Rings 115
More info
Quick view
Add to favorites
Wedding Rings 1827
More info
Quick view
Add to favorites
Wedding Rings 1076
More info
Quick view
Add to favorites
3D printer from desktop CNC milling machine
- home
- Articles
- It is interesting
- Articles
- It is interesting
- 3D printer from a desktop CNC milling machine
Installing a 3D printer print head on a desktop CNC, expands the possibilities of using a milling machine. Process control is also possible using the MACh4 program, widely known in the CNC environment. 3D printing requires an STL file, which is supported by all 3D printer software. To convert to STL, you can use Soildworks, google Sketchup and other programs.
For 3D printing on a desktop CNC machine, we use a 3D printer extruder, having previously replaced the temperature sensor with a K-type thermocouple, or purchase it in our store
1. Remove the spindle mount and fix the adapter bracket for installing the 3D printer head into the existing holes
with a spool of filament for 3D printing on a desktop CNC machine
4. Installation of additional software.
4.1 From http://cnc2printer3d.wordpress.com/software/ download Mach4 Addon conversion version 1.2, file setup1.2.exe.
Mach4 Addon installation package contains Skeinforge software, needed to be able to convert 3D files to G-code.
4.2 Download and install python language support https://www.python.org/download/
4.3 Run Mach4, select Mach4mill as usual. After launching the program, select “Pick Wizard” from the “Wizards” menu.