Uncc 3d printing
3D Printing | J. Murrey Atkins Library
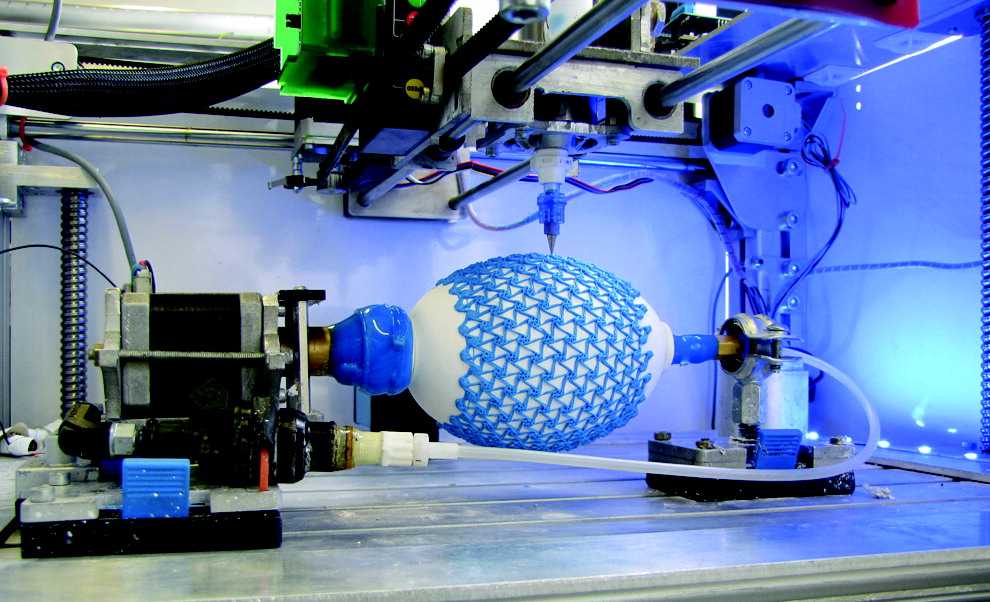
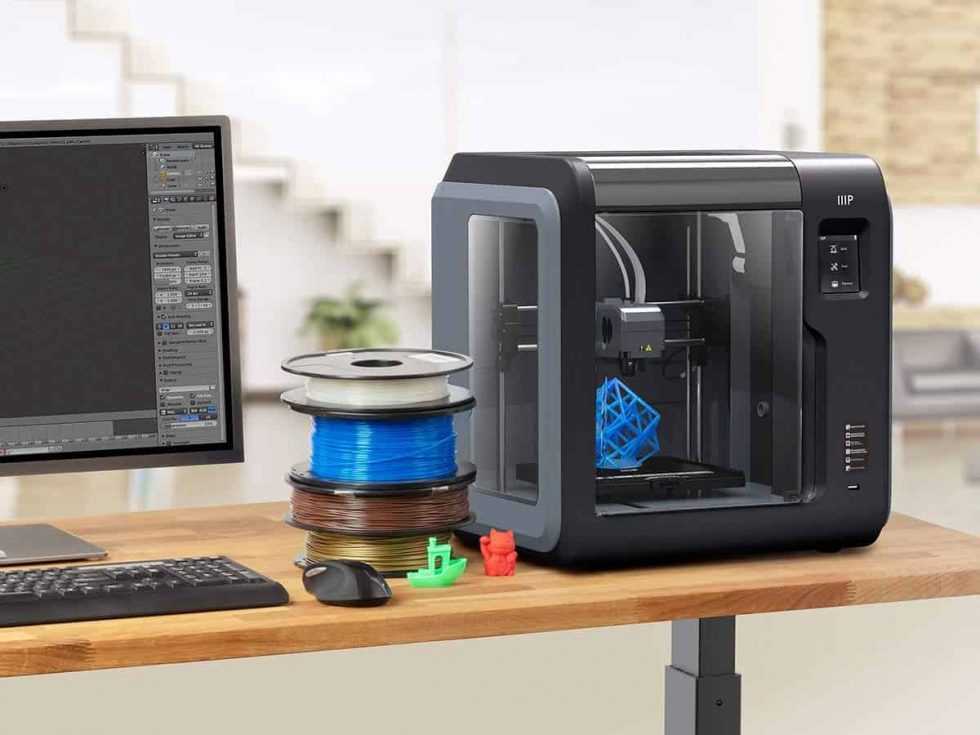
3D printers use digital models to create three-dimensional objects by depositing plastic filament (PLA) one layer at a time in a process called fused deposition modeling.
Atkins Library's 3D printers are currently managed by the Technology Support Desk located on the second floor. Please review the 3D Printing Policy before submitting a request for 3D prints. All requests should be submitted through the form below.
The last day for 3D print requests in 2019 is Sunday, December 15th.
We will resume taking requests in early January 2020.
3D Print Request Form
Visit the 3D Printing page of our Area 49 LibGuide for more information on using the machines.
Design 3D objects for classes, experiment with personal projects, or enhance classroom delivery through this innovative printing service!
| Lulzbot Taz 6 Build Volume: 11 in x 11 in x 9. | JellyBox Build Volume: 6.7 in x 6.3 in x 5.7 in |
The cost for 3D printing is based on the cost of filament, time, labor, utilities and maintenance. The cost per object is $0.25 per gram, with a minimum cost of $1.00 for each 3D print. All print requests will receive a cost estimate prior to printing. We will wait for your response to the estimate before beginning printing.
We are not accepting filament provided by patrons at this time, but we do have a variety of colors to choose from. The following filament colors are available.
|
|
|
The 3D printing request service is available to UNC Charlotte students, faculty, and staff for academic use only.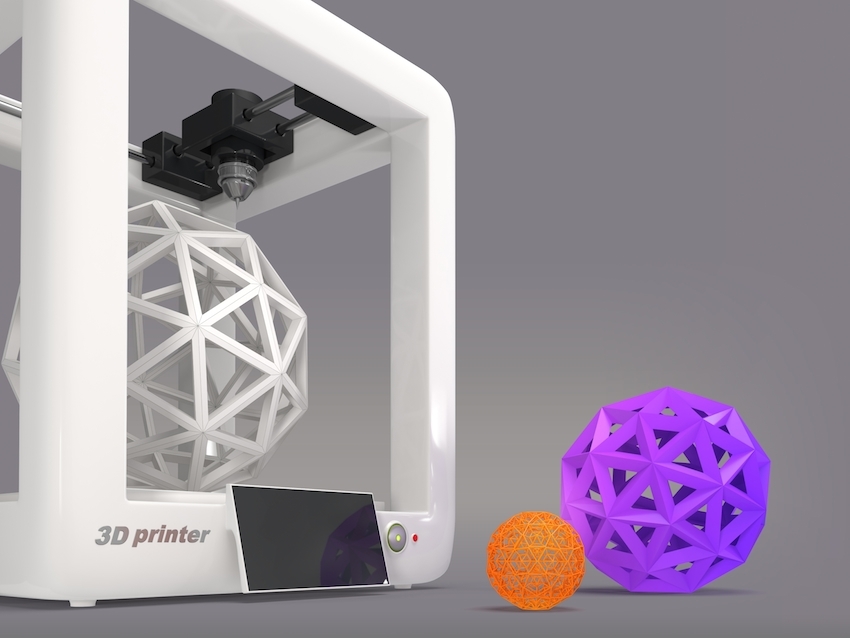 The use of our services for commercial purposes is prohibited. Those who request this service must do so in compliance with all of the laws, regulations, and policies set forth by UNC Charlotte and J. Murrey Atkins Library.
Consultation
For questions about the 3D printing policy and procedures or to schedule a consultation, contact Technology Support Services. Consultations are recommended for faculty who are interested in implementing 3D prints in their curriculum. Please email Technology Support Services.
Print Requests
All print requests need to be made through the 3D Print Request Form. Requests are processed in the order received.
Once your digital print file is received, library staff will determine which printer is best suited for your project.
You may choose up to five copies of the same file per request form. Copies will be identical in size, color, scale, and any other design specification defined by your digital model.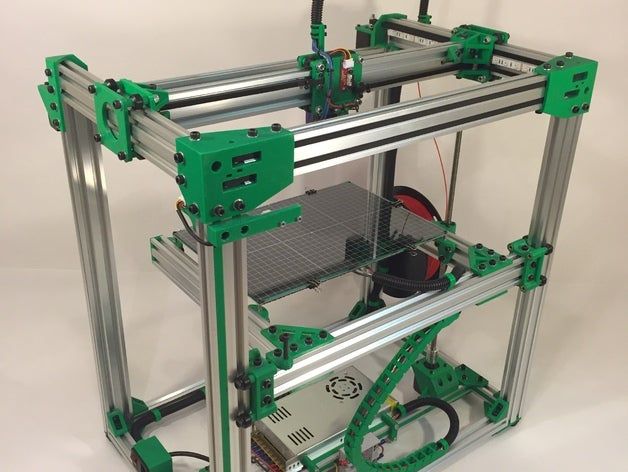 If you choose to have multiple copies made, you must allow additional time for each copy. For more than five copies of the same file, fill out an additional request form.
Library staff reserves the right to decline a print request for reasons that include, but not limited to, incompatible file format, corrupt file, or oversized file or print.
Acceptable Formats
All print requests must include a digital model file. The following are the only acceptable formats for print requests:
- .STL
- .OBJ
If you are unsure about the format of your digital file or its compatibility with our 3D printers, consult with the Technology Support Desk before submitting a request. If your file is corrupt, too large, or otherwise unprintable, library staff will not be able to complete the print request.
User Rights and Limitations
J. Murrey Atkins Library stands behind and supports intellectual freedom and creative expression.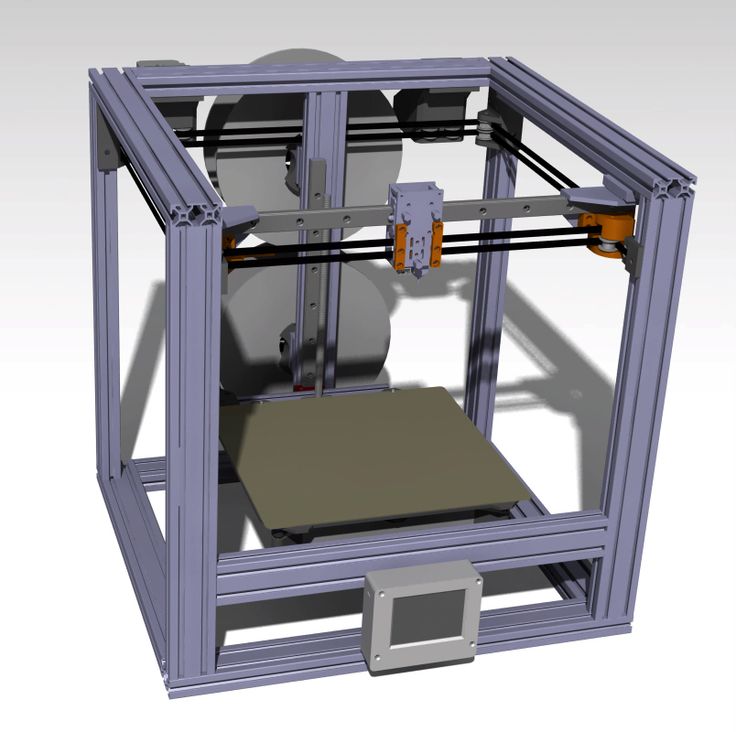 However, the use and/or request of the 3D printer must be for lawful purposes only. The Library’s user behavior and acceptable use policies apply to all uses of the 3D printer and 3D prints. The Library prohibits any use of the 3D printer for illegal purposes, including the creation of items that are prohibited by local, state, or federal law, or by any UNC Charlotte policy. In particular, the Library prohibits use of the 3D printers to create weapons, facsimiles or replicas of weapons, parts of weapons, ammunition, or any other objects that could endanger, intimidate, or cause injury to another person. The Library reserves the right to decline any print request for any reason.
Copyright
Print requests must comply with the Copyright Policy maintained by the J. Murrey Atkins Library and UNC Charlotte. This policy outlines the unlawful, restricted, and unfair use of copyrighted materials and any use that violates intellectual property rights.
Materials
Our 3D printers use PLA (polylactic acid) filament to create 3D models. You may choose from the Library’s supply of filament; we are unable to accept filament provided by patrons at this time.
We currently offer 11 different filament color options. We will attempt to maintain a consistent variety of colors available for prints; however, color options cannot be guaranteed.
Cost
The cost of 3D printing is based on the size and amount of filament needed to print an object. Charges also factor in cost of supplies, time, labor, and maintenance. The cost for a 3D print is $0.25 per gram.* There is a minimum cost of $1.00. Rates may change without notice.
A free cost estimate is provided upon receipt of your request. You are responsible for full payment of your object. Payment is due at the time of pickup. Acceptable forms of payment include:
- Cash
- Credit
*Rates are subject to change without notice.
Print Quality and Reprints
Library staff will take measures to ensure that the 3D printer performs to the specifications of the file submitted. The quality of a printed object may depend on the type of digital model and/or file you choose. When using community-shared repositories, like Thingiverse, quality of digital model/file cannot be guaranteed.
In instances where the 3D print fails as a result of printer failure, library staff will reprint the object at no extra cost. However, dissatisfaction with design, size, color, quality, and/or other factors beyond the control of library staff will not qualify for a cost-free reprint.
Please be aware of the capabilities of our 3D printers to ensure the success of your project.
Print Pickup
You will receive an email once your 3D print is ready for pickup. 3D prints must be paid for and picked up at the Circulation Desk within 7 days of notification, after which the Library no longer assumes responsibility for your print. Failure to pick up your print within 7 days will result in the cost being charged to your account as a library fine.
You must present your ID in order to pick up your 3D print. Only the person that initiated the print request (via print request form) may pay for and pick up a 3D print.
3D Printing - Area 49
3D Printer Info
LulzBot Taz WorkhorsePrint Bed Volume:
- X axis: 11.02 inches
- Y axis: 11.02 inches
- Z axis: 11.22 inches
Filament size: 2.85 mm
Lanyard Color: green
LulzBot Taz Pro Dual ExtruderPrint Bed Volume:
- X axis: 11.02 inches
- Y axis: 11.02 inches
- Z axis: 11.22 inches
Filament size: 2.85 mm
Lanyard Color: green
LulzBot Taz Pro SPrint Bed Volume:
- X axis: 11.02 inches
- Y axis: 11.02 inches
- Z axis: 11.22 inches
Filament size: 1.75 mm
Lanyard Color: green
Location: Makerspace
Use options: Training or Request a print!
Cost: $0.25/gram, $1 minimum
Safety Data Sheets for filament
General
3D printers use digital models to create three-dimensional objects by depositing plastic filament (PLA) one layer at a time in a process called fused deposition modeling.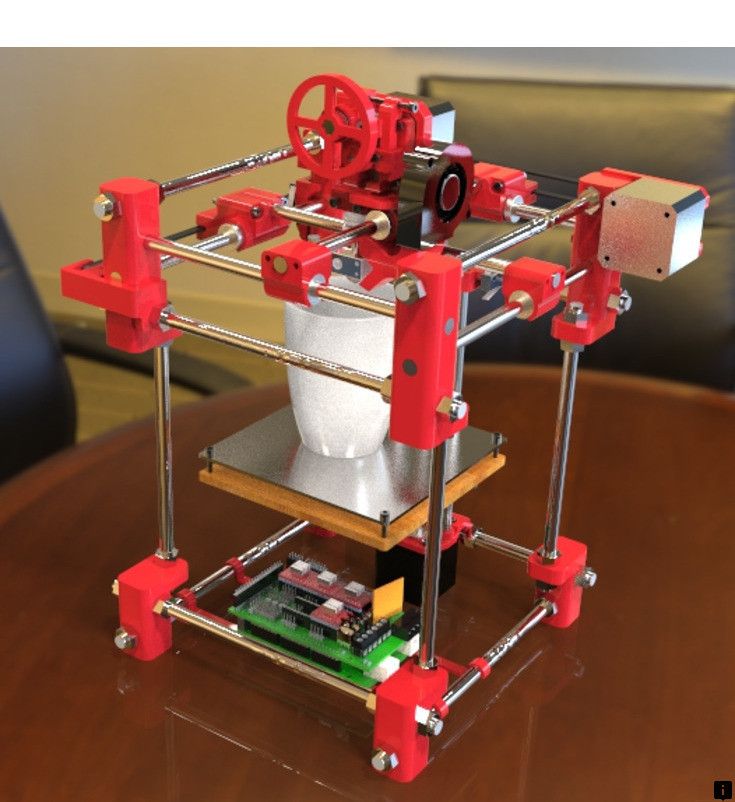 This page shows how to 3D print the file, from start to finish and also notes some pointers for quality prints. Check out our Technology Instruction page for dates and times for trainings and to register for them.
Users may set their own prints on the 3D printers after completing a training and signing the 3D Printers Safety Agreement, but must schedule them ahead of time at groupstudy.uncc.edu. Any unscheduled prints may be stopped and removed from the printer if someone else has scheduled that time. Users are asked to limit the scheduling of prints to one print per week, with the exception of single prints that will run for a longer period. If the user does not check in within 15 minutes of the scheduled start time, the scheduled job will be automatically removed from the calendar. Check our 3D Printing Policy for more information.
Safety
- The 3D printer extrusion heads are heated to at least 210°C (410°F), even during standby mode, and that touching the print head can result in serious burns.

- Users are allowed to insert and remove filament from the print head and any tangled or clumped filament from the build plate, but should seek the assistance of Makerspace staff for more complex troubleshooting issues.
- 3D printers contain multiple moving parts. Interfering with normal operation may damage the printer. In an emergency, turn off the printer using the printer’s main power switch.
- -Fill out and post the Job Status Form on the 3D printer while using it and remove my print in a timely manner once printing is complete.
- Makerspace staff will pause the print when the Makerspace closes for the night and will restart it upon reopening.
- Limit 3D prints to those that are for non-commercial purposes only.
- Comply with all tutorial and operations instructions given by Makerspace staff.
3D Printing Your File
Slicing your print (preparing the file)- Open your .
 stl or .obj file in Cura. The Lulzbot edition can be used to slice prints for all the LulzBot printers.
 - Check the weight and runtime in the bottom right corner. Multiply the weight in grams by $0.25 to get your printing cost, though it may vary slightly.
- Choose the settings.
- Printer (select or install the printer you wish to use)
- LulzBot Taz Workhorse: TAZ Workhorse | HE | 0.50mm
- LulzBot TAZ Pro S: TAZ Pro SE | 0.50mm | Nickel Plated Copper
- LulzBot TAZ Pro Dual Extruder: TAZ Pro Pro Dual | 0.50mm| Hardest SST
- Material Type
- Lulzbot: PLA Verbatim
- Infill percentage and type
- 20% infill for most prints, but judge it based on how sturdy the print needs to be.
- Speed/Quality
- High detail setting: for curves or details
- Standard or high-speed setting: level or smooth prints
- Supports: If the print has a 45º overhang, use supports.

| High Detail | Standard Detail |
| Needs Supports | No supports |
- Build Plate Adhesion:
- Raft: A thick layer that stops warping (will prolong print time)
- Skirt: A thin line around the print area that extrudes any old color and ensures a smooth filament flow
- Brim: A thin layer that prevents warping by holding the bottom edges to the build plate.
Source: 762fd12ae2f1e6ec723ef22d69985f099144b206_1_690x115.jpg
- Save your print with your NinerNet Username to find it easier. When you get to the Makerspace, save this file to the SD card for that printer. An SD card adapter is available.
Loading/Unloading Filament
Filament sizes:
- LulzBot TAZ Workhorse: 2.
 85mm
85mm - LulzBot TAZ Pro Dual Extruder: 2.85mm
- LulzBot TAZ Pro S: 1.75mm
LulzBot TAZ Pro Dual Extruder & LulzBot TAZ Pro S
-
On touchscreen select Menu> Move Axis > All (to the right of X,Y,Z). This will automatically shift to the home position.
- Select Menu > Change Filament > 220° C High
- For Dual Extruder select Extruder 1 or 2 before selecting temperature.
- Loosen thumb screw on front of extruder
- On touchscreen select Continuous and unload filament. Hit Continuous again to stop.
- Load the new filament spool on holder and find the end. Cut the end at a 45º angle for loading ease and so the extruder won't jam. Ensure that the filament roll has no tangles or overlaps.
- For TAZ Pro Dual Extruder use 2.85mm filament
- For LulzBot TAZ Pro S use 1.75mm filament
- On touchscreen, select Continuous and feed new filament into extruder.
 Hit Continuous again to stop the feed.
- Loosen the thumb screw on the tool head by turning it to the left
- Using front knob, go to Change Filament > Change Filament > Preheat PLA to unload filament and reload new filament (if only loading filament is needed, select Load Filament)
- Wait for filament to unload and pull out old filament.
- Load the new filament spool on holder and find the end. Cut the end at a 45º angle for loading ease and so the extruder won't jam. Ensure that the filament roll has no tangles or overlaps.
- Using front knob, select Continue and load filament with but point toward the back of the extruder.
- Pinch the idler latch forward while filament loads to help it feed into the extruder. .
- Once filament is loaded, tighten thumb screw.
Setting the print
- Insert the SD card or USB drive
- Select "Print using SD" or "USB" and select your file.
- Watch until the first layer is complete to ensure there are no defects. If you observe defects, stop the print and adjust your print settings.
- Stay with the print for the first half hour, which is usually when things go wrong. Check the print every hour after that.
- Once the print is finished, bring the build plate to a temperature of 40º C to remove the print.
- Bring the print to the Makerspace Monitor, who will weigh it in grams and enter cost information into our library system. Pay for your print at the Circulation Desk on the first floor.
Pausing the print
Your print will be paused by the Makerspace Monitor overnight. Currently, the extruder will lift automatically, but if it does not, keep these things in mind:
- When pausing a print:
- Lift the extruder away from the print immediately. The longer it is near the print, the more it will melt the surface. To pause, push the button on the printer and navigate to "pause.
 "
" - Make a note on the 3D printing poster of how much you lifted the extruder, so it can be resumed at the correct point.
- Lift the extruder away from the print immediately. The longer it is near the print, the more it will melt the surface. To pause, push the button on the printer and navigate to "pause.
- When resuming a print:
- Make sure it aligns properly
- Wipe the nozzle of burnt filament, whether you see any or not. Place a sheet of paper or cloth over the print directly under the extruder. Grab the cold filament from above the extruder and gently push it down into the extruder. Wipe off the extruder nozzle with a cloth to remove any remnants.
Tips & Tricks
Supports
Are Supports needed?
Lay the model on the flattest side to reduce the support filament used and the print time. Overhangs over 45 degrees will require supports. Check the slicer program, also. Areas beneath the overhang will be red if supports are needed.
Supports Type
Fig. 1. Lattice Support Patterns. Retrieved from Ultimaker
- Concentric: Good for models shaped as a sphere, tube, pipe and hollow prints.
- Lines: Easily removable for tricky holes or flat surfaces. Use for T and H-shaped overhangs.
- Zig Zag: Similar to lines but are easier to remove because lines are connected. Use for T and H-shaped overhangs.
Tree Supports
Fig. 2. Tree Supports. Retrieved from Flashforge.com
Use tree supports for dynamic shapes. They are much easier to remove from smaller areas without breaking the print. (All3DP.com)
Setting Tree Supports in Cura
- To add to your settings: Settings >configure setting visibility > experimental > check all boxes about tree supports > Close.
- To enable tree supports: Position the model then enable tree supports. Custom > check to show Experimental > Tree Support settings.
 Uncheck the supports box on the main settings interface. Leaving it checked, it will generate both regular supports and tree supports.
Support Density
Distance between support structure lines
- Higher values generate more support, take longer to print, and are harder to remove.
- Lower values generate less support, take less time to print, and are easier to remove.
- The larger and heavier the overhang, the more support density needed. 8%-15% support density is recommended.
Advanced Support Settings
Support Placement
You can pick where Cura will generate supports:
- Everywhere (including on the model)
- Build plate only (only touching the bed). Build plate only is recommended for hollow, pipe-shaped models.
Z Distance
The gap between the top and bottom of the supports and the model.
- .
 2mm - .5mm support Z distance is recommended.
 - This gap prevents supports from melting to the model and makes it easier to remove supports. Large gaps will not give filament a supported base, and will cause the print to fail.
Support Interface
Creates a layer between the support and the model. This leaves a smooth looking finish on the model. Always reduce it to at least .75mm and increase the Z distance in order to remove it easily.
Additional Tips
-
Use glue, not rafts, if you notice the brim and model are rising to decrease the amount of filament wasted. When using glue, always clean the bed when you are finished.
-
Don't reprint a failed print using the same settings as before.
-
Always use a brim for small models or when you notice the bottom rising. Without a brim, prints can easily move out of place especially they are tall.
 If the bottom rises, stop it immediately and add a brim or raft. The print has already failed.
 -
Before saving your print to a flash drive always see it in Layer View to see exactly how the build plate adhesion and support will look. View drop-down menu > choose Layer View > wait for it to render.
Additional Options
Create a profile in Cura
Create a profile to save your frequently-used settings.
- Make your desired changes in Custom Settings.
- Click "Profile" drop-down menu.
- Click "Create Profile from Current Settings."
- Name the profile.
You can now select the profile at any time.
To skip the auto-leveling step:
In "Machine Settings," move to the Start GCode box. Delete all content from the box and replace it with the following content. Copy the following into the Start GCode box:
;This G-Code has been generated specifically for the LulzBot TAZ 6 with standard extruder
M75 ; start GLCD timer
G26 ; clear potential 'probe fail' condition
G21 ; set units to Millimetres
M107 ; disable fans
M420 S0 ; disable previous leveling matrix
G90 ; absolute positioning
M82 ; set extruder to absolute mode
G92 E0 ; set extruder position to 0
M140 S{material_bed_temperature} ; start bed heating up
G28 ; Home all axis
M425 Z ; use measured Z backlash for compensation
M425 Z F0 ; turn off measured Z backlash compensation.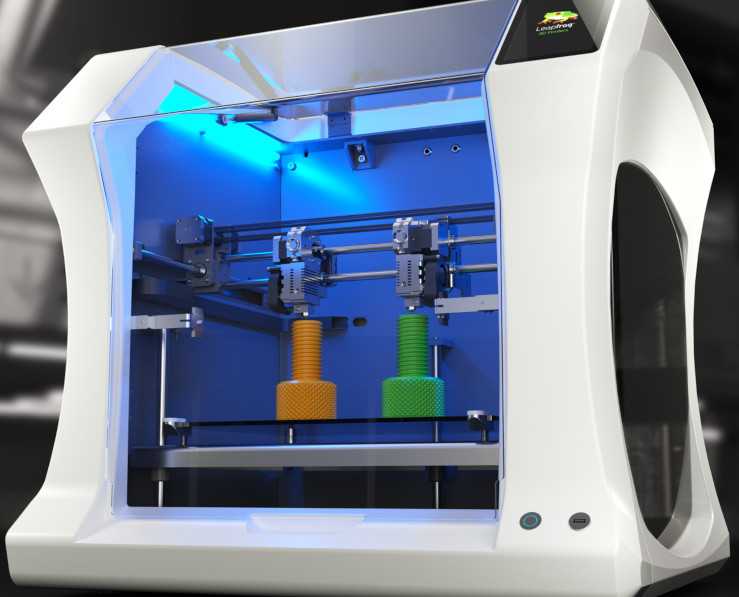 (if activated in the quality settings, this command will automatically be ignored)
M204 S500 ; restore standard acceleration
M117 Heating... ; progress indicator message on LCD
M109 R{material_print_temperature_
M190 S{material_bed_temperature_
G90 ; use absolute positioning for the XYZ axes
G1 E0 F100 ; prime nozzle from previous print
M117 TAZ 6 Printing... ; progress indicator message on LCD
Dual Extruder
The Dual Extruder allows for printing a single item in two different colors. Check out the Dual Extruder page for instructions on creating, slicing, and printing the file.
Troubleshooting
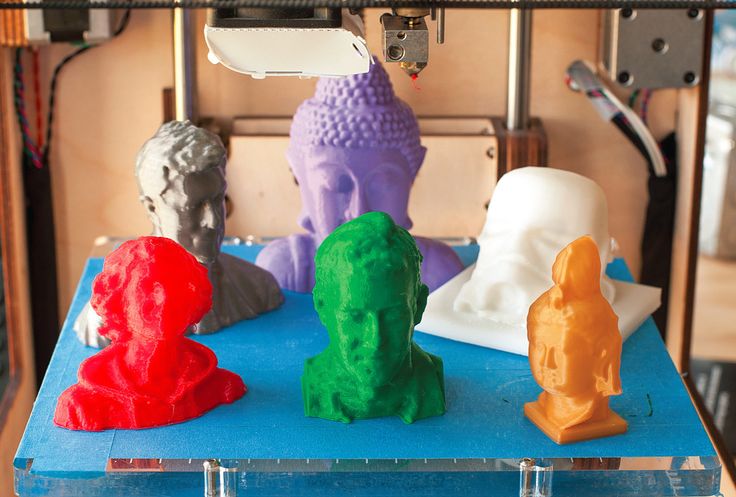
(There is a solution) Will 3D printing multiple copies at the same time save time?
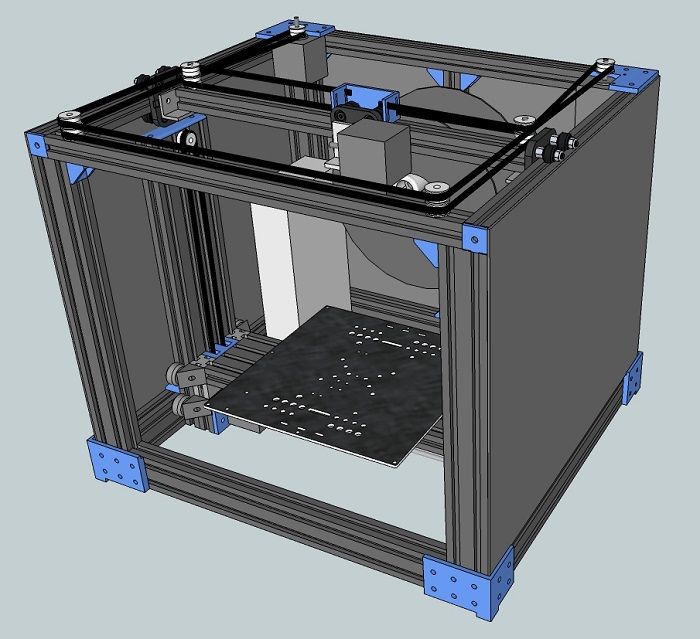
diy-3d-printer
I'm wondering - of course, if the 3D printer's table is big enough - printing multiple copies of the same print can save me a significant amount of time in a small production line, eliminating minor losses such as setup time , post-processing time, etc.
for example, if my print takes 10 hours, will it take 2x longer to print 2x copies at a time, increasing linearly, or will it be much less?
@Mehrad, 👍14
Talk
7 answers
Best answer:
▲ 11
Actually no. It will take a little longer for each addition. You also have a point of failure where you are knocked down and all prints are destroyed.
The fastest way to print multiple objects is to print one at a time. In fact, slic3r allows you to do just that with its sequential printing feature.
The reason is that the time it takes to go up 0.5mm, move a few mm to the next object, drops 0.5mm back.. Repeat for inner shells, outer shells, fills.. all add time. It doesn't seem like a lot until you've done it 14,000 times.
In the case of your example, this would be negligible. In more complex or well-spaced prints, it has a different story.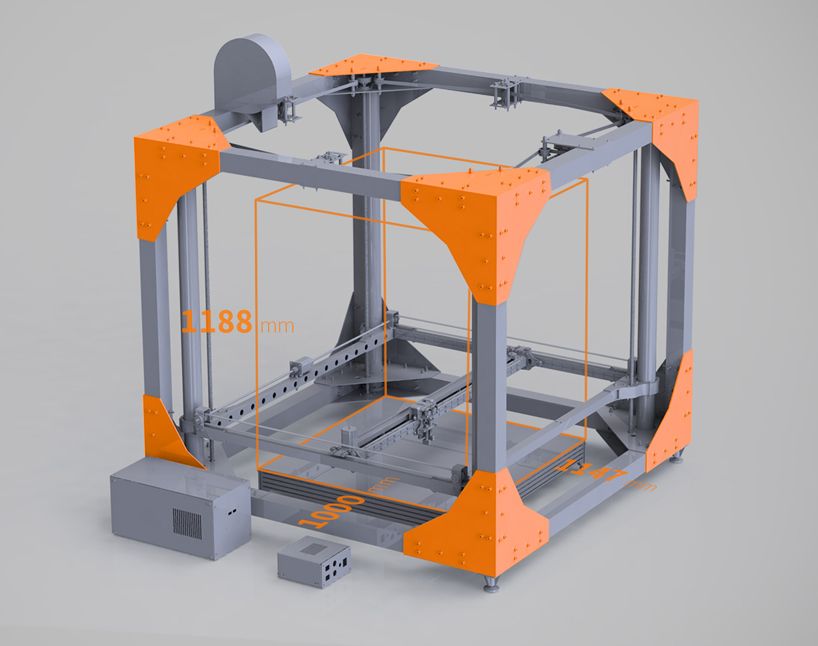
For extra extra speed, look into PLA loss casting...
, @ StarWind0
▲ 2
The percentage of production improvement generally depends on the size of the printed products. Unfortunately, it is volatile enough to make it difficult to give a precise answer.
Consider one single print. I am using my printer as an example. Other printers may have similar sequences. Printing has started and the table should be up to temperature. Once the set level is reached, the print head(s) must also reach temperature. Ignoring for the moment the duration of the print, it is then considered that the printer bed must cool down in order to release the print.
If you have ten items to print, you'll get nine times the time shown above. This can take up a significant amount of production time.
On the other hand, ten prints instead of one won't be of much use over time. You may lose some time in post-processing if you have stringing between elements.
Another complication is directly related to printing quantities. If you have one print failure, you've lost that time. For example, one print might take 18 minutes. Twelve minutes after printing, you have a clogged nozzle and have to stop working. This is an unfortunate loss.
With ten prints on the table, you print for two hours and fail. Much worse is the loss of time and productivity.
Obviously, it would be preferable to have a properly functioning printer and be able to work with confidence that these failures will not occur.
Hobby grade printers can't provide this level of confidence, but industrial/commercial grade printers should, further increasing the time it takes to print multiple items on a table.
If you have hot swappable plates, perhaps combined with the ability to preheat the incoming platen, you save time. I don't know enough about commercial grade printers to suggest such a feature exists. My printer table is attached with magnets and could be hot-swapped if I was careful. The table will begin to cool down quickly, making the preheated plate even more valuable. Instead, I'll just print a few articles and hope for the best.
, @ fred_dot_u
▲ 5
Yes and no. It depends.
For FDM printing, the print time basically scales linearly with the number of objects. However, some printers have a "minimum layer time" which prints smaller layers more slowly so that each layer takes at least this minimum time. This gives the seal enough time to cool.
Since the model shown in your example is quite small, it is likely that it will reach the minimum layer time. This means that printing one copy will take exactly the same time as printing two copies, which will take exactly the same time as printing three copies, until you reach the minimum layer time. At this point, adding more models will simply add some constant number of minutes to your print time.
If the model is large enough that the minimum layer time is not a factor, then printing objects one at a time is generally faster because you save on moves between layers of two objects (and also results in better printing, since moving between objects can leave stringing behind them).
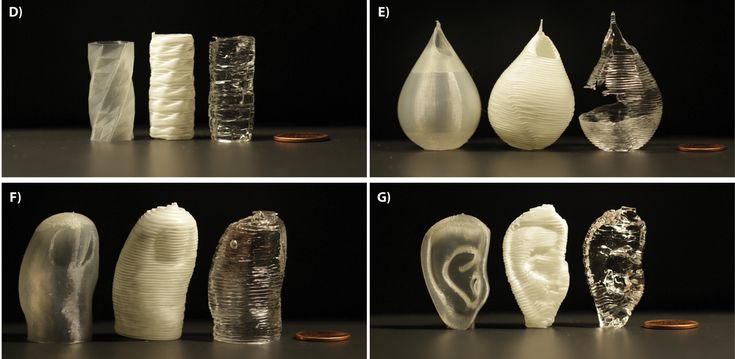
This only applies to FDM printing. For DLP printing, the print time for a (set of) models only depends on their total height and therefore the number of layers required, since each layer takes the same amount of time regardless of the amount of material printed. So the times for 1, 2, 3,...n models are exactly the same.
There are many other types of printing in which the number of layers is much more important than the amount of material used, such as inkjet binder, SLA and SLS, in... there, as a rule, some time the cost of the material is printed, but The main factor in print time is the number of layers (and for SLS, the amount of time it takes for the volume to cool down after each print, which is quite significant.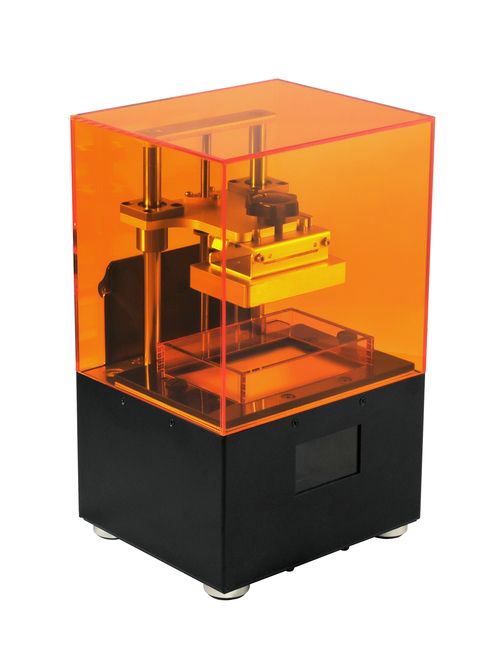 ).
).
, @ Tom van der Zanden
▲ 8
Printing multiple parts of can save you time.
The issues other posters point to are all great, but one factor that was neglected is the time it takes for you to clear the build plate and restart printing. I found that for small parts (less than 1 inch cube) printing multiple parts at once was more convenient and minimally fast. Much of the time saved came from the fact that I could leave the printer for a few hours and work on other tasks without having to babysit the printer and wait for it to finish each part. I printed about 100-200 pieces this way. I ended up losing one "batch" when one part broke off and started causing problems, but I found it was a small price to pay for being able to do a lot of other things.
Everything will depend on the criticality of your deadline for completing the parts. If you're doing the giggle details and don't need them to be done immediately, then I'd say one at a time. Less risk of breakage, less wasted materials and time is not super critical. If you are producing parts for a prototype product that needs to be tested in the field for several weeks, I would choose small batches of a few parts. This will give you more time to work on other things, less exhaustion, and you can check in from time to time to see if everything is in order, usually by doing nothing, assuming everything is going well.
, @ Diesel
▲ 0
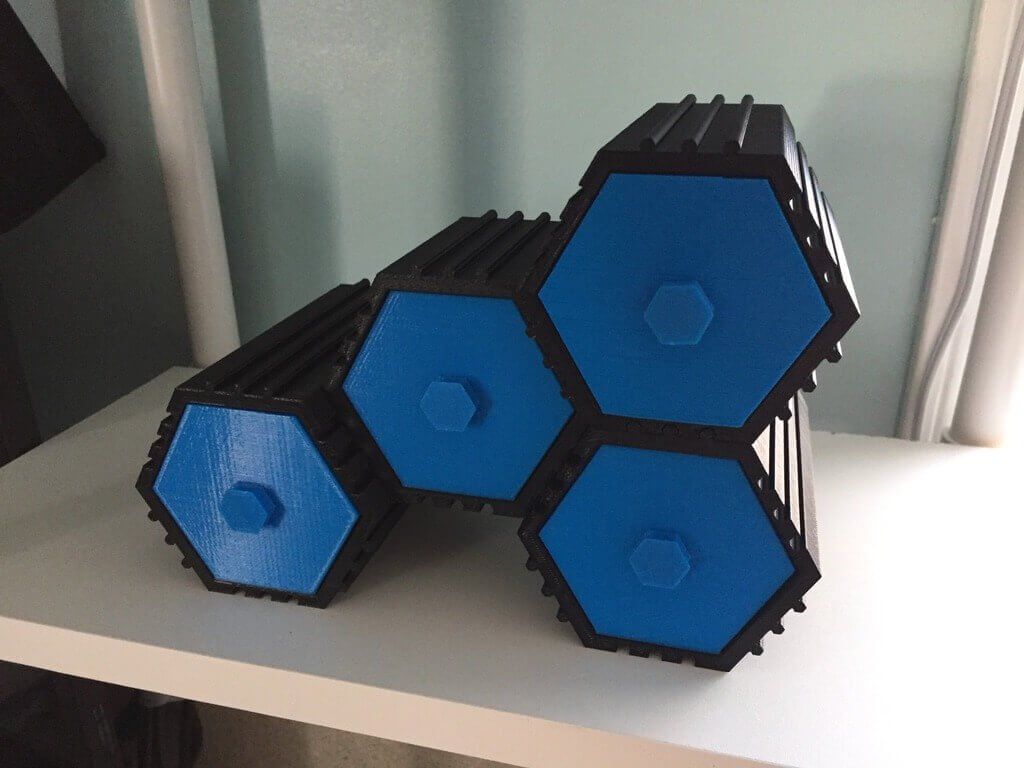
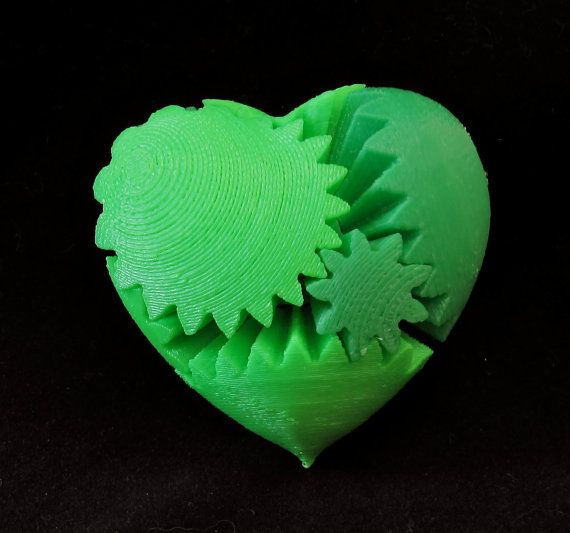
Actually the answer is yes and no. So I had to print 12 identical little objects for a science experiment. It's just that I made some stones from domes with some offset edges, anyway, the minimum wall width of my printers is 0.5mm. The volume of the objects was 2 cm3. The first print failed because they were detached, but then I connected 12 items with hardened 1x1x5mm cylinders in a blender and ran them through my cutter and they printed with no problem. After that I just cut off the cylinder and was ready to go. Just make sure your object is connected at every point facing each other. Based on your picture, it should be related something like this:
, @ Collin Elliott Clark
▲ 1
It usually takes more than time to complete the actual prints due to additional moves, but this saves you time in one important way: if you trust your printer, you can run a large batch and then just to leave . Instead of returning every hour or so, you can return after a few hours or at night.
So batch printing can allow you to put more items through the printer in the same amount of time.
, @ Joel Coehoorn
▲ 0
This will save you machine time too if done right.
Simplify 3D has a setting that allows you to make multiple layers at the same time; like most slicers. So if a part is 10 cm high, you can set it to go to the next one after 10 cm. The machine will then build each one in turn on the build plate in sequence. You won't have to remove parts very often, and the machine won't have to spend time warming up after each print. If it's not done correctly, like moving from one part to another for each layer, then yes it will require a lot of slow retractions and z-axis movements, which will cost you more overall time.
, @ user77232
Near future legal issues: 3D printers
Photo from amazonaws.com
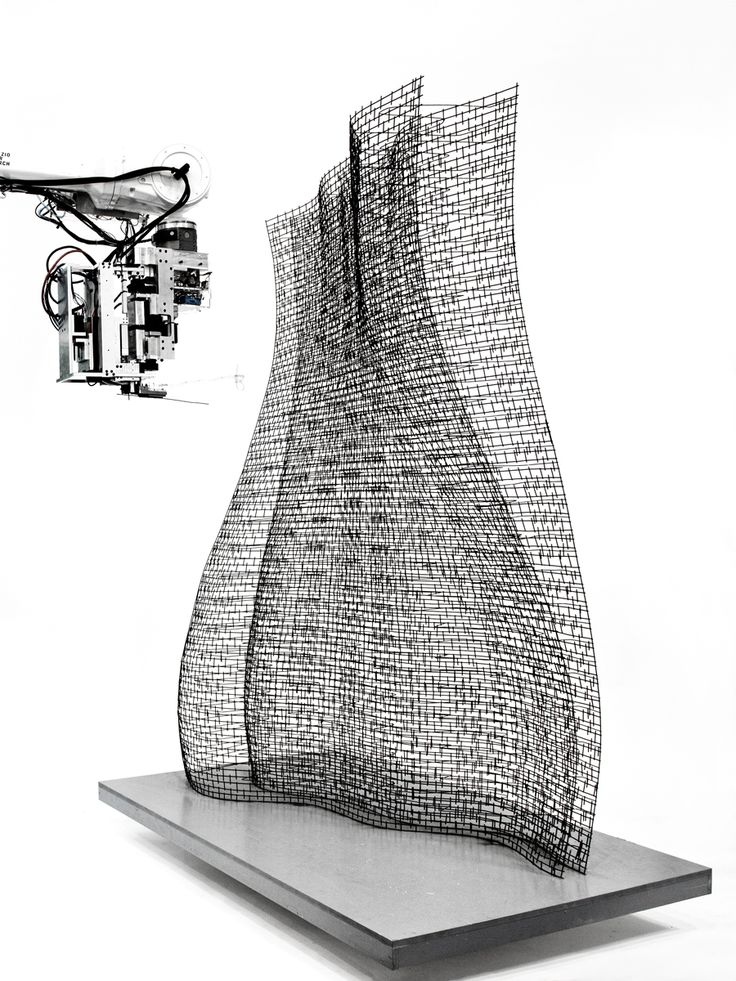
3D printing technology, which appeared in the last millennium, was used only by specialized companies and large-scale industries until recently. But over the past three years, equipment has fallen in price by an order of magnitude.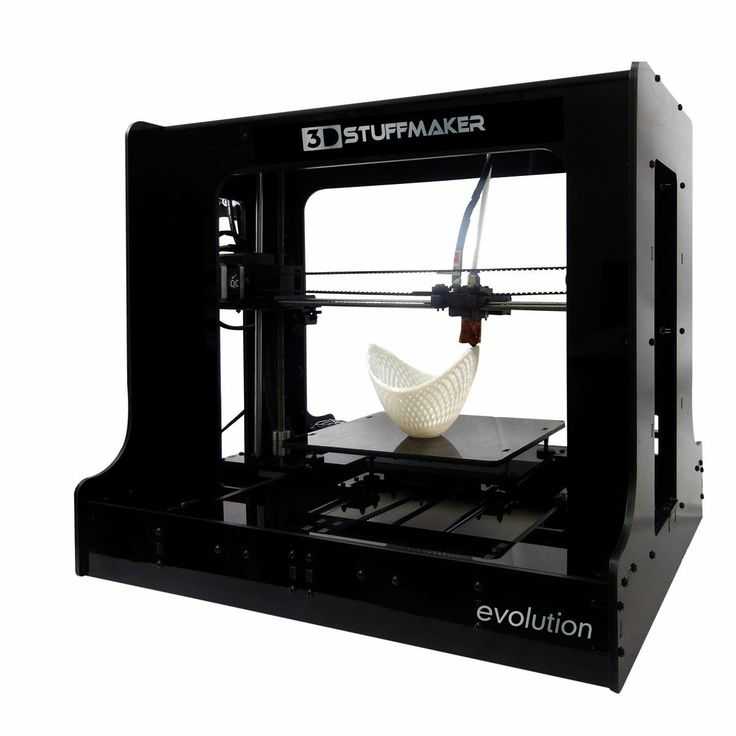 The ability to create an object at home, with only a standard "raw material" and a computer file-instruction, means a fundamental shift in the control of production towards the consumer. "Pravo.Ru" considers the likely legal problems associated with the spread of 3D printers.
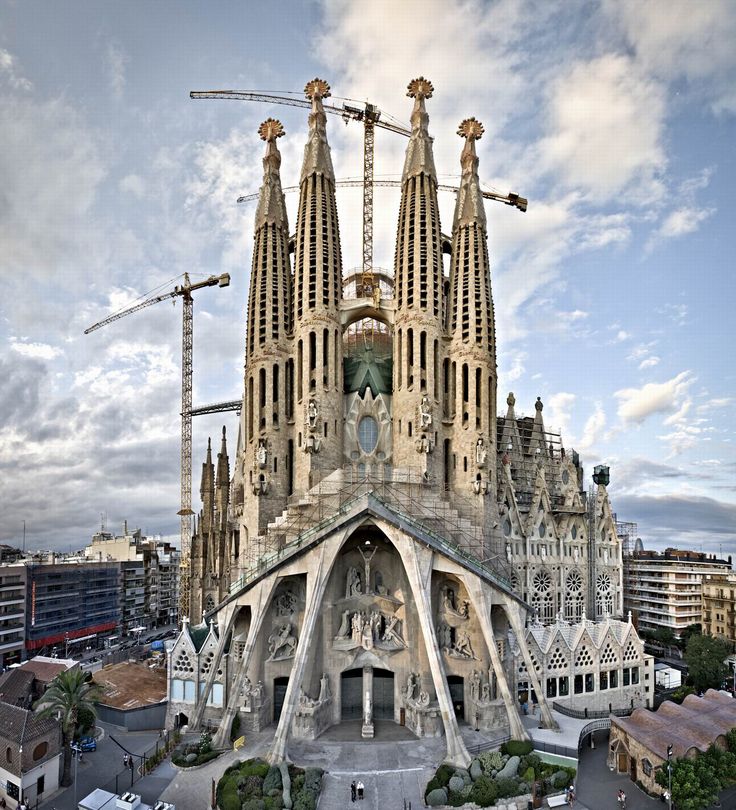
Rapidly developing 3D printing equipment is not yet able to reproduce a working car on its own, but can easily create a simpler object, such as a copy of a sculpture or a machine part. In Europe, prices for such devices start at just 500 euros, while in Russia they still cost between $3,000 and $6,000 for personal 3D printers. Some models can already use almost any material with the desired plasticity.
Current intellectual property rights legislation was in place before the widespread use of 3D printers. Therefore, in the near future, lawyers will have to find answers to a number of new questions - what can be the subject of intellectual property rights, taking into account the peculiarities of the 3D printing process, how to determine them, what is a violation of rights and how they can be protected. Apparently, the new technology will be the same test for this area of legislation as it was before - software, mp3 players and the Internet.
3D printing poses an immediate threat to small manufacturers, especially when the value of the product lies primarily in the design. The simpler the inside of a product, the smaller it is, and the fewer different materials it needs to make it, the more likely it is to be illegally copied. When using a 3D printer, the cost per unit of production is reduced to the cost of raw materials and energy; Obviously, as technology spreads, the price of cartridges will decrease. Under these conditions, copying will inevitably take on a significant scale - for printing, in addition to raw materials, you only need a CAD file (CAD - Computer-Aided Design, computer-aided design). Material is sold in standard cartridges or loaded directly into the printer, and the CAD file can be emailed or posted online.
Now, in most jurisdictions, the owner of the rights can bring a claim against the individual or company directly involved in the illegal copying and those who contributed to the infringement.![]() But from a practical point of view, the current system of rights protection may be ineffective.
But from a practical point of view, the current system of rights protection may be ineffective.
Individuals
If the infringer is an individual, the first problem is that before you can sue, you must first find him, which can be difficult in itself. Prosecuting a single minor infringement, especially if the object is made for personal use, is technically difficult and usually not worth the trouble. Search and prosecution can be costly both literally and figuratively in terms of the public image of the copyright holder company. "No one wants to file a lawsuit against individuals - look at Monsanto's PR problems [ international biotechnology corporation. - "Pravo. En" ] arising from their desire to punish farmers for patent infringement," says Peter Yim from the law firm Morrison & Foerster. And almost certainly the compensation received will not cover the costs - in most cases it will be about
Worse, in Britain and other European jurisdictions, copying a product by an individual for personal, i. e. non-commercial use is not considered an infringement of intellectual property rights at all. 100,000 people “printed” the networks and the product,” says David Knight of the law firm Field Fisher Waterhouse. “What will you do in this situation?” It follows that the most heated debate will be about the source of the file, its original distributor - pursuing intermediaries can also be a difficult matter, as the music industry has already seen.
So, the first target will be "accomplices" of the crime, for example, sites on the Internet that allow users to exchange files containing descriptions or images of objects protected by the copyright holder. But Professor John Bryson of the University of Birmingham draws attention to the growing popularity of 3D scanners. “Users of the future will use this technology widely, and it will be very difficult to regulate this area,” he explains.
You can also try to sue the equipment manufacturers. But the prospects for such a process will not be very promising for the rights holder. In the USA at 19In '84, the era of VCRs, a landmark judgment was reached in Sony Corp. of America v. Universal City Studios, Inc.. According to this decision, manufacturers of recording devices are exempt from liability for copyright infringement if the devices they produce are created for use with a legitimate purpose (then it was the use of video recorders for illegal copying and watching movies). The same logic will obviously apply to 3D printers - they also have a perfectly legitimate application.
But even when the direct producer is known, prosecution is not necessarily easy. Let's say a 3D print shop has printed a certain object for a customer who has sent the appropriate CAD file. At a minimum, it will be necessary to prove that the print bureau knew that the ordered object violates someone's rights - this may turn out to be a non-trivial task.
Legal entities
What tool to use to protect your intellectual property if the infringer is a legal entity? You need to choose from several basic options - patents, trademark rights and copyrights. If a company "prints" a product patented by another company, the patent owner will have to prove that the new product contains all the structures and components described in the patent. This makes it possible to create a product that resembles the original, but is not similar enough to be considered infringing on the rights of the patent owner, explains Mark Hankin, founder of Hankin Patent Law. Likewise, for a product to infringe trademark rights, confusing similarity must be proven, which is not always obvious.
Finally, copyrights protect, among other things, works of art, such as sculptures. But functions are not subject to protection, so curious situations may arise when, for example, an armchair manufacturer will claim that his chair is primarily a sculpture, which also has an additional functional purpose.
What to do
In this situation it is shortsighted to rely on the protection of the law alone. Elizabeth Ferrill and Robert Yoches of the law firm Finnegan, Henderson, Farabow, Garrett & Dunner, LLP, advise holders of intellectual property rights that may be at risk to use the following three approaches:
1. Develop, don't defend. Organize your production cycle so that you are always ahead of those who copy your products. If your designers are constantly coming up with new ideas, potential intruders will be less tempted to wait for the CAD file to show up. This model of self-defense has been successfully used by the fashion industry for a long time. However, she has her own Achilles heel - 3D scanners.
Prof. Bryson agrees: “Some UK firms are already preparing to leave the old ways of protecting their intellectual property, because innovation itself protects them. Three or four technologies a year are enough for them to stay ahead, and by the time someone figure out how to copy their product, these firms will already be making money on the next product."
2. Use technology to your advantage. Printing a quality 3D product at this stage of technology development is not as easy as it sounds. Many users may be willing to pay for an official CAD file for the printer, which is supposed to create fewer printing problems and guarantee a minimum level of quality. In addition, copyright holders can offer an easy way to make some changes to the original file (as Nokia did with cases for the Lumia 820). You can sell, for example, spare parts with additional functionality or made from materials not used by personal 3D printers. But the lawyers consider setting the price of the final product comparable to the cost of home "production" as the most promising technique; however, it is not profitable in all cases.
3. But do not neglect the traditional tools to protect your rights. Protect your product by fixing the rights as soon as possible, and rush to protect them as soon as possible. For example, in the US, companies send letters in the category "cease and desist letters" (lit. "stop and refrain from now on"). This is how HBO secured its rights to the iPhone docking station, designed as the Iron Throne from Game of Thrones.
Ronen Kadushin, designer and consultant, understands those who are not ready to give up traditional methods of protection.