Super glue 3d printed parts
What is the Best Glue for 3D Printing Bonds? PLA, ABS, PETG – 3D Printerly
3D prints can get detached and broken sometimes, so you want to find a way to stick it back together. This leads many people to wonder whether superglue works on PLA and other 3D printing materials, so I decided to look into it.
There are so many options that you can use for gluing 3D prints together and they differ across material types. This article should simplify the process and make it easier for you to choose a solid option that you can stick with.
Keep on reading through this article for some more information about getting the best glue for your 3D prints once and for all.
What is the Best Glue for 3D Printing Bonds?
The best glue for 3D printing is superglue because it provides a strong bond between plastic and is very easy to use. A good brand of superglue cures quickly, so for materials like PLA, ABS, and PETG, it should work great. It doesn’t work so well for flexible filament like TPU or Nylon.
There are other options out there that several 3D printer users have success with, but superglue is the most recommended.
Make sure you are in a ventilated place and are wearing a protective mask and goggles when using some of these adhesives. They can be fairly irritating to your breathing and skin if you come into contact with it.
If you want to get some good quality superglue for your 3D prints, I’d recommend getting yourself some Gorilla Super Glue (20 Grams) from Amazon.
This one does take some extra time to cure, so you can use a separate activator like baking soda to speed up the curing process. Other people have said even water works well to achieve this, although it’s going to run as you would expect.
You can also go with the Bob Smith Industries BSI Maxi Cure Clear Adhesive from Amazon. It comes as a combination pack of the superglue and an accelerator to cure in just 10-25 seconds.
It states that it can bond metal, plastic, wood, ceramics, rubber, leather and more.
A further read into this article will give you an insight into things you can use in gluing your 3D print.
What is the Best Glue for PLA?
The best glue for PLA 3D prints is superglue. Other popular options are 2-part epoxy resins that are mixed together to activate then cures together to bond two objects. A specialized glue that works very well for PLA is PLA Gloop. It bonds PLA 3D prints together strongly, but can also be used as a bed adhesive.
Superglue has a short time for curing and it forms just a thin layer of bonding that is mostly not visible to the eyes when done carefully. One user said you can remove excess superglue with baby oil as it penetrates the bond between the plastic and the superglue itself.
Other adhesives that join PLA are:
- Epoxy Resin
- 3D Gloop
- Contact Cement
- Hot Glue Gun
- Acetone
- Soldering Iron
- 3D Printing Pen
Epoxy Resin
Epoxy resin is a popular solution to gluing and combining up 3D prints, especially for rigid materials like PLA. It does take longer to cure than superglue though, taking around 5 minutes to set, and another 10-15 minutes to fully cure.
The difference is the level of strength that you get with the right kind of epoxy resin.
It’s a great solution to joining up those larger 3D prints like cosplay items and other similar items. You’ll get the best results with an epoxy resin by clamping it down during the curing process.
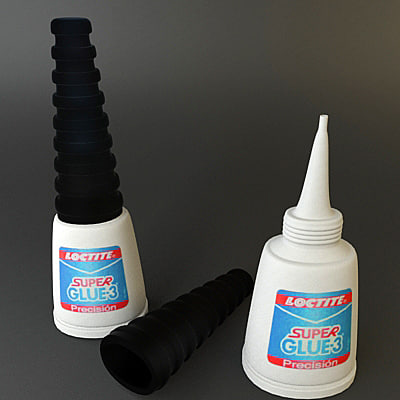
I’d recommend going with the Loctite Epoxy Instant Mix from Amazon for your 3D printing needs if you go with this option.
3D Gloop
3D Gloop is a great alternative to superglue and may even be a better product for bonding/gluing PLA 3D prints together. It is known to be a solvent which actually slightly melts the PLA plastic and weld it together.
In the video below by MatterHackers, you can see just how well this product works to stick PLA together. It also can be used as a bed adhesive to help 3D prints stick to the bed while printing.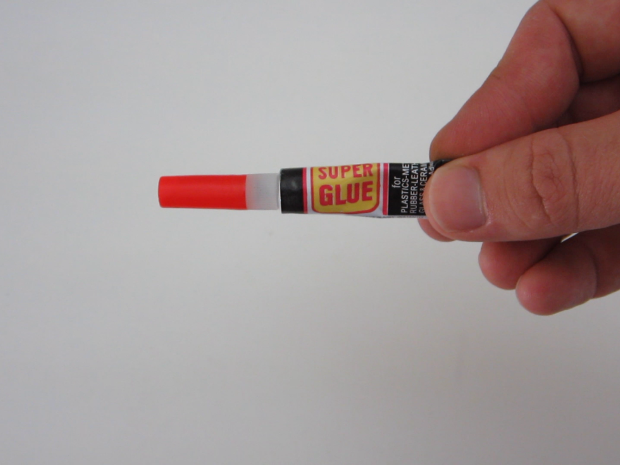
Contact Cement
Contact cement is also great at bonding PLA, though some people have complained about the visibility of the adhesive after using it. With practice, you should be able to apply is carefully and smoothly to not show up very much.
You can also sand any areas which show the contact cement on your PLA prints with 120 grit sandpaper.
A popular one that I found on Amazon is the Permatex Contact Cement 1.5 oz. It’s known to be great for instant bonding applications, is heat and water resistant, and can even bond rubber to glass and metal.
They mention that no clamping is required for this product to work well.
Hot Glue Gun
You can’t go wrong with a hot glue gun when it comes to gluing plastics, being a very popular solution for many applications.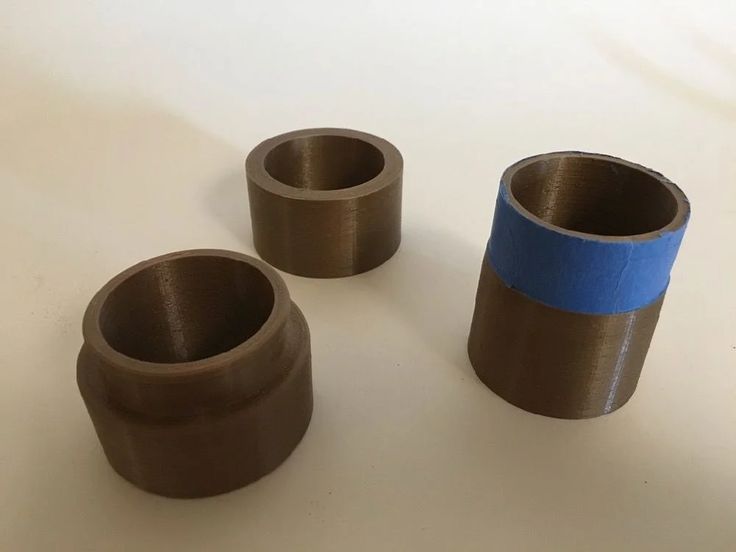 It has pretty good strength and isn’t too difficult to apply, with a 45-second application time.
When you do use this though, the glue tends to be fairly thick, so it would be better for larger 3D prints and big projects like cosplay armor. For something like miniatures or smaller 3D prints, I wouldn’t recommend using a hot glue gun.
I’d recommend going with the Gorilla Dual Temp Mini Hot Glue Gun Kit with 30 Hot Glue Sticks from Amazon.
- It has a precision nozzle that makes operation a lot easier
- An easy-squeeze trigger
- Weather-resistant hot glue sticks so you can use it in or outdoors
- 45-second working time and withstands strong impacts
- Has an insulated nozzle that prevents burns
- It also has an integrated stand to keep the nozzle off other surfaces
Acetone
This has been known to weld and smooth PLA but only with certain types, most likely based on the manufacturing methods and chemical properties. Thomas Sanladerer shows us this in the video below.
You can get yourself a bottle of Pure Acetone from Amazon for a pretty good price.
Soldering Iron
Another method of “gluing” PLA together consists of using a soldering iron to apply enough heat to melt the PLA part, then hold it together so it hardens and joins. It’s obviously not a glue, but it works very well to bond PLA parts together.
You can also use a line of the same filament you used to print the object, then solder that into both the 3D printed plastic parts to weld it together as shown in the video below.
The basic instructions of this video are to:
- Get your 3D printed pieces and make sure the surface is good enough to together
- Get your soldering iron and set it to a temperature around 200°C
- Use a length of the PLA filament you used for printing
- Line up the length of filament with the 3D print and melt the filament to use as a solder to combine the pieces together.
 You want to filament to actually get into the gaps and holes
 - Let the PLA cool down and it should be joined together strongly.
A great one that should work well for the purpose of joining PLA together is the Anbes 60W Soldering Iron Kit from Amazon.
Here is another video which shows you how to weld together two parts. It was from a 3D print that failed halfway, which he split up and managed to print the other half and then combine it with soldering.
3D Printing Pen
A lesser known solution for gluing or joining PLA 3D printed parts together is to use a 3D printing pen. It’s not as popular since it isn’t as effective as the other solutions, but it definitely has its uses for 3D printing.
It’s similar to the soldering iron in a way, but uses the heat from a 3D printing pen to join PLA plastic parts together.
The MYNT3D Professional Printing 3D Pen from Amazon is a great choice.
One user did mention how they used this specific 3D printing pen to weld pieces of prototype parts together since they were too big to print in one part.
You can get better results with “gluing” pieces together by applying heat from a hair dryer or heat gun. It’s a pretty quick solution since you don’t have to hold things for long periods of time to set.
You should try to use fairly high temperatures to achieve this as compared to what you would usually set, though heat controls for this 3D printing pen is really simple.
It can also be used to fix small imperfections and gaps in your other 3D prints which is very practical.
What is the Best Glue for ABS?
A popular product to glue ABS 3D prints is acetone because it is a solvent which can actually dissolve ABS then harden up again. When you apply acetone to both ABS parts then hold it together, the softened part will start to form a strong bond until it cures fully. This process is called solvent bonding.
Other great glues or adhesives you can use for ABS are:
- Superglue
- ABS Juice, Glue, Slurry
- Epoxy
- Polyurethane
- Hot Glue Gun
Superglue
As previously mentioned, superglue is great for rigid objects and plastics. You can apply some superglue to your ABS 3D print and have it glue together fairly quickly.
You want to ensure that your objects are aligned nicely before you apply the superglue though because once it cures, you won’t be able to realign it nicely.
ABS Juice, Glue, Slurry
Another great set of products is ABS juice, glue and slurry, which are very similar in characteristics but mainly differ in thickness. You mainly want to use ABS slurry which is the thickest of the three to repair ABS prints and help with gluing pieces together.
It’s also used as a way to repair layer separation.
Epoxy
Epoxies are a great method for bonding and gluing ABS plastic 3D prints.
One advantage of epoxies is that they are water and chemical resistant, making them a suitable choice for high-strength bonding. It requires no heat to cure, although if you want an accelerated result, you can apply heat.
Again, I’d go with the Loctite Epoxy Instant Mix from Amazon.
Hot Glue Gun
This is another fast way of gluing your ABS together. Simply load some filaments into the gun and use the heated extrusion to join the parts. It can also fill gaps. Ensure not to move the nozzle too close to the ABS to avoid melting.
Surface Preparation: It is important to prepare the surfaces of the ABS parts you want to glue by cleaning, degreasing, and sanding.
Caution: The precautionary measure against the dangers that can arise from using acetone is keeping it away from flame because it is highly inflammable. Also, use it in a ventilated space to avoid excessive inhalation.
What is the Best Glue for PETG?
The best glue for PETG is superglue since it holds the parts together strongly and still maintains the quality and integrity of the 3D print.
You won’t need to bother about clamping the parts together as it pretty quickly bonds together and cures fast. Loctite glue and gorilla glue is some of the best.
Other adhesives that can glue PETG are:
- Two-Part Epoxy
- Hot Glue Gun
- Solder Iron
Two-Part Epoxy
A two-part epoxy is pretty popular with 3D printer users to glue PETG parts together. They usually come with another container in the pack called the hardener or accelerator.
The two products are meant to be mixed together before applying it to the surface of the PETG.
Although, the curing time varies; some take 5 minutes, while some take more time. The combination of a hardener and the glue itself will make a long-lasting and strong bond between the parts.
Hot Glue Gun
Most of the tests that were carried out on PETG using a hot glue gun prove its ability to bond two PETG permanently.
Check out this video on YouTube where a series of tests were carried out on different adhesives and the hot glue gun was confirmed to be one of the most reliable.
Again, I’d recommend going with the Gorilla Dual Temp Mini Hot Glue Gun Kit with 30 Hot Glue Sticks from Amazon.
Soldering Iron
A soldering iron with a temperature control option can glue PETG parts when used in melting the surfaces of the print. This process requires patience and it will yield good results in the end.
Ensure to wear a protective mask and goggle when using any of these adhesives. Use it in a ventilated area.
It works in the same way that it would with PLA, so you can watch the video in that section to see how you would do this with PETG.
What is the Best Glue for TPU?
The best glue for TPU is flexible superglue like Loctite 406 Superglue. It is designed in a way that allows it to bond rubber and flexible materials together with ease. The bonding and curing times of this glue is very quick and provides a strong bond which can’t easily be broken.
Other glues that work well with TPU are:
- Flexible Superglue
- DMF (N-Dimethylformamide)
- THF (Tetrahydrofuran)
- Soldering Iron
Flexible Superglue
A tried and tested product that works great to glue TPU 3D prints is the Genuine Loctite 406 Superglue Instant Adhesive from Amazon.
It has the following features:
- Rapid bonding with plastic and flexible materials
- Great adhesion of materials that are hard to bond
- Multi-purpose and works in many applications
- Very easy to use
It does have a pretty small margin of error, so you want to be very quick and accurate when using this stuff. It has an early bond strength said by users to be in just seconds, showing just how strong it is.
One user even bonded a broken rubber roller belt with this product. It’s best used to join TPU with another type of material like PLA. For TPU to TPU, it can still work well, but the solvents below are more efficient.
DMF (N-Dimethylformamide)
DMF is a solvent that can melt your two pieces of TPU or flexible filament together. When it comes to joining up TPU with another TPU 3D printed part, using a solvent is usually the best solution.
THF (Tetrahydrofuran)
THF is another pretty strong solvent which dissolves TPU and allows you to bond two separate TPU prints by applying it on the surface and holding it together.
Soldering Iron
Similar to using a soldering iron for PLA and other materials, it can also be used for TPU and flexible 3D prints.
In the video below, he uses a soldering iron with a flat mouth to create a specific space for the TPU to be bonded together. He then filled it up with TPU filament and heated it up to let the parts soften and bond together.
After the TPU parts harden, it should create a very strong bond that can’t easily be pulled apart, unless the soldering wasn’t done accurately.
What is the Best Glue for Nylon?
The best glue for Nylon is a hot glue gun.![]() Superglue doesn’t work as well with Nylon unless you have a flexible superglue. Many people have gotten great results when gluing Nylon with a hot glue gun. You can choose a method of heat like a soldering iron to bond Nylon 3D prints together.
Superglue doesn’t work as well with Nylon unless you have a flexible superglue. Many people have gotten great results when gluing Nylon with a hot glue gun. You can choose a method of heat like a soldering iron to bond Nylon 3D prints together.
Other methods you can adhere nylons are:
- Hot Glue Gun
- Soldering Iron
- 3D Printing Pen
You may think epoxy and superglue can work well on Nylon but it doesn’t have the same effect, mainly because of the flexibility and composition. You could do well with some of the flexible superglues mentioned in the TPU section above.
I’d recommend going with the hot glue gun or the soldering iron option. Another great method for “gluing” Nylon together would be a friction welding method which works with a rotary tool to heat up the surface and bond it together with friction.
It actually works pretty well for all sorts of materials, though you’ll want to keep safety in mind due to the dust and fumes it can cause. Some people even recommend combining the hot glue gun and friction welding method for even better results.
Another technique which isn’t talked about a lot of friction welding. You don’t need any kind of adhesive, but you do need a special tool to get this method working properly.
A Dremel Lite 7760 Cordless Rotary Tool from Amazon is a great product to use for friction welding.
Can You Use Superglue on PLA? What To Do If It Doesn’t Work
You can use superglue on PLA as a way to join parts together. It’s one of the best options for bonding PLA 3D prints, especially for smaller parts.
In some cases where superglue doesn’t work on PLA, it could be because:
- There are too many cavities or gaps where the parts are supposed to join together
- There was the presence of moisture or water on the surface which inhibits bonding
- The quality of your superglue isn’t at its best
- The PLA is exposed to heat which might break the bonding
If it doesn’t work, I’d recommend sanding the surface of both PLA parts to ensure a better fit.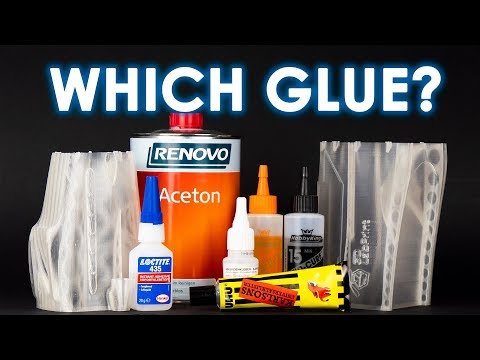 You want to use fairly low grit sandpaper like 120 grit to really prepare the surface to be glued together.
You also want to get another brand of superglue that cures faster and has better bonding properties, especially if your superglue is not very effective.
Does Contact Cement Work on PLA?
Yes, contact cement does work on PLA to glue 3D printed pieces together. It usually has a strong bond and also leaves you room for correction unlike with superglue.
Contact cement dissolves the surface of the PLA when applied and this process aids the bonding. A 3D enthusiast agreed with the fact that contact cement works on PLA, but you do need to use a good, reliable product that is known to work with your material.
When you follow the instructions of the specific contact cement you have, you should be able to have success in joining your parts together.
Best Glue for 3D Printed Miniatures (Minis)
The best glue for 3D printed miniatures is standard superglue (Cyanoacrylate).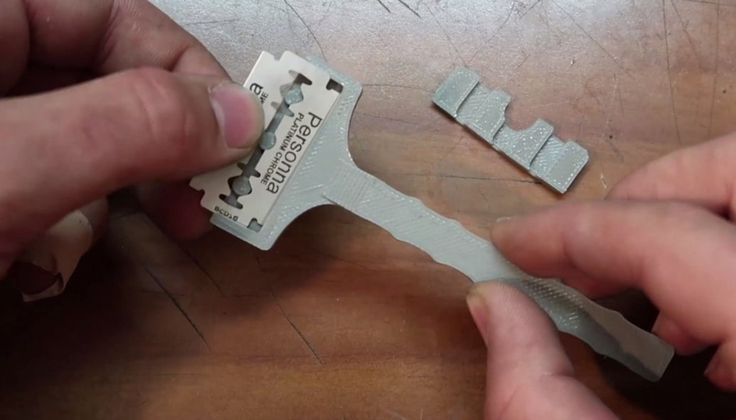 It provides a strong bond for your 3D prints and cures pretty quickly. You’ll usually have to hold the piece on the model for it to set, but you can use an activator to speed up the curing process.
Accessibility is easy as compared to some solvents, it is very effective and easy to use, as well as being really cheap and long-lasting.
Other adhesives like epoxy work too, but they tend to have a longer curing time. There are definitely some quick-curing epoxies that you can make use of for minis, which many people have had success with.
Contact cement glue is another good option for plastic minis. They bond quickly too (although not as quick as glue) through melting and subsequent fusion. This bond is lasting and more durable than CA.
I wouldn’t use contact cement for very small minis because of the noticeable damage the corrosion will do to the parts.
How Do You Connect & Join PLA Filament Together?
It’s possible to connect and join two pieces of filament or even rolls of filament using a piece of a PTFE tube and a lighter.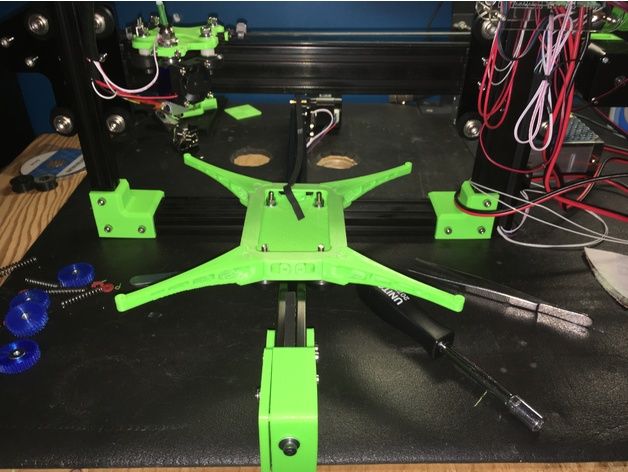 This is great for when you have small strands of filament left over from spools, which you can join end-to-end.
The method consists of pushing through the filament through the tube, lighting one end with a lighter so it’s softened, pulled it back through the PTFE tube and pushing the second piece of filament in the tube so it can then join together and harden.
The video below shows how it’s done very clearly.
On a final note, if you have followed the instructions above in terms of avoiding certain adhesives for certain materials (like superglue for nylons), you should be good to go by sticking to the recommended ones.
5 Ways to Bond and Glue 3D Printed Parts – Maker Hacks
Finishing is an important part of 3d printing, but how do you combine, glue, and bond your 3d printed parts to get a 3d printing result you can be proud of?
Finishing 3D prints is as important to getting a good final 3D print as dialling the printer in. One way to get a good outcome is to create your print in multi-part assemblies, but how do you combine them to get a 3d printing result you can be proud of?
Super Glue
Glue is the default go-to for joining 3D printed parts, be that Super Glue, Gorilla Glue, or two part epoxy, but while that is a common and flexible choice, it’s not the only one, and can be pricey in comparison to some other options …
Solvent
Rather than adding glue, you can bond parts through, essentially, chemically melting it (given due care and ventilation, etc).
Why is that important? Well, with solvent, what is left is just the plastic – nothing added. Also, being a watery liquid, it can drip, seep and draw into places other methods can not reach.
Most people know that ABS can be solvent welded with Acetone, which is commonly found at hardware stores in bulk, or drug stores (sold as nail polish remover – just get the pure stuff). What I was surprised to learn is some PLA can solvent weld with it too!
I tried it out on some natural no-name ebay PLA and it worked great 🙂
Make sure you use a natural brush rather than one with plastic bristles for obvious reasons!
Solvent welding PLA with acetoneHIPS can be dissolved by limonene, but you can also use Polystyrene modelling solvent, just like when you build model airplanes!
Another advantage to solvent is, in addition to brushing it on neat, you can make a slurry to fill larger gaps by dissolving some filament for a while to make a thicker consistency.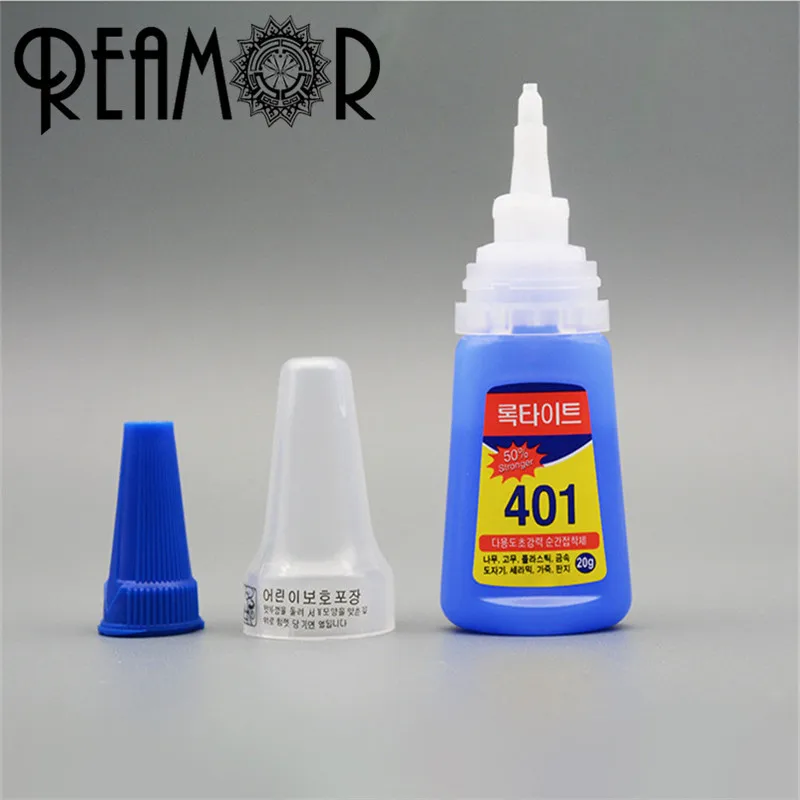
Heat
As well as solvent melting, you can also, obviously, use heat. Usually melting filament comes from the extruder or leaving your part in a hot car, but a soldering iron or even hot air gun can be employed. Heat melting is likely my least favourite technique.
Friction
If you have a Dremel-like tool then you can insert some filament into the collet where the drill bit would usually go, then get it up to speed while applying light pressure against where you want to join. Experiment with speeds to get the sweet spot, and it can work very well, with strong joints.
3D Pen
I have written about my bonding experiments with 3D pens before, and since then I have only gotten to like the technique more. This is probably my favourite technique because it doesn’t involve solvents, doesn’t deform the print, and allows you to colour match!
Plug in the pen to warm Will show green when up to temperature Wipe the nozzle Purge any existing filament Quickly apply hot filament Work the outside of joins Let coolYour favourite technique?
What is your favourite bonding technique? Let us know in the Facebook group!
Category: Hacks, Tips, and TutorialsTag: 3d pen, 3d printing, acetone, bonding, finishing, glue, making, modelling, repairing
13 notes about 3D printing, after 3 years of owning a 3D printer / Habr
This article will be, first of all, of interest both to those who have directly dealt with 3D printing, that is, who owns a 3D printer, but also to those who are just about to join the ranks of 3D printers and are thinking about buying their own printer.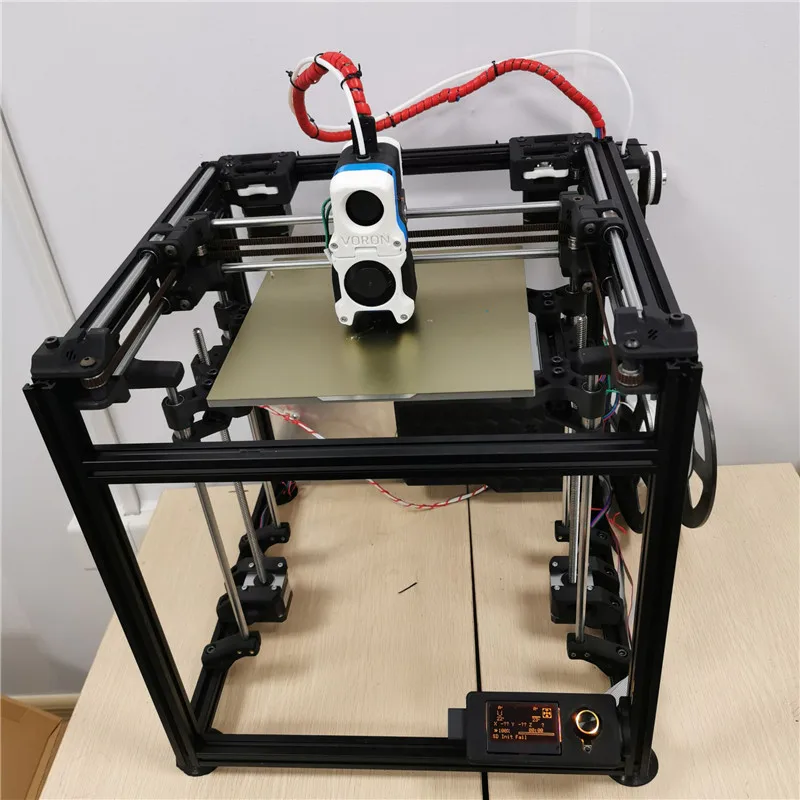
In the framework of this article, I want to present my observations, as a direct owner of a 3D printer, for more than 3 years.
Despite the fact that 3D printers have been known for a long time and, in my memory, have become widely used, judging by the information on various resources, starting around 2010 (I may be wrong, these are my subjective observations), for a long time I ignored this area, it’s hard to say why…
Probably thought it was some kind of "childish pampering", another hype topic for which there is simply not enough time...
The turning point happened when one of the wheels on my travel suitcase wore out. You know, a big plastic suitcase, with four spinning wheels on the bottom. Unfortunately, it is a “rather disposable thing”, due to the lack of bearings on the wheels, which is why the wear of the friction point of the axle and wheel allows the suitcase to last no more than one or two seasons.
And it’s like “lightning flashed in the middle of the day: 3D printer!” It is with his help that I can fix this problem! Looking ahead, I’ll say that I didn’t succeed in fixing the suitcase in this way, so I had to use a different approach .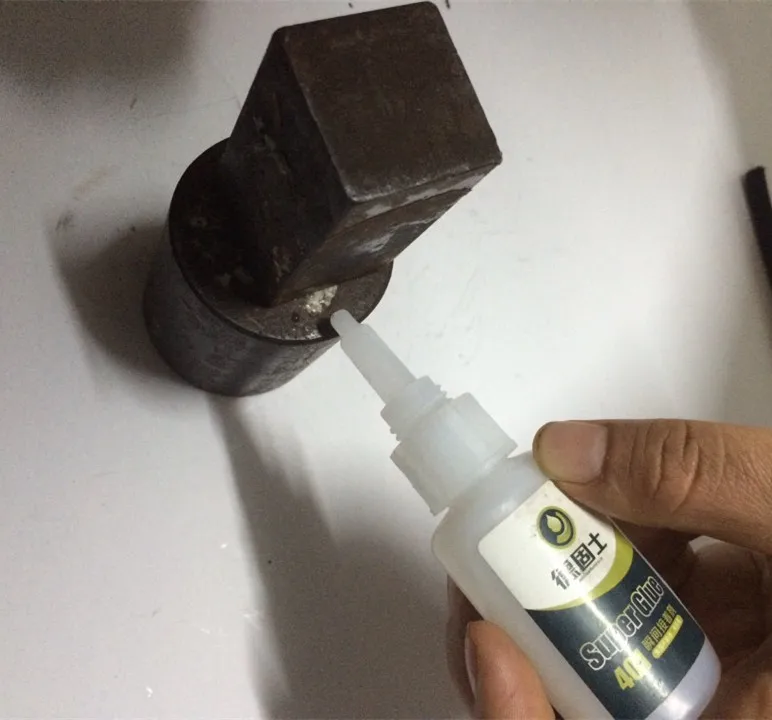 ..
..
As a result, I “upped” it - installing wheels from unnecessary roller skates. Thanks to this “up”, the suitcase has become a real all-terrain vehicle and, even being very loaded, it rides easily - pushed forward even with “one finger”. And even in the snow, 5-6 cm thick. A tank, not a suitcase turned out! By the way - I took spinning wheeled "units" in Leroy. Then he took off and threw out his native plastic wheels from there, inserting from roller skates:
But this thought itself became a kind of trigger that allowed me to finally join the world of printers and buy my first 3D printer.
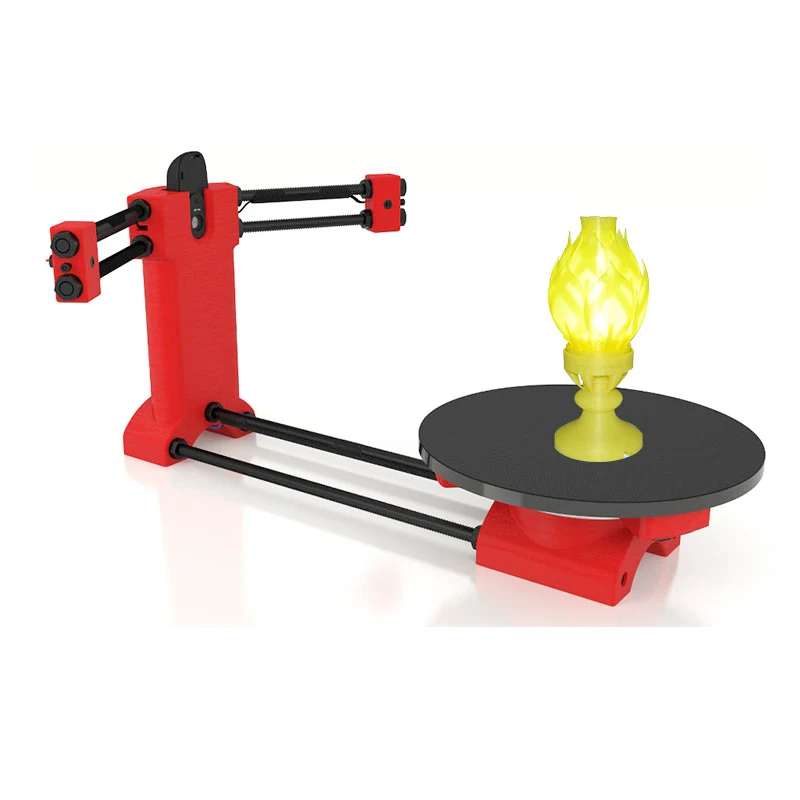
Like many, before buying it, I studied various forums and sites for a long time, delving into all the subtleties. And for some reason, I immediately liked the type of printer called the delta printer. Probably because during operation it looks like some kind of "alien device".
If at your leisure you like to sit “looking into the carpet”, then with the advent of such a printer you will have a much more interesting activity, even hypnotizing, one might say :-))
And this, in fact, is my delta (if anyone is interested), which went through, let's say, the "ultimate up": all the electronics are placed upstairs, on a self-made welded frame, covered with polyethylene and a magnetic door is made. The coil with a bar is installed at the top, on the frame. The axis on which the coil is put on is machined on a lathe from aluminum and a bearing from the VAZ timing is inserted into it. As a result, the coil - "rotates even from the passage of a fly nearby":
Well, yes, I won’t argue for a long time, let’s start reviewing the main facts that I have accumulated as a result of owning this car ... The facts are purely subjective and may differ from your vision. In any case, I will be glad to comments, clarifications, etc.
▍ NOTE 1. Delta is good, but...
Here I should give a number of my observations regarding the delta printer:
- It contains a completely finished frame of the future box, which makes it easy to form a heat chamber. I understand that many printers are made in the form factor of a “certain box” (but this point cannot be ignored), which greatly facilitates the process of wrapping this box with heat-insulating material.
 In my case, as such a material, I used a plastic film.
 - Already thanks to its design, delta allows you to work at much higher speeds than XY printers. By the way, it is on the delta principle that many modern high-speed industrial robots are built to sort various parts directly on the conveyor belt:
However, this plus does not allow to fully realize the occurrence of parasitic vibrations, even despite their suppressors:
Thus, accurate printing is possible, only at speeds (at least that was the case for me), no more than 60 mm per second. A complex procedure for aligning the movement of the head parallel to the table, which is why, for many, the so-called "lens" appears. People struggle with it with varying degrees of success, but I have not encountered this on my printer and for me, therefore, the “lens” has never been a problem. At the same point, it is worth noting the calibration of the table, which was initially absent on the first deltas, and I had to use an external third-party solution from one American do-it-yourselfer called EZBED.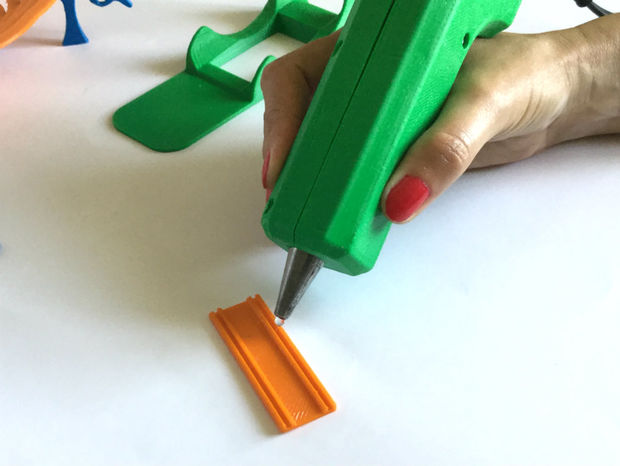 This solution was a hardware-software complex that allows you to quickly and easily calibrate the printing table, that is, to let the printer understand its geometry. Modern printers do not have this issue as they come with a built-in calibration solution. It is worth noting that I solved this problem by attaching a limit switch to the print head, and using the Marlin-1.1.9 firmware.
▍ NOTE 2. "Size doesn't matter..." :-)
When I got the printer, I was impressed by the possibility of huge printouts, a la the handguards of some futuristic rifles, huge body parts, etc.
However, if you try to analyze the results of your many years of practice, it turns out that in most cases, rather small objects were printed that easily fit in the palm of your hand, a maximum of two palms. Despite such a seemingly small size, the printing of these details took a significant amount of time. Of course, this very much depends on which nozzle you print with.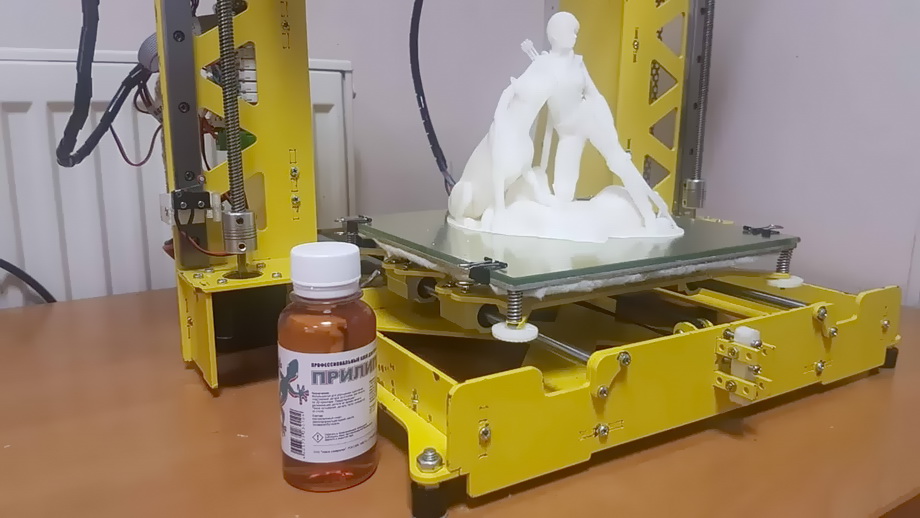 But, despite this, it is difficult to disagree with the fact that most of the printed parts will be quite utilitarian and small in size.
Therefore, to be honest, the need for a printer that allows you to print "Venus de Milo in life size" is not obvious.
Of course, you can object to me that “I’m going to buy a printer, I’ll get used to it a little and I’ll get started!!!”
One simple point must be taken into account here: there are no universal things. And in order to understand how much 3D printing in general and your printer, in particular, you will need to solve your problems, and how much it will be able to solve such problems, you just need to first try the 3D printing method personally and then a lot will become clear to you .
Therefore, for a beginner, I recommend taking a small printer that allows you to print extremely small items that fit in the palm of two. With such a device, you will definitely never lose, as it will always be needed. In addition, with its help you will be able to get used to the printing process and, if necessary, purchase a larger device, already clearly understanding its capabilities and ability to solve your set of tasks.
▍ NOTE 3. "What type of printer to get."
Based on the foregoing, I do not recommend taking a delta printer and this can be said right away.
Not because it is bad, in fact, it prints quite accurately, its main problem (in my opinion) is the inability to print rectangular flat, fairly large case components, as well as the inability to fully realize high-speed work, since the quality drops critically. Here it turns out to be a rather offensive situation - the printer can work quickly, but this cannot be done, since the quality will be “nothing”.
And then what kind to take? Depending on the budget and capabilities, I recommend taking any cube printer, for example, the same Core XY (the head moves, and the table goes down as the model “grows”, from top to bottom):
Image source: thingiverse.com
Such a printer allows you to easily print fairly large flat parts of cases, has good speed and accuracy.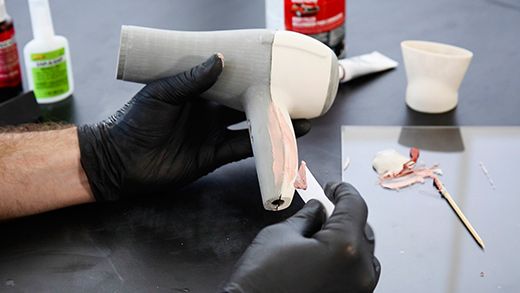 In addition, the presence of a rigid box-shaped frame allows it to be easily covered with polyethylene to create a sealed heat chamber. In addition, the very fact that the table does not move while working reduces the number of problems with model peeling.
However, the advantages of this printer will not be fully revealed if it has a direct extruder. On the one hand, it will allow printing with rubber-like materials, on the other -
large inertia and head weight. And these are parasitic vibrations, wear of the fur. parts, etc. (like everything in life, “we treat one thing and cripple another” :-))
At the initial stages, this may not be necessary, but in the future it may be necessary to print, for example, tires for your homemade car. And with this, the Bowden extruder has obvious problems. Although, in fairness, printing with such a rubber-like material is far from a daily need. However, whoever seeks will always find: over time, I found a way to “upgrade” my printer with a Bowden extruder to print with flexible materials. "Crutches" of course. But even so.
By the way, there are printers of a cheaper type, the so-called "drygostol", printing by moving the table and head:
They are inexpensive, moderately accurate, but they require a sufficiently high-quality gluing of the printed model to the table, because the table moves, and the model can come off when the table is jerked sharply. When printing large models, this can be a problem.
▍ NOTE 4. What to print with?
It's only a matter of taste and purpose. That is, if your printout will only stand on a shelf and should differ in some kind of aesthetic appearance, these are some requirements, if the printout is an engineering part that will be operated under conditions of increased mechanical load, these are different requirements. That is, in the first case, you can use any PLA, SBS plastics, and others with similar properties.
For engineering parts, for example, I only use ABS. It combines high hardness, strength and low price. Although I understand that now this last statement will cause a storm of comments in the style of “no! - there is even stronger, even better, the same PETG, etc. ":-)
Just here I wanted to say that thanks to the low price and the practical experiments that I conducted with ABS plastic, I realized that it is completely meets all my requirements.
However, the fact that ABS plastic releases carcinogenic substances when heated is quite annoying and forces you to take measures to prevent poisoning. For this, my printer prints completely closed and on an open balcony. After printing, the printer chamber opens, and it remains open in this form until it is completely ventilated and cools down.
▍ NOTE 5. "ABS is difficult to type on, it flakes, peels off the table, etc..."
With a properly configured printer (in my case, at a print temperature of 205 degrees, a thermal chamber and a desktop temperature of 100 degrees), the use of auxiliary techniques, for example, among which, one can name the so-called ABS juice (which is ABS- plastic dissolved in acetone), you can create wear-resistant and durable things, without any hypothetical problems.
For example, my printer has been printing for many hours at temperatures well below freezing. And this happened more than once, not twice, not three! And the print quality was excellent:
12-hour ABS printing at -4 C
▍ NOTE 6. Acetone for post-processing and ABS juicing
At one time, I wrote a fairly detailed article on this topic and I will try to give the main excerpts from it. The essence of the issue here is as follows: due to the fact that different GOSTs are used for the production of acetone, acetone differs in quality. Despite the fact that it would seem that “acetone is also acetone in Africa,” nevertheless, one type of acetone can differ significantly from each other. For example, ordinary acetone, which can be bought at any hardware store, such as "1000 little things", "store near the house" and the like, is very low quality acetone, smells disgusting (although someone like it, maybe someone likes its pleasant building aroma and "aftertaste" :-))).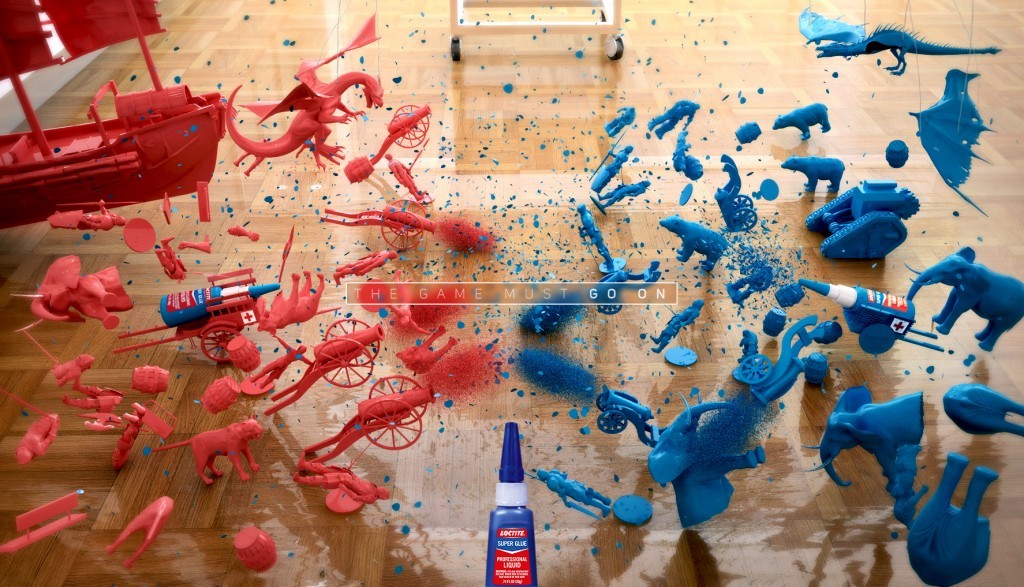
In contrast to it, there is a much higher quality acetone, which, however, is not found at all in any household stores, even large chain stores, such as Auchan or Leroy Merlin.
This type of acetone is found exclusively in shops that sell varnishes and paints for automotive work, i.e. these are highly specialized shops for car workshops:
Acetone, which can be purchased there, is of excellent quality, smells almost like alcohol, quickly disappears,
:-) - this is a joke, of course, don't even try it.
However, its main advantage, compared to household type acetone, is that it perfectly dissolves ABS plastic and does not allow it to precipitate. For me personally, it was a very surprising observation when the same ABS plastic was perfectly dissolved with acetone from an auto shop, and completely precipitated when I tried to use household acetone (I just ran out of good acetone, and I had to use "what is ").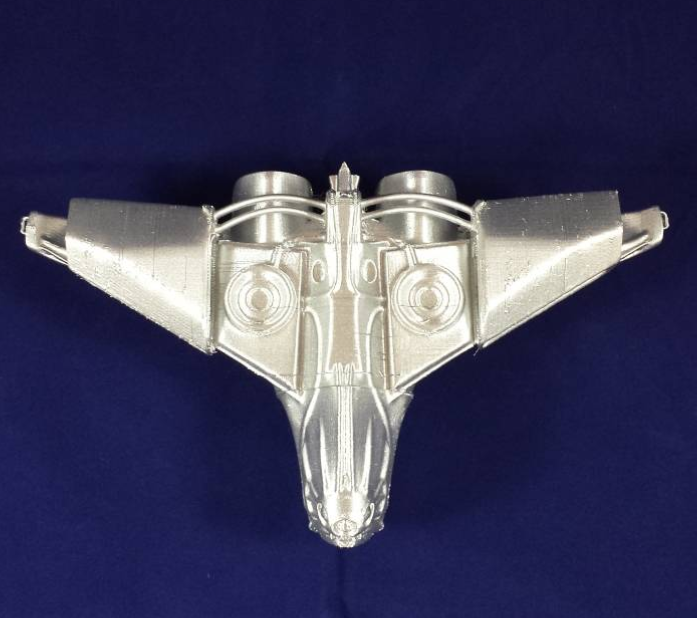
Therefore, if you want your results to always be excellent, then here is the right acetone. It should be labeled "for professional use":
▍ NOTE 7. What about ABS juice?
"ABS juice" is what printers call a mixture of acetone and pieces of ABS plastic dissolved in it. This mixture is smeared on the surface of the desktop before printing and allowed to dry. Thanks to this spread, the model easily sticks to the desktop and does not peel off during the printing process. After printing is completed and the platen has cooled down, the model can be easily separated.
All that needs to be said here is that, after trying different approaches over time, I settled on using flexible metal spatulas, also called "Japanese type spatulas":
According to the results of many tests, this method of spreading turned out to be one of the most convenient options, such spatulas can be cleaned very quickly and easily after work.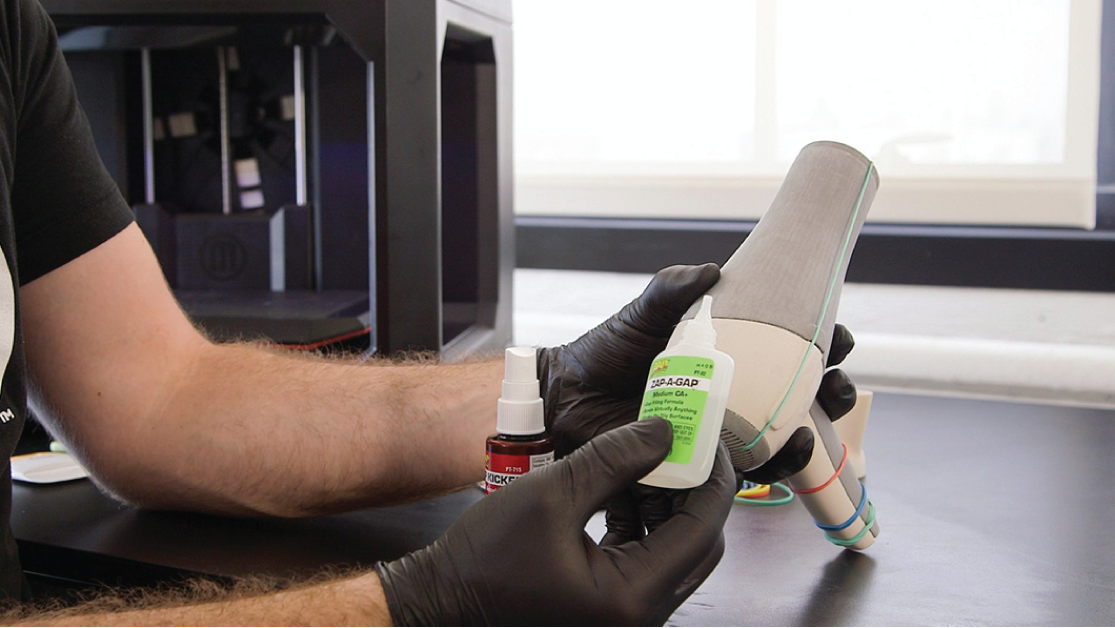 In other words, highly recommended!
▍ NOTE 8. "Yes, nothing sensible can be done on it, I indulged a little and decided to sell it - you can't use it for anything good anyway"
I absolutely disagree with the statement above, which is periodically heard from newcomers to 3D printing. You can even say more: at the moment I can’t even imagine how I used to live without a 3D printer! Since it is he who makes it possible for any do-it-yourselfer to significantly expand their capabilities and make piece products, almost of factory quality! Of course, for this, appropriate hands must be applied to the 3D printer, but that’s another question… and take on things that I would never have thought to take on before!
For example, among my homemade products, the following can be listed:
- Heated sole for boots, which is a hose integrated into the insole (and filled with household silicone from a household store), through which water flows, heated with a catalytic type hand warmer.
 Water is pumped using a small peristaltic pump. The engine with a metal gearbox, which is used in the creation of this pump, allows you to develop a force of 3 kg, which is even redundant for this homemade product. The engine is powered by Peltier elements mounted next to the catalytic heater. The project is currently in progress.
- Centrifugal water pump mounted on the shaft of an internal combustion engine that drives a high pressure wearable air compressor with a pressure of 500 bar. The pump pumps coolant through the casing of the high pressure pump, or rather its second stage. Despite the fact that the pump is 3D printed and runs at over 6000 rpm, nothing “fell apart, fell apart, didn’t break.” As you can see in the photo, the pump is installed instead of the “starter”, that is, the armstarter. The compressor scheme as a whole is as follows: 2 engines. Connected by clutch. One is heavy duty. The second is modified and turned into a high pressure compressor:
Yes, before assembling this, I also did not believe that this was possible.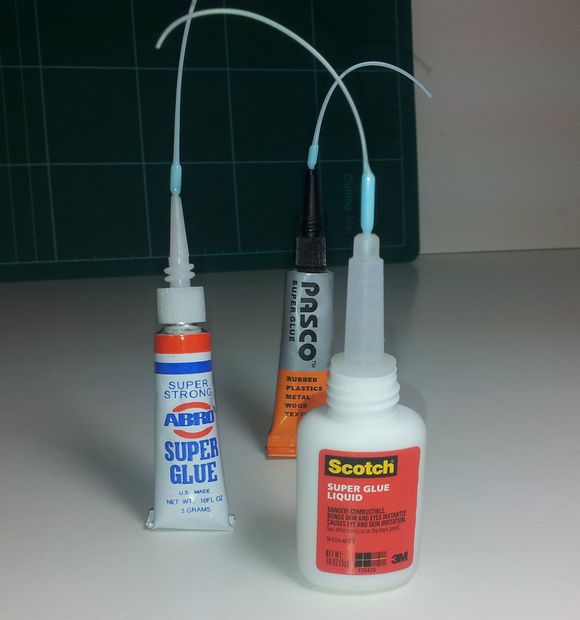 Moreover, even when I collected it, I did not believe my eyes :-))). However, it is a fact…
- I printed a number of Rank-Hilsch test tubes, the essence of which I have described in detail in this article.
- Printed mass of parts, more than 100 pieces, to create 10 web-controlled robots. There was also a detailed article about this here.
Well, and a bunch of all sorts of useful and not very crafts. As you can see from my crafts above, I have a special passion for creating some useful things, a utilitarian direction. That is, so that the printout is useful, and does not belong to the type “yyy breathe, Mikola, what am I doing here” :-), and then put it on the shelf and that's it. Although, engineers are also not alien to beauties, and this will be my next fact below.
▍ NOTE 9 Proper placement of the model when printing is half the battle
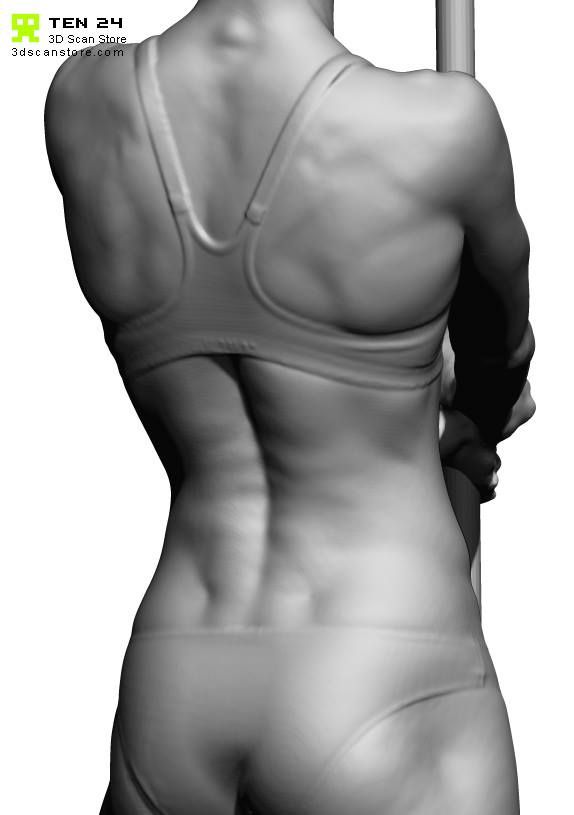
It would seem an obvious fact, but many underestimate it.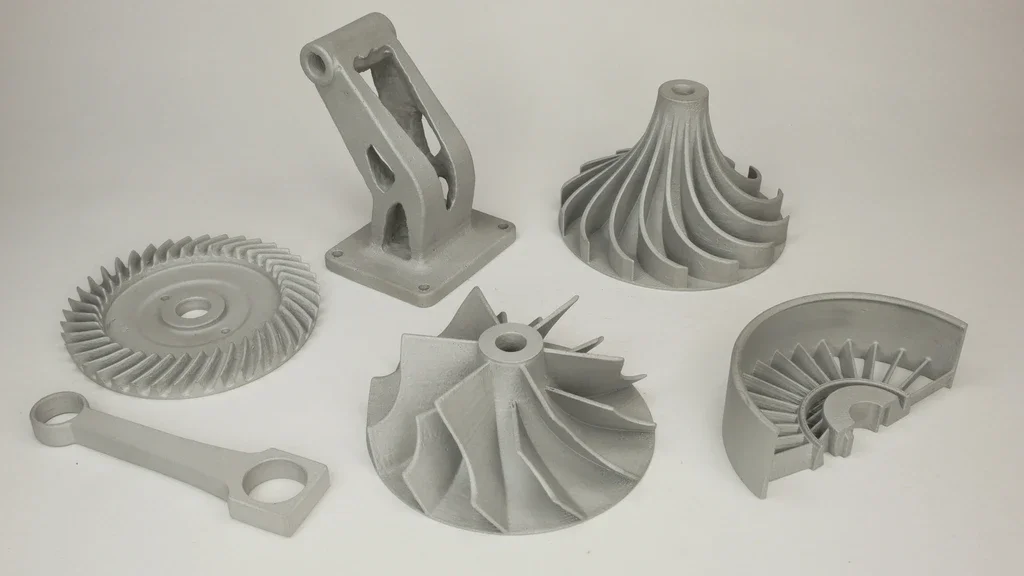 Here I mean the following: by experience, I accidentally discovered that when printing various statues (in which, quite unexpectedly for myself, I discovered another passion of mine), it is advisable to place the statues at an angle to the printing table.
This allows the layers in the printout to run at an angle of approximately 45-50 degrees to the model. The result of this is that the printed model is almost completely invisible layers and the model looks like it has been post-processed, but at the same time retains a deep matte color, which, to my personal taste, is more like a marble than a glossy result of processing in an acetone bath :
An additional advantage of this method is that the layers going at an angle of 45-50 ° to the model give it additional strength. This is especially true for printing statues, which contain many thin elements that are easily chipped when the statue is accidentally dropped from a table or shelf (learned from bitter experience, this happened to me many times, and ruined some fairly decent prints).
That is, the layers going across the model, if the model has a large length in height, does not allow it to maintain sufficient strength. For better understanding, I tried to illustrate this point in the figures below:
▍ NOTE 10. Bleeding must be taken into account when printing, especially if the model is composed of separate parts and must be assembled by joining these parts to each other, entering into each other, etc.
I tried to illustrate this point in the figures below. The implication here is that if you're printing a composite model, you need to correct for the amount of bleed on the plastic (I'm not sure what it's called, but at least I tried to convey what I mean). If this is not taken into account, then the model will not fit.
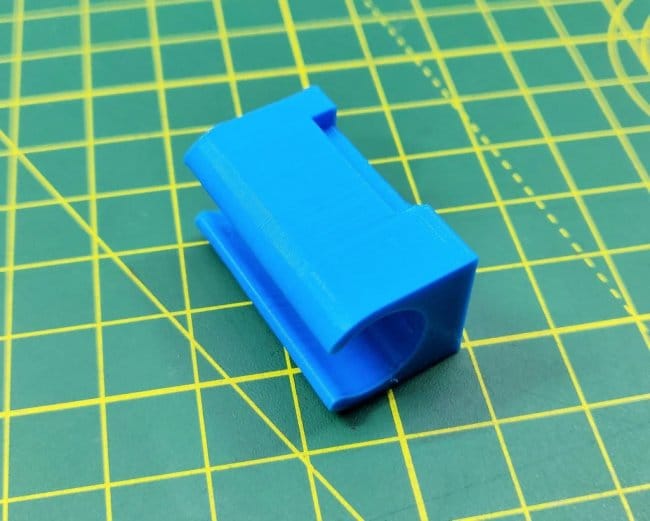
For example, in my case this correction is 0.2 mm per diameter - if I want the model to fit more tightly; if I need a free joint, without excessive density, then 0.3 mm per diameter:
That is, suppose that the blue part has a size of 10x10mm.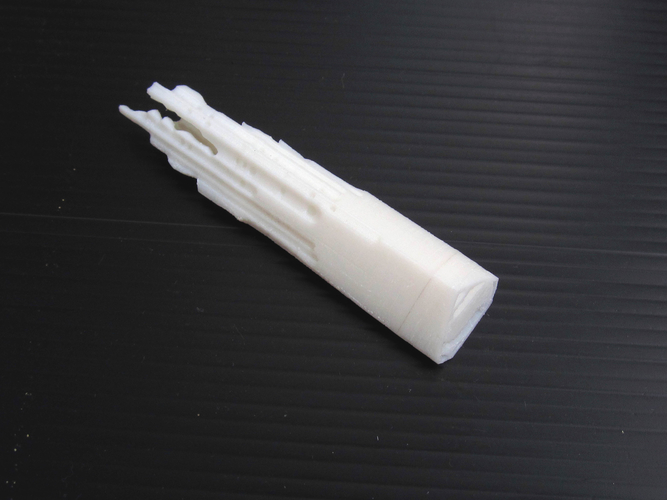 So it must be modeled in a CAD program as 9.8x9.8 mm (if we want it to sit tight) or 9.7x9.7 mm (to sit freely). Well, or expand the hole in the green part, and leave the blue one as it is.
This is often a problem when you download a prefabricated model from the Internet - but it is not going to, even if you crack! And because no amendments have been made…
For your particular case, the amendments may be different.
▍ NOTE 11. What if...
In fact, this note complements note number 8. Using a 3D printer allows you to create metal parts using a printed 3D model. For this, the casting method is used according to the lost wax or burnt model. In our case, we will deal mainly with metal casting on a burnt model.
Briefly, it looks like this: printing a 3D model (using PLA plastic) → pouring it with plaster → burning PLA plastic, simultaneously with burning the mold, in a conventional stove oven → pouring the resulting mold with molten metal (melted in a conventional microwave) .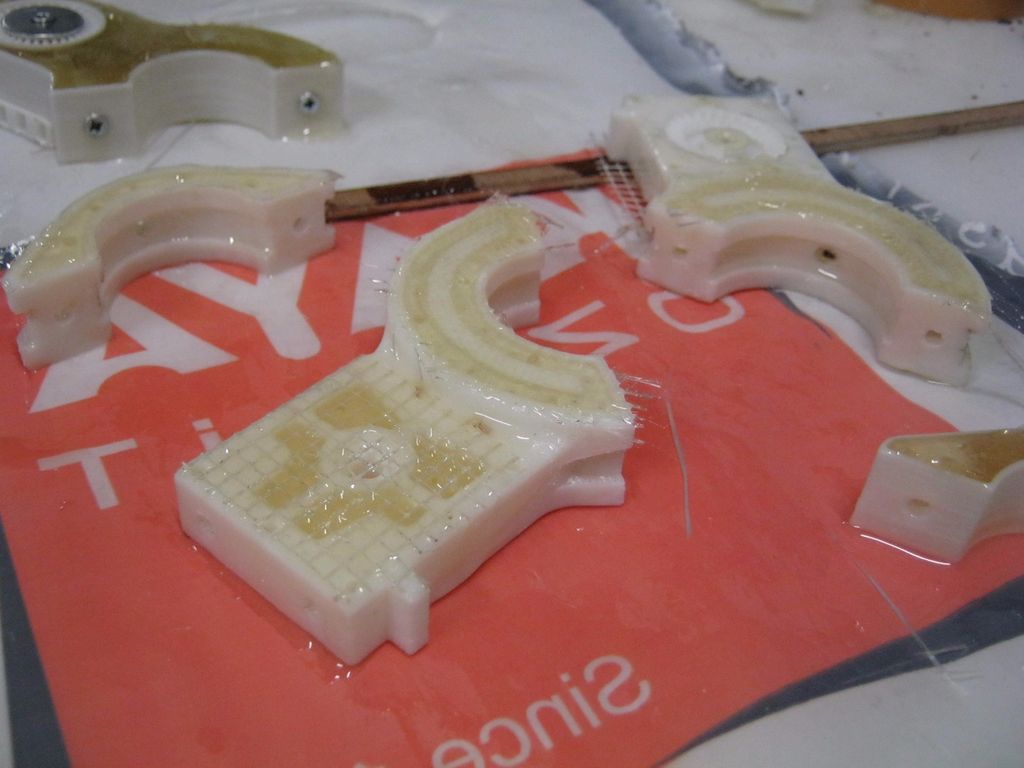
Image source: 3dtopo.com
I told about a simple method of melting metals in a home microwave oven here.
There was even a good article about casting on Habré.
▍ NOTE 12. Durability?
Despite the fact that ABS plastic is called exposed to ultraviolet radiation and, accordingly, burns out, losing its strength in the sun, in my practice, even printouts that are constantly exposed to the sun have not lost their strength and color at all, continuing to be successfully used and Currently.
It should also be added here that printouts are constantly exposed not only to the rays of the sun, but also work continuously in damp conditions!
As such printouts, I can give an example of winglets for technical cranes, which I printed out, but, unfortunately, did not photograph this process; as well as fasteners on shoes that I use “both in the snow, and in the heat and in the pouring rain, and in general are always with me”:
▍ NOTE 13.
 And what about the thread?
 Periodically, there is a need to print parts containing a particular thread. Modeling such products requires a good understanding of what a thread is in general, as well as what corrections need to be made in your particular case, which I have already described above.
But since I've owned a metal lathe for a long time, I'm not at all happy with the 3D printed carving that looks like "something very carving-like".
I am satisfied with an exceptionally perfect carving. Therefore, I keep in stock a large set of various taps and dies, with which I cut all my threads in plastic printouts:
I posted a photo of dies and taps not to brag, but to make the reader understand that serious carving requires a serious approach (unfortunately). And considerable costs for all this thread-cutting iron ...
To create your own threads (both threaded channels and threaded pins), I recommend the following reference materials: for holes, for pins.
Well, that's where I want to end my story and note that he does not claim to be exceptionally accurate and exhaustive. Nevertheless, I tried to state a number of my observations. It will be interesting to read yours, in the comments!
How to smooth 3D printing?・Cults
Objects created with a 3D printer don't always look as good as they should. Even if visualization of 3D printed parts is usually acceptable, this may not be enough if the object is for sale or display. Some people just want a perfectly smooth and shiny surface for 3D printing. Fortunately, it is possible to achieve this level of perfection with the help of some suitable tools. This guide will show you how to smooth out ABS and PLA 3D prints for the best results.
The FDM 3D printer opens up endless possibilities for creating PLA 3D prints. However, parts may be printed with bad layers that need to be removed. If you want to give your 3D printed parts a shinier look, there are some easy ways to align your 3D printed PLA.
Use spray paint and polyurethane
The sanding method used to be the most common technique for leveling PLA 3D printing. Today there are new alternatives. You can use spray paint mixed with polyurethane to line up 3D printed PLA parts. To do this, you need to purchase the right tools:
- spray paint,
- polyurethane,
- fan for drying parts.
The smoothing process is one of the simplest. First of all, it is necessary to clean the product so that dust or other dirt does not linger on the surface of the object. Use a spray can to cover the 3D print with a layer of paint. Then a layer of polyurethane can be applied to the part. Be very careful and place the freshly coated 3D print under a fan to speed up the drying process .
After a few minutes, you will find that the mixture of polyurethane and paint starts to fill in unwanted holes and imperfections on your PLA 3D print. Once completely dry, the part can be recoated with mix to remove any remaining surface imperfections. This method is less tiring than sanding.
Opt for XTC-3D Clear Epoxy
Although highly effective, using a mixture of paint and polyurethane to line a room can be too messy for some people. There are other alternative methods for anti-aliasing PLA 3D printing. Transparent epoxy resin XTC-3D has been specifically designed to align PLA 3D parts for an optimal finish . The product consists of two bottles that need to be mixed for 3D printing.
Remember to mix the product well and follow the instructions correctly. Using a brush, apply the resin to the printed parts. The dried product will harden into a smooth transparent layer. PLA 3D printing becomes smoother and shinier. XTC-3D can also be mixed with dyes and stains if you wish to color your parts. You can also add effects such as metallic highlights or palettes.
Use 3D Gloop
This adhesive has been specially developed for smoothing PLA 3D prints. 3D Gloop can be used for various purposes. To smooth out a 3D print with this product, simply apply it to the printed part with a brush. It works like the XTC-3D, except it only has one bottle. This is a great advantage if you only want to use a small amount of glue. However, 3D Gloop is not without flaws. The product contains a number of toxic components. It should be used in a well ventilated area.
Acetone is a chemical stripper used by professionals to sand and clean certain materials. Due to its high toxicity, it should be handled with care in a well-ventilated area. Acetone can be used to level ABS 3D printing. The process does not require a lot of equipment. All that is required is metal or glass container .
Also add a few millimeters of acetone. In supermarkets, this product can be purchased for less than 2 euros. You will also need a stand to hold the part to be smoothed and a heating plate. To smooth the ABS 3D print, add 2-4 millimeters of acetone to the container.