Startt 3d printer instructions
STARTT STARTT 3D Printer 3D Printer
Properties
| Build Volume | 140 x 120 x 130 mm (5.5 x 4.7 x 5.1 in.) |
| Layer Resolution Low | 300 micron (0.011 in.) |
| Layer Resolution High | 100 micron (0.004 in.) |
Documents
- Assembling Guide.pdf
| Brand | STARTT |
| Machine type | 3D Printer |
| Technology | FDM (Fused Deposition Modeling) |
| Materials | PLA |
| Website | https://www. |
| Average Price | $99.99 |
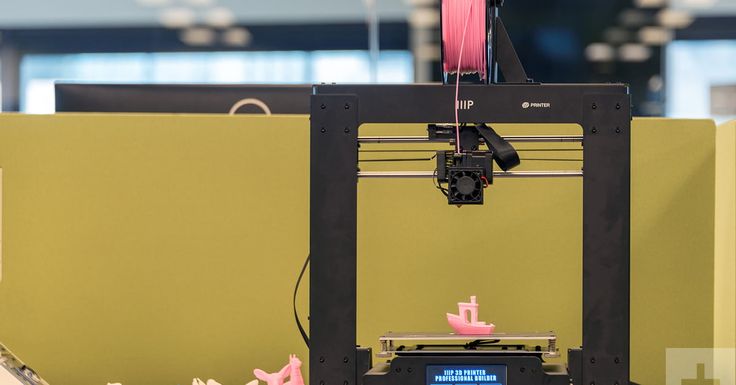
The STARTT is a great introduction to 3D printing. It is supplied as a simple kit that can be assembled in around 5 hours. We have carefully produced a downloadable guide as well as a set of instructional videos to guide you along the way. Once built the printer is capable of printing objects up to 14 x 12 x 13 cm in size out of PLA.
Who is the STARTT printer for?
Anyone looking for an inexpensive way to start 3D printing.
Technology enthusiasts who love to see how things work.
Parents who are looking for a great activity for bonding with their children.
Students interested in the freedom to design and create at home.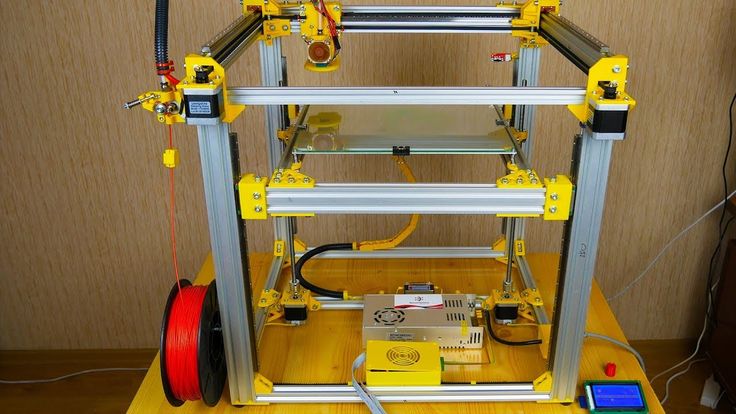
Why is the STARTT right for you?
Affordably priced compared to other printers.
Good printing quality, especially for the price.
Comes with an easy to follow instructional guide with online video tutorials.
A fully supported 3 month warranty on manufactured parts.
Features:
- Easy to assemble. The more technical components are already put together.
- Changeable nozzles of 0.3, 0.4 and 0.5mm let you choose your resolution.
- Nozzle temperature ranges between 170°C to 275°C.
- All tools you need are in the box.
- Assembly will only take around 5 hours to complete.
- Compatible with any open source slicer including Simplify 3D and Cura.
- Comes with 10 free 3D printable designs complements of MyMiniFactory.
Startt 3D Printer Review - OlO 3d printer reviews
The Startt 3D printer is a product by iMakr, a British company that outsources manufacturing from China. It’s one of the most affordable printers on the market designed for beginners that want to learn about 3D printing. Some of its best features include interchangeable nozzles and compatibility with most slicer software.
It also has a moderate build volume and does deliver good quality prints most of the time. It’s just a decent basic 3D printer that’s very affordable. However, it works with just a few types of filaments, plus the bed is not heated, and it has to be levelled manually.
Check Price
Pros
- Decent print quality, especially for small prints
- Has a considerate build volume
- Offers varying resolution options
- It comes at a highly affordable price
- Compatible with any 3D slicing software
Cons
- Prints tend to have lots of ringing on the surface
- Printing speed is slow, and it can only print PLA
- Assembly is a bit tricky and needs manual bed levelling
- Some 3D printed parts are not of good quality
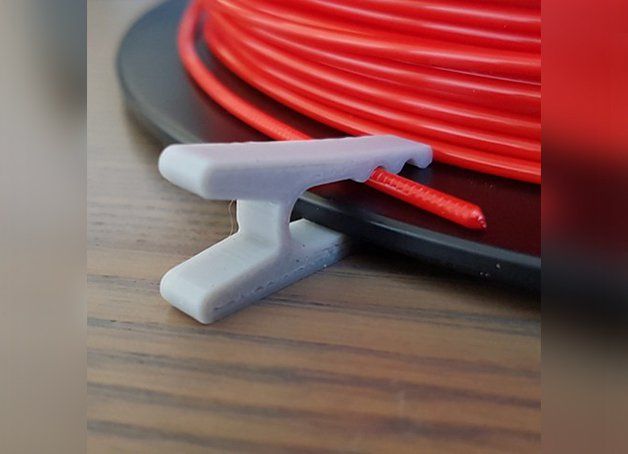
- It doesn’t come with a spool holder
Specifications
- Extruder Number: single extruder
- Max Extruder Temperature: 338 – 527°F (170 – 275°C)
- Layer Resolution: 100 to 300 microns
- Extruder Nozzle Diameter: 0.
 4mm
4mm - Printing Speed: n/a
- Build Plate: non-heated print bed
- Build Area: 4.7 x 5.5 x 5.1 inches
- Filament Diameter: 1.75mm
- Supported Filaments: PLA
- Connectivity: Micro SD Card, USB cable
- Weight: 8.8 pounds
- Dimension: 13.4 x 12.2 x 12.6 inches
Design
With a black body and a completely open-frame design, the Startt 3D printer doesn’t provide much in terms of aesthetics. All the parts are exposed and easily accessible, but they’re well organized, and hanging wire cables are greatly minimized, giving the whole unit a neat look.
It isn’t bulky either. It has a small footprint, measuring 13.4 x 12.2 x 12.6 inches, and it weighs just 8.8 pounds. It can fit on top of most desks, and you can carry and move it easily to another place whenever needed. The frame is a strong metal and holds the printer very well. The build plate is relatively sturdy too, but not durable.
Some of the printer parts are 3D printed parts, and they are not of good quality either. They are extremely rough with so much ringing and corner lift that can cause the Z-axis nuts not to mount straight – they sit at an angle, and that can cause severe binding. The extruder is a Bowden style extruder, and it’s of good quality. It’s strong and mostly aluminum.
Print Quality and Printing Speed
The Startt has only one extruder with a nozzle of 0.4mm in diameter. It can print layer thicknesses of 100 to 300 microns and reach 338 – 527°F (170 – 275°C), which is hot enough to print PLA and ABS filament.
You can also print with nozzles of different diameters as the unit allows you to interchange the standard nozzle (0.4mm) with either the 0.3mm or 0.5mm nozzles. This way, you get some control over the print results as you can tinker with the resolution to achieve the precision or level of detail you want.
With regards to the print quality, it’s not any way close to the high-end/expensive machines. Nonetheless, when you consider its price, the quality of its prints is really impressive. You can print many things with the printer, both complex and simple designs, and they would be replicated pretty well.
Details are not always fine or smooth, though as most of the prints tend to have ringing effects all over. The speed is also not impressive. It takes longer than other similar models when using the highest layer resolution or when printing complex objects.
The Build Area
Unlike Startt 3D printer, the other printers that are in the same price range are completely disappointing when it comes to the build volume. Most are only able to print small objects, hence offering limited flexibility of choosing or printing the desired 3D design. Startt 3D printer, on the other hand, offers a considerate build volume.
It’s specified build volume is 4.7 x 5.5 x 5.1 inches, which is larger than what other similar printers offer. However, the actual printable volume is about 4.3 x 5.1 x 4.1 inches. The extruder nozzle is off the board by around 5 inches on the x-axis and it doesn’t reach 5. 1 inches on the y-axis either – it starts to scrape along the control panel above 5.1 inches, clicking (and holding) buttons or pinching the display.
So, you are left with a slightly less build volume than advertised, which is around 4.3 x 5.1 x 4.1 inches, which is still large compared to others and sufficient for experimenting with various kinds of 3D designs as you are not limited to tiny objects. It’s enough to print useful, decent-sized objects.
The print bed is unheated though, and with the open-frame design, you can’t print with ABS or other advanced filaments sensitive to temperature changes. It prints PLA very well, and the prints adhere to the print bed and come off easily.
Supported Filaments
The Startt 3D printer supports only PLA since the bed is not heated and it has an open-frame design. The extruder can print ABS as it reaches a high temperature of up to 527°F (275°C). However, the prints warp and crack on the bed since it can’t sustain the high temperature. It does a good job printing with PLA, but you won’t use any other material other than it.
Usability and Connectivity
Using the printer is simple, but the interface of the built-in controller isn’t really user friendly. It has button controls and a screen that’s hard to read at first. It takes some time to figure it out, but you can optimize most settings using the button controls.
You are also limited to a USB cable and SD card when it comes to connectivity. You can connect the printer with a PC using a USB cable and initiate prints right from the PC or transfer the design to the SD card and print directly from it untethered.
Software Compatibility
The printer is open source, so you can work with almost any common slicing software to modify the settings of your 3D models. It supports most of the open-source software, including Cura, Slic3r, and Simplify 3D. It’s equally compatible with all the common operating systems; Windows, Mac, and Linux. It supports .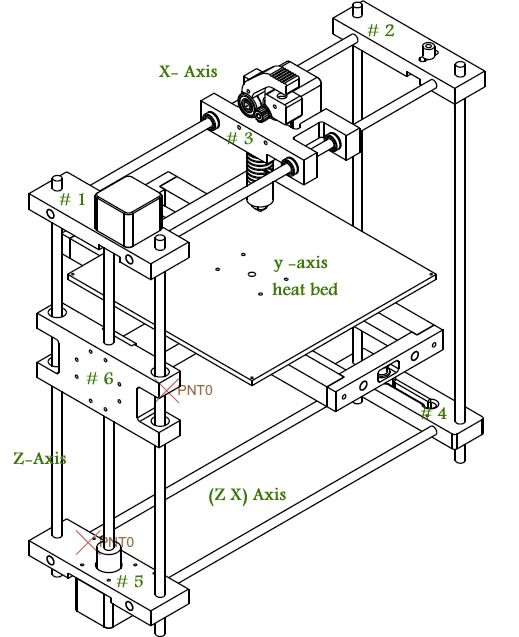 stl and .obj file types.
Assembly
The Startt doesn’t come pre-assembled. You have to assemble everything yourself, which is not easy and can take up to 5 hours or more to complete. It’s a long, tedious process, but you get to learn the complete design of a 3D printer which could definitely add extra knowledge to your overall expertise level once you are done assembling it.
You take care of everything on your own from scratch, including levelling the bed which you have to do manually. It’s a step that can pose a challenge, especially if you’re new to 3D printing.
The assembly instructions are included in the MicroSD card that comes with the printer. The steps are clearly mentioned and easy to follow. You are provided with all the tools you need to set it up and start, including 10 free 3D printable designs. It only lacks a filament spool, which you’ll have to get separately.
The power supply (12v 5A) it comes with also seems inadequate as it gets very hot such that it causes the voltage to drop in the fan RPM.
Other notable downsides are lots of shipping problems and complain about poor customer service. Many reported waiting for months to get their order, while some claimed not even to receive it after constant assurance from the company – they ultimately fail to respond when contacted.
Final Remarks
The Startt 3D printer is a suitable option if you want an inexpensive way to learn about or start 3D printing. It’s ideal for beginners, children, and even hobbyists that don’t plan to print anything beyond PLA. It’s a capable machine that can make simple prints well, and it’s cheaper (costs $100) than most 3D printers in the same range like the Flashforge Finder 3D printer which also works with only PLA filament.
Check Price
instruction how to work from scratch for beginners and dummies, how
looks like Getting Started with a 3D Printer: A Complete Guide for a Beginner
3D printing has become an increasingly common part of our daily lives.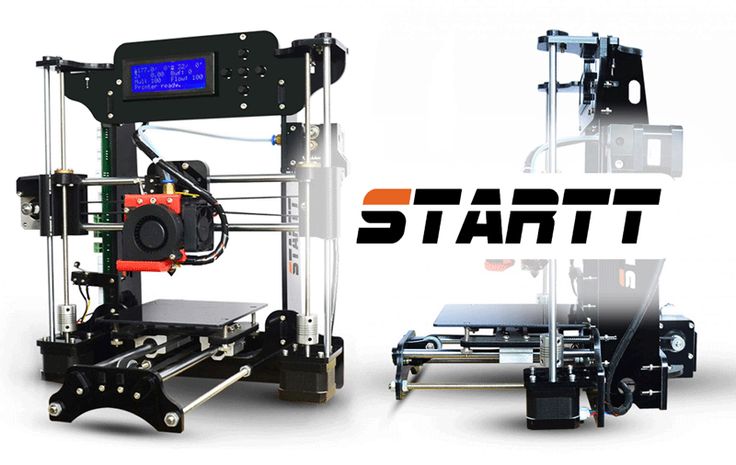 Thanks to new technologies, it has become possible to easily print from a small detail to a large building. The range of products is also pleasing - today you can find a lineup that includes both affordable devices and more expensive ones. But how to work with a 3D printer? This is a completely normal question that any beginner will have, it is for this reason that we will try to answer it as simply and accessible as possible.
What is a 3D printer and how does it work?
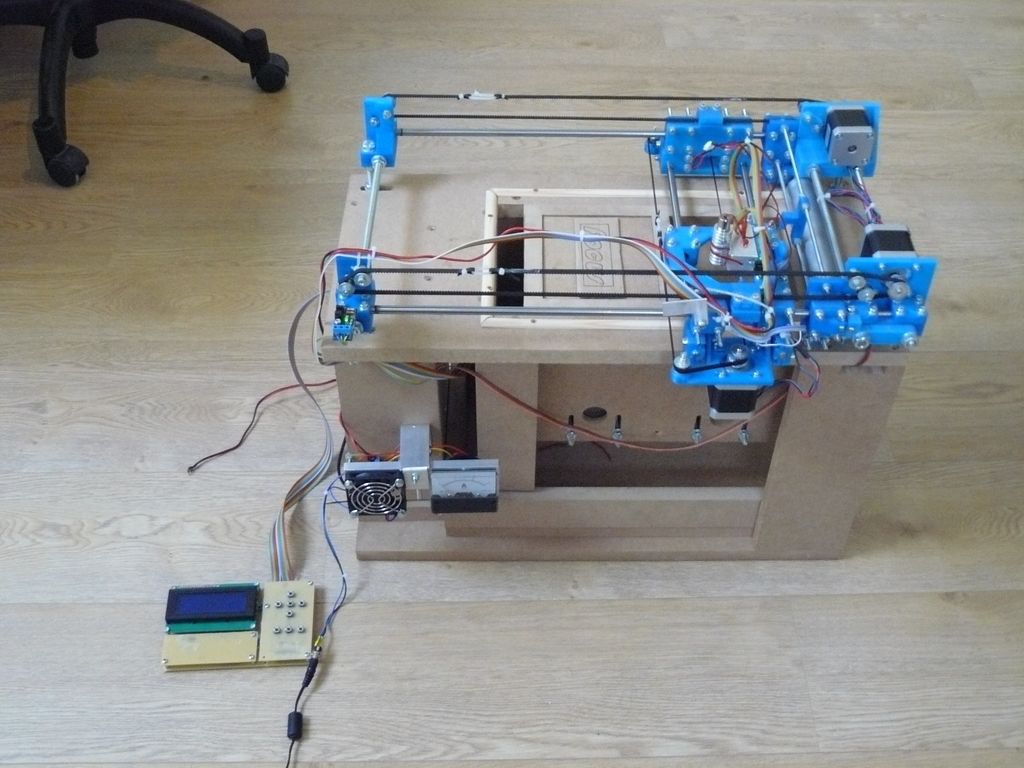
The 3D device consists of the printer itself and a computer that controls all processes. The principle of operation of such a design is to create 3D models by superimposing layers of liquid material. There are a large number of printer models - from large industrial ones to compact ones, but they all have the same principle of operation and component parts:
- Extruder - the print head through which the thread passes. The head heats the thread to a semi-liquid state and evenly supplies the material to the working surface.
- Work surface - a printing platform on which a 3D model is formed.
- Motors - mechanisms responsible for the accuracy of movement and speed of printing.
- Sensors are electronic devices that limit moving parts to specified coordinates.
- The frame is the structure that connects all parts of the printer.
How a 3D printer works: features
Work with the aim of building a three-dimensional model begins with a sketch, which is created in a special program. After that, the software independently generates a plan for the movement of the print head and a print sequence. The 3D model is reproduced by strongly heating the plastic and distributing it evenly.
3D printers are used in many areas. Let's list some of them:
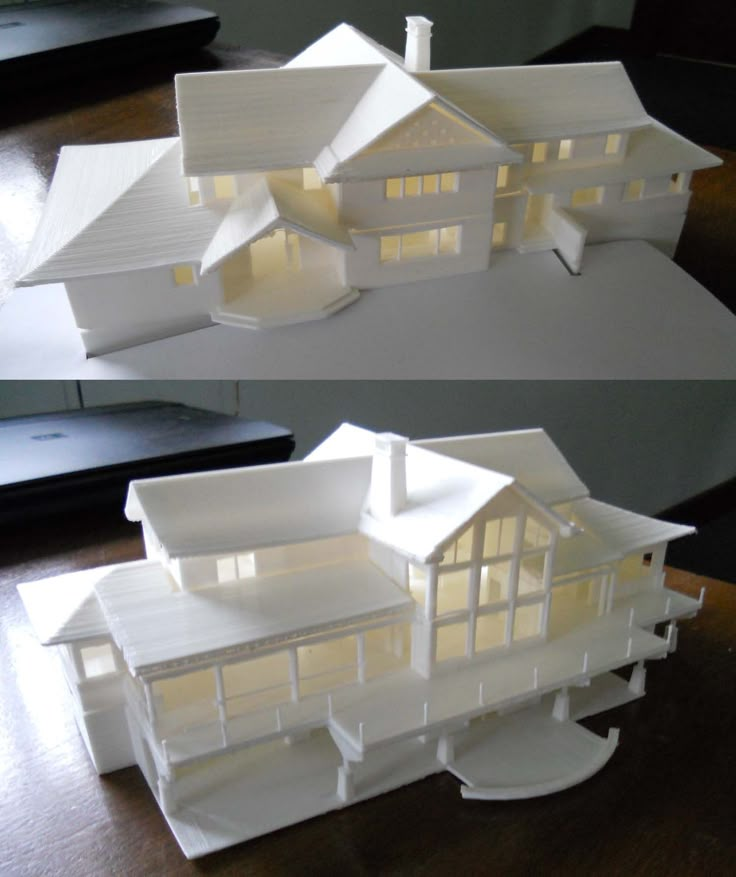
- Architecture - creation of models of buildings.
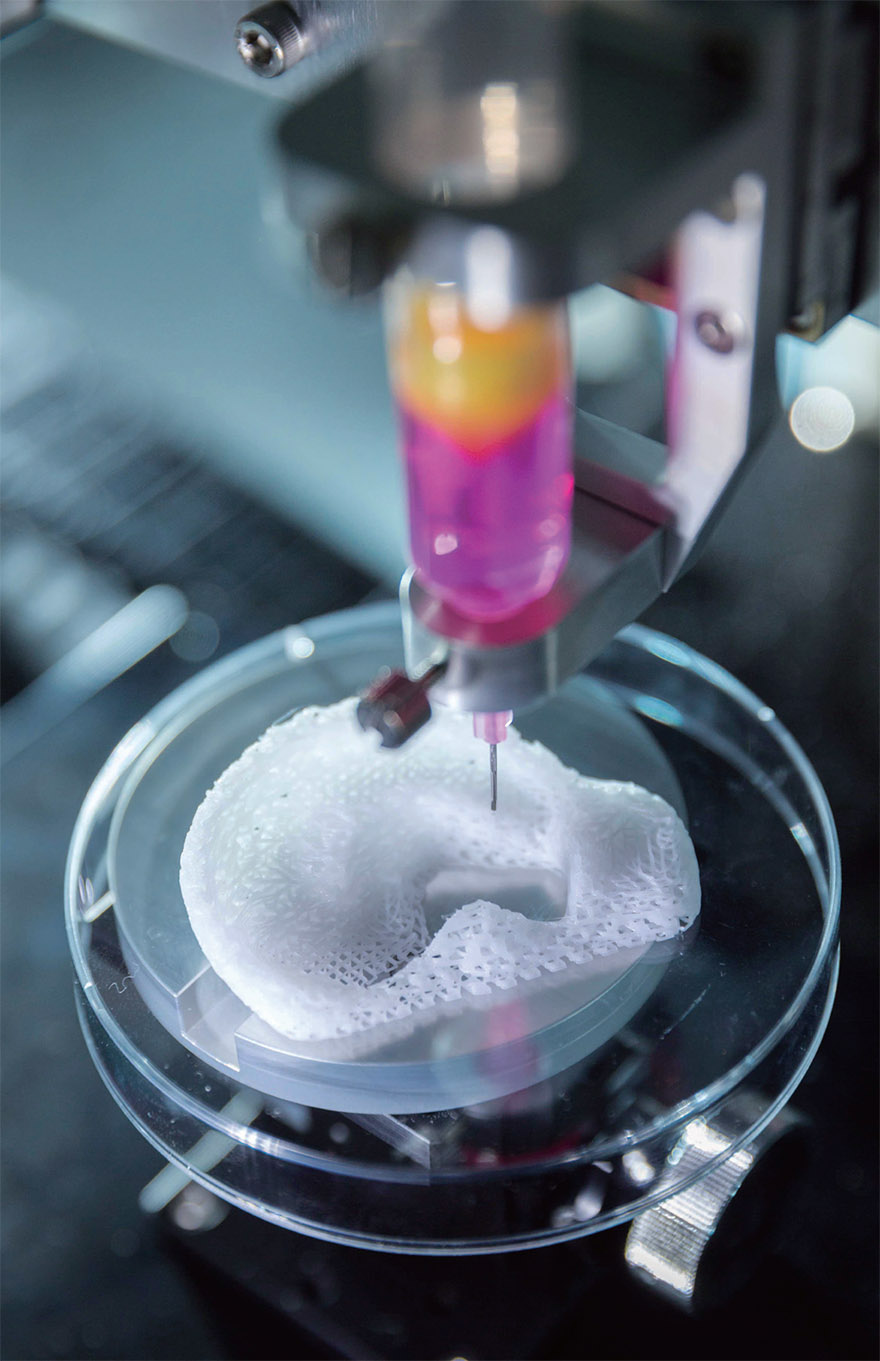
- Medicine - dental prosthetics, making models of organs for study.
- Construction - production of houses using 3D printing technology.
- Education is a visual aid for learning 3D printing.
- Automotive - creation of tuning parts, prototype layouts and other products.
This is a small list of industries where 3D printing is actively used. Today, almost every entrepreneur and just an enthusiastic person can afford a printer.
The following printers are distinguished by design features:
- RepRap - self-reproducing printers that can create their own copies.
- DIY-kit - the device comes disassembled with instructions, the assembly of which will take a sufficient amount of time.
- Finished - models are delivered assembled and ready to use.
- Commercial and Industrial - devices capable of printing metal, concrete, polymers and other materials.
How to use a 3D printer: tips for beginners, where to start
Mastering the technique of 3D printing is not difficult if you follow the recommendations and tips. Especially for those who plan to learn the basics of 3D modeling, an up-to-date list of questions and detailed answers to them has been prepared.
Printer Installation
To begin, you will need to carefully unpack the box and remove any stops. The next step is to install the printer on the surface using the building level. This will allow you to place the device as evenly as possible, which will provide better printing.
Note. Some 3D printers come with a level for installation.
Next, you will need to connect the printer to your computer and install the necessary drivers. The software disc comes with the 3D device.
Preparing for work
To get started, you need to calibrate the working surface - without this, printing quality products is impossible. This process is carried out automatically or manually. The attached instructions have detailed information on how to perform manual calibration.
Extruder patency test
The next important step is setting up the extruder. First of all, you will need to check its nozzle. If the printer has already been used, the nozzle should be cleaned of solidified particles that will interfere with the throughput of the material. Refueling the 3D printer The thread is fed into the extruder directly from the spool. But there is one caveat - for this you must first warm it up. To thread the thread, you will have to make a small effort in order to loosen the presser mechanism.
Working with models
Models can be created using a variety of 3D modeling programs. The process of manufacturing three-dimensional parts is creative, requiring careful preparation. The better and more detailed the model is drawn, the better the 3D layout will be at the output.
Start printing
After creating the model in the program and preparing the printer for work, you need to send the file for printing and wait for the result. The print speed varies depending on the printer model and specifications, as well as the media used.
Processing of the finished product
3D products obtained by printing on a printer usually do not please the user with an ideal appearance: the parts have an uneven surface. But this is typical for models of 3D printers on FDM, SLA and DLP devices, which are distinguished by higher print quality. Owners of FDM printers should not despair - a simple processing of products will give products an attractive appearance and make the surface smooth.
Several powerful ways to post-process 3D printed parts:
- Mechanical - carried out by sanding the surface with sandpaper or a special sponge for grinding.
- Chemical - surface treatment with aggressive solvents such as acetone and dichloroethane.
- Mixed - In this case, the above two processing methods are used.
What are the possible errors and how to avoid them?
Even a novice can master the technology of 3D printing, but despite this, the production of the first products causes excitement for the user. Simple operation, detailed instructions and recommendations on the Internet will allow everyone to deal with almost any printer model. But there are a few useful life hacks, the knowledge of which will help you avoid typical beginner mistakes:
- Calibrate and test the 3D printer before starting work.
- Be sure to use the correct file extension for quality printing.
- Do not remove the finished product from the printer immediately after it has been processed: this may damage the part and cause defects.
- If errors occur during the 3D printing process, try restarting the device - this usually helps.
- If restarting the printer still does not help, try changing the settings or re-entering the model.
- When assembling 3D printers, please follow the enclosed instructions carefully.
- Use only the correct materials for your 3D printer.
- Subscribe to useful 3D printing channels and read articles.
Following the tips above will allow you to set up your 3D printer, get it ready to run and, most importantly, print your first 3D products. Choose a model according to your budget and capabilities, and it will not be difficult to master the basics of 3D modeling and get the first details if you follow the instructions and recommendations.
- March 21, 2021
- 11508
Get expert advice
Instructions for starting a 3D printer -Manufacturers -News
Moscow, Dubninskaya st., 24, building 3
+7 (499) 391-38-03
Mon-Fri from 10:00 to 19:00
- All
-
Applications
-
Manufacturers
News
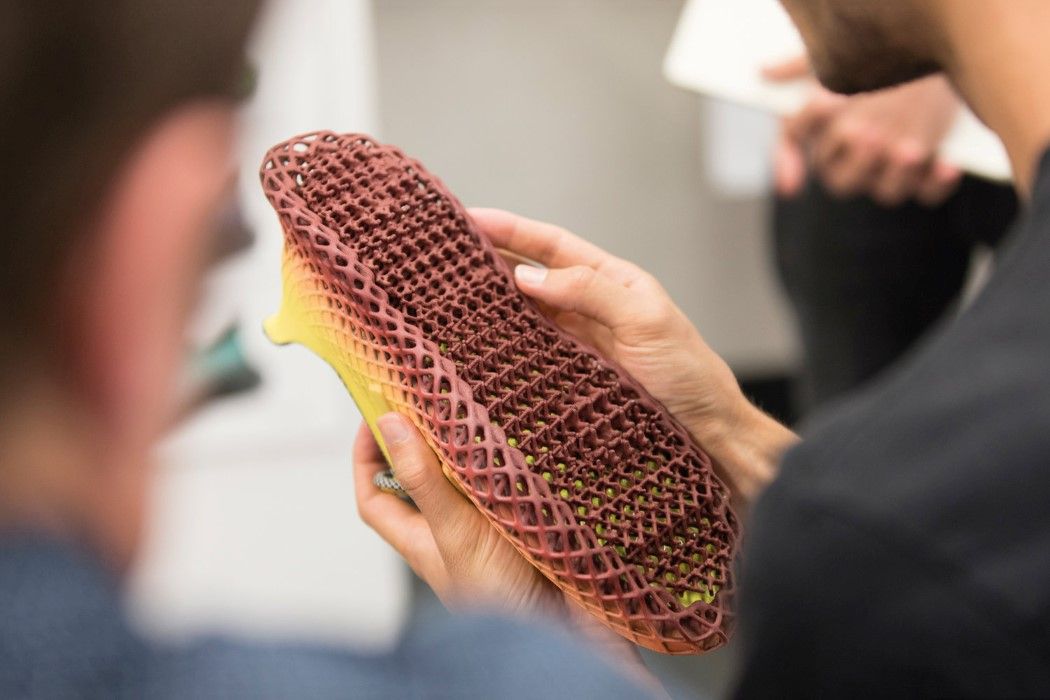
The possibilities of 3D printing are incredible. We would like to share the most inspiring user stories with you.
Felix Tec4 3D Printer Startup Instructions
Quick start3D printer FelixTec 4 | |
1. Safety Safety | |
SafetyDo not allow children to use the printer without adult supervision. The printers are intended for professional use.Operation warningDo not lean on the printer.Be careful with long hair and loose clothing. Do not move the printer during operation.Check that there are no foreign objects or residues of previous printing in the print area. Do not remove objects from the plate while printing or while it is still warm. Be careful of any moving parts that move in the X, Y and Z directions. There is a pinch hazard at the end of each moving part.Network securityUse only power supplies and cables supplied by FELIX - printers. Always turn off and unplug the printer before performing maintenance or upgrading.The power supply complies with all CE regulations and has protection against short circuit, overload, over voltage and over temperature. Printer locationPlace the FELIXprinter on a stable support or table. It should be placed so that small children do not have access to it. | VentilationGood ventilation during printing is recommended, although printing with PLA is considered safe. When printing ABS, small concentrations of Styrene fumes may be released. This can (in some cases) cause headaches, fatigue, dizziness, confusion, drowsiness, malaise, difficulty concentrating, and feeling drunk.We recommend using the filament types shown on the felixprinters.com website. Examples of PLA, PETG, ABS, PVA etc. Other types may be toxic. Please follow the instructions from the filament supplier.Care with heating elementsThere is a potential risk of injury as the print head can reach up to 275°C and the heated bed up to 100°C. Do not place objects that cannot be printed on the heated bed, even if the printer is turned off. Do not touch the heating elements while the printer is in operation and until they have cooled down. Do not touch the heating elements while the printer is in operation and until they have cooled down. It is not recommended to leave the printer unattended for a long time. |
Datasheet | |
| | |
Schematic of 3D printer | |
| Accessory installation | |
| Place the back of the flex plate on the edge of the table. Lower the front of the flex plate and make sure all edges are inside the table platform. Fit the thread guides and material spool holders into the aluminum profile as shown in the illustration. First you need to mark the part of the fastener in the T-slot, then turn it a little until the fastener wraps around the aluminum profile. | |
3D printing table leveling | |
Go to the main menu by pressing the button and select the "Control" section. | |
| Turn the button to select the item "Level Build Platform", confirm the selection by pressing button | |
| Next, the 3D printer will start measuring the tilt angle of the platform (table), this may take a few seconds, wait until the measurement is completed, and you will see the measurement results on the printer display | |
| Shows the values for the necessary adjustment of the table with the adjustment screws. These values will be used to level the platform (table) with the two large screws. | |
| Turn the front screw 90° to the left (counterclockwise) and the rear screw 45° to the right (clockwise). Now select "Measure Again" | |
| If the screws are adjusted correctly, the process will end automatically and you will see "OK" on the screen. Otherwise, the measurements must be repeated. | |
3d printer surface sensor calibration | |
| 1. 2. Next, rotate to find the item "Calibrate Z-Probe" and press the button 3.Place the calibration card between the nozzle and stage flex plate. Click the button to continue. | 4. If you turn the button to the left (counterclockwise), the distance between the table and the extruder will decrease, to the right (clockwise) it will increase. The calibration card should be lightly pressed between the nozzle and the table, then press the button to continue. 5. "OK" means everything went well, this setting affects the distance between the nozzle and the table at the first printing layer, and is the most important! |
Replacing and threading the 3D printer Felix Tec4 | |
1. Take the Teflon guide tubes and insert them into the holes on the printer's print head and guide. The Teflon tube is used as a filament guide. With a Felix 3D printer, you can use any 3D printable plastic, but you will achieve the best quality with plastic from Felixprinters. With a Felix 3D printer, you can use any 3D printable plastic, but you will achieve the best quality with plastic from Felixprinters. | |
| 2. Place the media spools on the holders at the end of the printer | |
| 3. Take the free end of the filament on the reel, check that it does not break (bend the material at a distance of 2-3 cm from its end, if the material breaks it means that it has absorbed moisture and may get stuck when fed into the extruder). Cut off a little (2-5cm) of excess thread with scissors. The tucked thread should be without fractures and with a neat butt. | |
| 4. Repeat steps 1-3 for the second spool. | |
| 5. Push the thread through the guides and the Teflon tube until the thread comes out of the tube by 5-7 cm. | |
| 6. Go to the main menu by pressing the button and select the "Control" section | |
7. Select "Change Filament" from the open menu Select "Change Filament" from the open menu | |
| 8. Select the desired extruder to load the filament. If you have a printer with one extruder, you just need to select "Extruder 1" | |
| 9. Select the type of plastic you want to replace or insert. | |
| 10. By turning the button you can both pull out the material from the extruder and refill it. With a smooth rotation of the button, it is necessary to draw the thread through the entire extruder until the thread starts to come out of the nozzle, as in the figure, the thread that has come out of the nozzle must be removed with tweezers (CAUTION: the nozzle heats up to high temperatures, do not touch it during the plastic replacement procedure with your hands). If necessary, you can slightly push the thread from above. | |
Please note that for high-quality printing, there should be no filament residues on the nozzle, and the table must be clean, so it should be cleaned before printing. | |
Printing with an SD Memory Card | |
| 1. Save the gcode print program and insert the memory card into the slot near the printer's power connector | |
| 2. Enter the main menu and press "Print" | |
| 3. Select a file to print and click the button. After that, printing on the 3D printer will start, the extruders and the table will warm up according to the settings, the platform and the distance to it will be measured at several points, after which the printer will print a preliminary strip from the front side of the platform and start printing the object itself. | |
| 4. Do not leave the printer unattended until at least two or three layers have been printed, be careful about the first layer, it must be in contact with the table surface, otherwise the print will be damaged. | |
5. If you need to stop printing or pause, press the button and in the menu that appears, you can stop printing "Cancel print", pause printing "Pause", change material and adjust the Z-axis printing. | |
 Enter the main menu by pressing the button and select the "Control" section.