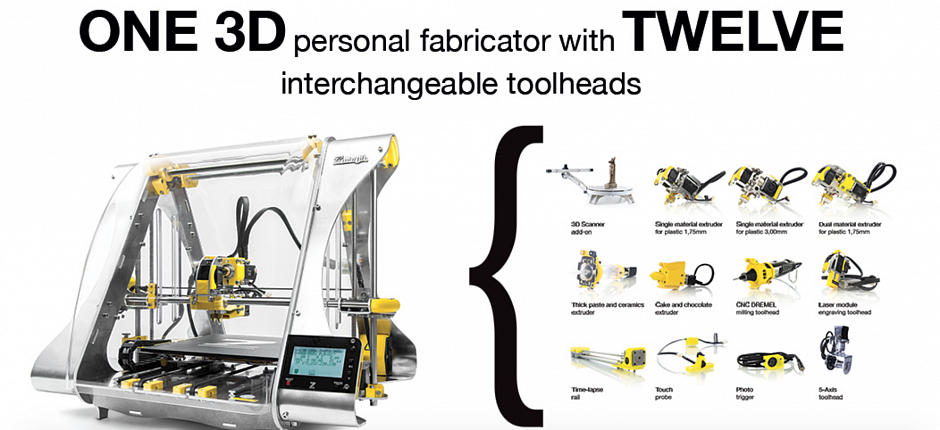
Sol 3d scanner from scan dimension
Scan Dimension - 3D scanners
About Scan Dimension
Best plug-and-play 3D scanners
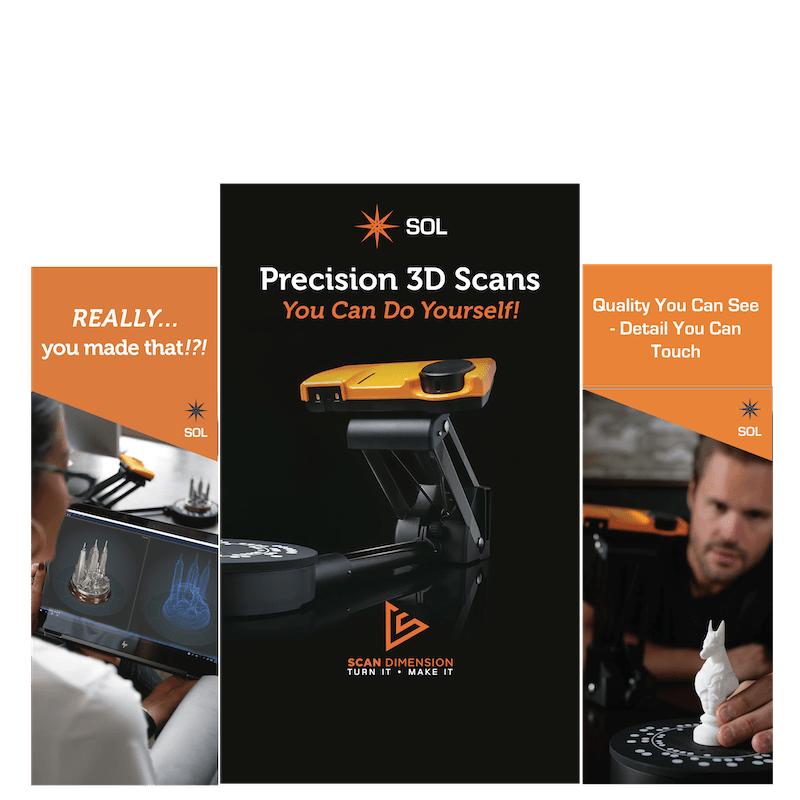
SOL and SOL PRO are the only 3D scanners on the market with fully automated processes for calibration and meshing. Both scanners include intuitive software and deliver impressive scans with minimal user intervention.
Calibrate, scan, mesh. That’s it.
SOL PRO 3D scanner
2x speed - 2x accuracy
-
Accuracy:
0.05 mm (50 my)
Camera resolution:
8 MP
Supported operating systems:
Windows and MacOS
More about SOL PRO
SOL 3D scanner
Best price-performance ratio
-
Accuracy:
0. 1 mm
Camera resolution:
5 MP
Supported operating system:
Windows
More about SOL
Become a dealer
We currently welcome new dealers and distributors.
Please don’t hesitate to contact us with your details to get more information: [email protected]
dist.scandimension.com
What others say
3D Printing Industries reviews SOL PRO 3D scanner
"Those seeking a turnkey 3D scanner need not look any further, as the SOL PRO is the complete package."
Read the review
Review of SOL 3D scanner
"We've never come across a 3D scanning workflow this automated, so Scan Dimension really wasn't kidding when it marketed its system in this manner.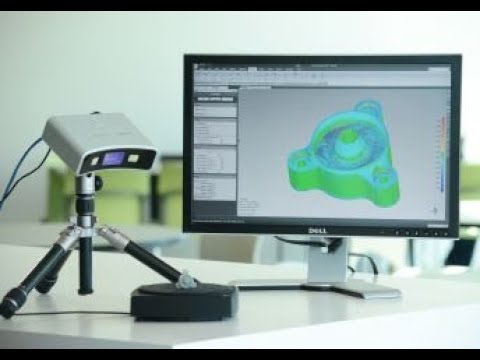 "
"
Read the review
Featured on
Customer feedback
Latest articles
How to turn a cake into a 3D model in only 2 scanning passes
November 08, 2022
3D scanning a Danish rum ball cake.
How to scan various surfaces and shapes with SOL PRO
June 30, 2022
See how to scan dark, shiny, transparent and symmetrical objects with SOL PRO 3D scanner.
View all articles
Division of Global Scanning
Scan Dimension is a division of the scanning heavyweight, Global Scanning®, a Danish-based technology firm with about 30 years of experience in the image-capturing sector making scanners and scanning software.
SOL 3D scanner software install
SOL 3D scanner includes specialized software for download: ‘SOL Creator’ for scanning and ‘SOL Viewer’ for inspection and exporting of files.
Go to download
SOL Creator guides you smoothly through the entire scanning with automated processes for both calibration and meshing, saving you both time and effort.
In short, this is what happens:
- Calibration makes sure your scanner and turntable are working properly together.
- Scanning in up to five passes with your object scanned in different orientations optimizes the texture. The option ‘Turbo’ doubles the speed.
- Meshing is where the different information from the scanning passes is combined into a 3D model.
After scanning, you can view the 3D model in different renderings in SOL Viewer before exporting to various third party 3D software for comparison, editing, measuring or 3D printing.
SOL software is available for Windows.
SOL Creator
SOL Creator is a 3D-object scanner assistant software designed exclusively for the orange SOL 3D scanner. It works with the hardware to conduct 3D scans.
SEE THE SOL CREATOR SOFTWARE IN ACTION
SOL Viewer
After scanning, use SOL Viewer to view your 3D files in different renderings: shaded, faceted, x-ray and wireframe.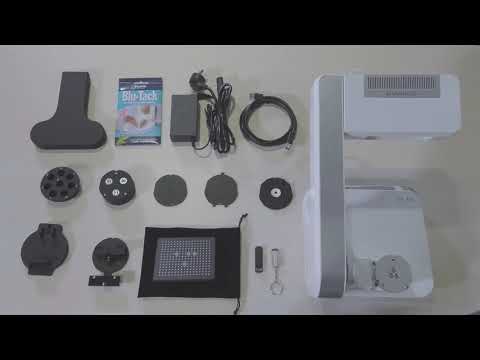 Export your watertight 3D models to third party tools for further editing and 3D printing.
SOL Viewer also lets you upload your files directly to Sketchfab for fast and easy online presence.
System requirements
| Supported operating systems: | Windows 11 and 10 64-bit (x64) Note: Microsoft SQ CPU's are not supported |
| Graphics card: | Minimum 2 GB memory Must support OpenGL 3.3 or higher |
| Recommended hardware: | 2.8 GHz processor 4 cores (8 logical processors) 16 GB RAM 100 GB free disk space (system drive) |
| Power input: | USB 3.0 port (maximum 800 mA) or powered USB 3.0 hub |
| Internet: | Required to access calibration data |
Get help to see if your computer meets the system requirements, click here.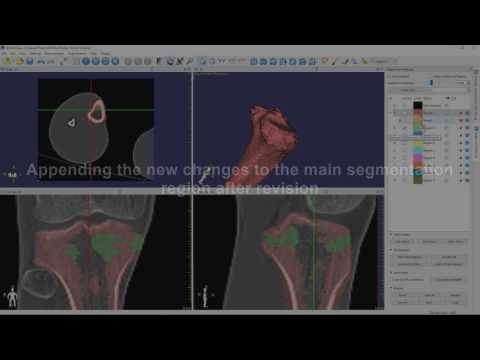
DOWNLOAD SOFTWARE FOR SOL
WINDOWS
MAC MONTEREY | BETA
MAC (older than Monterey) | BETA
Were you searching for software for SOL PRO?
Download software for the red SOL PRO 3D scanner
Review of 3D scanners for metrological control / Sudo Null IT News
In this article we will talk about optimizing quality control processes using 3D scanning, about the design and principles of operation of metrological 3D scanners. Using real examples, we will show the effectiveness of using equipment for solving various problems. After reading the review, it will be easier for you to navigate among a large number of models on the market and determine the criteria for choosing the right device.
Introduction
Every year the industry produces more advanced instruments and devices. Machine parts often have a complex geometric shape, are in close interaction with each other. In order to ensure the smooth operation of the mechanisms, it is necessary to match the shapes, sizes, assembly accuracy and other parameters. Quality control in mechanical engineering was carried out using various technologies, including using coordinate measuring machines (CMMs). However, scanning is by far the most efficient method in terms of the ability to capture data for measurements and the speed of information processing. nine0004
Capabilities of 3D scanners
Source: solutionix.com
3D scanners cope not only with smooth surfaces, but also with complex areas: corners between edges and faces, depressions, holes. An important advantage of the devices is the non-contact method of operation, which allows scanning at a distance, in hard-to-reach places.
After the changes are made, the information is transmitted on-line to a computer, where the software compares the received data and the specified parameters and demonstrates deviations: size mismatches, cracks, signs of deformation and corrosion, and other changes.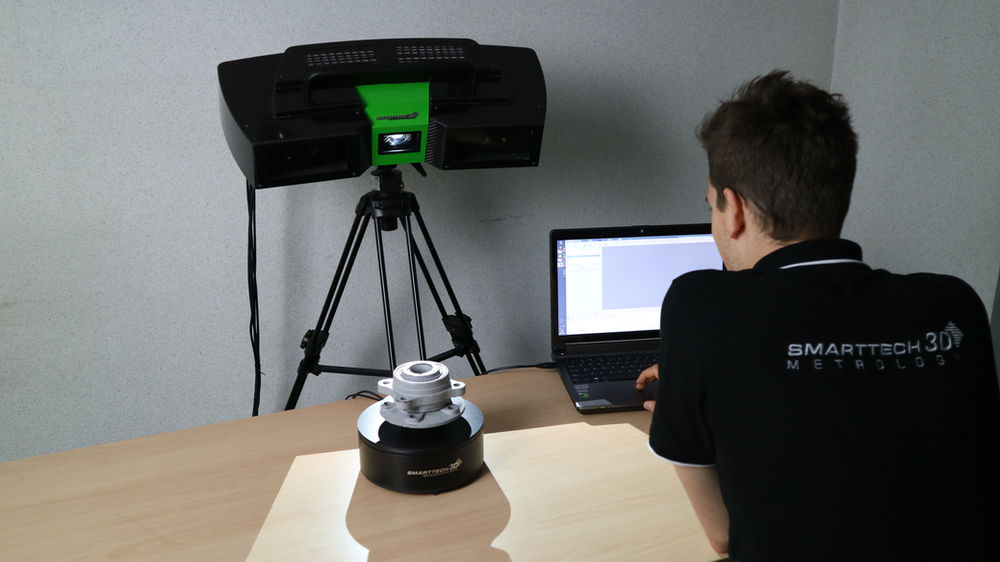 nine0004
Applications
Source: sastrarobotics.com
Digital measurement is a high-tech process that has a number of important advantages over other verification methods. The only disadvantage of the technology is the high price of the equipment. In large industries, with a quick payback, the use of 3D scanners is economically justified. Consider examples:
- large-scale production of parts and devices with mandatory input and output quality inspections; nine0031
- small-scale production of objects of complex geometry, impossible without constant quality control.
Situations when other technologies cannot be applied:
- work with objects made of specific materials deformed during the contact method for determining parameters;
- measurement of electronic parts at risk of being damaged by static electricity;
- re-measurements of objects that are physically absent can also be made on a digital copy taken in advance.
 nine0031
Purposes of use
Source: www.capture3d.com Input control of materials and details is necessary at any enterprise. For large-scale production, selective batches are inspected. However, this requires a large number of controllers, which increases the cost of the product.
The use of 3D scanners automates the workflow, eliminates errors associated with the “human factor”, allows you to switch from selective quality control to continuous, increases the speed of verification several times compared to manual labor. nine0004
Analysis of the location of parts relative to each other
In a product consisting of several parts, it is important to monitor the correct arrangement of elements in relation to each other. Scanning technology easily captures the position of objects in space and transmits information to a computer monitor.
Checking the geometry of large objects
A number of large objects, such as construction equipment, marine and air transport, require regular testing of the hull geometry.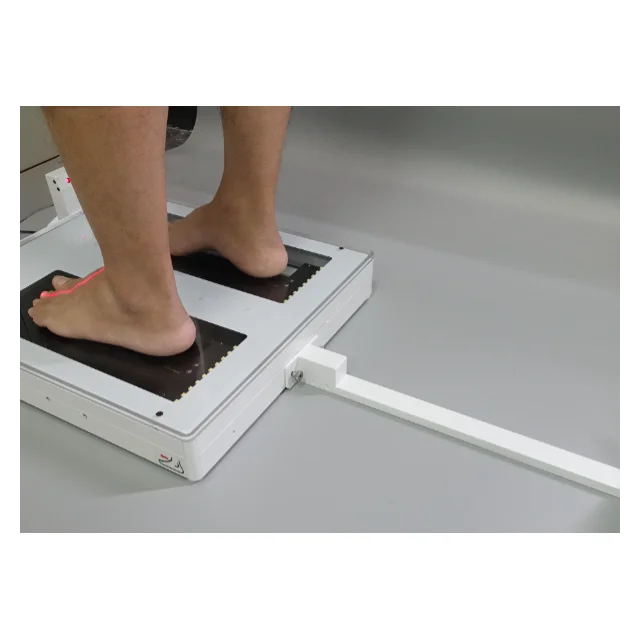 The process is lengthy and requires the search for specialists with the necessary qualifications and experience. Metrological 3D scanners easily cope with the digitization of large-sized objects, guarantee high measurement accuracy and save time and financial resources of companies. nine0004
Checking the geometry of small objects
Sometimes measuring small objects is more difficult than measuring large ones. 3D scanners successfully measure to within a few microns, regardless of the size of the parts. Deviations of shape and size from the base model are highlighted in the program, which makes it easy to notice and eliminate them.
Selection of equipment
Source: tool-maker.net
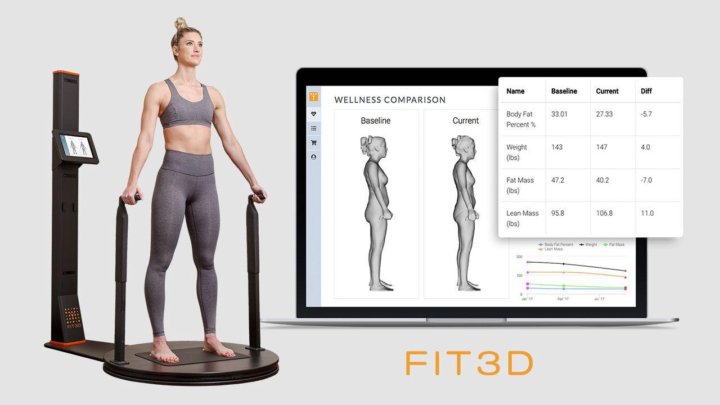
There are dozens of models of metrological scanners on the modern digital equipment market. The choice of instrument begins with the identification of the range of tasks set by the production. Here are some parameters that you need to pay attention to and compare with key goals:
1. Working area
It is quite clear that large objects require devices with a large working area. Please note that the size of the working area is in inverse proportion to the resolution. By choosing a device with an excessive scan area, the user may find insufficient accuracy and resolution.
2. Accuracy of data
It is obvious that the highest possible accuracy is required in aircraft construction and production of other critical parts. nine0004
In reverse engineering of consumer goods, products without complex mechanics, as well as when used in the creation of works of art, souvenirs, in the development of computer games, such accuracy will not be used, for these purposes it makes no sense to overpay for a scanner tens and hundreds of times.
3. Run speed
This parameter includes the calibration and direct scan time. For high-volume production, where 3D scanning is used for quality control, involving dozens of measurements per minute, high speed is an important characteristic.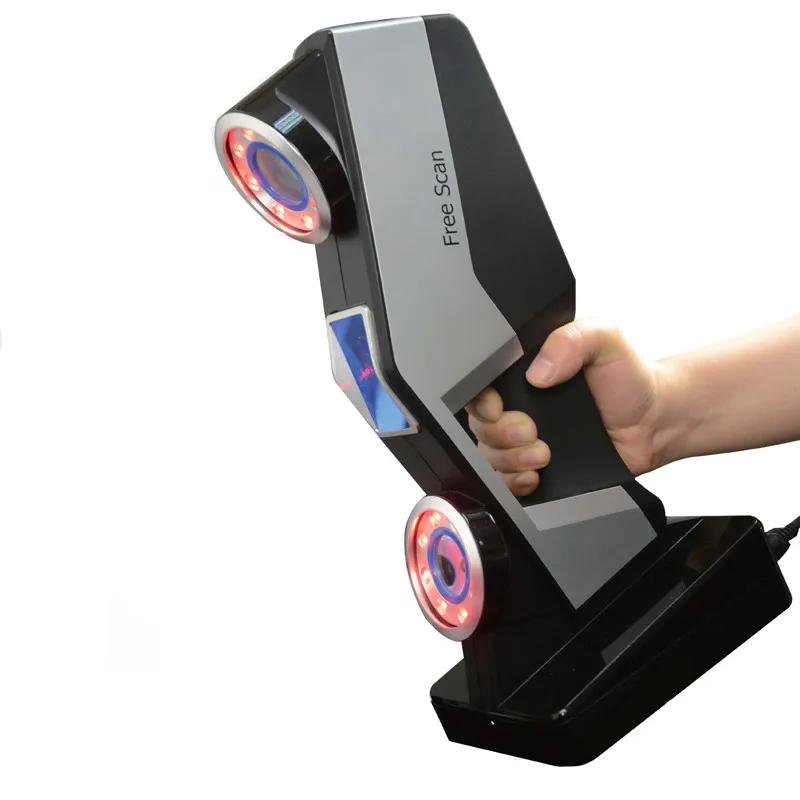 Production of small batches of products and reverse engineering are less demanding on the speed of the device. nine0004
4. Software
We recommend giving preference to scanners that work with proprietary highly specialized software. The software required for processing scans, if not included, may require significant additional financial investments.
5. Price
When choosing a 3D scanner, you must independently or with the help of a qualified specialist correlate the tasks of the user and the capabilities of the device. It makes no sense to overpay for unnecessary features. At the same time, it is important that the device has the necessary set of parameters that are guaranteed to give the desired result. It is important to predict the payback period of the equipment. nine0004
Examples of 3D scanners for metrological quality control
Let's start our acquaintance with the presentation of the Russian sample - RangeVision Pro. The device is officially approved as a measuring instrument by the Federal Agency for Technical Regulation and Metrology.
Basic information about RangeVision Pro
Source: top3dshop.ru
The device is designed as a universal measuring device for small and large objects with a size of 30 to 1000 mm. Three working zones and a set of interchangeable lenses allow the scanner to accurately digitize jewelry and car body parts. nine0004
Measuring accuracy is ensured by structured illumination technology, 6-megapixel cameras and original software solutions.
RangeVision software allows you to stitch image elements, fill in empty areas and straighten images. The program includes basic functions for checking the geometry and taking measurements. The output file format is supported by all popular computer-aided design and virtual simulation systems. Software updates are freely available. nine0004
RangeVision Pro Features
3D Scanner Applications in Various Applications
Dolsatech Quality Inspection
Source: rangevision. com
com
whose quality had to be checked. The usual incoming inspection system could not cope with a large flow of products and did not have the ability to test objects of non-standard geometry. nine0004
RangeVision PRO 3D scanner was used to optimize the process. Current measurement technologies involve the transportation and storage of control samples in specially designated areas. The mobility of the Russian scanner made it possible to reduce logistics costs.
Source: rangevision.com
With the scanner, there was no need to move batches for measurements. RangeVision PRO works in workshops and warehouses - in any convenient place. nine0004
In this case, a three-dimensional model of a part with a size of 1700 mm * 720 mm was created. Stickers were pasted onto the part, which made it possible to automatically assemble individual images into a single 3D model. The information was processed by the proprietary ScanCenter software supplied with the scanner.
Quality Inspection at INKAY TECHNOLOGY
Source: rangevision.com
INKAY TECHNOLOGY SRL in Italy had the task of verifying that the dimensions of the body casting matched the base model saved in the CAD file. Given the non-standard geometry of the object, it was decided to abandon the usual technologies and use the RangeVision 3D scanner. nine0004
The work was done in 3 stages:
- We created scans of the outer part of the body using markers for automatic image stitching.
- To scan the inside, the case was divided into 2 parts, each of which was digitized separately.
- Stitched all the images into a single model.
Source: rangevision.com
Quality inspection at Krasnoye Sormovo plant
Source: rangevision.com
As we mentioned above, 3D scanning is justified not only in high-volume production. Often the equipment is effectively used in the piece production of parts. The shipbuilding industry uses cast components with complex geometry, the quality control of which is difficult and time consuming. Therefore, the use of 3D equipment in the industry is becoming more common.
Krasnoye Sormovo specialists chose RangeVision to inspect the quality of the controllable pitch propeller hub. nine0004
Part height - 70 cm, diameter - 80 cm. The RangeVision PRO 3D scanner was moved around the hub, taking pictures from different angles. A 3D model was assembled from the 100 images obtained. The stl-file was combined with the basic calculation model in the GOM Inspect software to determine deviations. The work, as a result of which the specialists received an accurate report of the conformity of the finished product to the base model, took several hours. nine0004
ScanTech PRINCE775
Source: www.3d-scantech.com
ScanTech PRINCE 775 portable handheld 3D laser scanner is based on 2 cameras with LED illumination. 2 operating modes are available to users:
- In BLUE mode, the blue laser is active; this mode is used to obtain models of high detail;
- RED mode with red laser is enabled when high digitization speed is a priority. nine0034
- reverse engineering;
- industrial design;
- quality inspection;
- creation of computer games and 3D films;
- incoming and outgoing quality control in production;
- reverse engineering;
- pipeline inspection;
- digitization of objects for any purpose.
- in dentistry;
- jewelry industry;
- in education;
- for solving reverse engineering problems in various fields.
As a result of scanning, a point cloud is created, which is processed using the ScanTech software solution. The finished image is displayed on the screen of the working device.
Scanner Features
Using PRINCE 775
The main scope of the scanner is the digitization of large-sized objects, such as parts of ships, cars, industrial installations. The device can also work with small objects, such as jewelry. nine0004
ScanTech PRINCE 775 Applications:
- and in many other areas.
Source: www. 3d-scantech.com
An example of the use of a PRINCE handheld scanner complete with MSCAN - the use of two instruments increases the efficiency of the process, due to the features of the equipment. nine0004
The first device provides high accuracy and detail, the second helps to study large objects using photogrammetry.
Source: www.3d-scantech.com
Digitization of Airbus A350 parts using the kit: MSCAN+ PRINCE. The pair has proven itself in the rapid resolution of quality inspection tasks.
Source: www.3d-scantech.com
Digitization made it possible to create a three-dimensional model of the impeller, since it was impossible to accurately measure it in other ways. nine0004
Creaform HandySCAN Black Elite
Source: creaform3d.com. The device is suitable for most users, including those who do not have practical skills in working with such equipment.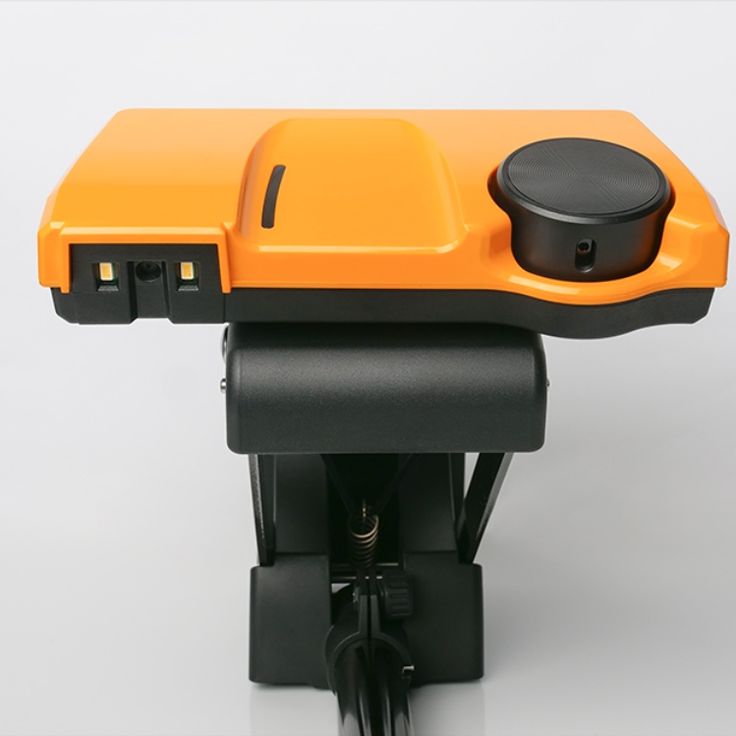 Despite the ease of use, the scanner guarantees high-precision models, even when digitizing large objects of complex geometry. nine0004
 Scanner features
Application area Creaform HandySCAN Black
The device is designed for professional use in various fields. HandySCAN Black excels in tasks such as:
The scanner is easy to use: all you need to do is connect to your laptop and select a program. During the digitization process, you can pause, examine the intermediate results and continue working. nine0004
Creaform MetraScan 750|Elite
Source: industryarena.com
Another handheld metrology scanner that creates high-precision models even for large objects.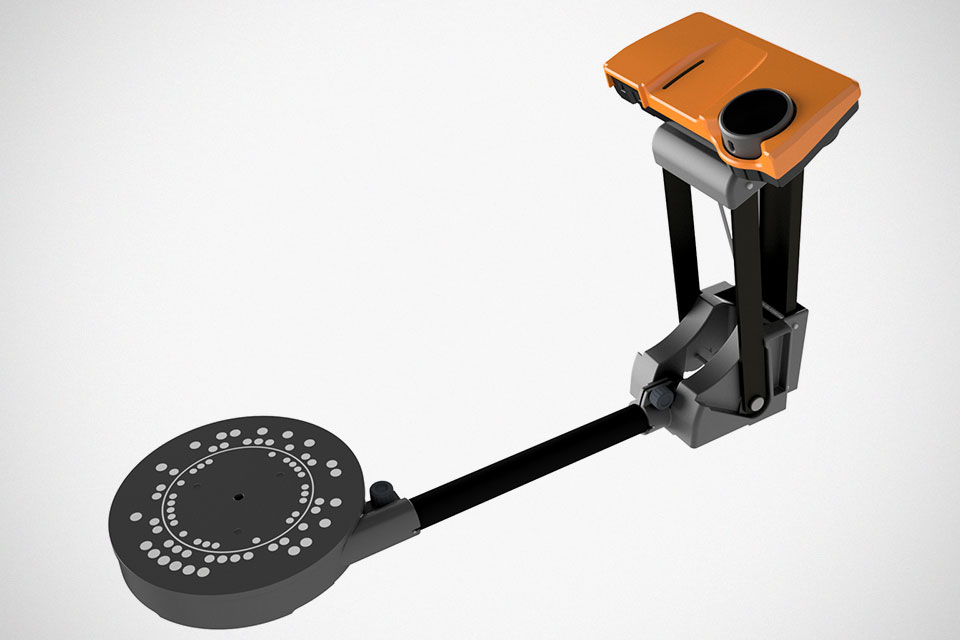
Specification MetraScan 750|Elite
MetraScan 750|Elite
The device is widely used in architecture, energy industry, for reverse engineering and metrological control.
Solutionix C500
Source: psarta.com
The Solutionix C500 is a compact color 3D scanner. The mobile device is placed on any flat surface.
Based on a turntable and two 5MP cameras. The rotation of the platform allows cameras to capture an object from different angles. High speed operation and ease of use provide excellent equipment performance.
Specification Solutionix C500
Application Solutionix C500
Due to its compact size and the ability to quickly and accurately color scan the device is in demand in many areas, for example:
Terminals
The use of metrological 3D scanners improves the quality of products and reduces their cost by saving time and resources, minimizing scrap. Automation of production processes, by incorporating 3D scanning technology, increases the efficiency of the enterprise and its competitive position in the market. nine0004
To choose a professional metrology 3D scanner, contact Top 3D Shop. Technical experts will help you choose the equipment that is optimal for solving your problems, with the most suitable ratio of price and functionality.
3D scanner as a solution to labor-intensive measurement problems
Reverse engineering
Casting
Mechanical engineering
Implementation stories
Author: Olga Gorobets
Author: Olga Gorobets
The leading Czech company in the field of production, modernization and repair of molding machines uses a Creaform 3D scanner in its work, which significantly speeds up the process of measuring complex-shaped parts.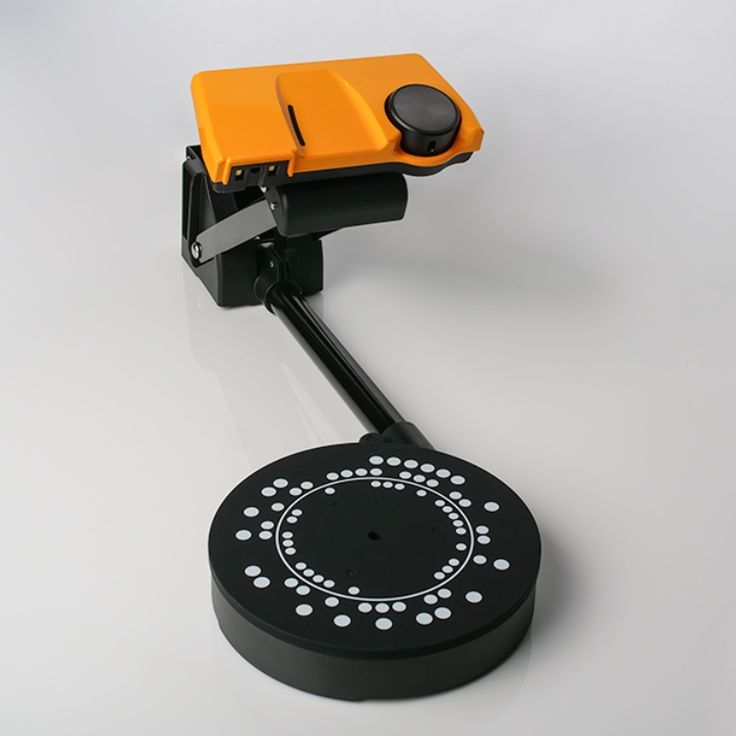
Šmeral Brno is a joint stock company with a long tradition dating back to 1861. During its long history, the company has gradually expanded the scope of its activities. Starting with the foundry and then adding mechanical engineering to it, at 1925, the company began to produce molding equipment of its own brand.
Šmeral currently manufactures and delivers turnkey molding lines, including those automated by robots or transfers, stand-alone molding machines and other equipment for forging shops, such as presses and stamping hammers for hot forging or roll forging. Šmeral Brno is a world leader in the supply of machines for cross-wedge rolling of steel and aluminum alloys. An important part of the company's production program is the overhaul and modernization of molding equipment of any brand, type or year of manufacture. nine0004
Representatives of Šmeral Brno were very impressed with the capabilities of the MetraSCAN 3D 3D scanner, especially in terms of measuring and scanning shiny and rough surfaces.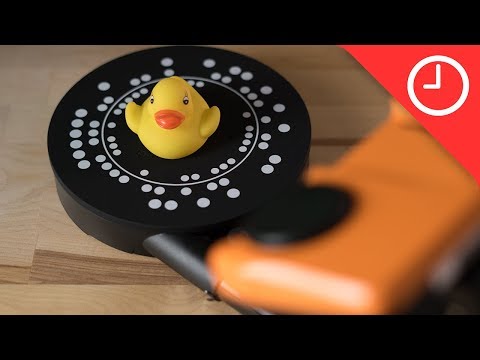 Other advantages were the speed and available measuring range, as well as the portability of the system.
Why use a 3D scanner?
With state-of-the-art equipment such as a laser tracker and CMM already in place, Šmeral wanted to complement its fleet of test and measurement equipment with a portable scanner so that CAD comparisons, upgrades and reverse engineering could be easily performed. nine0004
After some research, Šmeral contacted Creaform for details on the MetraSCAN 3D 3D Scanner, a flexible portable 3D measurement solution for manufacturing environments.
Read an interview with an expert: When measuring in production, a 3D scanner will soon be indispensable
MetraSCAN 3D is a handheld 3D scanner based on the C-Track optical tracker that provides dynamic referencing, automatic alignment and continuous parameter tracking. This 3D scanner is insensitive to external vibrations in production environments and is ideal for measuring parts that cannot be transferred to a granite or cast iron table.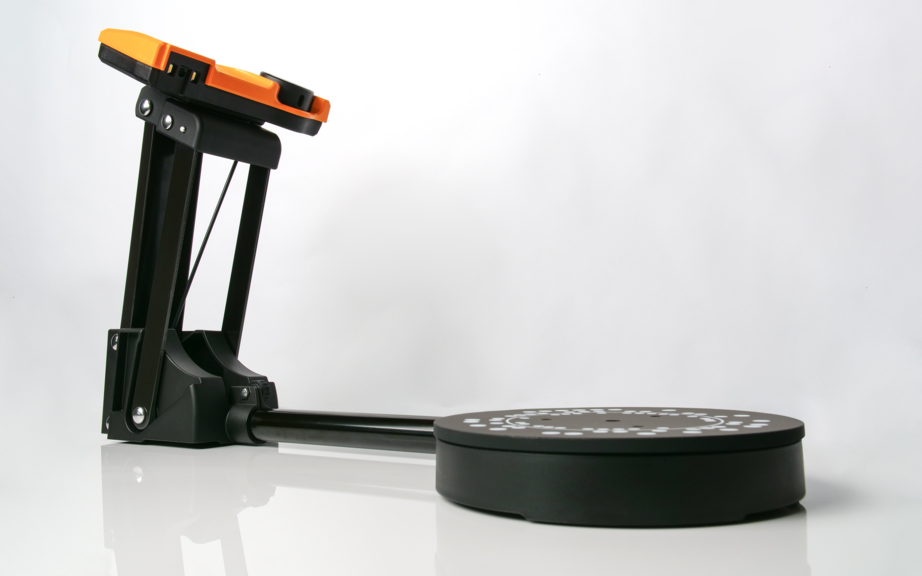 nine0004
During a field demonstration by SolidVision, the official distributor of Creaform in the Czech Republic, Šmeral Brno was very impressed with the capabilities of the MetraSCAN 3D 3D scanner, especially in terms of measuring and scanning shiny and rough surfaces. Moreover, such results can be obtained without any preliminary preparation, unlike similar solutions that require applying a spray to objects or performing other preliminary operations. Other advantages were the speed and available measuring range, as well as the portability of the system, which can be used both directly in the factory and at the customer's site. nine0004
Šmeral quickly made the decision to purchase a MetraSCAN 750Elite 3D scanner. Although they already had other measuring equipment, this device did not allow 3D scanning. The MetraSCAN 3D 3D Scanner has provided greater measurement capability, which is critical to the company as it seeks to provide the most efficient measurement methods when designing cross wedge rolling equipment.


