Rwby 3d print
Rwby best STL files for 3D printer・Cults
Gears for Harbinger Separated
Free
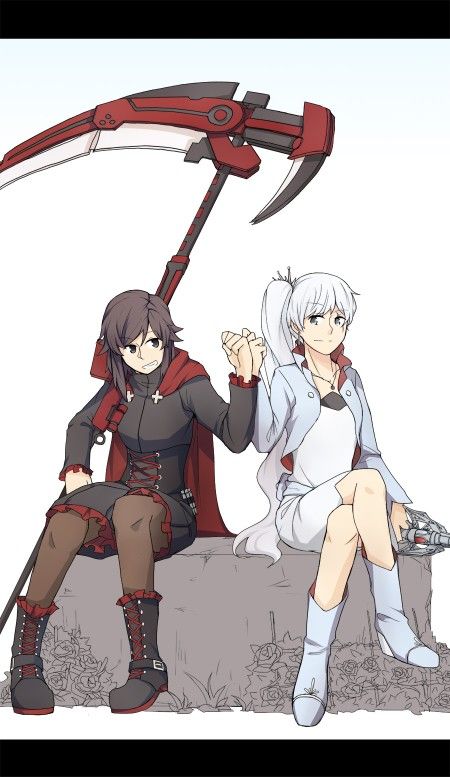
Harbinger Scythe (Qrow's Weapon from RWBY)
Free
Harbinger (Qrow's Weapon from RWBY)
Free
Sides for Harbinger Separated
Free
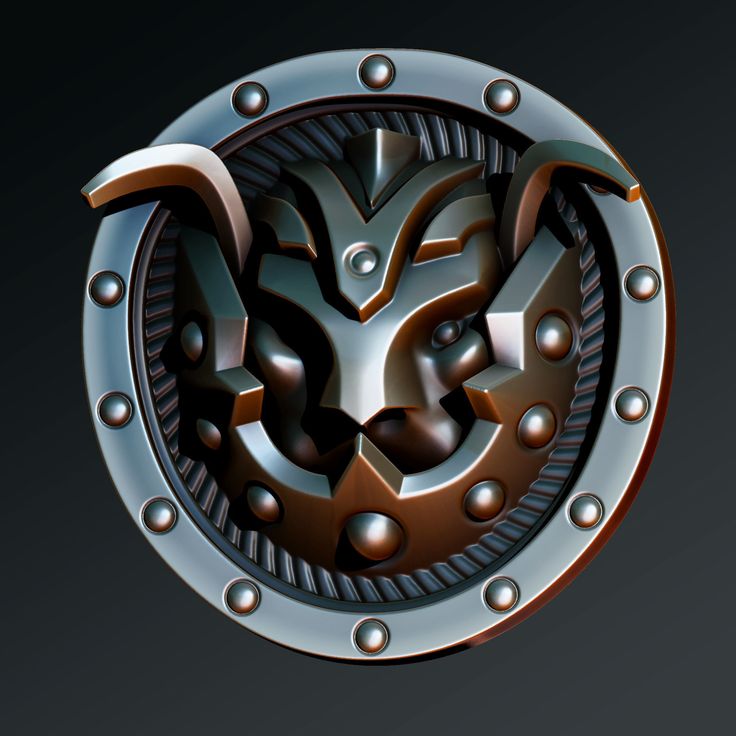
team RWBY emblem ornaments
€0.67
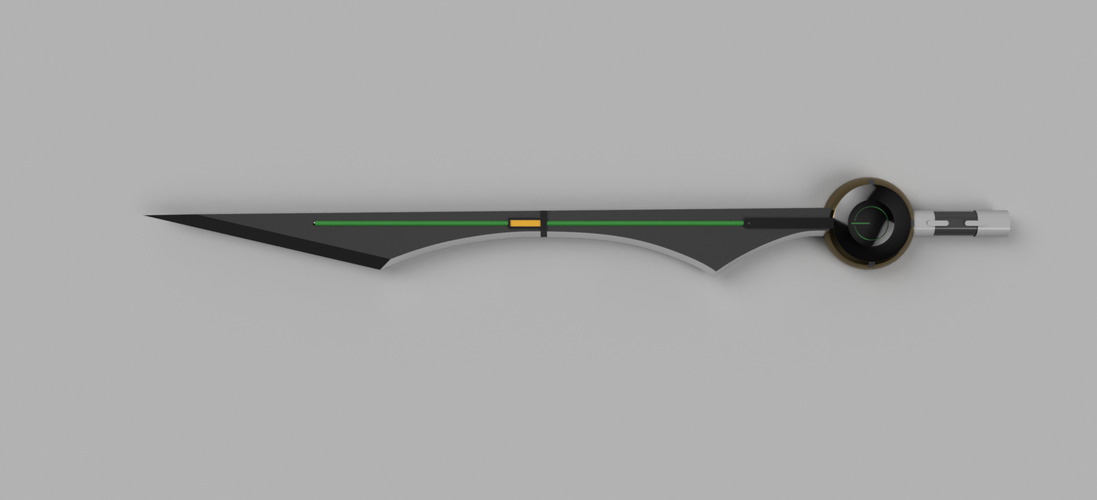
Myrtenaster - Weiss' Sword (Rapier) from RWBY
€3.23
Ruby Rose Logo keychain pendant
Free
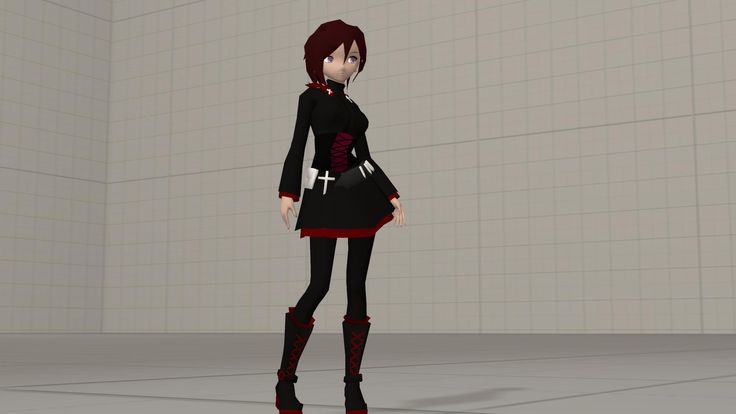
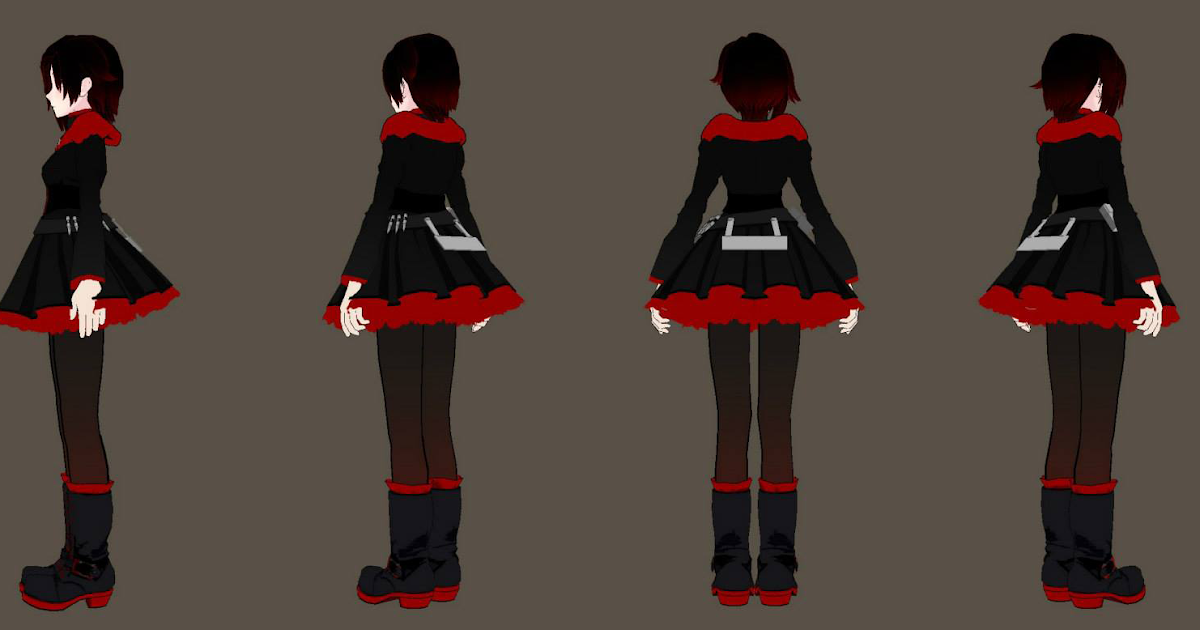
Ruby Rose from RWBY
€19.84
White snow onahole male masturbator
Free
RWBY: Cinder Fall Midnight Bow
€25. 19
RWBY JNPR and CRDL Symbol rings
Free
Ironwood "Due Process" Revolver - RWBY
€5.13
Cookie cutter Ruby Rose Chibi
€2.04
RWBY Weiss Hairband
€3
RWBY Jaune Arc Shield Printable Assembly
€6
RWBY Jaune Arc Sword
€6
RWBY Ren Gun Basic Model
€5
RWBY Pyrrha Nikos Spear Printable Assembly
€7
RWBY Ember Celica Yangs Shotgun Gauntlet Model
€7
RWBY Ozpin Cane Model 3D
€6
RWBY Weiss Rapier Myrtenaster Printable Assembly
€8
RWBY Ilia Whipsword Printable LED Illuminated Model
€7
RWBY Penny Floating Array Sword Printable Assembly
€7
RWBY Pyrrha Nikos Shield Printable Assembly
€6
Milo - Pyrrha's weapon from RWBY
Free
RWBY - Sun Wukong's Ruyi Bang and Jingu Bang - Gunchucks
Free
RWBY Vacuo Shade NDGO Octavia Ember Sword Cosplay Weapon Prop
€24.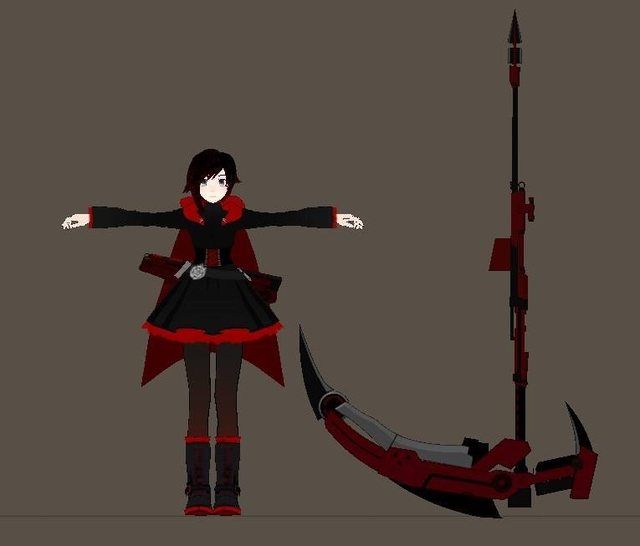 61
61
Weiss Myrtenaster
€13
Xbox One S Custom Controller Shell: RWBY Ruby Rose Edition
Free
Xbox One S Custom Controller Shell: RWBY - Neo and Yang Edition
Free
Xbox One S Custom Controller Shell: RWBY Blake Edition
Free
RWBY: Pyrrha Nikos
€12.31
RWBY Pyrrha Nikos Shield - Akoúo
Free
RWBY Blake Belladonna remastered
€4.10
Nora Valkyrie (detailed)
€4.10
RWBY Roman Torchwick Crutch Cosplay Weapon Prop
€15.38
RWBY Weiss Schnee Rapier Myrtenaster Cosplay Weapon Prop
€14. 36
36
120mm dome fan cover weiss emblem RWBY
€1.03
RWBY Dust Crystal
Free
Blake Belladonna from RWBY with Guns
Free
Lie Ren Stormform [RWBY]
Free
Samsung S6 Edge Plus - RWBY Case
Free
How I 3D Printed RWBY’s Crescent Rose – re:3D
For a long time, my best friend Mason has been bugging me to watch Rooster Teeth’s animated show RWBY. Don’t get me wrong, I love anime, but I was already watching too many shows, and kept putting it off. Then, one day, re:3D’s cosplay enthusiast Rebecca asked if there was some way we could print the Crescent Rose (the instantly recognizable, 6ft tall scythe from RWBY). I immediately said yes, which made me finally binge-watch volumes 1 and 2 of RWBY on Netflix.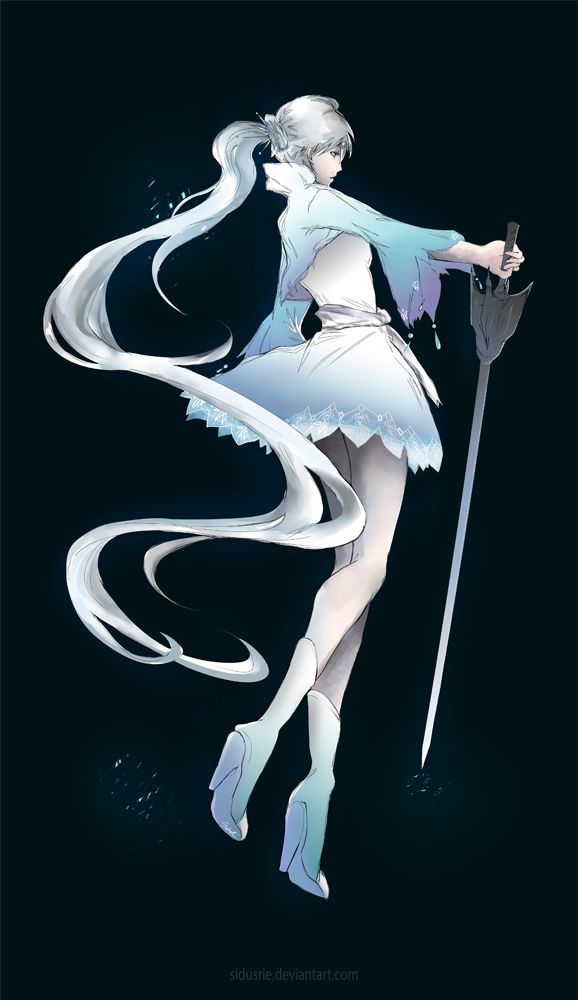 Much to Mason’s delight, I loved it! I was super excited to make the scythe, not just because of my inner fangirl, but for the creative challenge of creating a 6 foot tall 3 foot wide scythe!
Rebecca and I debated for many hours about how to go about the design for the scythe. As you all might know, the Crescent Rose has the ability to transform into a more compact gun. We discussed the viability of this option ,and ultimately decided that because of the plastic we would be using and the laws of physics, that we should pursue making the best possible scythe-version of the Crescent Rose, and not worry about it transforming.
So, I threw myself into research. I spent many hours pausing the show and sketching, as well as staring at various other interpretations of the scythe on google images. I finally decided on a plan of action, and started modeling the scythe in Onshape, a beta CAD software.
When using a 3d printer, it’s important to keep in mind how your piece is going to be printed. 3D printers start to print from a base layer up, and use supports for overhanging parts. Therefore, I modeled most of the scythe to be easily printed from a flat bottom. Although I could have modeled the piece completely true to the show, I gave up some minor design features so that my prints would be faster and use as little supports as needed. The Gigabot, because of its large print size of 8 cubic feet, allowed me to make the individual pieces much larger and easily create a life sized model of the scythe.
I made the model into 11 different pieces that could be assembled after they were pulled off the printer. I then printed these pieces using PLA on a Gigabot. I used different infills and layers for different pieces, 2-3 layers depending on how much strength I was going to need from that piece and ranged 5-20% infill depending on if I need the piece to be light or not. I usually heat the plastic at around 195-200 degrees Fahrenheit.
When assembling plastic pieces, together keep in mind in order in which you want to paint your piece, and the different bond strength of the glues or tapes you are using.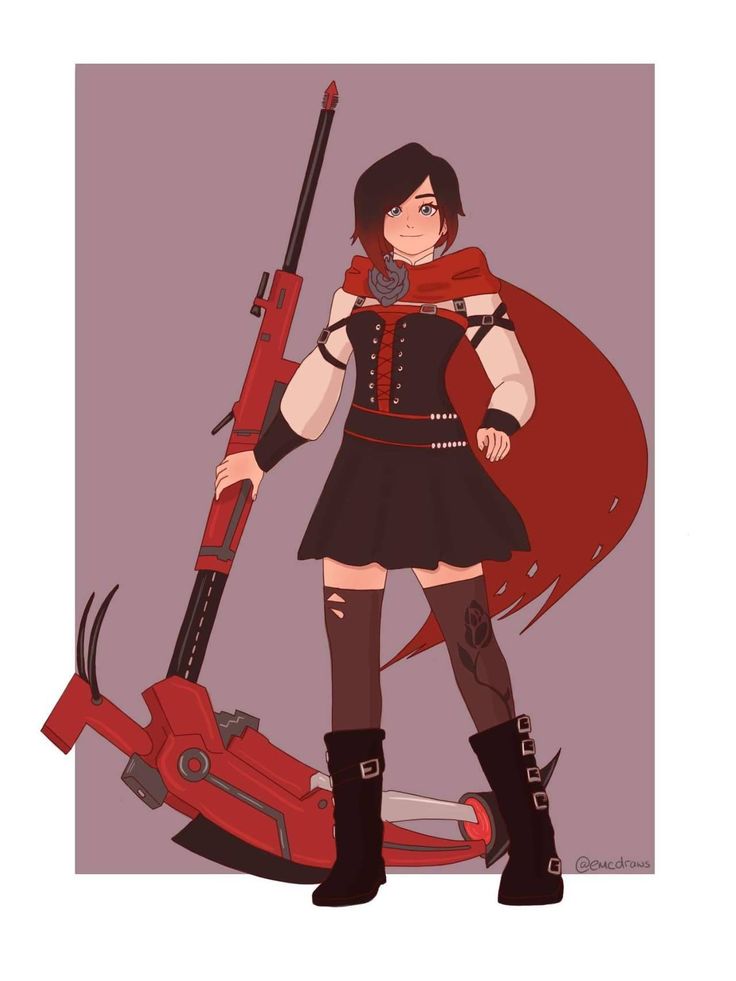 For the Crescent Rose, I mainly used just basic Gorilla Glue super glue. For more stress intensive pieces, I used Gorilla Glue epoxy and clear caulk to give joints a more uniform look.
Previous
Next
After we had finished printing all the pieces, the next step was to remove all the support material. Then, I sanded down and fixed the smaller print errors such as place where there is a slight over-extrusion on corners or small print-shifts. Finally, I started painting! A timelapse of the process is available below.
I used a basic white primer spray paint that sticks to plastic. This created a good base layer on the models that I could paint other layers of spray paints and acrylic on top of. For the majority of the scythe, I used red and chrome spray paints and then used black and red acrylics and a paint brush to finish detailing.
Previous
Next
My Crescent Rose actually ended up being a little too big, finishing at 6’10” tall and 4’4” wide.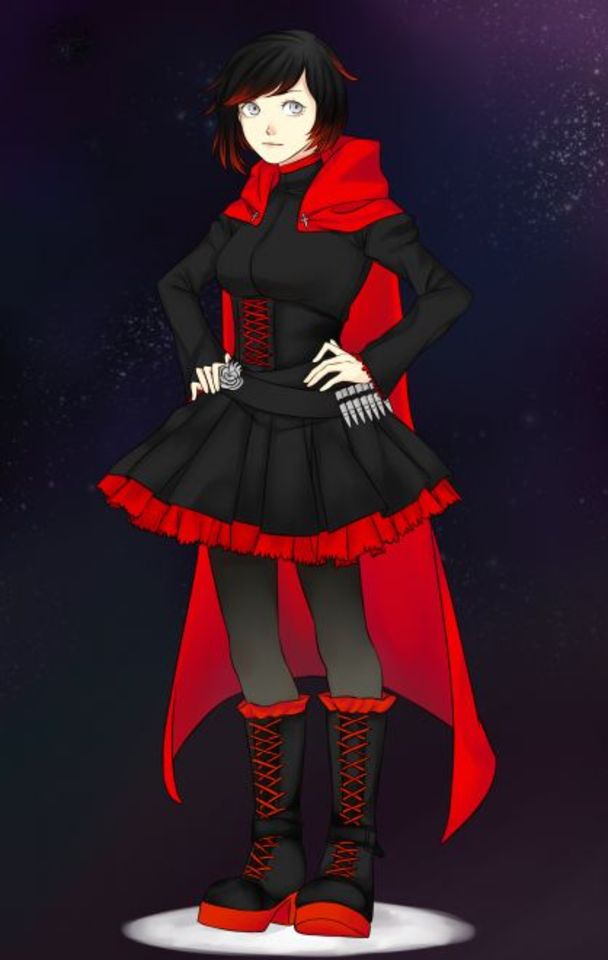 I had the outstanding luck to get to bring my scythe to the Rooster Teeth offices and, who should happen to walk by but the voice of Ruby, the very character who wields the Crescent Rose– Lindsey Jones!
Everything was not all roses and sunshine though. I had some large problems throughout the course of making this scythe. Some pieces ended up being more fragile than I would have wanted, and broke a few times. The overall size and shape of the scythe creates its own unique problem. Even though the material is fairly lightweight, the scythe acts as a natural lever where the fulcrum is where the staff meets the blade, causing a large amount of pressure and tension right at the joint. My solution to this problem was more gorilla glue and wooden and metal rods drilled into the plastic and hammered through to help support the weight.
Previous
Next
Another huge problem that occurred during the print of one of the pieces completely failed on us.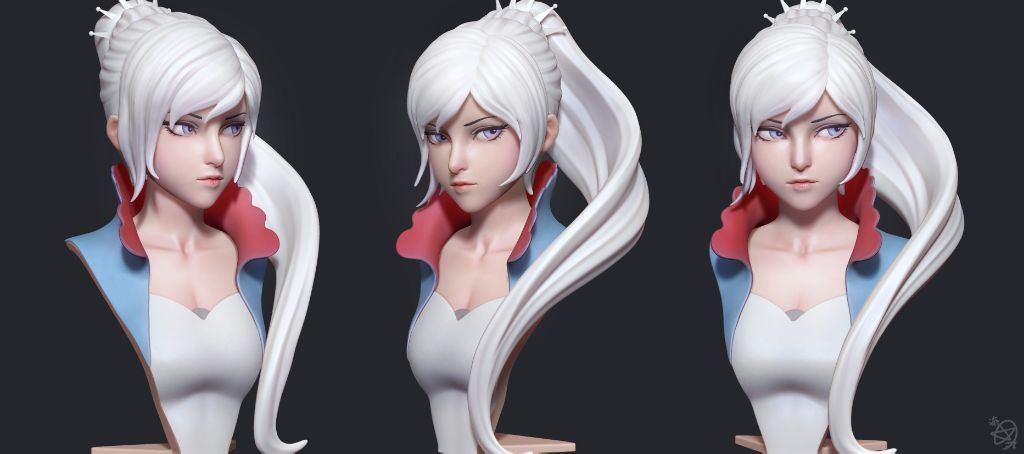 The head of the Gigabot extruder got clogged 48 hours into the 55 hour print. Fortunately, when a print fails, the print usually has a flat layer at the point of failure. I was able to measure the print, and edit my model accordingly so, so I could print only what was missing. The end result looks just like a filament swap mid-print. I credit the ease of this fix to the great usability of OnShape.
Finally, the last and probably worst problem I ran into was the Texas Summer Sun… This is a problem that is unique to people in the south who use 3D printers. Even though the plastic melts at roughly 200 degrees fahrenheit, your print will warp if left in your car or your backyard too long. This happened on the largest piece of the scythe and caused my really nice print fix to be extremely noticeable. I had to reheat my piece and to try and warp it back to a usable condition– with limited success. I decided at the end that the condition of the piece after I re-warped it was good enough to merit not reprinting 55 hours worth of plastic.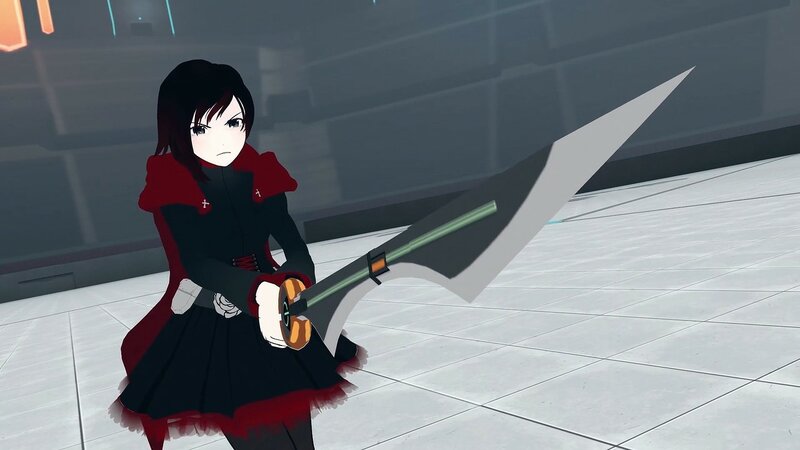
In order to save you some work modeling, I posted the files on Onshape so that you can print RWBY’s Crescent Rose too!
I’m unveiling the files at RTX at the re:3D booth prior to our Panel today (Aug 8th) on 3D printing & cosplay. You can check out the panel at 1pm at the JW Marriott, Room 303.
You can find me on twitter @jacobelehmann or email me at [email protected] to discuss the process in more detail.
Below are the sources I used to help me create my model.
- http://i.ytimg.com/vi/rST5VxiZ_gE/maxresdefault.jpg
- http://goo.gl/9XzVMq
- http://goo.gl/SsO63J
- https://en.wikipedia.org/wiki/RWBY
- http://goo.gl/r6x12t
Thanks for reading!
~Jacob
What is 3D printing and how it can be used! Interesting!
What is 3D printing
3D printing technology was patented in the 80s of the last century, but gained popularity relatively recently. New, promising techniques have been developed and the possibilities of 3D technologies have reached a completely new level.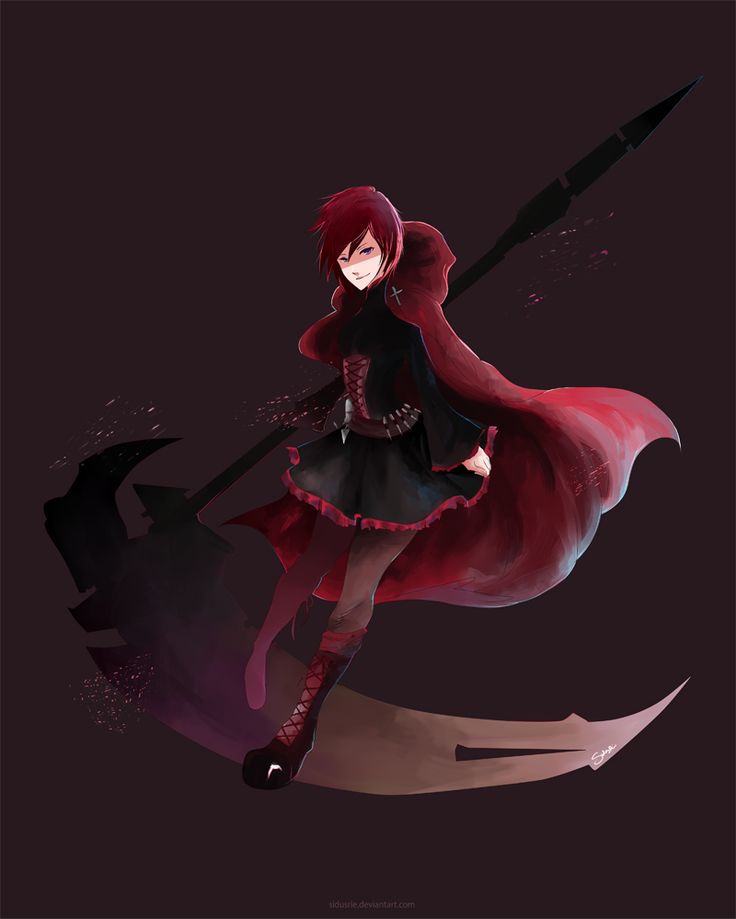 However, to this day, the technique is not known in all circles, and not everyone is aware of what 3D printing is. In today's article, we will try to explain in detail and in an accessible way what 3D printing is and where it is used.
In short, 3D printing is a technique for manufacturing three-dimensional products based on digital models. Regardless of the specific technology, the essence of the process is the gradual layer-by-layer reproduction of objects.
This process uses a special device - a 3D printer, which prints certain types of materials. More details about it are written here. Other names for the technology are rapid prototyping or additive manufacturing. Often the phrase "additive technologies" is used in the meaning of "3D technologies".
3D printing steps
To make it clearer what 3D printing is, let's take a look at the playback process step by step. Below are the specific stages of 3D printing. How it works:
- 3D modeling of the required object is performed according to certain rules;
- The file with the digital model is loaded into the slicer program, which generates the control code for the 3D printer;
- Sets required 3D printing options;
- The code is written to a removable memory that connects to the 3D printer;
- 3D model reproduced.
Objects are reproduced gradually. According to the required shape, the selected material is applied layer by layer, forming the finished product. It is worth noting that the possibilities of 3D printing are almost limitless, that is, anything can be made. In some technologies, very thin overhanging elements are provided with supports, thanks to which they can be avoided from sagging.
Naturally, this is a very simplified description of the stages of 3D printing, but they give a very clear idea of the essence of the technique.
Other questions and answers about 3D printers and 3D printing:
- Basics What is 3D scanning?
- Basics What is a 3D model?
3D Printing Technologies
Various 3D printing technologies are used to reproduce different objects. They differ both in the consumables used, and in the speed and accuracy of printing. Here are the main 3D printing technologies:
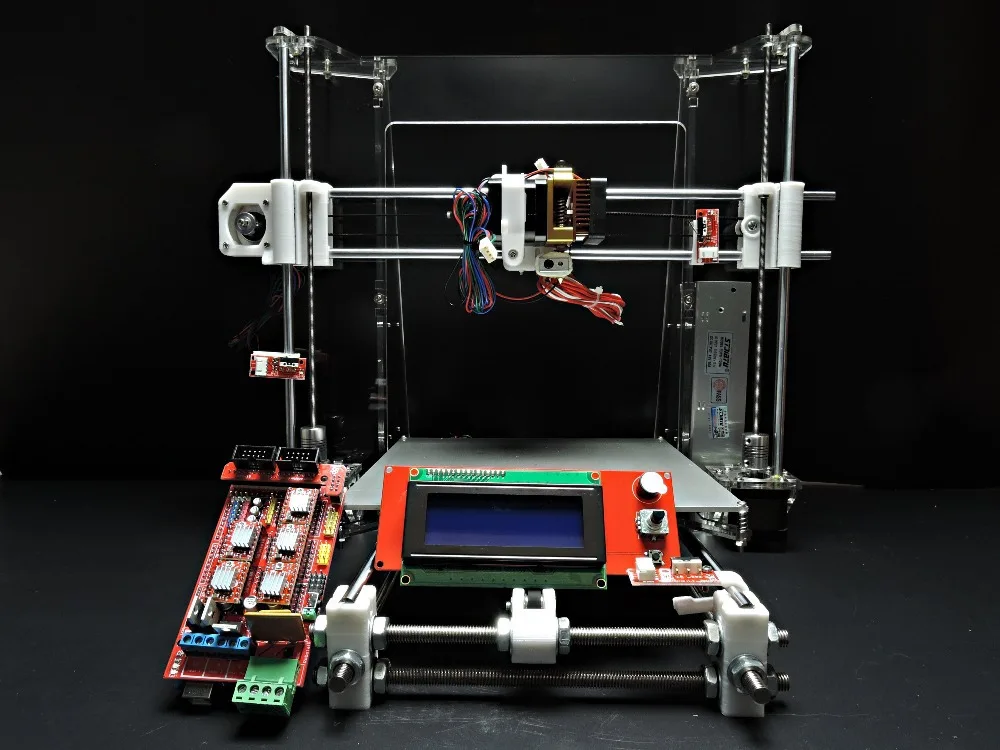
- Fused deposition modeling (FDM) .
 One of the most common 3D printing technologies, used in most desktop 3D printers, and represents an ideal price / quality ratio. Printing occurs by layer-by-layer supply of a thread of molten plastic;
 - Laser stereolithography (SLA) . The formation of the object occurs due to the layer-by-layer illumination of a liquid photopolymer resin by a laser, which hardens under the influence of radiation. One of the variations of this technology is DLP 3D printing. It uses a special projector instead of a laser. Both 3D printing methods are used to create objects with a high degree of detail. In the case of DLP printing, speed is also an added advantage;
- Selective laser sintering (SLS) . Reproduction is performed by layer-by-layer melting of a special powder under the action of laser radiation. This 3D printing method is widely used in the industry for the manufacture of durable metal elements
3D Printing Applications
As you may have guessed by now, 3D printing is extremely versatile.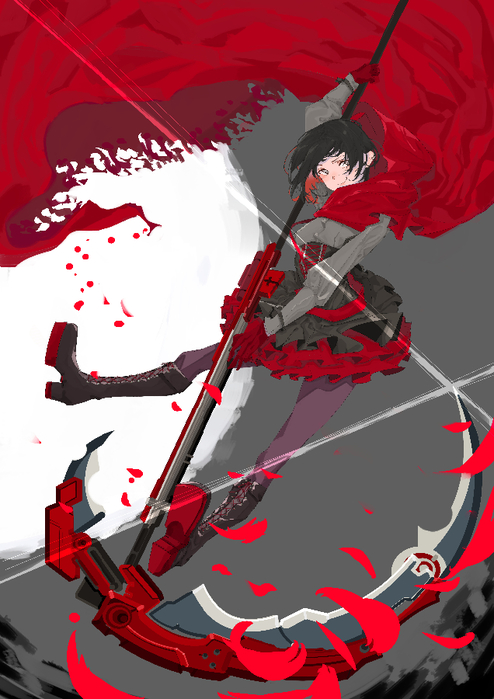 The second name of the technology - rapid prototyping - speaks for itself. In the manufacture of prototypes and models of models, 3D printing can be simply indispensable. It is also a very cost-effective solution for small-scale production. In the aerospace and automotive industries, 3D technologies are already being used with might and main due to the high profitability and speed of manufacturing components. Culinary professionals are working on the development of 3D food printers, and in medicine, 3D printing has become something of a technology of the future. With the help of 3D bioprinting, it is planned to produce bones, organs and living tissues, but for now, implants and full-fledged medicines are printed on 3D printers. Desktop 3D printers can be used for domestic purposes: for repairs, making various household items, and so on. And designers, fashion designers, sculptors and artists appreciate the possibilities of 3D printing and 3D modeling as an unusual way to realize their talent.
Well, that was a brief description of what 3D printing is. We hope we were able to provide the necessary information in an accessible way. If you have additional questions that we have not covered, write to us by e-mail and we, if necessary, will add your questions! Best regards, 3DDevice team.
We also want to remind you about the possibility to order 3D printing, 3D scanning, 3D modeling services or purchase related equipment and consumables with delivery throughout Ukraine in 3DDevice. If you have any questions, please contact us at one of the phone numbers listed here. We look forward to collaborating!
Return to the main page
3D printing on order in Nizhny Novgorod, cost of services
The cost of printing on a 3d printer allows you to use the service not only for commercial and state enterprises, but also for individuals - innovative production technologies have become widely available. Prototyping of 3d models is the reading of information from a computer program by special equipment and translation into a real object by successive building up layer by layer until the formation of a finished product.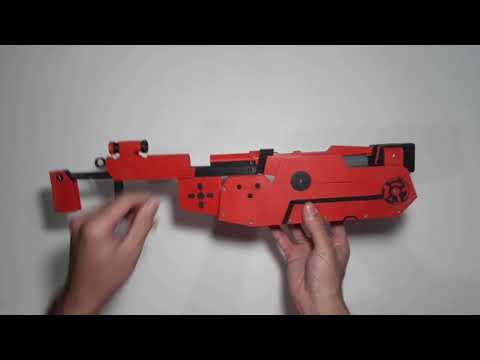 ProPlast-NN LLC carries out 3d printing to order - the price of is calculated individually depending on the size of the object, the number of ordered samples, the material from which they will be made and the method of prototyping.
3d printing and prototyping - the latest technologies in practice
The combination of computer technology with production allows you to multiply the speed of production, reduce the cost of creating the necessary items. Volumetric printing is developing at a rapid pace, from the realm of fantasy, it has become a familiar production process, which can be carried out using various methods. Order 3d printing in Nizhny Novgorod for one model or batch of products, just call Pro Plast-NN LLC at the numbers listed on the site. The customer will receive a three-dimensional plastic part, made with a high degree of accuracy according to the drawings or based on a real analogue. Small-scale production of products by 3D printing and prototyping is possible.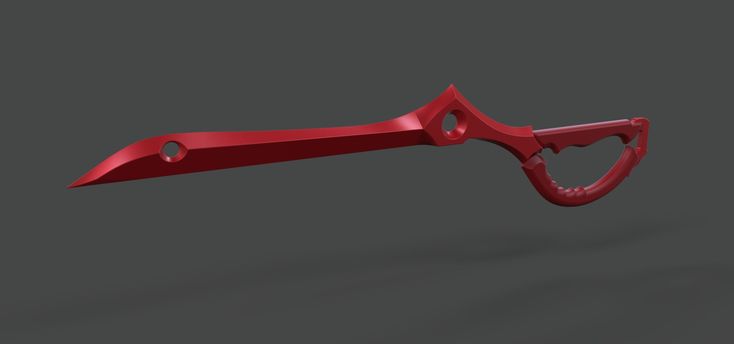
Where created 3d models and prototypes are used
Prototyping on 3d printers allows you to quickly and at low cost get a sample of the desired part from a polymer material, made with a high degree of accuracy, without roughness or distortion. Depending on the technology used and the material from which the sample is made, the product acquires high-tech properties: ideal shape, strength, plasticity, temperature stability. Models have found application in many areas, so they make custom 3d printing companies of different specializations:
- medicine;
- automotive;
- serial industrial production: mechanical engineering, instrumentation, metallurgy;
- architecture - when creating models of buildings and complexes;
- designs;
- souvenir production.
How 3d prototyping is carried out
The basis for prototyping is a 3d image of an object, compiled by a computer program with three-dimensional modeling functions. 3d custom prototyping is performed with high accuracy of transferring an image into a physical object using one of several possible methods:
- FDM (Fused Deposition Modeling). A moving molten polymer thread forms an object of complex geometric shape in layers, which can subsequently withstand high mechanical and thermal loads.
- SLS (Eng. Selective Laser Sintering). This is the sintering of a powder in a container under the targeted action of a laser beam.
- MJM (from the English. Multi Jet Modeling - modeling with many nozzles). Multi-nozzle 3d printer prototyping , applying molten material with multiple inkjet heads, based on the principle of a laser printer.
- LOM (from the English Laminated Object Manufacturing - the production of an object by lamination). Bonding layer by layer of thin films, as is done with lamination. After reaching the desired volume with a laser tool, an object of the desired shape is cut out of the mass.
- SLM (from English Selective Laser Melting - selective laser melting). Selective fusion of metal with a targeted laser beam, resulting in a solid object.
- EBM (from the English Electron Beam Melting - electron beam melting). Creation of a product from a powder that is melted by a directed electron beam.
- STL (from English stereolithography - stereolithography). Purposeful formation of a solid object by a laser beam directed into a container with liquid polymer rubber.
Benefits of 3d printing and prototyping
What are the advantages and benefits for a customer who decides to order a 3D printing with a printer?
Before launching a new product into mass production, an enterprise can purchase a prototype, test it, make changes to avoid errors in the design development of the product, and reduce the cost of production.
If a private or public enterprise needs to produce a small batch of products, it is more profitable for him to apply for a small-scale prototyping service than to carry out design and engineering development and testing of prototypes, reconfigure production, use labor resources and equipment.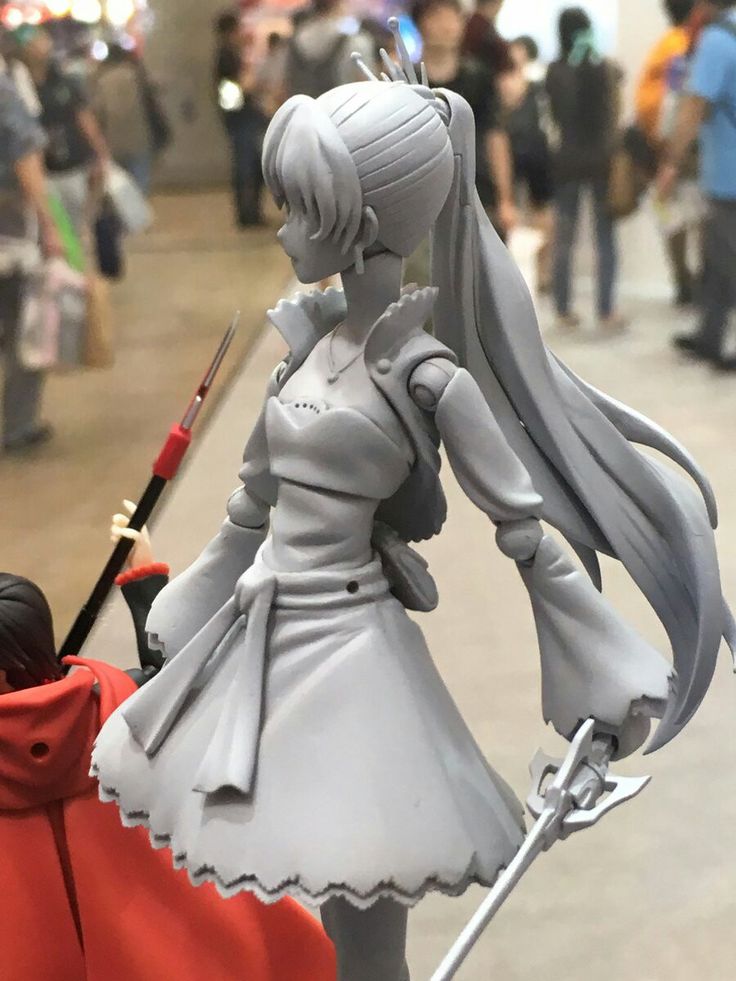 Printing on a 3D printer at affordable prices will save businesses a significant amount, reduce production costs.
The desired samples can be obtained in a short period, regardless of the degree of complexity of the object being created. Typically, the prototyping process lasts from one to ten days, depending on the specifics of the chosen manufacturing method. You can place an order for 3D printing at Pro Plast-NN LLC - we will answer your questions, calculate the cost, conclude an agreement and print products in a short time.
The cost of 3d printing with the printer is low, which allows customers to reduce their own costs for design development, testing and sample production. LLC "Pro Plast-NN" makes high-quality 3D printing - the price is calculated by managers individually, depending on the volume, complexity of the work, the chosen manufacturing method and the material from which the sample is printed.
The cost of prototyping and creating 3d models
Answer to question how much it costs to print on a 3d printer depends primarily on the number of ordered products, the material from which the product is made, the size of the object, and the technology of its manufacture.