Print your own 3d printer
Discover the 3D printed 3D printer!
3D Learning Hub
See all categories
Contents:
- Introduction
- Can you 3D print a 3D printer?
- How does it work?
- Why should you build your 3D printer from scratch?
- RepRap, the first self-replicating 3D printer
- 3D printed 3D printer: Improving the technology with iterations like Prusa i3
- Building the future of self-replicating 3D printers: Spatial applications
Introduction
Can you 3D print a 3D printer?
Yes, it’s possible to 3D print a 3D printer! Some self-replicating 3D printers have been created, and there are already several versions of them. Though, these types of 3D printers can’t do the whole job themselves. You have to 3D print each part of the 3D printer individually, and then assemble them yourself. Also, there are still a few parts of a 3D printer that can’t be 3D printed as electronic components. So you can 3D print a 3D printer, but not totally for now.
This also stands for plastic 3D printing only. Other types of 3D printers such as metal 3D printers, liquid resin or ceramic 3D printing are not possible to be produced in this way.
How does it work?
3D printing a 3D printer is no different than the manufacturing method of any other 3D printed object. You can actually find the pieces online, but you might need 3D modeling or CAD software to make adjustments. Your parts would be 3D printed layer by layer, the process repeats. You should assure material extrusion runs smoothly and that it produces thin layers. You should also pay attention to the surface finish, although with FDM technology it won’t be the smoothest.
Why should you build 3D printed 3D printer?
Producing your own 3D printer can actually give you a lot of room to learn. It allows you to know the project inside out and dig really deep into all the mysteries of 3D printing. You will gain a lot of knowledge, but also become an expert in case of any repairs.
3D printing gives you new design freedom. Thanks to that you can customize and personalize your own 3D printer according to your needs. No other technology gives you the opportunity to produce a fully adjustable machine to produce your parts.
RepRap, the first self-replicating 3D printer
The first self-replicating 3D printer was invented by Dr. Adrian Bowyer through the RepRap project, senior lecturer at the Department of Mechanical Engineering at the University of Bath, who started his research in 2005. His first functional machine, called the RepRap “Darwin”, with 50% of self-replicated parts, was unveiled in 2008.
Here’s a video of Adrian Bowyer assembling the RepRap project:
The 3D printed 3D printers made by the RepRap project use the Fused Deposition Modeling FDM printing technology, with plastic 3D printing materials. They are desktop 3D printers, and thus they are limited in terms of applications compared to industrial Additive Manufacturing .
Moreover, they can’t totally print themselves. As they are plastic 3D printers made of plastic parts, they can 3D print some parts of themselves, just like they could totally build other 3D printed objects. You then need to assemble them yourself and to add the components who can’t be 3D printed, like electronics or metal parts (since it’s a plastic 3D printer).
3D printed 3D printer: Improving the technology with iterations like Prusa i3
Over the years, since the RepRap project is open-source, with all the 3D models available online, there have been many iterations of this printable 3D printer from various manufacturing aficionados. The Prusa i3 is part of these improvements, and it’s now one of the most used 3D printers in the world. It was designed by Josef Prusa in 2012. Two improved versions have been released since then: the Prusa i3 MK2 in 2016, and the Prusa i3 MK2S in 2017.
Why is it such a success? Its lower cost (you can find its 3D design files for free), and the ease of construction and of modification have made it a must-have for hobbyists, but also for some professionals (even if it doesn’t replace the performance of an industrial 3D printer). It’s popular also in the education field.
Like the previous versions of the RepRap project self-replicating 3D printers, it can only 3D print some of its parts, the ones that are in plastic, but not the metal parts, nor the electronic components. Indeed, it’s not suited yet for metal 3D printiers. But it can be used to create various 3D printed objects, for instance, consumer products, jigs and fixtures or even medical devices..
Building the future of self-replicating 3D printers: Spatial applications
A self-replicating desktop 3D printer is an interesting concept, but in the end, we could 3D print 3D printers for applications way more impacting. The most interesting one is clearly spatial exploration.
Indeed, there are many scientists trying to find a way to 3D print a 3D printer directly in space. One of these machines would be sent to the moon (as a first step), and then recreate itself from lunar materials. A team of researchers from the Department of Mechanical and Aerospace Engineering at Carleton University in Ottawa is currently working on this. Their goal is to then 3D print whole lunar bases, as well as conducting in-space manufacturing of satellites.
This self-replication machine 3D prints a mix of materials such as plastic and iron, in varying proportions, depending on the part needed. The raw material needed to create a similar mixture could be extracted from the lunar regolith, a material covering almost the entire lunar surface.
One of the hardest parts to build when 3D printing a 3D printer is the motor. Alex Ellery, who is leading the project, said in June that the team was close to being capable of printing a fully functioning electric motor from a material similar to what can be sourced on the moon, which is a true revolution.
But there’s another prerequisite for a fully self-replication: electronics. Ellery explained that this one might take much longer to solve. Once it will be possible to use the exact same 3D printed 3D printers to create motors and electronics, these machines will allow the creation of any kind of manufacturing machine, like 3D printers, milling machines, drills or excavating machines. Thus, they will not just self-replicate, but also contribute to the creation of spatial manufacturing centers. And sending only one of these 3D printers to space will allow the creation of huge factories.
Apart from that, the potential applications of additive manufacturing from space are numerous. Indeed, it would also be possible to 3D print space-based solar panels on satellites turning sunlight into energy and to then send this solar power down to earth. Or even to build 3D printable space shields to protect the Earth against solar radiation to fight against global warming.
Related Topics
- Return to Top
Get the latest 3D printing news delivered right to your inbox
Subscribe to our weekly newsletter to hear about the latest 3D printing technologies, applications, materials, and software.
How to Build a 3D Printer From Scratch
If you are reading this article that means that you’ve probably decided to join the community of 3d printing enthusiasts and find out more about 3d printers, or maybe you have already got some experience in it and are ready to try to create your own 3d printer from scratch.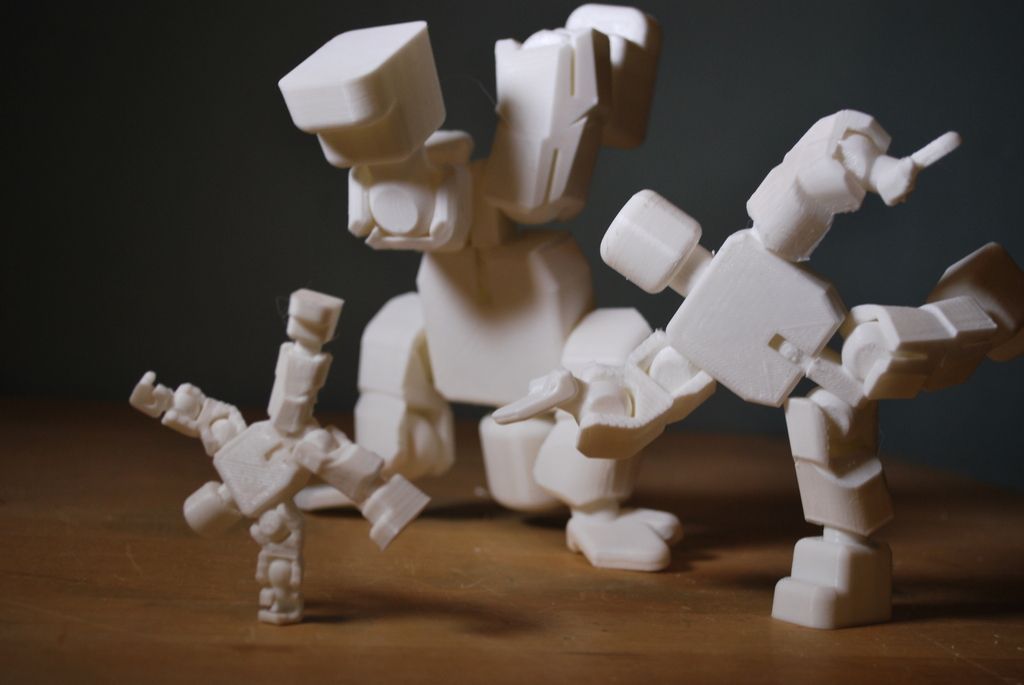
In this article you will find general understanding how 3D printers can be built as well as links to really useful resources where you can find more detailed information with step-by-step description.
Currently there is a big variety of 3d printers in the Internet that already assembled and are ready to print right after you unpack them from a box, of course you also need to buy a 3d printer filament for it. Do not forget that not all 3d printers can use the same filament types, so please read the instruction before you purchase it.
But for some people who love to make something new with their own hands can be more interesting to build their own 3d printer from scratch. Based on our research the 3D printing community is filled with many enthusiastic people so called DIY’ers (Do It Yourself’ers), who are fascinated with building 3d printers literally almost from scratch.
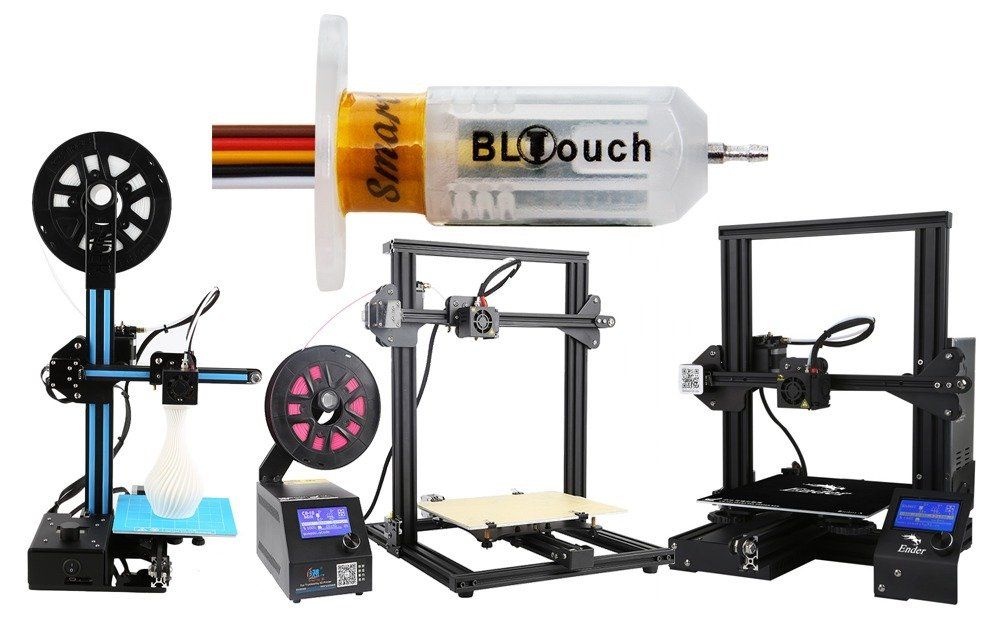
Good example of it is RepRap movement.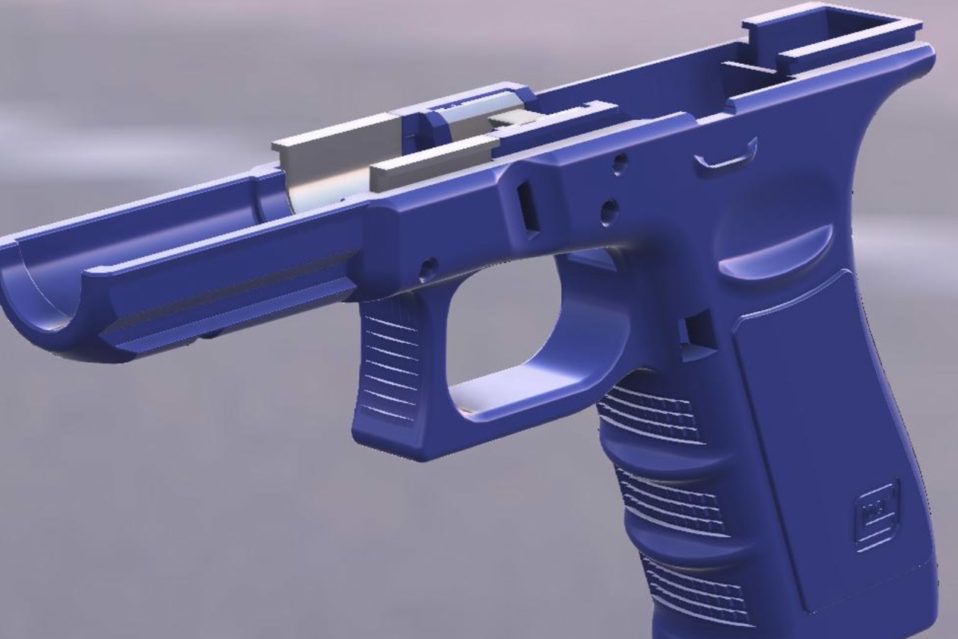 RepRap is short for a Replicating Rapid-prototyper. In other words it is the self-replicating 3d printer. In fact most of today’s top consumer level 3D printers (picture above) are originated in one way or another from RepRap.
You can find a lot of examples on how to build a 3d printer from scratch on RepRap website, but we also want to describe some of more essential steps in order to give an overall understanding of what to expect if you really decide to make your own 3d printer.
The first step is to find and buy 3d printer DIY kit. Kits usually contain most of parts needed to assemble the printer and can be divided into two main types:
Scratch Built 3D Printer – This 3d printer DIY kit is for those who prefer to build thing from scratch, or in other words go to DIY RepRap route. Apart from some essential advantages this approach has also its disadvantages. In theory it can save you some money and since you build it from scratch you will know every nut and bolt in it by the time you can use it and successfully print your first object. Main disadvantage of this method is time. Literally it will take a lot of time to deal with all these hundreds of bolts, wires, belts and much other stuff. In the end you still need to select and purchase or build a controller board, but it depends on your skills level.
Kit Built 3D Printer – This type of kit is good if you want to save some money and at the same time not to deal with all challenges described in the 1st kit type. Many manufactures sell such kits with “easy-to-assemble” instructions included. I doubt that it will be as easy as assemble a chair from IKEA, so you still have to be mechanically inclined and able to understand basic geometry. Some of such kits contain not all parts and you may need to buy something in addition.
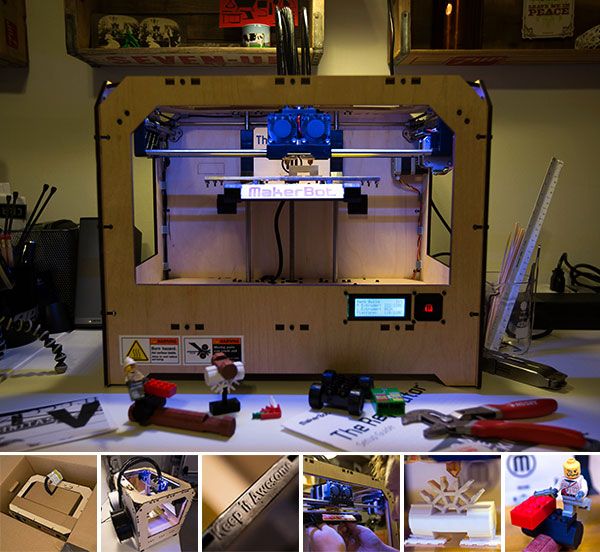
The next step will be to determine the design for your 3D printer. In my humble opinion most of DIY 3D printers have not very breathtaking and futuristic design in comparison with MakerBot and other brands. But it is also a matter of taste, for some people the design is not very important.
Once you have got your 3d print DIY kit and chosen the design you could go ahead and start the most fascinating and time consuming part – build your own 3d printer. Be prepared for sleepless nights and a lot of fun. Maybe you will make up something new and present your findings to RepRap community.
When the hardware part of the 3d printer is ready you also need to add a software component to it. It basically does the following things: allows you to view and alter 3d graphical objects, as well as converts the 3d images into instructions that 3d printer can understand.
Finally you can 3d print your first object! If you do not have anything to print, you can find a big variety of objects on specialized marketplaces such as Shapeways, Thingiverse and others.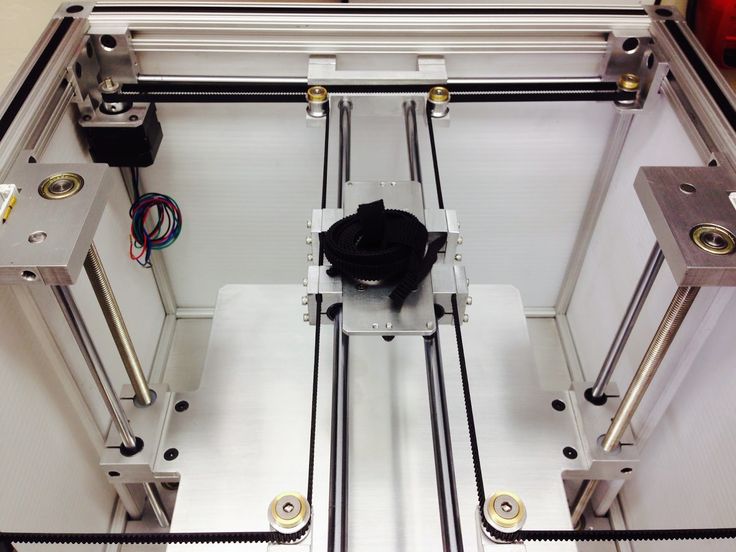 Before printing make sure that the object you want to 3d print has the right size and fit on the printer frame.
At the end there is a list of some links where you can find more information about how to build your own 3d printer from scratch:
- RepRap options
- 3D Printer DIY: How to Build Your Own 3D Printer from Scratch
- 3D Printing: Build Your Own 3D Printer and Print Your Own 3D Objects
- Arduino Controlled CNC / 3D Printer Hybrid
- El34 World – 3D Printer Build using 1 inch T-Slot extrusions
- CNET 3D Printer Build Week
Also watch a video from Ben Heck in which he answers on some 3d printing related questions.
Related Articles:
- What is 3d printing – 3D printing technologies overview
- What is 3D Printing?
- History of 3D Printing
- Direct and Binder 3D Printing techniques
- Photopolymerization and Sintering
- 3D Printing Process
- 3D printing revolution
- 3D Printing Materials
- How to choose a right 3D printer filament type
- 3D Printer Filament Types Overview
- Types of 3D printers or 3D printing technologies overview
- How to find and buy a right 3D printer
- History of 3D printing in one picture
- Places to download 3D printer files and files formats overview
- 3D Printing Services Overview
- You Should Know These Important 3D Printing Concepts
How to 3d print another 3d printer
Already have a 3D printer? Want another one?!
Why is this needed?
Well, let's say you have your own large printer and you can print fairly large objects.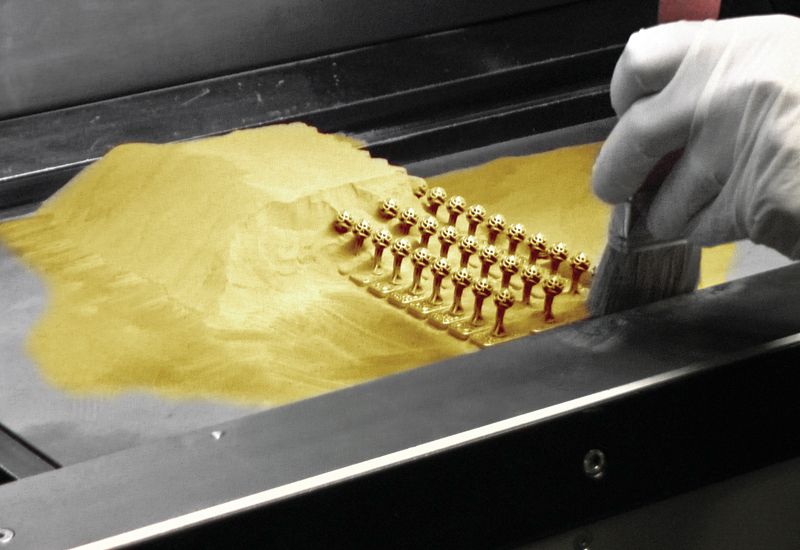 Do you believe in the idea of the reprap movement, the printer should be able to reproduce itself!
Or you want to challenge yourself and finally understand how the 3D printer works.
Or your current 3D printer is just sitting around gathering dust in the corner of the room, because you have already printed everything that came to mind, and the most difficult task that worries all 3d printing professionals is how to clone existing equipment on itself.
Step 1: Preface
Let's be honest... the is not the ultra cheap printer. This is not Chery 3D printer for $60. This not is a way to save money or time. This is not first printer.
Now let's talk about what is .
B 3Dtje mini 3D printer is:
- Damn easy to print
- Printed parts from PLA
- Everything fits within 200x200 print volume
- Most parts can be printed in 100x100 print volume
- Most parts are printed without supports , only in some cases they may be needed to improve quality
- Very few few needed tools
- Unlike most crafts that require a laser cutter, CNC
- You can probably get away with a drill and a hacksaw to prepare 2 rods of the required size
- No source of MDF, or wood, or acrylic sheets or aluminum profiles, which can be expensive
- A Prusa i3 Clone
- This design is not new, nothing revolutionary, but it is reliable, prints well and works with any slicer
- Open source
- All model files can be downloaded free of charge
- You can download them and modify them as you like
- You can even sell them if you need to!
- Simple and interesting printing
- 19 models
- All parts are different and look very interesting together
- Easy to assemble
- All parts are connected with M3 screws and nuts.
- Cutting 2 to 4 metal rails
- Some 3d printed parts are assembled intuitively , you can even ignore photo
- All parts are connected with M3 screws and nuts.
- Really fucking cool!
- Small, portable, low moving parts! This printer can print fast! (when properly configured)
- This 3D printer you will DIY , completely!!
Let's get started!
Step 2: Prerequisites
You will need a 3D printer , well, or find someone with this device.
- Printable area must be at least 200x200mm XY and maybe 200mm Z if you want to print with refills
- PLA 1 kg, can be different, but this is the most convenient option
- I honestly don't know how much it will take. Likely 500g or so
- Tools
- Screwdrivers for screws
- Pliers, cleaning tools for printed objects (a clerical knife is enough)
- Metric drills for opening / cleaning the printed hole (you can also use a screwdriver)
- Knowledge on how to build a 3D printer from scratch
- These are not hard requirements, but knowing how to deal with common printer problems will reduce the amount of swearing when things aren't perfect the first time.
- If you understand firmware Marlin it would be very cool to talk about this, as there is a desire to improve some things.
- These are not hard requirements, but knowing how to deal with common printer problems will reduce the amount of swearing when things aren't perfect the first time.
Step 3: Parts
Right off the bat, I've made a list of exactly what you need and what you can buy to make the best possible quality. But it will be more expensive. Therefore, you choose which set to buy - in principle, they will not differ. In addition, you can order all this from China, it will be cheaper, but the wait will be longer. In any case, you need to look for all the components in English, so we take them from the table and, for example, insert in alliexexspress search .
The table is located at this link.
Step 4: Printing Parts
Now let's move on to the most interesting part, in my opinion - prototyping models. To be honest, I really like to print different things, you feel that you can handle any task when you have a 3d printer at hand. Okay, it's all lyrics.
Here is the project itself, where you can download 3d models for printer for free . Download and start preparing for printing.
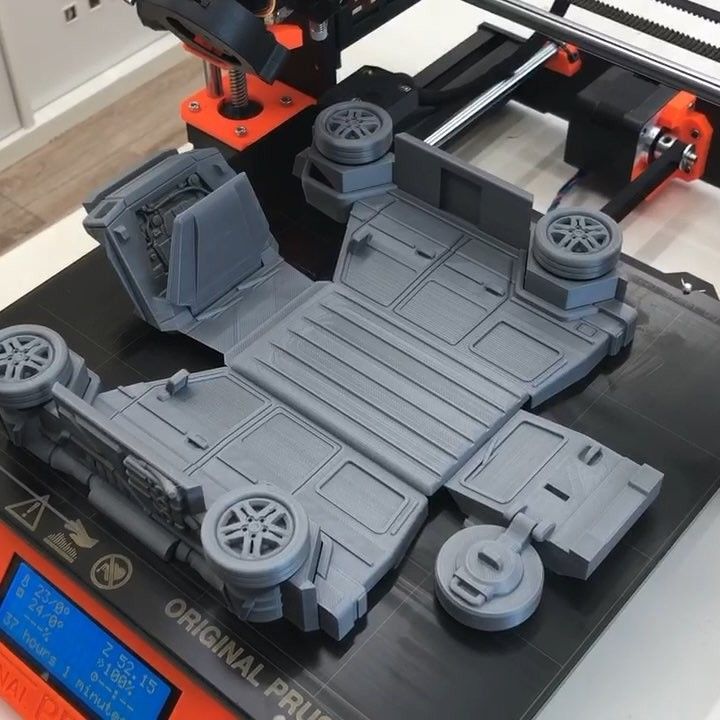
The most important thing is to arrange the parts correctly on the table . The idea is to make the models have as few parts hanging in the air as possible. This will allow to drop support for . After all, they spoil the quality very much if you do slicing through Repetier Host with their auto-generation, and not draw them yourself.
You can watch a video showing the optimal arrangement of parts. Print settings I think you know how to do it, if not - there are articles about it with configuration files.
Step 5: Mounting
Let's assume that we have printed everything. Someone may have decided to use metal guides, buying them, for example, from IKEA, and cutting them into sections of the desired length. In any case, writing how to assemble this 3d printer does not make much sense, and it's too lazy, to be honest. In my opinion, there is nothing better than pictures!
Frame assembly
First, I'll lay out how our miracle should look like at the moment of medium readiness. Then we will see how the modules were assembled.
Assault Axis Y
This Axis drives The so -called bed . First we need to install the motor, put a pulley on it . Then we install a freely rotating pulley on the other side and measure 9 for them0003 belt .
And now we will install the bed itself, which will fasten the two ends of the belt to us. Just don't forget to tighten the pulleys and anything that isn't tight yet. The substrate will be massive and it will be inconvenient to crawl there already. The connection will require 200mm x 6mm bolts, so have them ready right away.
It should be noted that the belt must be very tight . This will greatly affect the print quality of . If you cannot do this at the time of assembly, you can use special tensioner . It's basically a simple spring. As for the axes, in this case they are printed, although this is far from mandatory, just the name of the project obliges))
X-axis assembly
Depending on your printer, you may need to make a hole with a 3mm drill in the belt tensioner. This hole should be quite free.
- Attach the motor to the end of the x axis with the connector down
- Attach 20T gear
- Insert 6mm rods 6mm x 180mm into the holes on the motor side. You need to cut these rods if you bought 200mm.
- Assemble the x-axis tensioner with either your own or printed tensioner bearing.
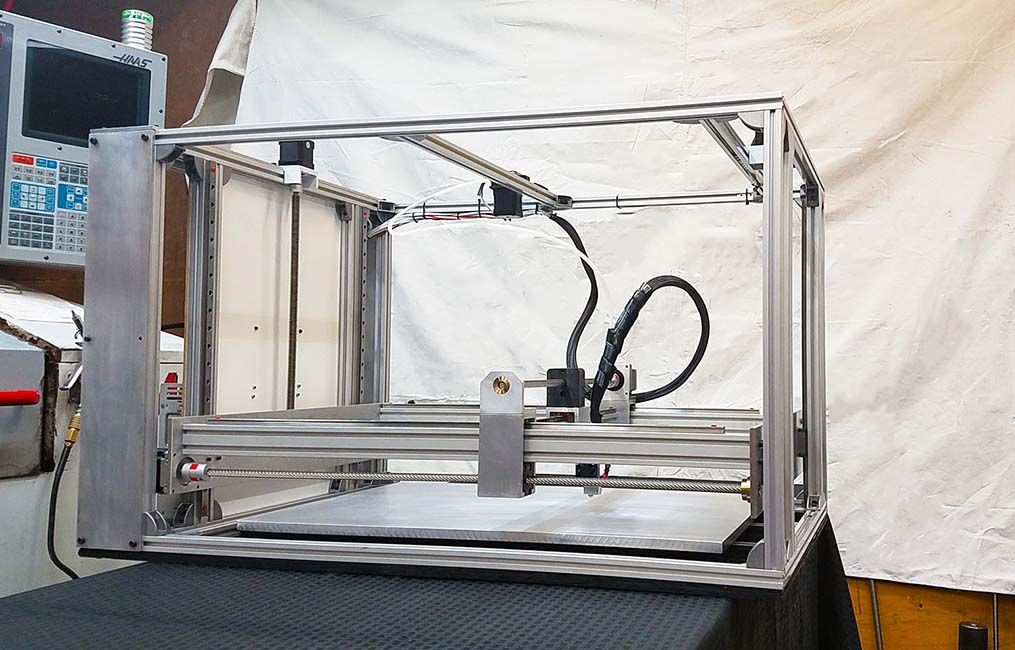 Make sure the m3 nut is in the tensioner before proceeding.
 - Pass the belt from the left side (engine side), through the gearbox, through the idler bearing to the right side
- At this point, install belt tensioner to the right of the x-axis on the rods
- If you are happy with the length (make sure the x-axis of the tensioner is recessed quite a bit) you can cut the belt. Don't forget to leave extra belt length
- Attach LM6UU bearings in bottom bracket x
- All assembled, attach the straps to the carriage x
- Then it remains to adjust everything a little to make sure that nothing touches each other
Assembling the Z axis
Now we assemble the Z axis. If you have not installed the engines in the course of past work, it's time to do it. As you understand, they should stand on the left and on the right. We will install adapters for screw rods on them, where we will put them, holding them with a hexagon.
We stick the guides (parallel to the screw rods). We can say that we have finished assembling the case.
Step 6: Assembly of the electrical circuit.
How to lay the wiring is everyone's business. Here the options will be shown in the photo, but it's up to you to decide. The most important thing is to connect everything correctly. I’ll also post the diagram, but it’s better to see how it is done in ordinary 3d printers. For example, in order not to go far, you can go over the following articles directly on this site:
-
Exploring the features of a 3D printer
-
3D printer setup and calibration
-
Ramps 1.4 connection in 3d printer
It is not necessary to read everything - you can see the key places from the pictures and delve into their study.
The picture below shows the green power terminal. This is a very dangerous and unreliable thing that sometimes ignites - it is dangerous to leave a working 3d printer at home unattended. Therefore, in an article about Ramps, it is better to read how to be in this case.
Step 7: Firmware
Since you will (most likely) have an Arduino Mega as the brain of a 3d printer, uploading firmware to it will be quite simple. All you need is the Arduino IDE. The most standard firmware from Marlin. The main thing is to choose the correct configs for the board. I have not seen an article about the firmware on this resource, but it can be easily found on the Internet. Here are useful links:
- Firmware Marlin manual
- May be useful to someone info about reprap electronics, how is it functioning
Step 8: Testing
Finally time to print something! We note right away that the table must be covered with molar tape or Kapton, since we have it without heating.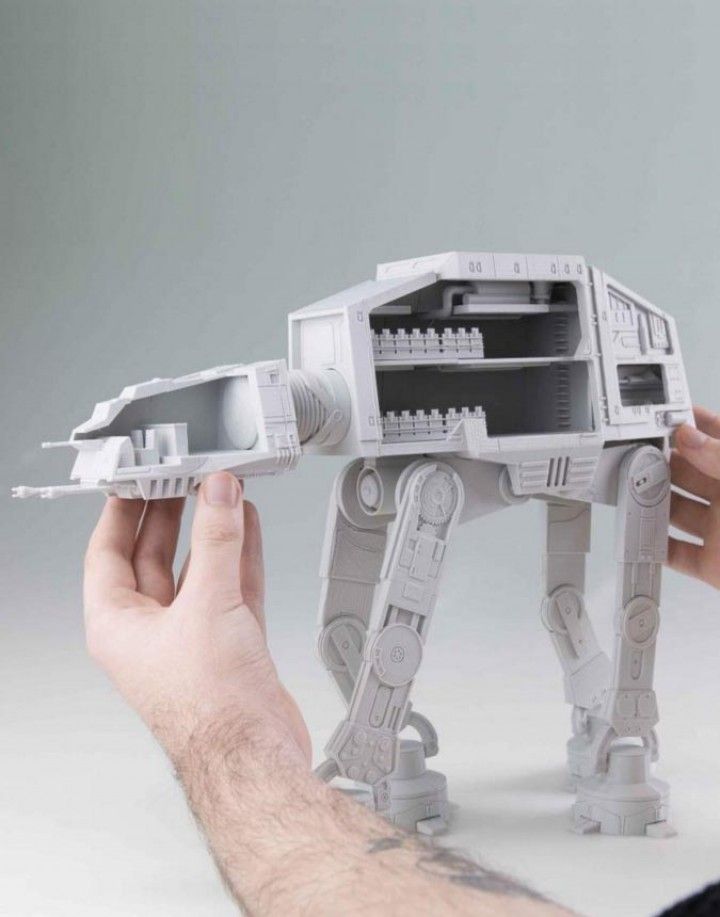 Otherwise there will be no adhesion. Also, before printing, be sure to correctly adjust the distance between the nozzle and the bed . How to do it correctly is discussed here. 3d printer calibration - our everything!!!
Since you were able to print parts for this printer, you can also slicing your own models for its small copy, assembled by yourself. Therefore, we will not talk about the slicer, just do not forget to reduce the print area!
And so that's what each of you can have at the end of this article!
DIY 3D printer
Skip to content
Admin Electronics
You can buy a ready-made 3D printer with free shipping in this Chinese store. Radio components, arduino at this link.
Contents
- Is it possible to make a 3D printer with your own hands?
- How to build a 3D printer from scratch | 3D printing from scratch
- 3D printer from plywood
- 3D printer design
- Electronics
- Table for 3D printer
Is it possible to make a 3D printer with your own hands?
How to build a 3D printer from scratch | 3D printing from scratch
3dprintingfromscratch.com
If you are reading this article, it means that you have probably decided to join the community of 3D printing enthusiasts and learn more about 3D printers, or perhaps you already have some experience in this and are ready to try to create your own. 3D printer. printer from scratch.
Goods for inventors Link to the store.
In this article you will find a general idea of how you can create 3D printers, as well as links to really useful resources where you can find more detailed information with a step-by-step description.
There are now a large number of 3d printers on the Internet, already assembled and ready to print immediately after unpacking them from the box, of course, you also need buy filament for 3d printer .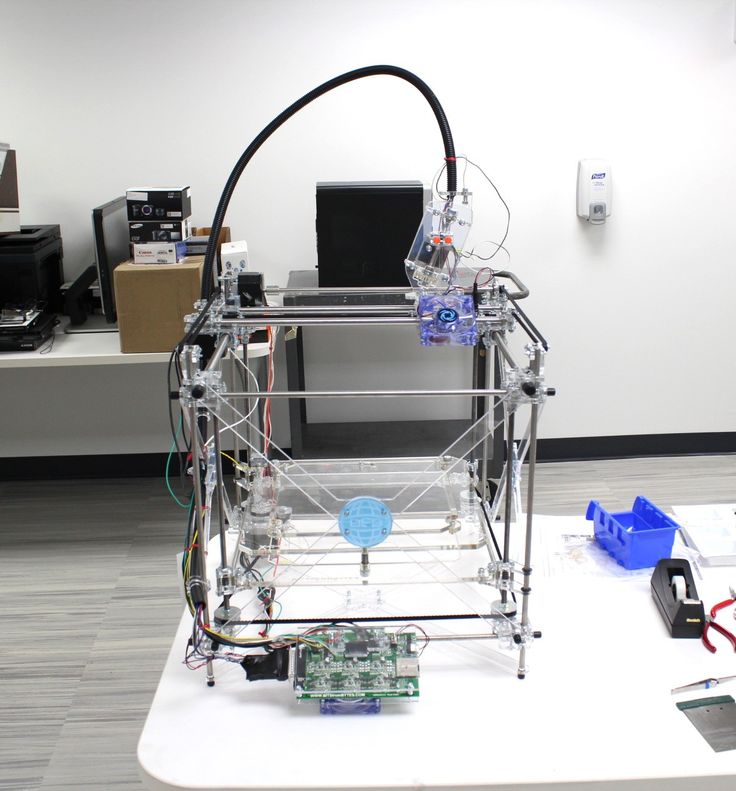 Keep in mind that not all 3D printers can use the same types of filament, so please read the instructions before purchasing.
DIY electronics in Chinese store.
But for some people who like to do something new with their hands, it might be more interesting to build their own 3d printer from scratch . Based on our research, the 3D printing community is filled with many enthusiasts, so-called do-it-yourselfers, who are passionate about building 3D printers literally from scratch.
You can find many examples of how to build a 3d printer on the RepRap website, but we also want to cover some of the more important steps to give you a general idea of what to expect if you do decide to make your own printer.
The first step is to find and buy a 3D printer kit. Kits usually contain most of the parts needed to assemble a printer and can be divided into two main types:
Scratch Built 9 3D Printer0004 - This kit is for those who prefer to build things from scratch or in other words go the DIY RepRap route.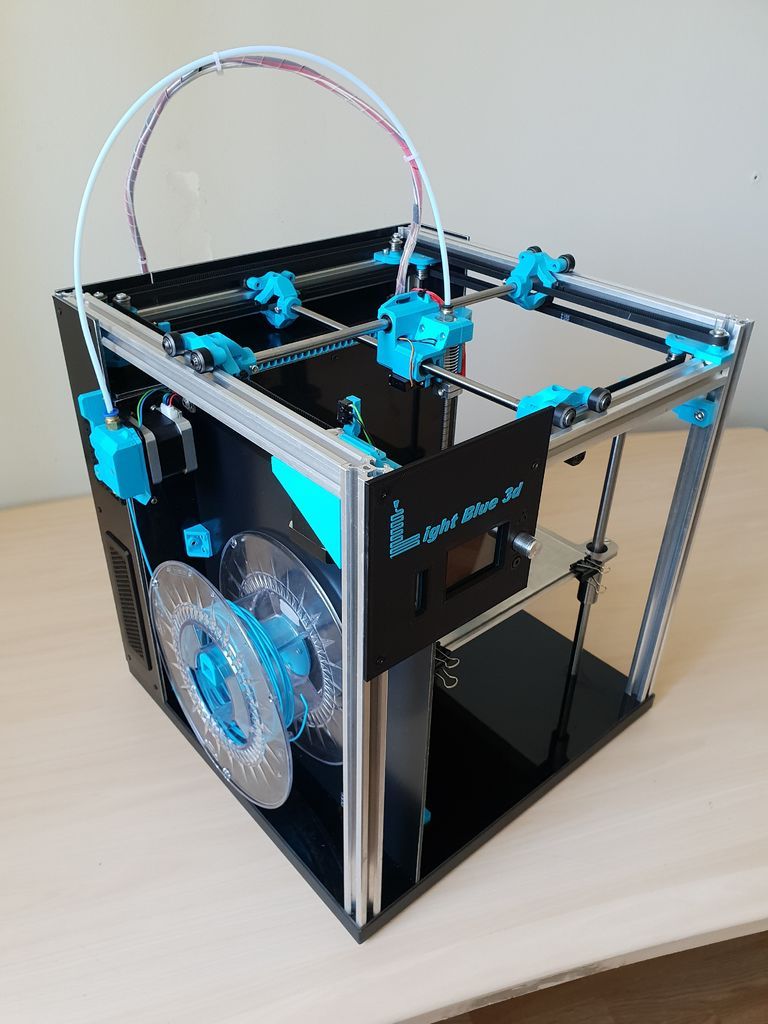 In addition to some significant advantages, this approach also has its drawbacks. In theory, this could save you some money, and since you're building it from scratch, you'll know all the nuts and bolts in it by the time you can use it and successfully print your first object. The main disadvantage of this method is time. It literally takes a long time to sort through all those hundreds of bolts, wires, belts and more. In the end you still have to choose and buy or build a controller board, but it depends on your skill level.
3D Printer - This type of kit is good if you want to save money and at the same time not deal with all the problems described in the first type of kit. Many manufacturers sell such kits with "easy to assemble" instructions. I doubt it will be as easy as putting together an IKEA chair, so you still have to have mechanical tilt and be able to understand the basic geometry. Some of these kits do not contain all the parts, and you may need to buy something extra.
The next step is to define the design of your 3D printer. In my humble opinion, most DIY 3D printers don't have very exciting and futuristic designs compared to MakerBot and other brands. But it's also a matter of taste, for some people the design is not very important.
Once you've purchased your 3D printing kit and selected a design, you can start building the most fun and time-consuming part - building your own 3D printer. Get ready for sleepless nights and lots of fun. Perhaps you will come up with something new and present your results to the RepRap community.
When the 3d printer hardware is ready, you also need to add the software component. It mainly performs the following functions: allows you to view and modify 3D graphics objects, as well as convert 3D images into instructions that a 3D printer can understand.
Finally, you can 3d print your first object! If you don't have anything to print, you can find a wide variety of items on dedicated marketplaces like Shapeways, Thingiverse, and more.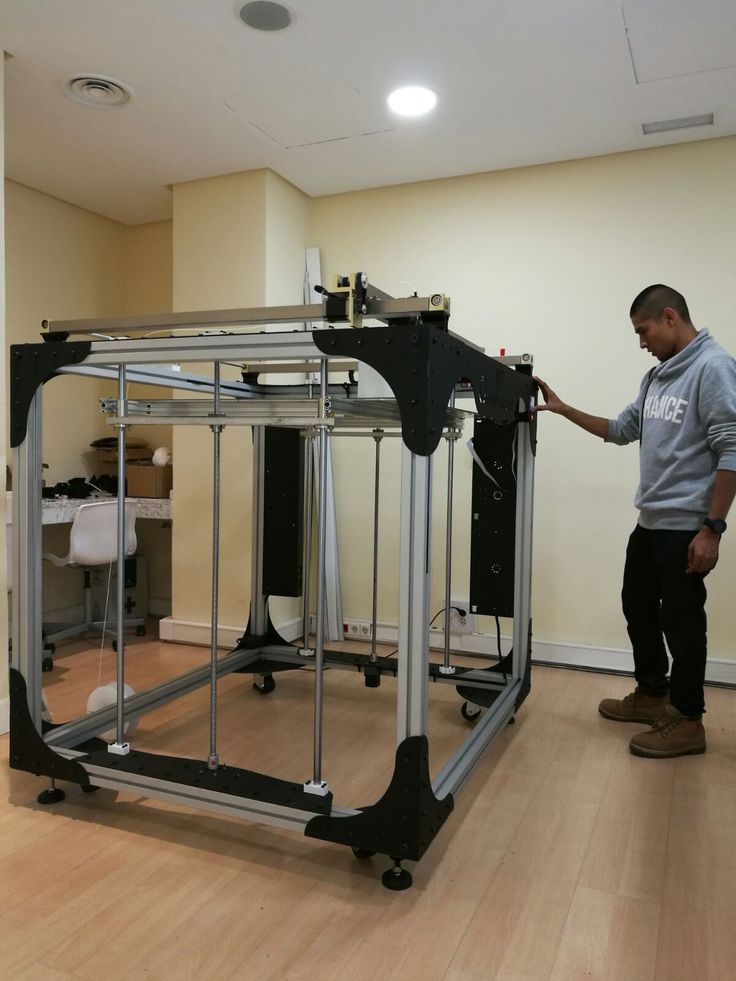 Before printing, make sure the object you want to 3d print is the correct size and fits on the printer frame.
Plywood 3D printer
First, see how this printer works
Now in detail how the device was assembled
Recently, the author of the Yar channel promised to show in detail the design of his 3d printer and tell where you can get components for it. Today it will not be possible to make a video on how to build a 3d printer from start to finish, because the printer is already ready. But maybe in the near future a video will appear on the channel on how to make a 3d printer from wood from scratch. Because it will be redone.
Construction of the 3D printer
Basically, the printer is made of wood, for its construction a single board was used, which the author had. He doesn't have a circular, so the board isn't loosened narrower, it's so big and heavy. In order to assemble the frame, I sawed the board into several parts, glued it here, twisted it with self-tapping screws here, and this made up the frame design of this printer.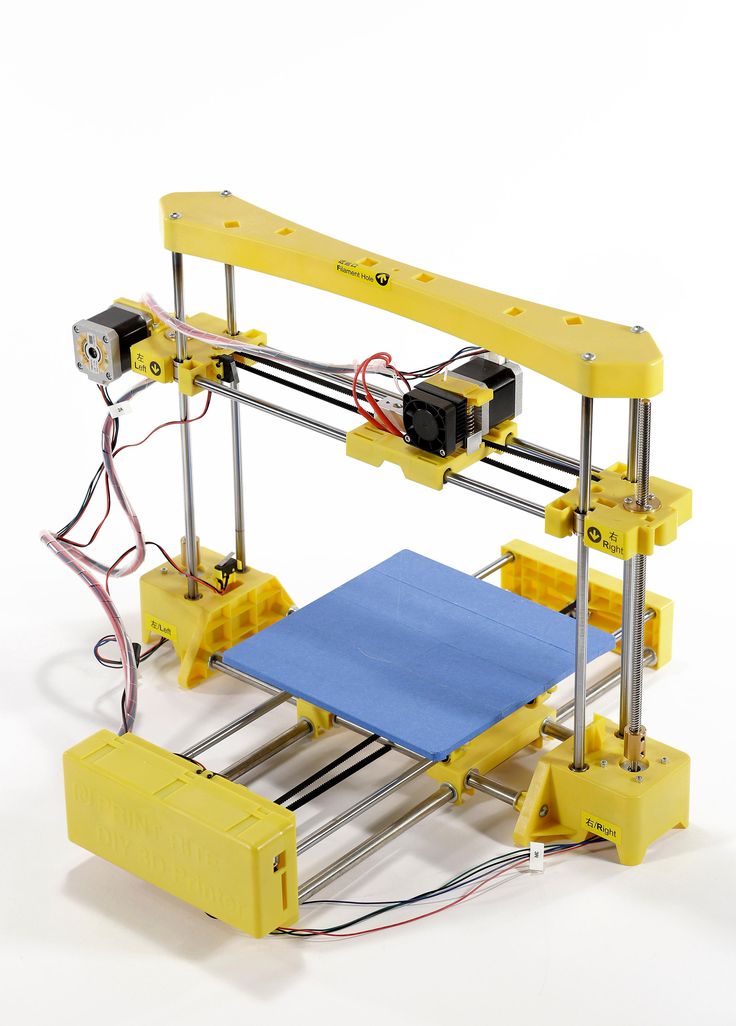 The board is thick, so stiffness with a margin.
Parts from old scanners are used for axes. More precisely, for two axes of three 3d printers. That is, there are two guides for the Z axis. And for the X axis, two guides.
The Y axis hangs on an aluminum profile, quite thick too. And homemade carriages from ordinary ball bearings. This is what was in the garage just.
In fact, this part should have been used on the Z axis, this will be taken into account when reworking.
Homemade 3D printer
The carriages are also set in motion by motors from scanners, with native gearboxes, with native belts. Here, however, I had to use a gearbox from one scanner, and a motor from another, so that the movement of this axis coincided in steps with the Y axis.
The motor from the scanner is also on the Z axis. It was unipolar, that is, five wires sticking out of it, now four wires are sticking out of it. To do this, I had to cut the jumper there. With a converted gearbox that has the ability to turn just such an M5 stud.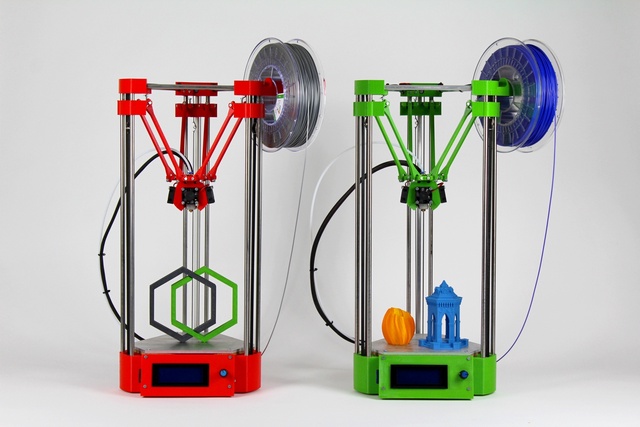 And there are two of these pins: one on the right side, the other on the left. They are tied together with a belt.
For some reason, other printers have two motors. But the master decided that there was no difficulty in using the belt. It’s not even clear why they make two motors.
In order to align the axis, I used paper pads. That is, a lot of small paper sheets that I put under the fulcrum of the guides in order to bring them in parallel with each other. They are, as already shown, right here, right here, right here.
These pads are also used for rough adjustment of the table.
Electronics
Homemade electronics. It is definitely better to buy it, because in the end I got a lot of crap. But that's not the point. The bottom line is that the electronics are made by Arduino Uno Chinese. Here, with a margin, are field-effect transistors. Here are two even with a radiator. Because before it was already at 200 watts. And, of course, four drivers are worth it.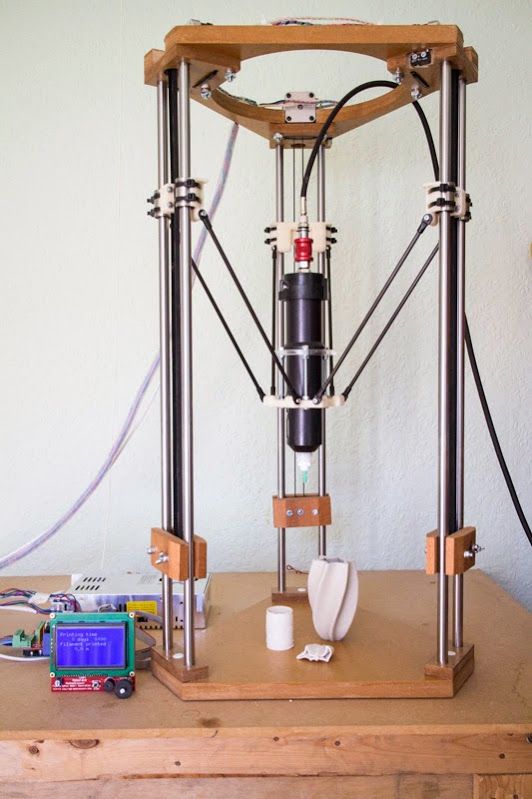 Arduino can be bought at this link.
The 3D printer currently lacks an extruder, or rather, its cold end. There is only the nozzle itself with a heating block. All this is because he started reworking it for a lighter motor. Initially, this motor was here, everything worked perfectly. To be able to fly them faster, you need to reduce weight. Plus, I freed this motor for one of the axles, and bought another one for it. All this is done in order to make the printer a little faster in the future.
Speaking of speeds. Scanner motors for 12 V allow you to reliably have a speed of about 25 millimeters per second. At higher speeds, they may begin to lose steps.
Table for 3D printer
In the previous video you could see another table, it is quite large and made only of glass. But this is a big problem, because the glass cracks from strong uneven heating. So I had to give up this table.
Made from scanner glass with steel tie wire underneath. And on the other hand, it is to some extent insulated with glass tape.
The second table is much smaller, because there was just such a large piece of metal. Already made under replaceable glass. It can be attached here with clothespins. By the way, it also cracked, it was originally in size.
Standard 5 watt resistances are screwed to this sheet of steel.
It is held on the carriage with the help of these trimming bolts 3 pcs., with nuts screwed on them. They sit on the thread lock, spinning quite tight. Due to this, they can be adjusted in relation to the axes of the printer.
This is one of the few parts printed on this printer. This is the Z axis bearing support. Why did the craftsman print it, because the one that was made of wood had a pretty severe skew. Due to which, on the parts that were printed on this printer, a noticeable unevenness of the layers appeared. That is, with layers 0.1 mm or 0.2 mm thick, they looked like they were about 0.7 thick. And the bonding strength between the layers was low.
One of the serious shortcomings of this 3D printer is the lack of ends.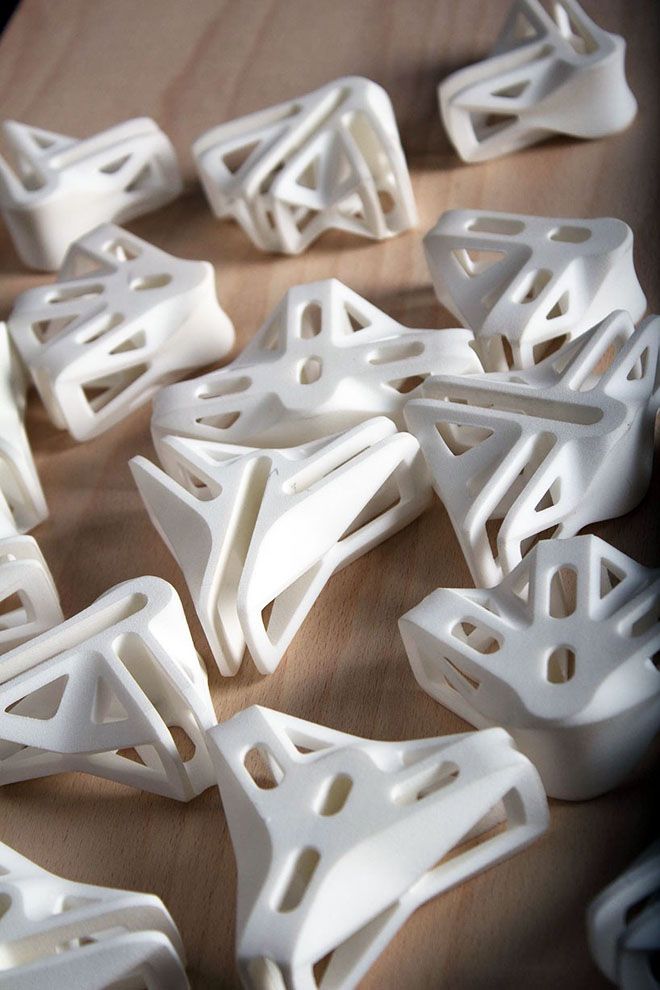 That is, the axes do not know where the beginning is, and you have to set them manually.
If this does not cause any problems with the X, Y axis, and the author of the model probably did not even make endings on them. For the reason that you can manually set the center of the printer to any place, and thus print several parts in succession from one G-code. But setting the Z-axis manually is very inconvenient. This takes about 5 minutes each time before each print.
Another disadvantage that is common to many printers is that it is open. What is printed is accessible to any drafts and is accessible to external cooling at room temperature. And it is desirable for printing, so that it twists less, so that it has less internal stress, it is desirable to have the printer closed and maintain a temperature of about 70 degrees inside. This is something that needs to be corrected in the future. You need to completely redo the printer, make it an H-bot (H-bot).
If the author of a homemade 3D printer model remakes it, then a video about this will definitely appear on the Yar channel.