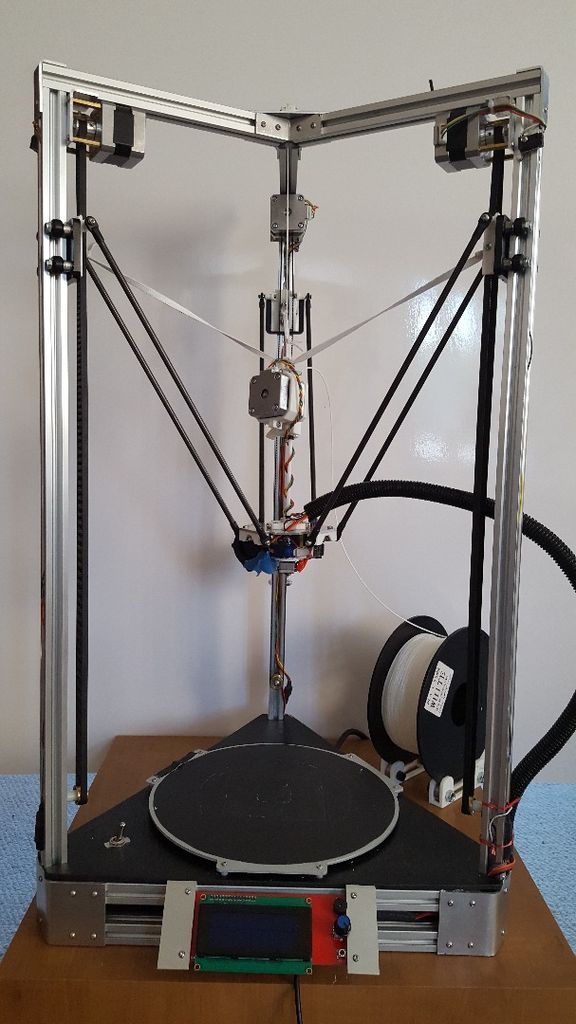
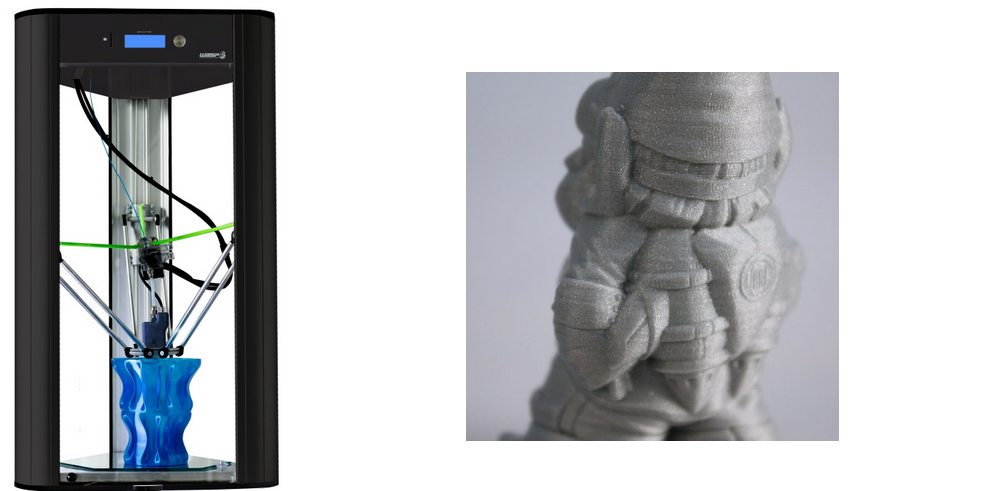
Making 3d printer filament
how to make 3D printer filament from recycled plastic bottles・Template to download and 3D print・Cults
ISS and LEO satellites tracker
Free
USB cable repair
Free
Gottlieb pinball flippers C13150
Free
Iwata Eclipse HP-CS airbrush cleaning pot
Free
Gottlieb Pinball ball guides
Free
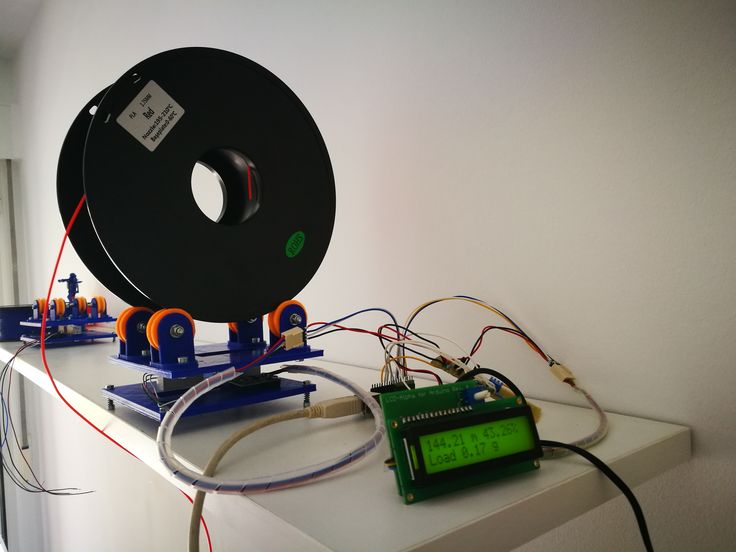
Enclosure spool holder
Free
Roland vinyl cutter CNC adapter - drag knife-
Free
JP Nixie Clock
Free
Best 3D printer files of the Tools category
The DoBu: a door opener and button pusher
Free
Mini spools for filament tips or samples.
Free
Wash Out Test Bed
Free
Support pour Tournevis
Free
Lada Niva Seat Handle
Free
CROVHYD contactless door opener/ hygiene hook
Free
Hood for recharging hatch of electric car Type 2 (Renault ZOE)
Free
Air blower
Free
Best sellers of the category Tools
Grinder | Grinder
€1.50
GEARS & TRACTION MECHANISM
€9.76 -40% €5.86
ENDER 3 S1/PRO SPRITE, 4020 FAN CR TOUCH NO Y OFFSET
€1. -15% €1.66 95
95
phone ring holder
€0.90
Cut-Man - PET bottle cutter with handle!
€3.49
PRECISION CALIPER 3D PRINTING DIY
€3.11
Ender 3, 3 V2, 3 pro, 3 max, dual 40mm axial fan hot end duct / fang. CR-10, Micro Swiss direct drive and bowden compatible. No support needed for printing
€1.63
Armadillo - Flex Wire Conduit
€1.75 -50% €0.87
PET-Machine, make Your own filament from plastic bottles at home!
€50 -70% €15
Phone holder
€2.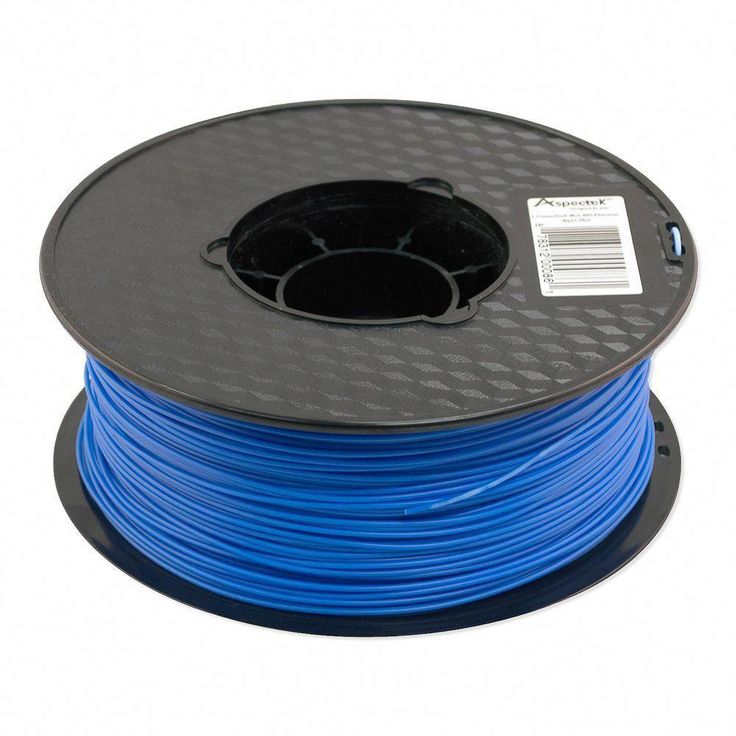 53
53
ARTEMIS -> Magazine for Alligator 2 || 6.5" Arrows || Repeating crossbow
€6.25
Fast-Print Paint Bottle Rack (6 Sizes)
€2.89
PRECISION DIAL INDICATOR 3D PRINTING DIY
€1.90
SUPERBOX
€1.50
Filament shield
€2.83
3D Printed Strain Wave Gear (Harmonic Drive)
€4.99
Would you like to support Cults?
You like Cults and you want to help us continue the adventure independently? Please note that we are a small team of 3 people, therefore it is very simple to support us to maintain the activity and create future developments. Here are 4 solutions accessible to all:
ADVERTISING: Disable your AdBlock banner blocker and click on our banner ads.
AFFILIATION: Make your purchases online by clicking on our affiliate links here Amazon.
DONATE: If you want, you can make a donation via PayPal.
WORD OF MOUTH: Invite your friends to come, discover the platform and the magnificent 3D files shared by the community!
Part 1: Make your filament at home for cheap | by Alex | Endless Filament
Plastic is everywhere and it’s cheap yet we pay $20 a spool for 1kg filament which only contains 750gram of filament, rest is the empty spool weight. I started looking for ways to make cheap filament in my garage but recently because of coronavirus, all local stores in my city ran out filament, and e-commerce websites like Amazon wouldn’t deliver it due to restrictions imposed by the government which only allowed them to ship essential goods which don’t include filament spool. So, I started thinking…
Not really. Once you’ve assembled the part — it works exactly like a 3d printer, in fact, it’s much easier to operate than a 3d printer as you are making the same thing over and over unlike in 3d printing where you are trying to print different models which require slicer tweak or design changes or strategically placing the support at the right spot.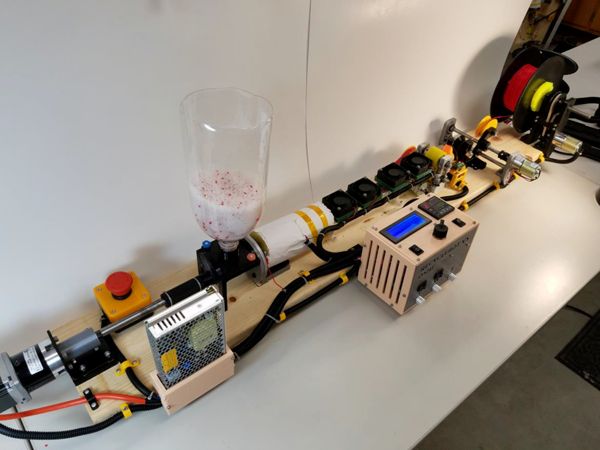 Here we’ve no print bad, no bed leveling, no support requirement.
Assembling it is easier than a 3d printer as it has no movable axis which needs careful calibration and alignment.
3d printer uses filament to lay uniform-sized filament width/height. In comparison, extruder uses plastic pellets to extrude filament.
Once the machine is built, it will take you 4–8 minutes to tweak the initial extrusion process, after that you’ll end up with 10–20 kg filament in one go depending on your batch size.
Most people make mistakes while calculating the ROI of filament extruder, so if you calculate ROI of a filament extruder, please keep in mind that:
- Most people will never see positive ROI on their 3d printer or filament purchase.
- 1kg spool only contains 750gram actual filament.
- Strong materials like Nylon12 is $35–45 per 1kg spool while, pellets can be bought for $3–4 per kg in 25kg bags.
- The extruder is made from off the shelve standard parts like motor, gearbox, temperature controller, thermocouple, all of which have a resale value.
 You can easily dismantle an extruder and sell its parts or sell the whole unit or use its parts in your other projects.
 - What’s the resale value of the filament you’ve already used? Most likely zero or negative value. While the extruder has good parts that have good resale value.
Once you’ll keep these points in mind, you’ll see the ROI gap is quickly bridged and you’ll make back your investment much faster than you realize.
It’s very important that you watch the video linked above to understand what I am talking about. If you want the constant rate of water coming from the top of the screw, how do you achieve that? Obviously, by keeping the screw’s rotation speed constant. For example, if the screw rotates at exactly 5RPM then we might get exactly 5liters of water per hour. But if the RPM changes from 5RPM to 6RPM then back to 5RPM we’ll get different 5 liters of water per hour, then 6 liters of water per hour then again 5 liters of water per hour.
The same is the case with the filament! If we want a constant volume of filament coming out of the nozzle where the screw pushes plastic through the nozzle, we must have a constant rate of screw rotation.
That’s it molten filament is like chewing gum, if the constant volume of filament comes out of the nozzle — you need a pinch roller set up to pull the molten filament at constant RPM — that will give you constant stretch which gives constant diameter.
You may stick to the commercial filament but keep in mind, no filament is EXACTLY 1.75mm. Most of the filament on eBay or amazon has listed ± 0.02mm tolerance. That means the diameter swings from (-0.02mm) 1.73mm to (+0.02mm)1.77mm. But that’s what’s listed on the filament label and their listings when in reality the tolerance is usually way worse.
Without any PID diameter control, I get ±0.03mm with the extruder I’ve built. It results in flawless prints and no noticeable imperfections humanly possibly to discern.
Yes, I’ve heard it a countless times from others that extruding filament is bad. And the reason they often cite is some guys on Youtube who bought mini desktop extruders and failed to extrude the filament with a consistent diameter.
The usual problem with those extruders is that they don’t have enough power (horsepower/torque) so their motor stalls either partially or completely, this makes the motor’s rotational motion nonuniform which causes the molten plastic to come out at different rates leading to diameter inconsistency.
First of all the 1HP induction motor weights 8–10kg and the gearbox weights about the same. So, let’s say it’s total weight is 20kg of adding a powerful motor and gearbox. Another 10kg for the screw and barrel.
Now, if I want to sell an extruder that includes 30kg weight, I am already looking at $300 (using $100 per 10kg air cargo charge)in the international shipping fee.
Let’s say if a company makes the same extruder as I’ve made for $600, adding a $300 shipping fee the price is already $900 — how many hobbyists going to buy it? They also can’t put a used motor/gearbox/AC drive in a new extruder — how many would buy it? $900 is the price before even including company profit margin and labor charges.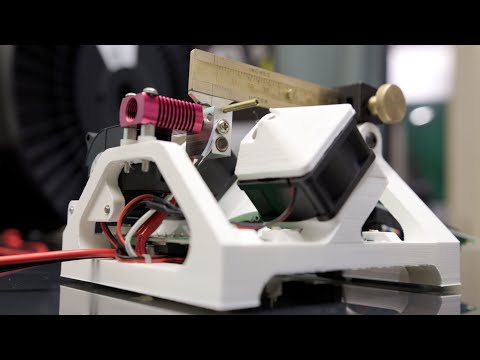
When you add all that this same extruder will cost over $1500 to end customer and will no longer be affordable.
This is one of those things where the DIY route is much cheaper!
Don’t get me wrong, a front load washing machine weights 150kg yet the total cost of shipping it to a customer is much less smaller proportion of its price than that of a shipping 150kg mini-lathe, why? because most of the people in your neighbor need a washing machine but very few people need a lathe. That makes it easier and cheaper for the companies to put the washing machines at bulk in a warehouse near you.
Before the filament became unavailable, I was printing face shields and donated them.
I started calling plastic suppliers in my city and they told me they can supply ABS extrusion grade plastic pellets for $1.40 per kg and the minimum they are willing to sell me is 25kg.
You can ask automotive fabrication shops for the contact of their plastic supplier or they might be willing to source extra through their supplier for you.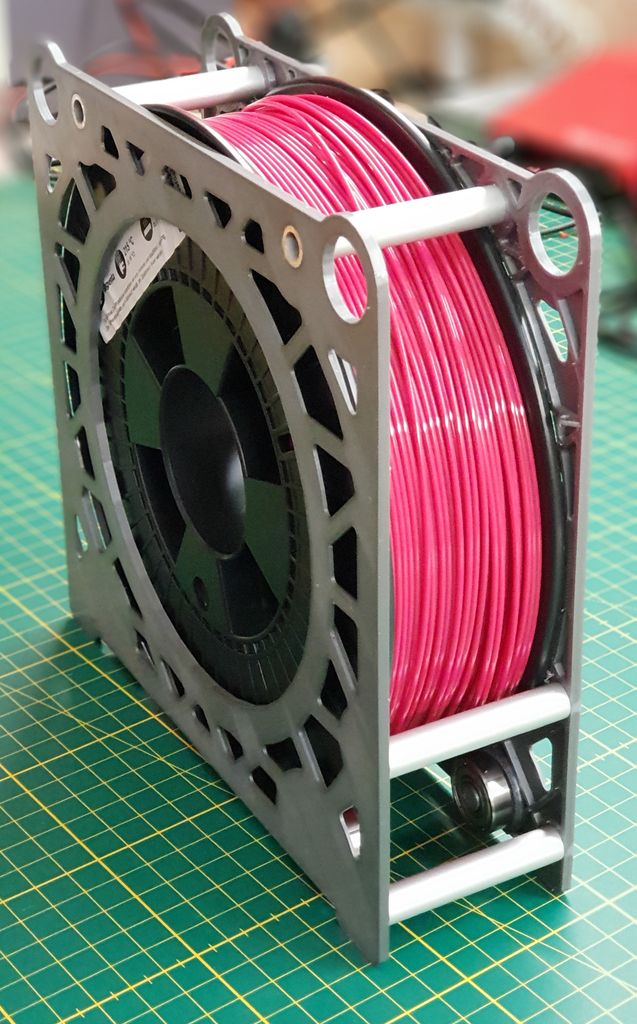
These are usually used for manufacturing pipes, rods, sheets through the extrusion process. You can find it at any plastic supplier
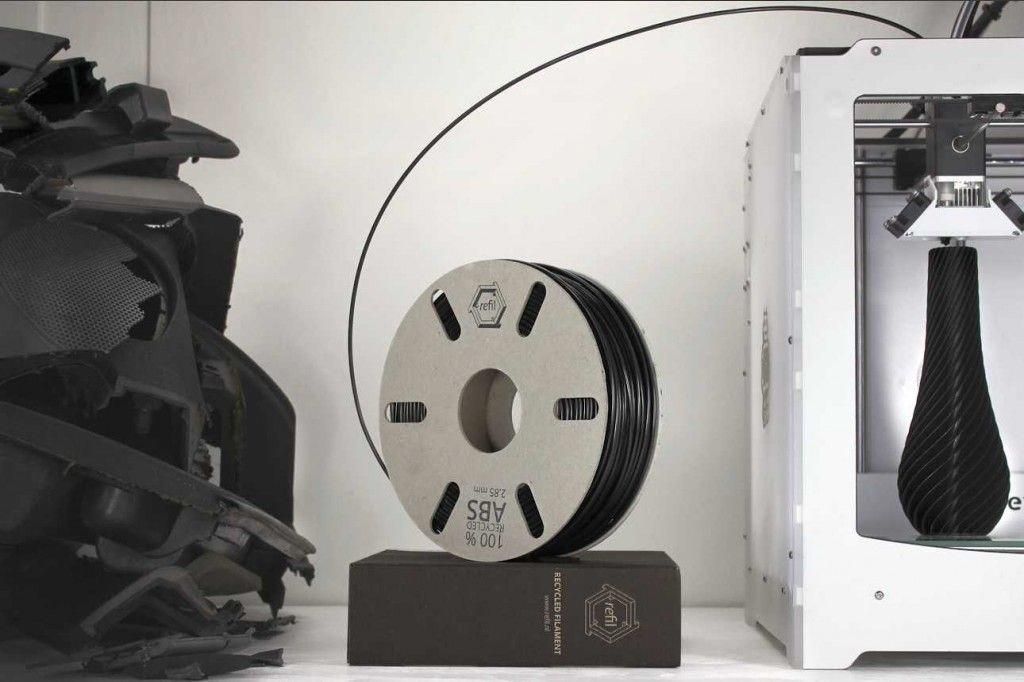
ABS pellet bagLong term plan is to buy recycled plastic pellets from recyclers, mix it with virgin plastic pellets in 60–40 ratio and sell the produced filament on e-commerce websites. I’ll also help communities build their own machines so they recycle their local plastic waste into filament. Plastic sometimes loses its structural properties when recycled, so it’s important to mix it with virgin plastic but slightly weak plastic is okay for 3d printed parts which don’t need a lot of strength. But if you make the filament with 100% virgin plastic, the produced filament have superior strength.
It is probably one of the easiest plastic to extrude and it’s available everywhere. Once I learn the ropes of filament extrusion with this plastic, I’ll move on to PLA.
GREEK RESEARCHERS DETERMINE THE EFFECT OF RECYCLING ON ABS FILAMENT
I finally managed to crack it, no local supplier had PLA pellets but I came to know that most PLA filament is made using NatureWorks Ingeo, they were willing to sell me Ingeo 3D870 grade at $2.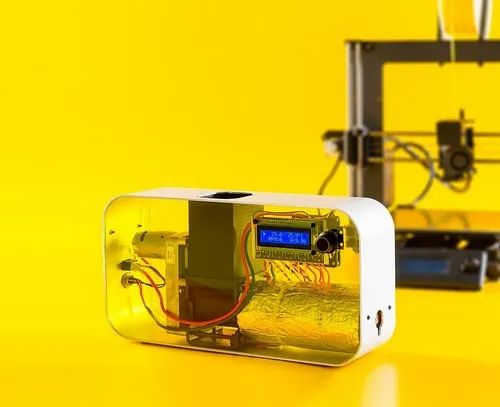 75/lb, they sell minimum 25kg. All you’ve to do is complete this form: https://natureworks.wufoo.com/forms/zzcwkzh2m84da3/, you can also ask around you might find NatureWorks local distributor in your country then you don’t have to do it through requesting Academic Sample but I am still in college, so it was pretty easy for me to get this sample. They ship from Blair, Nebraska, and shipping is extra.
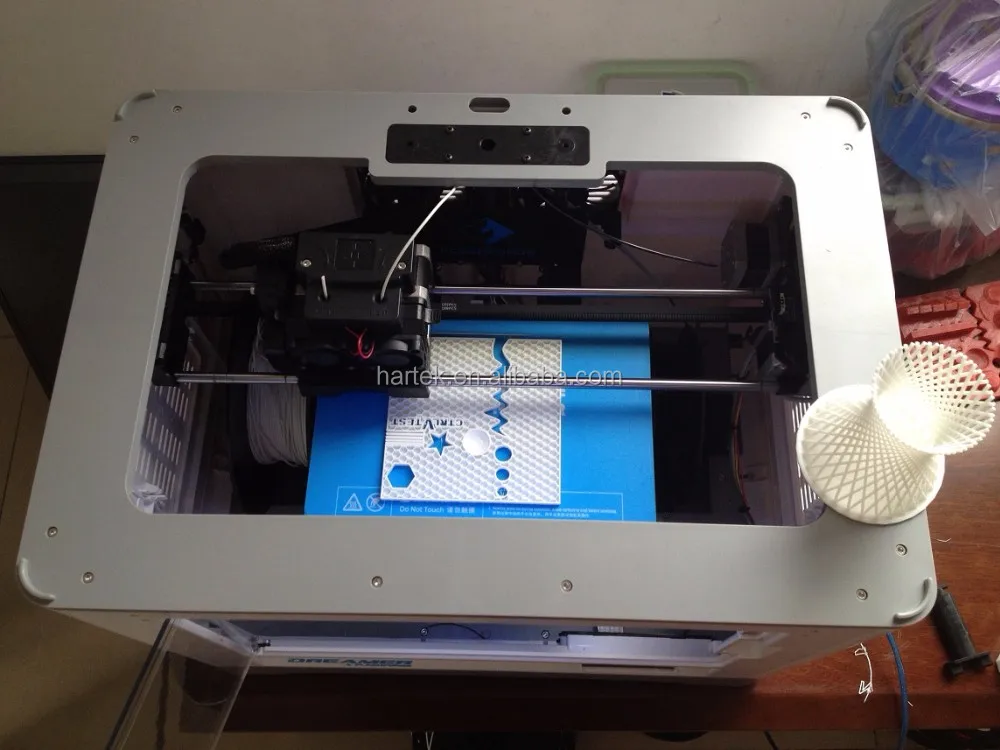
All we need now is a machine that can create filament from these pellets. The extruder is actually very simple in principle, notice the diagram below of an industrial extruder — our extruder will be this minus the cooling fans and die. You can see there are only a few components that you require for making an extruder.
This is done using a process called Extrusion. You put pellets in a hopper which is just another name for a funnel. From there pellets are moved by a screw into the barrel where they are compressed and melt because of sheer from screw movement against barrel wall and heat from heaters applied to it.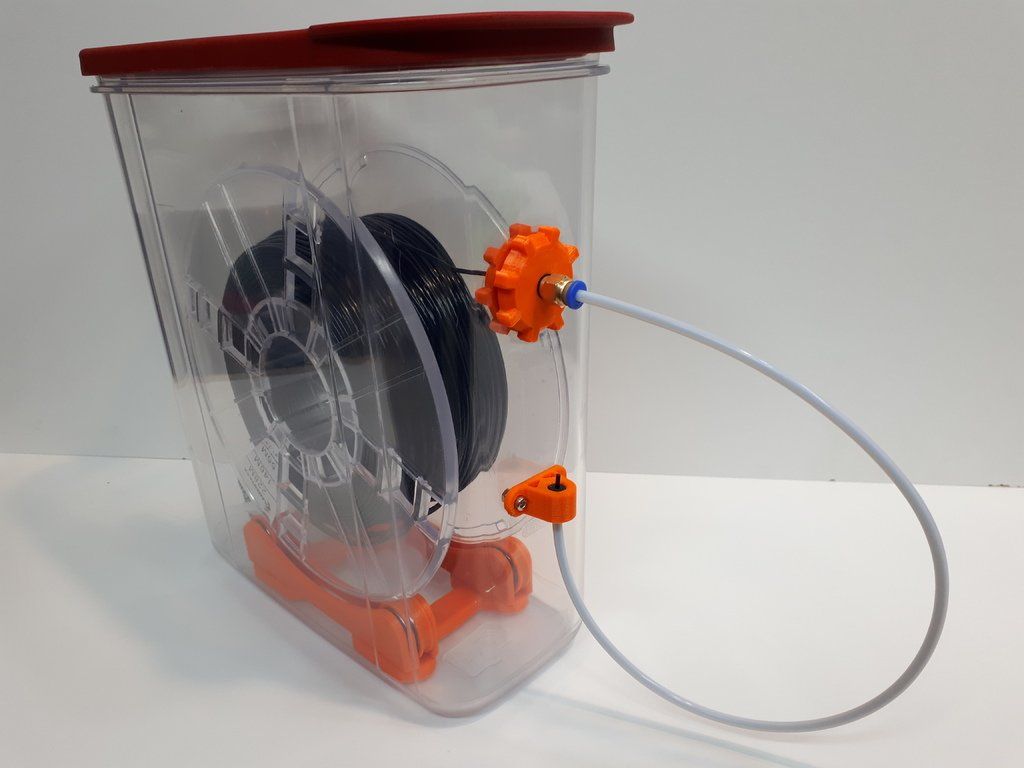
Finally, it’s forced through a nozzle and then drawn by a pair of roller in cold water. It’s the speed of pulling which controls the diameter, so we need a PID controller where we feed the diameter of produced filament and get control signal for puller motor speed. We need a NEMA 23 motor for the puller.
And another NEMA 23 motor for the filament winder which rotates the spool on which filament is wound.
To drive screw, we need high torque and low speed for this process and that’s where the gearbox comes in. It reduces the speed of the motor and increases the torque, which is then connected to the screw.
I was told by my screw supplier that I only need <100 rpm for this and that I should have 1 HP motor per 5kg of processed plastic per hour.
So how much total power this system consumes? I only measured power consumed by heater and motor, it was consuming 3 kilowatts so roughly 50 cents of electricity to produce 5kg filament. If you create PLA then it’s it will cost double as I am able to only make 2.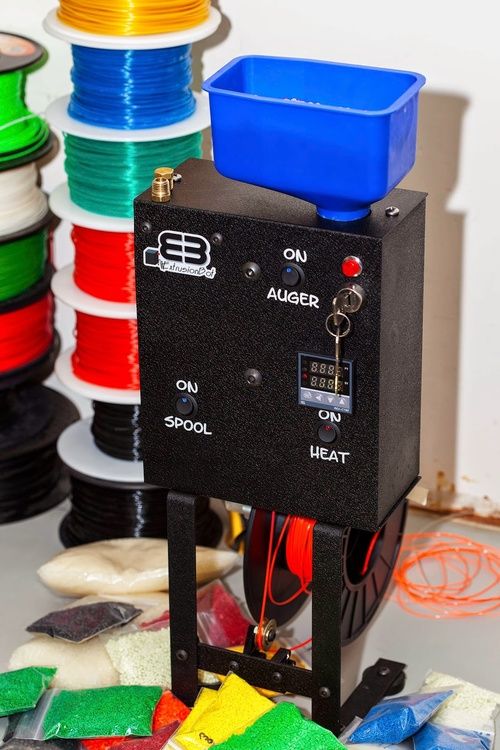 5kg PLA filament with the same power consumption when switching to PLA pellets.
Total filament cost of 5kg ABS filament using this setup is $7.50 (power and pellet price)
Building this machine from parts cost me $600–700. It’s not hard to build it, it’s rather easy, all you need to do is source the parts locally and avoid crazy expensive shipping fees for the heavy stuff. Nearly, everything you need is available locally everywhere.
Good cooling (chilled water), uniform speed of the screw, uniform melt temperature, and good PID controller tunning for puller roller will have you achieve the best consistency in diameter. If you don’t have enough motor torque or heating available then motor might stall and speed of screw might change. Keeping the temperature constant will give you consistent viscosity. Minor fluctuations in pressure/temperature changes will be controlled by puller rollers to help achieve target diameter.
Polymers have high specific heat, they take longer to heat and longer to cool.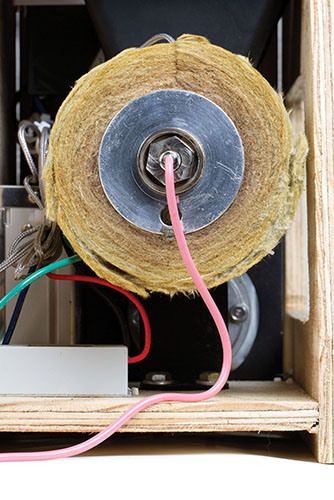 If you don’t cool filament fast enough, it might stretch later during winding that this will make your filament diameter inconsistent.
If you need any help, reach out to me on Telegram, my username is: alexfromtokyo
In the first post, we discussed the viability of making filament at home. As much it’s to save money on filament but we…
medium.com
filament from plastic bottles, how to make
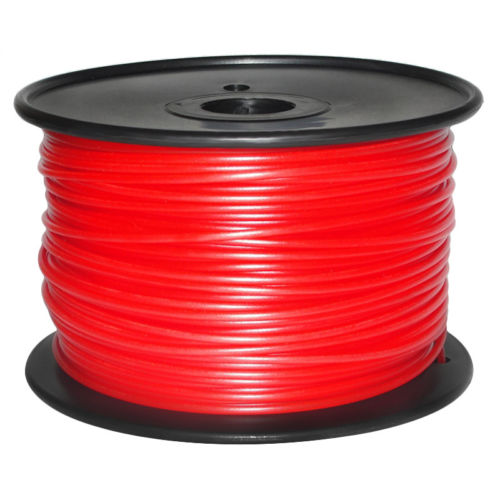
filament productionBy making filaments for printing on a 3D printer on their own, the user can save a lot of money spent on consumables. Plastic filament for printing can be made from PET bottles. Consider which bottles are suitable for this, the procedure for manufacturing a filament, as well as the advantages and disadvantages of this method.
Is it possible to make plastic for a 3D printer from PET bottles?
When making plastic filament for 3D printing, it is recommended to use the following types of PET bottles:
- Blue. Such bottles have the hardest plastic, but when melted, it will be the most fluid of all.
- White and green. The plastic of these bottles is softer than that of the blue ones. In molten form, the material is thicker.
- Brown. These bottles have the softest plastic. When molten, it is highly viscous (similar to ABS filament).
How to make DIY thread and print with plastic bottles?
Preparatory work
Bottles must be unraveled into ribbons before production starts.
Soft bottles have a thinner plastic, so it is better to break them into strips of 10 mm.
Containers with medium hard or harder plastic material can be cut into thin strips, about 7 mm thick.
PET bottle 3D printer filament tools
To create a filament from PET bottles, you will need the following tools:
- utility knife or bottle cutter;
Important! When choosing a bottle cutter, you need to pay attention to the accuracy of cutting plastic. The width of different cut strips should not differ by more than 0.
 1 mm.
1 mm. - oven;
- plastic crusher;
- homemade vertical extruder - it has a metal pipe with a drill screw that rotates with a stepper motor, and a nozzle with two heaters from a 3D printer;
- rotary table;
- large basin;
- cold water.
Step-by-step instructions
The production of PET bottle filament for 3D printing is carried out in the following order:
- Cut plastic bottles must be melted in an oven at 180 °C. The melting time depends on the number of bottles.
Help. It takes approximately 40 minutes to melt 10 plastic bottles.
- After melting, the plastic must be completely cool. All excess moisture will evaporate from the material, and it will crystallize. In appearance, the polymer resembles glass.
- The cooled material must be ground in a crusher into a finer fraction.
- The crushed plastic is then fed into the vertical extruder.
 The rotating screw moves the ground polymer to the bottom of the device to the nozzle with heaters. The plastic starts to melt.
 - The molten PET plastic leaves the nozzle and enters a basin of cold water, which is located on a rotating table. The rotation of the table will prevent sticking of the material. The thread must be cooled as quickly as possible so that it becomes flexible and transparent. In this case, it can be used for 3D printing.
- Let the homemade filament dry well before printing. Since in the presence of a large amount of moisture, a thread of molten plastic will exit the extruder in the form of foam. It is recommended to dry the skeins of thread in a closed container with silica gel at a temperature of 50–60 °C. To do this, you can use the oven or simply place the container on the radiator.
When using ready-made filament for 3D printing on a printer, several nuances should be taken into account:
- Print the product on a cold table, the temperature of which does not exceed 35 ° C.
 This limitation of the temperature regime is due to the fact that the plastic must quickly cool down to a temperature below 70 ° C. Otherwise, the material may almost completely lose its strength properties.
 - Extruder temperature should be around 265°C. But it may differ depending on the printing speed and the type of plastic from which the filament is made.
- If the feed mechanism of the 3D printer is made of brass, then it is better to put a thin-walled rubber hose on the roller. It will not allow the PET thread to slide.
The pros and cons of using bottles to create plastic
The main advantage of recycling PET bottles for plastic 3D printing filaments is that you can save on the purchase of industrial filaments and recycle unnecessary packaging, which, when taken to landfills, greatly pollutes the environment .
Disadvantages of using homemade filament:
- you can print products only at a low speed, as the thread breaks when it is increased;
- requires a crusher to grind the material and a separate extruder to transport the plastic;
- It is not possible to print large items because the thread length is limited.
Making your own 3D printing filament is a great way to save on consumables and recycle unwanted PET bottles. Homemade filaments are close in properties to purchased ones. Therefore, they can be used to print small products of excellent quality.
- March 14, 2021
- 11195
Get expert advice
How is 3D printing filament (material) made?
3DPrintStory News How is filament (material) made for 3D printing?
Filament is a necessary part of the 3D printing process, if you draw an analogy - it is the "food source" for FDM 3D printing. As the industry develops, so does the variety of materials available. Nowadays, there are many brands, different sizes and a wide range of new types of materials for 3D printing. Have you ever wondered where these filament spools come from?
The filament manufacturing process can be broken down into five steps, from harvesting the raw material to having the spool at your doorstep. In this article, we will take a detailed look at the process of making material for 3D printing. Given the variety of material types and the differences in how they are made, we will only focus on the basic steps that are common to all filaments.
Step 1. Plastic
The first step in the filament production process is the production of plastic. During refining, crude oil is heated in an industrial furnace that separates its many different components. One of the components, naphtha (naphtha), is most used in the production of plastic for 3D printing.
Naphtha, catalysts and other chemical components are chemically bonded in the polymerization reactor. The polymerized naphtha products are then compounded and processed. This process involves melting the products and mixing them with other materials to form the plastic. The resulting plastic is then granulated into small pieces known as pellets or resin.
Plastic suppliers typically produce clear or white granules and resins. This allows their users, such as material manufacturers, to have more control over the dyeing process.
Compared to filament spools, pellets are very inexpensive: you can buy 1 kg of pellets for a fraction of the cost of 1 kg of finished filament. This, of course, is due to the fact that filament companies turn raw materials into finished products.
If you're up to the challenge, you can save a lot of money by buying pellets directly from a plastic supplier and making your own 3D printing material. There are even commercial products that make the filament manufacturing process easier.
Step 2: Preparation
In the second step of the process, the pellets are prepared for the next step, molding, where they harden into a filamentous shape.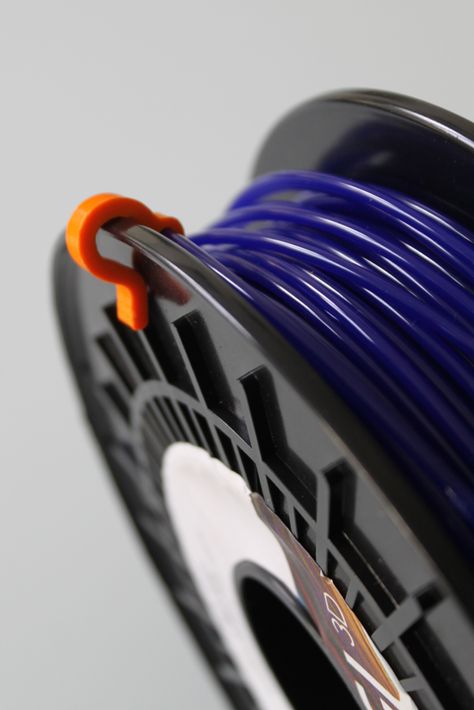 The granules are placed in an industrial blender and mixed with additives to create a homogeneous mixture and give the material special properties.
Additives may include colorants or other elements that affect properties such as impact resistance, strength, structural integrity, and even magnetic properties. Exotic materials such as wood are produced by mixing special additives such as sawdust or wood particles with plastic granules.
Drying
After the granules are properly mixed, they enter the drying phase. Like the filament, the granules are hygroscopic. This means that they absorb moisture from the air. This can deform or break the plastic, so removing moisture from the pellets is essential to ensure the production of quality filament. Drying usually takes place at 60°C to 80°C for several hours, but the process depends on the manufacturer.
Step 3 Shaping
The third step in the 3D printer filament production process is the string-shaping of the granules.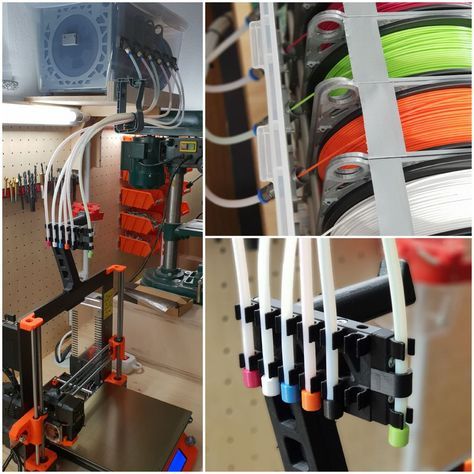 This step includes the heating and cooling process. This is one of the most important and responsible steps.
Heating
In the first molding step, the pellets are fed into a material extruder which includes a heating chamber. In this chamber, the individual granules are melted into a sticky substance so that they can be easily shaped.
In this state, the granules are joined together and form a continuous twisted material. The bonded string material, better known as filament, leaves the heating chamber through a round nozzle and enters the cooling section.
Cooling
After the thread leaves the heating section, it passes through several water chambers. The first chamber is filled with warm water, which is an important factor in obtaining a rounded thread. Setting the right temperature for the material helps prevent oval-shaped filament from forming, which can cause problems for 3D printing.
The second chamber is filled with cool water, which cools the thread and reshapes it.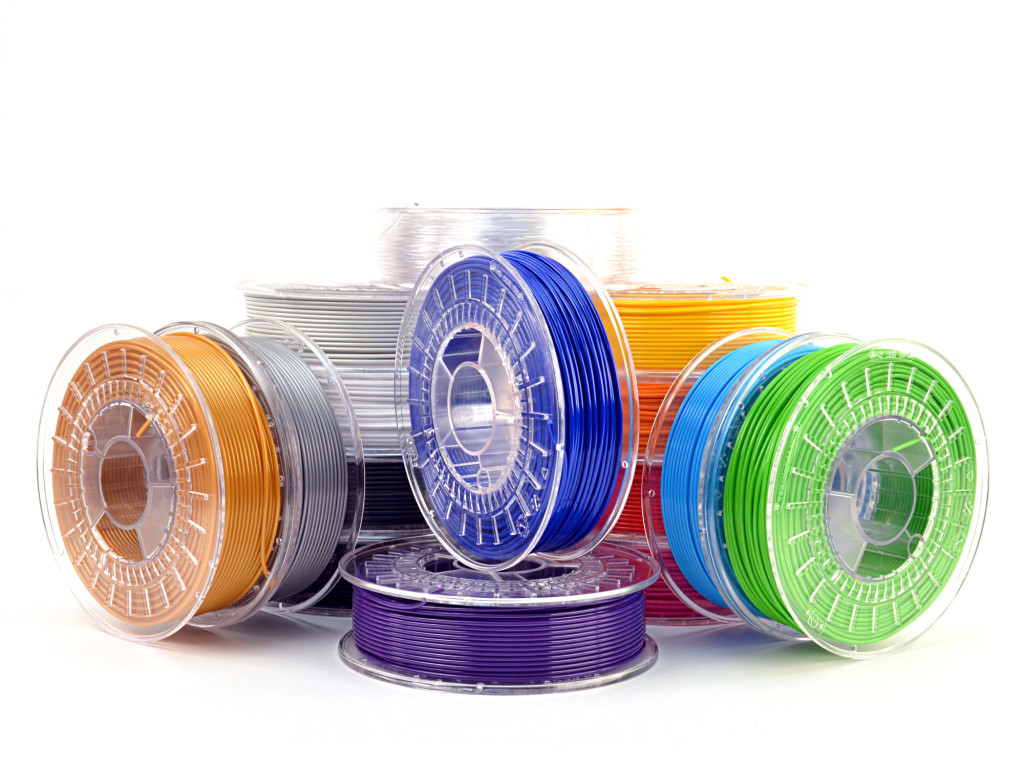 The speed at which the thread is pulled determines the diameter of the thread. A lower speed produces a larger diameter, and a higher speed does the opposite.
Step 4: Winding
During this step in the production of 3D printable material, the motors pull the filament from the cooling chamber to the winding mechanism. The winding process begins by measuring the filament diameter with a laser device to ensure that it is within the tolerance of the final required diameter, most likely 1.75 mm or 2.85 mm.
The thread is then attached to the spool and wound around it. As soon as the sensors detect that the spool is full, the thread is cut and secured. The process starts again, filling the next spool until a batch of filament runs out.
Step 5. Packing
The last step is the process of preparing the filament spools for sale. Vacuum packaging, boxes, barcodes, barcodes, all this is completed at this stage. Once the filament is properly packaged, it is ready to ship to customers.