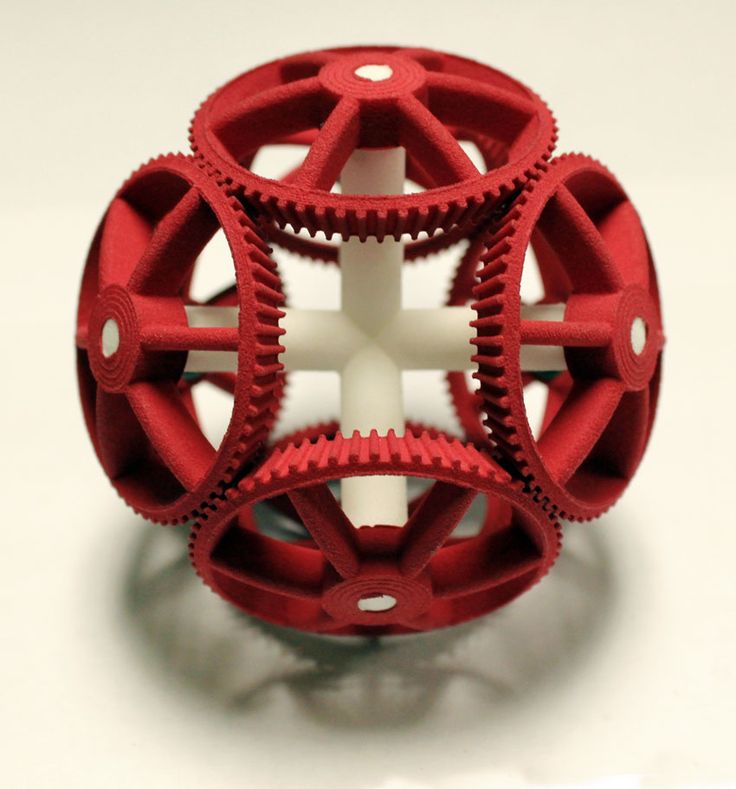
Linus tech tips 3d printer
More than 55.000 shields produced by our factory and results of disinfection tests with live coronavirus
More than 55.000 shields produced by our factory and results of disinfection tests with live coronavirus
This article is also available in following languages:
April 9. 2020
Estimated reading time: 2 minutes
More than 55.000 protective face shields 3D printed in less than three weeks by our factory alone! Take a look at the gallery of Czech first responders using our shields (on the Czech version of our website only, but this is mostly about photos so I hope you don’t mind). And we have some tips for you about how you can help too. What started as our local initiative to print protective face shields has turned into a massive endeavor driven by 3D printing communities worldwide. Tens of thousands of people began to print protective face shields using the design we have made available, helping hundreds of thousands of frontline staff – doctors, firefighters, police officers, social workers and many other brave people who risk their lives every day in these difficult times. Our design files at PrusaPrinters.org reached over 250.000 downloads and maker communities became a trending topic in media across the world.
It’s an incredible collaborative effort that goes far beyond anything that 3D printing communities have ever accomplished. This is not just about printing a lot of parts, it’s about management, planning, cooperation, collection, and distribution. Far more than one could imagine. There’s so much good work being done and we’re incredibly proud of the entire 3D printing community. The complexity of the situation and the importance of 3D printing of PPE is perfectly summarized by our friend Destin Sandlin from Smarter Every Day – definitely worth the watch!
We’re doing our best to help where we can. Our in-house production of protective shields in the Czech Republic has been running for two weeks straight and we managed to donate 55.000 shields to doctors and many other professionals in need. And since we’re aware of the challenges that many of you must overcome, we decided to summarize our findings and other important information at prusa3d.com/covid19 – this also includes vital information about disinfection. We asked leading Czech hospitals and laboratories to test various disinfecting methods, so we could share reliable and conclusive data. At prusa3d.com/covid19, there’s also a dedicated community section highlighting some of the groups that joined the cause. If you wish to be listed there, please let us know.
So, once again: thank you, everyone, who joined the cause. Please, stay strong and stay safe. We can get through this together and I hope I will be able to write the next big update in somewhat happier times.
PS: Just when I’m finishing this short update, Linus Tech Tips has also released a video about printing protective face shields. Wow! I’m so glad we can work with such great people on this good thing. Thank you!
Previous post Next post
E3D at TCT 3Sixty 2021 – E3D Online
Written by Matt Jani
After a year of cancelled events, things are finally getting back to normal! This meant we were able to visit TCT this year and catch up with our friends in the 3D printing industry.
This year’s E3D booth dominated our exhibition hall, with shiny new professional branding, new OEM case studies, and a hugely positive response to the announcement of our brand new HotEnd ecosystem – RapidChange Revo.
Our biggest booth yet! Some of the team at TCT 3Sixty, Birmingham NEC, Stand E51
Here are our top five highlights:
1. We announced RapidChange Revo
We announced the first three members of our new RapidChange Revo ecosystem: Revo Micro, Revo Six, and Revo Hemera. Each of these HotEnds are set to include 0.25, 0.4, 0.6 and 0.8mm brass RapidChange nozzles when they launch later in the year. Read more in the announcement blog.
The response to our announcement was glowing, with press coverage from 3D Printing Industry, All 3DP, Electronics Weekly, and our good friend Vector 3D:
Sanjay introduces our new RapidChange Revo HotEnd ecosystem
Behind the scenes!
2.
 We were joined by two YouTube superstars
 Popular YouTubers James Bruton and Matt Denton (a.k.a. MantisRobot) joined us on the E3D booth with their impressive 3D printed creations.
Like and subscribe!
Josh posing next to James Bruton’s openDog
Teula test driving Matt Denton’s giant Lego Go-Kart (made entirely of PLA!)
3. We revealed Lightweight Hemera is in the works
You’re in for a treat! After so much community demand, we’re going to release a lightweight Hemera featuring a smaller, lighter stepper motor. This takes approximately 100g of mass off your motion system for extra speed, and has all the advantages of RapidChange Revo, too.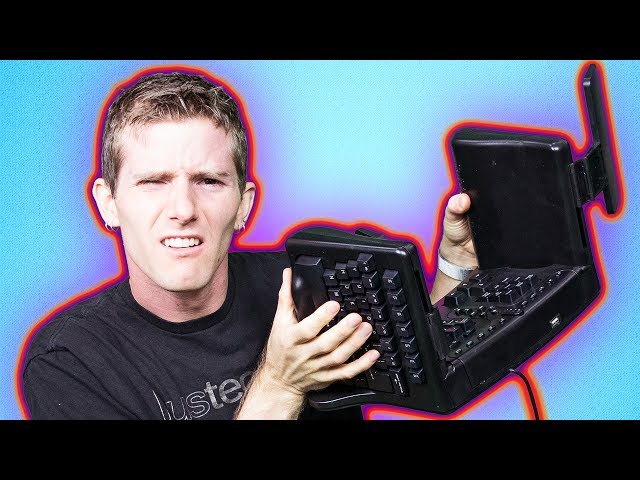 The latest pre-production parts were on display at our booth. We’ll reveal more about this as it develops…
‘Classic’ Revo Hemera vs. a pre-production Lightweight Revo Hemera. Image courtesy of Vector 3D
4. We introduced ObXidian nozzles
Besides RapidChange Revo and Lightweight Hemera, another innovation we’re bringing into the 3D printing market is our latest V6-compatible nozzle – ObXidian. These unique wear-resistant nozzles have significantly more wear resistance than Nozzle X, thanks to a reduced diamond-like carbon coating, which we’ve decided to call E3DLC™.
The engineering behind these nozzles means you can 3D print advanced composites without the usual print speed or temperature tweaks – just use the same slicing settings as you would use for a regular brass nozzle.
We’ll be talking more about this very soon, and don’t worry – there’s a Revo-compatible version coming, too!
Josh introduces our new ObXidian nozzles
Behind the scenes!
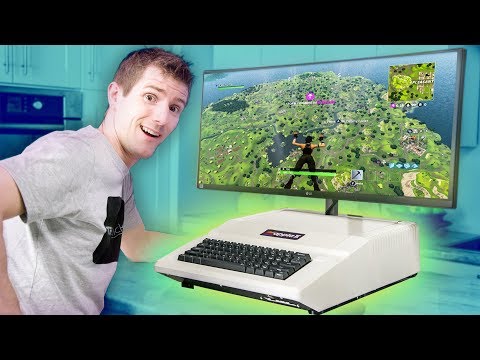
5. We got a ToolChanger onto Linus Tech Tips!
Our ToolChanger research platform was featured on our TCT booth, complete with Hemera toolheads and RapidChange nozzles. But what was more exciting to us is YouTube megastar Linus Tech Tips launched his latest video on his channel to millions of viewers all over the world!
See the full video from Linus Tech Tips.
We have arrived. Sanjay and Greg's reaction
Keep an eye on E3DIn other news, we recently made the shortlist for the 3D Printing Industry Awards. Shortlists are now open for voting until the 20th of October. Cast your votes here.
Follow our blog or chat with us on Discord for up-to-the minute E3D updates. And don’t forget to reserve your place in the queue for RapidChange when it goes on sale later in the year!
RapidChange: Be the first to know more
Best 3D Printing Products Under $1000 in 2021
3D printing is a method of converting a 3D model created in a computer program into a solid object. The device that performs this function is called a 3D printer. A 3D printer takes digital data and physically models it into a solid object by adding layers of material. Anything can be created on a 3D printer, such as any machine part, toys, sculptures, etc. The material can be plastic, metal powder/metal rod, or ceramic powder.
3D printing is an additive process because it creates a solid object by adding layers of material instead of drilling and cutting, which is the process of subtraction.
3D printing was invented in 1976 and commercial products hit the market in the mid 90s. The first study was conducted by Japanese researcher Hideo Kodama in 1981. His product used a photopolymer material to prototype 3D objects. This research also marked the beginning of stereolithography, which was invented by Charles W. Hull at 1984 year. Stereolithography is also known as 3D printing which is used for prototyping.
3D printing has the following advantages:
- Time efficient
Prototyping with a 3D printer is faster compared to the traditional method when we first have to make the shapes of the object.
- Availability
It is very affordable now as many manufacturers produce 3D printers that are quite easily available in the markets. Anyone can get them.
- Cost effective
This is cost effective because traditional prototyping is time consuming and costly.
- Eco-friendly
Traditional methods, especially subtractive ones, generate more waste than 3D printing. Hence, it is an environmentally friendly method.
- Advanced Fabrication
3D printers can produce any shape, any geometry. Traditional methods such as molding and injection molding have limitations due to the methodologies used to manufacture the object.
How does 3D printing work?
3D printing starts with 3D modeling. The object can be created in any 3D modeling tool, such as blender. This part usually takes time. After creating a 3D model, the file can be directly transferred to the printer if it is connected to a computer, or some printers support a Micro SD card and USB flash drive to read 3D model files. After the file is transferred, the printer will start printing it.
Types of 3D printers
There are different types of 3D printing. Some of them are listed below:
- Stereolithography (SLA)
- Digital Light Processing (DLP)
- Fused Deposition Modeling (FDM)
- Selective Laser Sintering (SLS)
- Selective Laser Melting (SLM)
- Electron Beam Melting (EBM)
- Manufacture of laminated objects (SCRAP)
- Binder jet (BJ)
3D printers come in many varieties. Each type has its own way of printing 3D objects, such as stereolithography (SLA), which converts a liquid photopolymer material into a physical object using laser beams. The laser beam strengthens the material. Digital Light Processing (DLP) is similar to stereolithography but uses traditional light sources. Fused deposition modeling (FDM) uses a thermoplastic material. This is also the most common technique.
In the Selective Laser Sintering (SLS) method, the laser sinters the metal powder, while in the Selective Laser Melting (SLM) method, the laser melts the metal powder. Electron beam melting (EBM) corresponds to the selective laser melting (SLM) procedure, their only difference is the type of light. SLM uses a laser while EBM uses an electron beam in a vacuum.
Laminated Object Manufacturing (LOM) is another method that is the fastest but less popular. It laminates layers of plastic with heat and creates an object. Binder Jetting (BJ) uses two materials, the first is a powder and the second is a binder that connects the layers.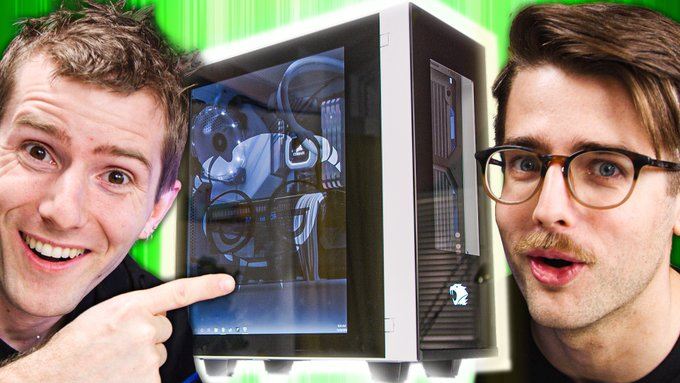 The binder connects the layers of powder (gypsum) and creates a physical object.
Because there are several types of 3D printers. Which printer to choose depends on your personal choice. If you want to make metal 3D printers, choose SLS and SLM printers, and if you want to prototype plastic objects, then FDM printers are very popular and economical.
Several 3D printers are available in the markets. Some are inexpensive and some are premium. Let's take a look at some of the 3D printers that cost less than $1,000.
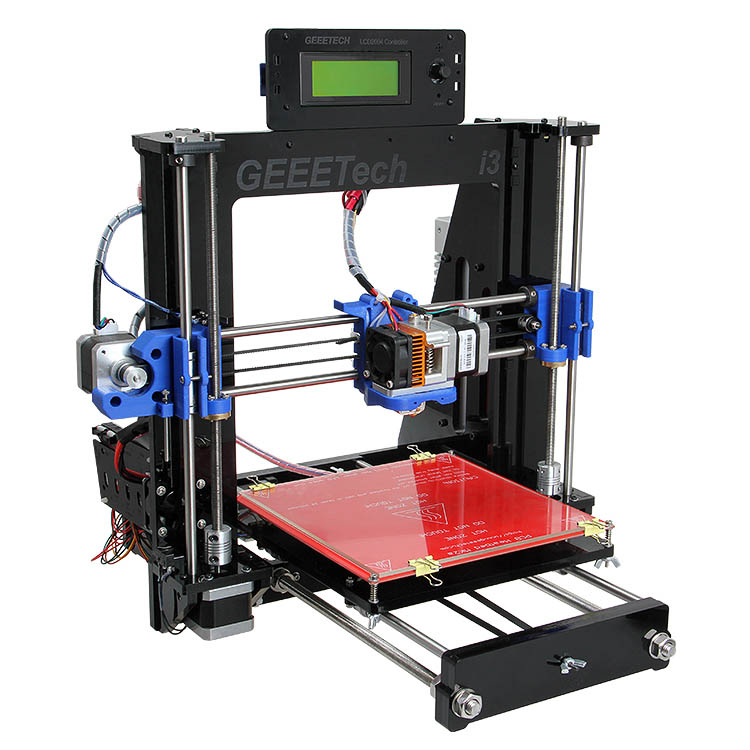
1: Creality CR-10
This printer has a simplified design and supports large print volumes up to 500 x 500 x 500 mm. It is easy to assemble because there are only 4 pieces in the set. It can also resume printing when there is a power outage. It supports many materials including carbon fiber and polylactic acid.
Product Information: Amazon
2: Tiertime Up Mini 2
Tiertime Up is one of the beautifully designed 3D printers. The biggest advantage of this printer is that it is equipped with a high efficiency particulate air filter (HEPA filter). This filter traps harmful particles that can cause health problems. This printer supports PLA (Polylactic Acid), ABS (Acrylonitrile Butadiene Styrene) and ABS which emit particles when melted, so this filter helps to capture particles.
Product Information: Amazon
3. FlashForge Creator Pro 3D Printer
FlashForge Printer is an affordable and high quality 3D printer that supports various plastic filaments including ABS and PLA. The build quality of FlashForge Pro is pretty good. The whole body is made of thick aluminum metal plates. It also features two extruders, micro-SD and USB card slots.
Product information: Amazon
4: Dremel Digilab 3D20
The Dremel Digilab comes fully assembled. The 3D model file can be transferred via SD card. It is equipped with a touch screen that can be used to make adjustments. Another great feature of Dremel is that it provides cloud-based cutting software for free. And it supports PLA filament.
Product information: Amazon
5: BIBO 9 3D printer0051
BIBO 3D printer is known for its dual extruders. The dual extruder allows you to print 3D objects in two colors and 2 objects at the same time. Another feature is filament detection: as soon as the filament runs out, the printer will automatically stop to load a new spool. A touch panel is pre-installed in the printer to configure settings.
Product Information: Amazon
6: FlashForge Dreamer
Flashforge dreamer is another 3D printer with dual extruders. It comes with a 3.5" IPS touch screen, Wi-Fi, SD card, USB support, slicing software and a large build volume. Upon purchase, you receive 2 spoons for the thread as a gift.
Product Information: Amazon
7.
 QIDI Tech X-Plus 3D Printer
 QIDI Tech is a pre-assembled machine that is mainly focused on quality 3D printing. The most attractive feature of this printer is that it can print on materials such as nylon, carbon fiber, polycarbonate, PLA and 1.75mm thick support fibers from any manufacturer.
Product information: Amazon
8. Snapmaker 3 in 1 3D printer
As the name suggests, this is a multipurpose 3D printer that has three functions:
- 3D printing
- Laser Engraving
- CNC thread
Build quality is excellent as it is made of metal, comes with USB storage and USB cable transfer function. It also has a 3.5-inch touchpad. If you need all these features in your machine, choose the Snapmaker 3-in-1 printer.
Product Information: Amazon
Conclusion
3D printers are extremely powerful machines and have a bright future.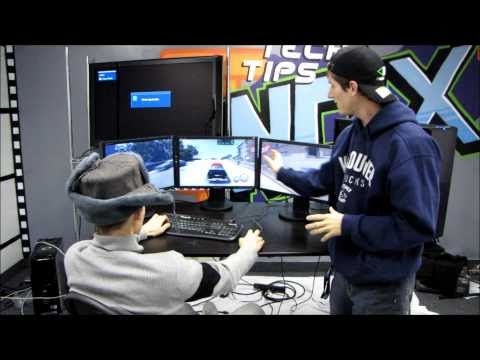 3D printing is an additive technique that has the potential to become mainstream for mass production. Since 3D printing is inexpensive, it will soon become part of various fields including defense, medicine, and manufacturing. Soon 3D printers will be used in homes, schools and businesses due to their usefulness.
Overview of the ChiTuBox slicer for 3D printing. Preparing models for printing
Most 3D printers come with proprietary slicers. However, they most often have very limited functionality, and sometimes they are simply inconvenient. Alternatively, third-party slicers can be used. One of the popular options is ChiTuBox.
Features of 3D printers in terms of cutting a model
A slicer is a program that prepares a model for printing, in simple terms, this software, based on the print settings and the prepared model, converts information into layers for a 3D printer. This step is the most important, if not the key, regardless of what technology the equipment prints on, be it FDM, SLS, SLA, DLP, LCD.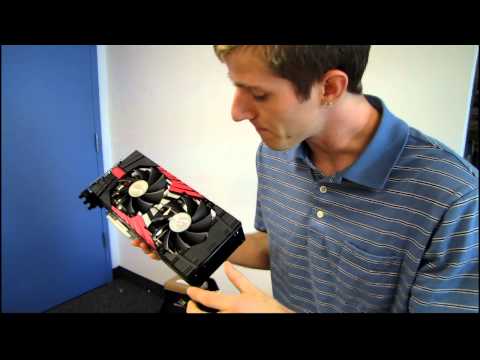
In most cases, the "instruction" for 3D printers is associated with a G-code. However, this code only works in conjunction with an FDM printer. Yes, the familiar G-code is completely unsuitable for SLA, DLP, LCD printers, because the nature of printing is completely different.
For this reason, these printers require their own slicer and most of these devices come with proprietary software. But these slicers are not universal. And this is where ChiTuBox comes into play, which is compatible with most popular 3D printers.
Description of the program
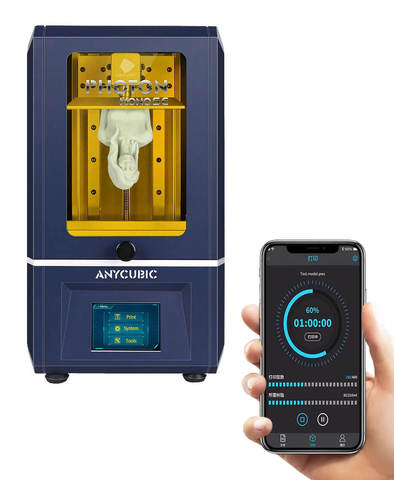
ChiTuBox is a slicer for photopolymer printers, that is, for equipment that prints using SLA, LCD, DLP technology. The first version was released back in 2017. The development was carried out by the Chinese company CBD-Tech. This company was a group of engineers who came together in 2013 to work on 3D printing hardware. For example, controller boards were developed, which were marked with the ChiTu brand.
CBD-Tech is a software developer and the first software released was ChiTu DLP Slicer. It eventually became the official software for the Anycubic Photon, with a few tweaks. The CBD-Tech portfolio also includes ChiTu Cloud, which is a 3D printing management and control platform.
ChiTuBox is currently the most popular alternative to standard slicers. The software provides excellent control over print settings. The program interface is convenient and simple. In addition, ChiTuBox can run on all popular Windows, Mac and Linux operating systems. The icing on the cake is that the software is free, although there is also a paid version.
ChiTuBox supports 20 photopolymer printers. Among them:
- Anycubic
- Phrozen
- Wanhao
- Elegoo
- Shining3D
The slicer also supports a large number of export formats: STL, OBJ, CHITUBOX, CBDDLP. The latter are native formats. ChiTuBox has a huge number of users around the world and support for 12 languages. Recommendations and official instructions are very comprehensive, but useful advice from professionals and ordinary users will never be superfluous.
Program interface
ChiTuBox is a very powerful tool. But at the same time, its interface is simple and convenient, thanks to which not only professionals, but also beginners work with it. All information about the functionality and settings of the slicer is contained in the manual posted on the official website of ChiTuBox. We will consider only the base:
1 Main interface – when the program starts, the main interface opens to the user, in which there is a toolbar and the main menu at the top.
2 Main tools – on the left side there are tools for editing and positioning the model (translation, rotation, scaling, reflection, etc.).
3 Models - the list of imported models is displayed on the right side, for editing and positioning, you need to select a model from the list.
4 Settings - a little below the list of models is the settings button, by clicking on which you can get to the settings menu: print options, layer height, exposure time, etc.
5 Supports - ChiTuBox is famous for its functionality for working with supports, a whole tab is devoted to this toolkit, which allows you to create and delete structures manually or automatically.
6 Slicing is the Slice button, which is responsible for preparing the model for printing. Here you can also preview, check individual layers.
ChiTuBox Slicer and Features
The ChiTuBox Slicer offers users a wide range of tools, giving them complete control over their printing. There are also unusual settings in the program, such as ascent speed, turn-off delay, etc. Lifting speed is a parameter of the rate at which the platform rises from the tank between layers. The turn-off delay is the time that the light will be turned off between layers, which is necessary for the correct formation of the layer.
ChiTuBox supports the creation of individual print profiles. The function is implemented similarly to Simplify3D. At the same time, profiles can be exported, imported, which facilitates the exchange.
The Auto-Layout tool is an unusual positioning tool. It allows you to place several models on the stage in auto mode, while optimizing the space. In general, all ChiTuBox tools are intuitive and working, that is, reliable and effective.
The most popular feature of this slicer is padding. Given the cost of polymer resins, it is very important, because it saves material. Available is the possibility of extrusion and the creation of drain holes.
Hollow tool to determine wall thickness and holes to allow resin to flow out. There is a Dig Hole tool that allows you to manually place drain holes and specify dimensions. The hollow portion may be brittle and may require filling to provide rigidity. ChiTuBox can generate fill patterns. This feature is very similar to that of FDM slicers, but it is extremely rare in SLA slicers.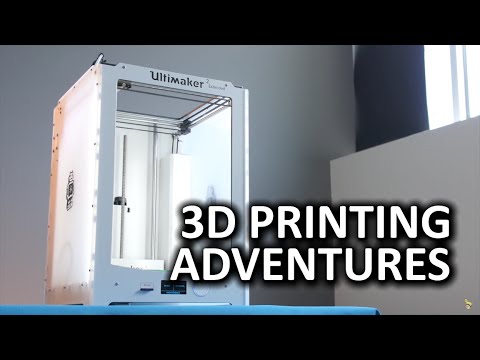 The user is given the opportunity to set the percentage of filling and wall thickness.
Another feature of ChiTuBox is the possibility of video recording. There is a built-in tool for this. It is located in the top toolbar and, when clicked, records a video that is automatically exported to GIF format. You can also take one screenshot and edit it.
Once all print settings have been configured, the model has been processed and a preview can be displayed. In ChiTuBox, this is an imitation of printing. With the help of the vertical aligner, you can control the height and stroke of the print in the simulation. You can make a single cut.
Adding supports
This feature is used in ChiTuBox to the maximum, so consider it in detail:
- Model import.
- Place the model in the middle of the desktop.
- On the left side are tools for rotate, scale, position, etc.
- Set the model to a suitable position.
Learn more