Labists 3d printer
Labists ET4 3D Printer review
We use affiliate links. If you buy something through the links on this page, we may earn a commission at no cost to you. Learn more.
REVIEW – One benefit of being forced to spend more time around the house during the pandemic is that now I’m able to jump back into some hobbies I’ve been neglecting. 3D printing is a hobby I really enjoy, but it can be costly and, before the pandemic, I never seemed to have enough time for it. Luckily, over the last few years, 3D printers have been coming down in price while simultaneously providing more functionality. The $500 3D printer I bought in 2016 pales in comparison to most of today’s sub $300 printers. The Labists ET4 3D Printer is one such affordable printer with impressive print quality and a good amount of features. At $249, the Labists ET4 is a good value, but some major issues with its upgradeability, setup, and support have me questioning whether this would be a wise choice for 3D printing novices or pros alike.
What is it?
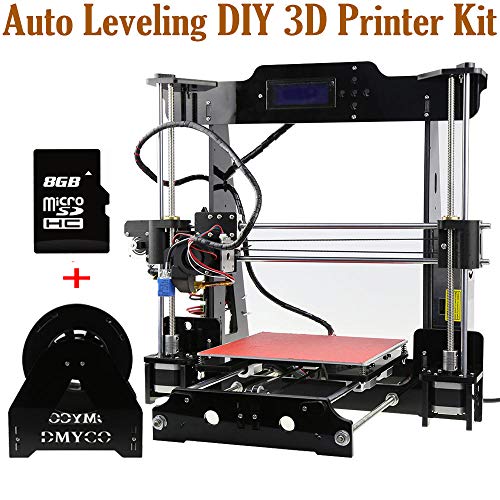
The Labists ET4 3D printer is an assembly-required, Cartesian, FDM printer that uses 1.75mm PLA or ABS filament. The ET4 supports SD Card and USB printing and is controlled via a built-in LCD touchscreen. The ET4 has some great features like auto-leveling, broken filament detection, and a resume printing option. But, aside from an accent color change, the Labists ET4 is a direct rebrand of the ANET ET4. Despite numerous attempts on my part, the people at Labists were never able to explain exactly what makes their version of the ET4 superior to the much better supported ANET version. Nevertheless, I’ll review the Labists ET4 based on its performance during my weeks of testing.
The Labists ET4 arrives in a very big box with lots of foam cutouts protecting the delicate parts inside.
What’s in the box?
- Labists ET4 Platform
- Metal Frame
- Extruder
- Filament Rack
- Filament Holder
- Power Cord
- Roll of PLA Filament
- USB SD Card Reader
- SD Card
- User Manual
- Allen Keys
- Connecting screws and hardware
Hardware specs
- Technology: FDM (Fused Deposition Modeling)
- Print Filament: 1.
 75mm PLA, ABS
 - Nozzle Diameter: 0.4mm
- Max Printing Speed: 150mm/s (Recommended speed: 30-60mm/s)
- Max Nozzle Temperature: 250℃
- Max Hotbed Temperature: 100℃
- Printing Size (Build Volume): 220mm x 220mm x 250mm
- Unit Dimensions: 440mm x 340mm x 480mm
- Unit Weight: 7.4 kg
- Layer Thickness: 0.1mm – 0.3mm
- Precision: ± 0.1mm
- Compatible Systems: Windows, Mac
- Connection: USB, SD Card
- File Format: STL, G-code
- Recommended Slicing Software: Cura
- Power Input: 100- 240V AC
- Working Temperature: 10°C – 40°C
- Working Humidity: 30% – 90%
Setup
Before we get into the features of the Labists ET4 and start making fun 3D prints, there’s a good amount of setup and assembly that has to be done first. Unfortunately, the included assembly instructions are worse than useless. I review every product by always following the instructions provided by the manufacturer. I assume that the provided instructions are what the basic user would use and that those instructions would be clear and helpful. That is not at all the case with the instructions included with the Labists ET4. There are skipped steps, unclear directions, and useless diagrams. The manual points to an “operation video” on YouTube that is just as confusing. If you’re going to point to a YouTube video, then don’t include incorrectly printed directions at all. I’ve reviewed several excellent products that do just that, right when you open the box they simply point you directly online to frequently updated, expertly designed instructions and guidance. The people at Labists don’t believe in any of that.
Every interaction with Labists support and company representatives was a maddeningly frustrating experience in futility. They were purposefully evasive with questions as simple as “Where can I find links for firmware updates?” One rep told me to never update the Labists ET4 with the ANET ET4 firmware because it will damage the unit, while a different rep provided me with a link to the ANET website when I asked for firmware resources.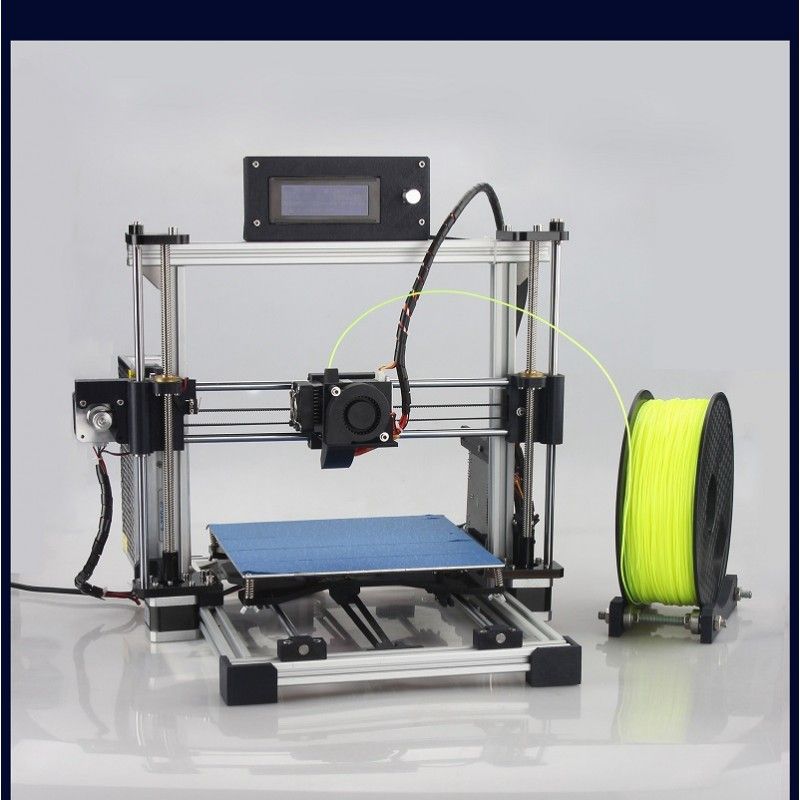 As a result, for assembly I did a lot of Googling and found several helpful setups videos and tutorials, many of them for the ANET ET4.
I won’t detail each and every step of the assembly, but the first most important step involves attaching the upper metal frame to the platform base. By flipping the base over you can find the holes the upper frame screws attach to. This is the most difficult part of the assembly since the frame is pretty unwieldy and the base is quite heavy.
Once the frame is attached to the base, the rest of the assembly is pretty straightforward, as long as you have decent instructions. But one of the key steps, that is surprisingly not mentioned at all in the instructions, is the removal of the stabilizing plastic strips on the base rails.
If you get through the whole assembly and then try to run the printer setup without removing these strips, you can seriously damage the unit.
After removing the strips, the printer head module can be attached to the top rails.
There is a long rubber drive belt that controls the printer head module and needs to be connected around the drive pulleys.
After running the belts over the pulleys and connecting the tabs underneath, the tension on the pulleys needs to be adjusted and tightened using the included Allen Key.
Once the belt is tightened, the printer head module should be able to move freely back and forth along its track.
Now it’s time to connect all the wires. The connection board on the back of the ET4 is a little overwhelming, but luckily everything is labeled, albeit in very tiny type.
Make sure each connector, as well as the main controller ribbon cable, finds its corresponding plug and that the connections are solid and secure.
After all of the wires are plugged in, connect the supplied Bowden Tube to both the printer head module and the filament feeder. Both are simple push-in connections.
One of the last assembly steps is to affix the filament holder to the top of the unit’s frame by setting two screws into the top railing.
Lastly, carefully affix the included plastic cover to the glass print bed by peeling the backing off of the cover’s sticker. Once the bed is protected, you’re ready to start the fun process of calibrating.
The Labists ET4 is controlled via a small 2.8 inch touchscreen. The user interface is poorly designed and incredibly unintuitive. As a result, you’ll find yourself frequently making incorrect choices, accidentally backing out of processes, and generally being confused while trying to operate the ET4.
One of the few good things about the ET4 is its auto-leveling feature. This feature ensures that the nozzle is always a uniform distance from the printer bed, which alleviates a lot of issues inherent with 3D printing.
Usually, this is done manually, by moving the print head around the printer and using a piece of paper to gauge its distance from the bed. You can choose to do it that way with the ET4 as well, but it’s so much easier to let the printer do it for you. Once you activate the auto-leveling feature, the printer will automatically check the nozzle distance from the bed at nine different locations. Once those distances are known, the ET4 will be able to compensate for them while printing, making sure that every level of your print is the same distance from the bed.
Performance
Now that the ET4 is assembled and calibrated it’s time to starting printing. I’ll assume a basic level of 3D printing knowledge as I proceed. First we’ll load some filament into the ET4.
The Labists ET4 uses 1.75mm PLA or ABS filament. It comes with a small amount of white PLA, so I used that for my first test print. Pinch the spring on the filament feeder and push the filament in through the filament detector and into the Bowden Tube.
The filament detector is another helpful feature of the ET4. This little black box that sits to the right of the feeder has a small electric eye inside that can detect if the printer filament has broken. If it detects broken filament, it will stop the printer and alert you. This is great because most low-end 3D printers have no idea whether filament is being fed into the unit or not. So if the filament breaks, the printer will dutifully continue “printing” until it thinks the job is done. Because the ET4 has both filament detection and a resume printing function, if the filament does break, you can load it back in and get your print back on track.
After the filament is fed into the Bowden Tube, use the load screen to advance the filament up into the printer head.
The ET4 can load print models via USB or SD Card. Both ports are located on the left side of the unit next to the power switch.
When using an SD Card, navigate to the file menu and select the model you previously loaded onto the card and hit OK.
The ET4 will spring to life and start printing out your choice. The ET4 comes with an SD Card that has several test models on it, but in line with my other experiences with Labists, none of the models work properly and I finally had to reformat the SD Card and load my own test models on to it.
The ET4 isn’t particularly loud compared to other printers in its class and, depending on the model complexity and print speed, it prints rather efficiently. The touchscreen has a progress indicator so you can follow along with your print.
When the print has finished, the printer head and bed will home themselves and the touchscreen will let you know your print is ready.
I was really impressed with the quality of the ET4’s prints. There were some minor issues I was able to address by adjusting the printing temperature and speed, but overall the prints came out looking really good.
Any issues I had while printing, like the occasional clogged nozzle, had nothing to do with the design of the ET4 and are just endemic to 3D printing.
To really run the Labists ET4 through its paces, I loaded up some black Hatchbox PLA filament and called on that old 3D printing test standby, Benchy the tugboat.
Benchy is used to test 3D printers because the model has a number of features that are challenging for printers to successfully execute. The ET4 knocked it out of the park with only a small defect on the front of Benchy’s portholes. The overhangs and symmetry aspects of Benchy were recreated expertly.
I also tried printing out an XYZ 20mm calibration cube that I often use to calibrate my other 3D printers. The ET4 reproduced the XYZ cube perfectly.
With the basic tests out of the way, I decided to really see what the ET4 could do. I loaded up a massive 3D printer torture test that highlights all of the challenges most 3D printers struggle with.
The print took over nine hours to complete, but I was thoroughly impressed with how well the ET4 performed.
Overhangs angles were clean up to about 70°, which is really impressive, and small details like the bridging tests looked flawless.
I ran a lot of prints through the ET4 and they mostly all came out great. Of course, there were a few hiccups along the way, but that’s to be expected.
For custom prints, I used Ultimaker Cura for slicing. Cura is the industry standard and recommended by Labists for use with the ET4. Unfortunately, the version of Cura included with the ET4 is quite old, so I had to download the latest version and then work a bit to set up the correct profile for the ET4.
Once I got the settings correct, it was easy enough to slice any models I wanted to reproduce on the ET4.
I executed a ton of great prints on the ET4, which makes my disappointment in Labists’ support all the more frustrating. This is a great printer, but one of the main driving forces for most 3D printing enthusiasts is upgradability. 3D printing, by its nature, is a very DIY community. One of the first things most people do after dialing in the settings for their 3D printer is to print out extra parts FOR their 3D printer. Third-party add-ons like the excellent OctoPrint, which allows you to convert a low-end 3D printer into a network controllable powerhouse, won’t work properly on the ET4 specifically because Labists’ firmware isn’t updated as frequently as the ANET version of the same printer. If the firmware isn’t updated, then features can’t be added, shortcomings can’t be addressed. It defeats the very purpose of purchasing an affordable 3D printer with the hopes of upgrading it yourself.
I’ll continue to use the Labists ET4 as a backup printer, making parts for my other printers or printing out test projects, but it’s a shame that I can’t network it and count on Labists to keep its firmware and functionality up to date.
What I like
- Excellent print quality once properly calibrated
- Solid construction
- Affordable and feature-rich
What needs to be improved
-
- Setup instructions are terrible
- Customer support is appalling
- Unit is not upgradeable or compatible with third-party options like OctoPrint
Final thoughts
The Labists ET4 3D Printer is an affordable entry-level printer. The ET4, once properly set up and calibrated, can produce some very high-quality prints. It has some great features like auto-leveling, broken filament detection, and resume print functionality. At $249.99, it’s priced about the same as similarly featured printers, as well as the identical, but better supported ANET ET4. Taking all of this into consideration though, I honestly cannot find one reason why someone should buy the Labists ET4 over the ANET ET4. The ANET ET4 has better documentation, better support resources, and is backed by a company with a lot of 3D printer history. Anyone looking for a sub $300 FDM 3D printer should skip over the Labists ET4 for other 3D printer manufacturers like ANET.
Price: $249.99
Where to buy: Labists or Amazon
Source: The sample of this product was provided by Labists.
LABISTS X1 Mini – Entry-Level 3D Printer Review – 3D Printerly
The LABISTS entry-level 3D printer is a light weight and compact device. It is one of the most affordable and cheapest 3D printers that are available in the market.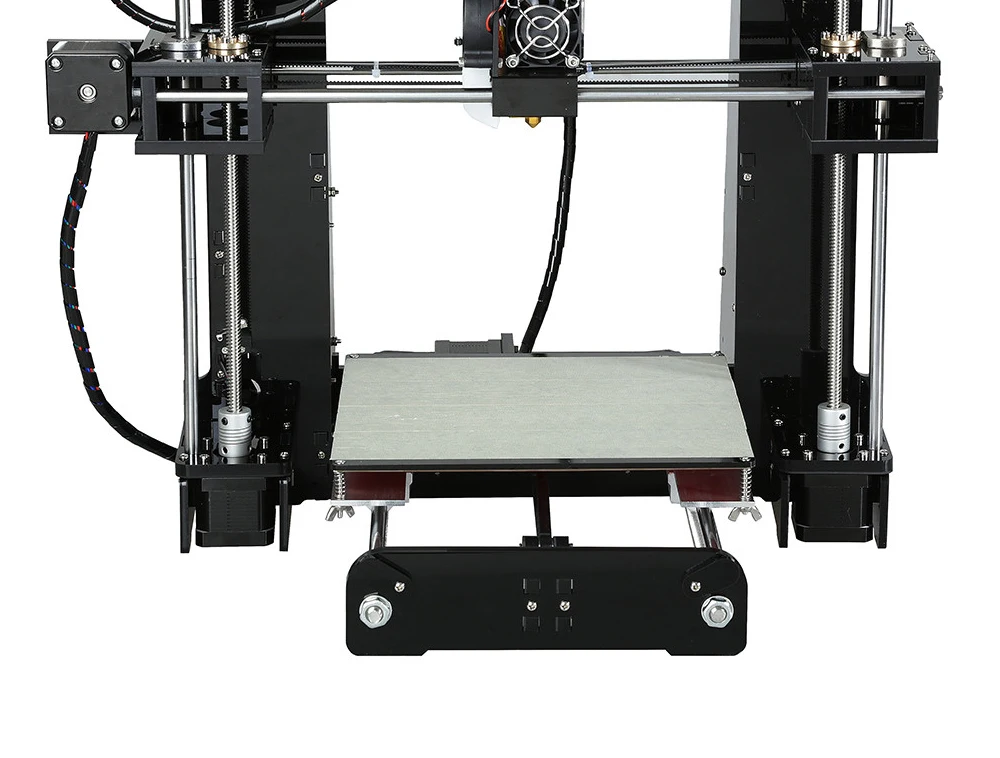 It is a very beginner-friendly printer and is very easy to assemble. If you are starting out in 3D printing this is one of the best affordable solutions to get started with.
The main reason that makes this printer one of a kind is the money you spend on it.
This 3D printer comes at a jaw dropping price tag of under $150. You can purchase the LABISTS X1 Mini from Amazon today.
If you are a hobbyist and want to pick 3D printing as a new one, this is the best choice for you to start. It is very easy to understand and assemble. It does not require any prior knowledge in 3D printing to begin with.
Many people quit 3D printing because of the complexity of setting up the machine itself, or with some of the technical issues that can occur. A 3D printer like this will ease you into the 3D printing field, without these troubleshooting problems so you can focus on the good side of it.
Within the package of this mini printer comes with 10 meters of non-toxic PLA without a spool, USB cable, card reader, a filament holder that can hold up to 250 grams of filament, a TF card with some test models installed in it and a screw driver kit.
Features of the LABISTS X1 Mini
- Detachable magnetic platform
- One click printing
- Quick heating aluminium nozzle
- Silent printing
- Fast slicing software
- Low power consumption
- Ready to use out of the box
- Uses non-toxic PLA
Detachable Magnetic Platform
The print plate is magnetic and flexible. It can be taken out of the printer when the printing is done. Once taken out, bending the plate will pop off the print model from its surface. This will not damage your printed model and avoids the trouble of scraping done on a normal fixed print bed.
3D prints that stick down too hard on a surface are never fun, so this feature is great for people who want to quickly remove their 3D prints to get on to the next print.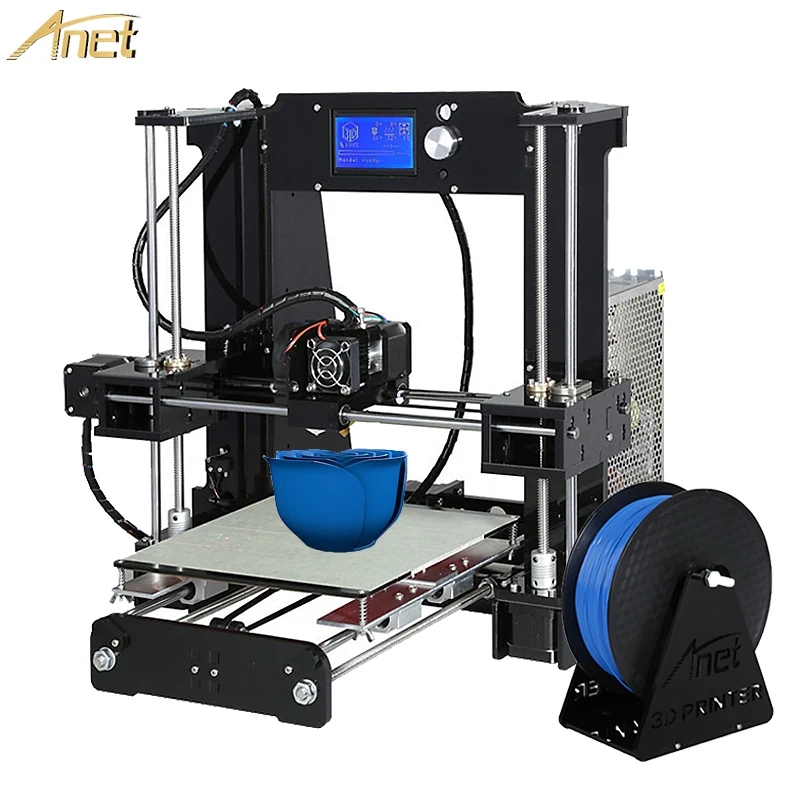
One-Click Printing
Unlike other printers that have many parameters to be tweaked before printing, the LABISTS X1 Mini printer will print immediately after inserting the TF card and pushing the button.
After inserting the TF card wait for the printer to heat up. When the printer is ready it will automatically start printing. This simplicity in operation makes the printer kid-friendly to use.
This kind of feature is why it’s such a great gift for kids and anyone interested in the technical world of 3D printing, because at first, it can seem quite intimidating.
Quick Heating Aluminium Nozzle
The print head uses a highly precise nozzle which can print small features within a range of layer thickness of 0.05 to 0.2mm. This is as much as most people would need for some great quality prints, which really mimic the model at hand.
It uses a professional aluminium nozzle which can heat up quickly to an extruding temperature of 180°C in 3 minutes. This is the extruding temperature for PLA.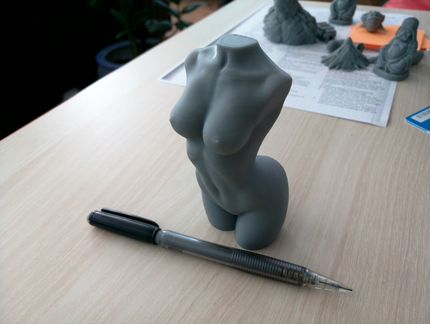 The print head does not get clogged easily.
Silent Printing
The printer is designed to work under 60db, which means it barely produces any sound. It is much silent compared to many other printers.
Fast Slicing Software
LABISTS 3D printer uses the latest version of Cura based slicing software. The software is made with unity and has a very interactive and user friendly user interface. Cura is very easy to operate and has simple modes to quickly slice your desired models, with the option to use more complex settings.
The software is capable of switching from STL to G-code files quickly.
Low Power Consumption
The printer comes with a 12-volt adapter and it works at 30W power. This means the printer consumes very less power compared to an average 3D printer which consumes above 70W of power.
It won’t cost much at all to run this entry-level printer, you’ll only mainly have to think about filament costs.
Ready to Use Out of the Box
This is one of the advantages of this printer. Unlike other 3D printers, in which you have to spend a lot of time calibrating and setting the device, the LABISTS 3D printer comes from the factory calibrated and ready to print.
Straight out the box, the printer comes with a sample of PLA filament and some preinstalled test models. This allows you to get started after assembling it.
Uses Non-Toxic PLA
The printer only uses PLA as its print material. This is due to the availability of PLA and its requirement of low extruding temperature. This eliminates the need for preheated print bed as PLA doesn’t compulsorily require one.
One top of all that the printer is aimed at being kid safe and PLA fits this criterion, being food safe and non-toxic. A 10-meter long 1.75 mm thick filament of PLA comes with the printer.
Specifications
Hardware
- Building size: 100 x 100 x 100mm
- Printing technology: FDM (Fused Deposition Modelling)
- Number of nozzles: 1
- Nozzle diameter: 0.
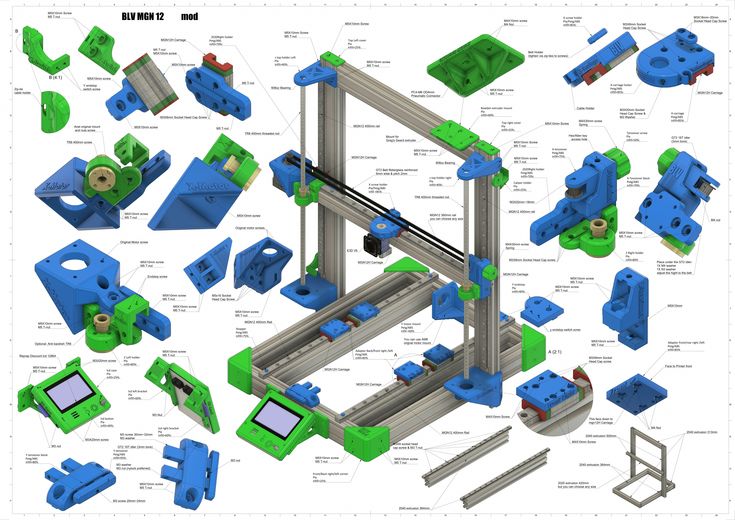 4mm
4mm - Layer thickness: 0.05 – 0.2mm
- Filament diameter: 1.75mm
- Extrusion temperature: 180°C
- Printed filament: PLA only
- Printing accuracy: 0.1 – 0.2mm
- Printing speed: 10 – 40 mm/s
- Print connection: TF card, USB cable
- Bed leveling: Manual
- Hotbed: Not required as it uses PLA only
- Construction platform: Removable
- Power: 12V, 30W
Software
- Input file format: .STL and .OBJ
- Output file format: .GCODE
- Supported operating systems: Windows XP/7/8/10 (32bit/64bit) and mac OS
- Slicer software: CURA, Simplify3D
Benefits
The Price
The main benefit of using this printer is the price of it. It is arguably one of the cheapest printers available in the market. It also gives a decent quality print compared to its price. There is a PLA filament that comes with the accessories, which is included with the pricing.
Ease of Setting Up
One of the main advantages of the LABISTS X1 Mini printer is its easiness to set it up.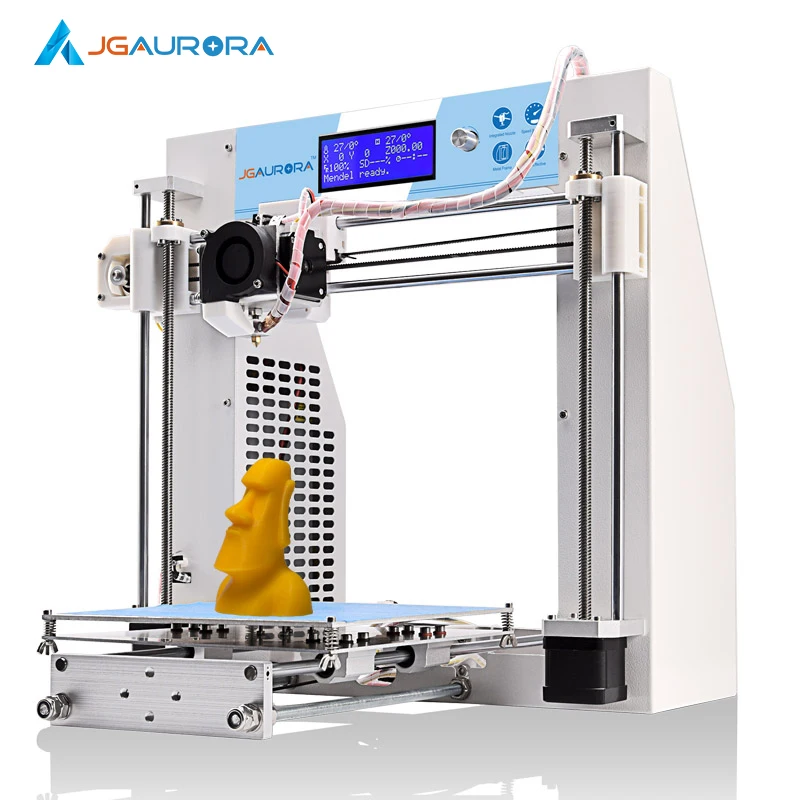 The printer comes out of the package in 3 major parts, the build platform, XY axis and the control box.
With very few screws and wires to connect, the user’s manual or a short assembly video is more than enough to set it up. Once set up, it is basically a plug and play situation. Manual calibration is not required here as everything was set in the manufacturing process.
You can test the printer by inserting the TF drive that came with the package. This drive contains some pre-installed models in it that are ready for printing. Once you push the button the printer starts printing automatically after heating the extruder.
Unlike other printers, it does not have a lot of buttons and setting to play with. All the operations can be performed with the help of 4 main buttons on the control box.
Easy to Remove the Print
The printer comes with a flexible removable platform. This type of platform has a huge advantage over the heavy fixed ones.
In the case of a fixed platform, the print should be taken from it using force due to the adhesion of its base on the platform.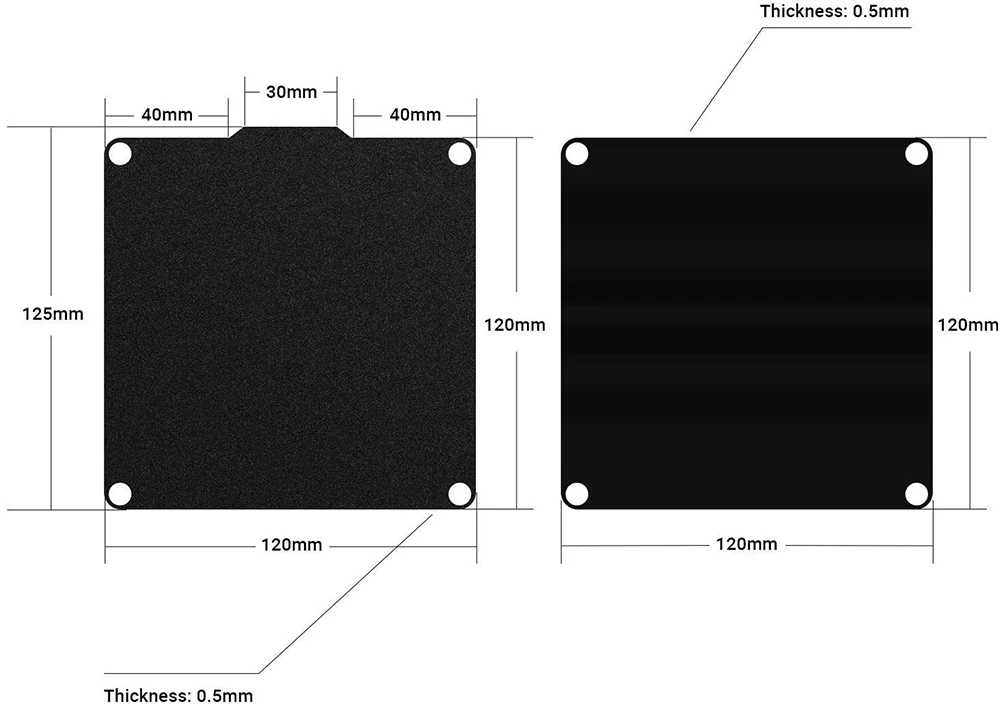 After that pieces of leftover plastic should be removed by scraping it out.
When it comes to the removable platform, the platform along with the print can be taken out and it can be bent so that the print pops out free.
Non-Toxic Nozzle
The nozzles used in most of the standard printers are brass which contains a small percentage of lead. This will not make the printed model food safe even if use a plastic that is food grade.
LABISTS 3D printer uses nozzles that are made aluminum, which is safe to use.
Minimalist Design & Weight
The design is very minimal with only 3 main parts. It is very compact and lightweight. The printer weighs around 1.9Kgs which makes it extremely portable. It’s light enough where kids can carry and handle this 3D printer with ease.
2-Year Warranty
There is always a suspicion on a product this cheap that it can be poor build that won’t last long. If you have been worrying about that, the 2-year warranty on the printer will be enough to change your opinion.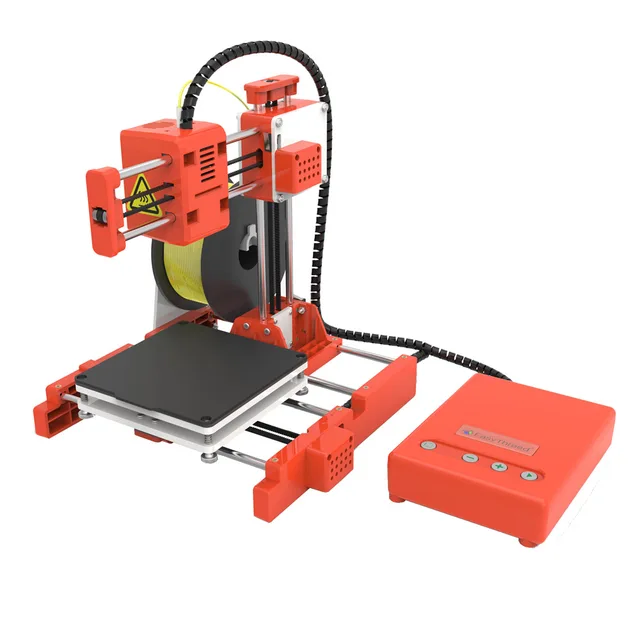
Along with the warranty, they provide a lifetime tech support through the mail ID: [email protected].
Downsides
Small Print Volume
The printer has a print area about 100mm x 100mm which limits the print volume. Hence we can only print small models with this printer, but this is expected for such a low-priced 3D printer.
Limitation in Troubleshooting
As the printer is calibrated at manufacturing time and does not have many parameters to tweak, it leaves us with the limitation of not being able to rectify any issue that could have been done if it offered some common parameters available in other printers.
Being extremely easy to use, it lacks all the versatility offered by other printers while printing.
Usage is Limited
The printer can be used only for making less precise, less complex small prints compared to other good printers. It does not give an industry level print. Hence it should be used mainly for personal use.
You probably wouldn’t aim to use this 3D printer to set up a 3D printing business of any sorts, more so for quick projects and items around the house.
Weak Build
The printer is lightweight because most of the parts are made of ABS plastic. Many crucial joints are made of this material. Hence the device should be handled with care as it could break apart under rough use.
ABS is very heat-resistant so you don’t have to worry about heat affecting the 3D printer, but just be careful not to drop the 3D printer.
What Do People Think After Purchasing LABISTS 3D Printer
Over the past year these printers have seen a lot of sales through the internet. Most of the sales took place online so these gave us a lot of opinions on the LABISTS X1 Mini.
Most people find this very helpful as it produces good prints without any issues during the first week or so. After multiple uses the printer can start to lose its precision and produces bad prints.
Some users found the problem to be caused by the plastic gears used to move the XY part. These gears can wear of quickly over a small amount of time.
Customers often found the print material that came along with the printer was low quality. The thickness of the LABISTS PLA filament is sometimes inconsistent. This caused some problems of under extrusion.
Changing the filament to a trusted brand helped improve the quality of the print. A brand of PLA that works very well for me is OVERTURE PLA Filament from Amazon. Not only does it have great ratings, but it is clog-free, tangle-free and has amazing tolerances for smooth 3D printing.
Some people had trouble with the weak build quality of the printer. This lead to the breaking of the printer if not handled with extreme care. The software in some printers was broken and did not start extrusion.
Many users found the printer to be highly portable and light weight. Some found the small print bed as a limitation to print models that took large volume.
The customer service found mixed reviews. Some customers were satisfied with their fast response and troubleshooting guide. On the other hand some got no response.
Many customers find it impossible to find spare parts when one is broken. Many suggests on using the 3D printing software Cura instead of the default one to produce better results. There were even cases when the printer got jammed and stopped extruding continuously.
3D printing isn’t a perfect activity and you would have trouble finding someone who hasn’t had to troubleshoot some issues. The LABISTS X1 Mini isn’t exempt from this, but it is a lot less likely to occur compared to other 3D printers.
Overall the price is the main thing that attracts the customers and many consider it to be worth the price in spite of all the problems they faced. Many found it to be very beginner friendly and were able to print their first model right after setting it up.
Final Verdict
The LABISTS X1 Mini is a highly recommended printer if you are starting out in 3D printing. This will save you a lot of money as it is one of the cheapest ones available in the market.
As a beginner you will save a lot of time and start printing right away after you have assembled it. The assembling part is very simple as it requires just 3 major parts to be joined together.
Once you become more acquainted with 3D printing, you might look to expand your arsenal into a more professional 3D printer.
With this printer, you don’t have to spend lots of time researching and understanding how a 3D printer works and what parameters you need to know before printing in it.
This printer can be a quick solution for small DIY projects and can be used as a starter kit for it. One major benefit of this printer is its kid friendly build. As there is not a lot of buttons or settings on the printer, it can be used easily by kids to learn.
Moreover, it is safe for kids as it uses food-safe PLA for printing. The printer only comes in one color so keep that in mind before purchasing it.
If you want to make nice prints with the best quality or if you are aiming to make a prototype, then this printer might not be for you. If you want a cool gift or entry into 3D printing then this is a perfect choice.
description, where to get in Russia, prospects
Higher education in Synergy: leading university, all forms of education, star teachers
Apply
Advertising
Category: Physical and technical sciences and technologies
Promising
The profession of 3D printing engineer is relatively new in the labor market. Such specialists are engaged in maintenance of equipment designed for 3D printing of physical objects, software development, installation and adjustment of 3D printers. Also, a 3D printing engineer can be engaged in research activities in his profile. nine0005
Close
advertising
On the profession
Universities 15
What USE submit
Courses Link
salaries: how much does an engineer 3D printing
* 9000 9000 9,000Experienced: 50000 per month
Professional: 70000 per month
Salary in a particular region or company may differ from those given. Your income is greatly influenced by how you can apply yourself in the chosen field of activity. Income is not always limited only by the fact that you are offered vacancies in the labor market. nine0005
Demand for the profession
The market for 3D printing services is developing unevenly. There are certain areas where such specialists are in high demand. However, as a rule, very strict requirements are imposed on applicants in terms of qualifications and professionalism. It seems that over time the need for 3D printing engineers will increase significantly. Many areas of activity, from medicine to industrial production, will attract such specialists. Prospects for the profession are wide. nine0005
Who is the profession for?
A 3D printing engineer is focused on working with complex computer equipment. Such a profession makes special demands on the personal qualities of a specialist.
The profession can be recommended to those who:
- Interested in technology, computers, programming;
- Purposeful and organized;
- Can formulate problems and build algorithms for solving them;
- Comprehensively developed, erudite, has a large vocabulary; nine0066
- Interested in innovation, adapts easily to new technologies;
- Able to work in a team.

Career
Career growth is not obvious, this profession is not yet widespread in the labor market. Such specialists work in rather specific organizations that provide narrow-profile services. However, a qualified 3D printing engineer is a highly qualified specialist in the field of programming and the use of computer systems. Such engineers will be able to achieve good positions in related professions, in large industrial and commercial structures. Most often, a young engineer is expected to occupy the position of a specialist in a scientific or industrial organization. nine0005
Responsibilities
Being a highly specialized specialist, a 3D printing engineer performs the entire range of maintenance and operation of 3D printers.
His duties include:
- Installation and adjustment of equipment for 3D printing;
- Development, installation, maintenance of 3D printer software;
- Perform routine maintenance, minor repairs of equipment;
- Adaptation of the terms of reference to the specific conditions for the manufacture of 3D printing products; nine0066
- Control of geometric and physical parameters at all stages of product manufacturing;
- Purchase of additional equipment and consumables.
Rate the profession: 12345678910
The profession is more suitable for those who like the following subjects at school: physics and informatics
Similar professions
-
Atomic physicist (nuclear physicist)
nine0065 -
R&D Engineer
-
Metrology Engineer
-
Operations Engineer
-
Compressor station maintenance engineer
-
Astrophysicist
-
Astronomer
-
Astrochemist
-
Automotive mechatronics engineer
nine0065 -
Physical Testing Technician
-
Thermal Engineer
-
Thermal engineer
- nine0006 Nanophysicist
-
Optician
Quality Control Engineer
Space Ballistic
Dental 3D printing & milling
With the introduction of CAD/CAM milling and digital 3D printing, the chance of incompatible dental treatments has been greatly reduced to a minimum. Patients understand that they should not tolerate printed materials that taste bad and cause vomiting. They also like to get a permanent crown of beauty in one visit. Most dentists, laboratory owners, technicians, and technicians agree that digital impressions and impression making will replace traditional methods for making dentures, partial teeth, bridges, and crowns. But it's not just CAD/CAM milling. 3D printing is currently a viable option for manufacturing. How does the lab or dentist know which is better: CAD/CAM or digital printing? The answer depends on what your doctor wants - speed, accuracy, low cost? nine0005
Materials
Typically ceramics are used for CAD/CAM milling. In 3D printing, base metal alloys (CoCr, Ti-alloy) in powder form can be melted and layered using 3D printing (EP-M150T) and then ceramic coated, although this is a relatively new method.
Convenient
Digital printing is much faster than CAD/CAM milling. As dentists and lab technicians have stated in various forums, 3D printing is easier to use than CAD/CAM. Many dentists who own CAD/CAM milling machines only use them in ideal cases where a single lateral crown is required. The remaining restorations are sent to the dental laboratory for more reliable and detailed results. nine0005
Precision
With precision, 3D printers don't have a clear advantage over CAD/CAM because they don't have the tools and cores needed for milling. Tools are limited. CAD/CAM milling machines cannot be smaller than the tools used. Milling is a removal process, but printing is an additional process. Curves, holes and small shapes are suitable for 3D printers. In addition, you can print multiple parts at once, and there is virtually no waste when printing. nine0005
Cost
In general, the cost of 3D printers is dropping dramatically, which is great for technology-minded dentists and lab owners. Although the cost of an industrial metal 3D printer can cost hundreds of thousands of money. However, the average cost of each product is cheaper compared to CAD/CAM milling.


