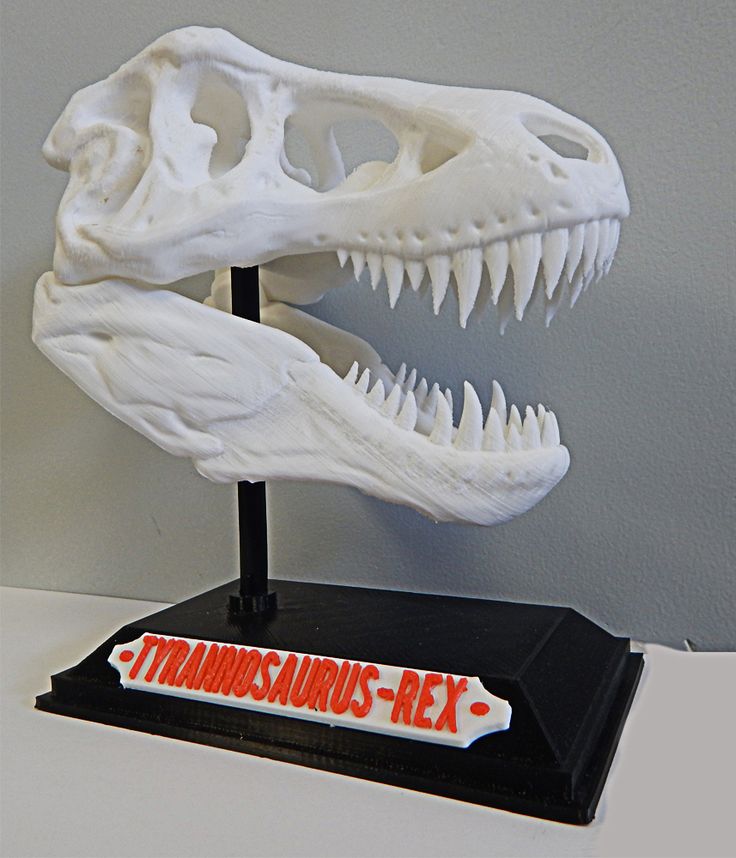
Kinect camera 3d scanner
Microsoft Kinect 3D Scanner In-Depth Review
ADVERTISEMENT
8Expert Score
Microsoft Kinect
Microsoft Kinect is a simple scanner that’s able to produce decent quality 3d scans at a reasonable price.
Affordability
9
Quality
8
Speed
7
Capability
7
Practicality
7
User Expectations
10
PROS
- High-resolution scans
- Extremely compatible software
- Easy scanning process
CONS
- Need good lighting to produce good quality scans
Table of Contents
The Kinect 3D scanner uses similar 3D scanning technology to photogrammetry. The process consists of taking multiple pictures from different angles of an object. The scanner comprises a camera, an infrared camera that is meant for calculating the field of depth of object as well as around.
Both the cameras used by Kinect permits users to make a decently accurate 3D scan of almost any object that they wish to scan. But how does the scanner rank when seen in terms of value: money ratio? We can only tell by looking at it in-depth. So, let’s get started.
Features
Some of the most valuable features of the scanner are mentioned and explained below.
Affordable
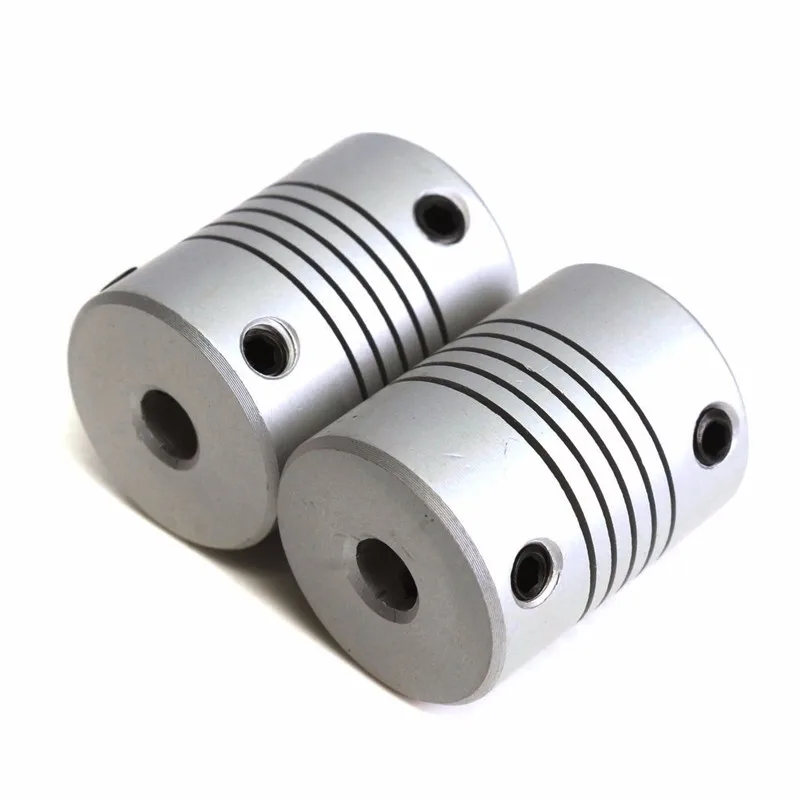
Because Kinect can be constructed easily and its complete information is available online for free, you don’t need to undergo any complex process of setting it up and shipping it from anywhere. Also, the parts of which Kinect is made up, are comparatively cheaper.
So, if you have a 3D printer all you have to do is buy the components that are necessary to make the scanner run and that’s it. You need not spend much on this scanner.
ADVERTISEMENT
DIY Kit
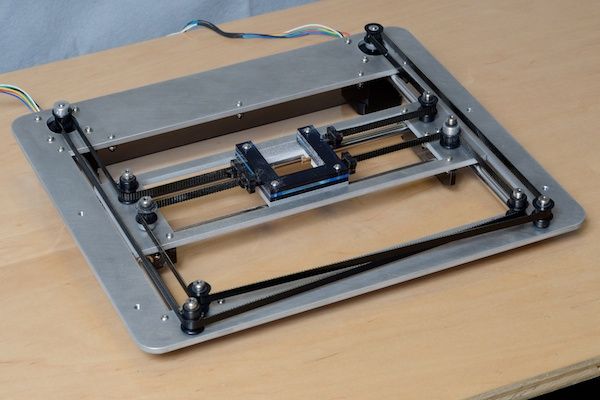
The complete assembly of components, as well as 3D printing of the necessary parts, can be done on your own. Just refer to the online instructions available to complete the setup.
Kinect can be constructed as other DIY kits and this makes up a great opportunity for all those who are willing to invest time in learning a little deeper about 3D scanning technology.
Easy to use software
Skanect as well as the other software that is compatible with the scanner are extremely user-friendly. Their interface allows you to reach the tool that you are searching for, extremely fast.
Also, the entire system is relatively easy to grasp. Even if you do not have any sort of technical background, it’s fine. You will still be able to operate the scanner pretty easily.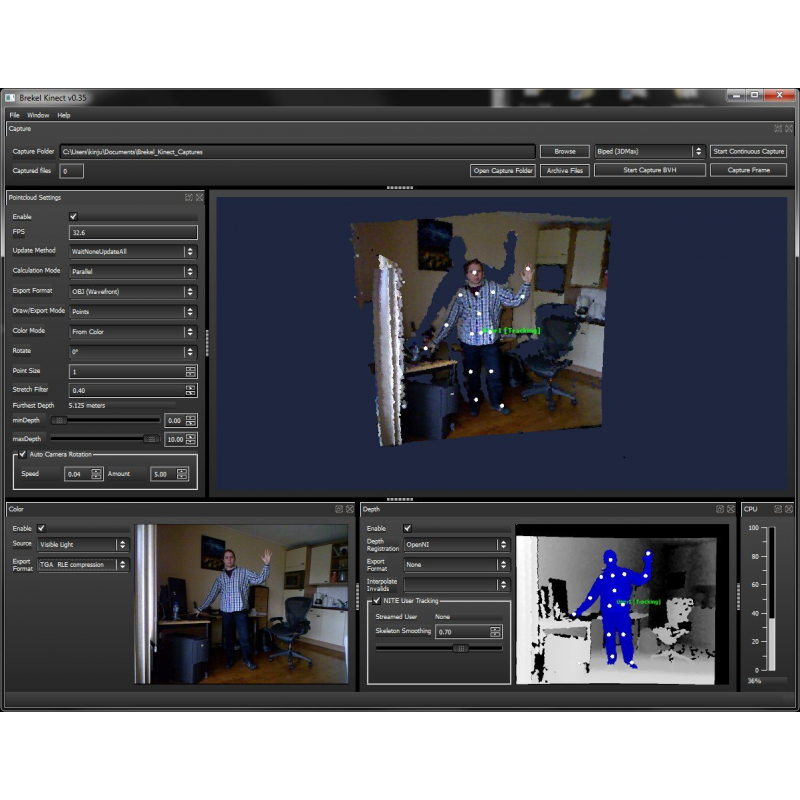
Open-source
Kinect is an open-sourced 3D scanner. This presents a great opportunity for those who wish to innovate and use a machine for obtaining the kind of work they wish to achieve. Also, it means that nothing is fixed.
The scanner can be scaled according to your project. Moreover, everything is accessible to everyone from the internet.
Specifications
Kinect is equipped with two cameras that take multiple images of an object that you wish to scan. It needs a PC adapter and a PC to produce high-quality scans of parts and functional prototypes. The device can be connected using a USB port.
ADVERTISEMENT
Price
Since it’s available as a DIY and needs to be purchased in terms of components, there isn’t any fixed cost for this scanner.
First Impression
Credit: all3dpThe first thing that you need to do is acquire the required hardware i.e. three things in order to start with the scanner:
- The Kinect: can be bought either from Xbox 360 or Xbox One.
 These are available from almost any electronics shop.
 - The PC adapter: Because Kinect is made to be used in its respective Xbox and not in a PC like other scanners, you’ll have to obtain a Kinect 360 to PC adapter.
- A PC: It can be either a laptop or desktop with a free USB port.
The minimum requirement to get you started is:
- Latest Kinect drivers downloaded
- A 64-bit Processor
- Dual-core (3.1Ghz) or faster CPU
- A 4GB of Ram
- Nvidia CUDA graphic card or a Kinect Fusion compatible GPU
- A compatible USB 3.0 port one that is offered by Intel or Renesas chipset
Setup
Credit: all3dpAlthough the Kinect needs to undergo some process before starting 3D scanning with the same, it’s good to say that you can plug it into a power source and start scanning. After having plugged it into your PC, you can download its drivers. These codes will instruct your computer on how to handle the Kinect.
For users who are running it on Windows 10, it’s likely that the drivers inside will get downloaded automatically after the recognition of Kinect by your PC. In case this doesn’t happen, simply download the drivers from Microsoft. Other than this, you will have to download software that allows you to use your Kinect for 3D scanning.
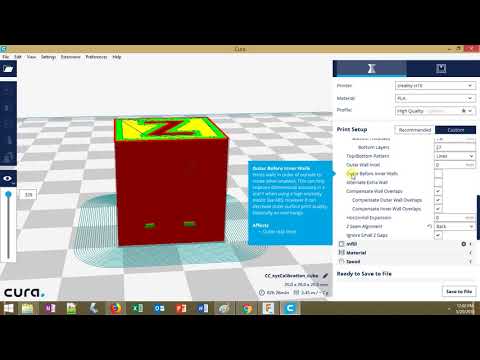
To set up Skanect, open the .exe file as soon as it’s downloaded. A simple interface will await you once the process is completed. The setup will take three steps:
- Clicking on the New section that’s present on the menu under the title “Prepare.” By doing so, you can mess around with various settings depending on which object you wish to scan.
- Choosing the bounding box size that is the most appropriate for the object. Doing so lets you choose from the presets that are already provided.
 Instead, you can also use a custom one by clicking the slider and moving it with the mouse.
 - Choosing a path for saving the scanned object. Note that this would not be the final model, but only the .skn file of the same that can be later opened in the Skanect.
After finishing the setup, click the start button to be taken to the next step of the scanning process.
ADVERTISEMENT
Scan Type
The process of scanning is quite simple. All you need to do is just hover the Kinect 3D scanner around the object as if it were orbiting the part.
While doing so, the software will use the background to help track the position of the object. So, in case you wish to rotate the object, the background will be scanning and will always be the same. This scenario applies especially to photogrammetry and for normal 3D scanning.
Ensure that there is a good amount of lighting during the entire scanning process because bad lighting won’t just make it harder, but also lead to a final render with the poorly colored model. So, take your time and ensure that the scans are done slowly and with patience.
Also, check that Kinect is passed through the entire object from all the angels. This can be done by keeping an eye on your PC. Moreover, scanning makes certain that all the areas of the object are appearing neatly.
Scan Quality
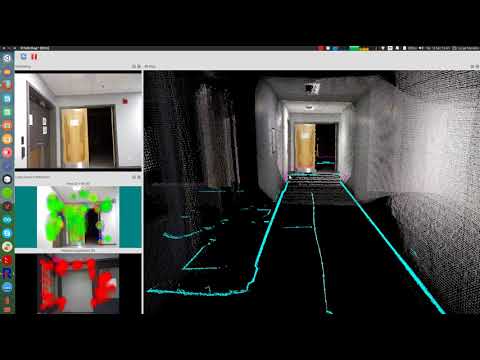
Credit: all3dpKinect’s scan quality is just about average. You can see the brightness is very inconsistent. And this is because of its camera not being locked. This means that the scanner will adapt the brightness based on the direction that you’re pointing to the sensor. Also, because the cameras present on the Kinect are at wide angles to each other.
Such an arrangement makes it extremely appropriate for sensing motion as well as the depth of people present in front of the TV playing games. But it has its own downsides i.e. 3D scanning on a manual turntable is almost impossible because the tracking gets confused as your arm enters the frame.
ADVERTISEMENT
Software
Credit: all3dp3D Scan is a free Windows 10 application that uses your Kinect for creating 3D models. It can be downloaded from Microsoft. Other than this, you can use Skanect which is third-party software that is compatible with Kinect. It can be used by subscribing to its free or paid version.
The only difference between both of these is that the latter permits you to export the model with more faces and in color. Skanect can be downloaded from Occipital.
Customer Support
Kinect customer support is all given by its community of active users. All the solutions to your problems are available online and are accessible for free.
Parameters Influencing Buying Decision
The key factors that’ll help you decide upon the scanner are mentioned below.
3D Scanner Cost: Affordable
3D Scanner Speed: Average
3D Scan Quality: Two cameras make it possible for the scanner to deliver high-quality scans even while processing parts with intricate geometries.
3D Scanner Capability: The scanner is capable of taking multiple images of the object and then combining them to produce a single scan.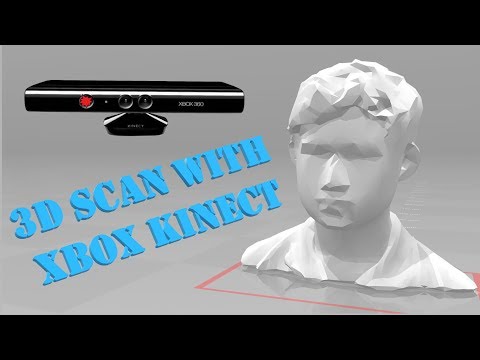
3D Scanner Practicality: It can be used for scanning everyday objects of small size and not much complex geometry.
3D Scanner User Expectations: Hobbyists, academicians, and even small manufacturers can use the scanner to achieve good results.
The Verdict
In a nutshell, Microsoft Kinect is a simple scanner that’s able to produce decent quality scans at a reasonable price. There isn’t something very fancy about the scanner, at the same time there isn’t something too lacking about the device.
Although it isn’t capable of letting you go in-depth, it doesn’t disappoint by providing bad-quality scans. Even while scanning intricate geometries, the scanner does deliver. So, enjoy the simplicity that suits your pockets.
Structure Sensor vs. Intel RealSense SR300 vs. Kinect V2 for 3D Scanning
This post was originally published in August 2016 and has been updated in February 2017 with more information and example scans
I just got this question as a reply to my Facebook Page:
It’s an interesting one, and the reply I wrote was so long that I decided to put it up here so it’s available for everyone with that wants to start 3D Scanning — and 3D Printing — on a budget:
Occipital Structure Sensor
Buy on Amazon ($379 including bracket)
Let’s start with the Structure Sensor (Review), because that’s the one that I have most experience with.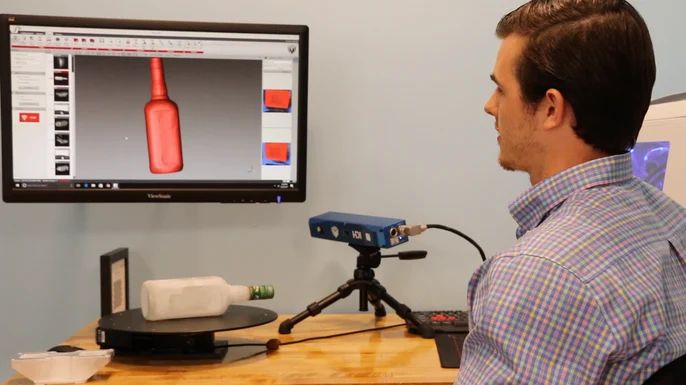 In fact, I think I scanned about
 100 200 300 objects and people with it in the last couple of months. It’s is wireless and has great standalone iPad apps and the option to scan wirelessly to a Mac or PC with Skanect (Review). That last feature means you can make scans that a tablet can’t handle, like large objects and rooms.
For 3D scanning with the Structure Sensor in general, but especially in combination with 3D printing, you should read my Review of the itSeez3D app, which adds a few handy—fully automated—features specifically for 3D printing selfies. The one-click “hollowing” procedure saves a lot of money on 3D printing.
Here are some example scans (all with itSeez3D) of a small object, medium object and human bust:
Teddy — itSeez3D 4.1 Review by Nick Lievendag | 3D Scan Expert on Sketchfab
Bust — itSeez3D 4.1 Review by Nick Lievendag | 3D Scan Expert on Sketchfab
Patrick — itSeez3D 4.1 Review by Nick Lievendag | 3D Scan Expert on Sketchfab
As you can see they’re all pretty nice.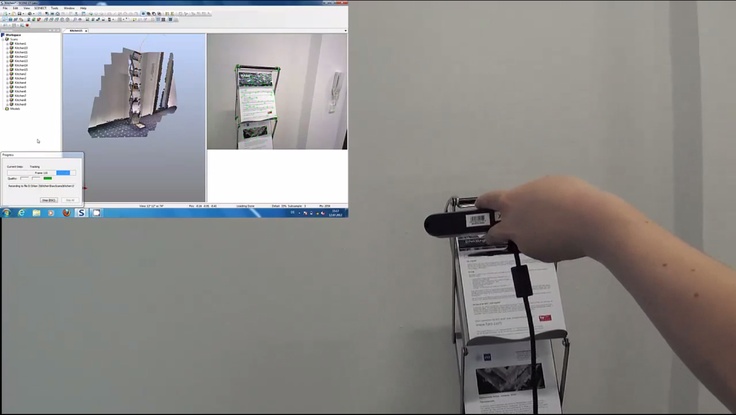 If you put the embeds in MatCap render mode you can see the geometry without textures. This might not be as detailed as a professional scanner like the Artec Eva (Review) but those cost upwards of $10,000. The textures are actually great and you can make 3D prints of these scans on small scale pretty well — especially in full color where the nice texture will compensate for the lack of geometric detail.
These scans are made with Structure Sensor, itSeez3D and 3D Printed in Full Color Sandstone by Shapeways at 10 cm height.
Intel RealSense SR300
Buy 3D Systems Sense 2 ($355.26) on Amazon
Buy Creative BlasterX Senz3D ($199) on Amazon
Buy Razer Stargazer ($149) on Amazon
There are currently three versions of Intel’s RealSense: The RealSense R200 (world-facing) sensor is a bit older, but still being sold. There used to be a F200 (user-facing) version but this has been replaced by the newer RealSense SR300, which is technically a user-facing sensor, but has enough range for 3D scanning up to human size subjects.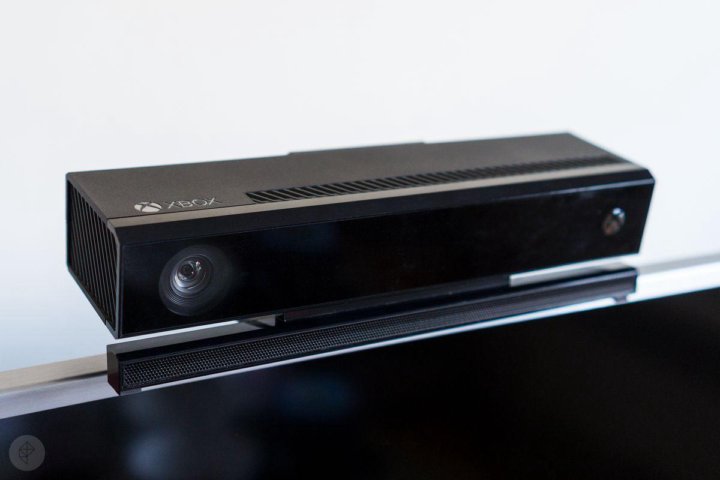
The SR300 is integrated into various devices by third parties. For 3D Scanning, the most important one is the 3D Systems Sense 2 (Review) pictured above. This version is really intended for 3D scanning and comes in a housing that makes it easy to hold it in upright position. It works with the great (and free) Sense for RealSense software.
Other products that feature the SR300 are the Razer Stargazer and Creative BlasterX Senz3D (pictured in the header image). I have a Sense 2 and the Creative device (which I purchased as a SDK from Intel earlier) and they both work with the Sense for RealSense Software. But multiple people have let me know that the Razer Stargazer doesn’t work with that Software and I’m not sure if retail versions of the Creative device will. I’ve reached out to 3D Systems to clarify this.
For those devices you can use the free Intel RealSense SDK 3D Scan app which admittedly is less good and a lot more basic than 3D System’ Sense for RealSense software.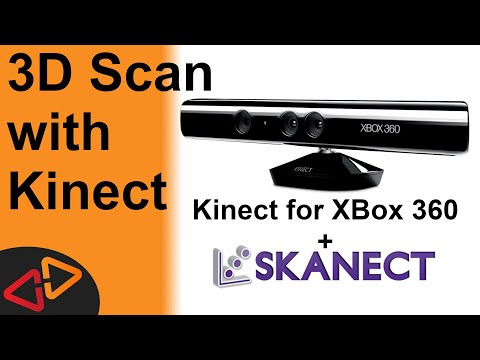
You can also use RealSense devices with RecFusion (which I will review soon) — a comprehensive software suite that costs $99. Or with Artec Studio 11 Ultimate (Reviewed as part of my Artec Eva Review) but that costs €800 a year which might be a bit steep for compared to the price of the hardware.
If you want a depth sensor to make 3D Scans on a Windows 10 machine, the RealSense SR300 is a great option. Because of the with free, versatile software I currently advice to get the 3D Systems Sense 2 instead of the slightly cheaper webcam-style alternatives.
Here are the same subjects I scanned with the Structure Sensor, scanned with the SR300:
Teddy (Medium-High) — Sense 2 Review by Nick Lievendag | 3D Scan Expert on Sketchfab
Bust (High) — Sense 2 Review by Nick Lievendag | 3D Scan Expert on Sketchfab
Patrick Bust (Low) — Sense 2 Review by Nick Lievendag | 3D Scan Expert on Sketchfab
As you can see the object scans are comparable to those made with the Structure Sensor, albeit with slightly less crispy textures.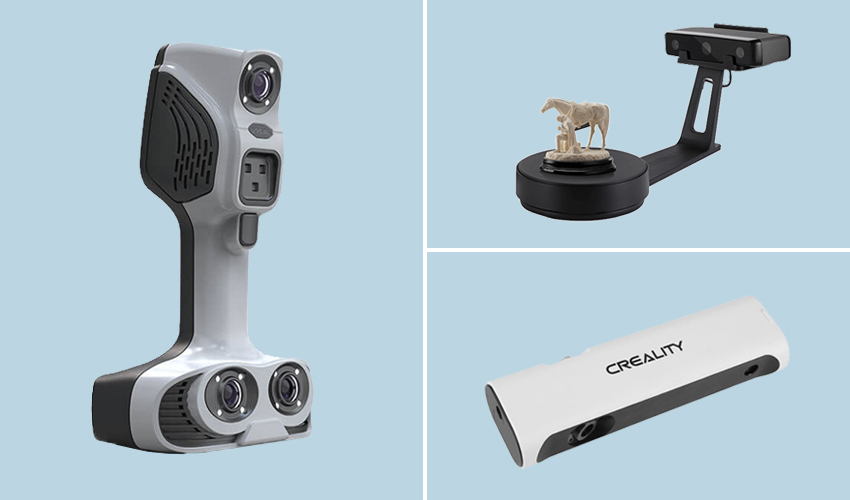 For scanning people, I found that the SR300 works okay for busts but that things get a bit tricky when trying to do full body scans (see examples of that in my Full SR300 Review). The Structure Sensor is better in that field.
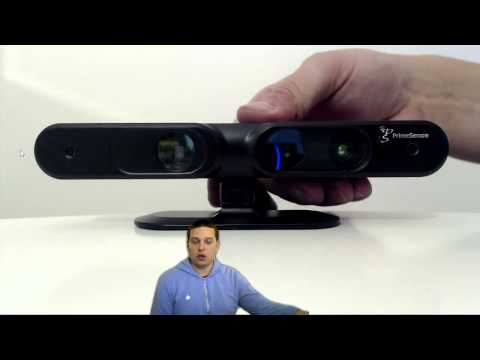
Microsoft Kinect for Xbox One (a.k.a. Kinect V2)
Buy Sensor on Amazon ($99.99) | Buy Windows Adapter on Amazon ($39.99)
Microsoft’s original Kinect for Xbox 360 (V1) has been responsible for the uprising of low-budget 3D Scanning. That sensor is still widely supported by many 3D Scanning apps like Skanect. This sensor is now outdated. It might still be okay for basic geometry capture, but the texture quality isn’t good enough for today’s standards.
On paper, Kinect V2 solves that by upgrading the RGB camera to HD resolution. Microsoft even used to sell a version branded as Kinect for Windows which is no longer being sold. You can still get a Kinect (V2) for Xbox One but you’ll need to buy the Windows Adapter separately.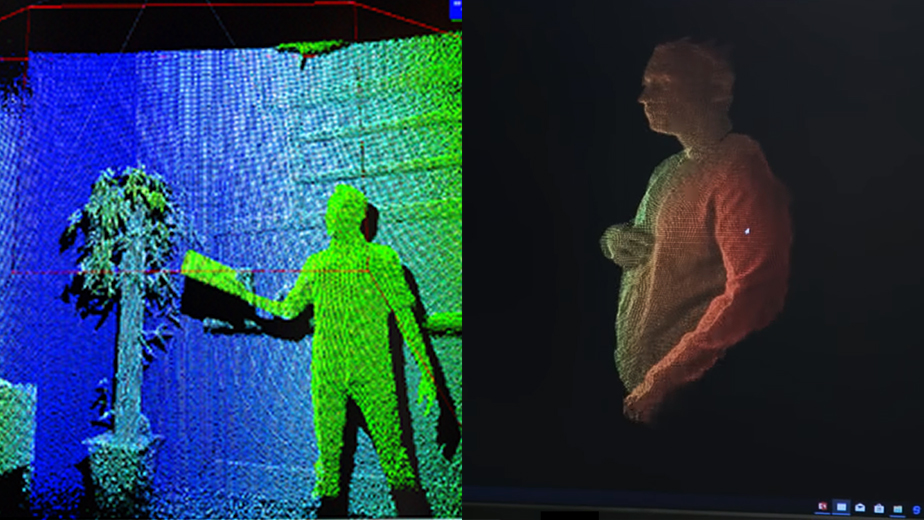 I did that because it’s still cheap and I was curious to the quality and user experience.
Sadly, both aren’t very good and can’t compare to either the Structure Sensor or the RealSense SR300. For starters, many applications that support the Kinect 360 — like Skanect, ReconstructMe and RecFusion — don’t support Microsoft’s latest depth sensor.
Microsoft does have its own 3D Scan app for Windows, but I couldn’t get anything pretty out of it. Here’s a try on the bust:
Bust — Kinect V2 with MS 3D Scan by Nick Lievendag | 3D Scan Expert on Sketchfab
The only program I could get to work with the Kinect V2 and get somewhat decent results was Artec Studio 11, but as I wrote before that costs €800 a year which is probably not the budget of people that are seeking to make 3D scans in the cheapest possible way. Here’s the result:
Bust — Kinect V2 with Artec Studio Ultimate 11 by Nick Lievendag | 3D Scan Expert on Sketchfab
That result isn’t extremely bad or anything, but as you can see the texture brightness is very inconsistent.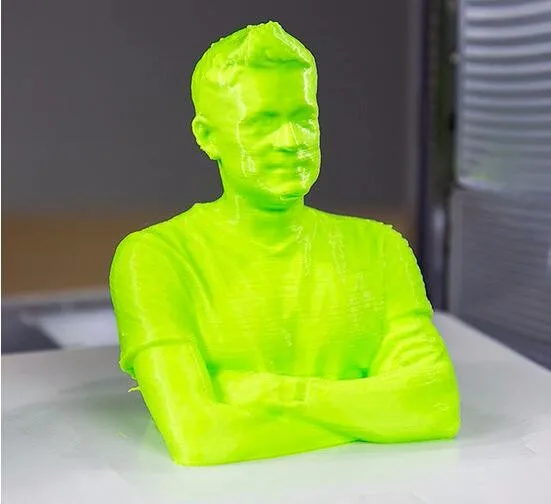 That’s because the exposure of the Kinect V2’s RGB camera cannot be locked. This means that it will adapt the brightness based on the direction you’re pointing the sensor. And because the camera’s on the Kinect V2 are very wide-angle this is a real problem.
This wide angle makes the Kinect V2 perfectly suitable for sensing motion and depth of people in front of a TV playing games, but less for 3D scanning — certainly not small things. It also makes it nearly impossible for 3D scanning on a manual turntable, because the tracking gets confused by your arm entering the frame. I scanned Teddy for comparison:
Teddy — Kinect V2 with Artec Studio 11 Ultimate by Nick Lievendag | 3D Scan Expert on Sketchfab
As a final note, it’s good to realize that the while the Structure Sensor is battery powered and the RealSense SR300 is USB-powered, the Kinect V2’s Windows Adapter needs to be plugged into a power outlet to operate. The cables are very long, but it’s still a hassle that impacts the overal user experience.
Needless to say I don’t think Kinect V2 is a contender for depth sensor 3D scanning in 2017.
This might be a good Kinect alternative!
I will soon review the $149 Orbbec Astra S which offers OpenNI2 & Android support and can be used with software like RecFusion (you can even use multiple ones simultaneously in with RecFusion Pro). The “S” version I’ll test is the Short Range version optimized for 3D Scanning people and objects. For Long Range scanning at a more Kinect-like range, take a look at the similarly prices Astra and Astra Pro (which offers HD RGB quality).
Which one should you buy? (updated)
My advice is very simple.
Don’t get a Kinect V2 for 3D Scanning. Period. Even the original Kinect 360 is more versatile if you don’t need the (texture) resolution.
If you already have a compatible iPad or the budget to buy one, you should really consider the Structure Sensor. It’s indeed “elegant 3D scanning” as Occipital calls it.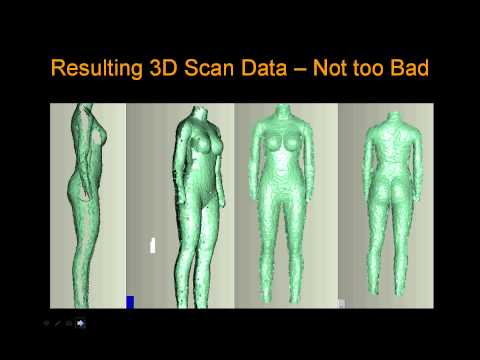 It works great as a standalone device (itSeez3D is a gem!) with just the iPad and you have the extra option of streaming scan data to a PC or Mac with Skanect (again, that software review is really coming soon now!). You can scan medium to large objects by walking around them or on a turntable with ease. Scanning people is also a breeze. Just mind that you have a good light kit (I’ve written separate post about that).
If you have a decent Windows laptop (let’s say not older than 1-2 years) the Intel RealSense SR300 is also something to consider. 3D Systems has made that sensor into a great value-for-money 3D Scanner, especially because of the software. It’s great for objects, but scanning people will require some more practice. Busts are doable, but Full Body Scanning is not this sensor’s strong point.
Follow me on Twitter, Facebook or Instagram for future updates. And if you think this post could be useful for your friends and followers, please share it on your favorite social network by clicking one of the buttons below:
Subscribe to my Monthly Newsletter
Get great contents delivered straight to your inbox everyday, just a click away, Sign Up Now.
Email address
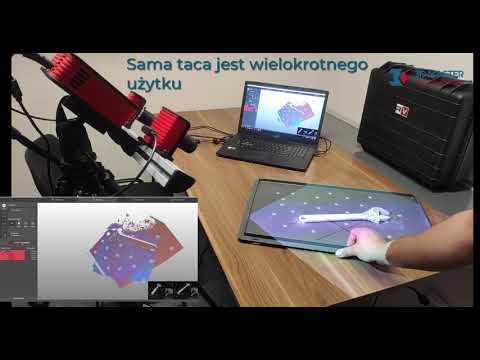
Full-scale color 3D scanning and printing with Microsoft's 3D Builder
Of course, it's only to be expected that the company will venture into 3D printing technology after all. The 3D Builder app was developed about a year ago. With it, you can print effortlessly while uploading models or creating something new and original.
The 3D Builder app can be downloaded from the Windows Store. With it, you can download, view, edit, and print from a computer running Windows 8.1. But don't rush! One or two changes have been made to 3D Builder: now, thanks to a new product from Microsoft, you can enjoy really innovative and original works. The 3D Builder editor has been upgraded with the Kinect v2 sensor for Windows, which allows you to do full-scale color scanning yourself.
With the power of 3D Builder and Kinect, even inexperienced users can scan and print objects in full color.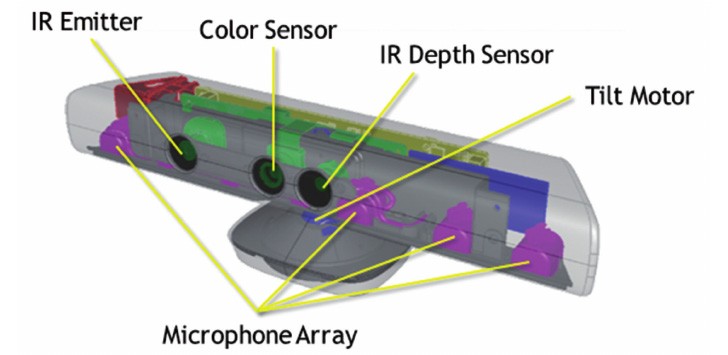 For example, if you want to scan yourself, then you will need someone who is very familiar with the device and the scanning process. And with Windows Kinect, you just have to stand still while the system scans you. The result is almost immediately displayed in the 3D Builder application, where you can improve the quality of the image and then print it.
With 3D Builder you can:
- Scan color in 3D using Kinect for Windows Sensor v2;
- improve and correct models automatically before printing;
- fix models to prepare them for printing;
- print directly from a 3D printer or order models through 3D Systems;
- add inscriptions or drawings to any model;
- combine and divide objects or cut them into pieces.
While we're all excited about bringing Kinect and 3D Builder together so you can scan yourself and your friends, Microsoft's Kinect Software Development Kit 2.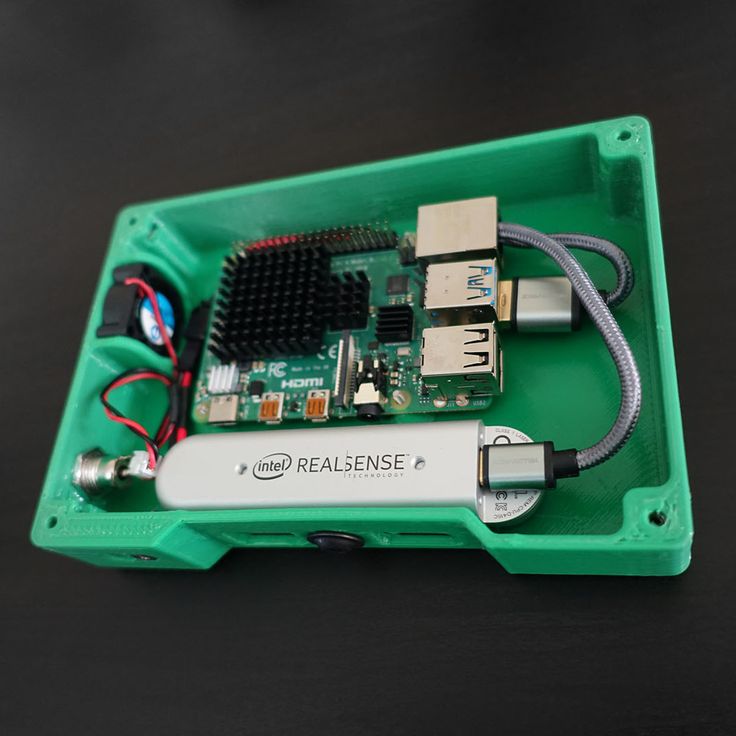 0 is in the pipeline. It was supplemented with 200 new features in order to make Kinect even more convenient and accessible to users. At the same time, developers managed to place their applications for Kinect in the Windows Store, including:
- 3D Builder;
- Nayi Disha - an interactive application for early childhood education;
- YAKiT is an application for creating 2D/3D character models.
“This has been frequently requested by users, and we're excited to give you the opportunity to personalize your PC experience even more with gesture control, body movement, and object recognition available to Windows users worldwide. Access to the Windows Store opens up a whole new market for businesses and consumers,” said a Microsoft spokesperson of the Kinect-integrated apps available in the Windows Store.
For best results, Microsoft highly recommends running 3D Builder with a Kinect v2 sensor for Windows.