How to use xbox 360 kinect as 3d scanner
3D Scanning At Home (using an Xbox 360 Kinect)
- By Christopher Hoffman
- Posted in tutorial
- On September 14, 2014
The Hardware
You only need a couple things in order to create your own 3D scanner at home.
- XBox 360 Kinect. You can pick one of these up at a pawn shop for around 30 bucks now days. Be sure to grab the original kinect, the one for the 360. The one that shipped with the Xbox One, the Kinect v2 will not work.
- Xbox 360 Kinect USB Adapter. The original kinect uses more power than a usb jack can provide. This adapter splits the orange plug on the kinect into a DC power jack and a usb jack. You can find these online for less than 10 dollars.
- Skanect – This software is designed for both the PC and Mac, and will be the brains of the operation.
How to set up Skanect
Installing Skanect is easy, just follow the instruction on the Skanect download page. If you are using Windows, you’ll also need to download the Kinect SDK, also linked at the bottom of the download page. Once those are downloaded and installed…. thats it!
Start Scanning!
Inside Skanect, you can see settings for body, object, half room and full room. These settings give different bounding box sizes to allow you to scan a variety of settings. For now, we will focus on body scans. Click body, and start. Here you can see the output of the kinect, with its color and depth information on the right. In the middle is a preview of the scan. To start your first scan, have your subject stand in the middle of a room with enough room for you to walk around them. Have them take off any glasses, as they tend to distort the scan.
The subject needs to remain perfectly still. If they move even the slightest, the scan will be ruined.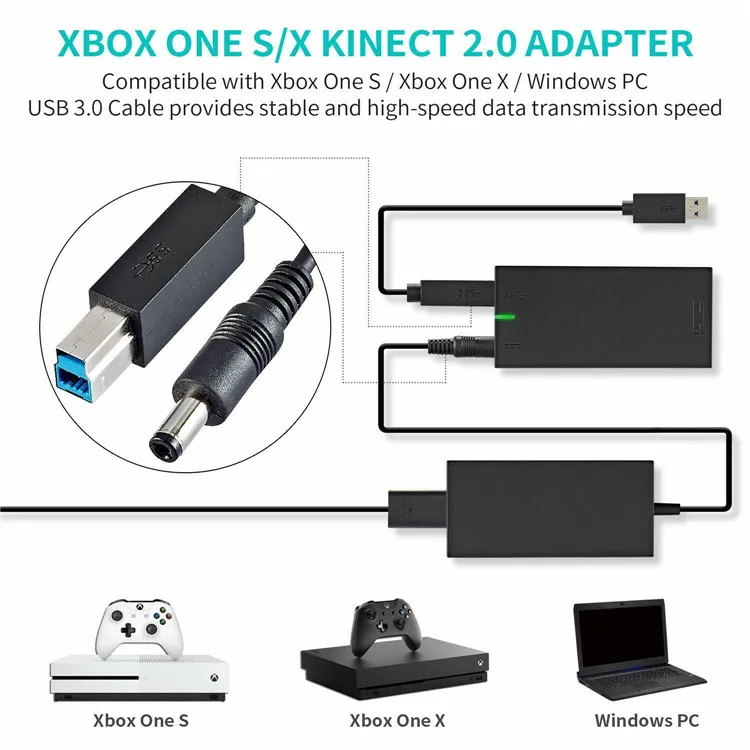 Once the subject has choosen a position they can keep perfectly still in, begin the scan. Start moving the kinect around the person. Make note of the FPS (frames per second) shown at the bottom. Move only as fast as your computer is capable of. The higher your frame rate, the faster you can move. If you get a “Tracking lost, please move to the last frame” error, then you are moving too fast.
Once you have captured every part of the subject (don’t forget the top of the head and under the chin!) you can stop the scan. It’ll render the mesh. Congrats, you have completed your first 3D scan using an Xbox kinect! But we are not done yet, move over to the Process tab at the top. Here is where you can modify the mesh and add the color to the model. Click on ‘Watertight’, and apply a low smoothing to the model. This will start the post-processing, closing all the holes and making the mesh water tight, removing any bad scan data, and adding the color to the model.
Processing might take a few minutes, but the finished product is a full color 3D scan! Be sure to see what else Skanect has to offer. There are many settings and options that is outside the scope of this article, but I will cover them in a future post!
-Christopher Hoffman
Post Tagged with 3D Scanning, Skanect, Tutorials, Xbox Kinect
Module Four: Jon on 3D Scanning with the Xbox Kinect
For the final project in my computer vision course last semester, I worked with my friends to design and implement a pipeline for scanning objects and turning them into 3D point clouds using the Microsoft Xbox 360 Kinect. Below, I describe the planning, execution, and results of our efforts. In the beginning, we discussed a few different methods of scanning the objects. We knew from research that the Kinect provided detailed depth maps of single images and that we could then convert the image into a point cloud (essentially a "cloud" or set of x, y, z points) but we were unsure of how to merge the points together. ICP, is one of the cutting edge algorithms used to perform point cloud registration. Essentially, you find the the closest point in space in the second image to each point in the first image, and calculate, using a mean squared error function, the optimal rotation and translation matrix to transform one set of points into the other. The next step we took was to take the merged point cloud and transform it onto the space of the new point cloud that we are merging. This way, we achieve a basic form of camera pose estimation without actually having to estimate where the Kinect is located in actual space with regard to the object. Below are pictures of our results: For our test object, we tried scanning my pikachu alarm clock, which turned out really well! I now have a 3D model of my most adorable alarm clock. On a side note, because of our method of transforming the merged set of points to the new points, we achieved basic camera pose estimation, which led to the surprising result that we could scan not just objects rotating in front of the Kinect, by rotating the Kinect around the object to scan. As a result, I was able to acquire 3D scans of myself as well as a table! This blog post counts as supporting documentation to the code that we had written for this project, and so it makes sense to license this content under the MIT License. This license essentially grants users to, free of charge, use the software without restriction (including the rights to use, copy, modify, merge, publish, distribute, sublicense, and/or sell copies of the Software) so long as they agree to the fact that the software is provided "as is" and users should have no expectation of support or warranty. This is the same license we chose for our code, because our project was only made possible as the result of research made to the public domain. We want to support others in their efforts and give back to the scientific community. The MIT License (MIT) Copyright (c) <year> <copyright holders> Permission is hereby granted, free of charge, to any person obtaining a copy The above copyright notice and this permission notice shall be included in THE SOFTWARE IS PROVIDED "AS IS", WITHOUT WARRANTY OF ANY KIND, EXPRESS OR |
Full-scale color 3D scanning and printing with Microsoft's 3D Builder
Of course, it's only to be expected that the company will venture into 3D printing technology after all. The 3D Builder app was developed about a year ago. With it, you can print effortlessly while uploading models or creating something new and original.
The 3D Builder app can be downloaded from the Windows Store. With it, you can download, view, edit, and print from a computer running Windows 8. 1. But don't rush! One or two changes have been made to 3D Builder: now, thanks to a new product from Microsoft, you can enjoy really innovative and original works. The 3D Builder editor has been upgraded with the Kinect v2 sensor for Windows, which allows you to do full-scale color scanning yourself.
With the power of 3D Builder and Kinect, even inexperienced users can scan and print objects in full color. For example, if you want to scan yourself, then you will need someone who is very familiar with the device and the scanning process. And with Windows Kinect, you just have to stand still while the system scans you. The result is almost immediately displayed in the 3D Builder application, where you can improve the quality of the image and then print it.
With 3D Builder you can:
- Scan color in 3D using Kinect for Windows Sensor v2;
- improve and correct models automatically before printing;
- fix models to prepare them for printing;
- print directly from a 3D printer or order models through 3D Systems;
- add inscriptions or drawings to any model;
- combine and divide objects or cut them into pieces.
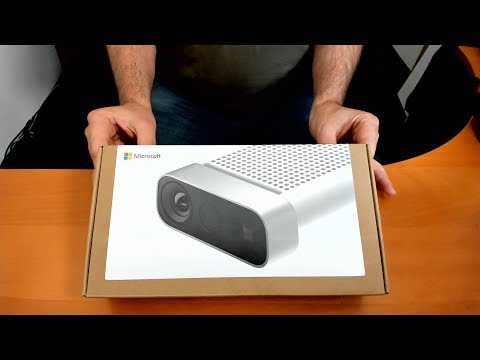
While we're all excited about bringing Kinect and 3D Builder together so you can scan yourself and your friends, Microsoft's Kinect Software Development Kit 2.0 is in the pipeline. It was supplemented with 200 new features in order to make Kinect even more convenient and accessible to users. At the same time, developers managed to place their applications for Kinect in the Windows Store, including:
- 3D Builder;
- Nayi Disha - an interactive application for early childhood education;
- YAKiT is an application for creating 2D/3D character models.
“This has been frequently requested by users, and we're excited to give you the opportunity to personalize your PC experience even more with gesture control, body movement, and object recognition available to Windows users worldwide. Access to the Windows Store opens up a whole new market for businesses and consumers,” said a Microsoft spokesperson of the Kinect-integrated apps available in the Windows Store.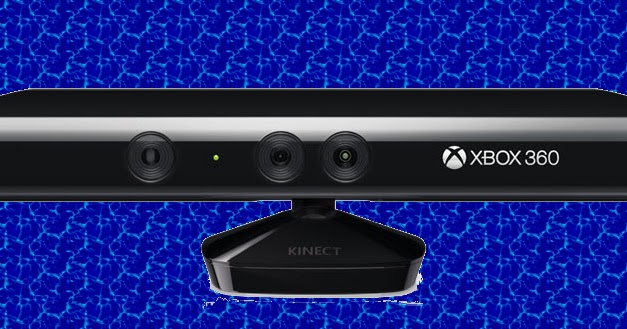
For best results, Microsoft highly recommends running 3D Builder with a Kinect v2 sensor for Windows.
All of these are completely free to download, except for the adapter to connect the Xbox One Kinect to a PC via USB 3.0. It can be purchased for $49.99.
Slicing an object in 3D Builder
The new Kinect Adapter for Windows also requires a USB 3.0 port, which costs 19$9, won't work with Xbox 360 Kinect sensor. The Kinect for Windows Application Development Kit (SDK) version 2.0 is currently available for free download. There are simply no additional fees for the commercial use of this software.
Source: Ink-Market.ru.
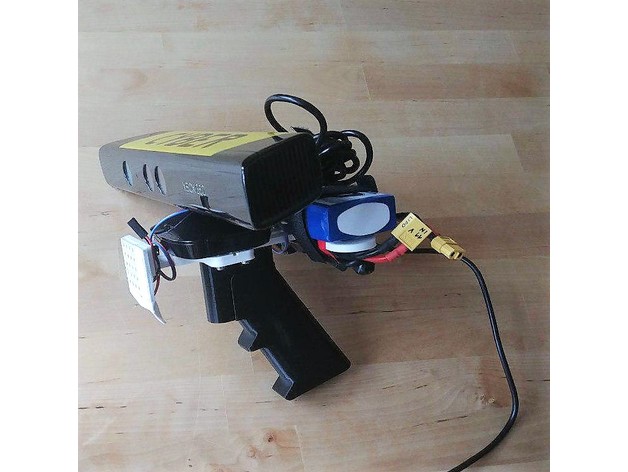
Free STL file Base for Kinect (3D scanner)・3D print model for download・Cults
Mold for zander pro
0,50 €
One shape up
€0. 50
50
Rogen mold 120
0.50 €
Flower pot
Free
Carp Stencil 2
Free
carp template
Free
Socket for all types of telephones
Free
Camera phone holder (deeper)
Free
Best 3D Printer Files in the Miscellaneous Category
cute dog muzzle duck
Free
Balalaika (Russian Stringed Instrument)
Free
Coffee Dosing Spoon
Free
FPV Gate for Tiny Whoop
5 €
World Cup Replica hard
Free
Reddit Alien
Free
EDUCATIONAL GEARLESS GEAR - 2:1 RATIO.
Free
Bestsellers in Miscellaneous category
Articulated Raykuase Flexible Dragon Pokémon
1 €
BoltHAMMER - repeating crossbow pistol with quick change magazine
12.50 €
5 gnomes (without support)
2.49 €
Wednesday Addams - Merlina Addams - Funko Pop
4.79 €
flexible volute
2 €
Mini big red boots
0,94 €
Toroidal propeller for Mercury, Yamaha, Mariner, Tohatsu 9.9-20HP (3d print ready)
9 €
Rear panel detail F-4G
4 €
Mobile phone holder printed in one piece with gears
6. 50 €
50 €
Eeveelution articulated mega pack
10 €
Kawaii cat super cute and funny [piggy bank, box, pot, decorative character]
€2.99
Gengar pen holder
1,50 €
hinged shanron
3 €
Wolf - Flexi Articulated Animal (printed in place, without supports)
2 €
Charmander - pokemon with flexible articulation (seal in place, without supports)
2 €
Decaying bamboo pole
0.94 €
💖 Do you want to support Cults?
Do you like Cults and want to help us continue our journey on our own ? Please note that we are a small team of 3 people, so supporting us in maintaining activities and creating future developments is very easy.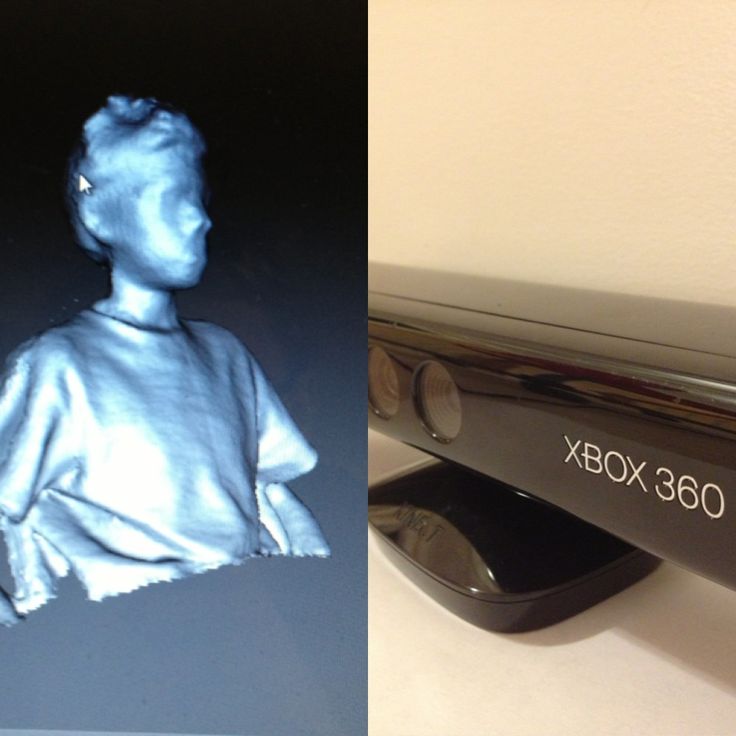


 Our initial plan of attack was to place the object we wanted to scan onto a lazy susan which could be rotated. This gives us center of rotation, but we still needed a method of locating the rotation axis and distance from the kinect. We threw around a few ideas like putting red tape onto the center of the lazy susan and calibrating the scanner first, but this led to the problem of tilted rotations. If the lazy susan was not perfectly flat and perpendicular to the Kinect, any rotation would be conical around the center of rotation. We spent a few days reading research papers of 3D point cloud registration techniques and ended up deciding on implementing the ICP algorithm, or Iterative Closest Points.
 Because of the converging nature of the mean square function, if we continuously apply this calculation and transformation, we approach the best transformation possible to merge the point clouds. After some time implementing this algorithm, we now had an application that could merge two point clouds.
